OEM List
Getting Started
Click the 'OEM List' tab to manage your OEMs in approved organizations.

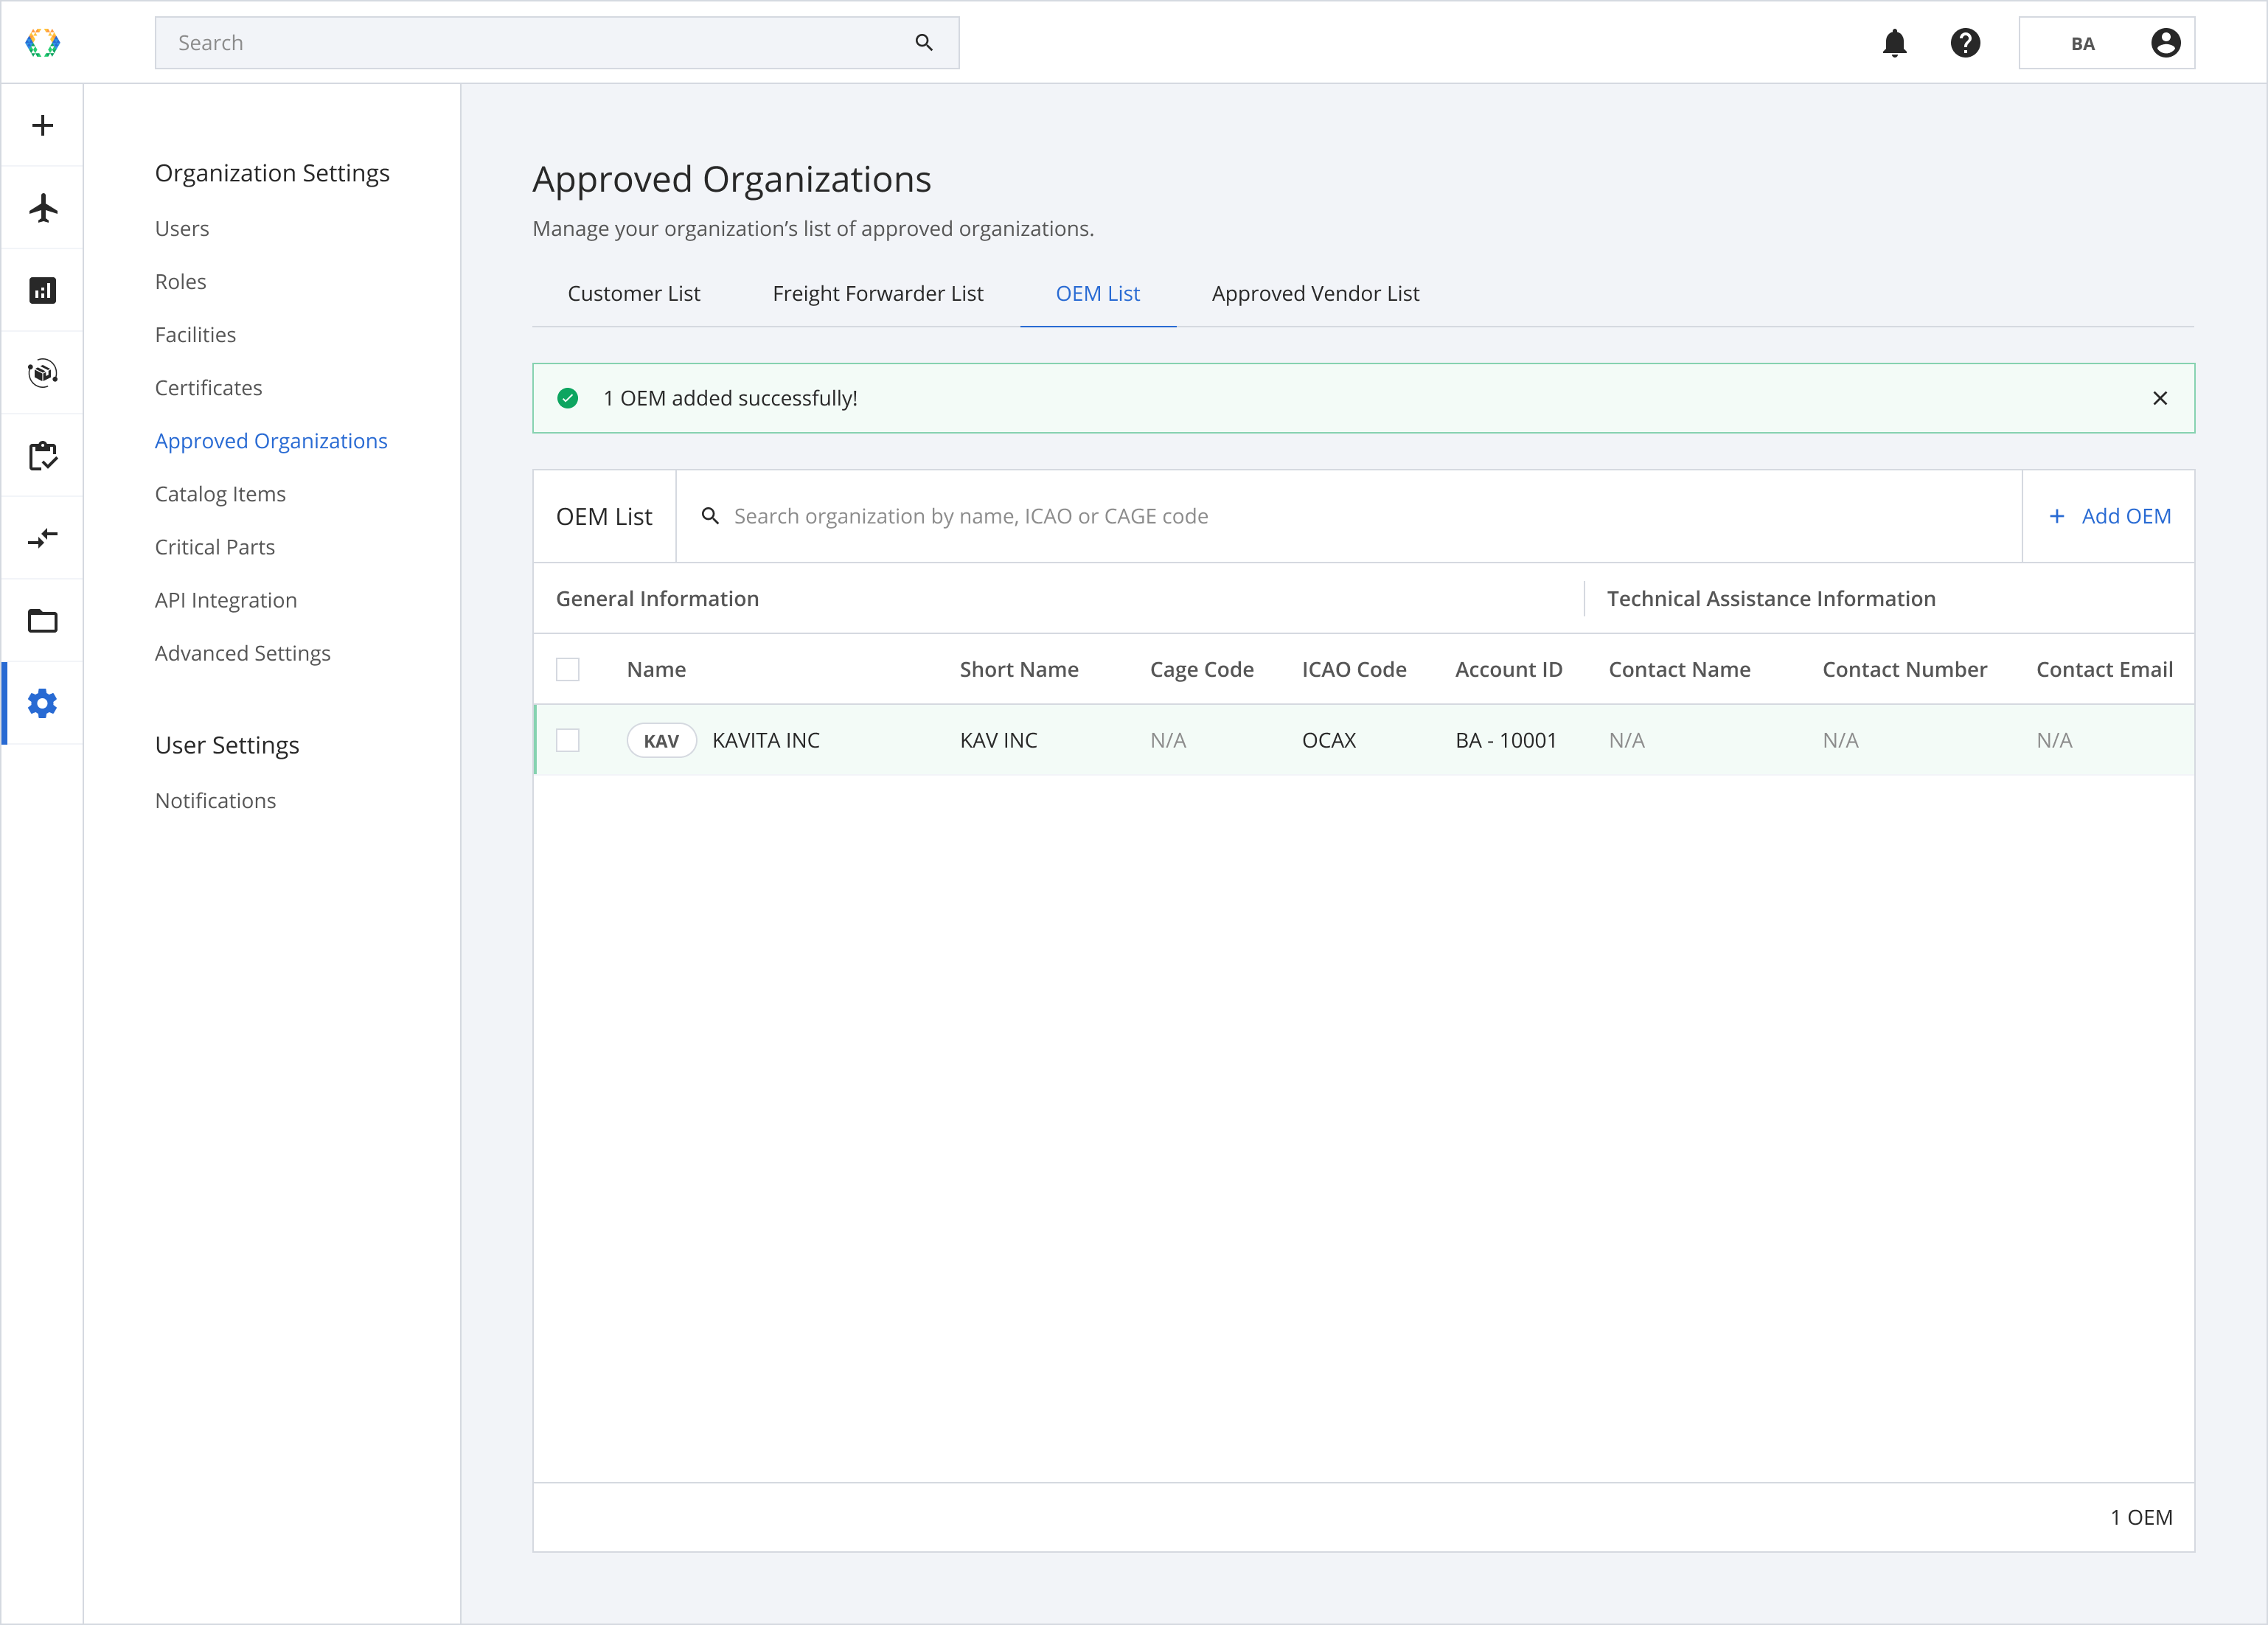
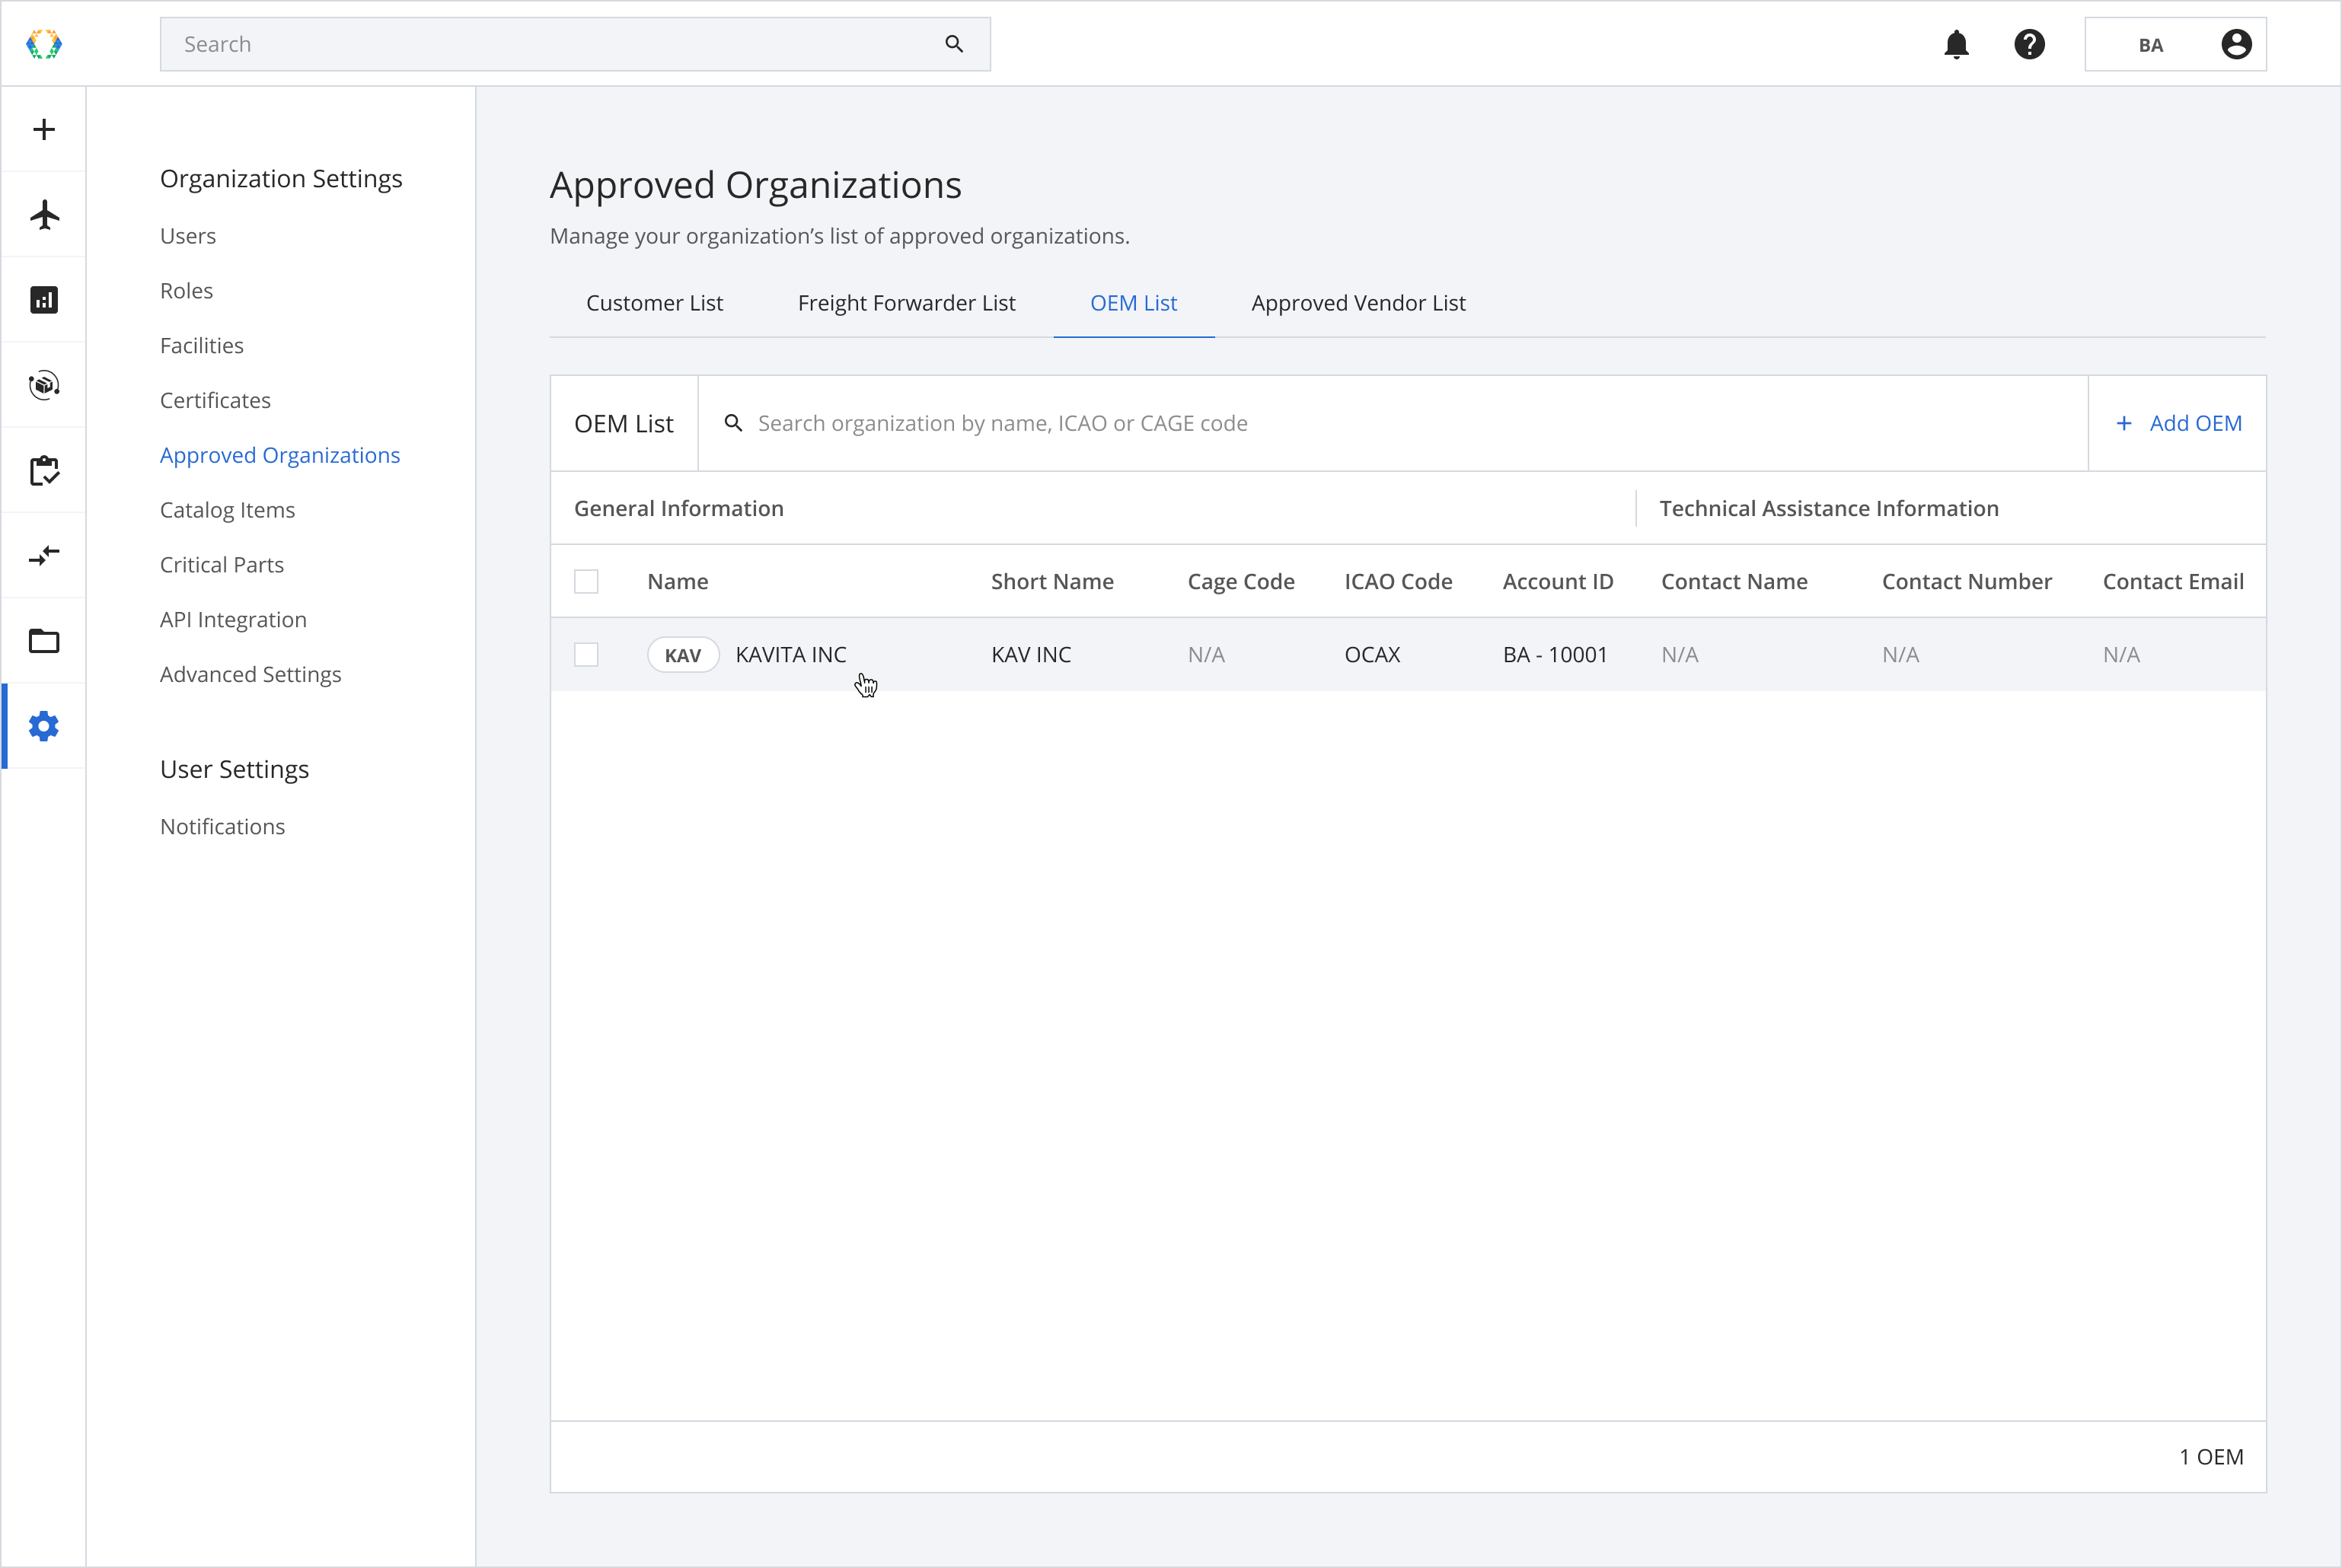
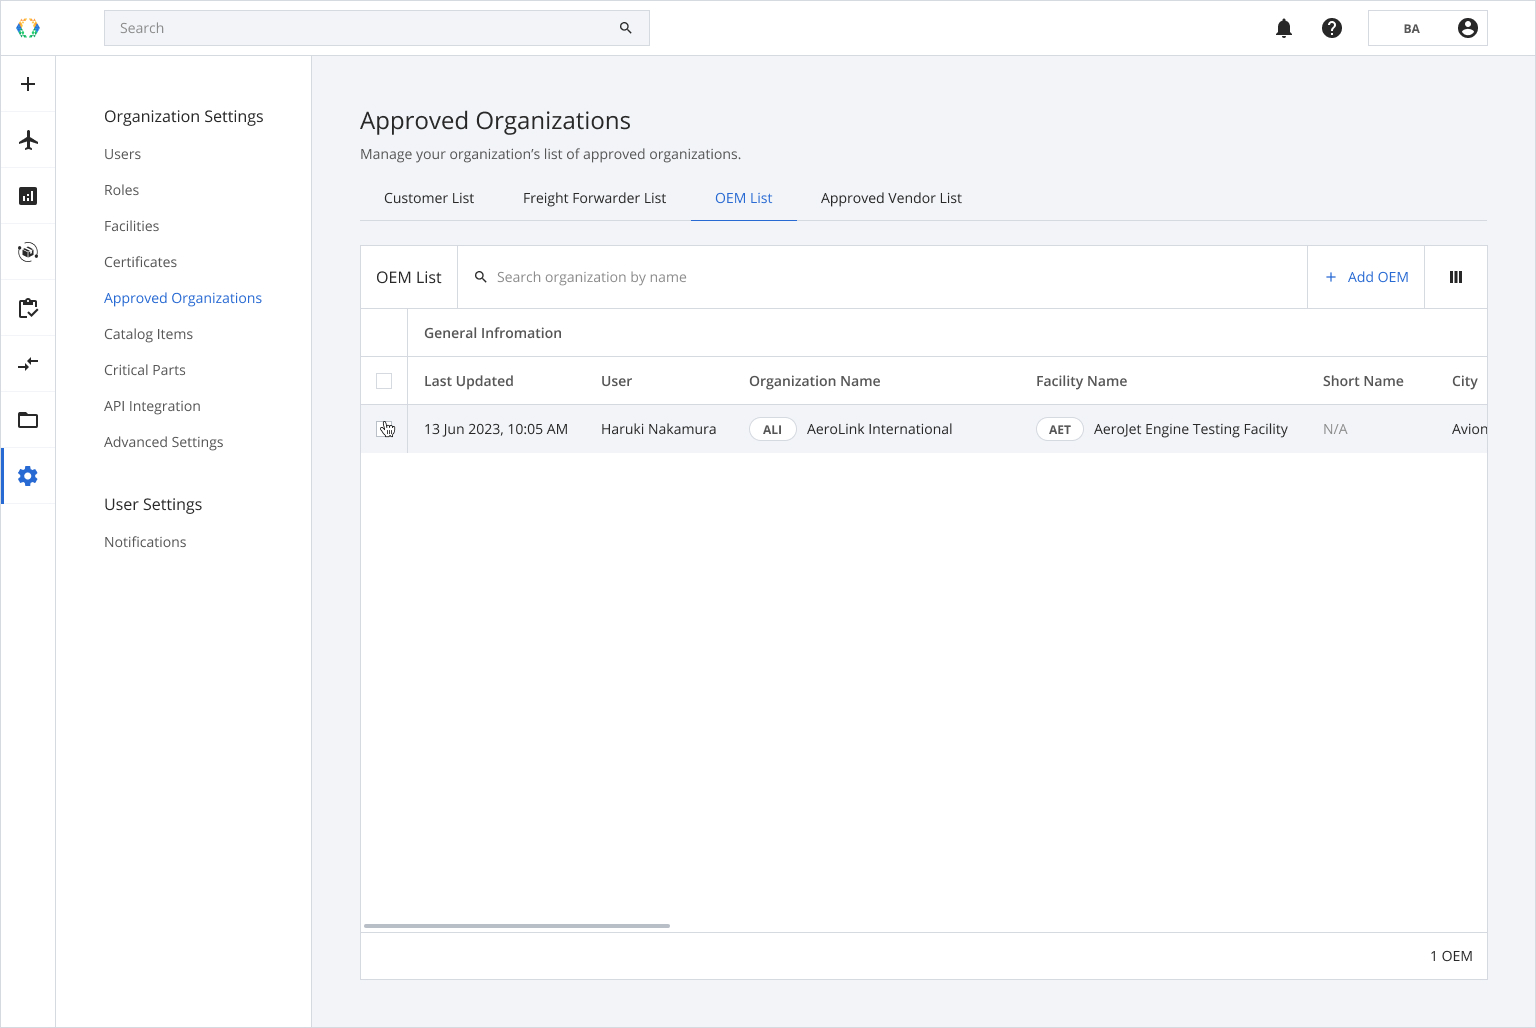
OEM List Layout
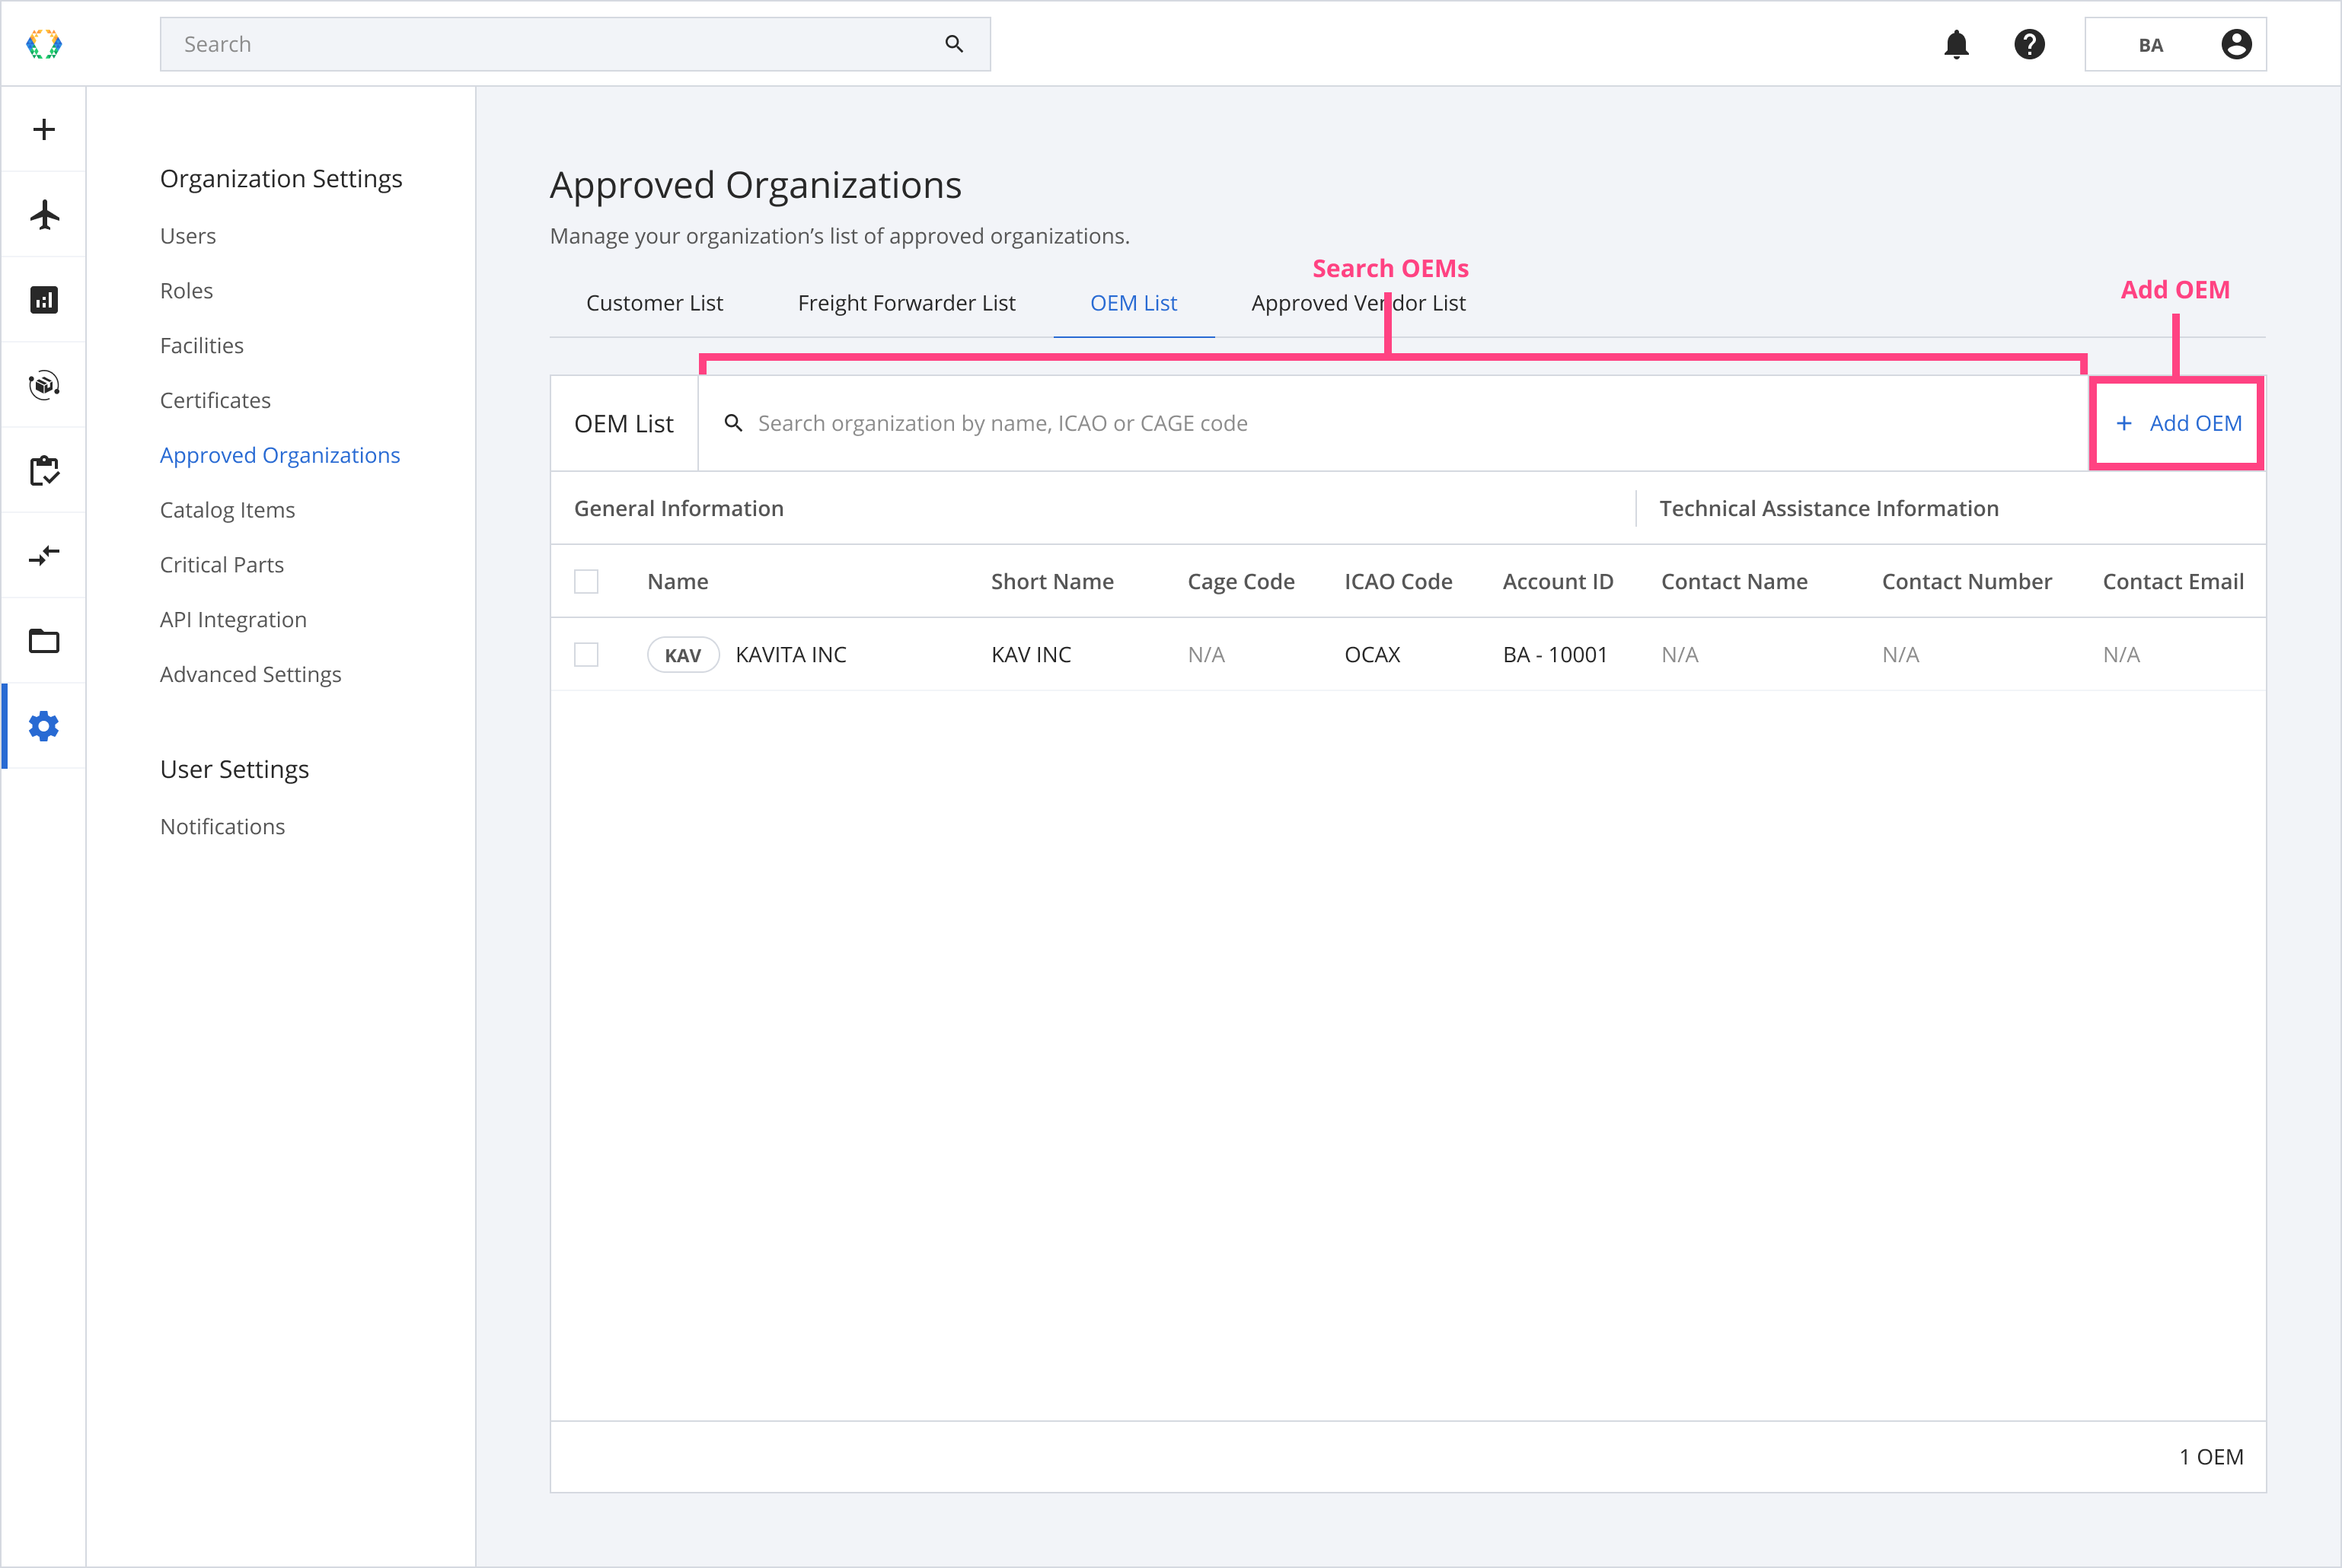
Searching on the OEM List
The search bar on the OEM List allows you to search for OEMs of your organization.
| Searchable Parameters |
|---|
| Name |
| Short Name |
| Cage Code |
| ICAO Code |
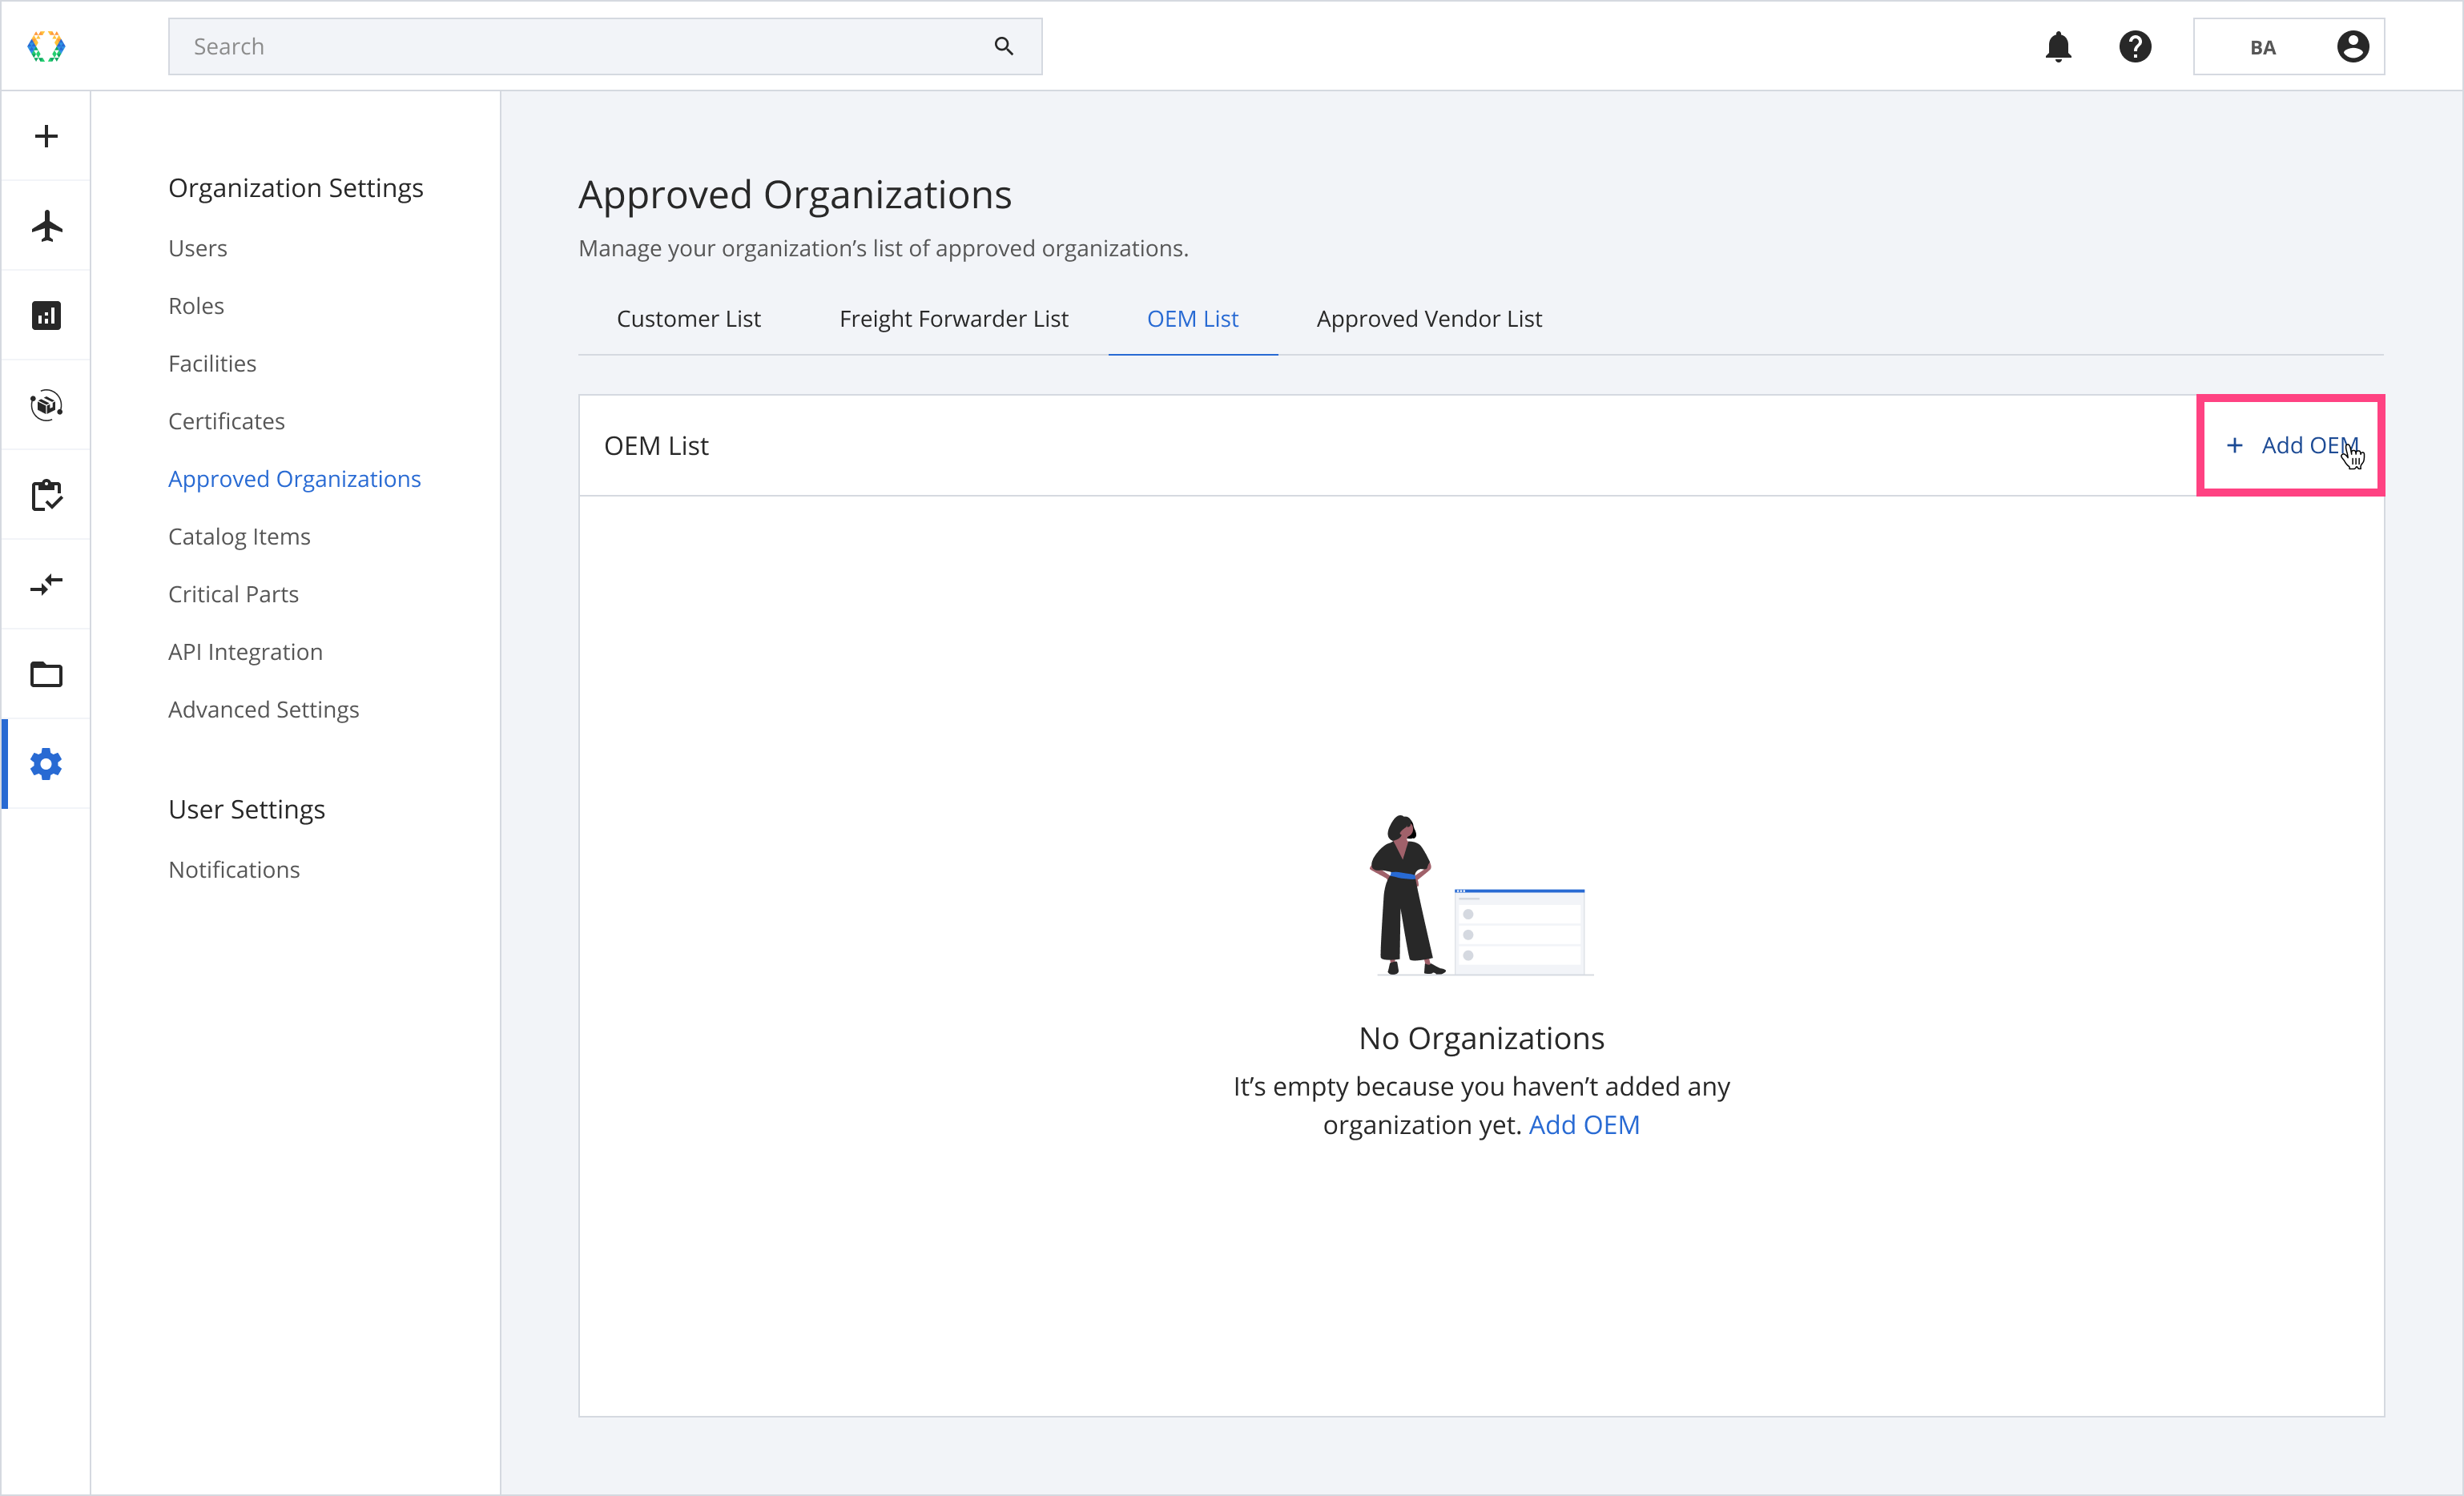
Add OEM
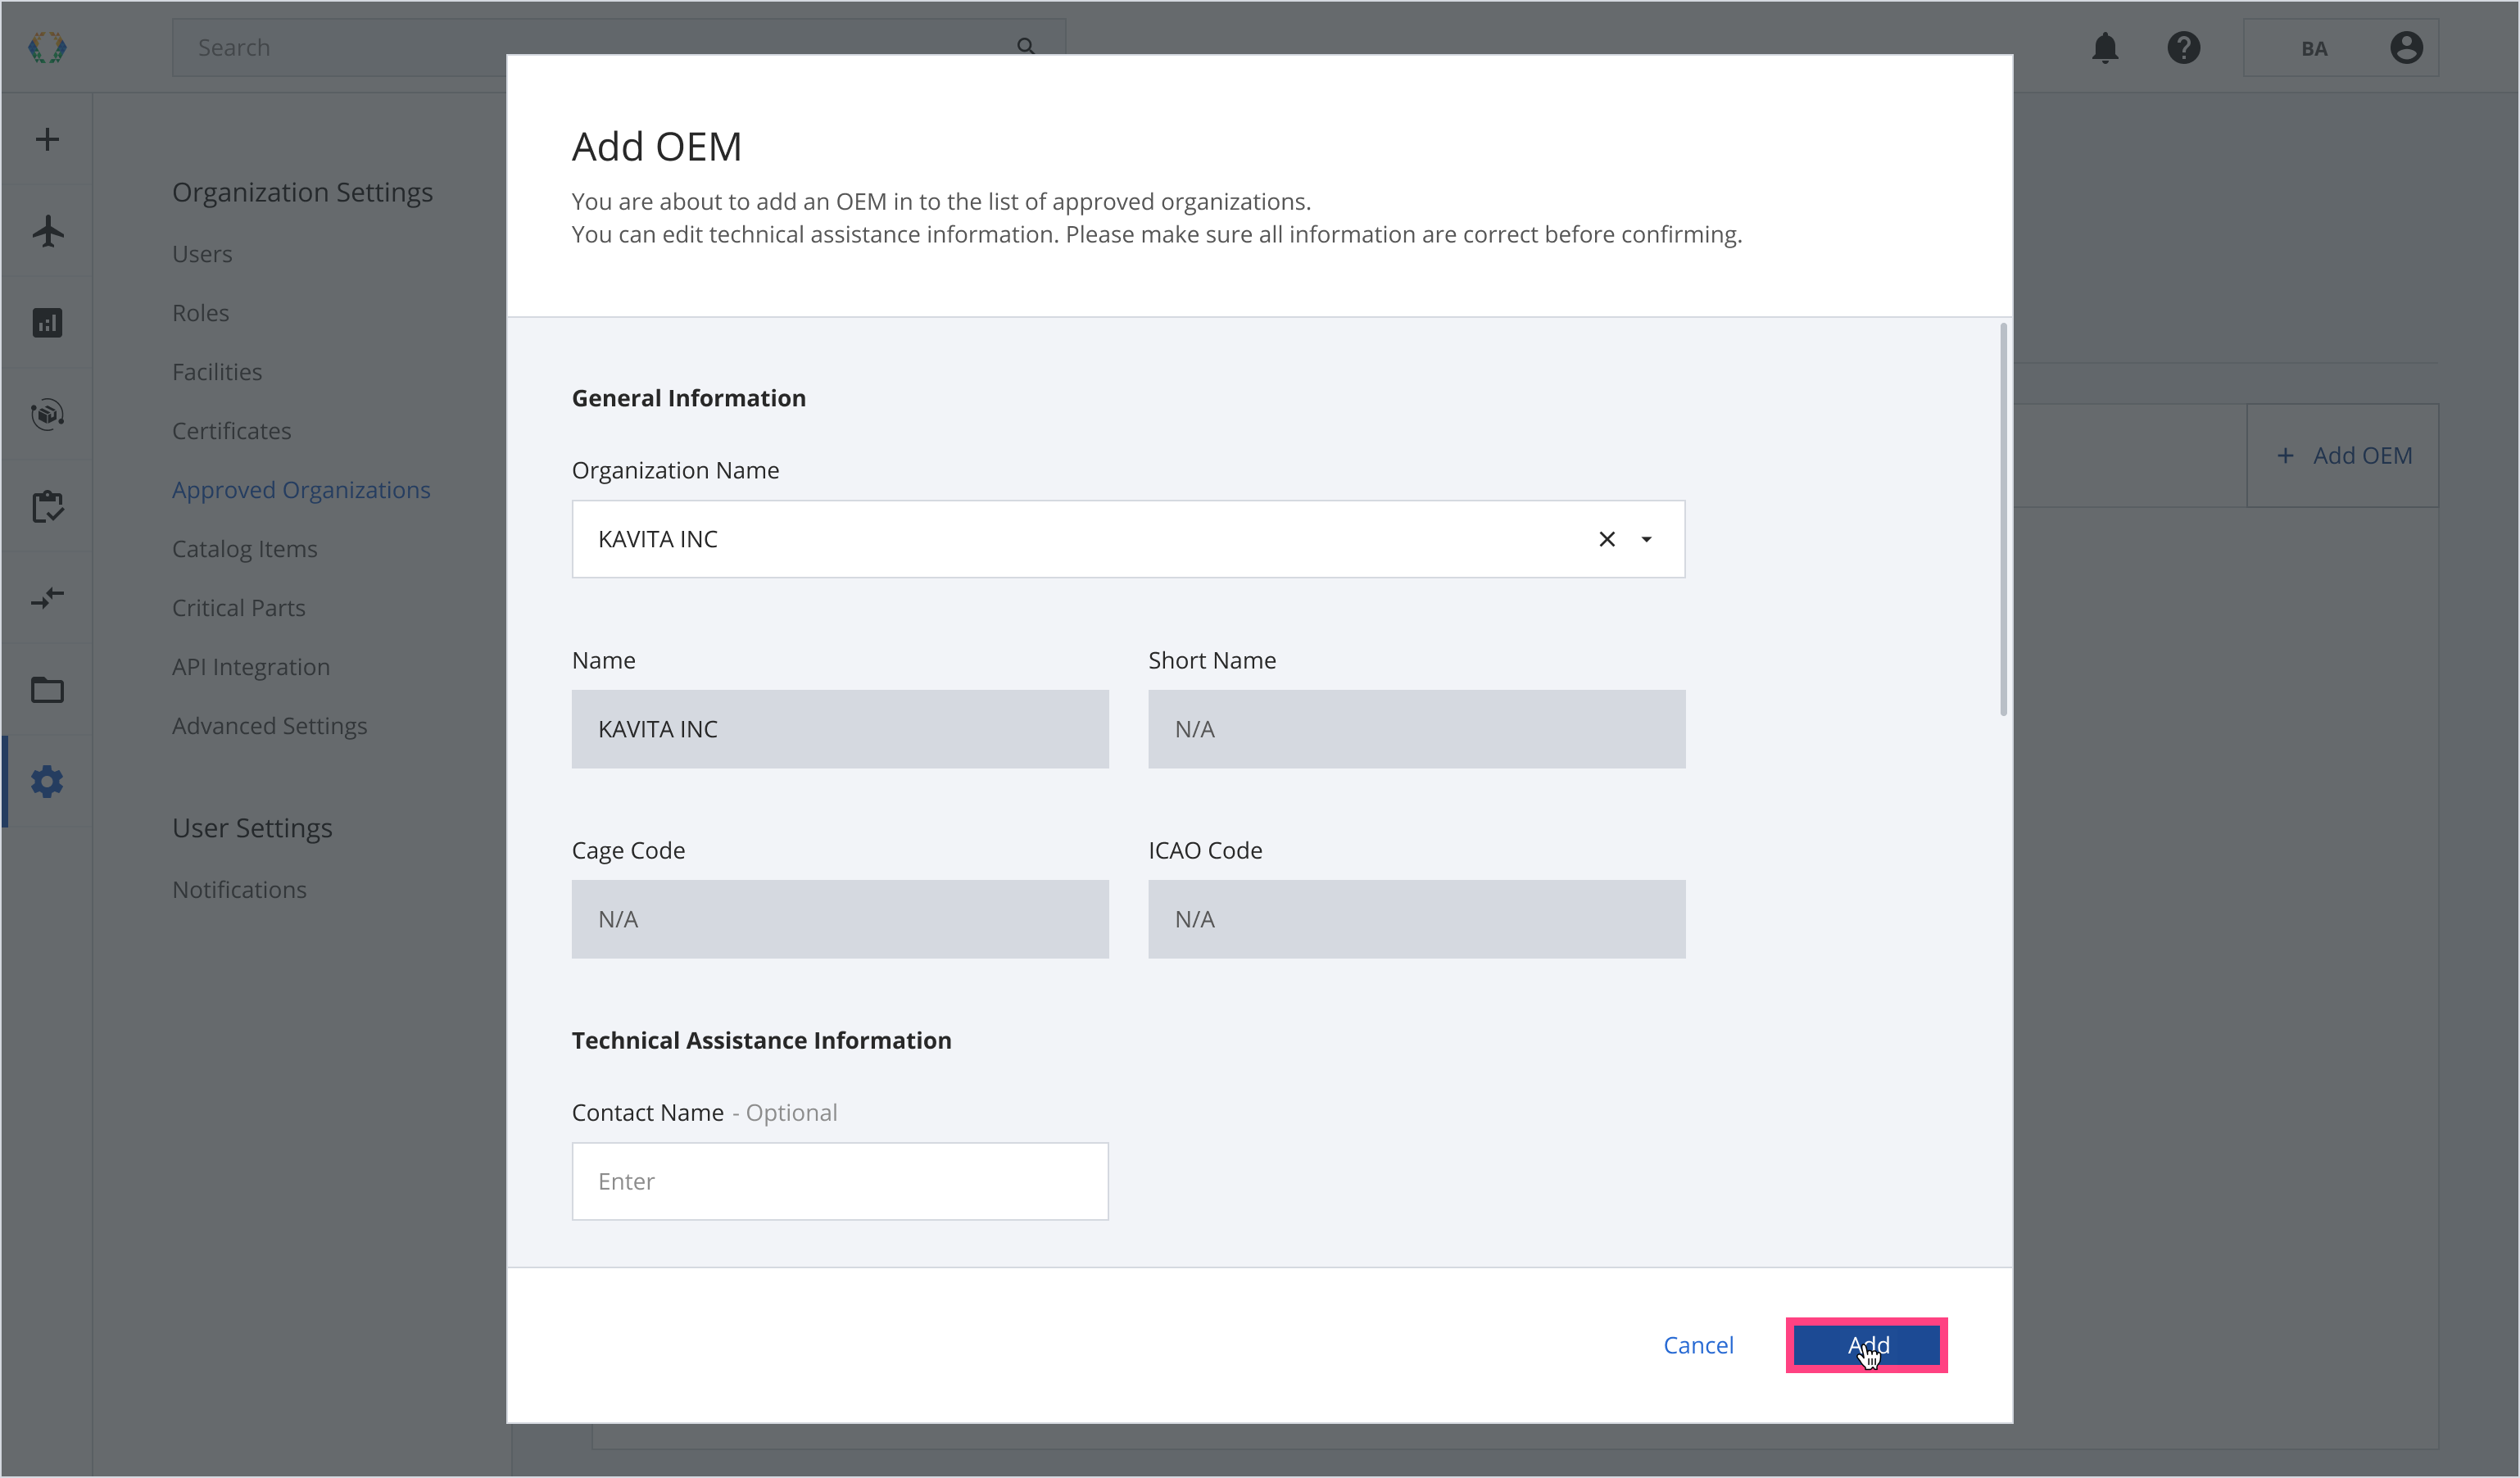
Step 1: Click 'Add OEM'.
Step 2: Update the OEM details.
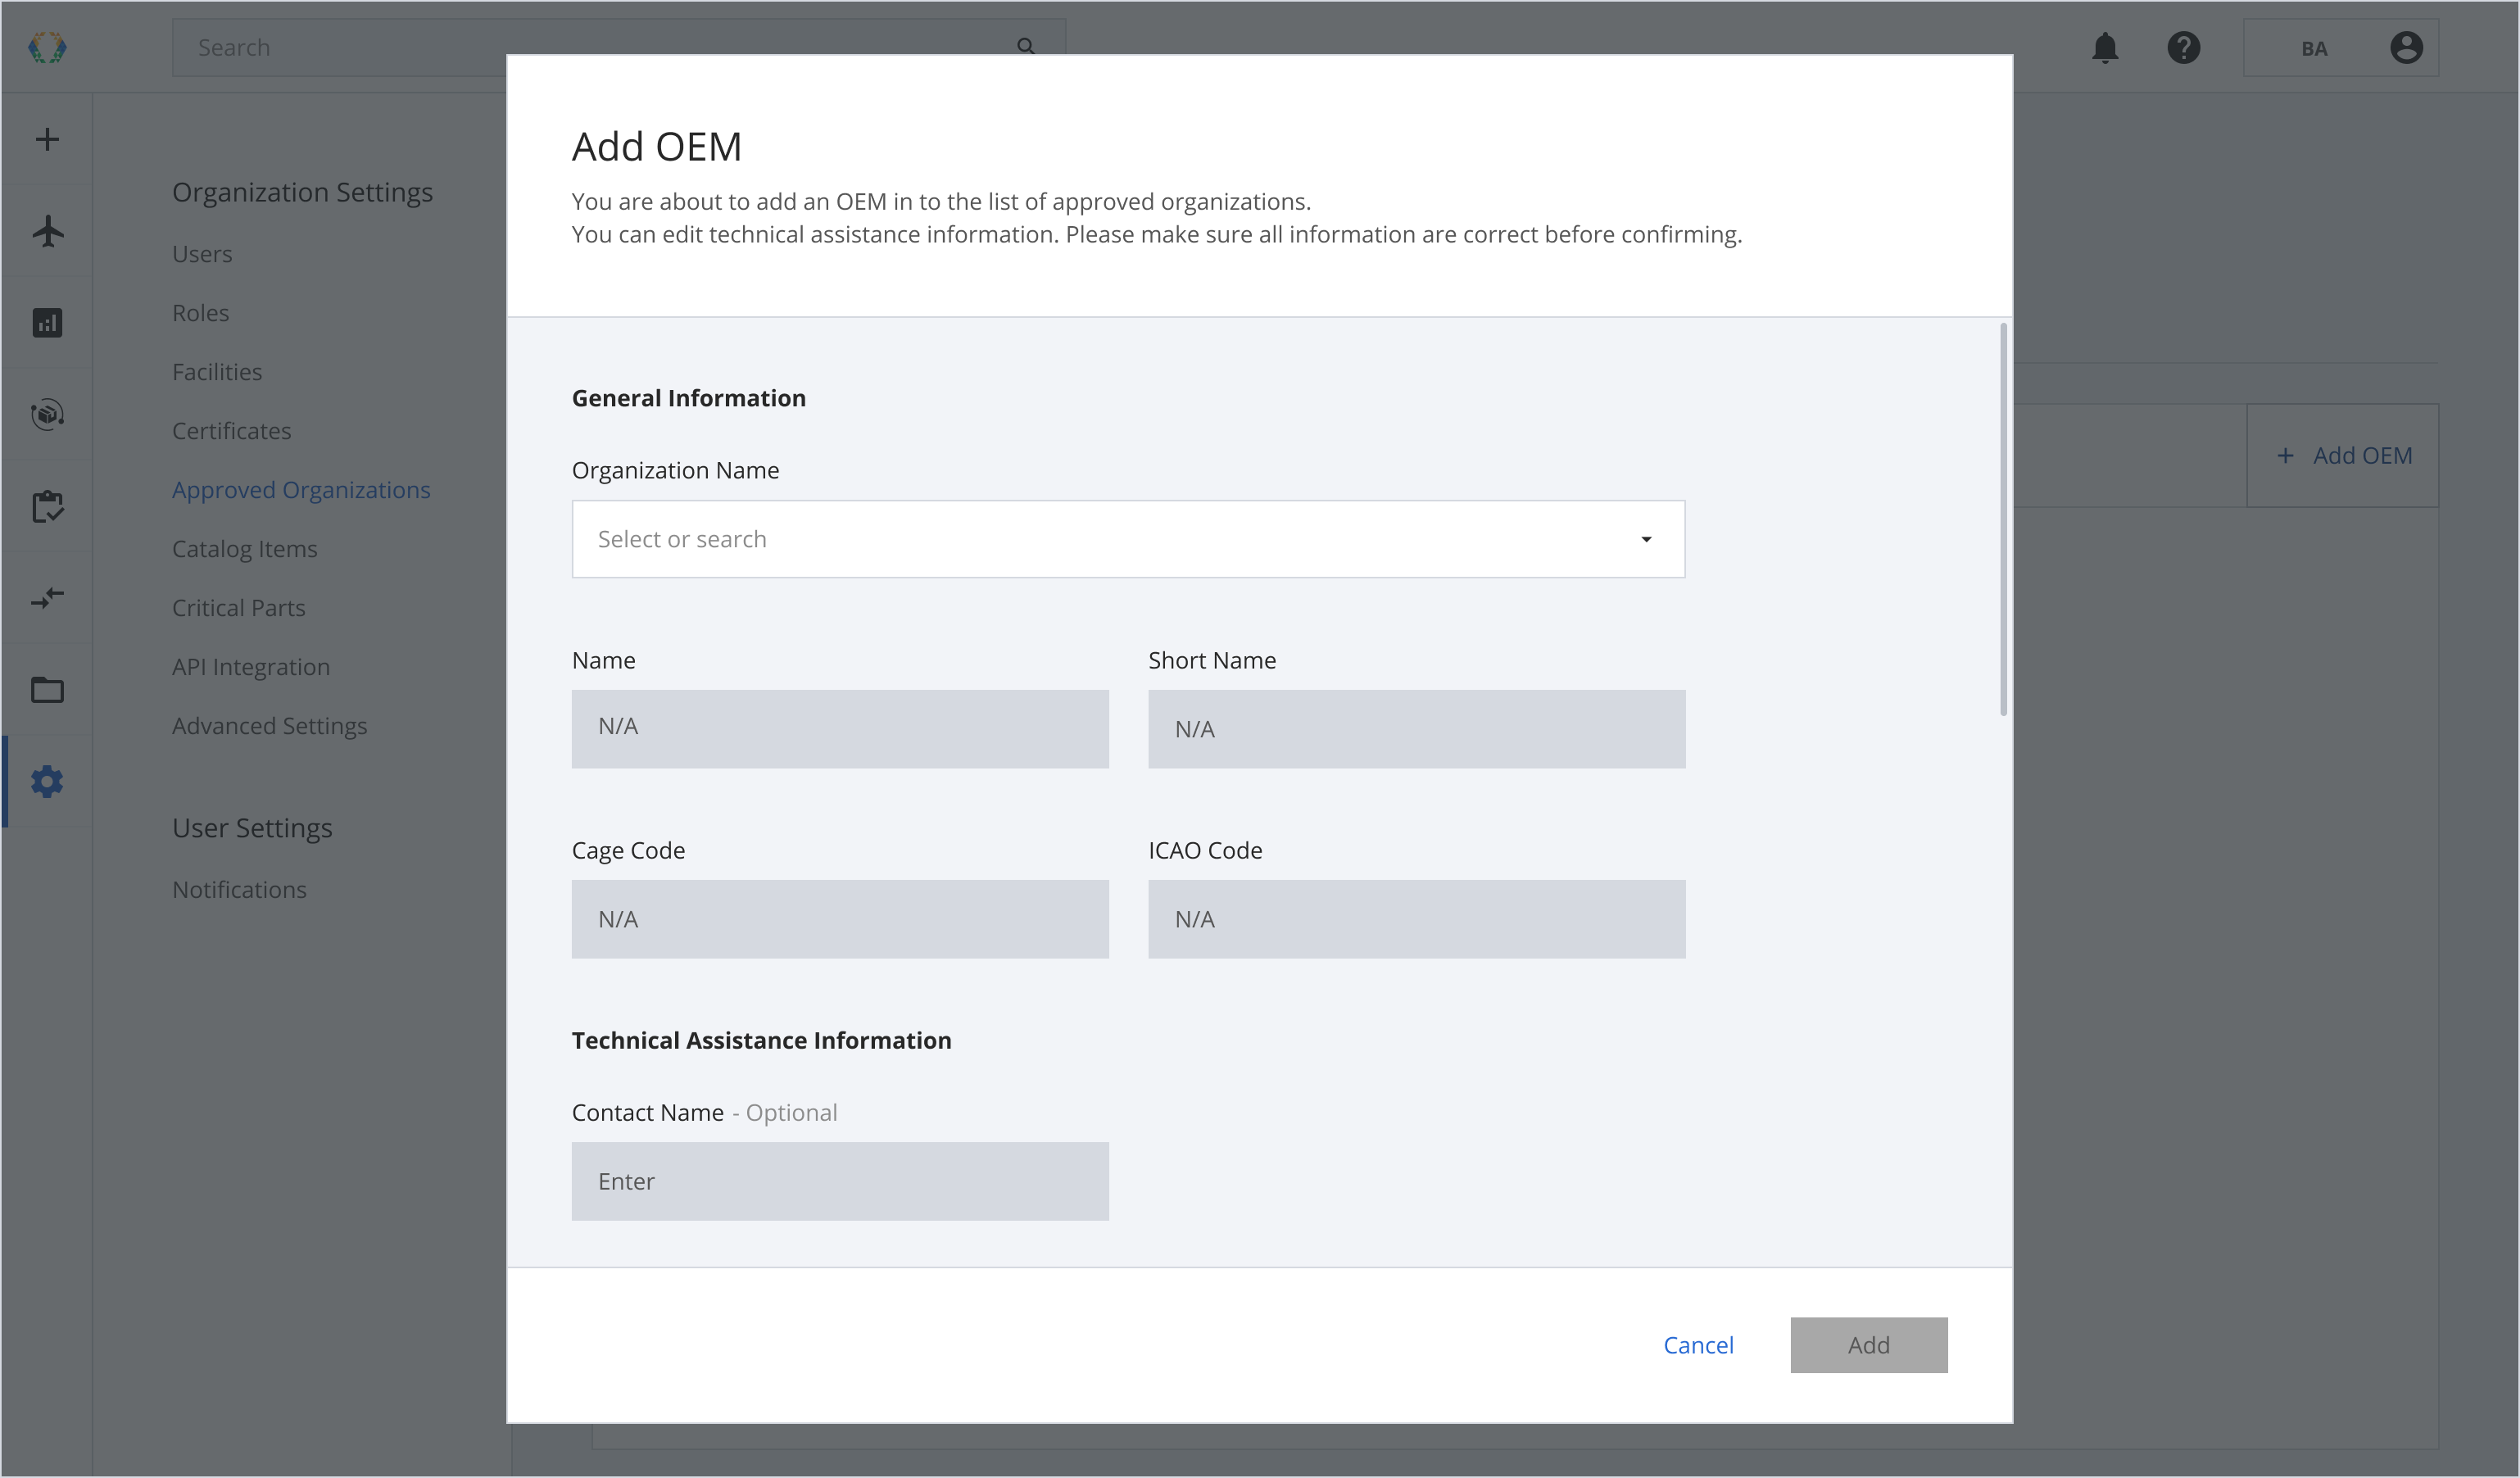
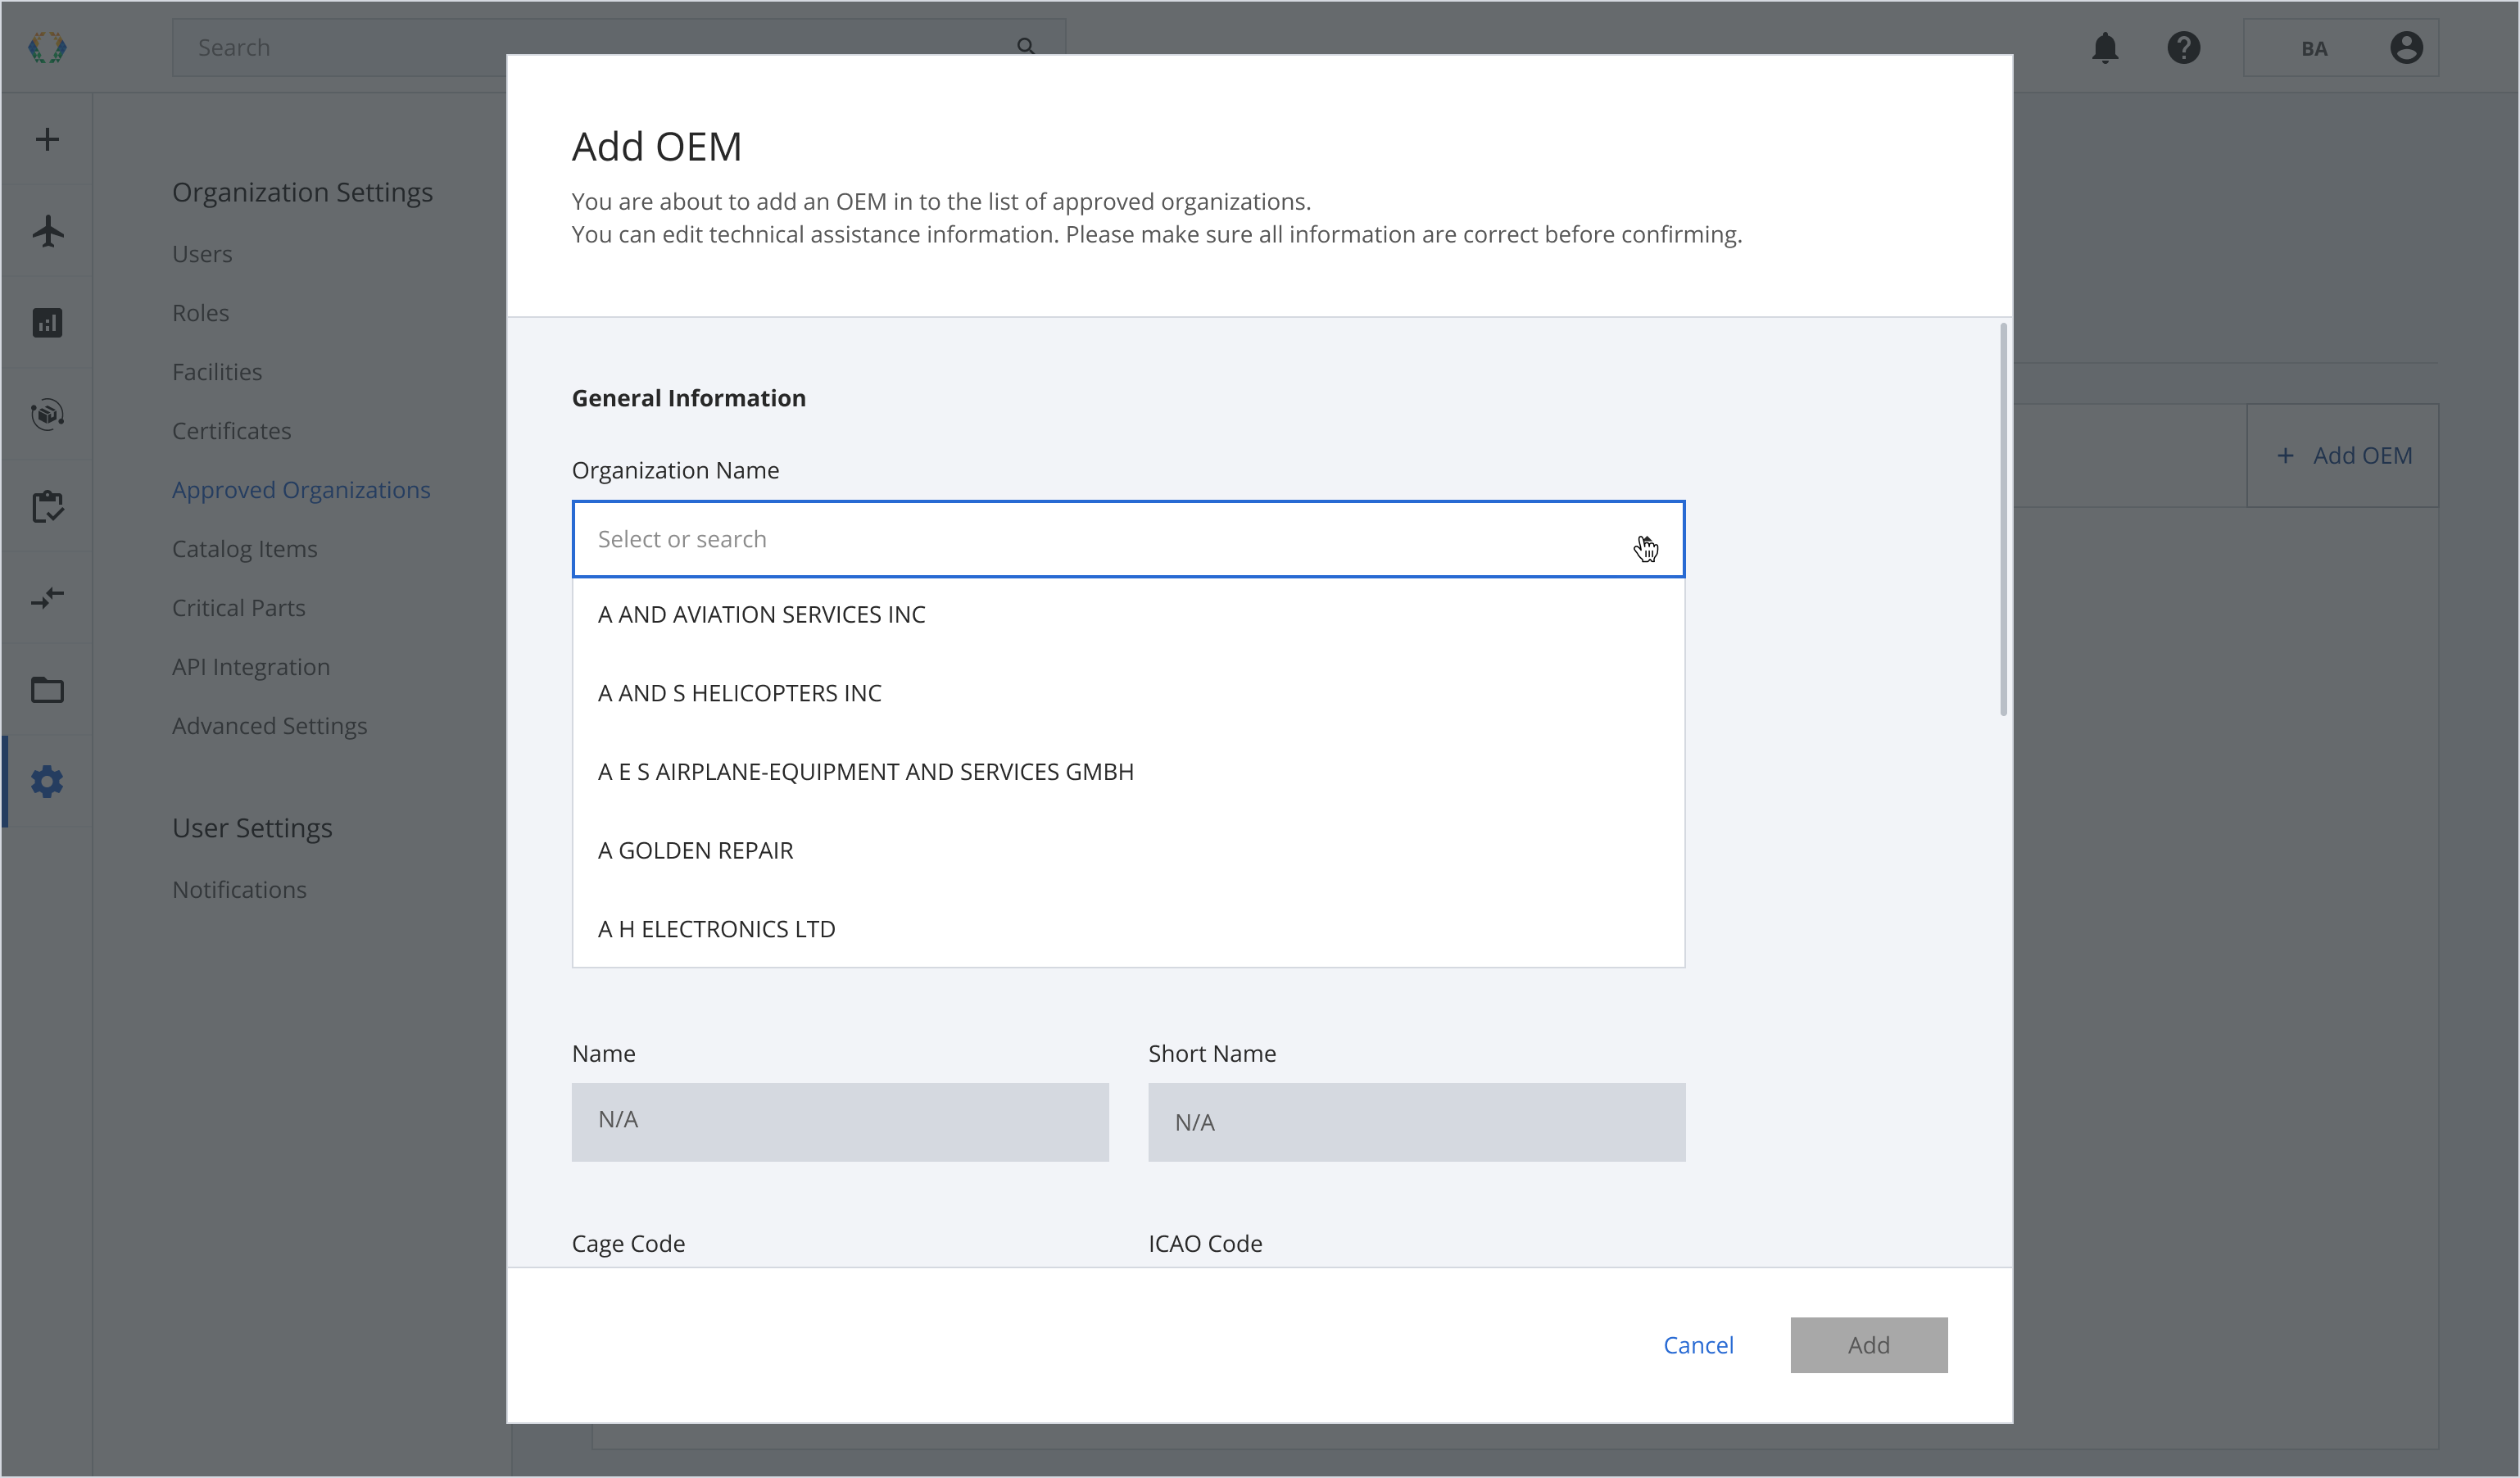
Step 3: Select the Organization Name from the dropdown list.
You may also type in the empty field to search for the organization.
Step 4: Click 'Add'.
Once the OEM is added successfully, a green banner will appear on top of the OEM list.
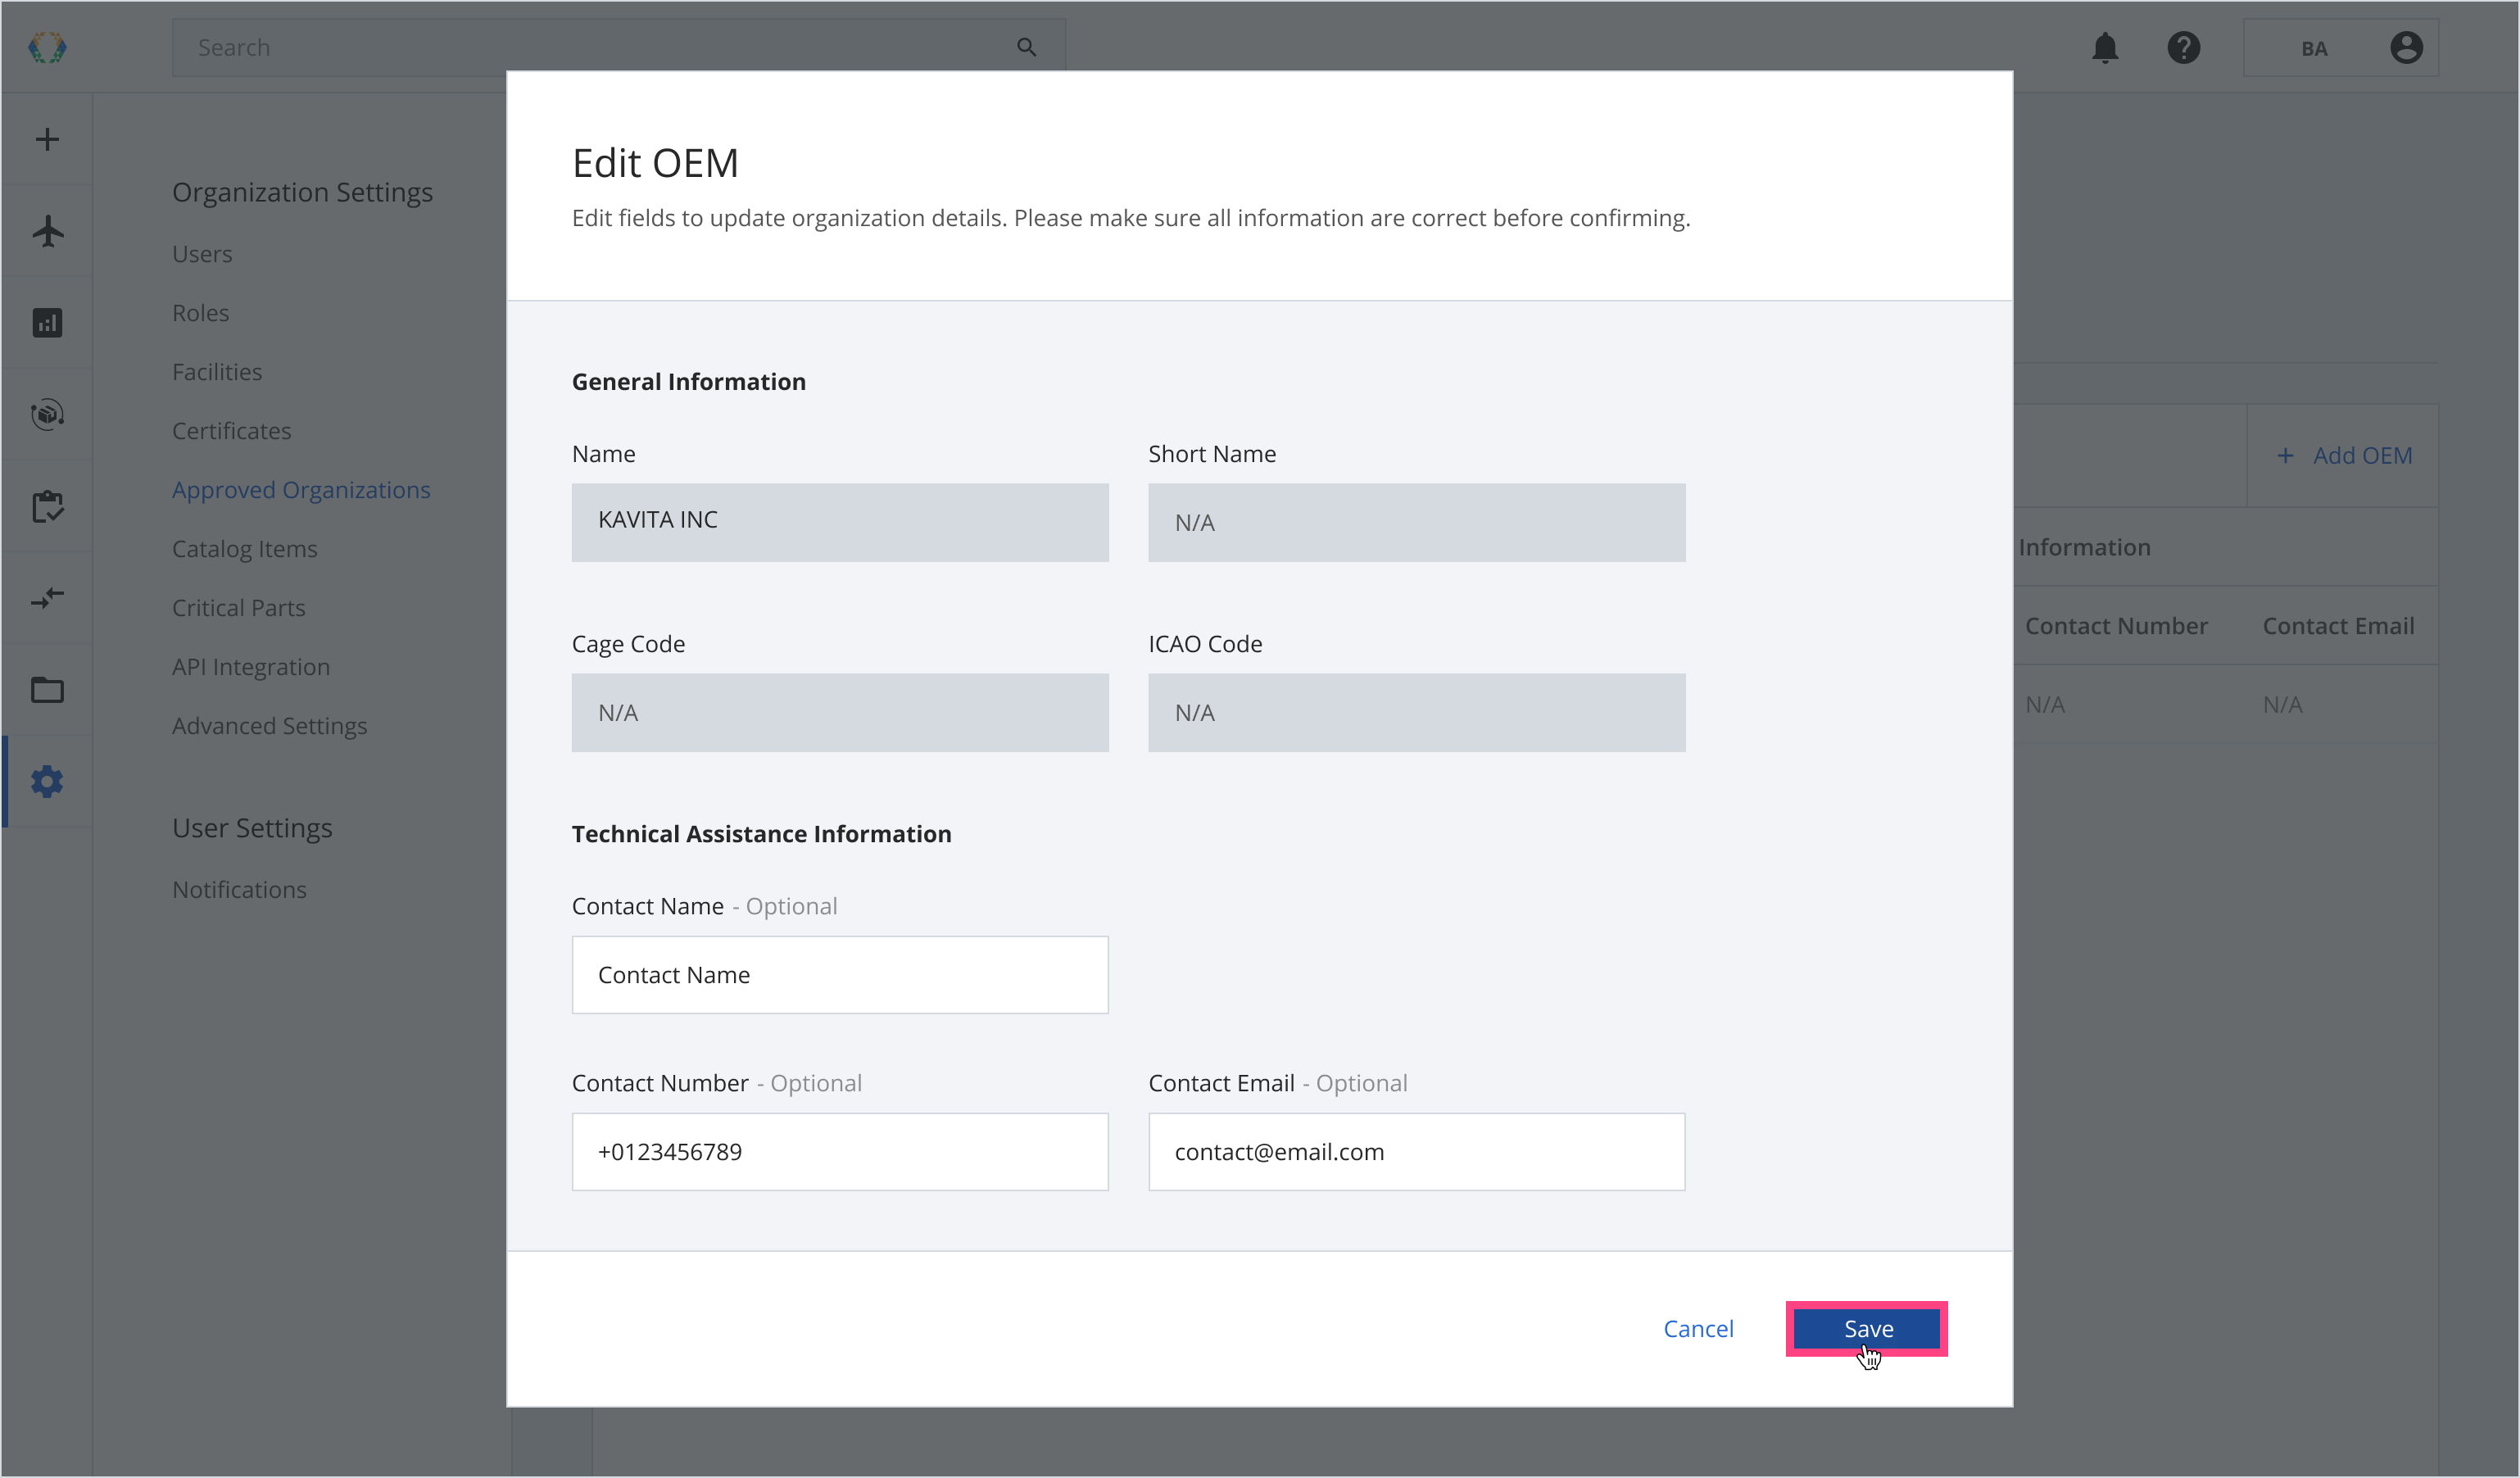
Edit OEM Details
Step 1: From the OEM list, open the OEM you want to edit.
Step 2: Update the OEM’s details.
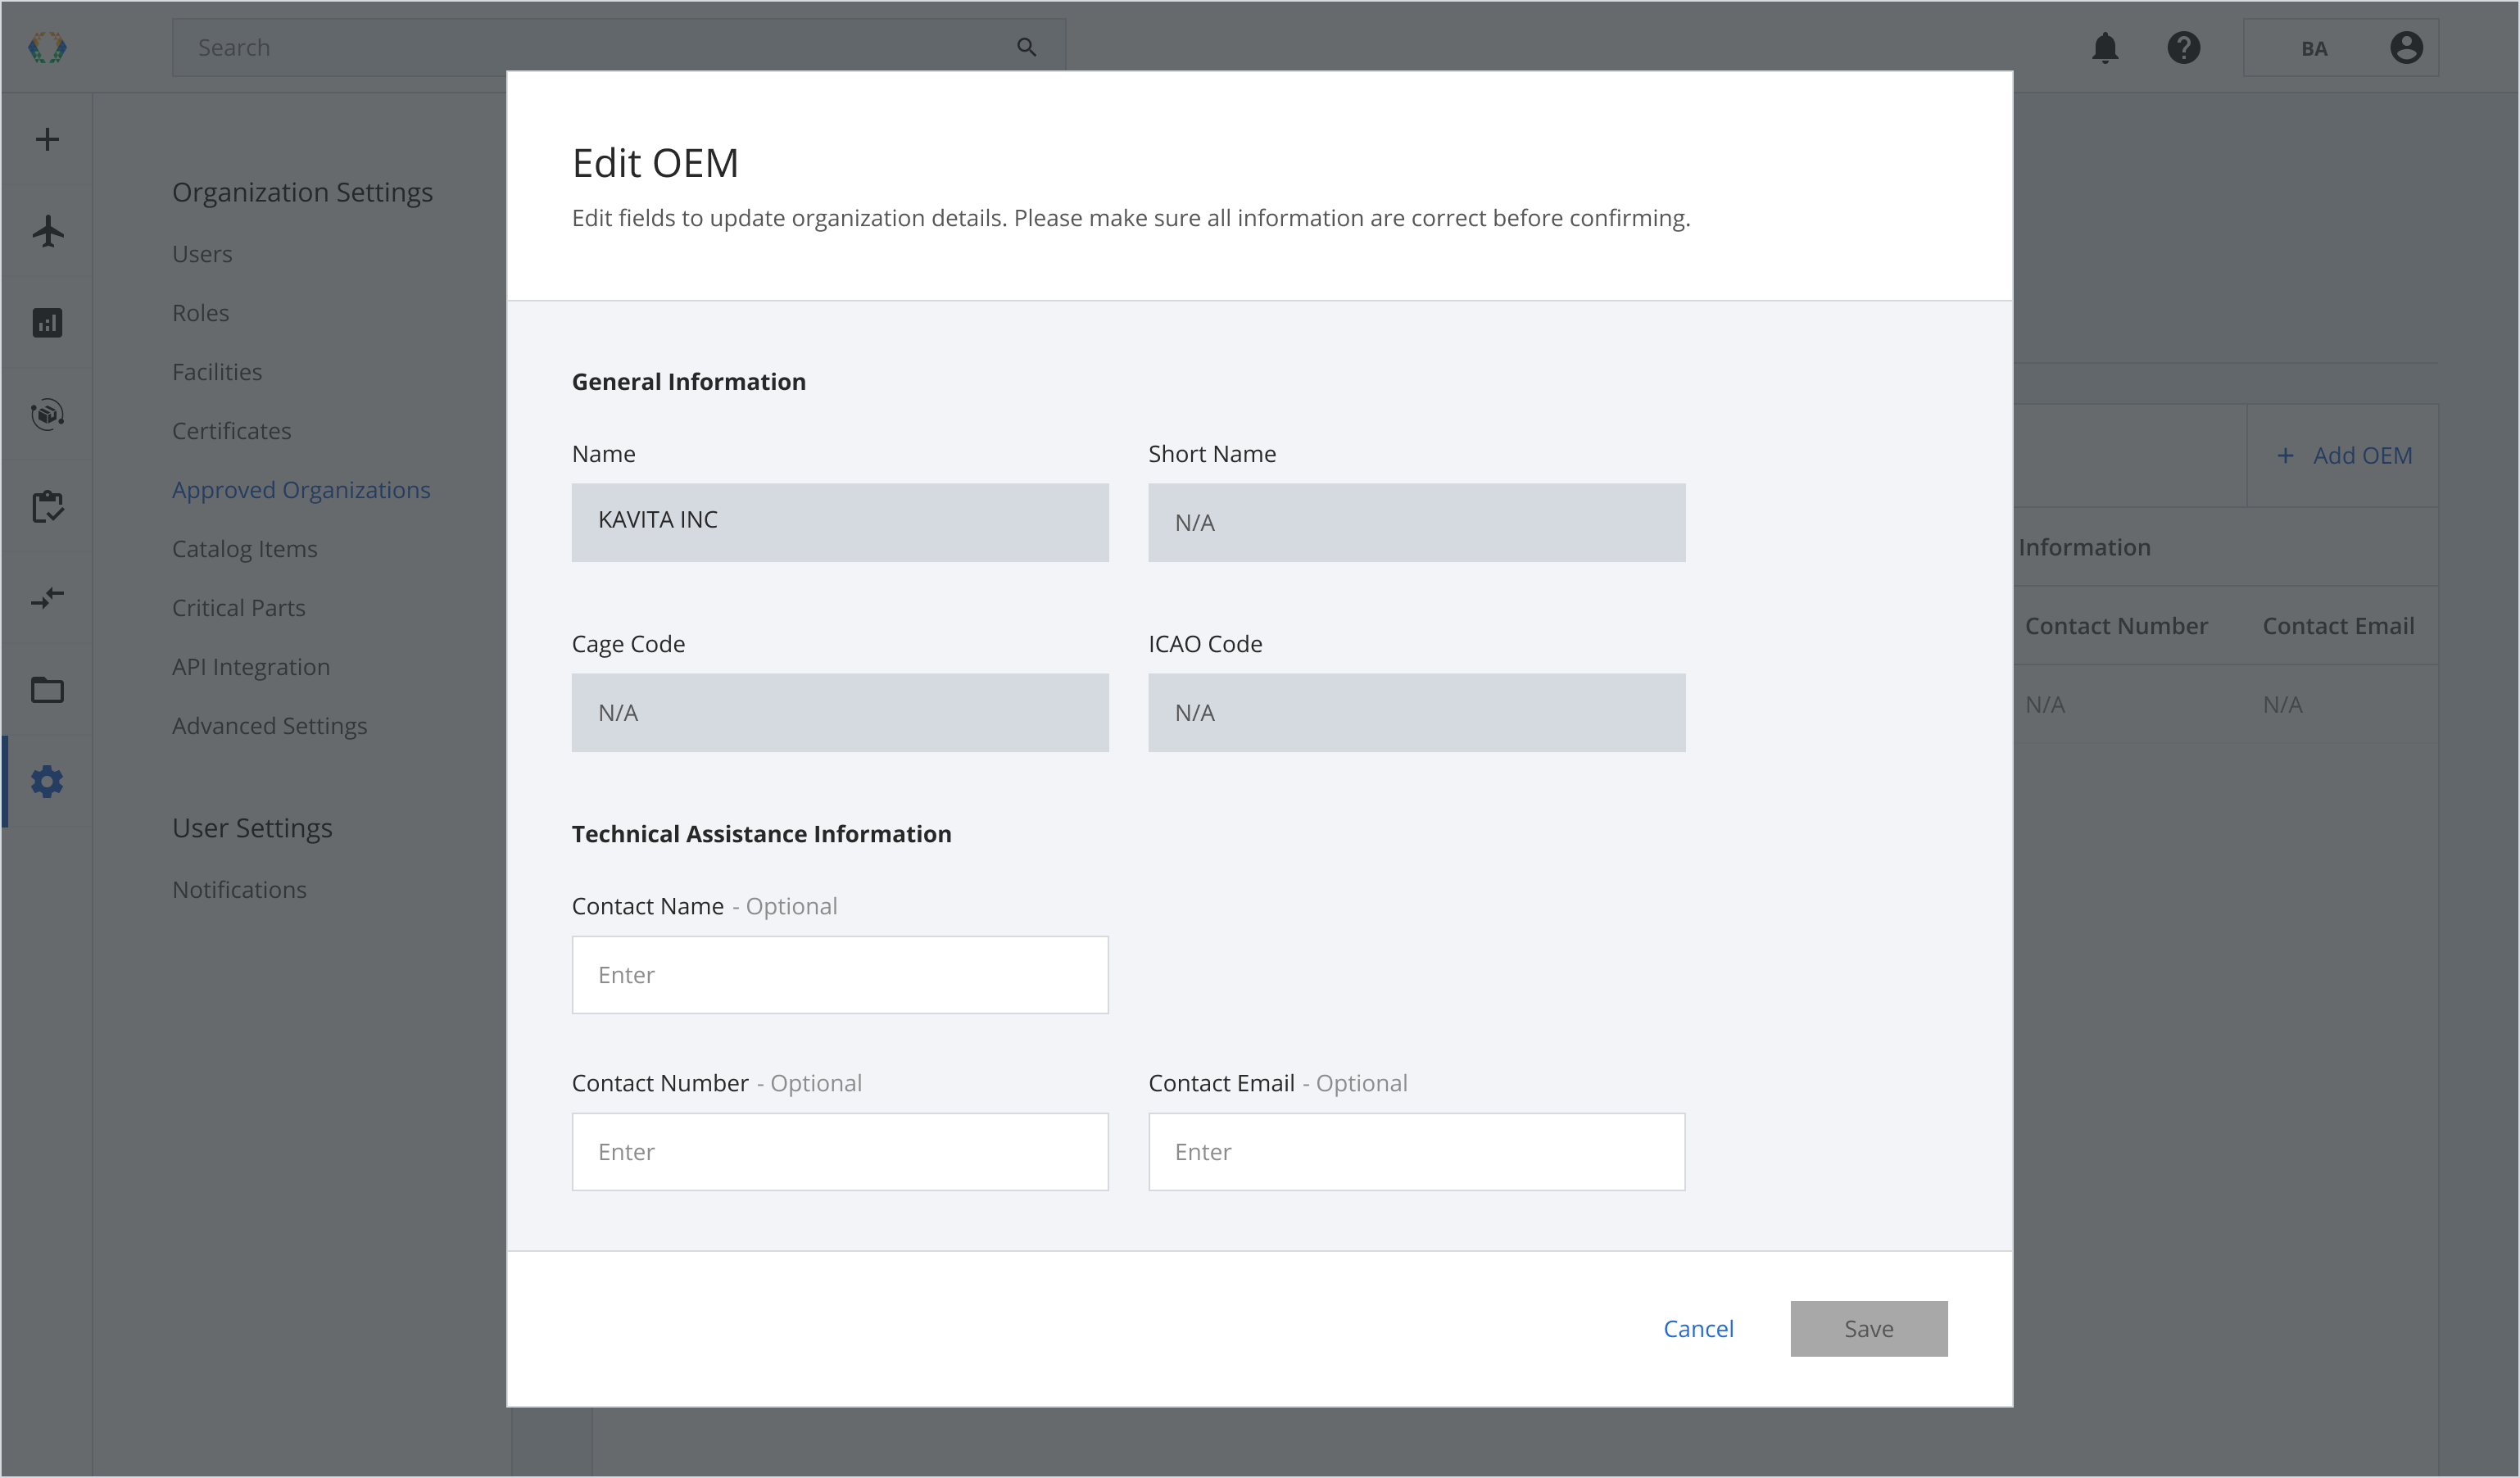
Step 3: You can edit the Technical Assistance Information under OEM details.

**Step 4:**Click 'Save'.
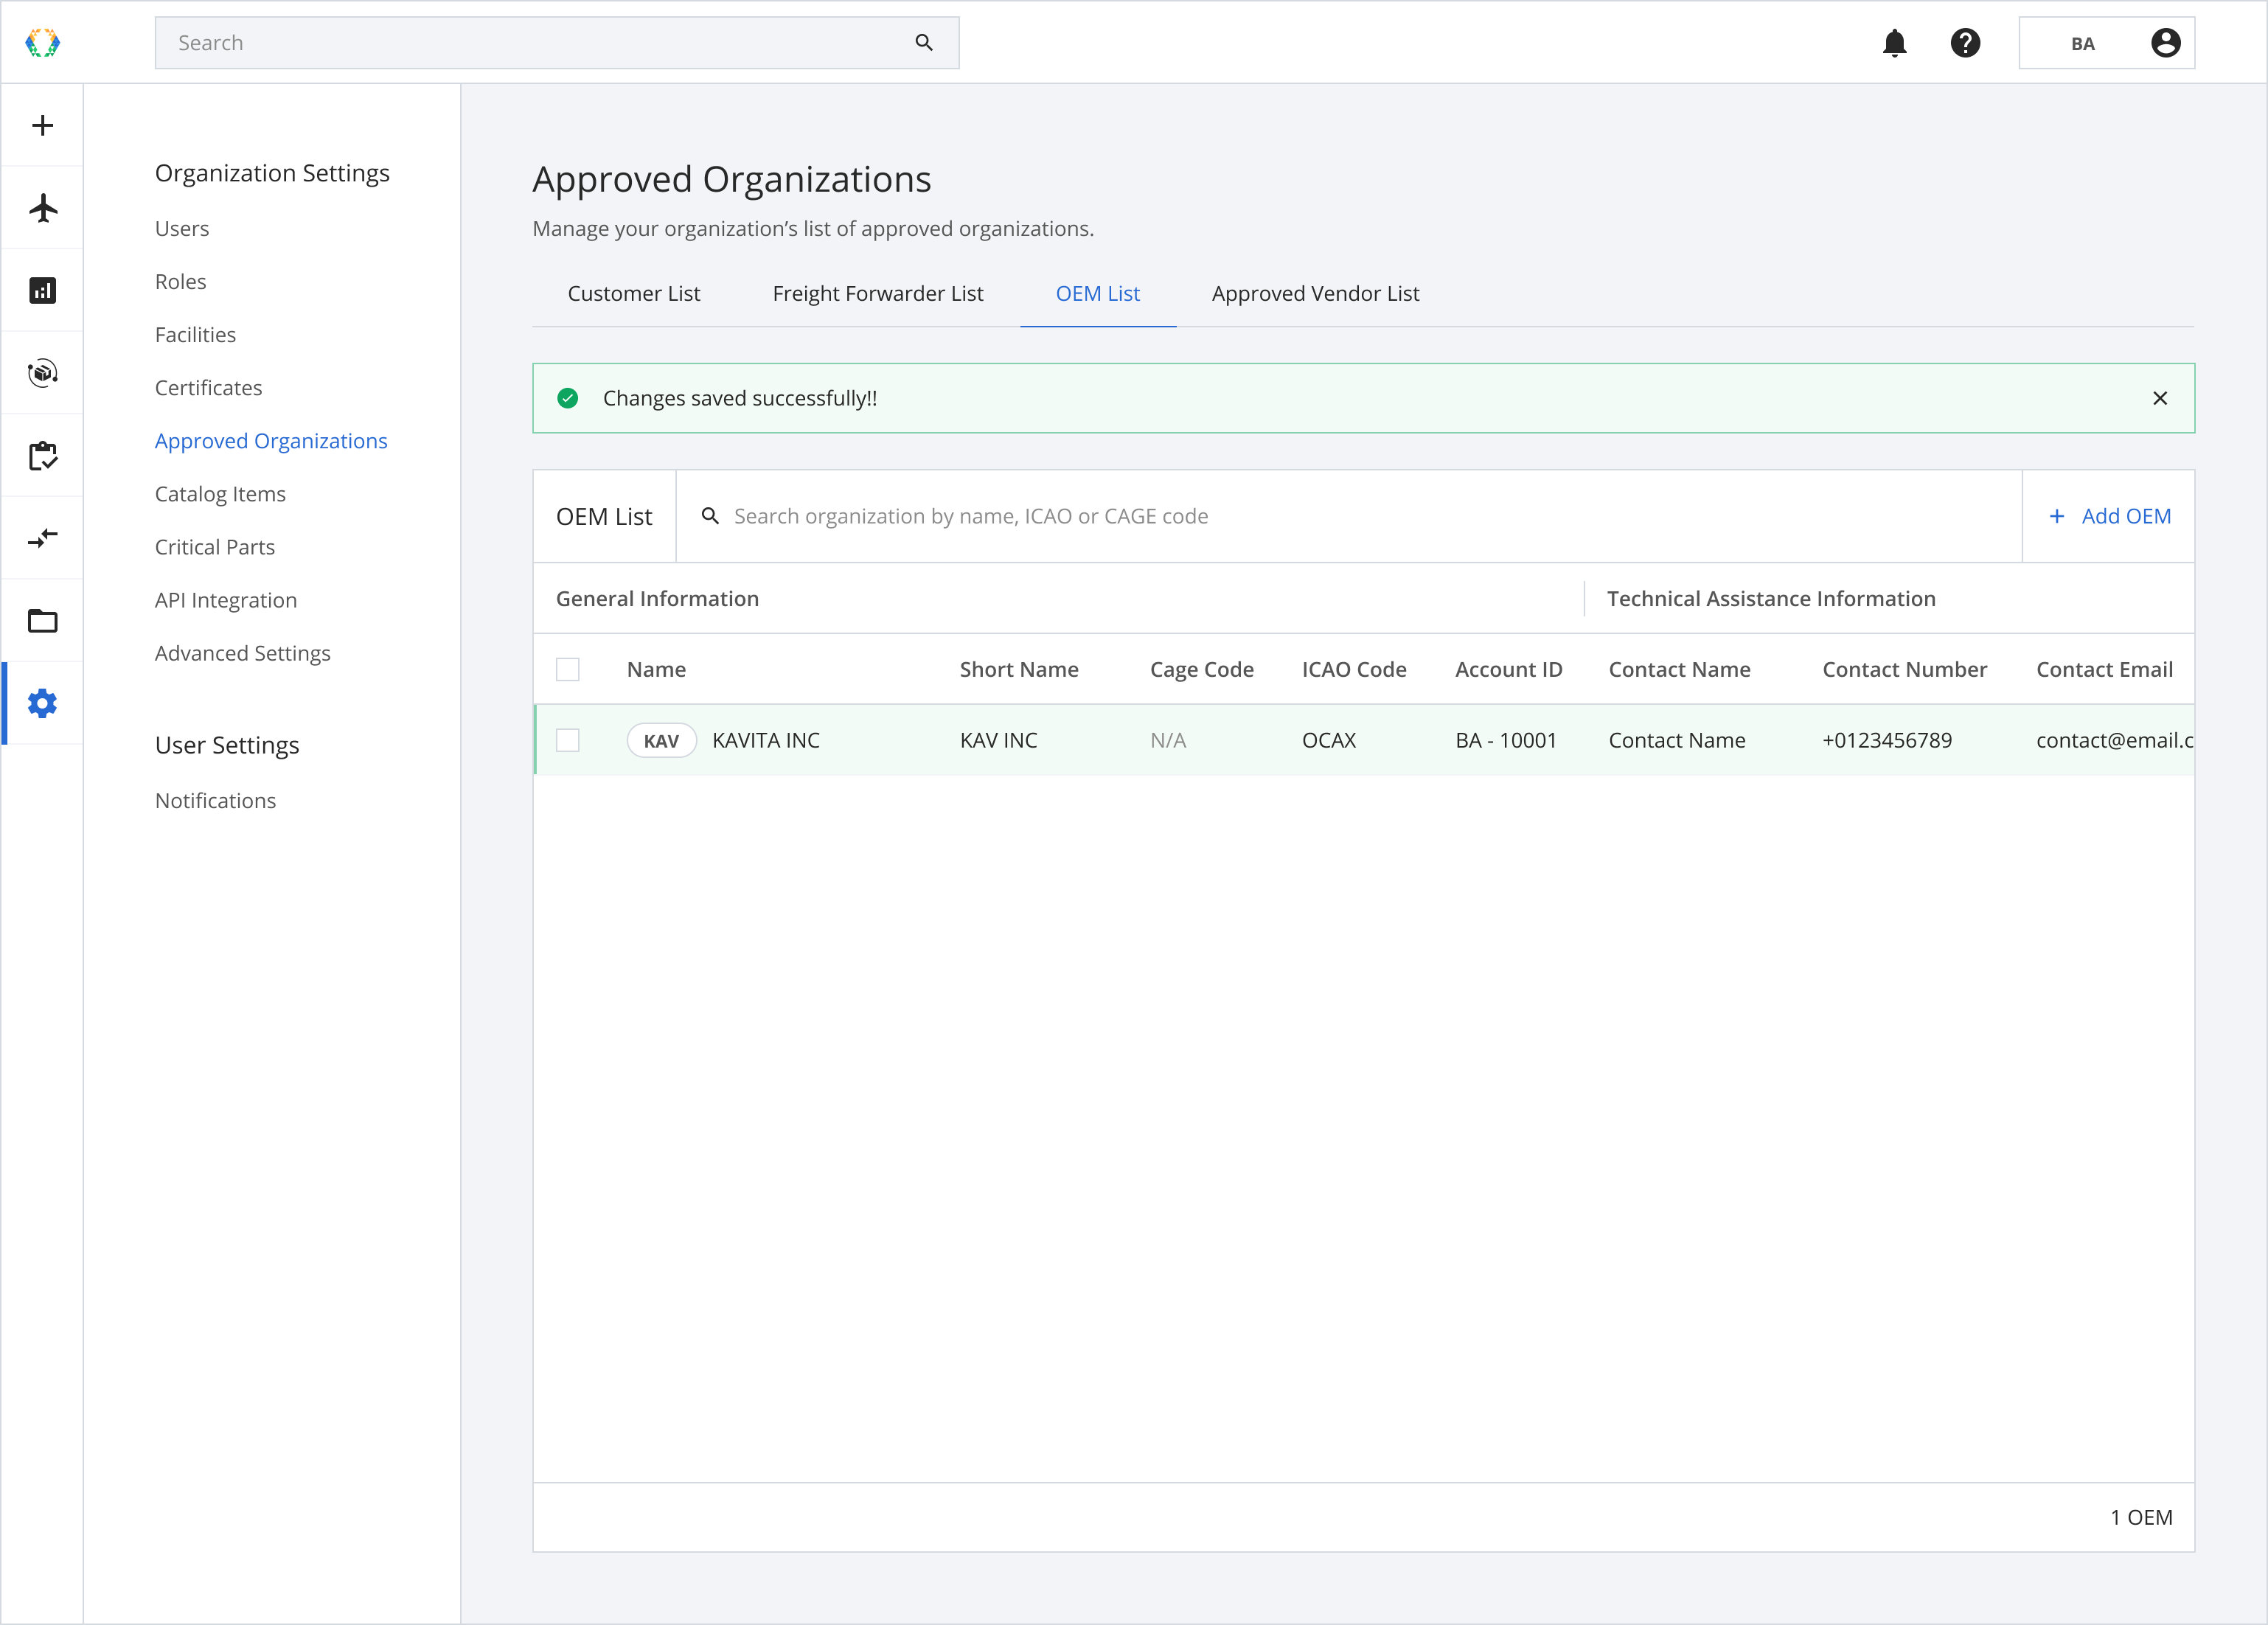
Once the OEM’s details are updated, a green banner will appear at the top of the OEM list.
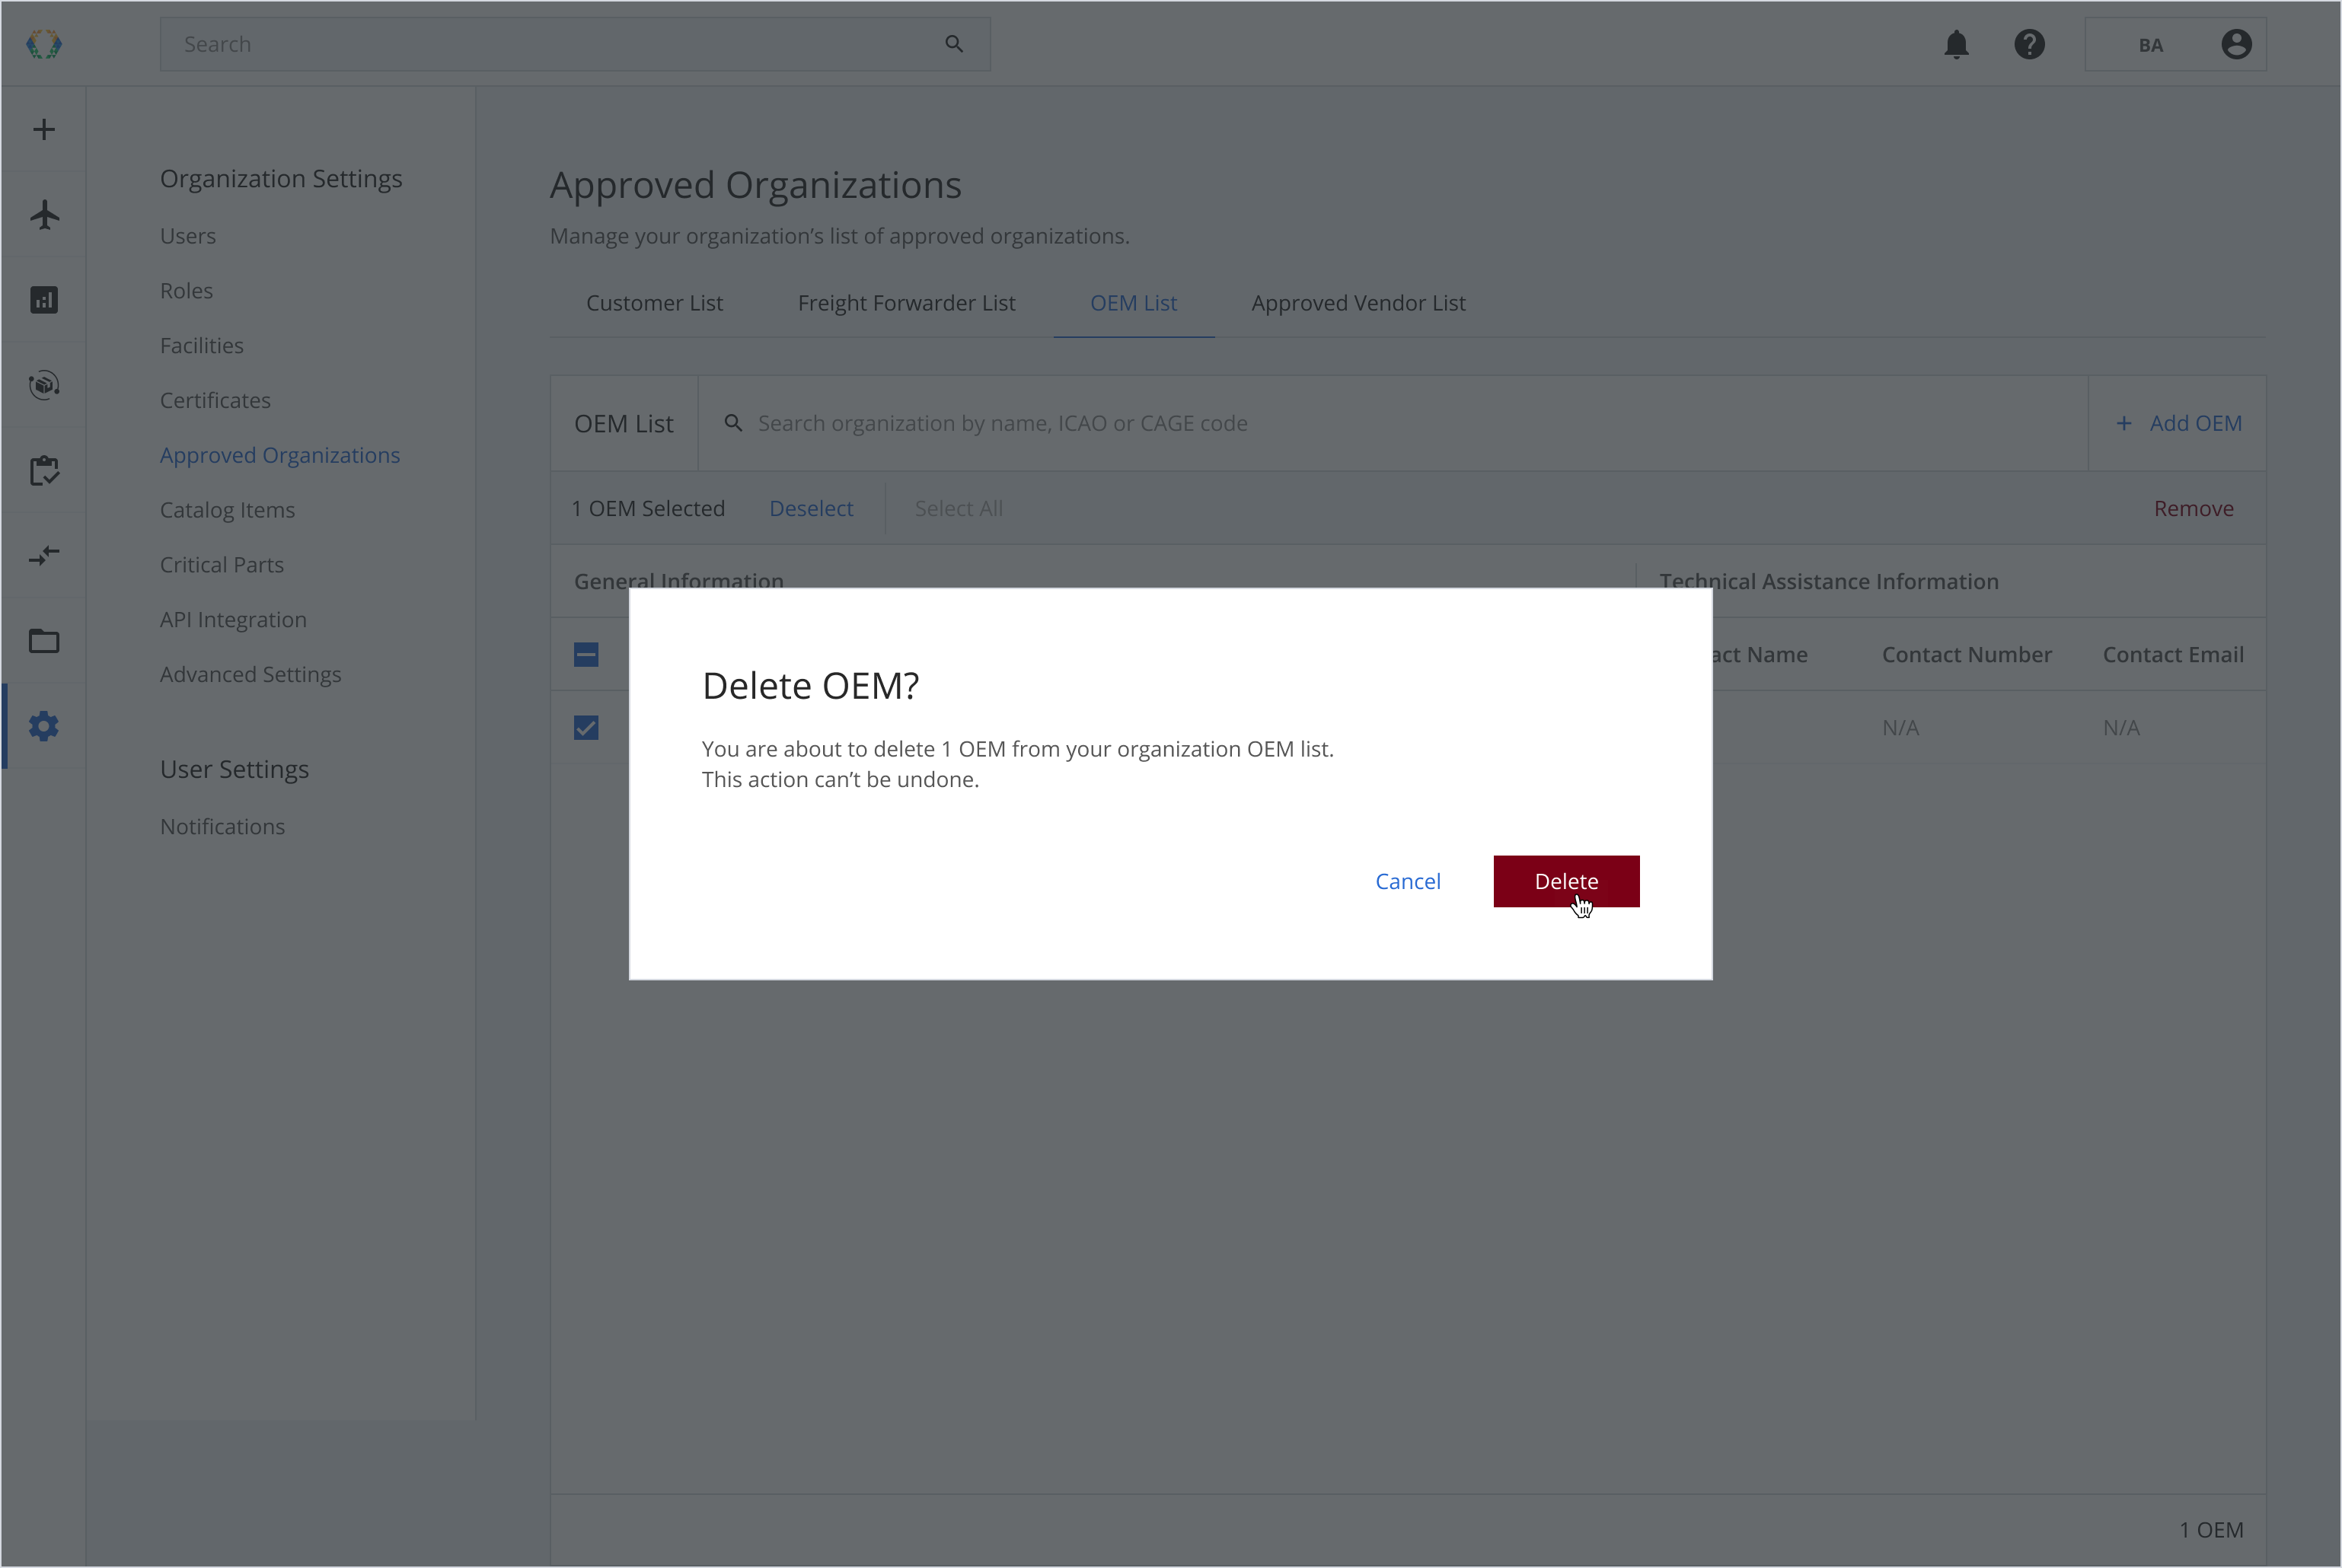
Delete OEM
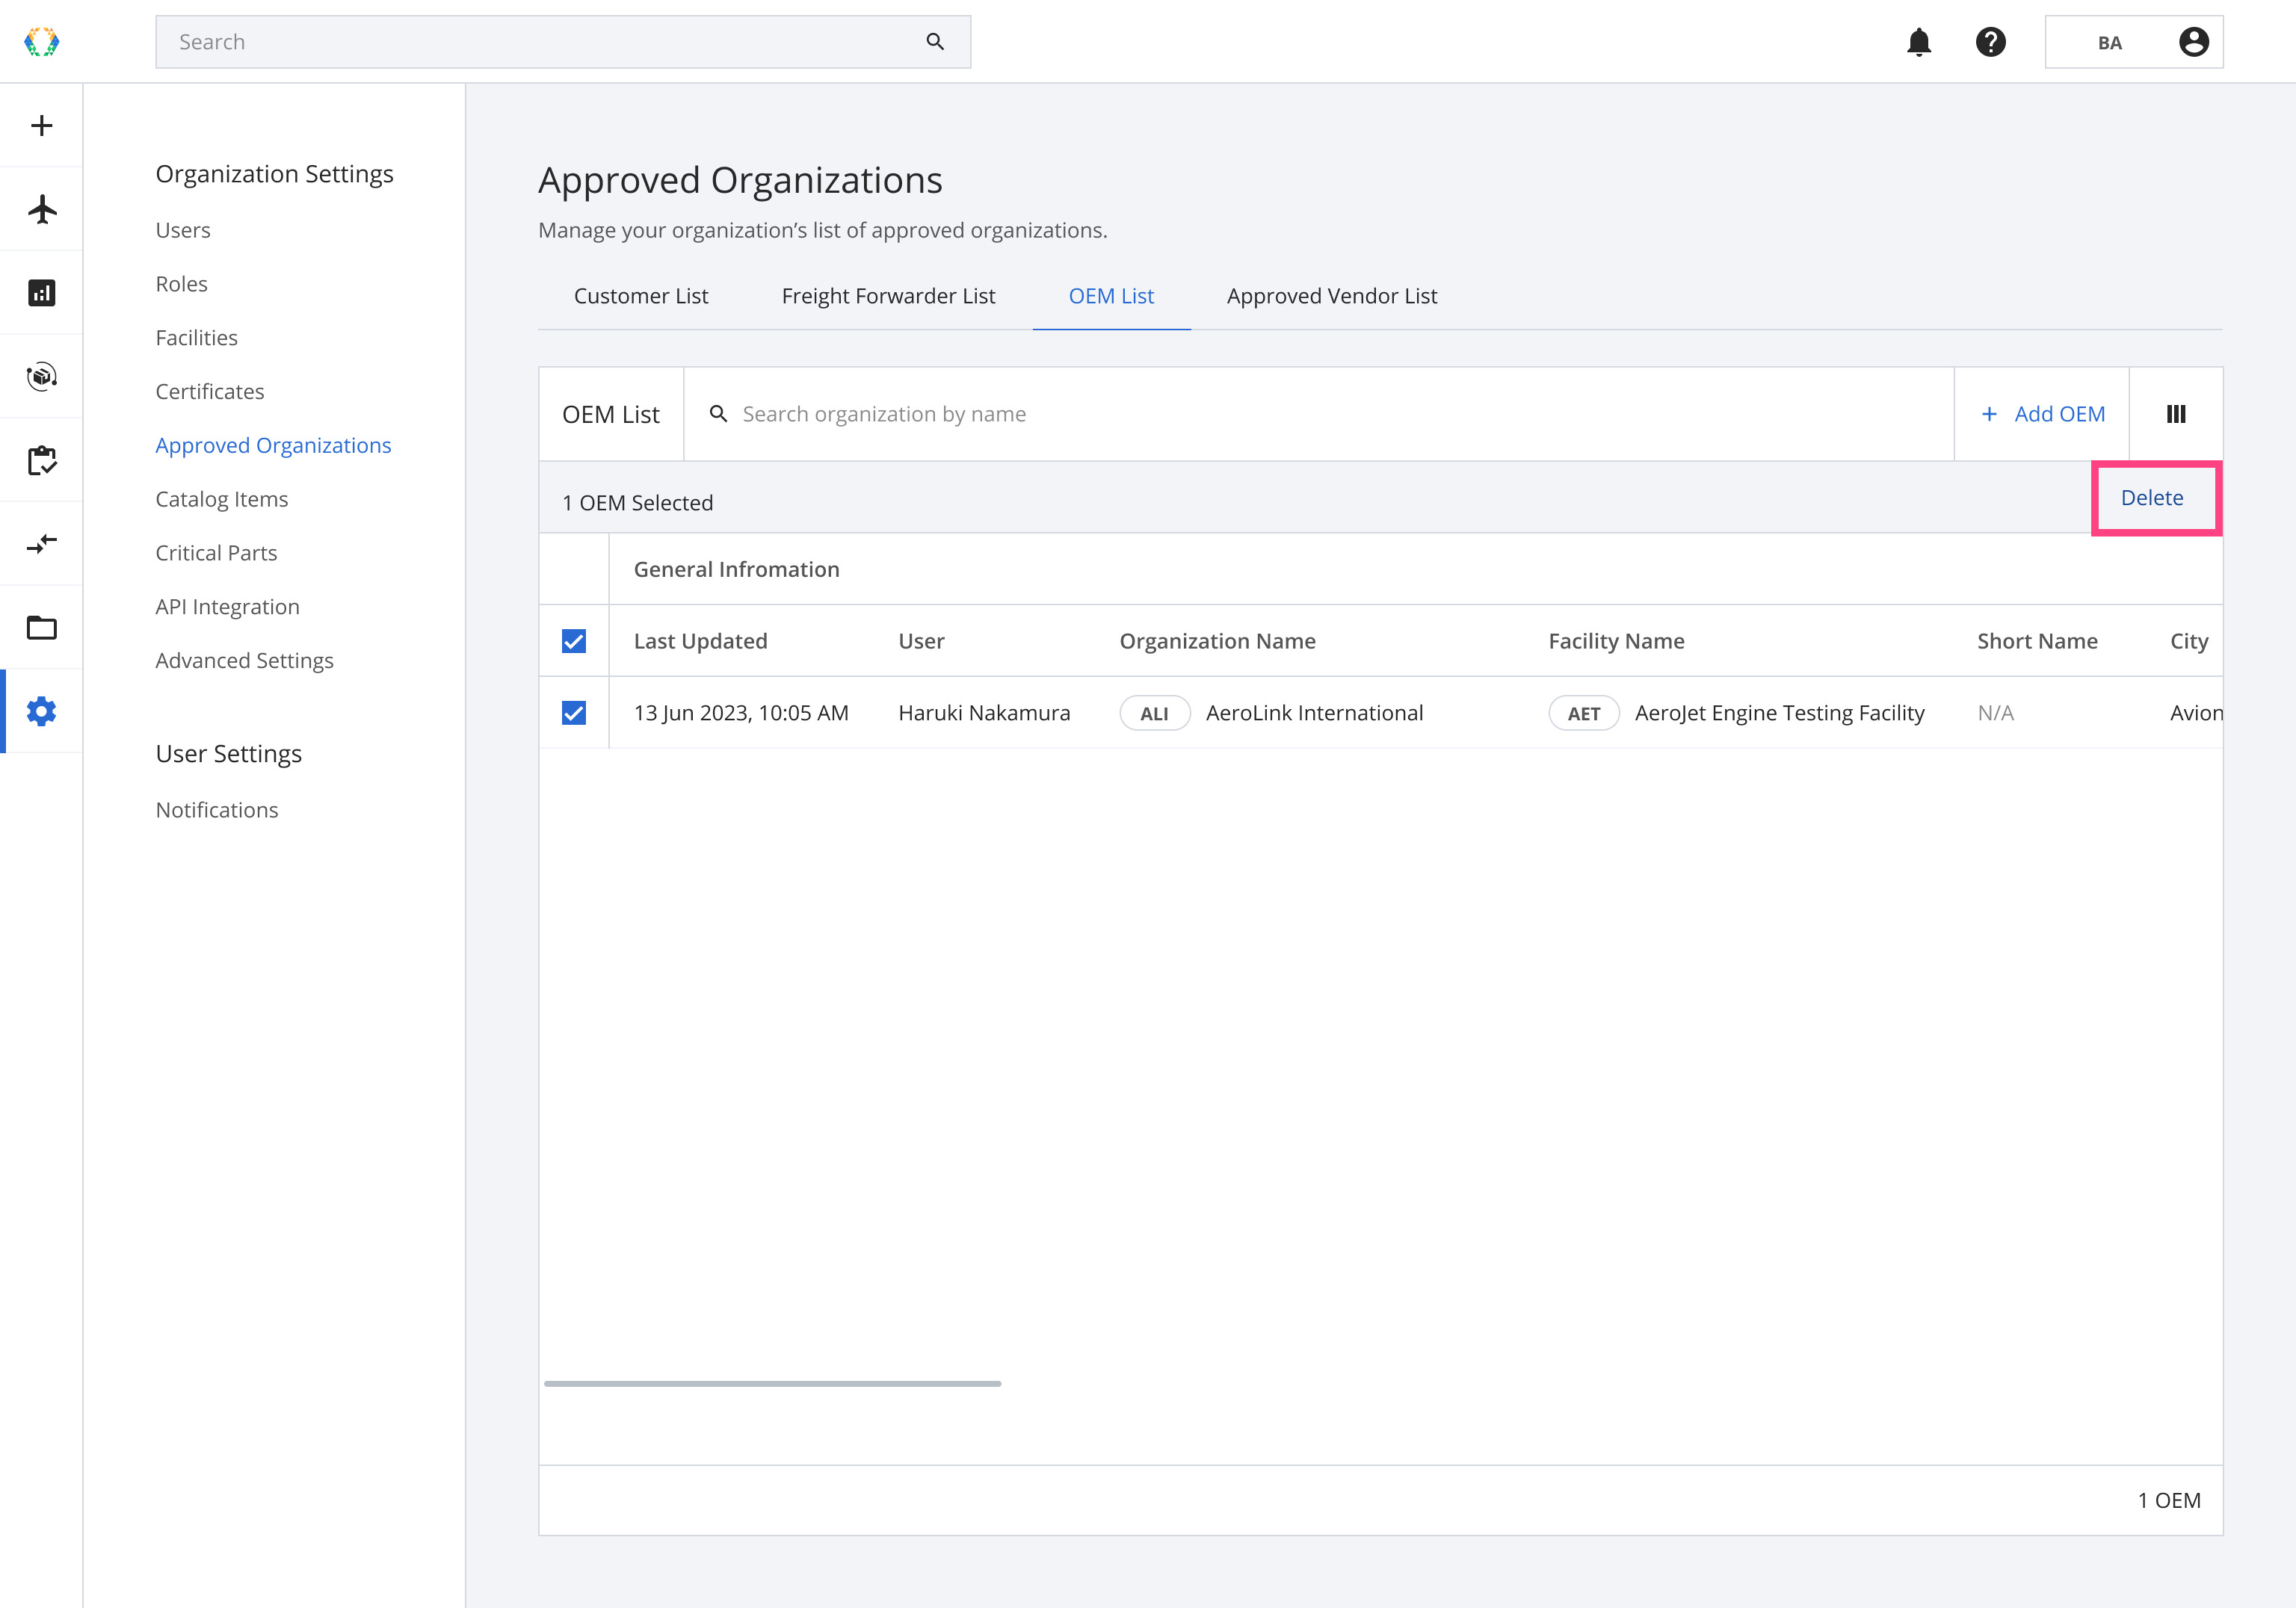
Step 1: From the OEM list, select the OEM you want to delete.
Step 2: Click 'Delete'.
Step 3: A confirmation message will appear, click 'Delete'.
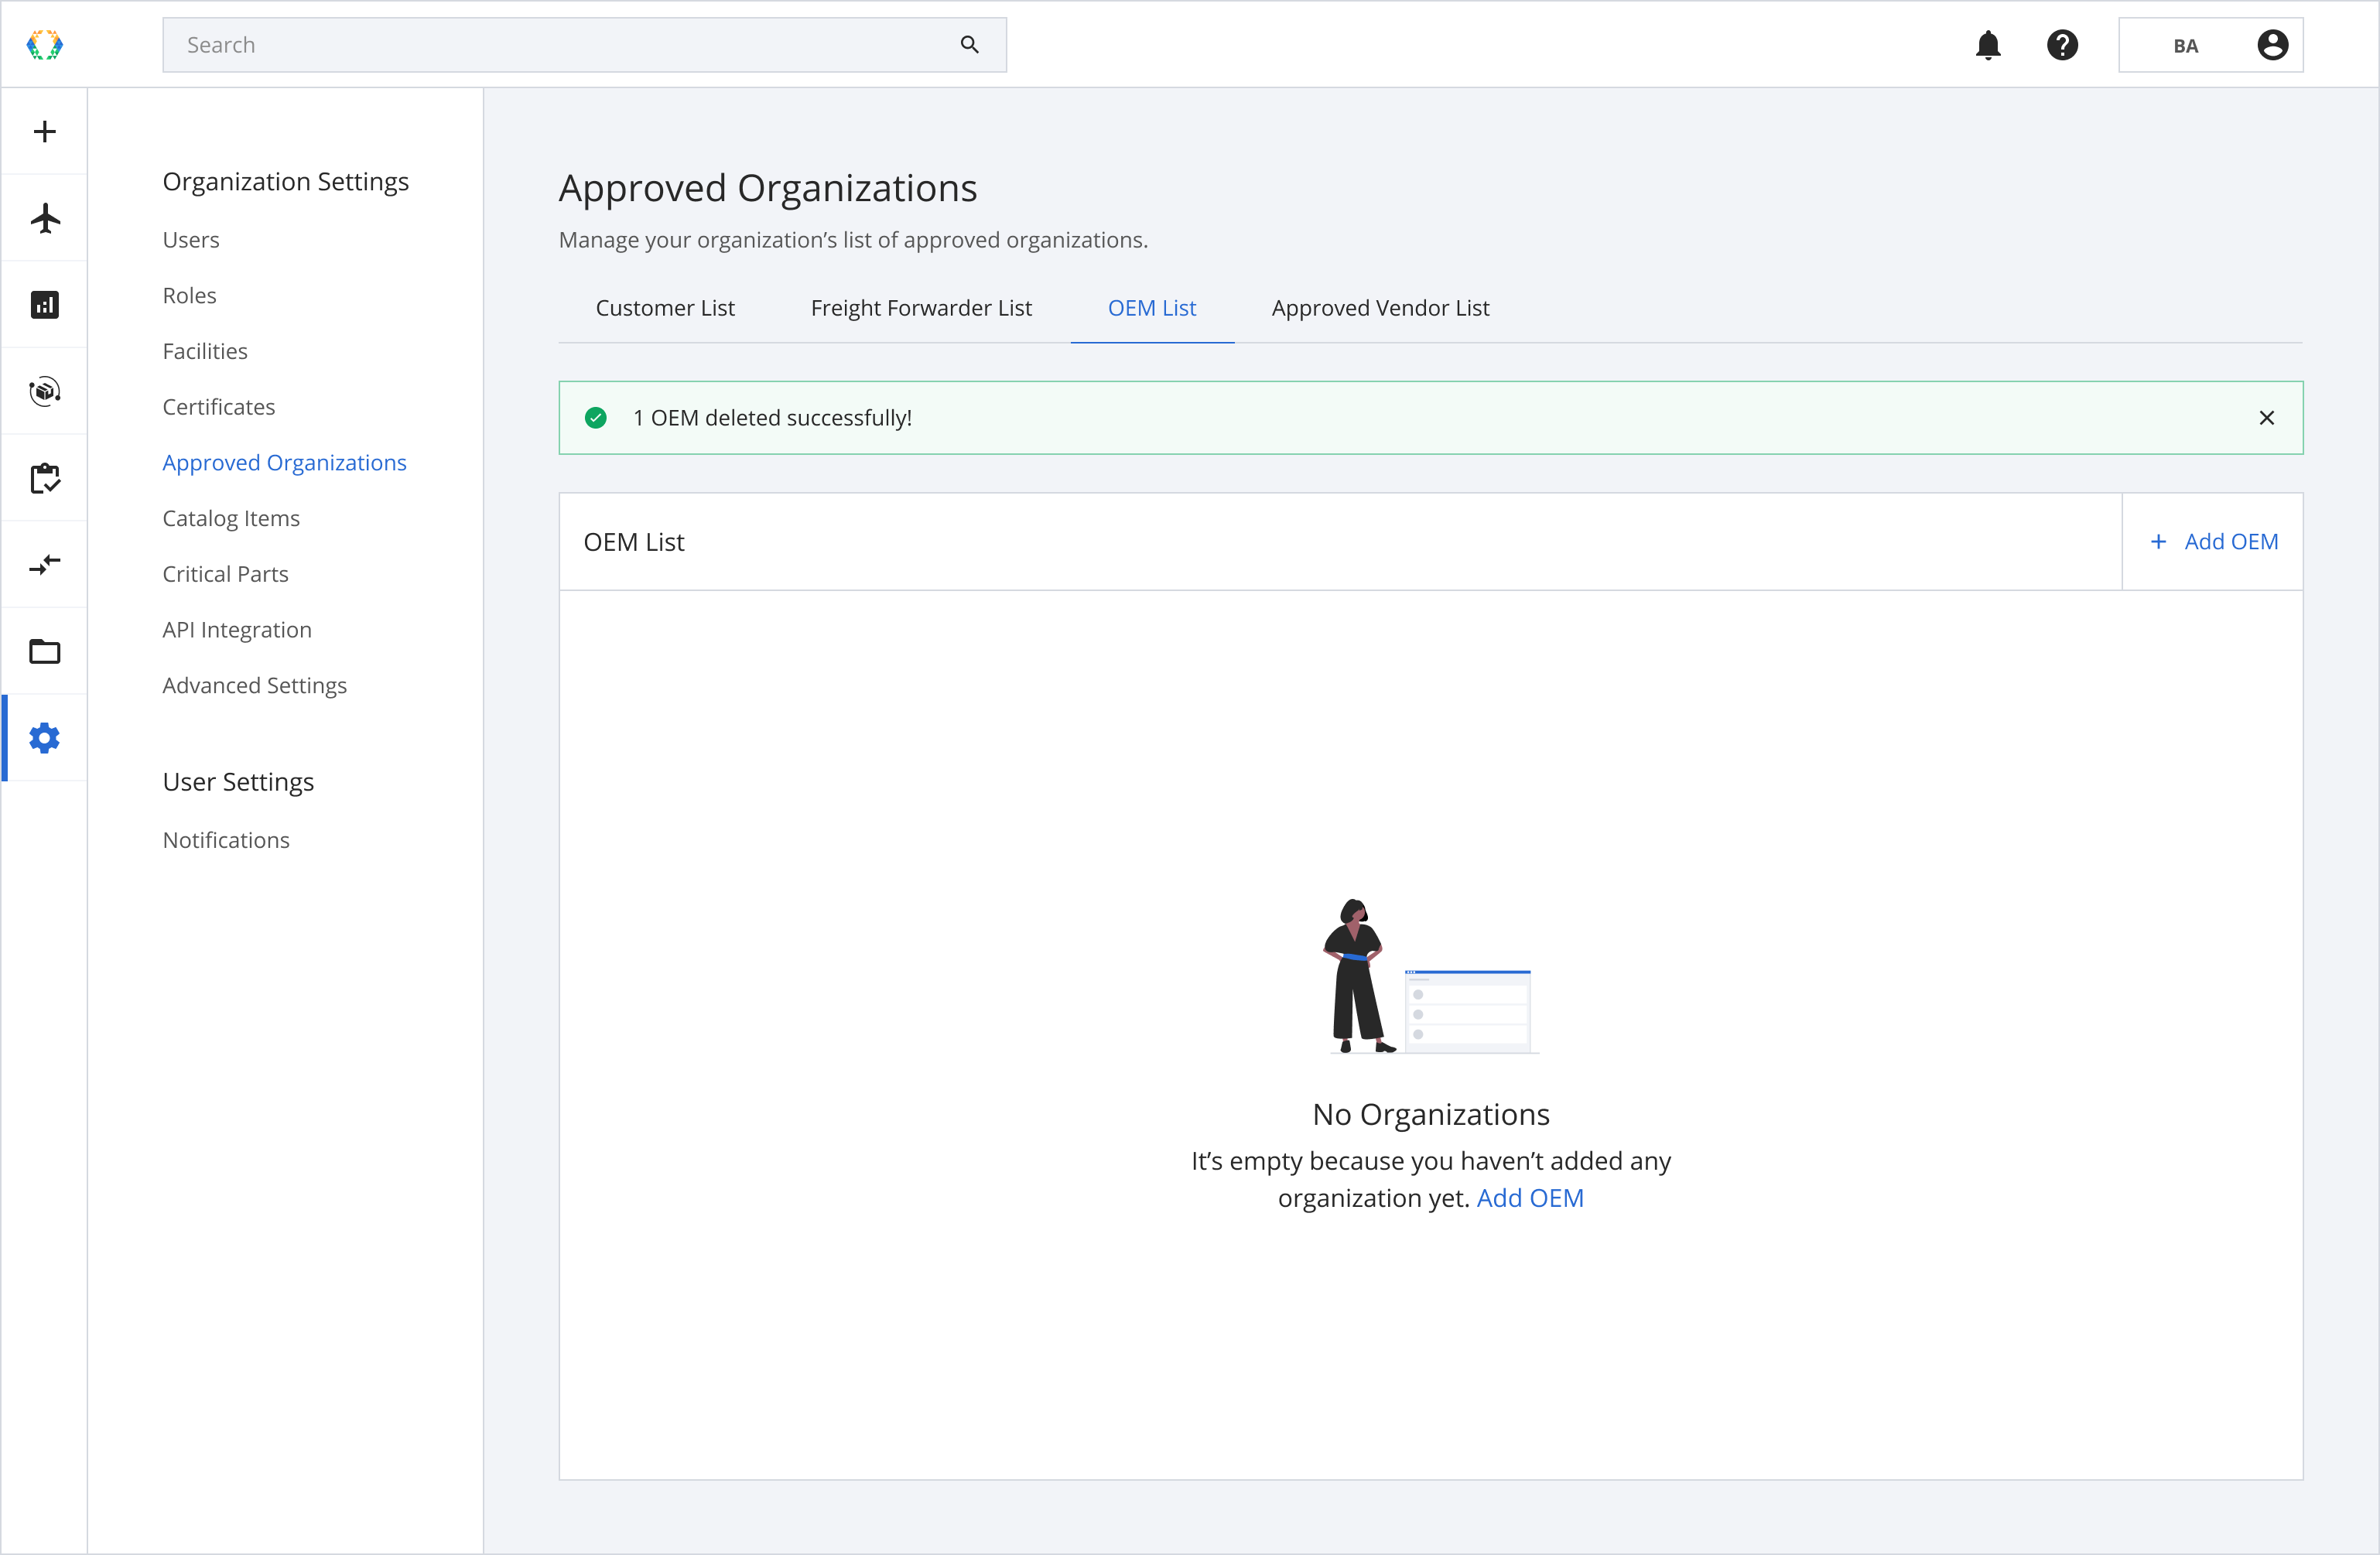
Once the OEM has been removed successfully, a green banner will appear on the top of the OEM list.
Updated 5 months ago