Roles Management
Getting Started
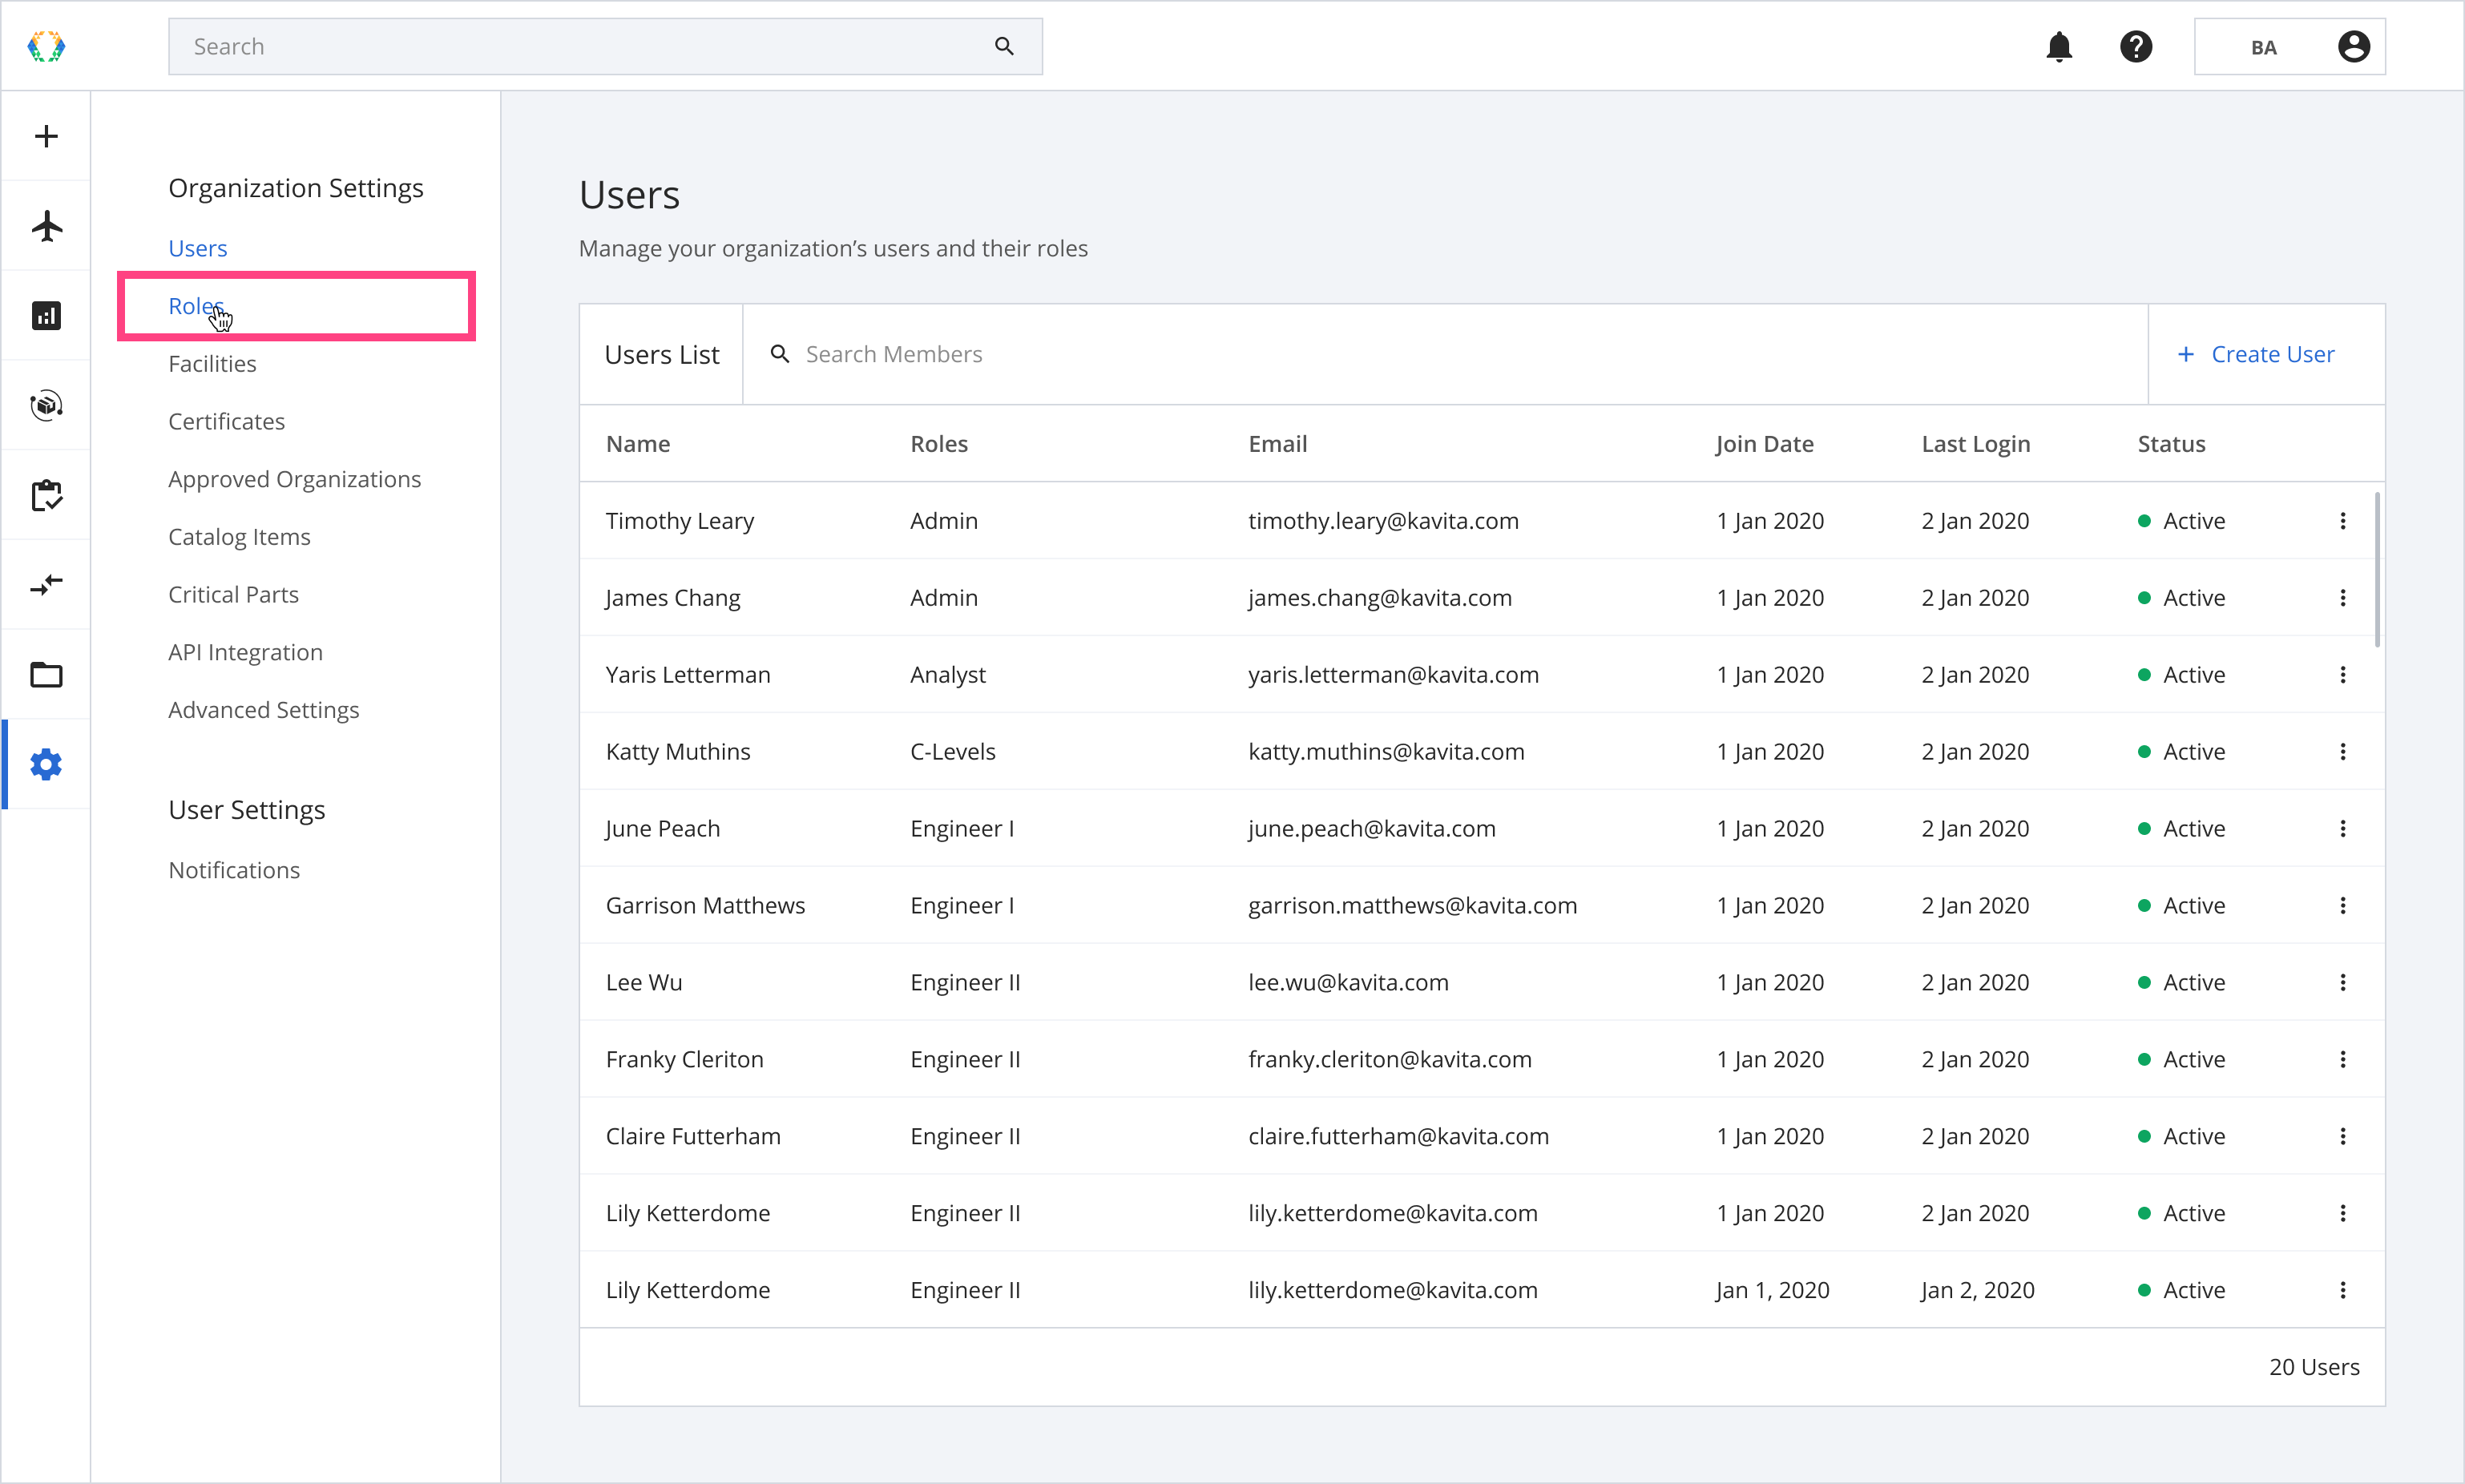
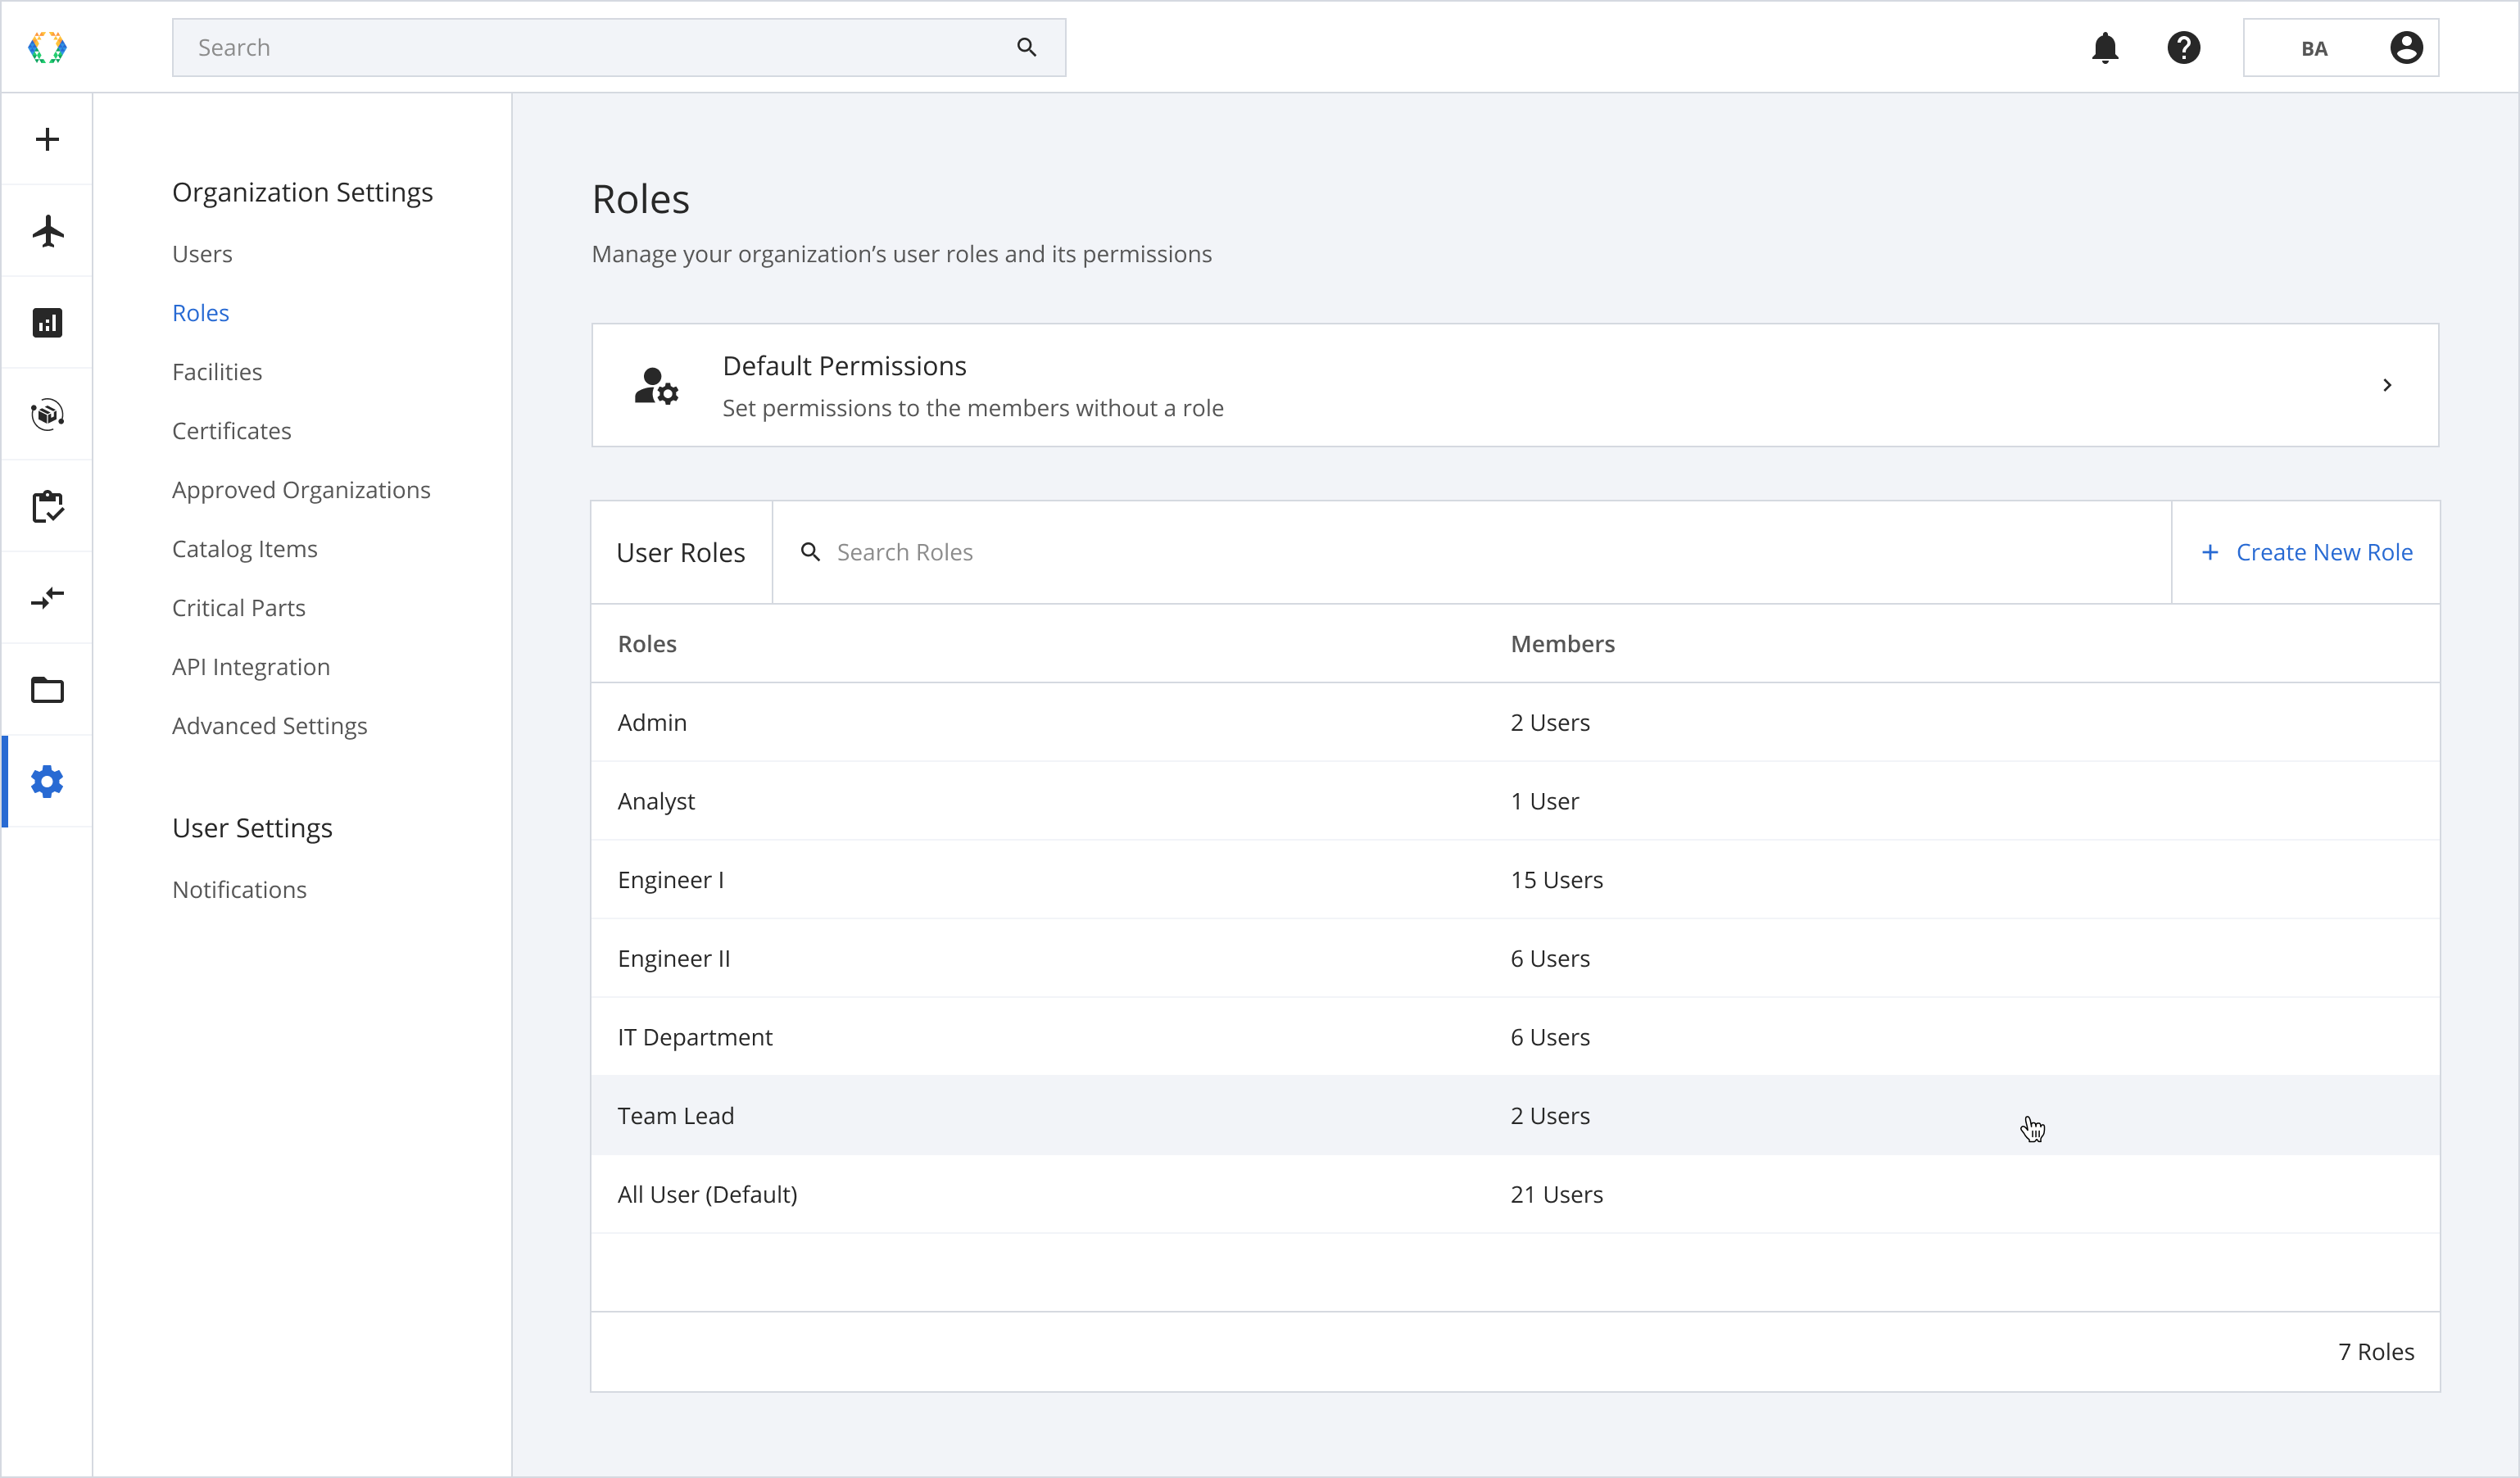
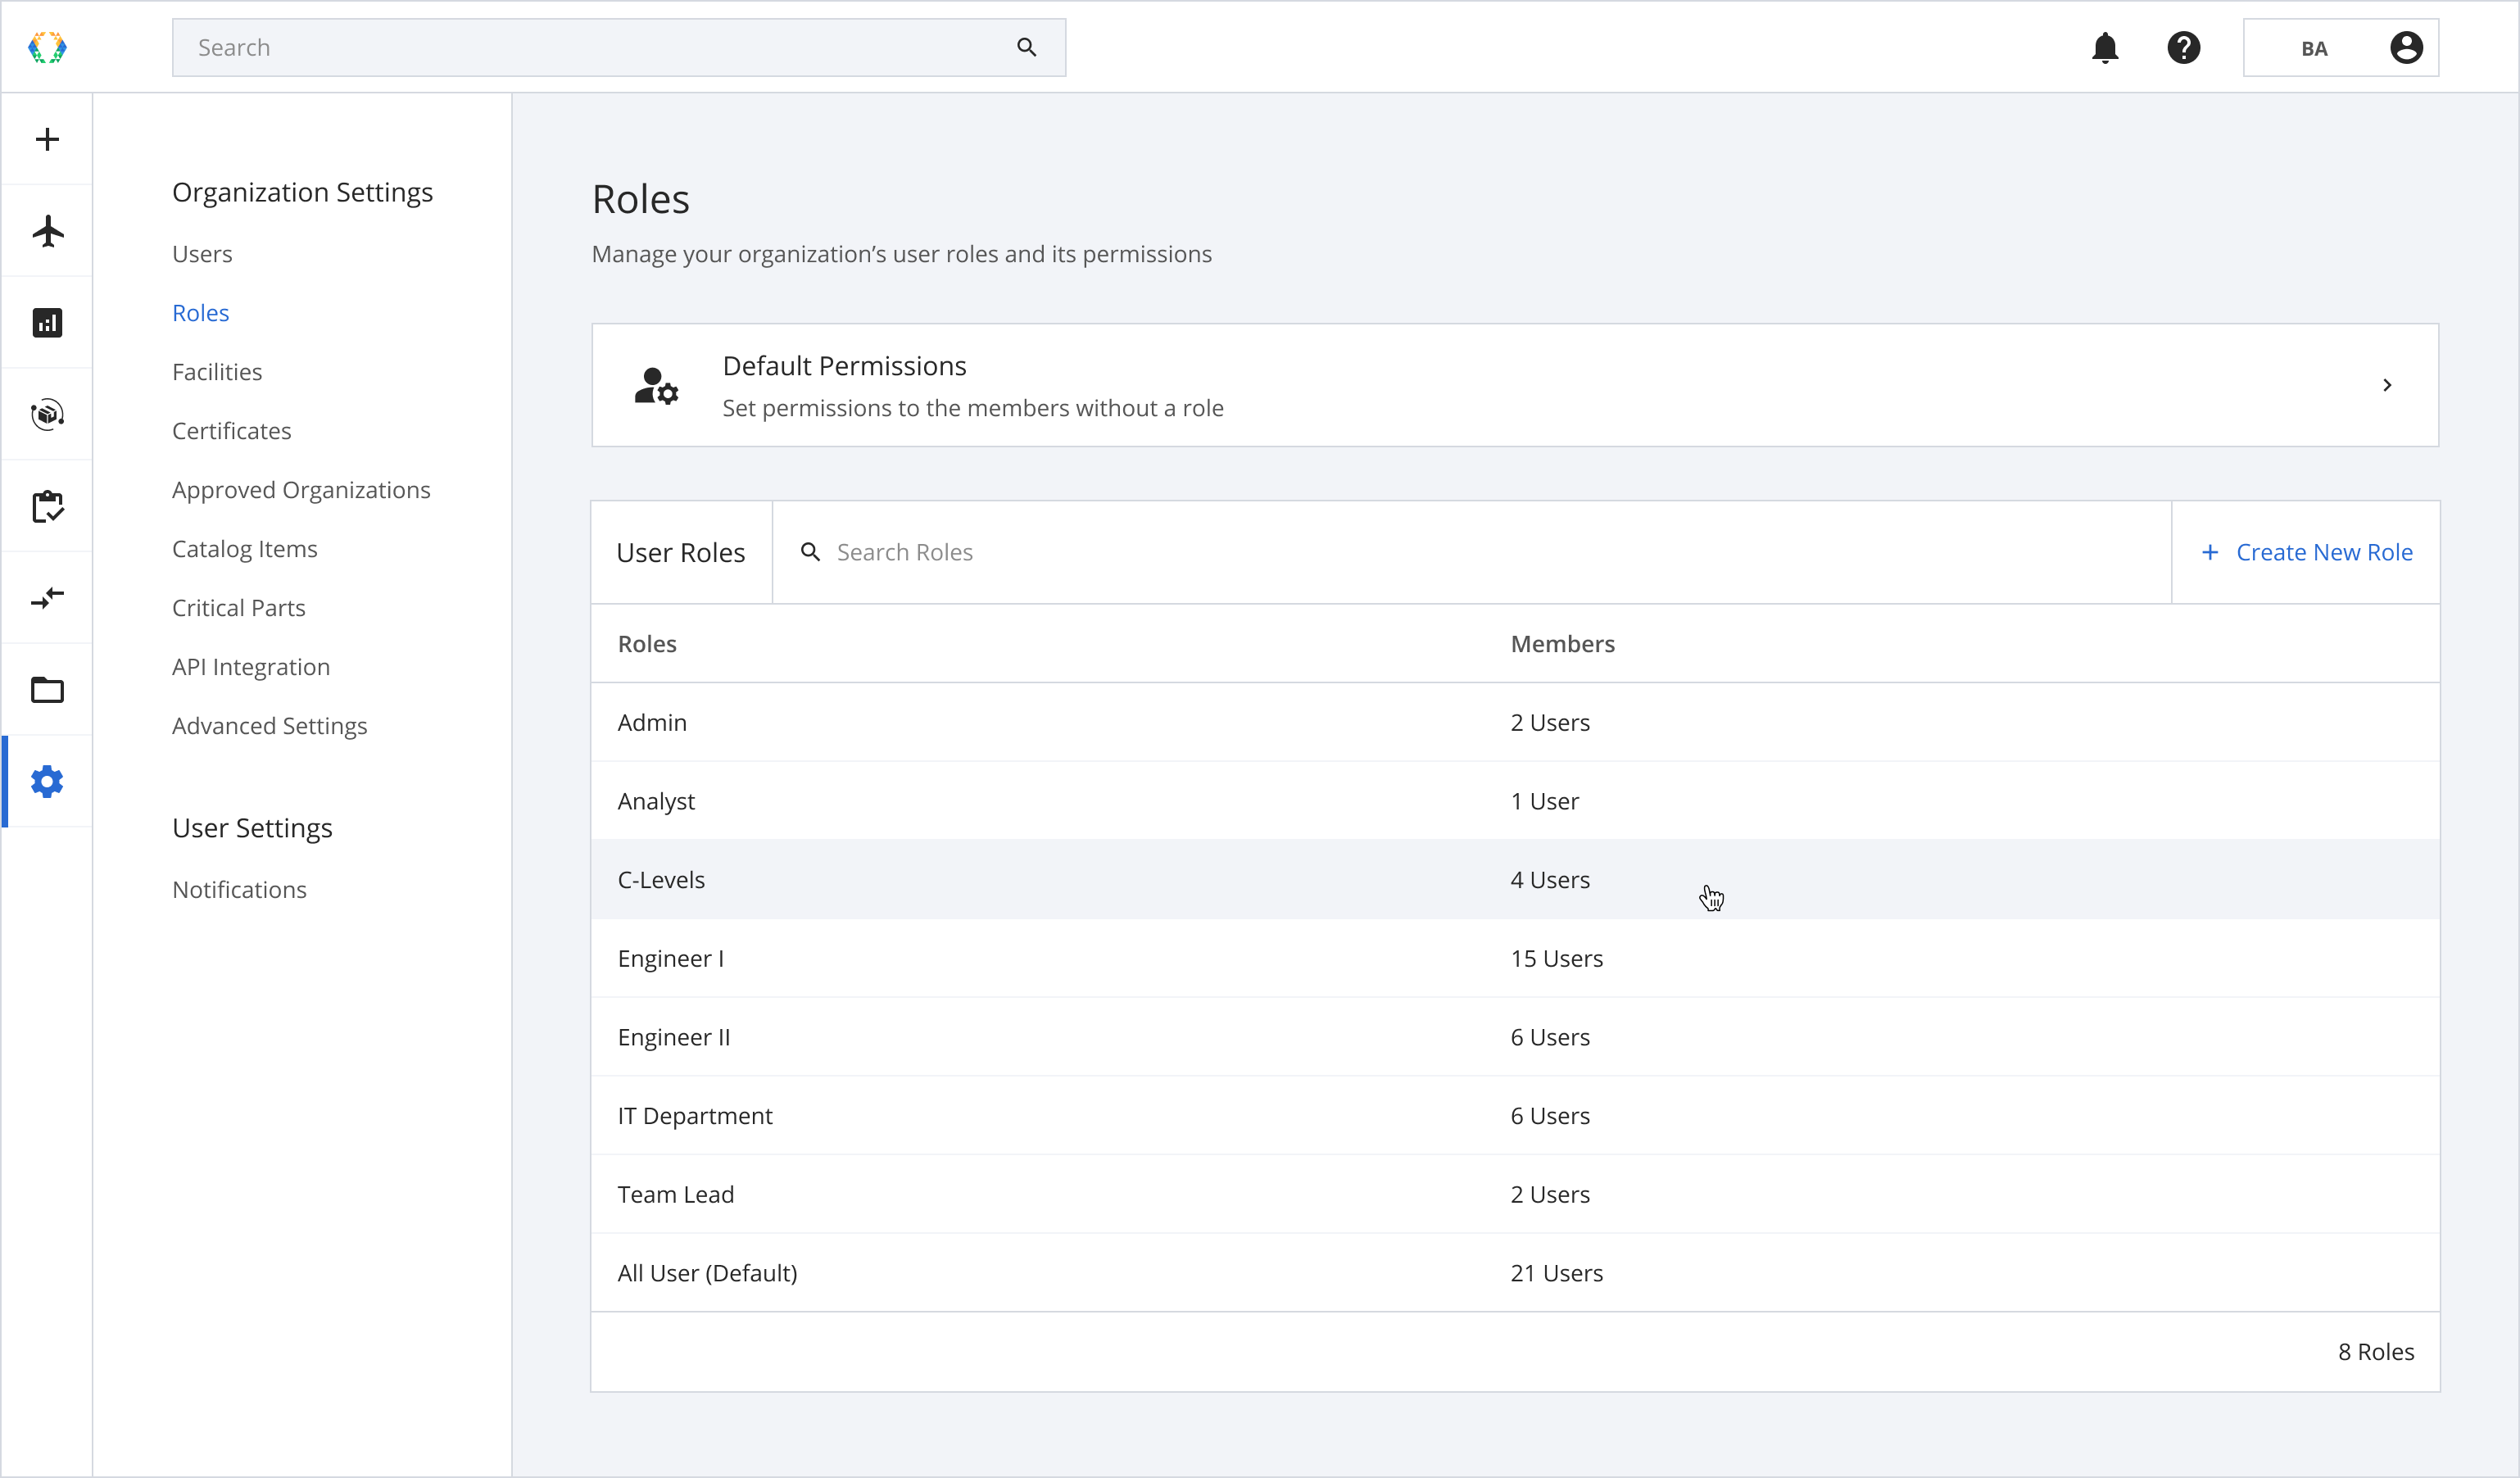
To manage your organization’s user roles and permissions, click on the Settings module and the 'Roles' section.
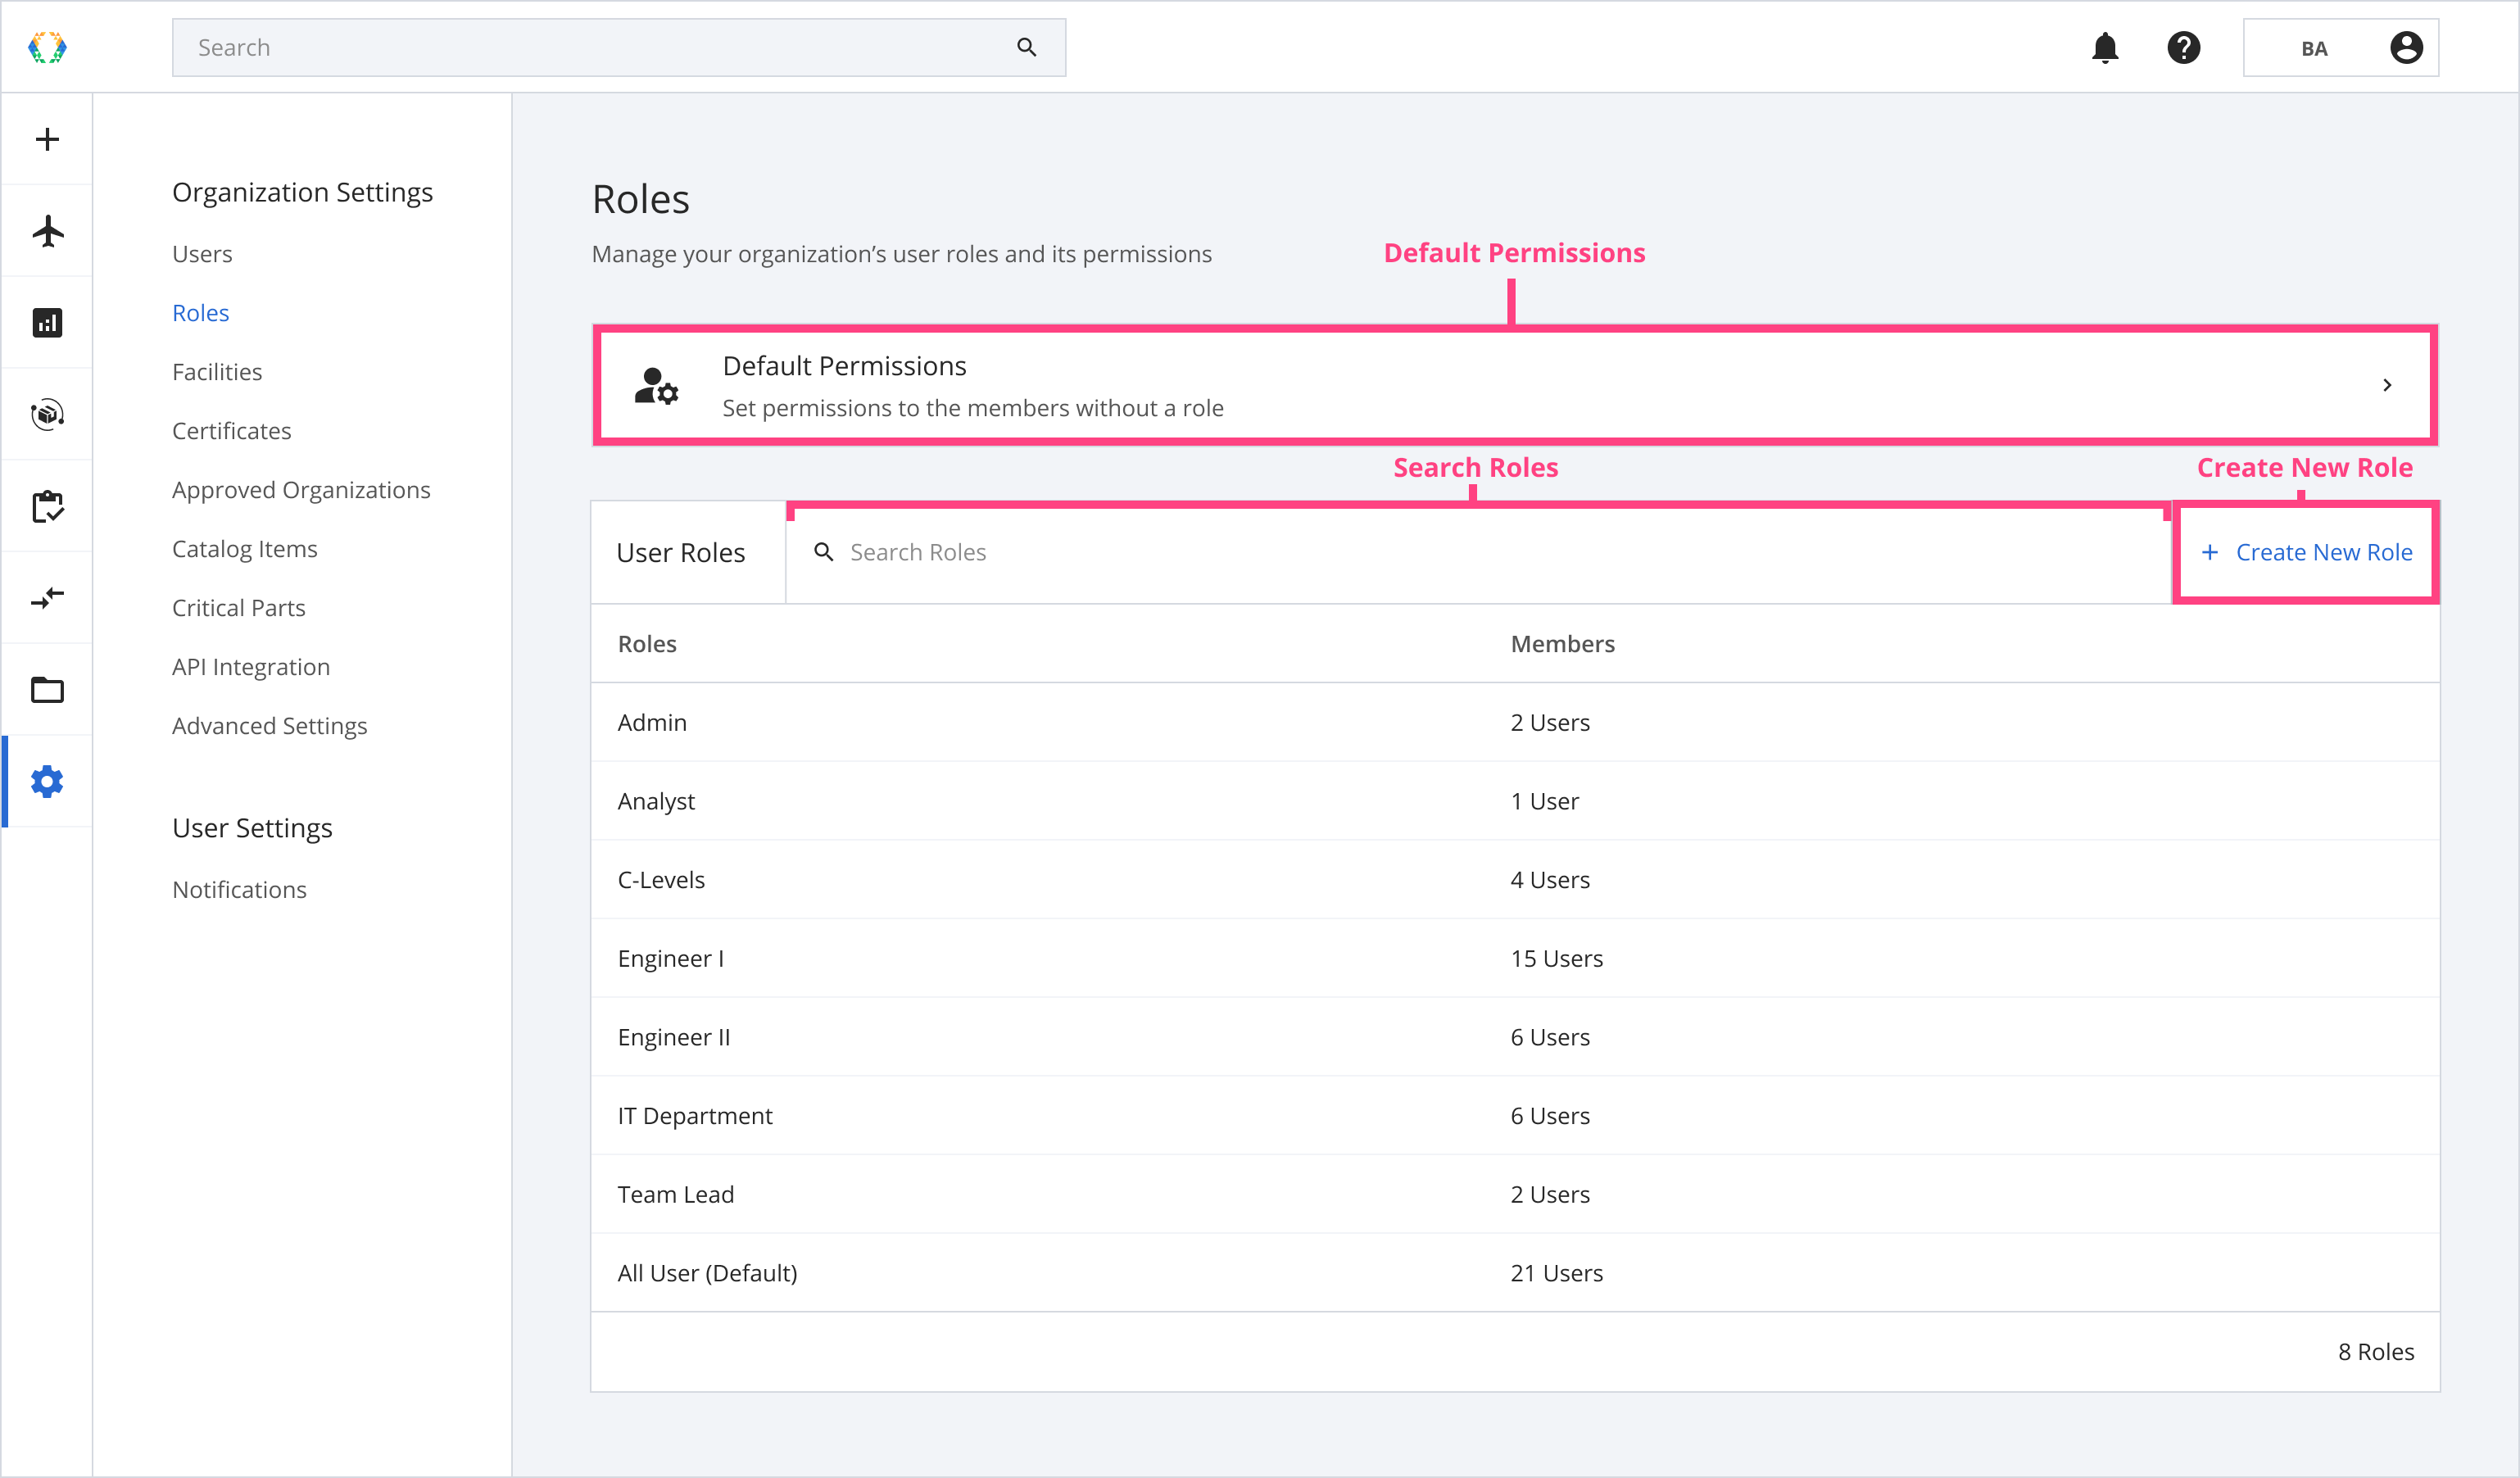
Roles Layout
Searching on the User Roles List
The search bar on the User Roles List allows you to search for User Roles within your organization.
| Searchable Parameters |
|---|
| Roles |
| Number of Members |
Create New Role
You can create and assign roles to members on the platform. Each member can have different access and permissions tailored to their job scope.
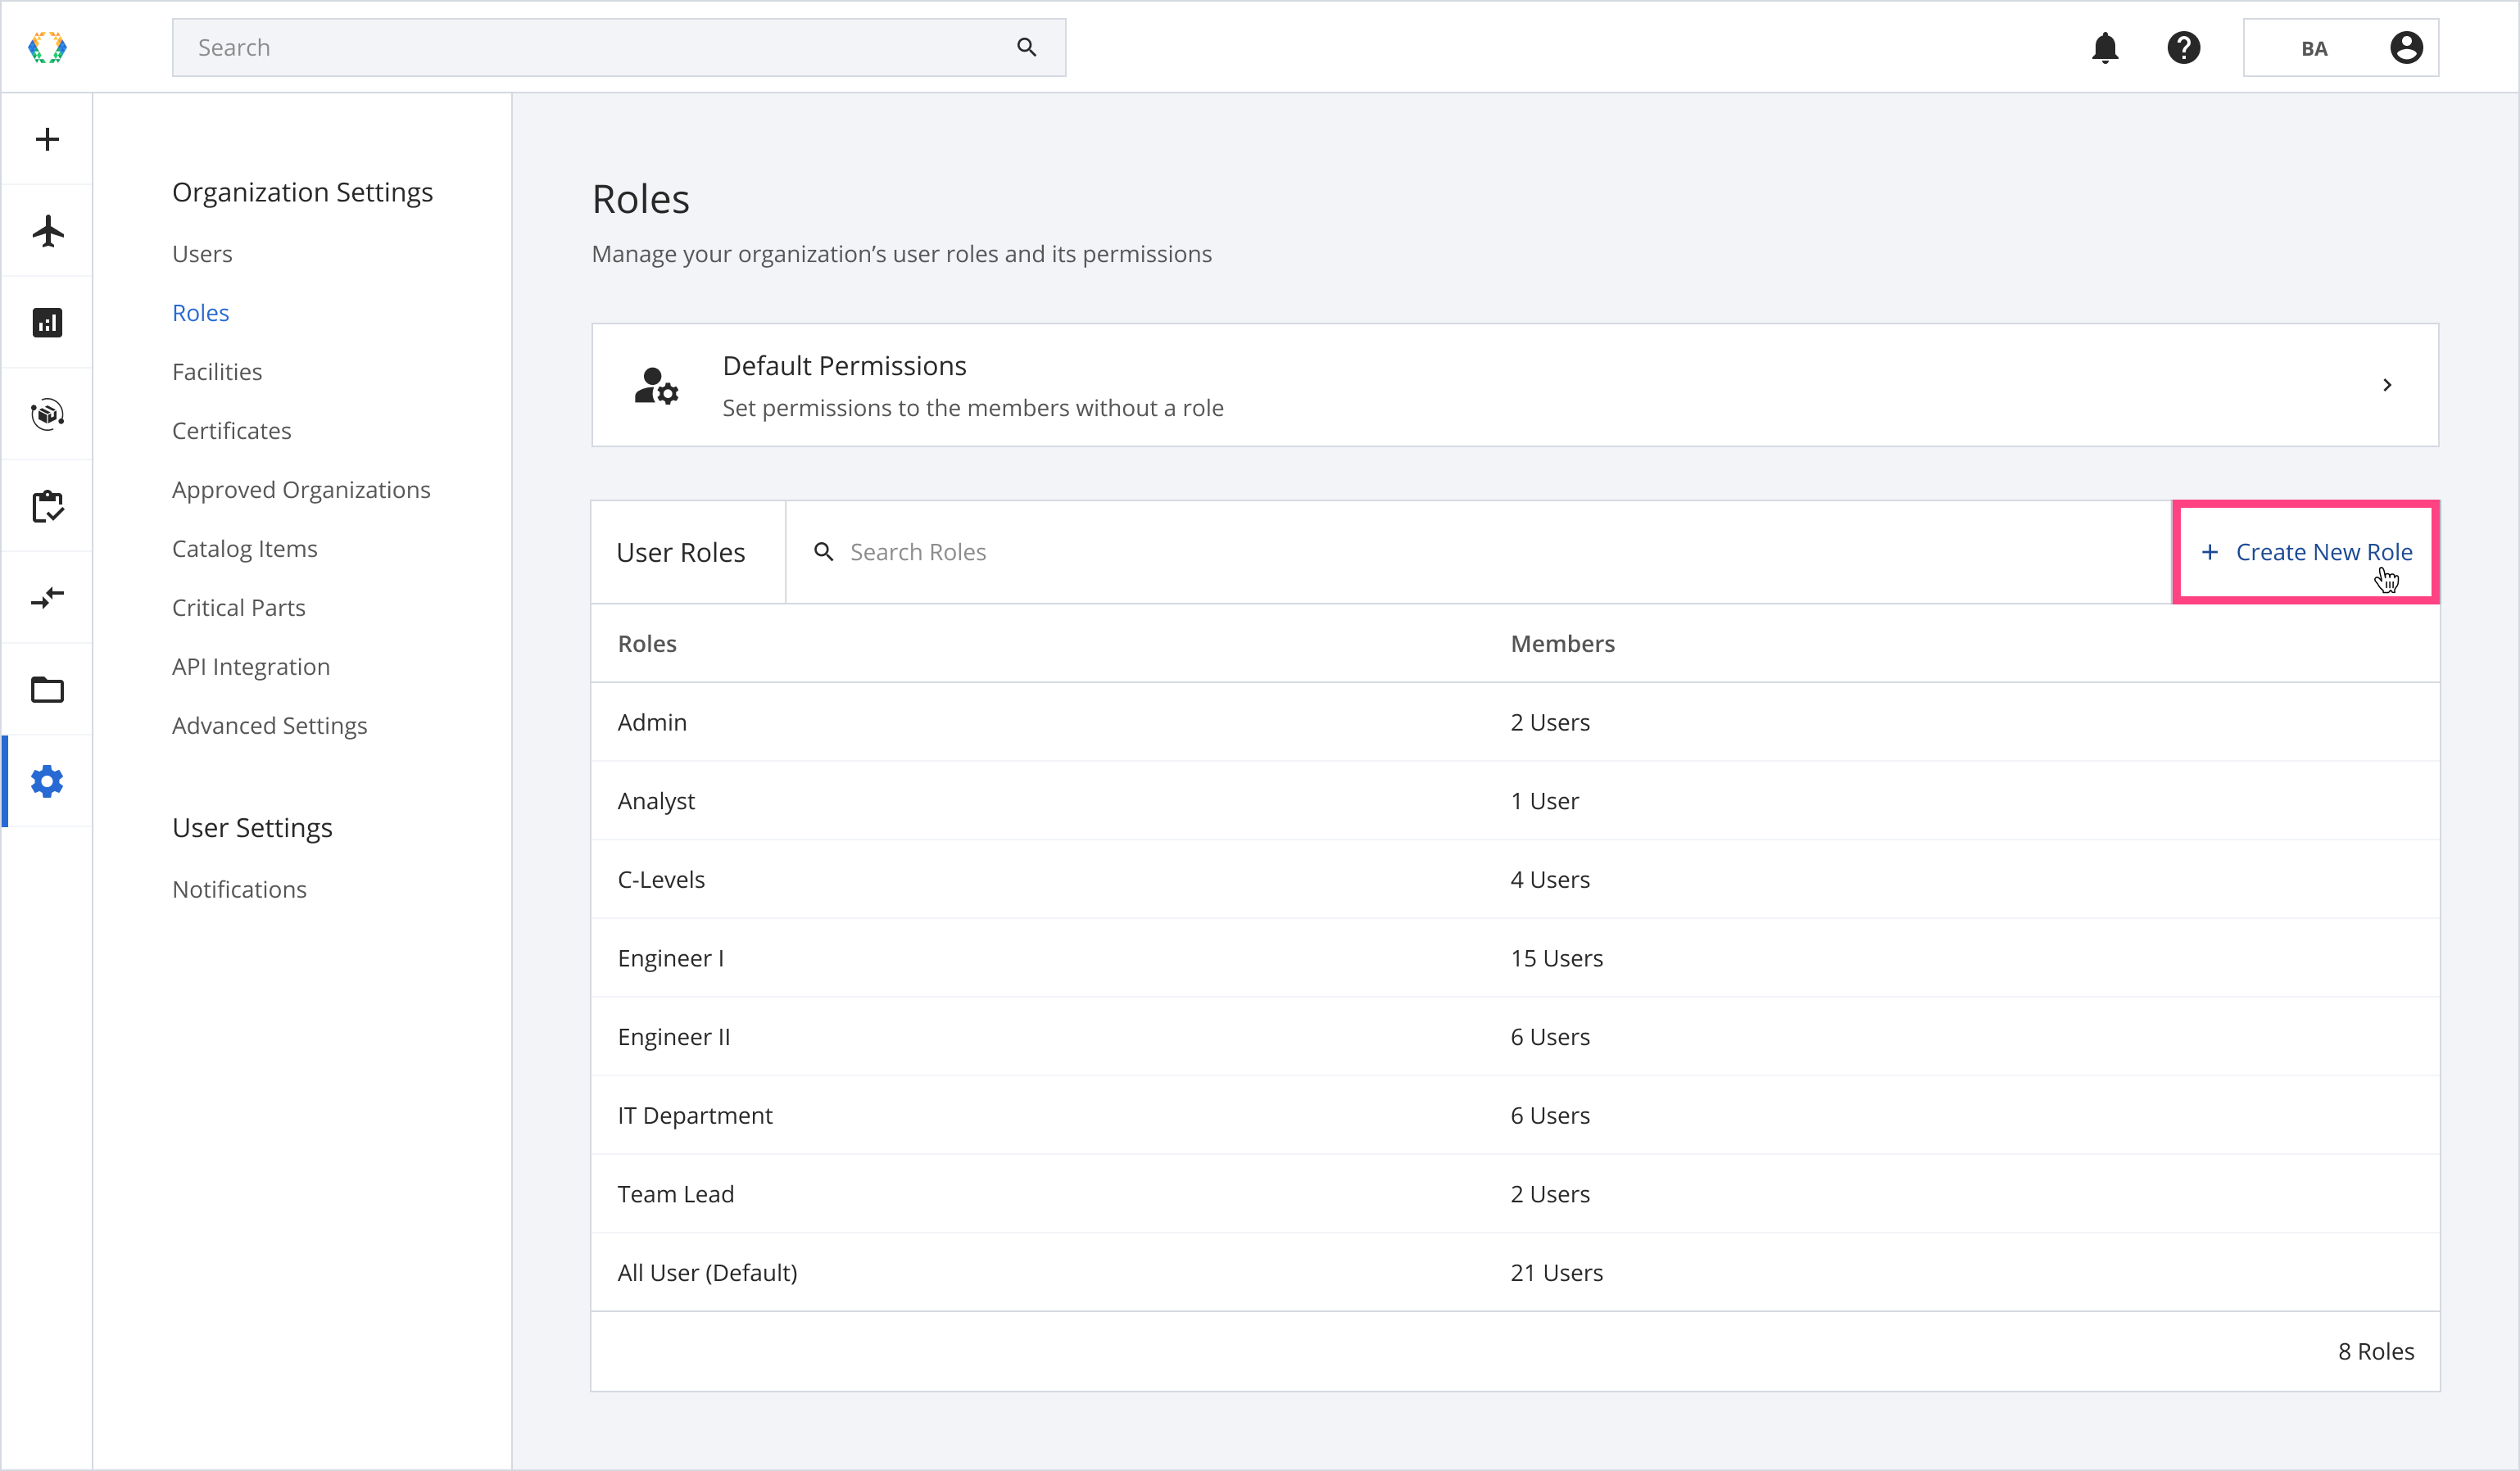
Step 1: From the user roles list, click 'Create New Role'.
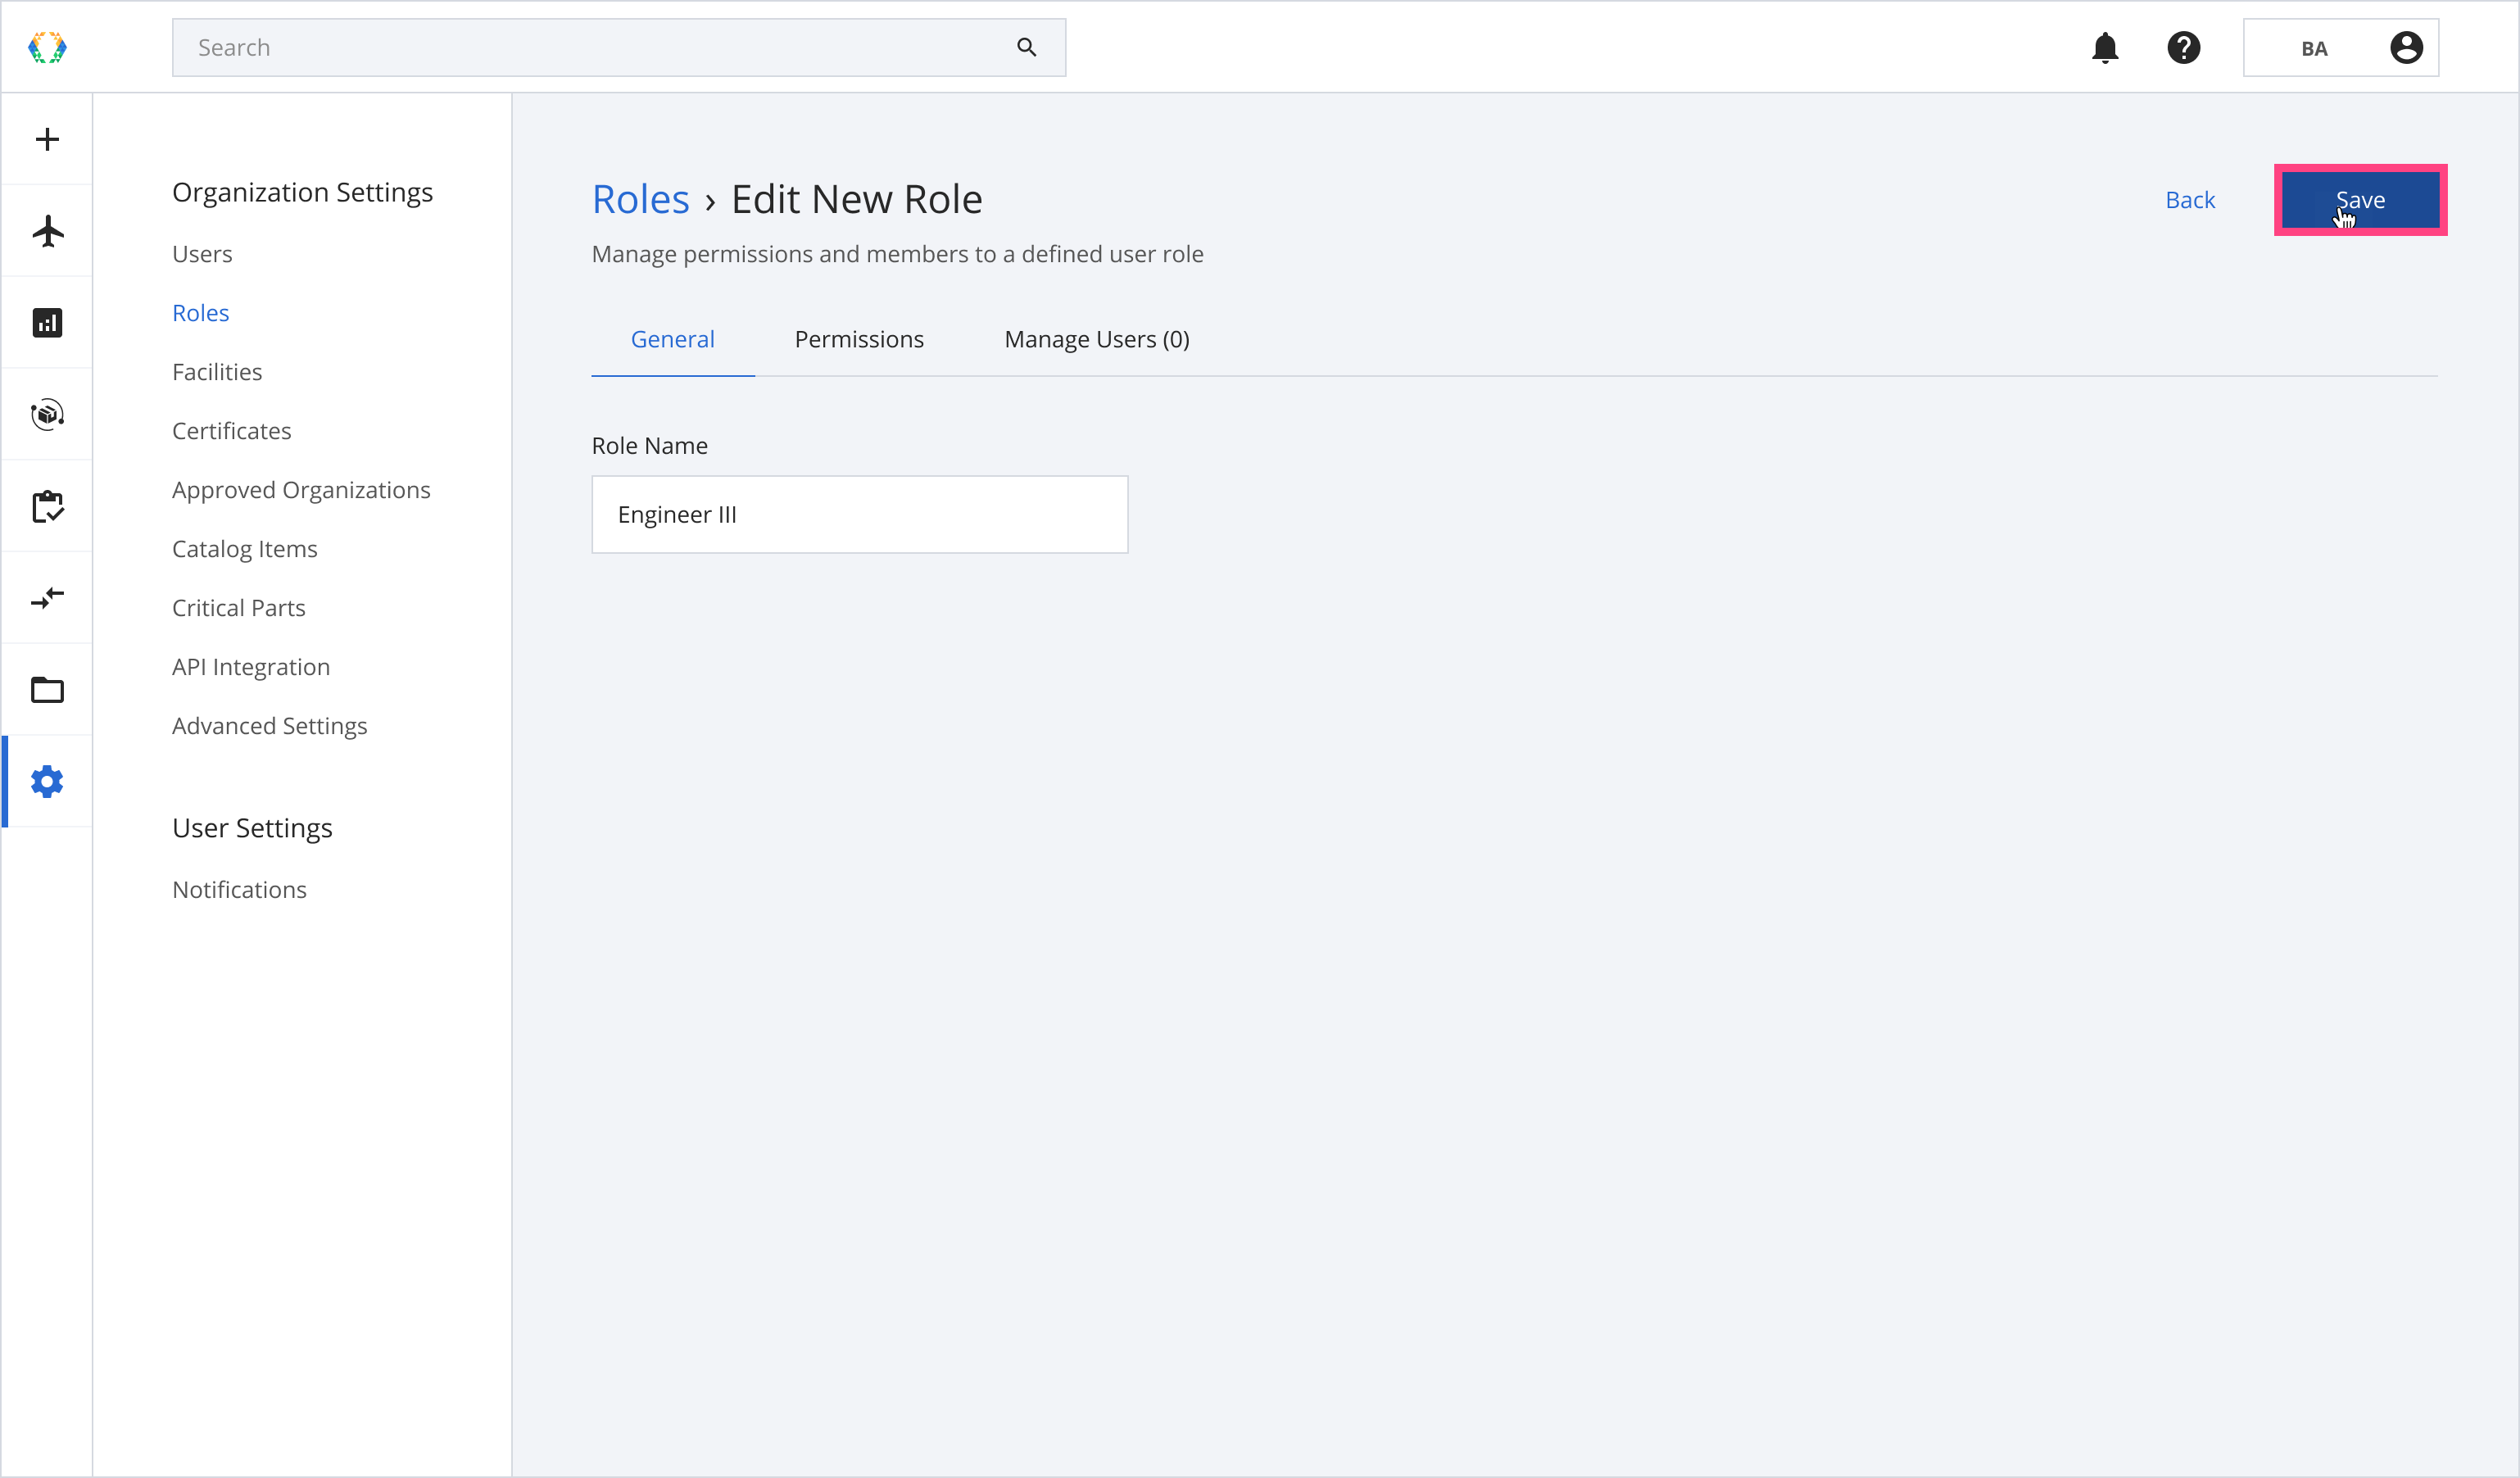
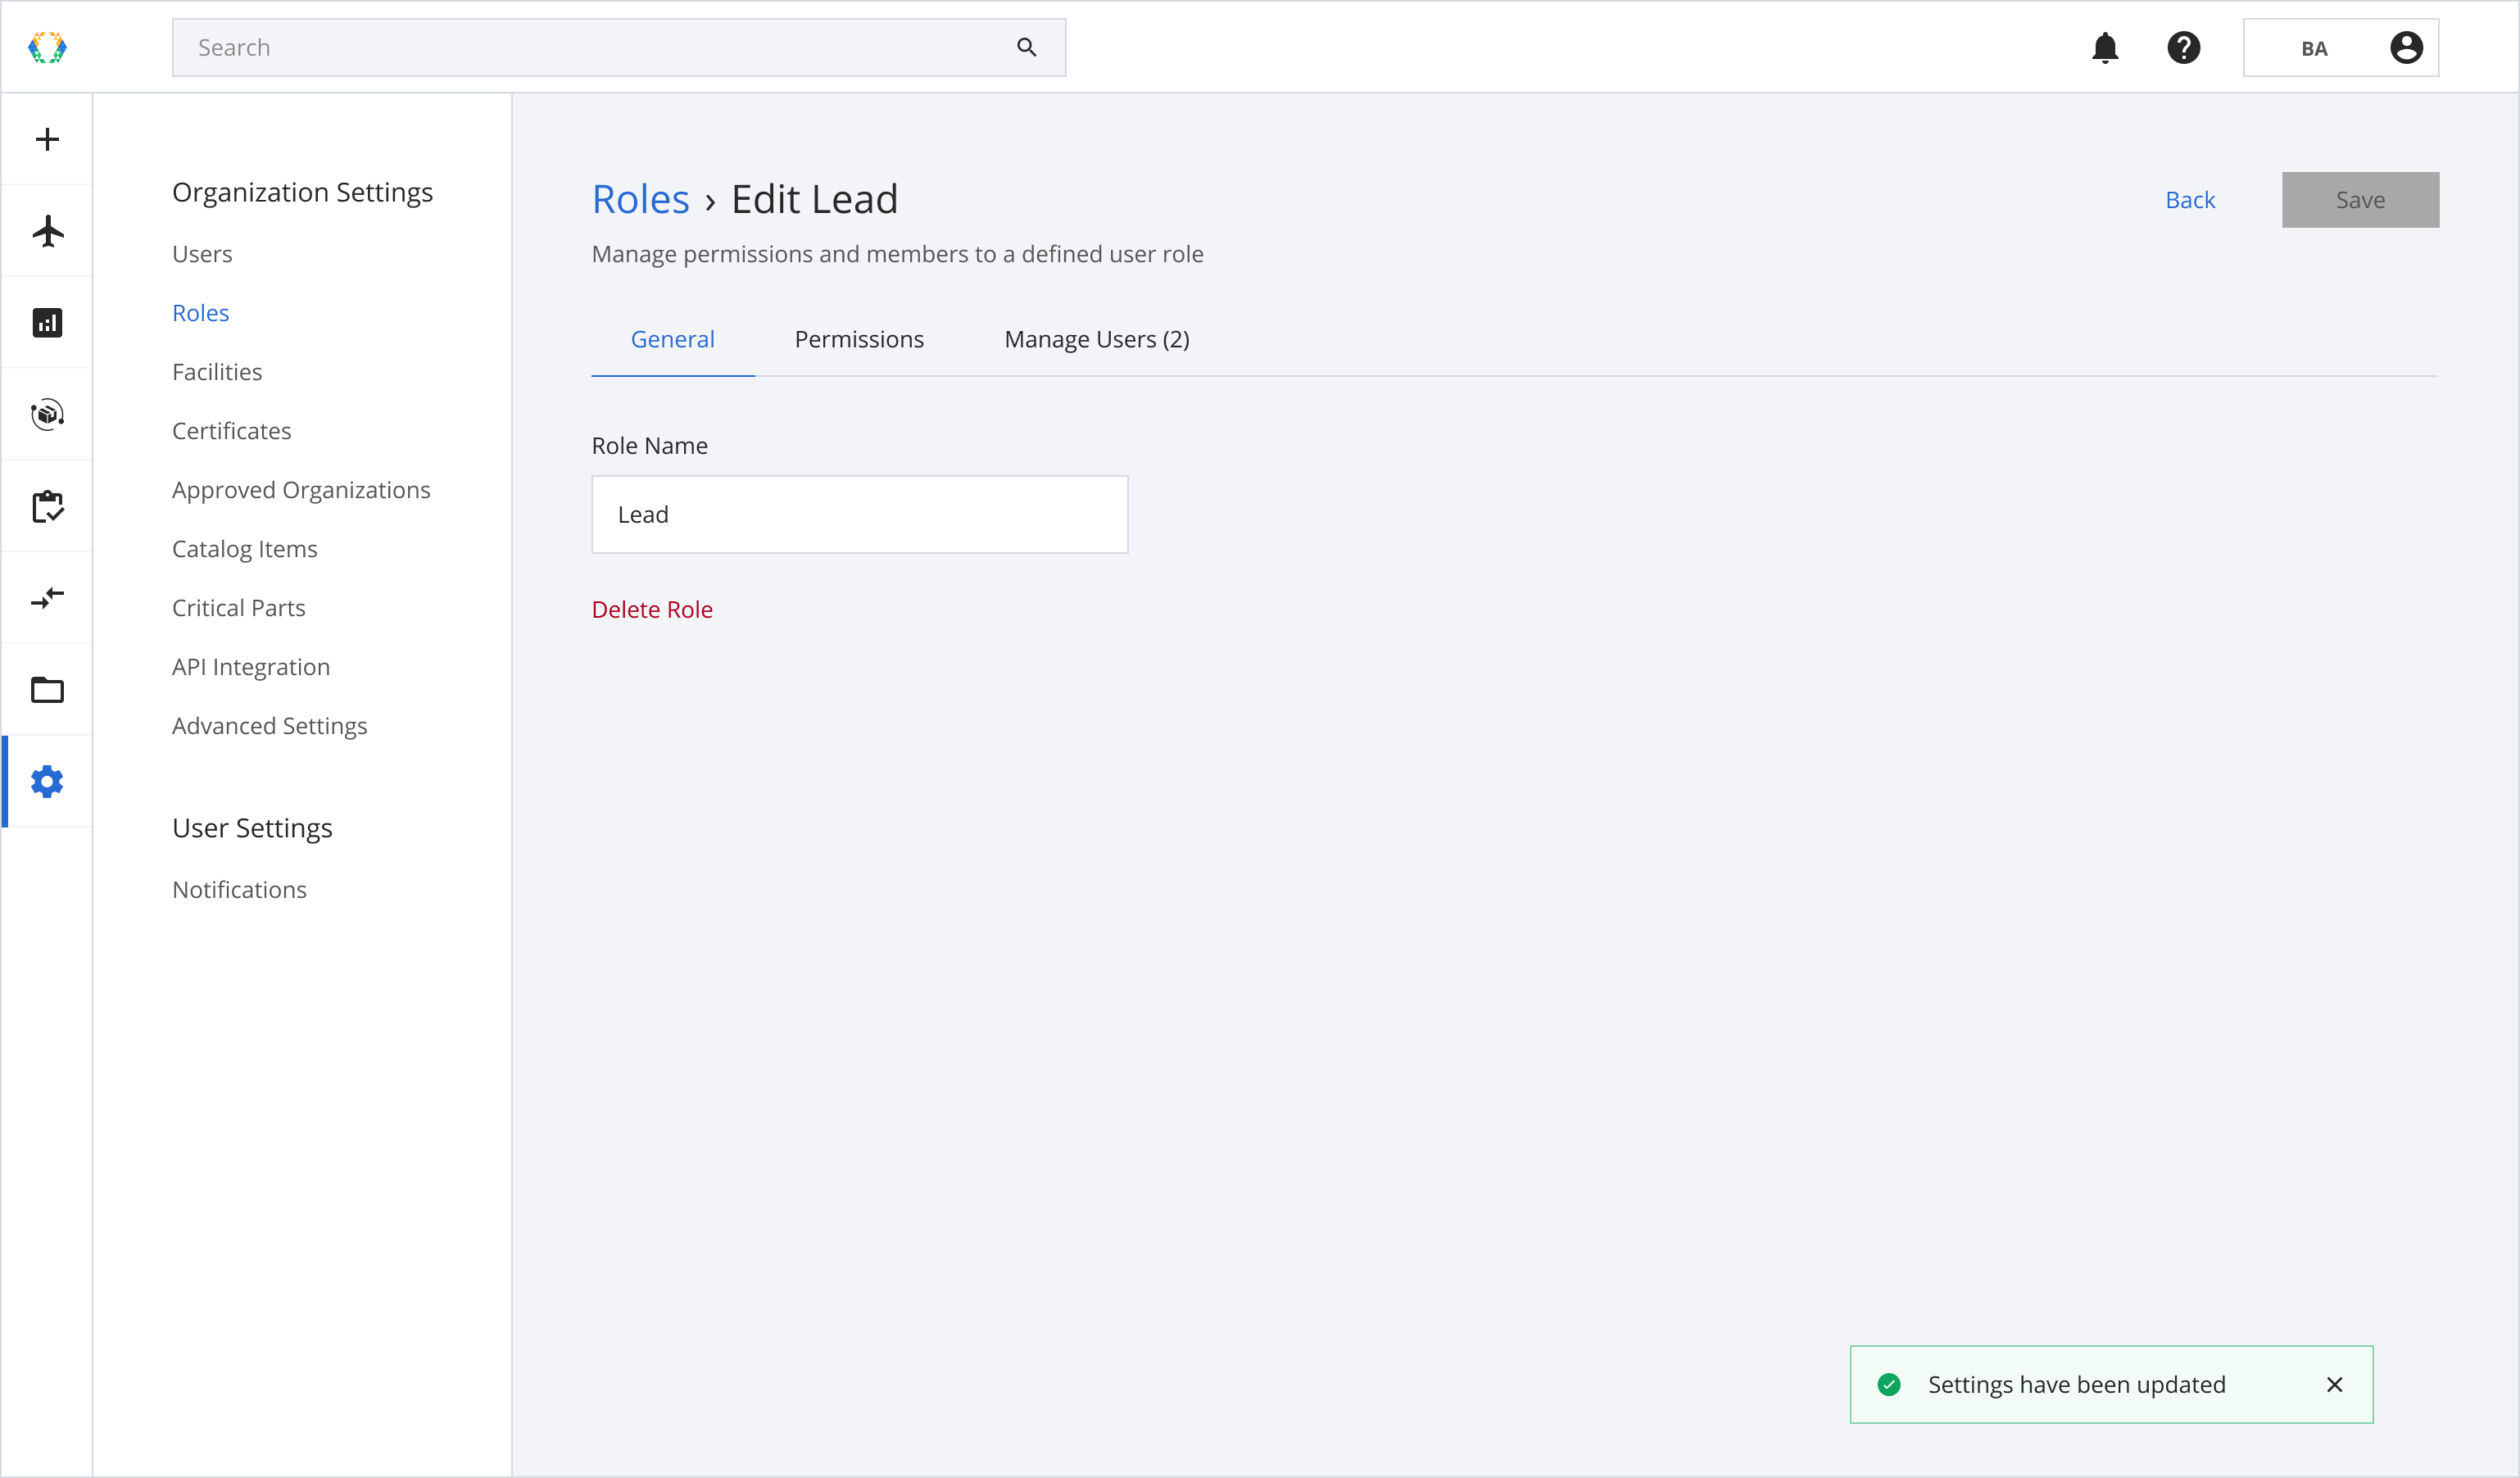
Step 2: Enter the role name of the new role.
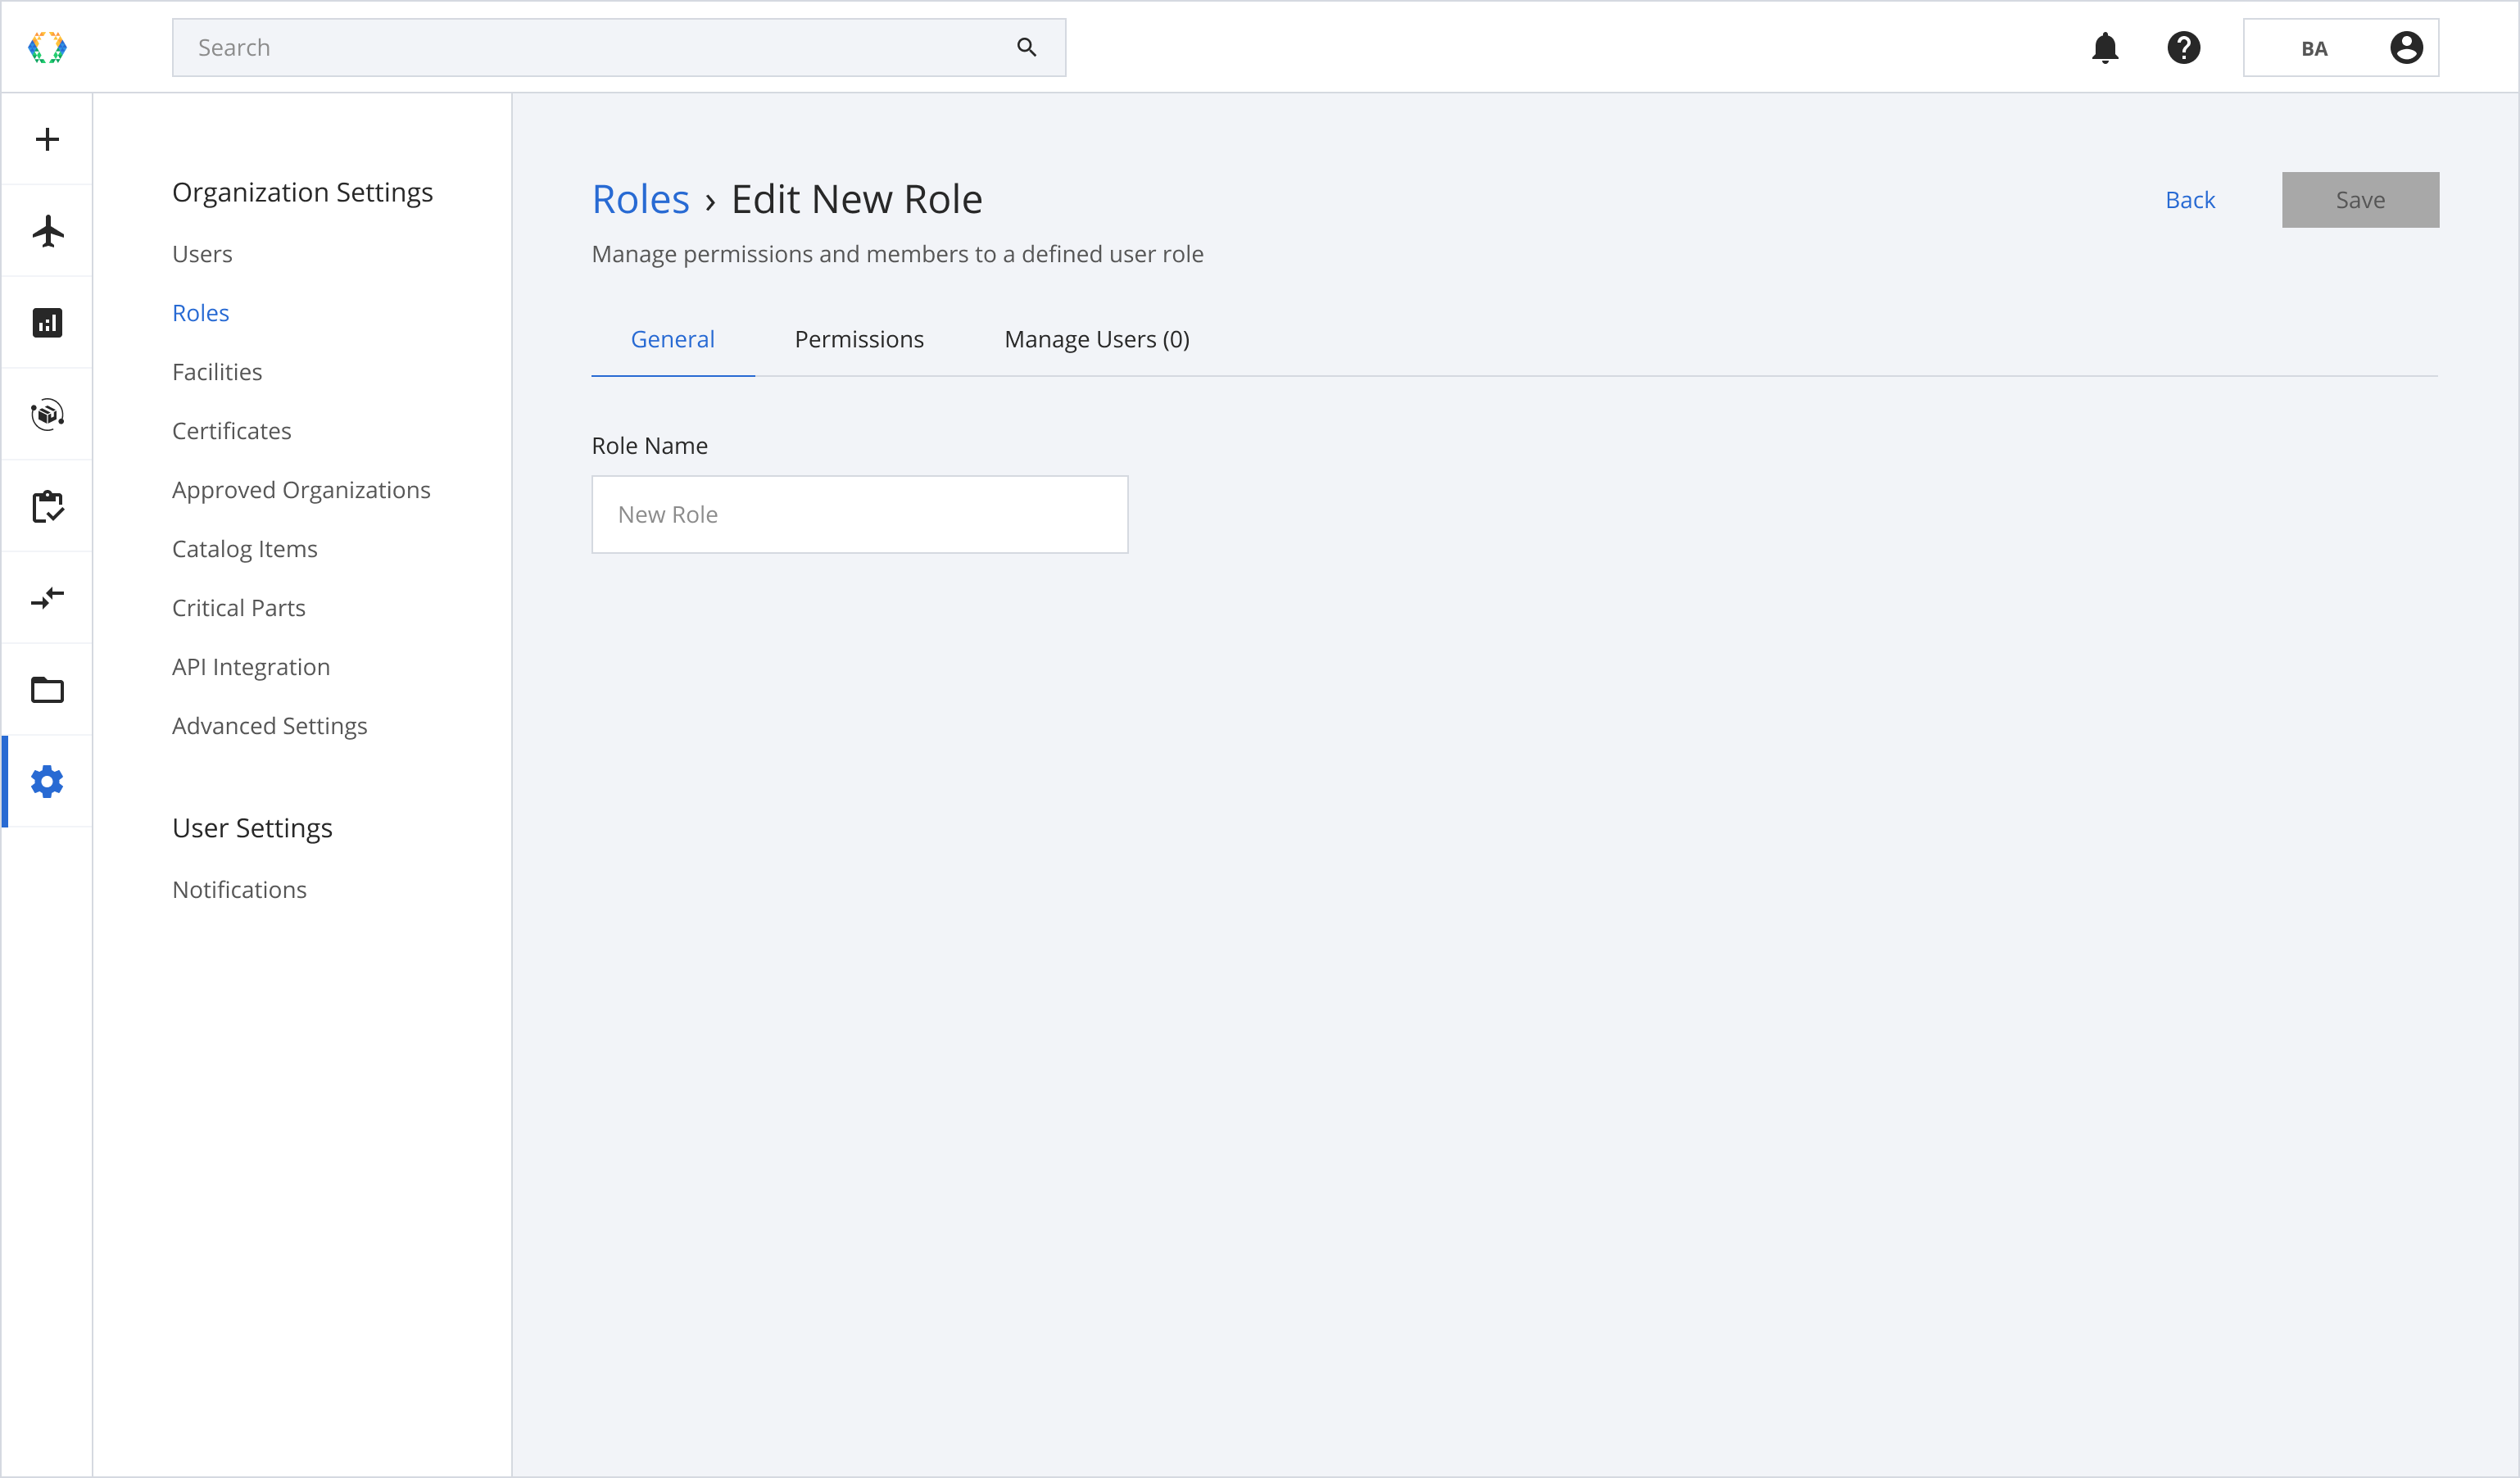
Step 3: Click 'Save'.
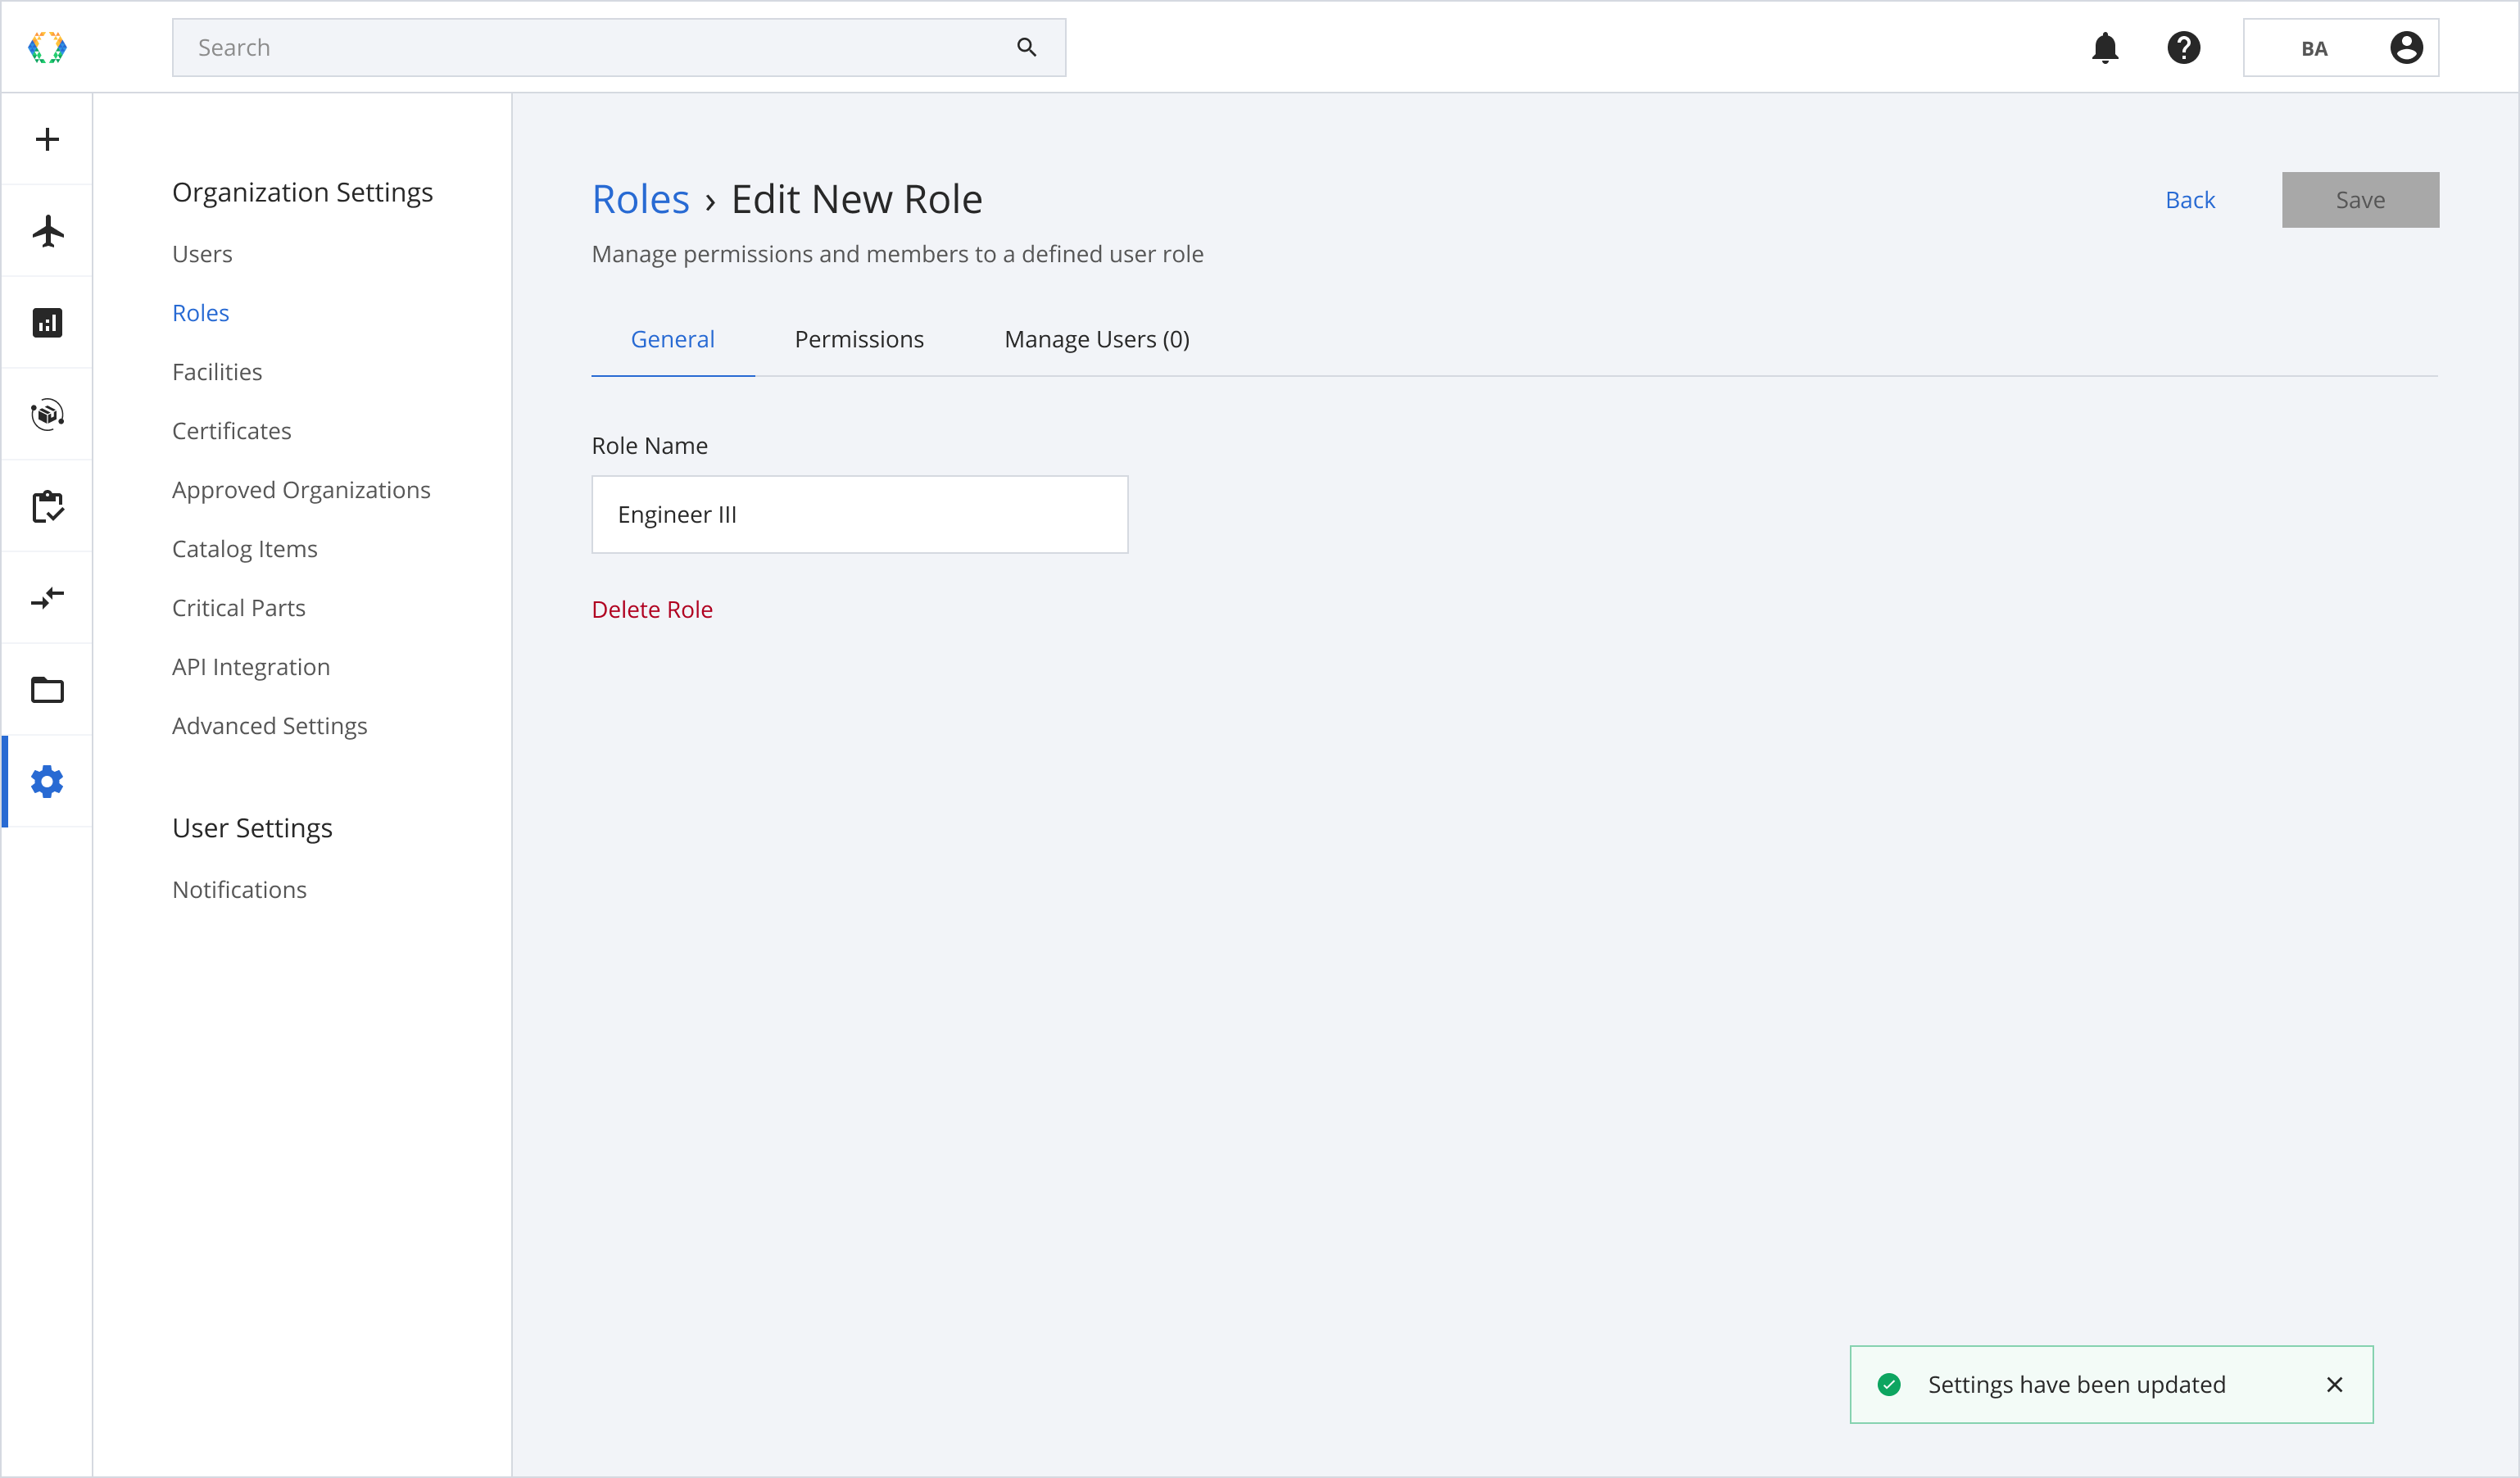
Step 4: Once the new role is saved, a green message will indicate that the settings have been updated.
The 'Delete Role' option will appear.
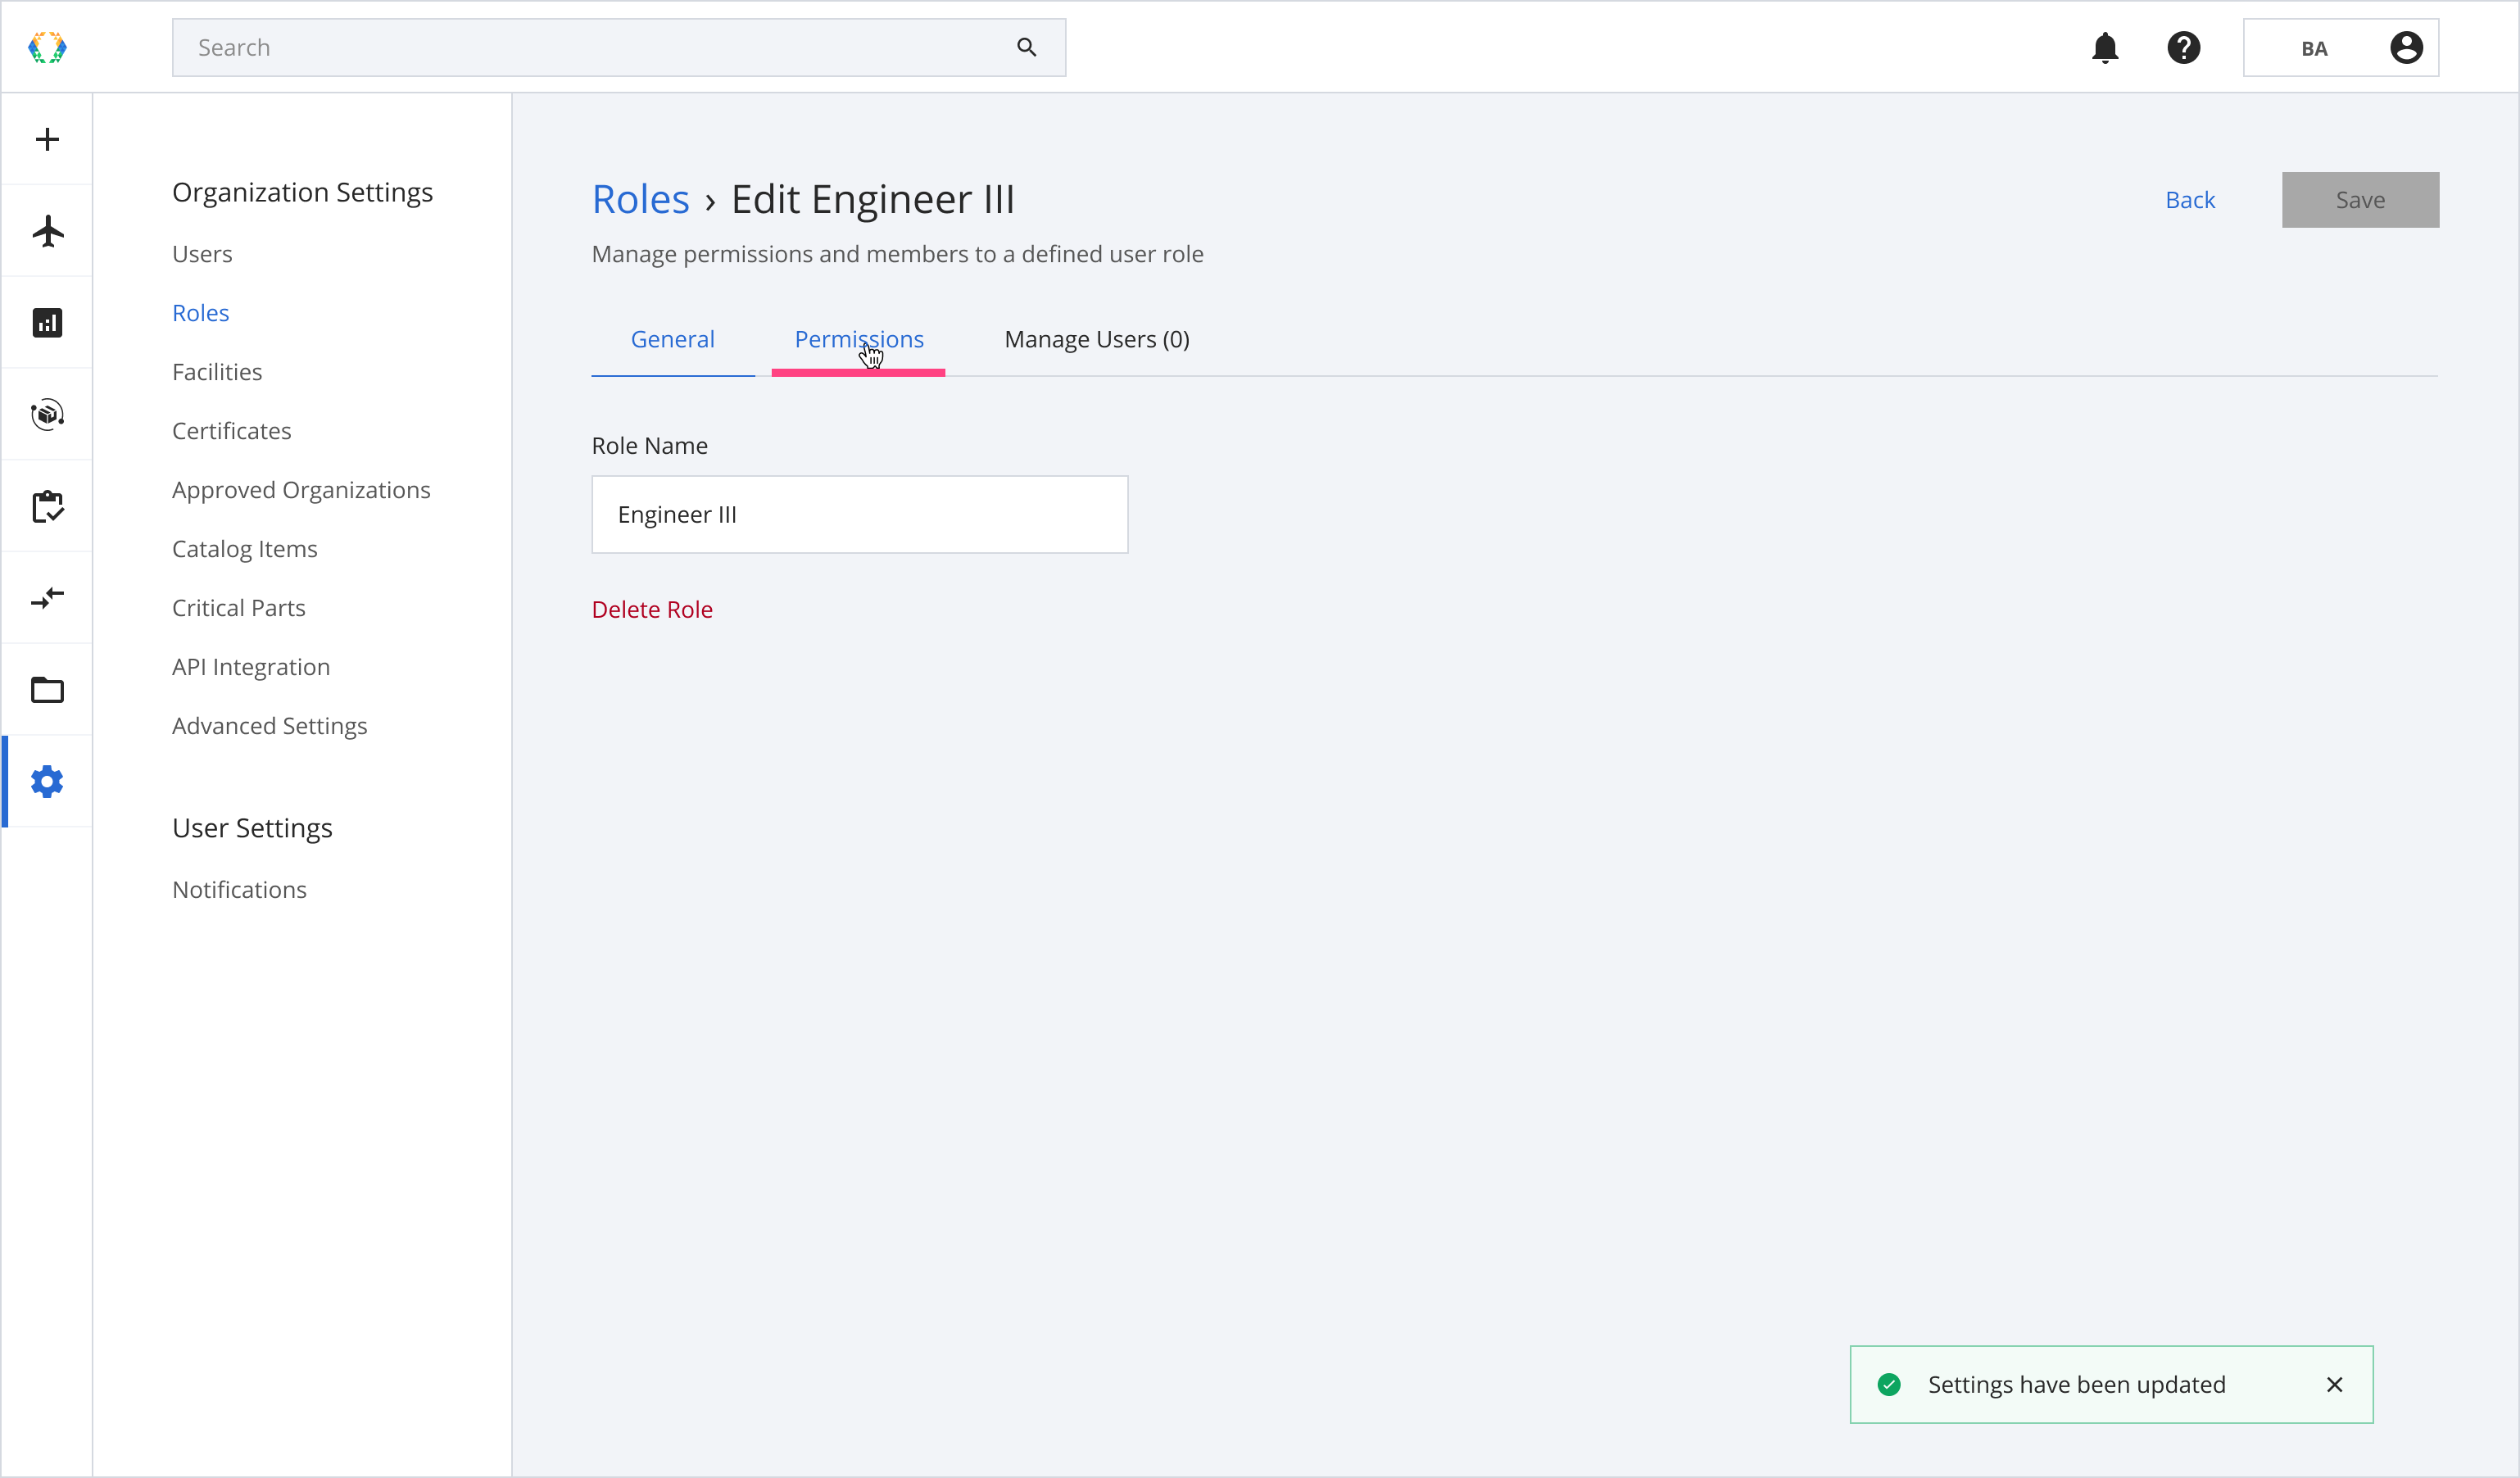
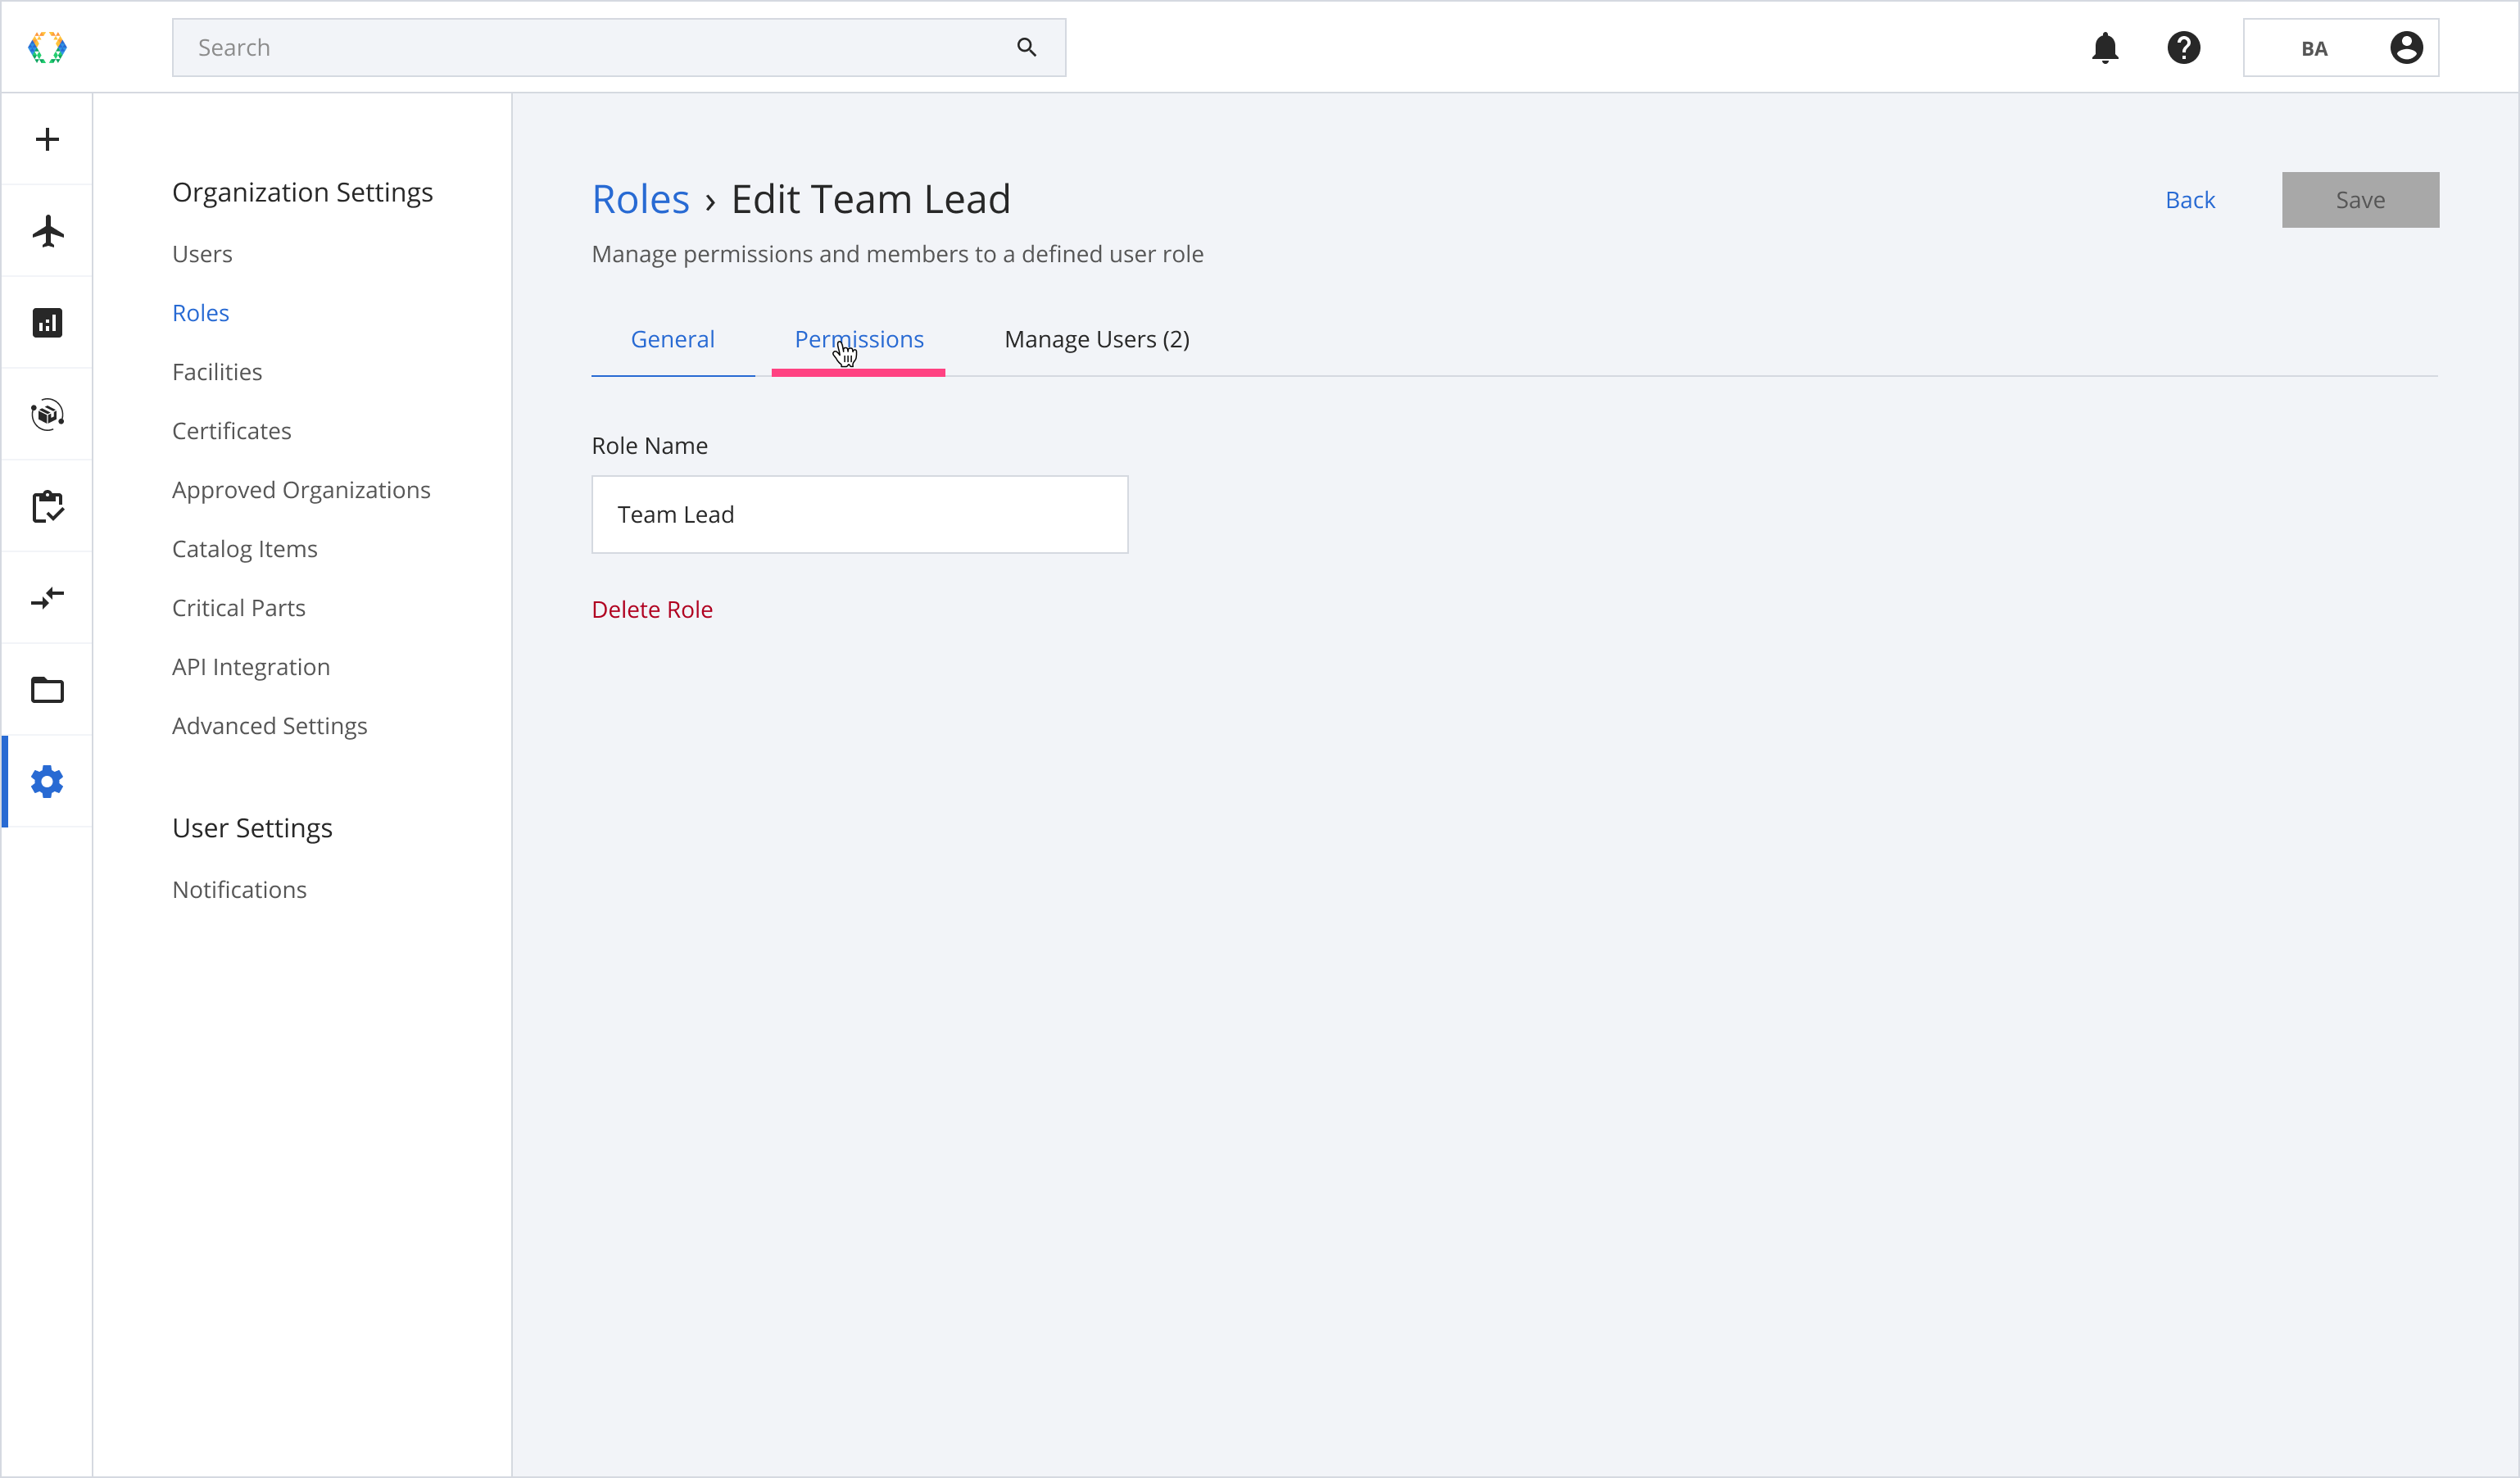
Step 5: Click 'Permissions' to assign the permissions to the new role created.
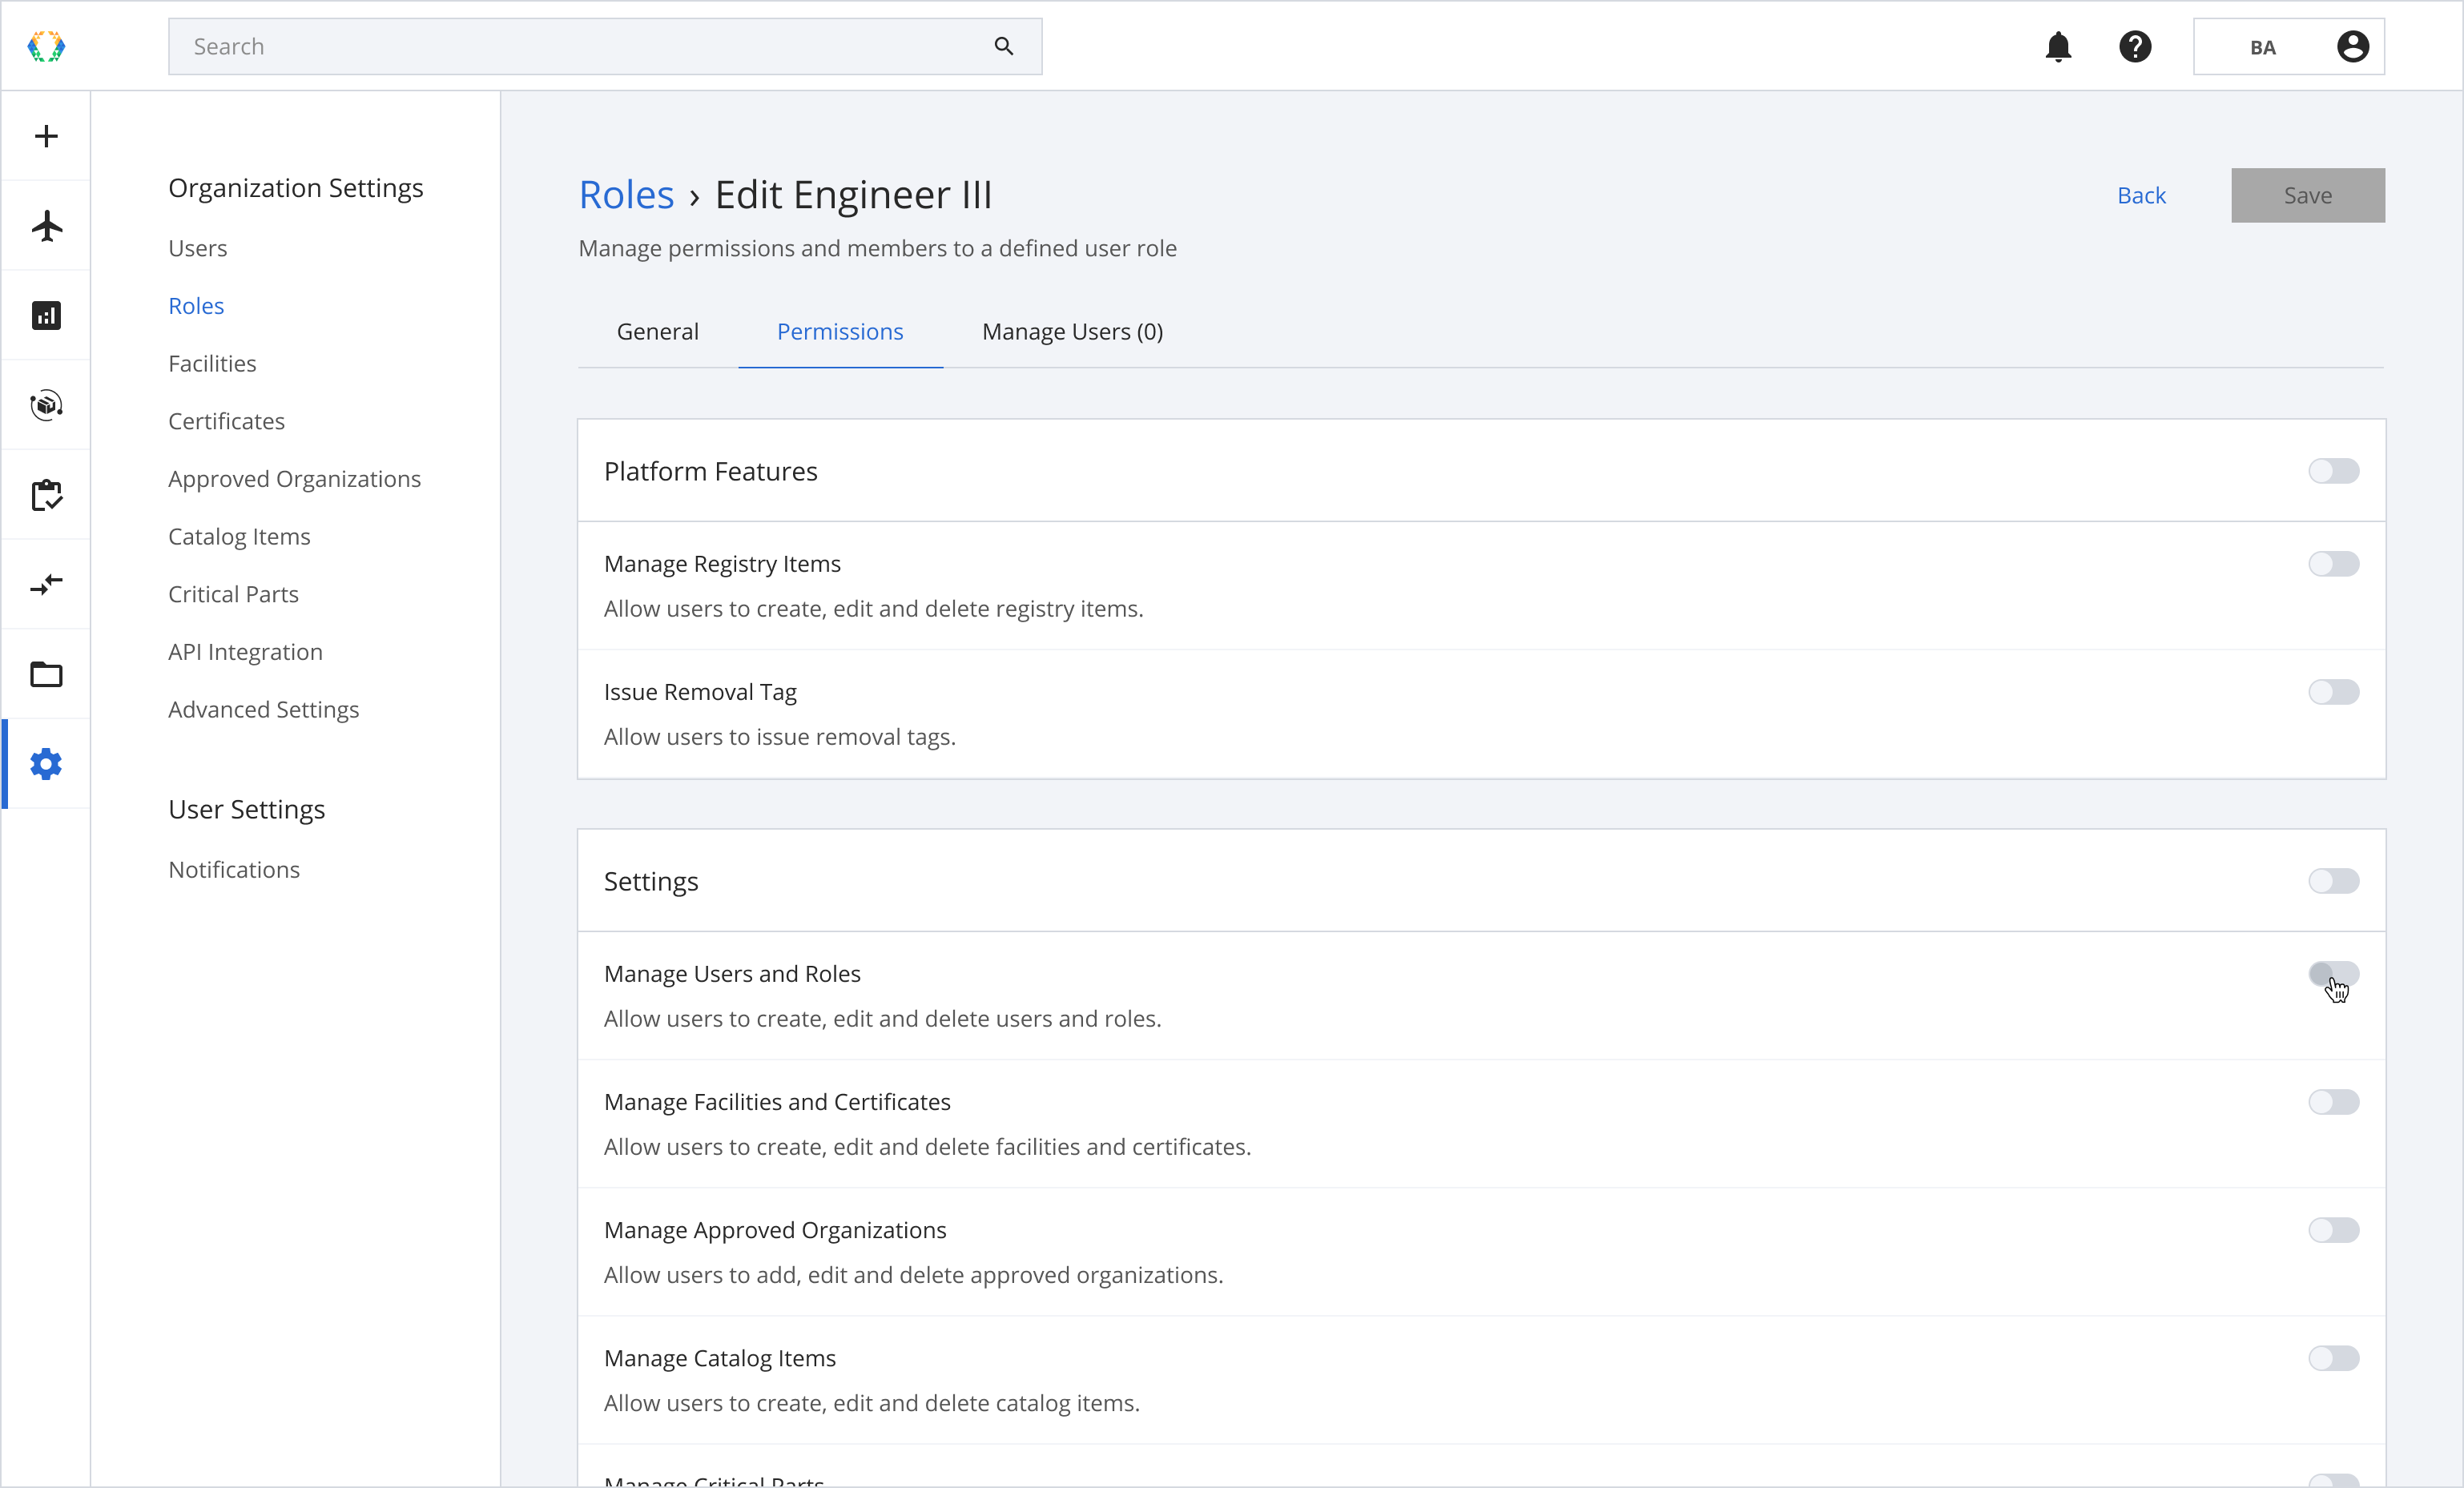
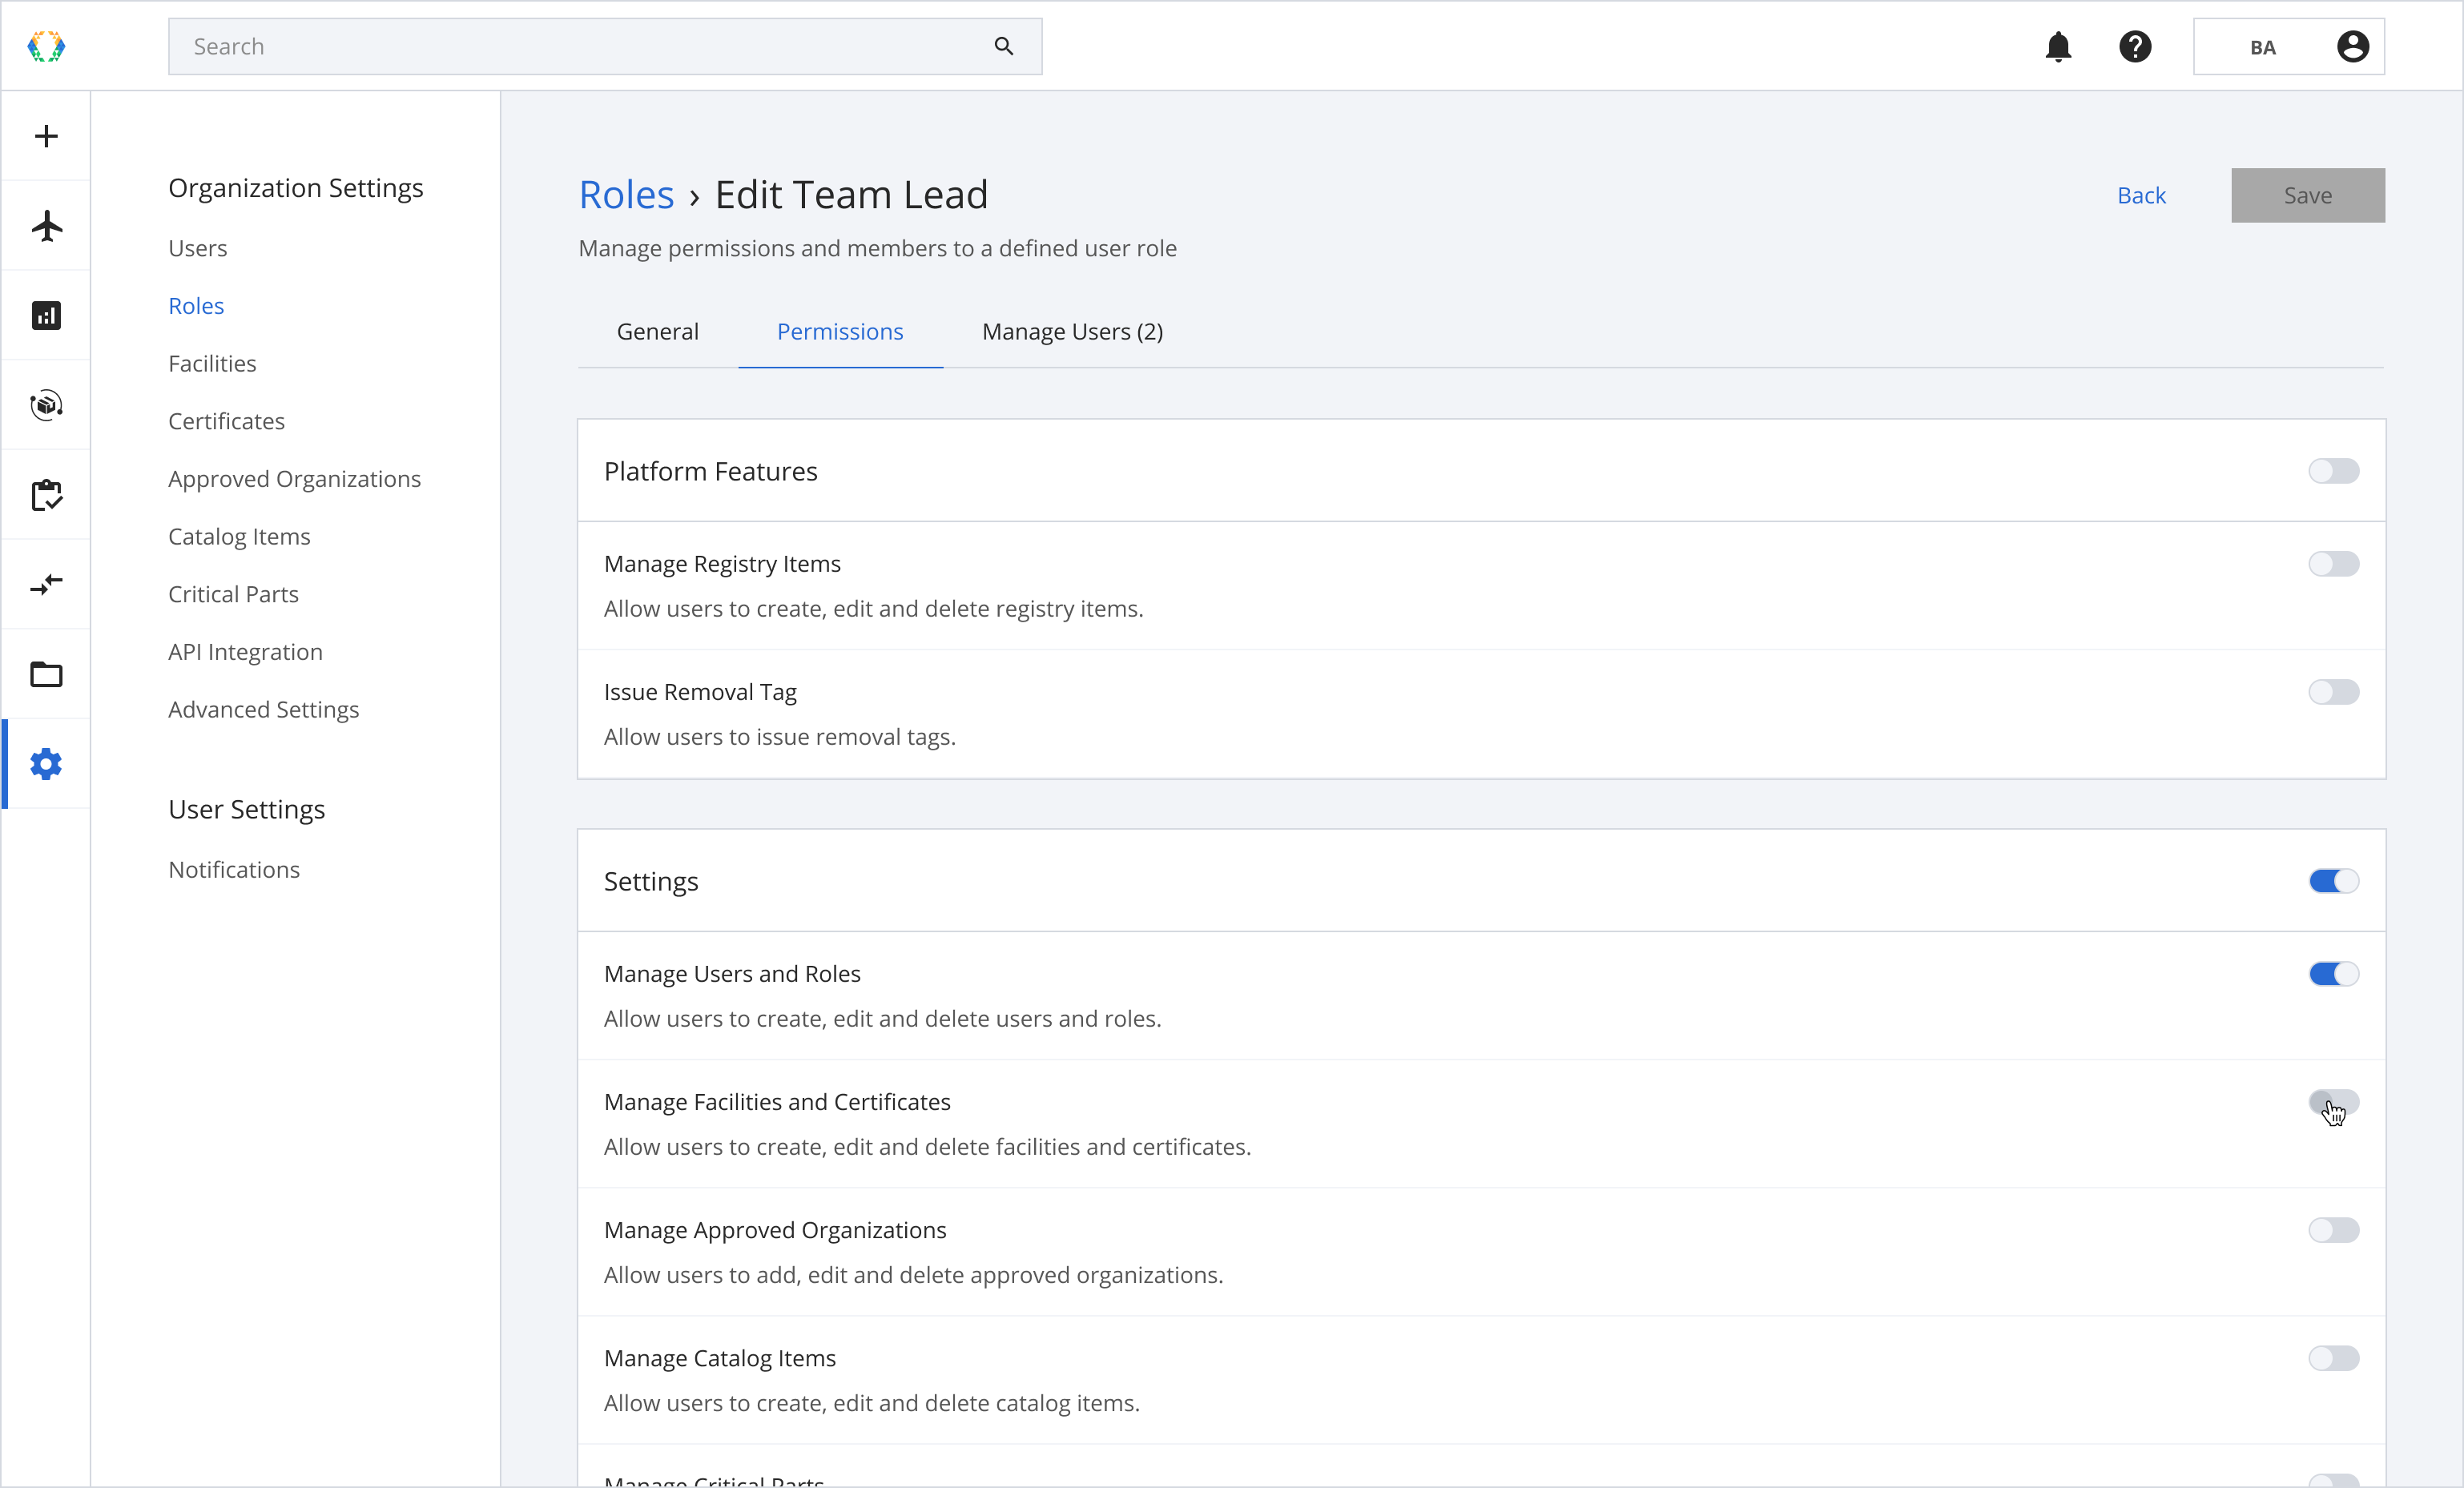
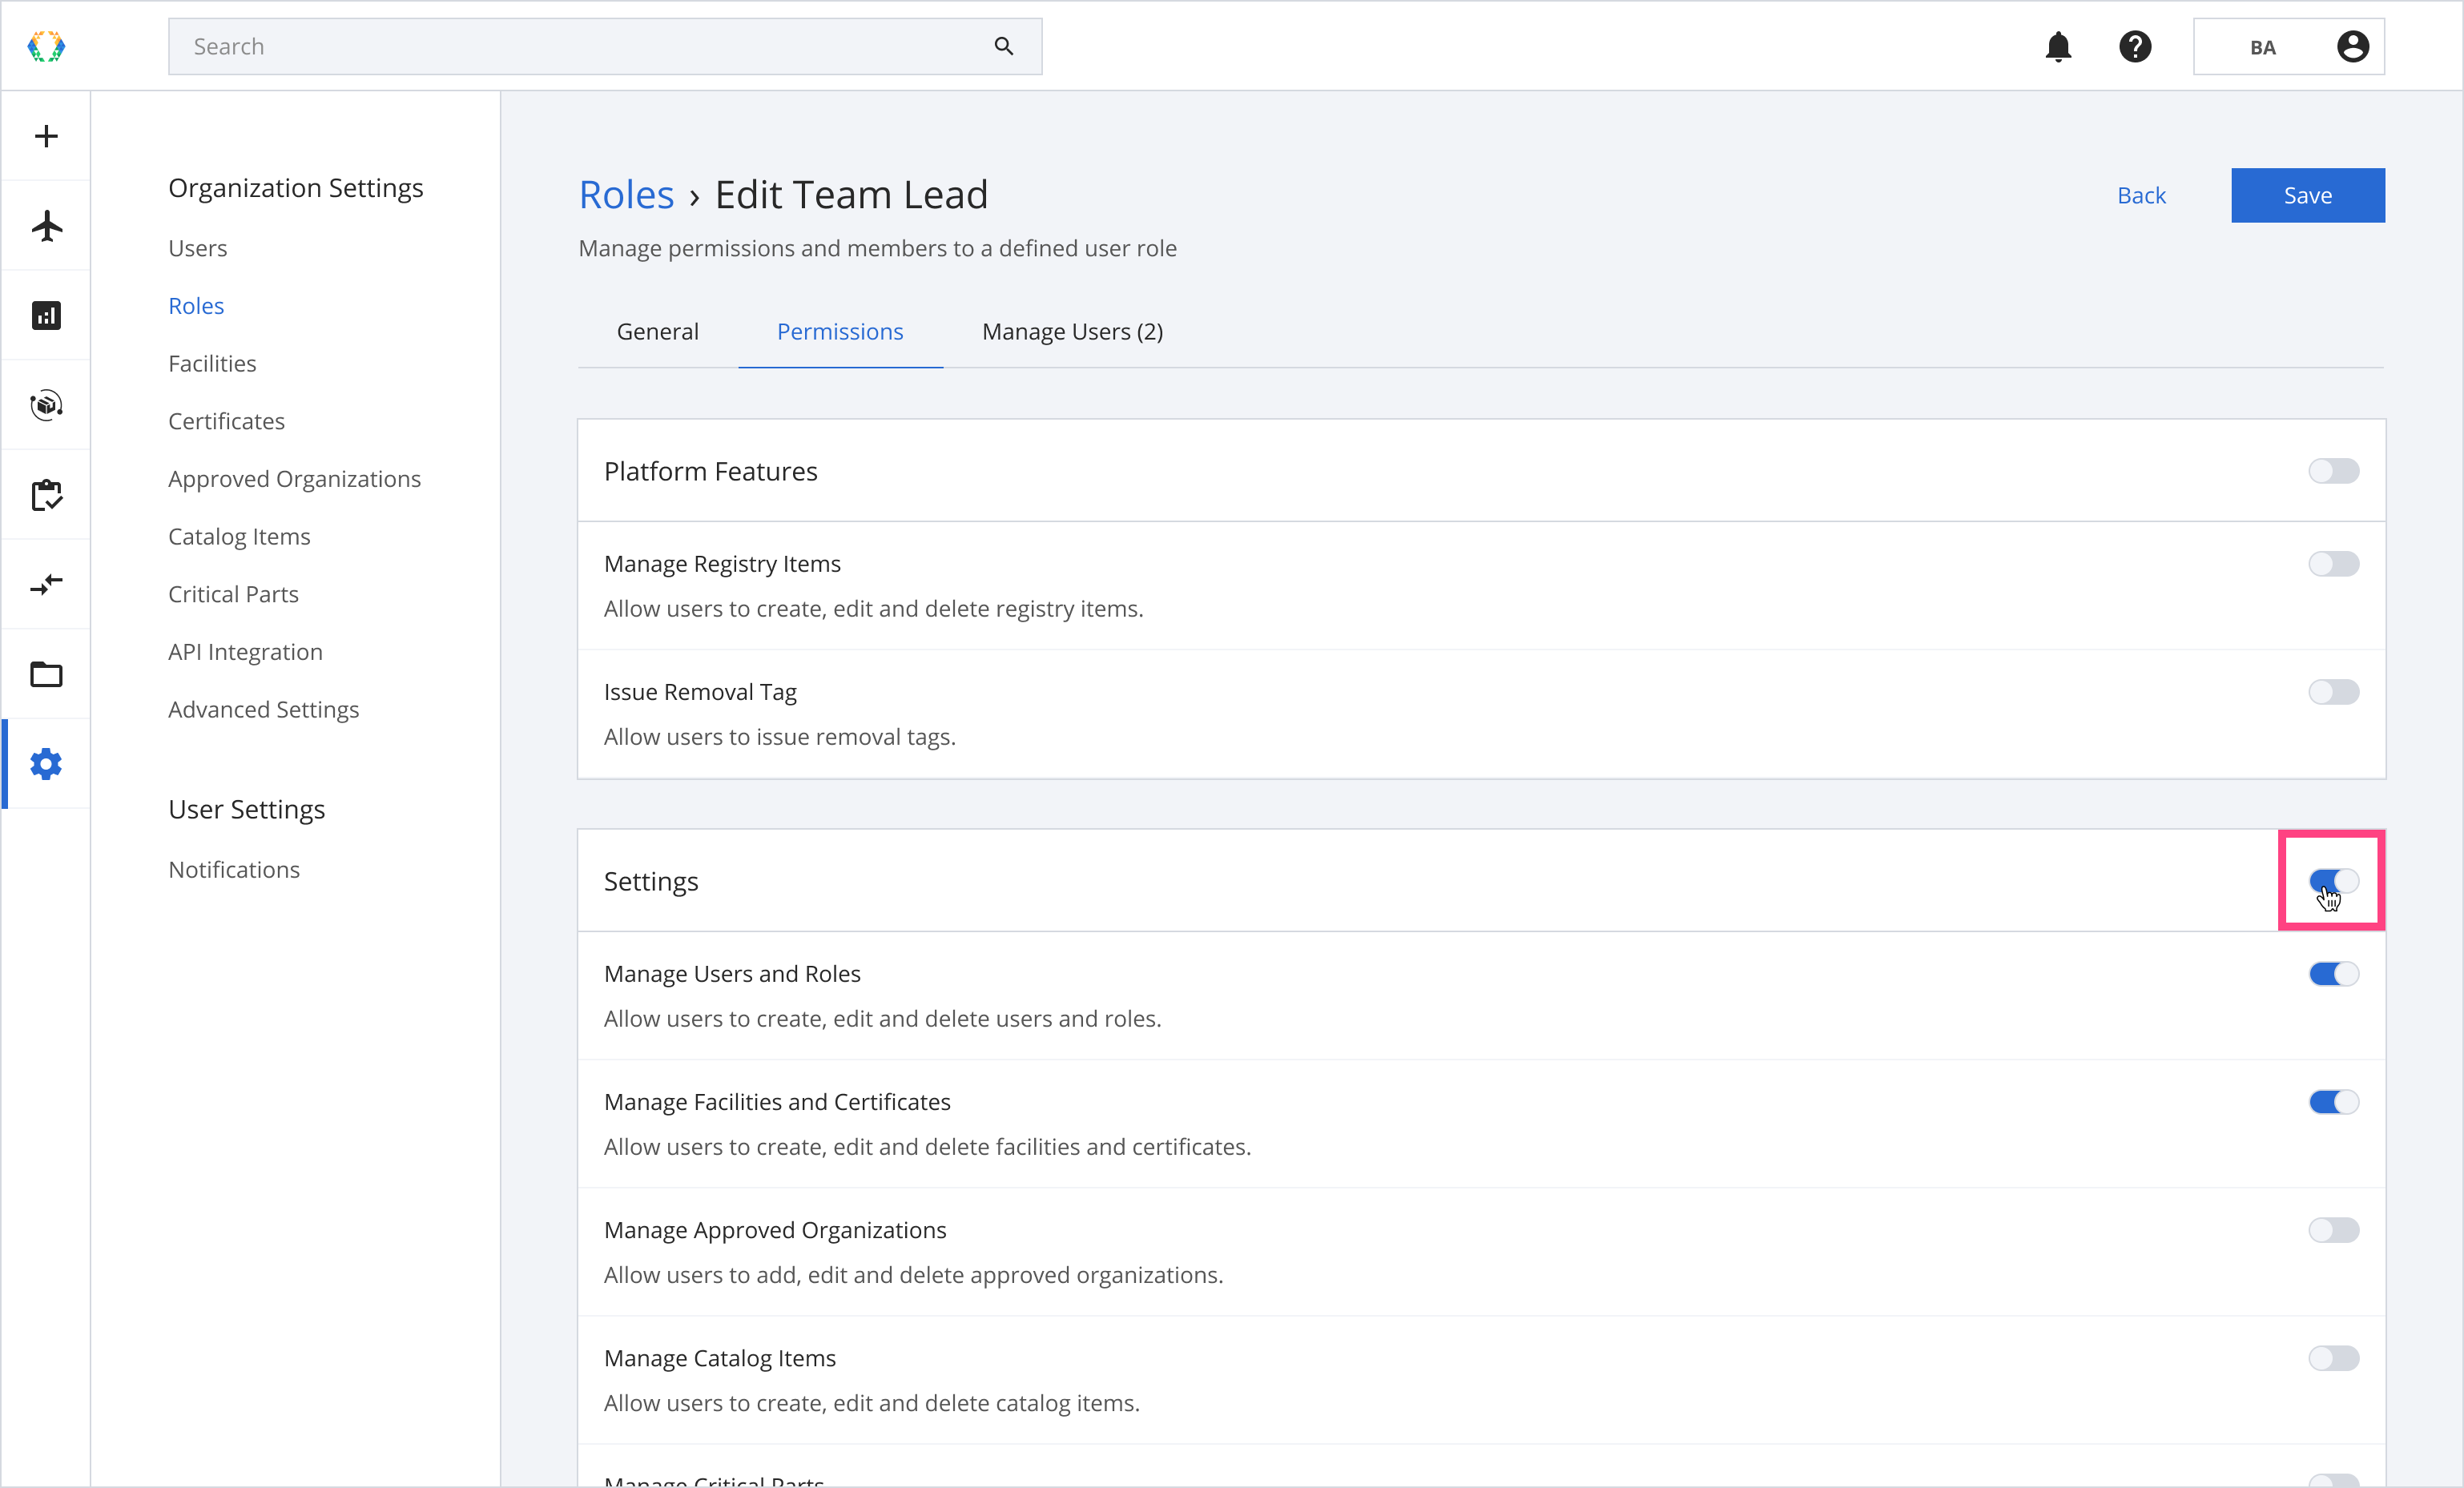
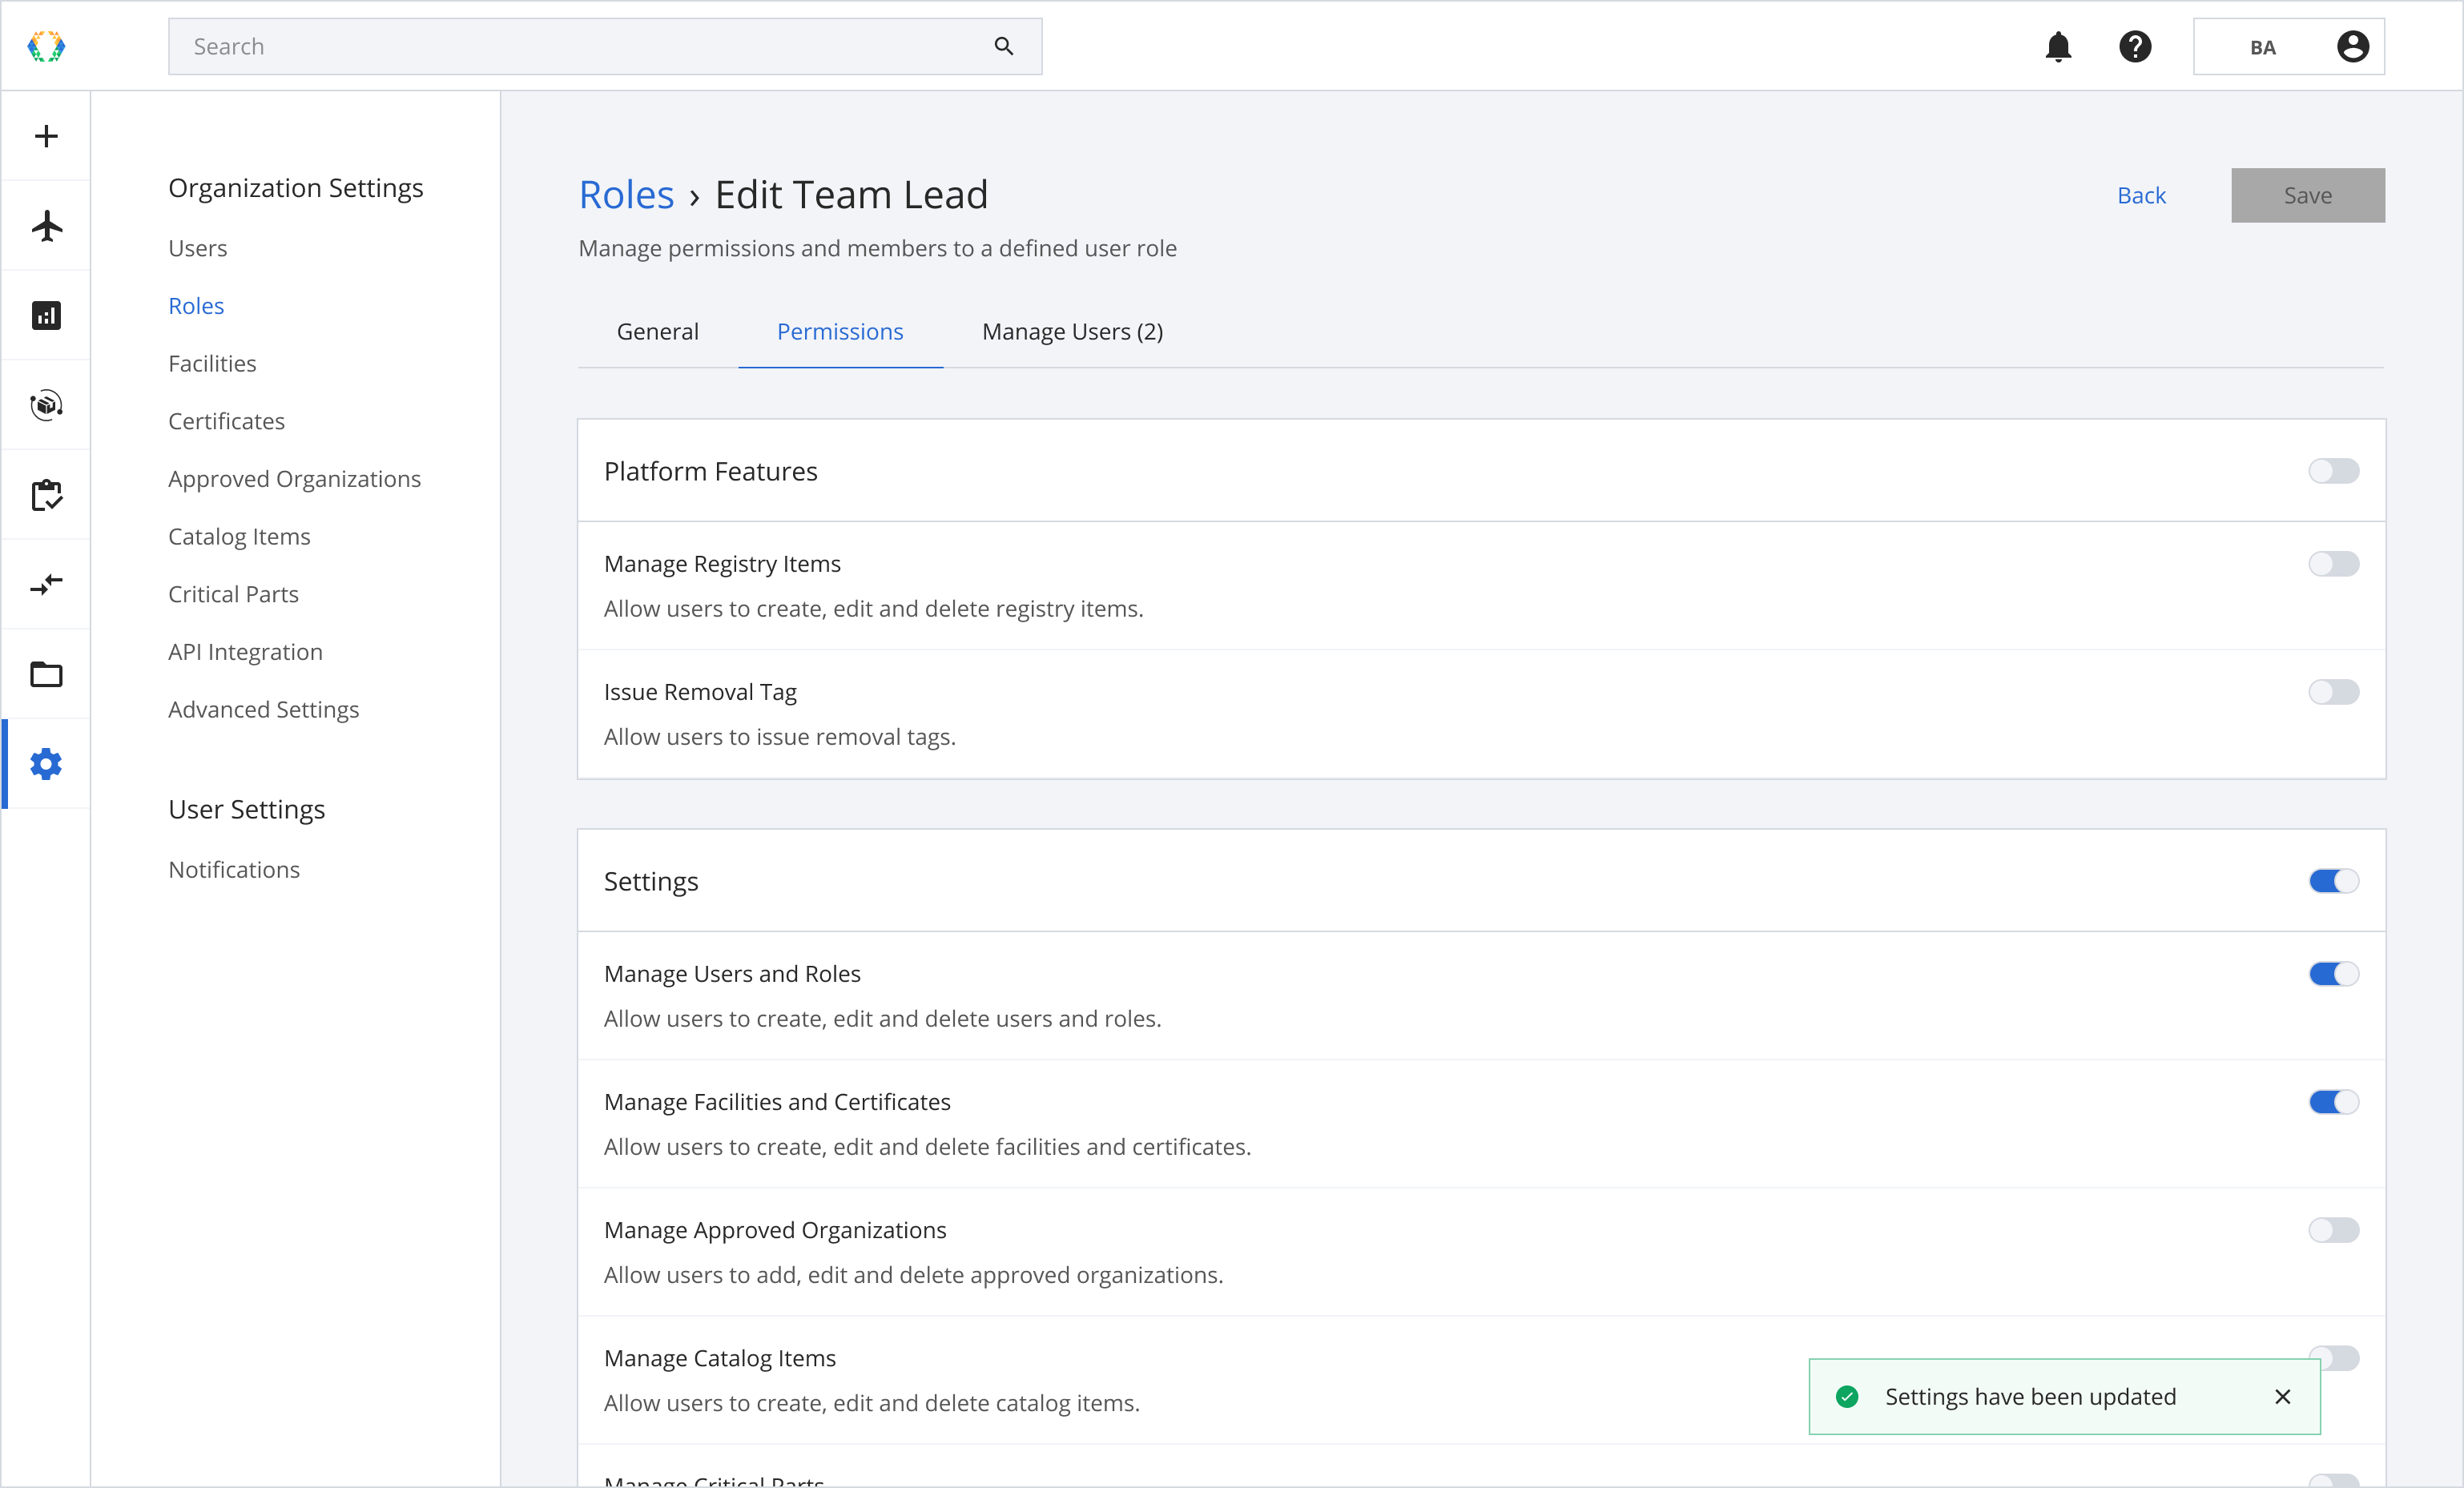
Step 6: Under the Permissions tab, you can set the permissions for the particular role to limit or allow access to the platform features. To allow permission, click on the toggle to enable the feature for the new role.
Step 7: Click 'Save'.
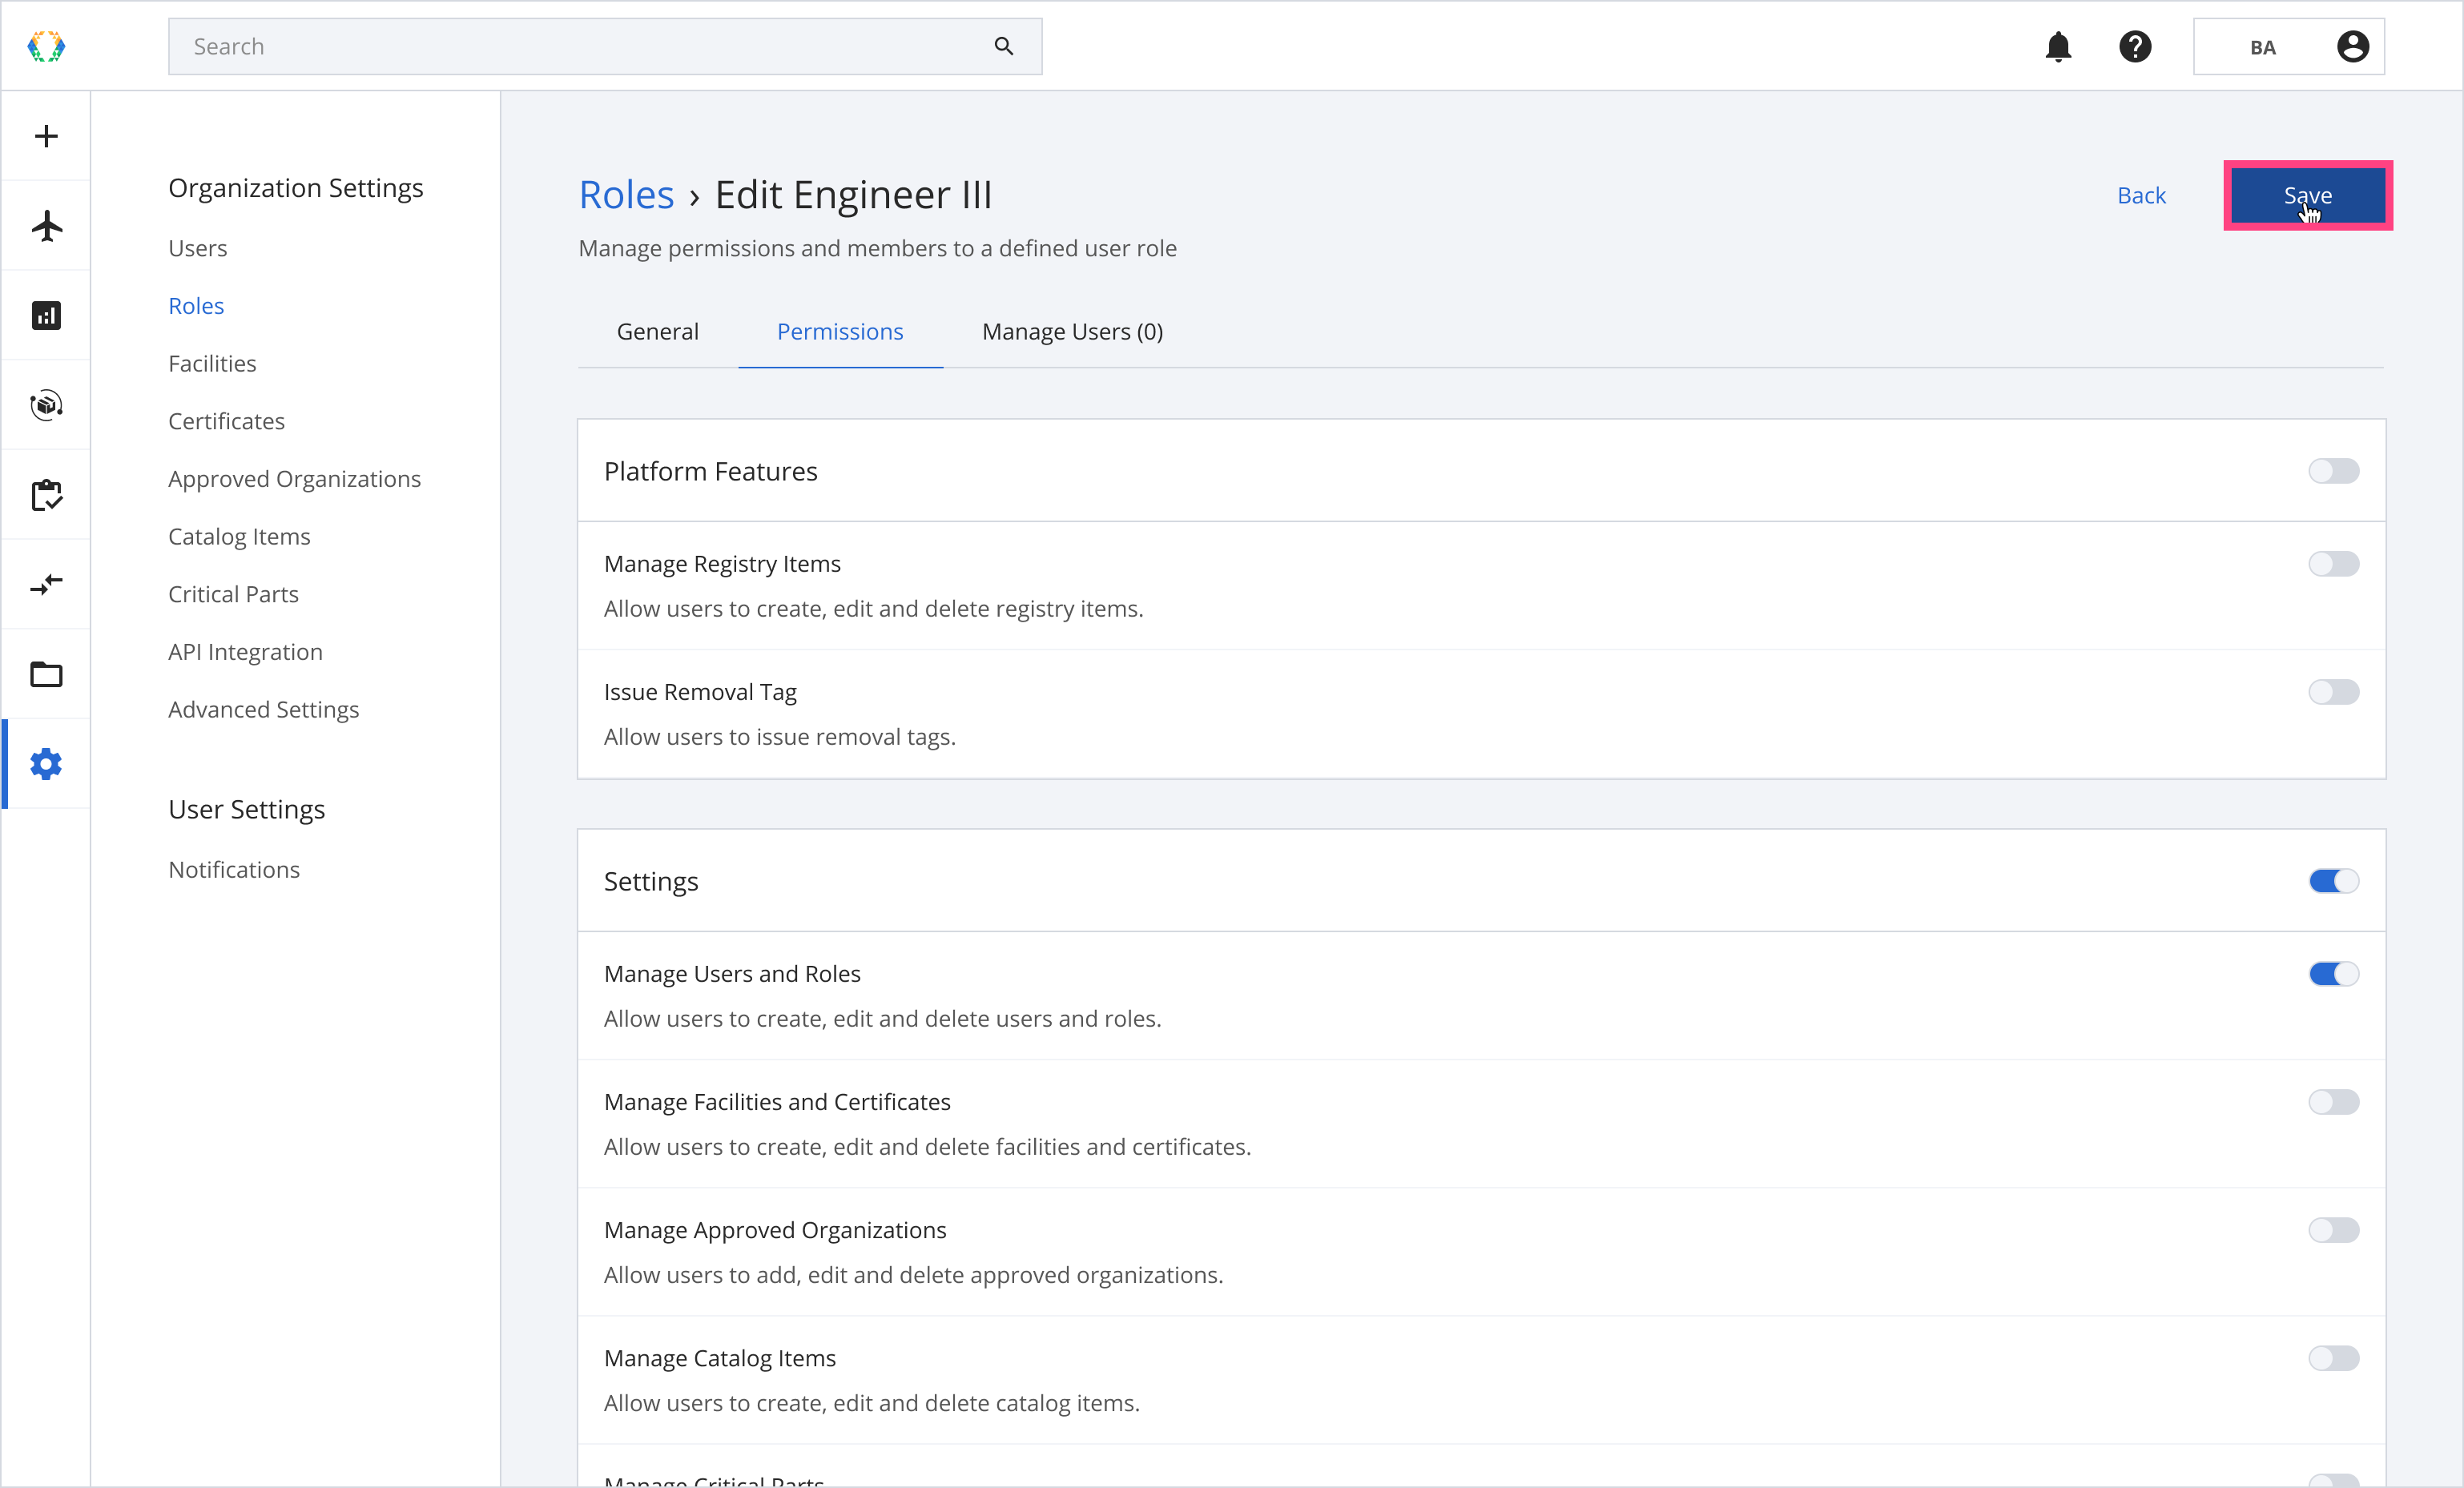
Step 8: Once the permissions are saved, a green message will appear on the bottom right corner of the page.

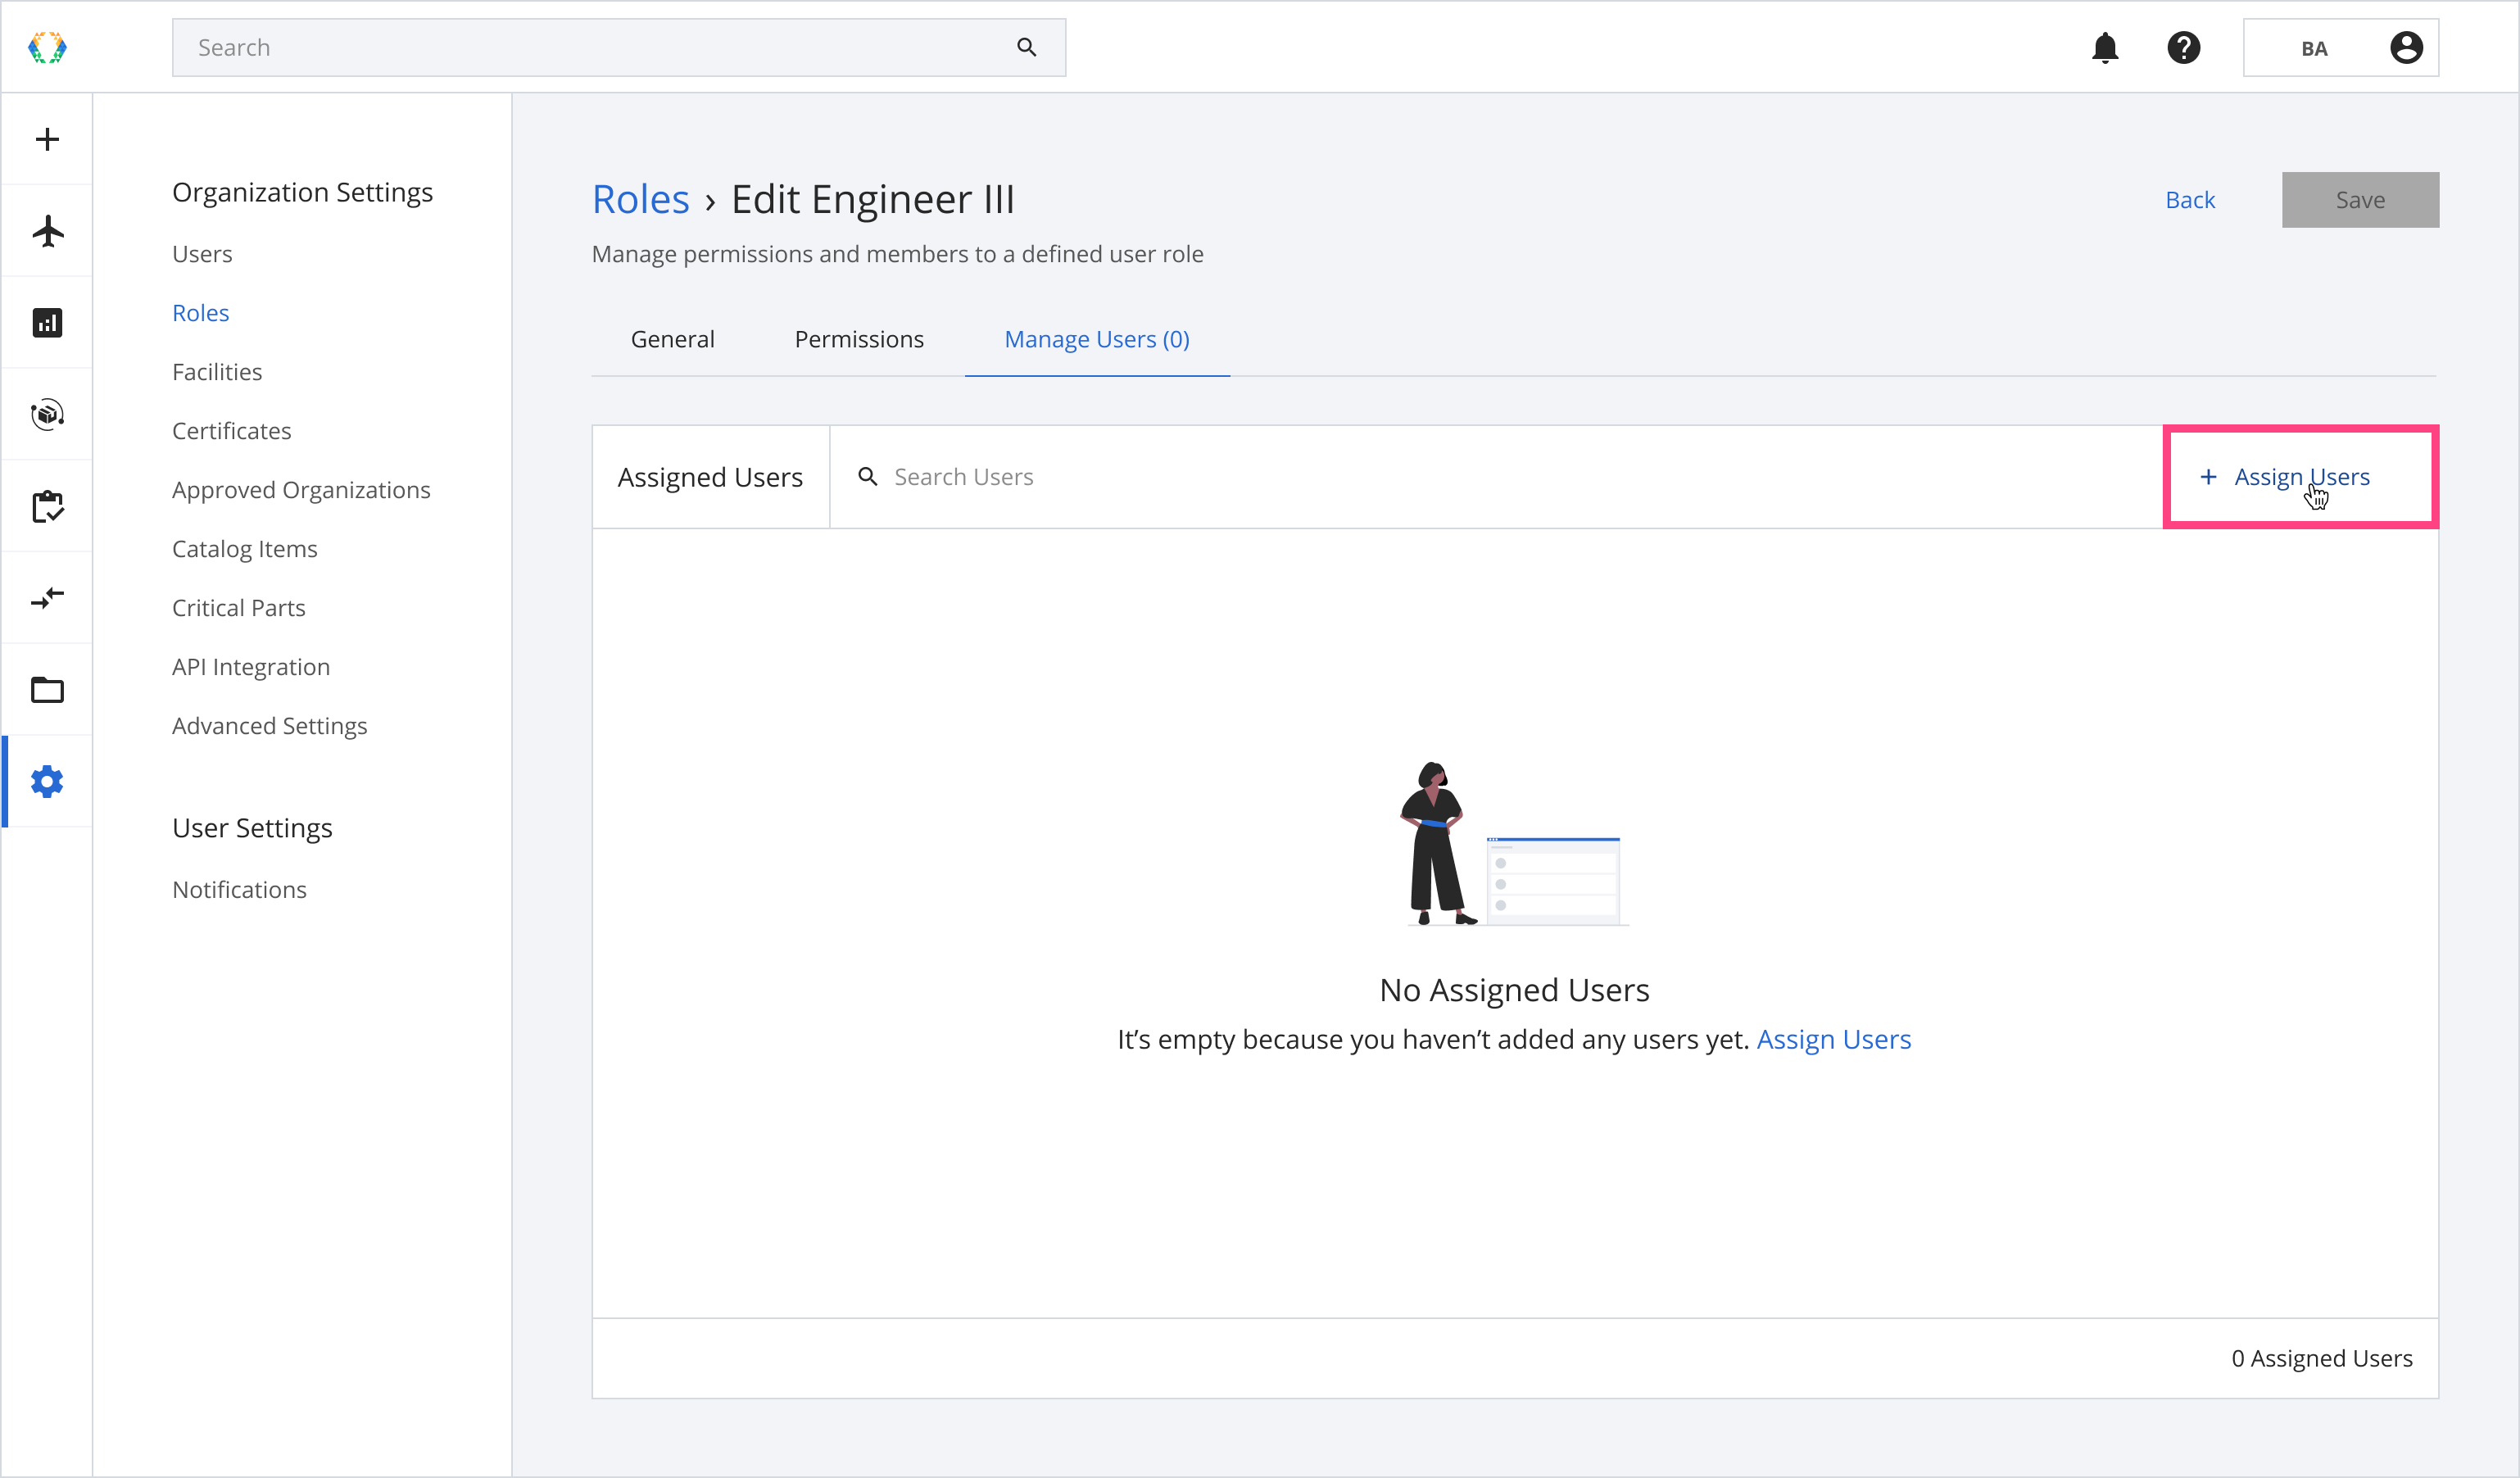
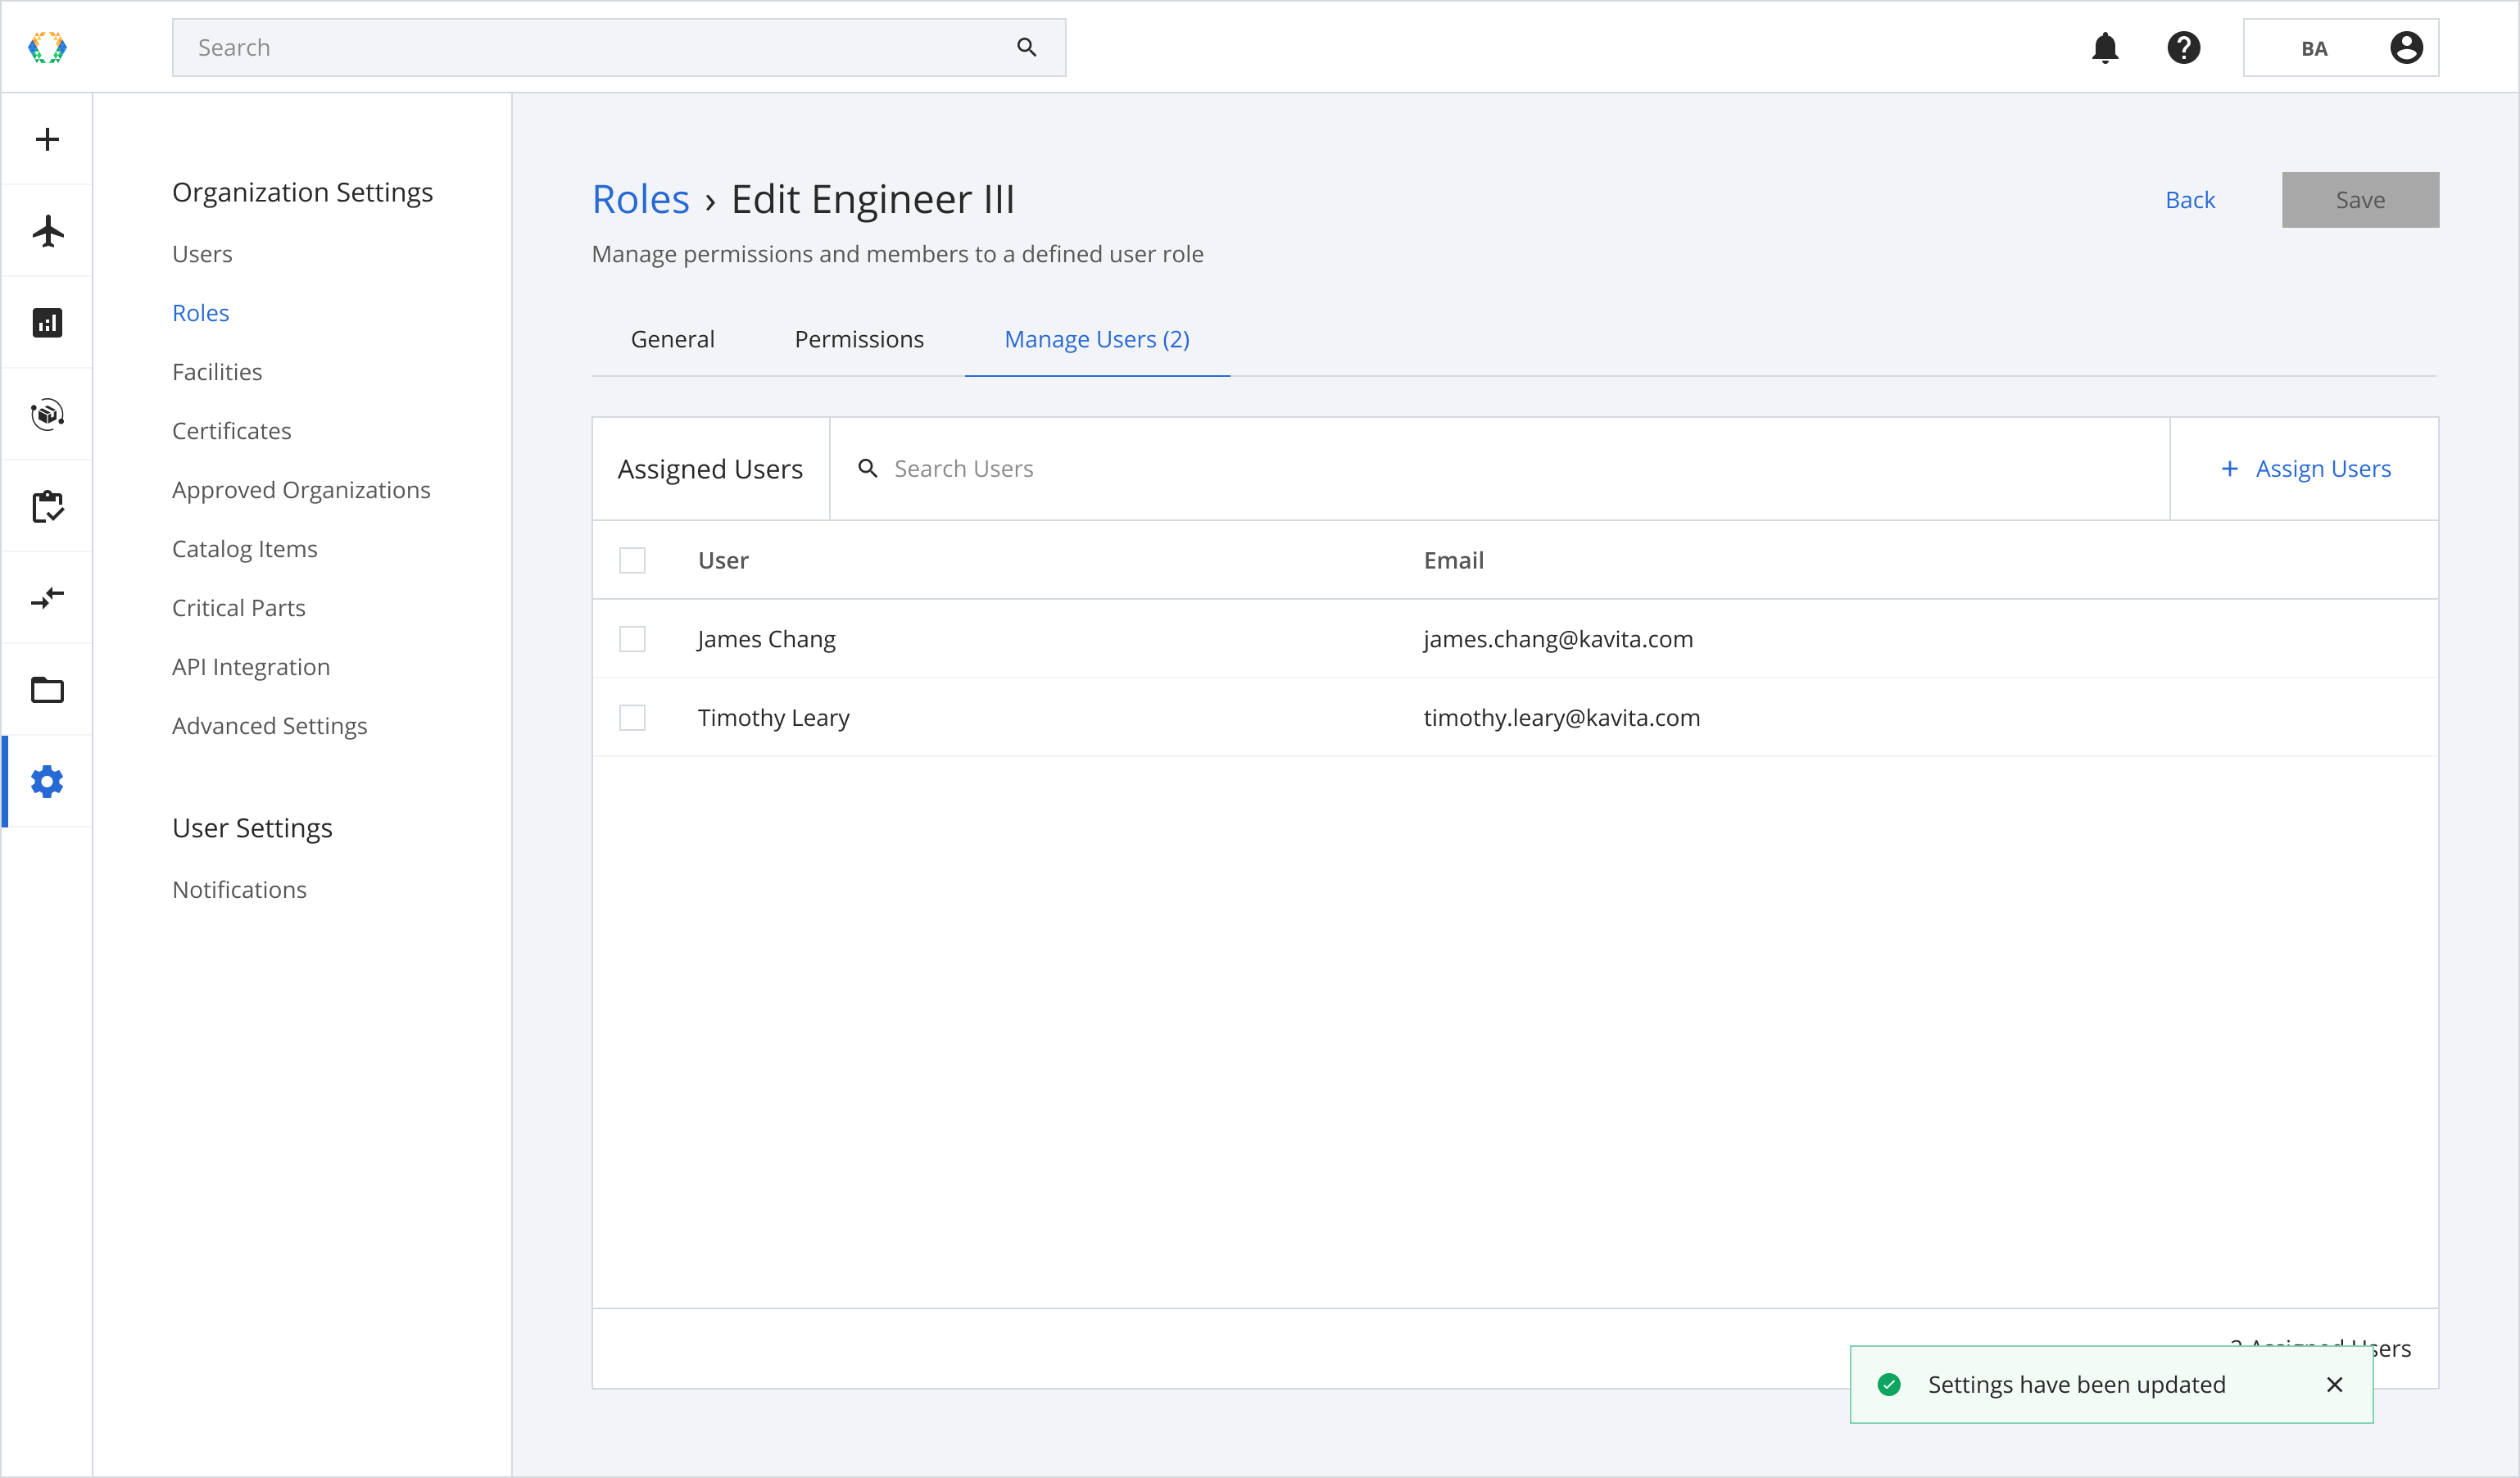
Step 9: To add users for the newly created role, click 'Manage Users' to assign users for the new role.

Step 10: Click 'Assign Users' to start adding users.
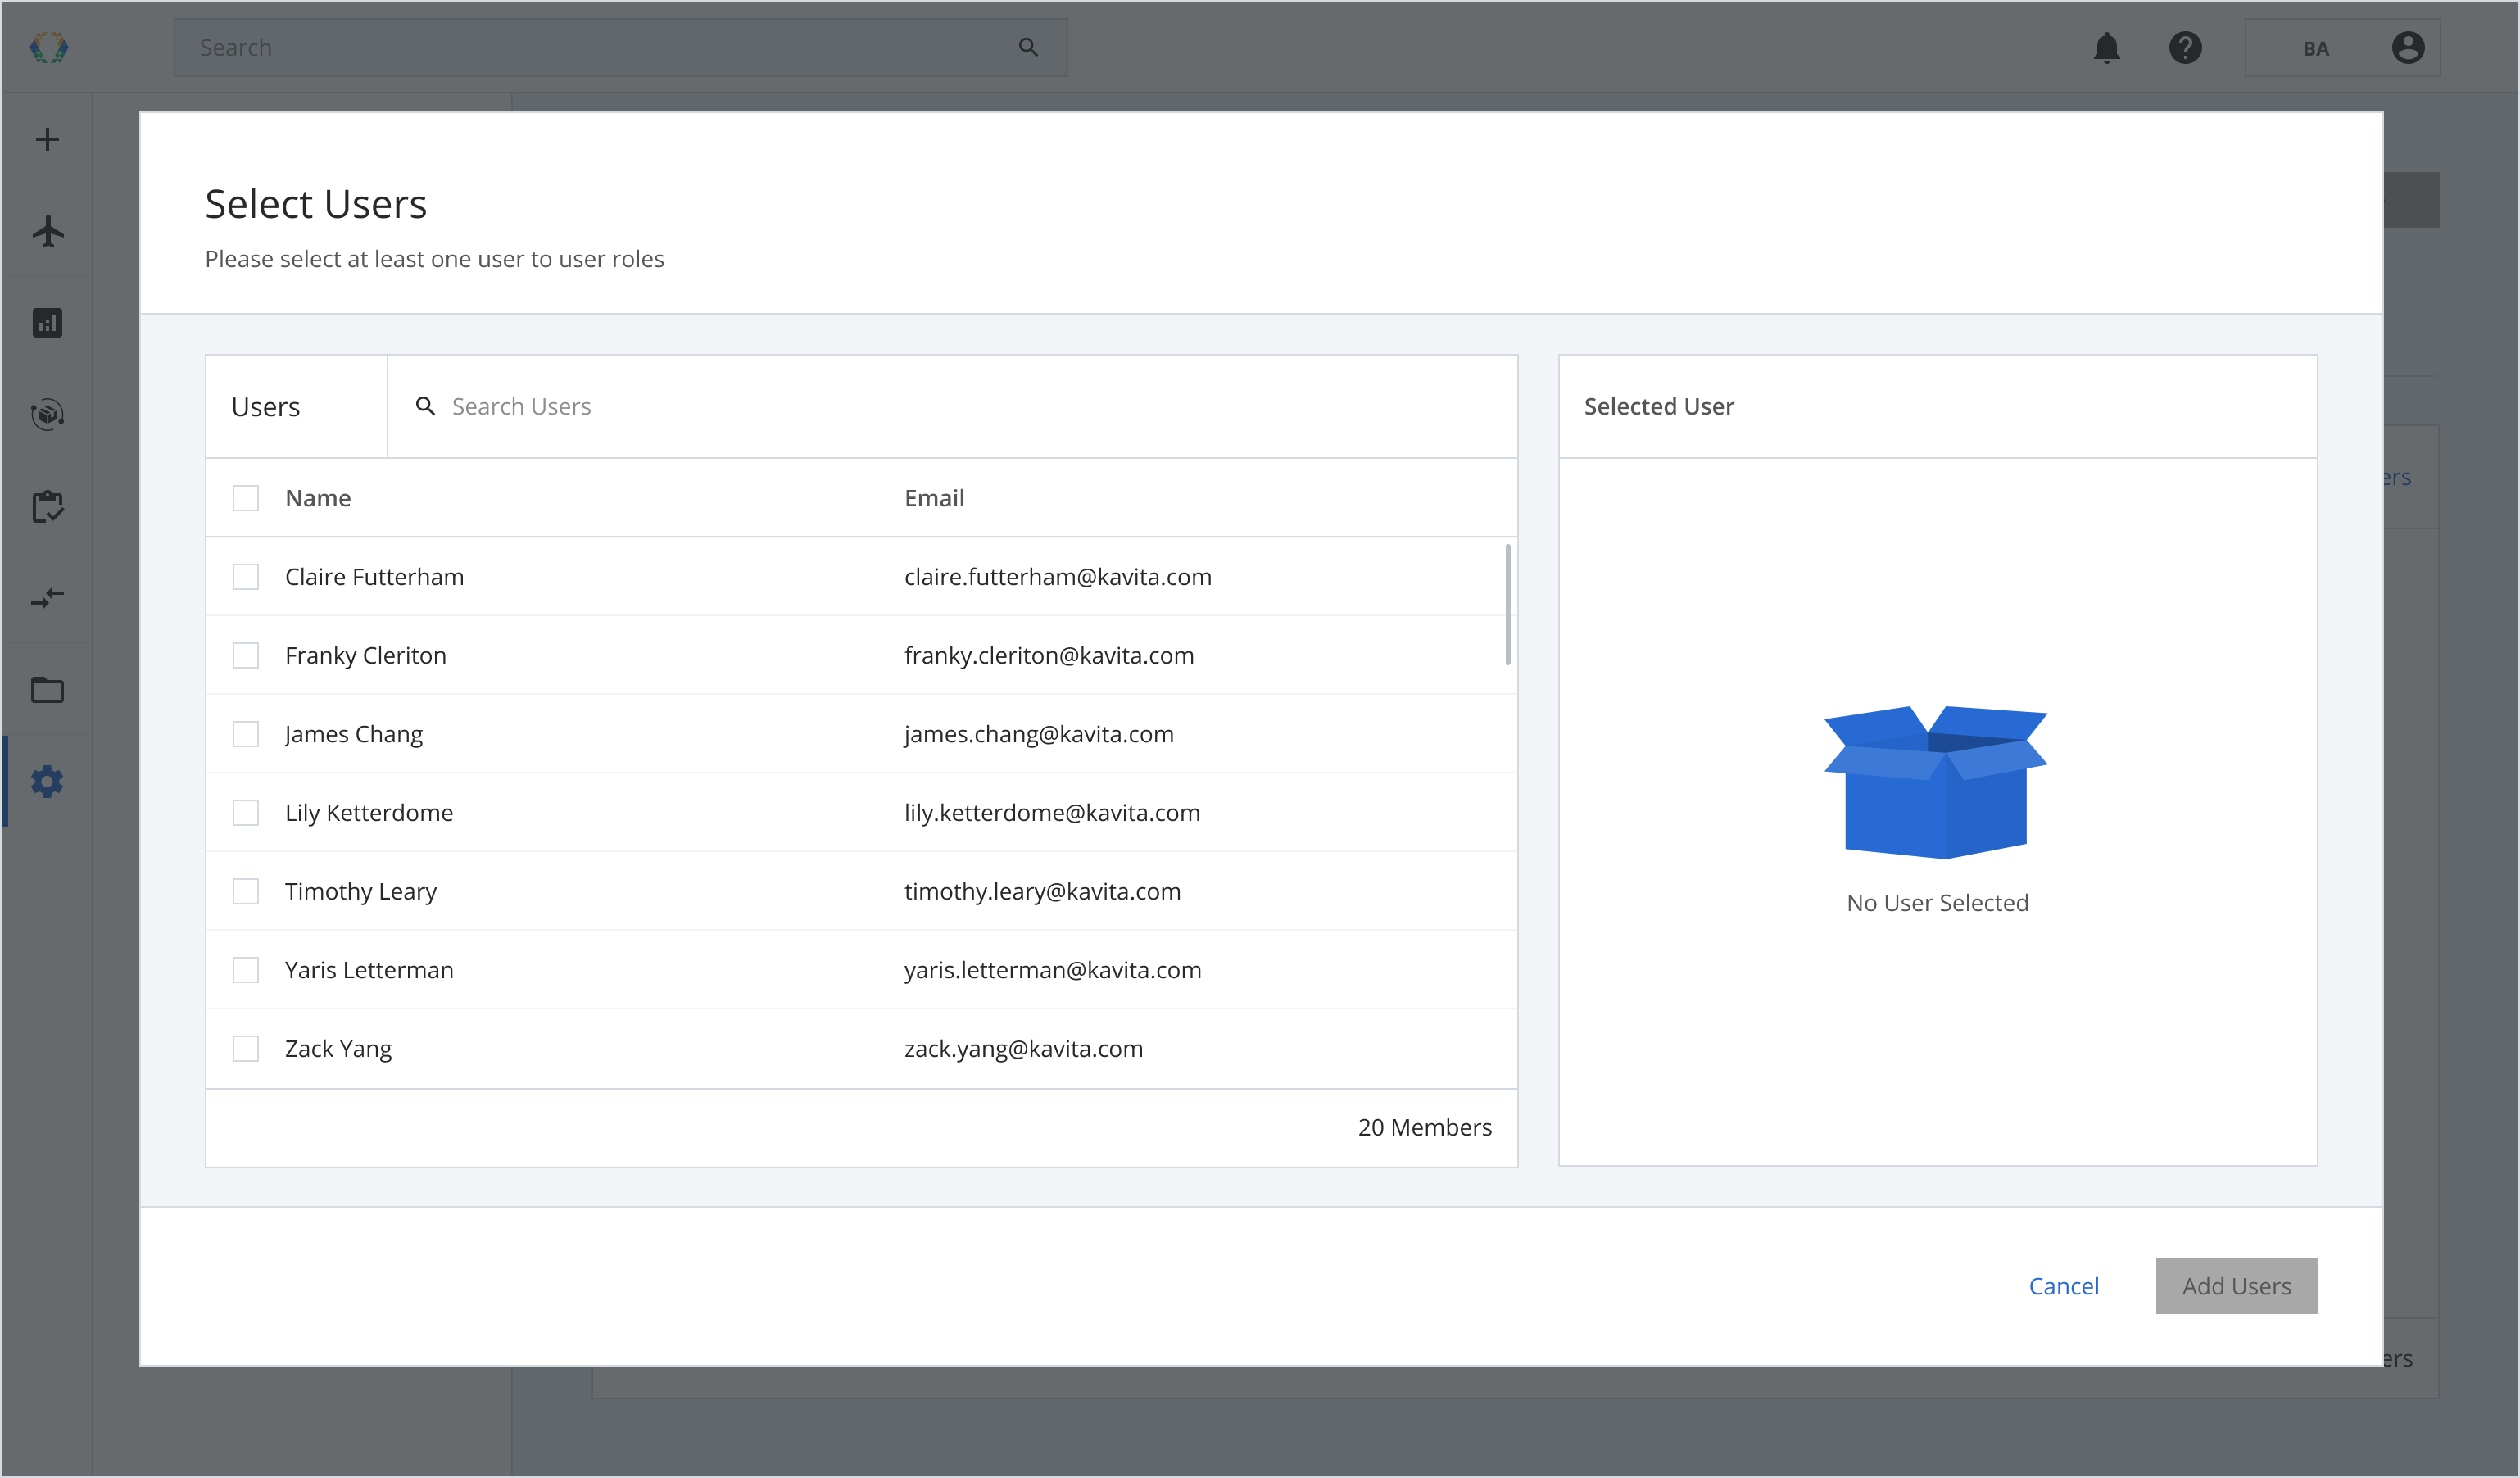
Step 11: Select existing users to assign to the new role from the users list.
Step 12: Once the users are selected, click 'Add Users'.
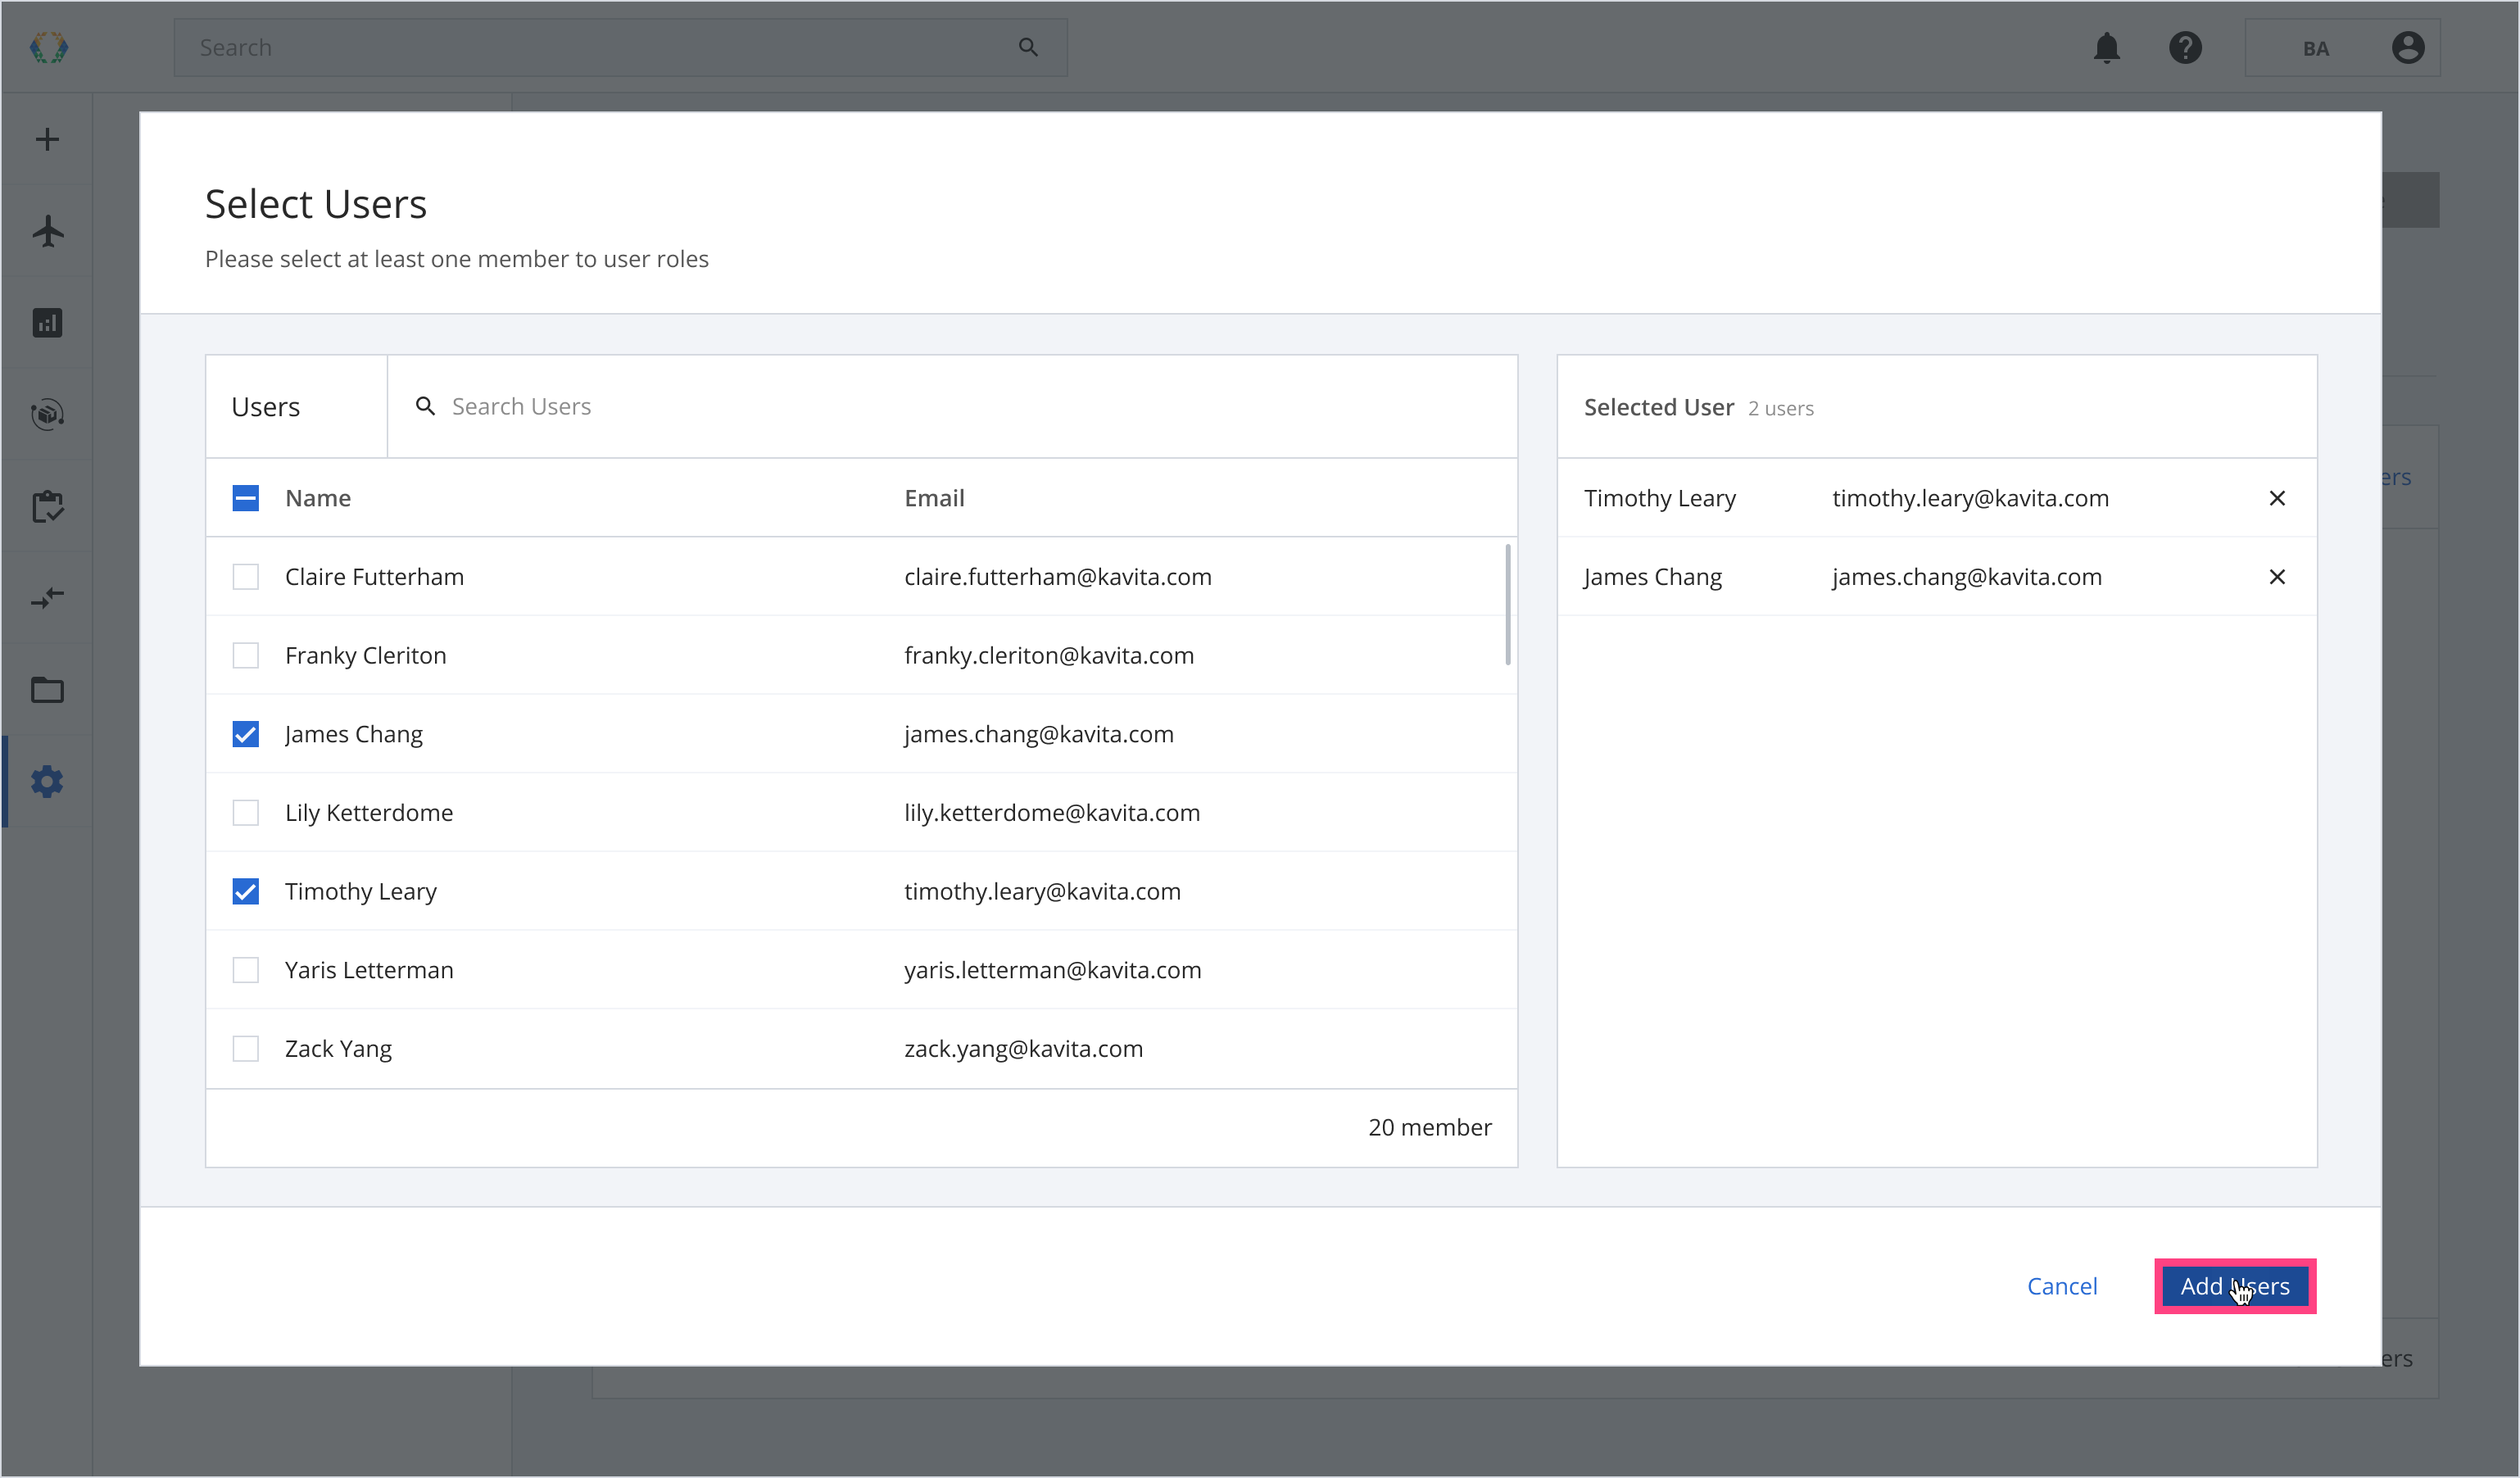
Step 13: The users will be assigned to the role and appear on the assigned users list.
When assigning a member to a role, the admin/user does not need to save manually.
Edit Existing User Roles
Editing Role Names
Step 1: From the user roles list, click on the role you want to edit.
Step 2: Edit the role name under the general tab.
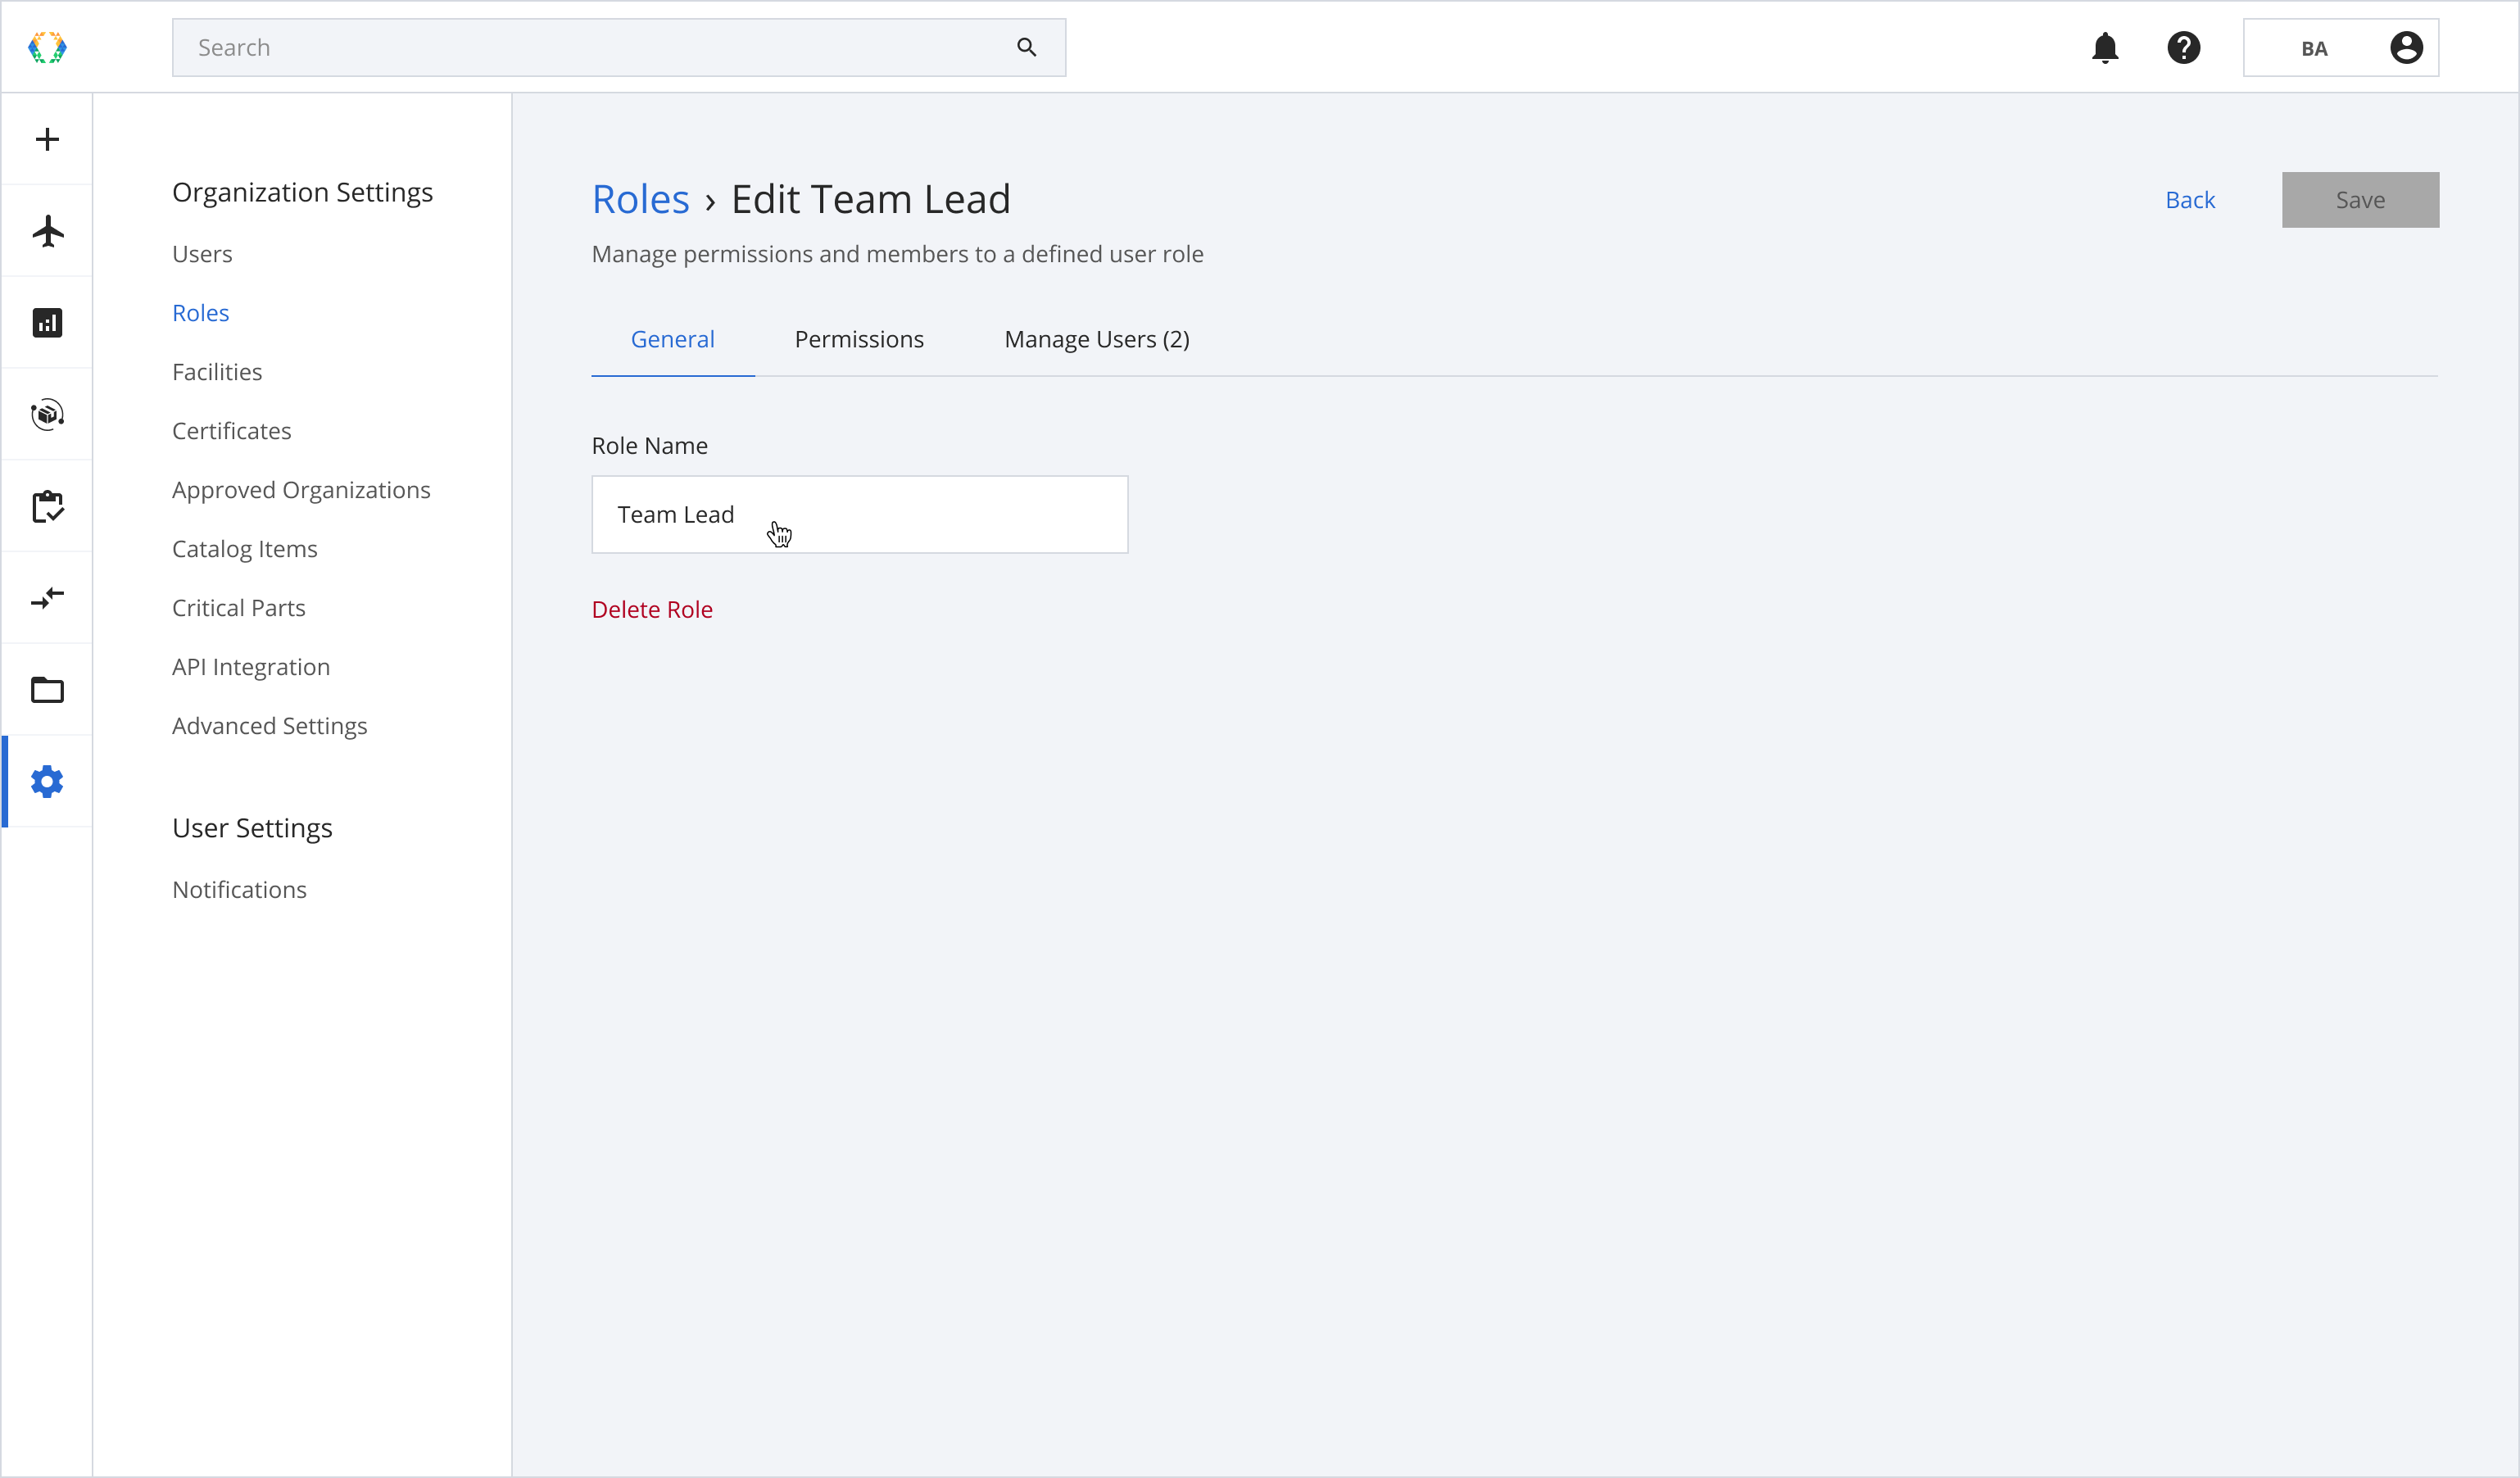
Step 3: Click 'Save'.
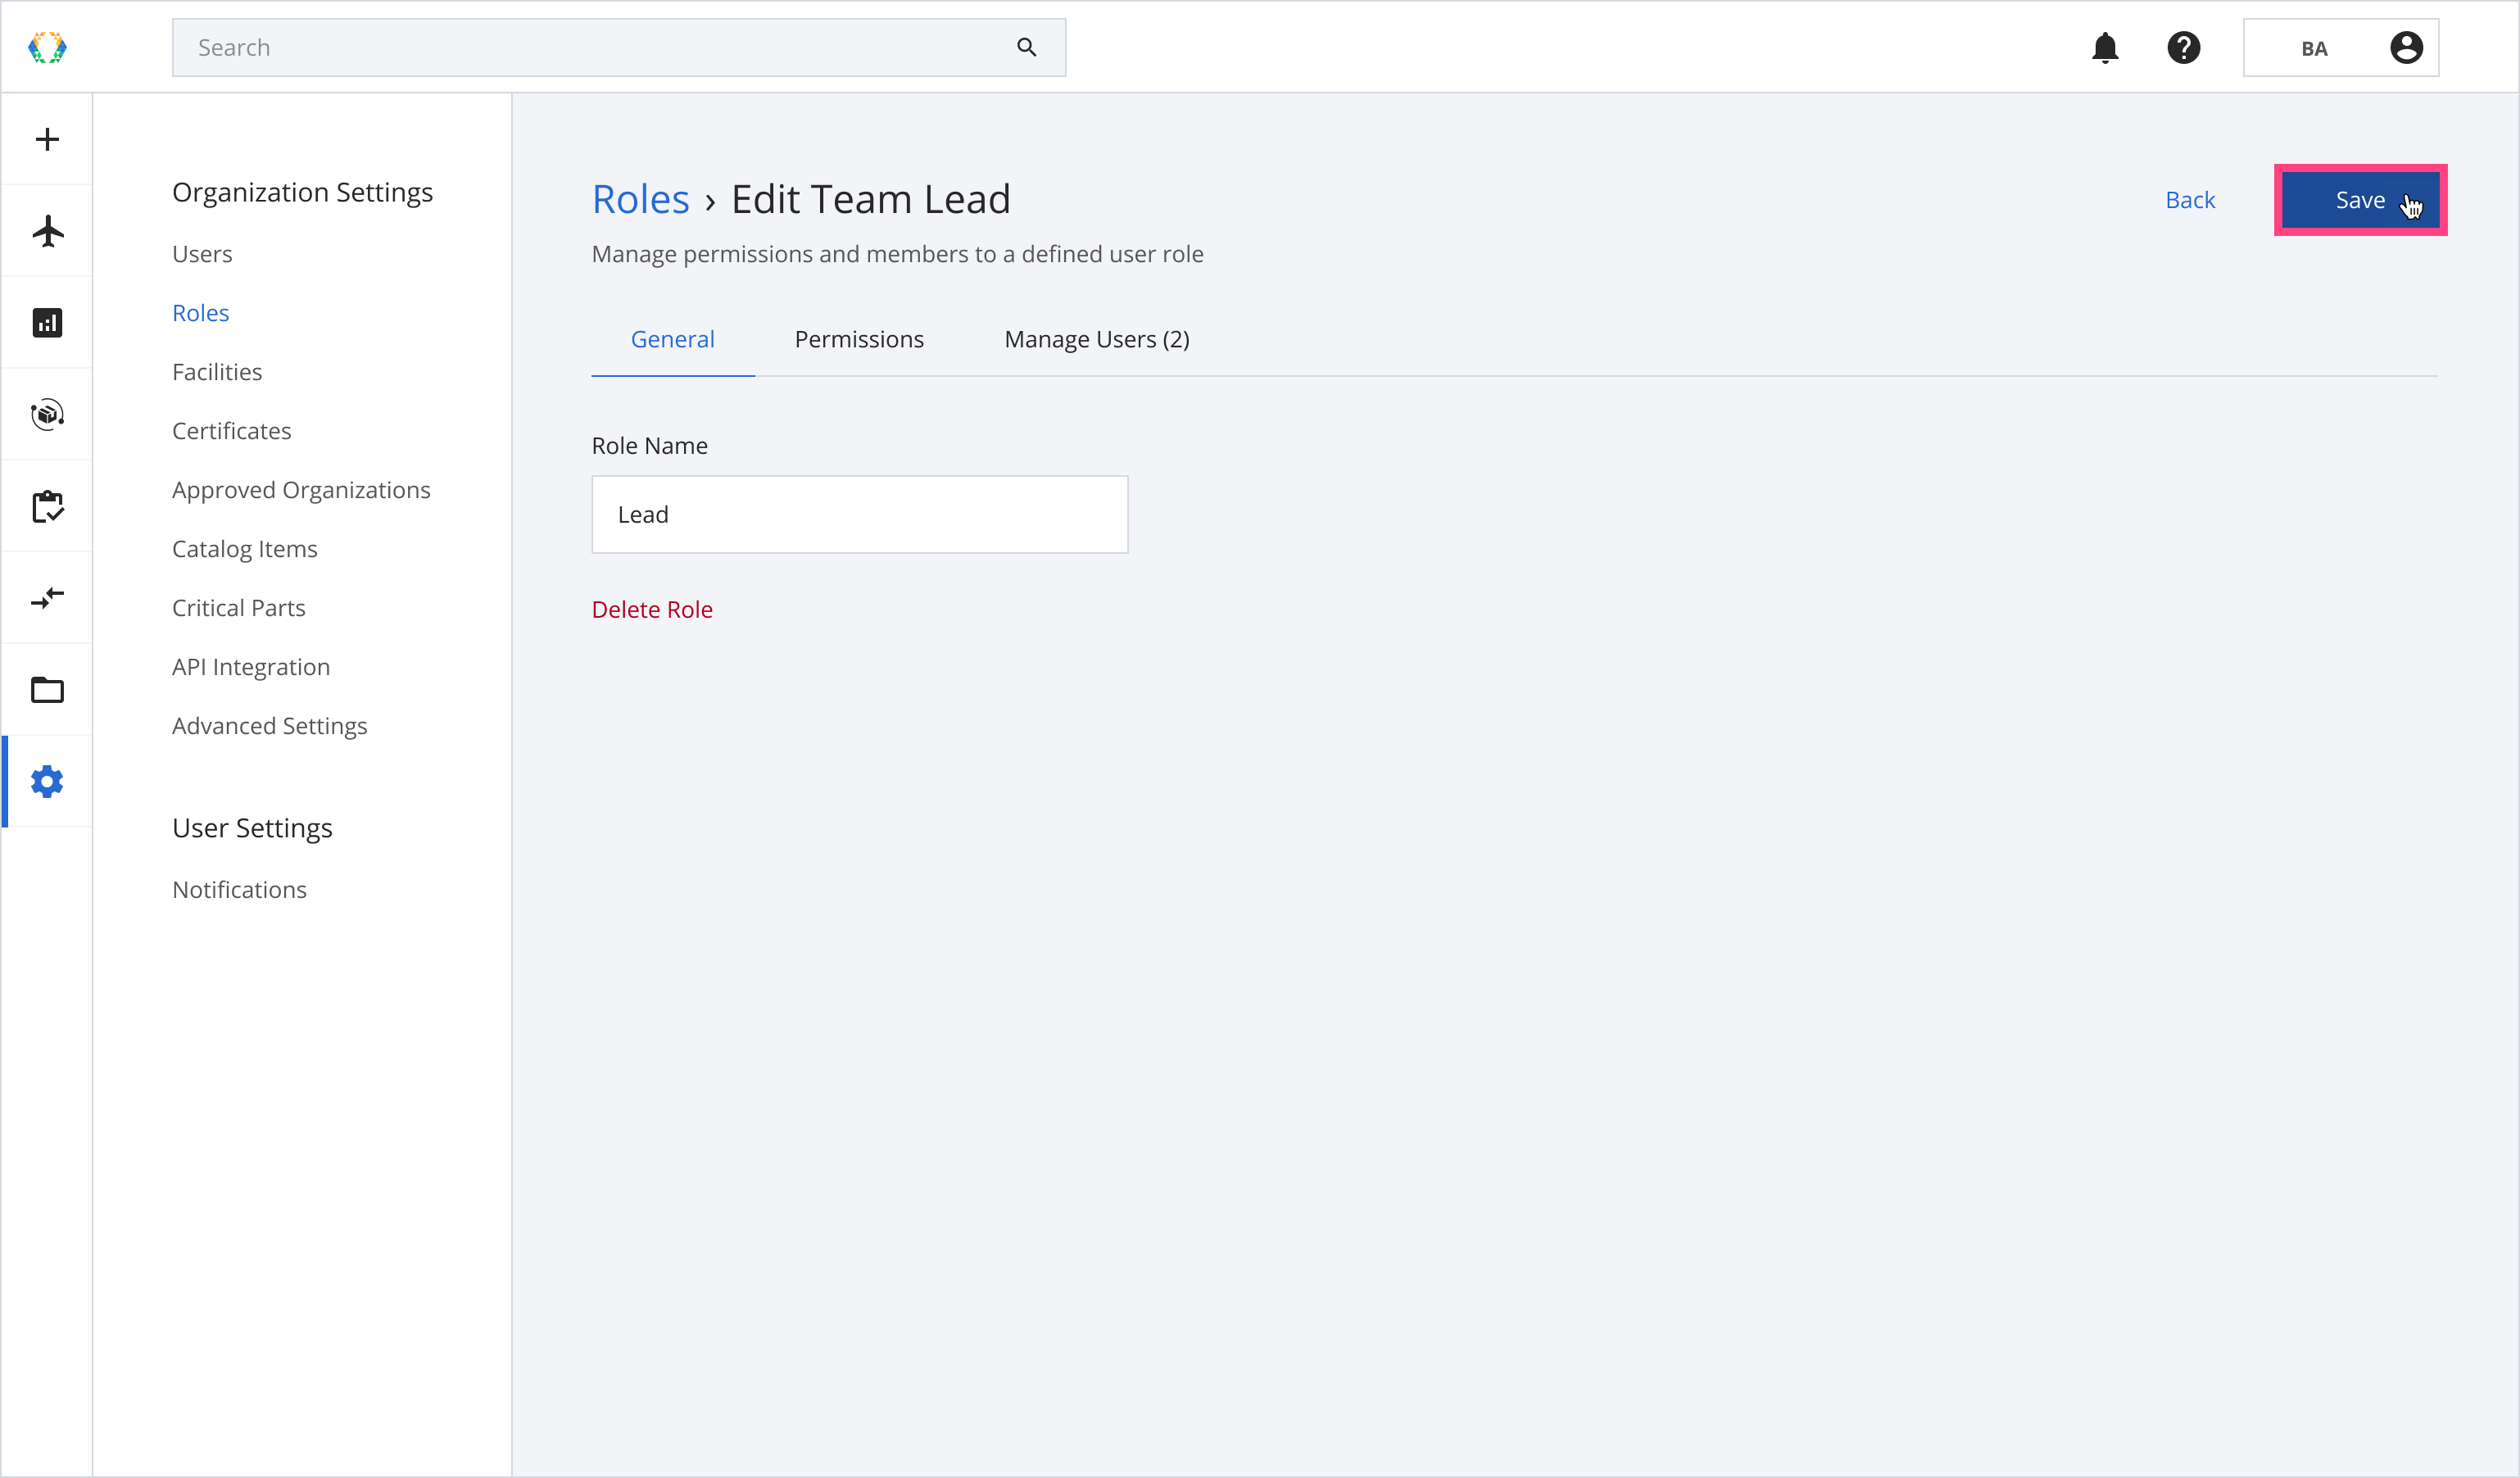
Once the role name is updated successfully, a success message will appear at the bottom of the screen.
Editing Permissions
Step 1: From the user roles list, click on the role you want to edit permissions.

Step 2: To edit permissions, click 'Permissions'.
Step 3: Click the toggle on which permissions you want to change to add/remove.
Optional: You can remove all permissions by clicking the toggle in each section.
Step 4: Click 'Save'.

Once the permissions have been updated successfully, a success message will appear at the bottom of the screen.
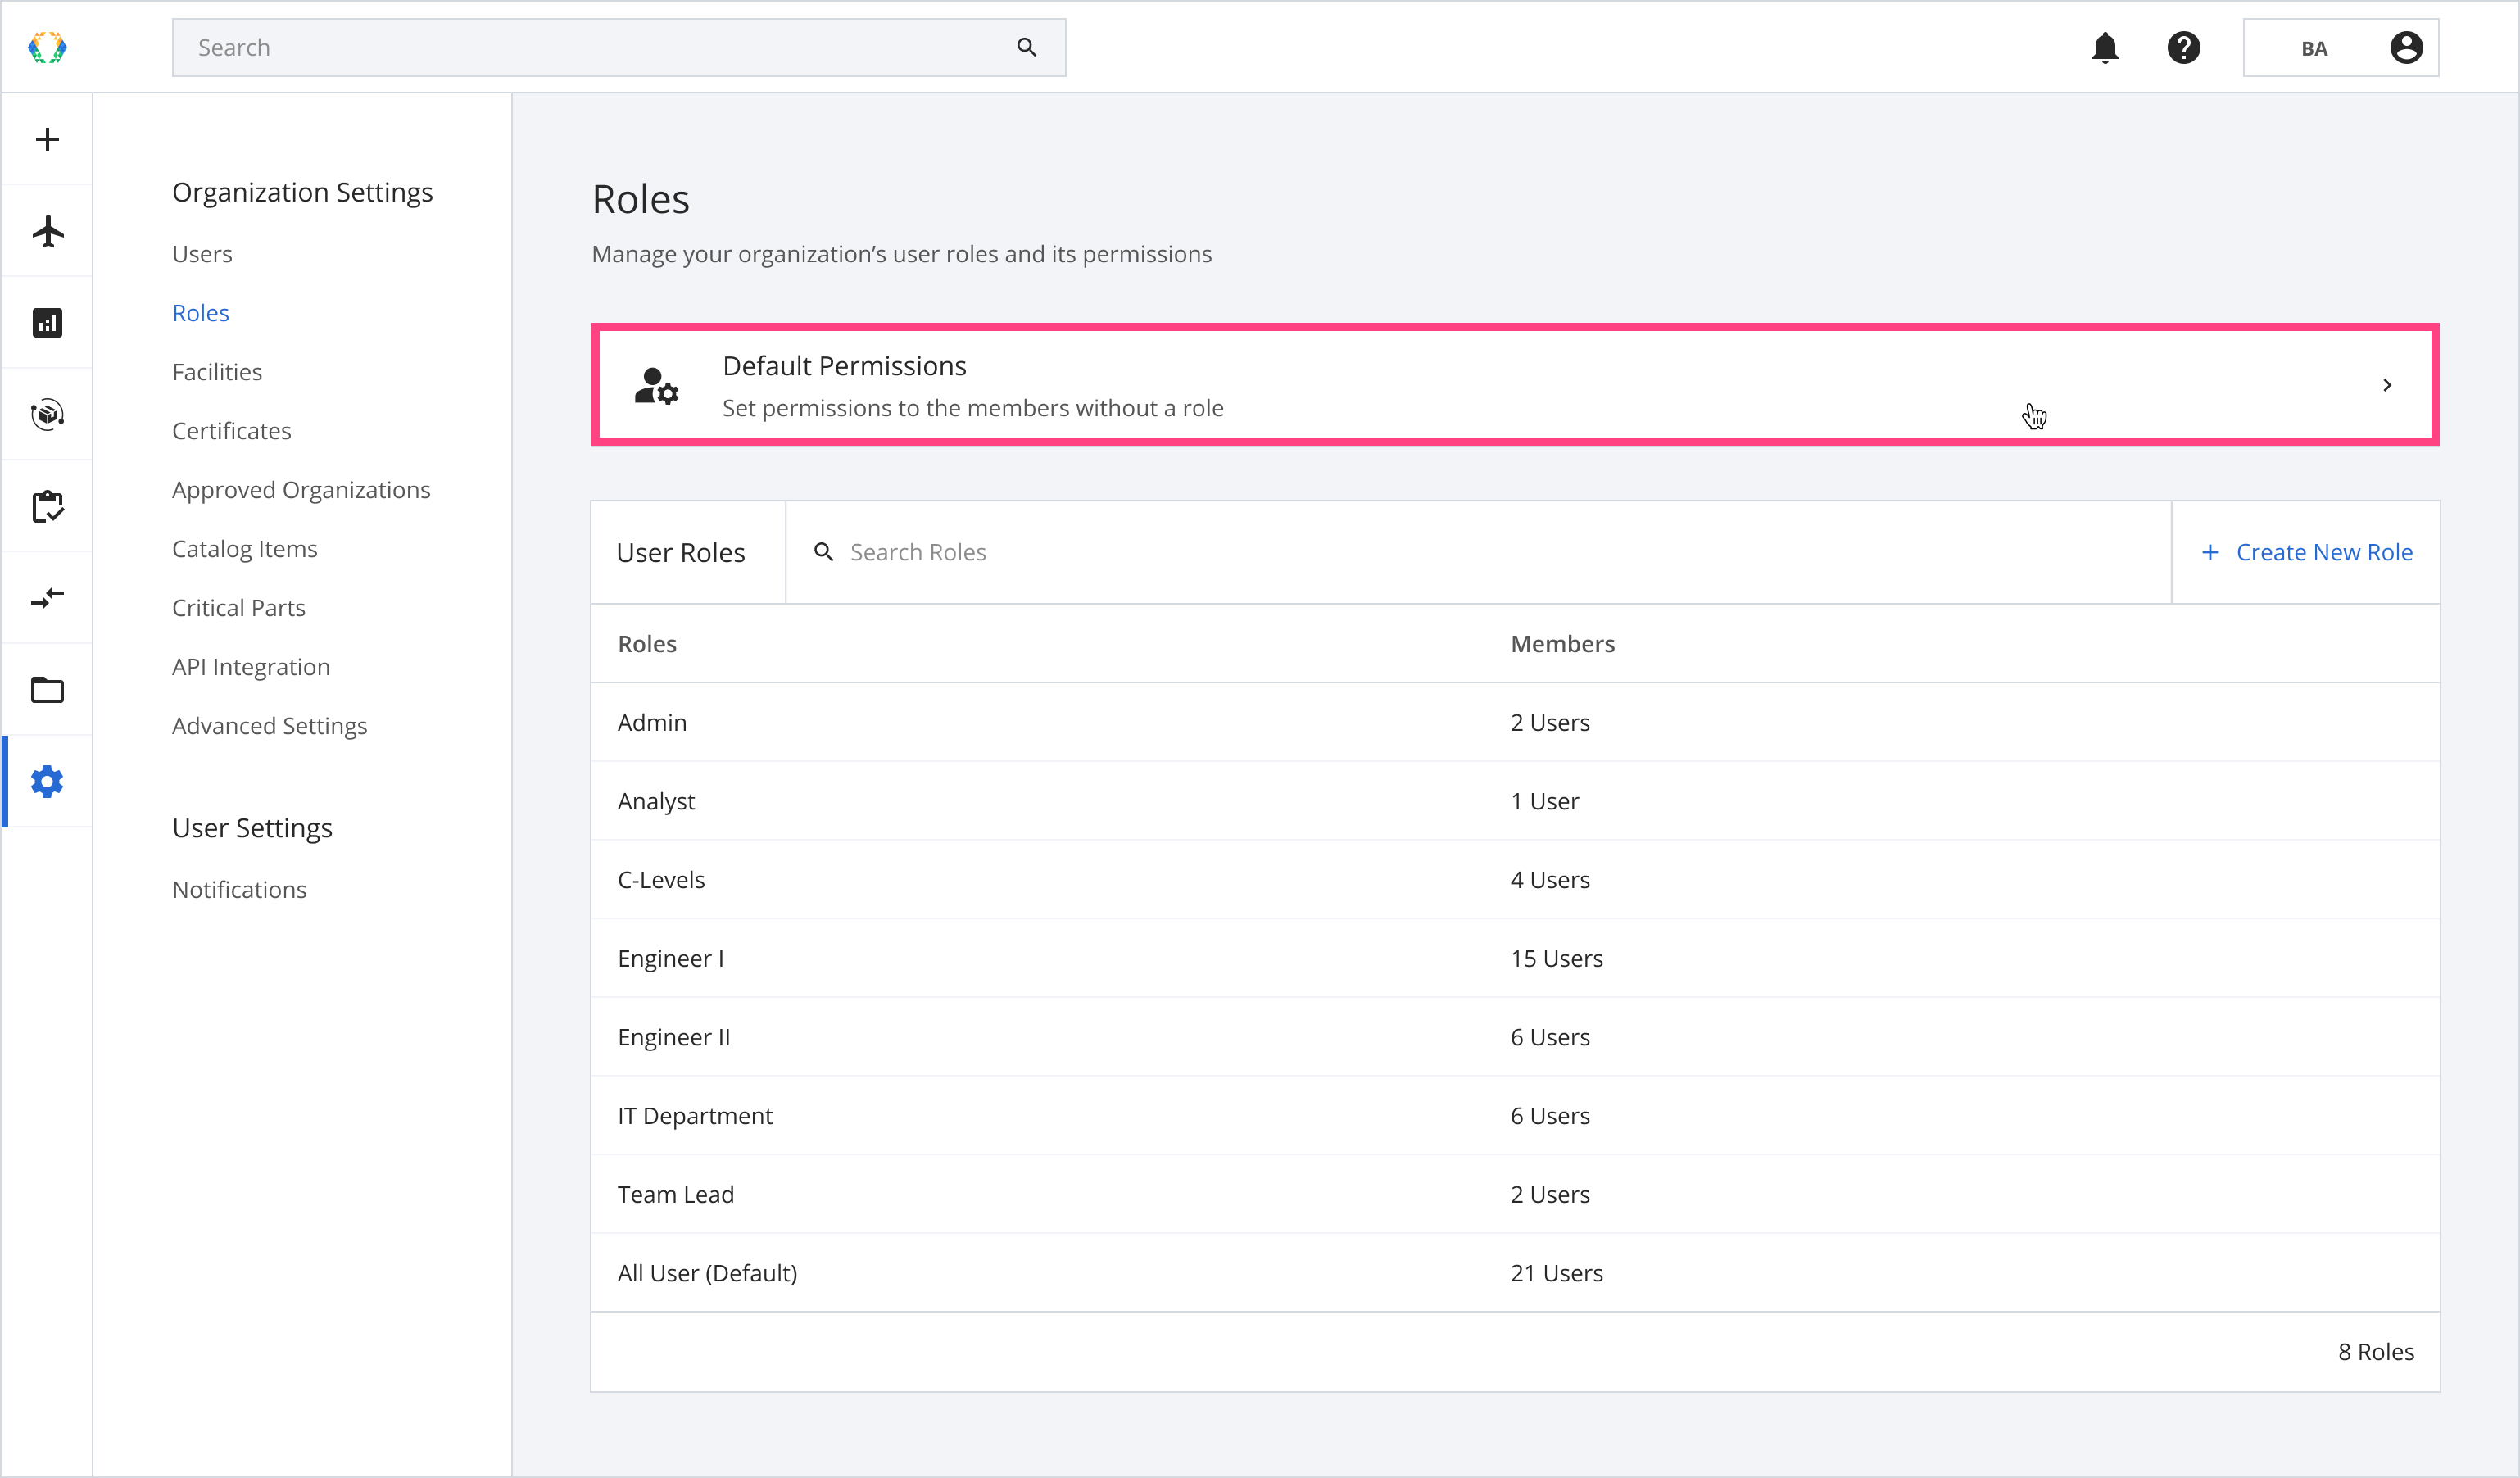
Edit default role permissions
The default role permissions setting is to set permissions to the users without a defined role. The default permissions are applied to all users within your organization as a general rule of access.
Step 1: Click 'Default Permissions' to edit the default role permissions.
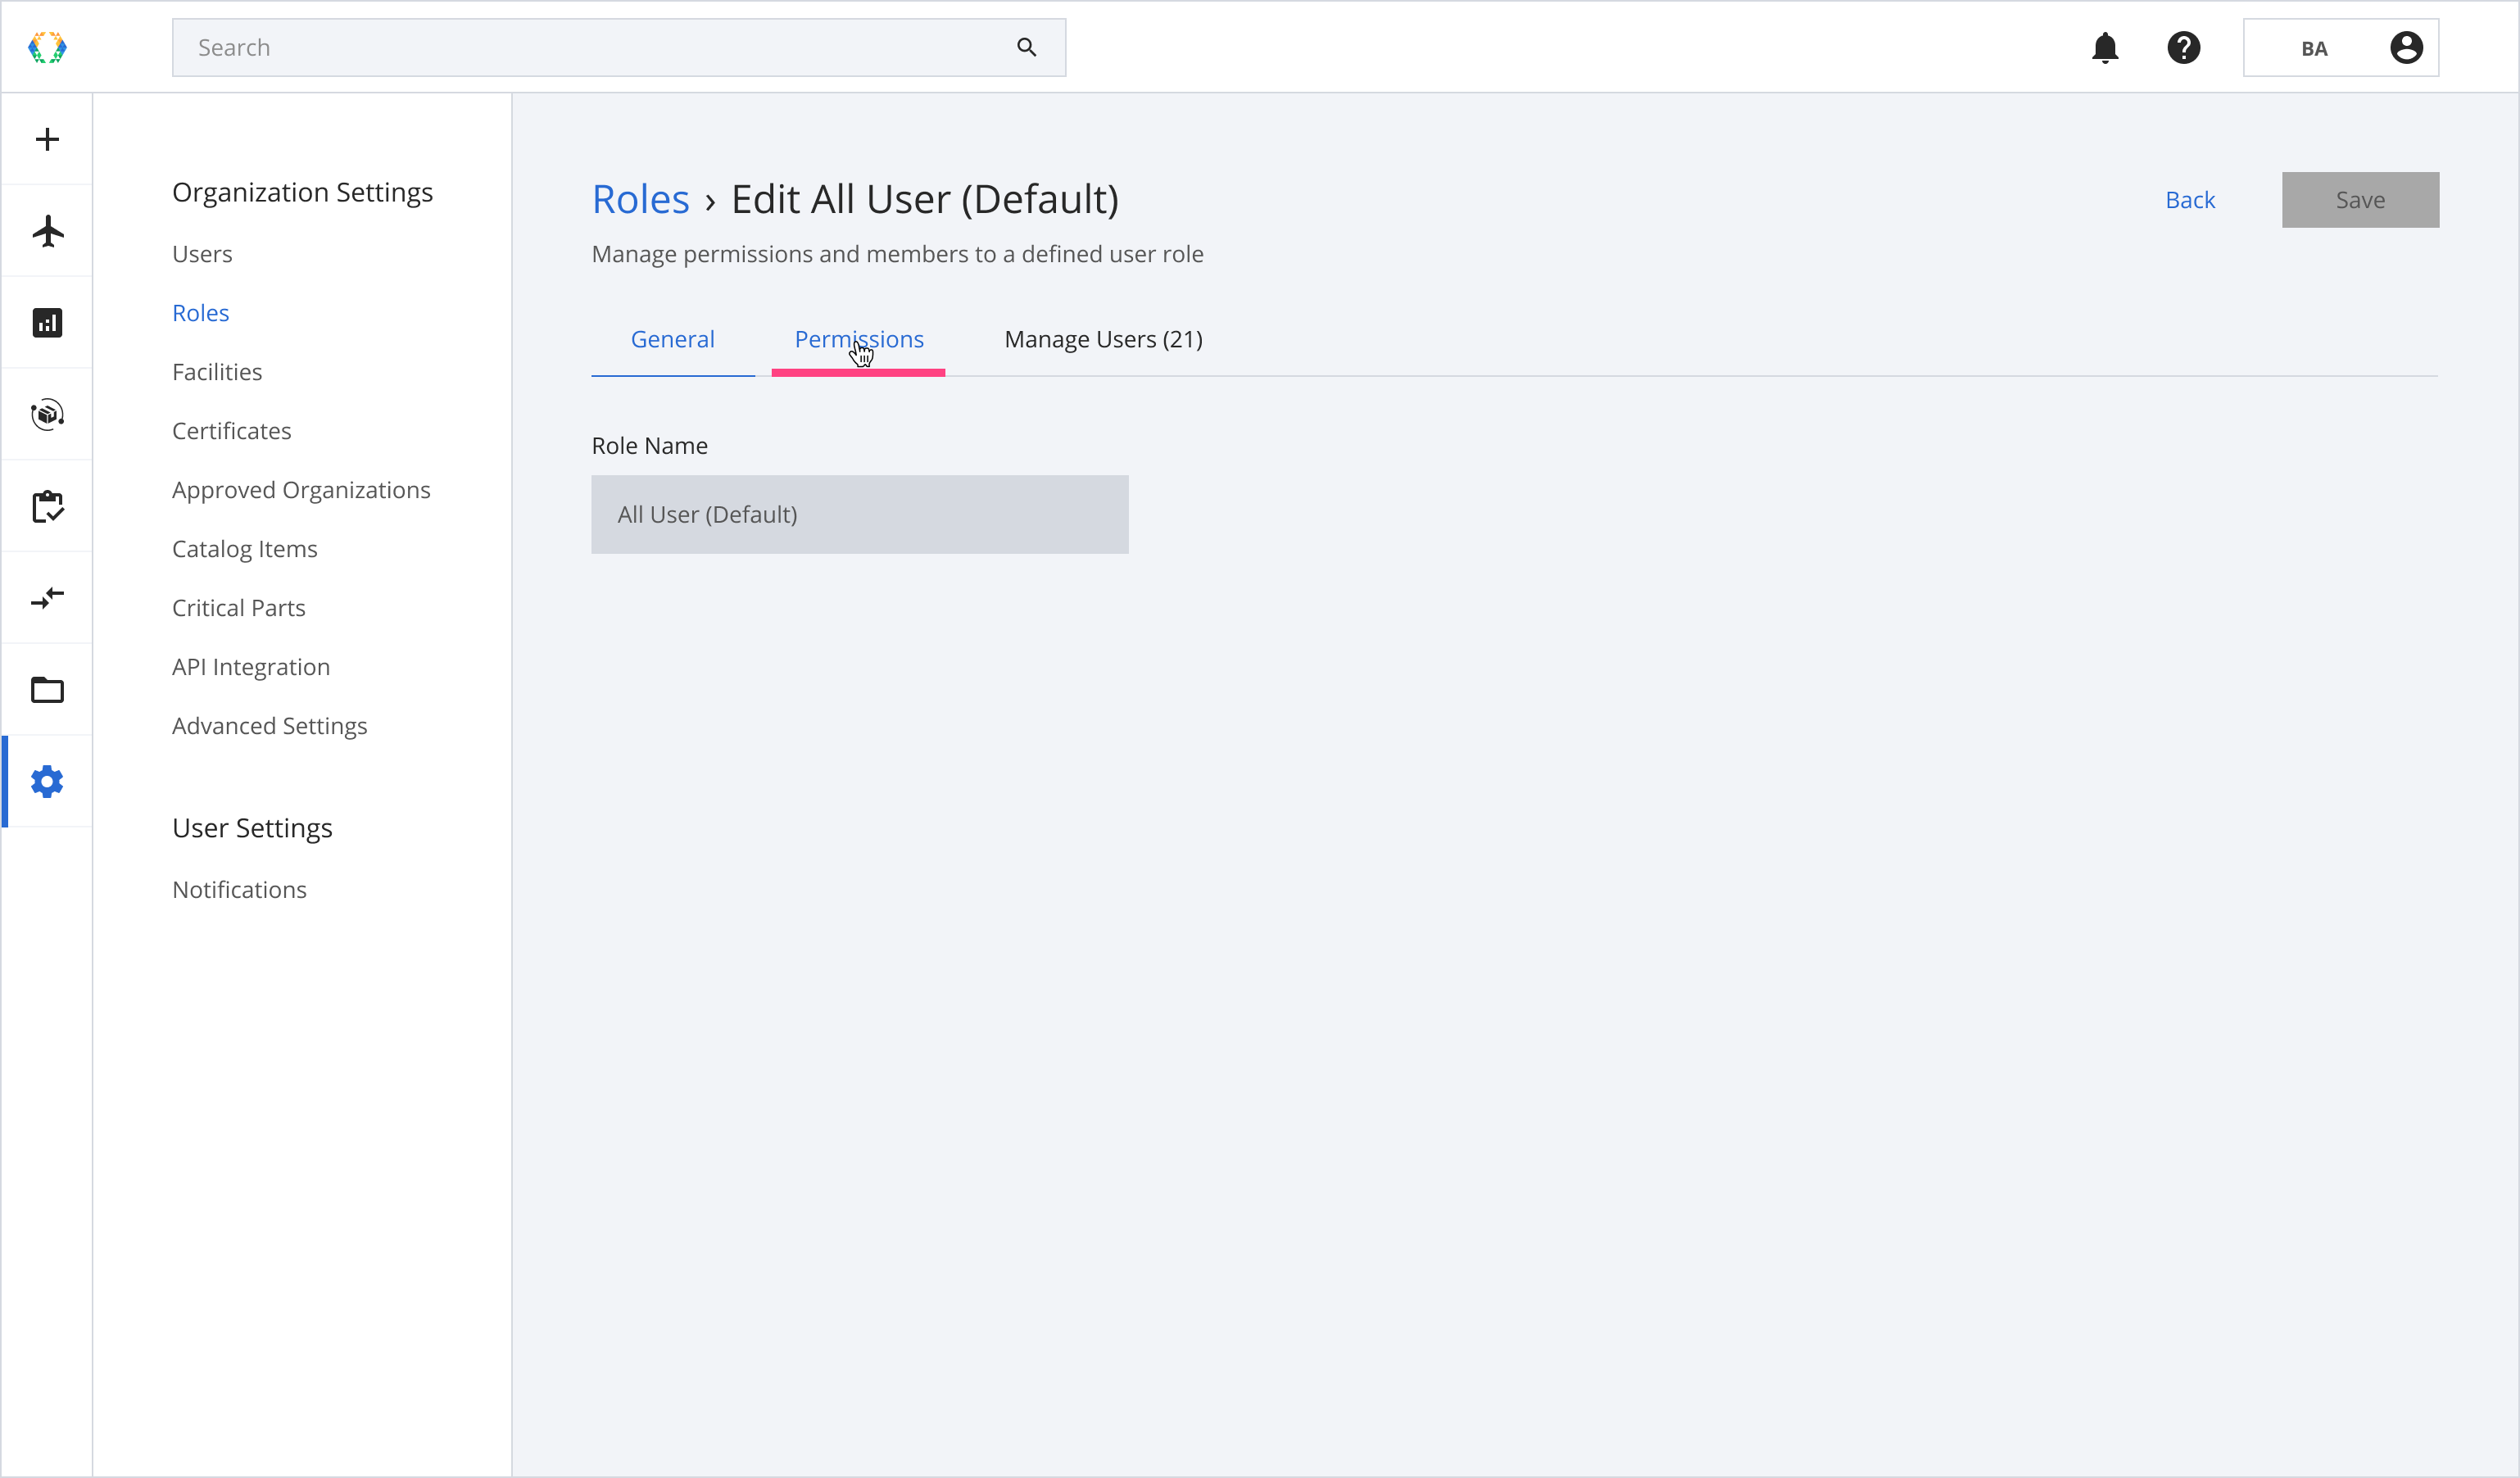
Step 2: The Role Name is not editable as the settings are applied to all users. Click 'Permissions' to view the default permissions.
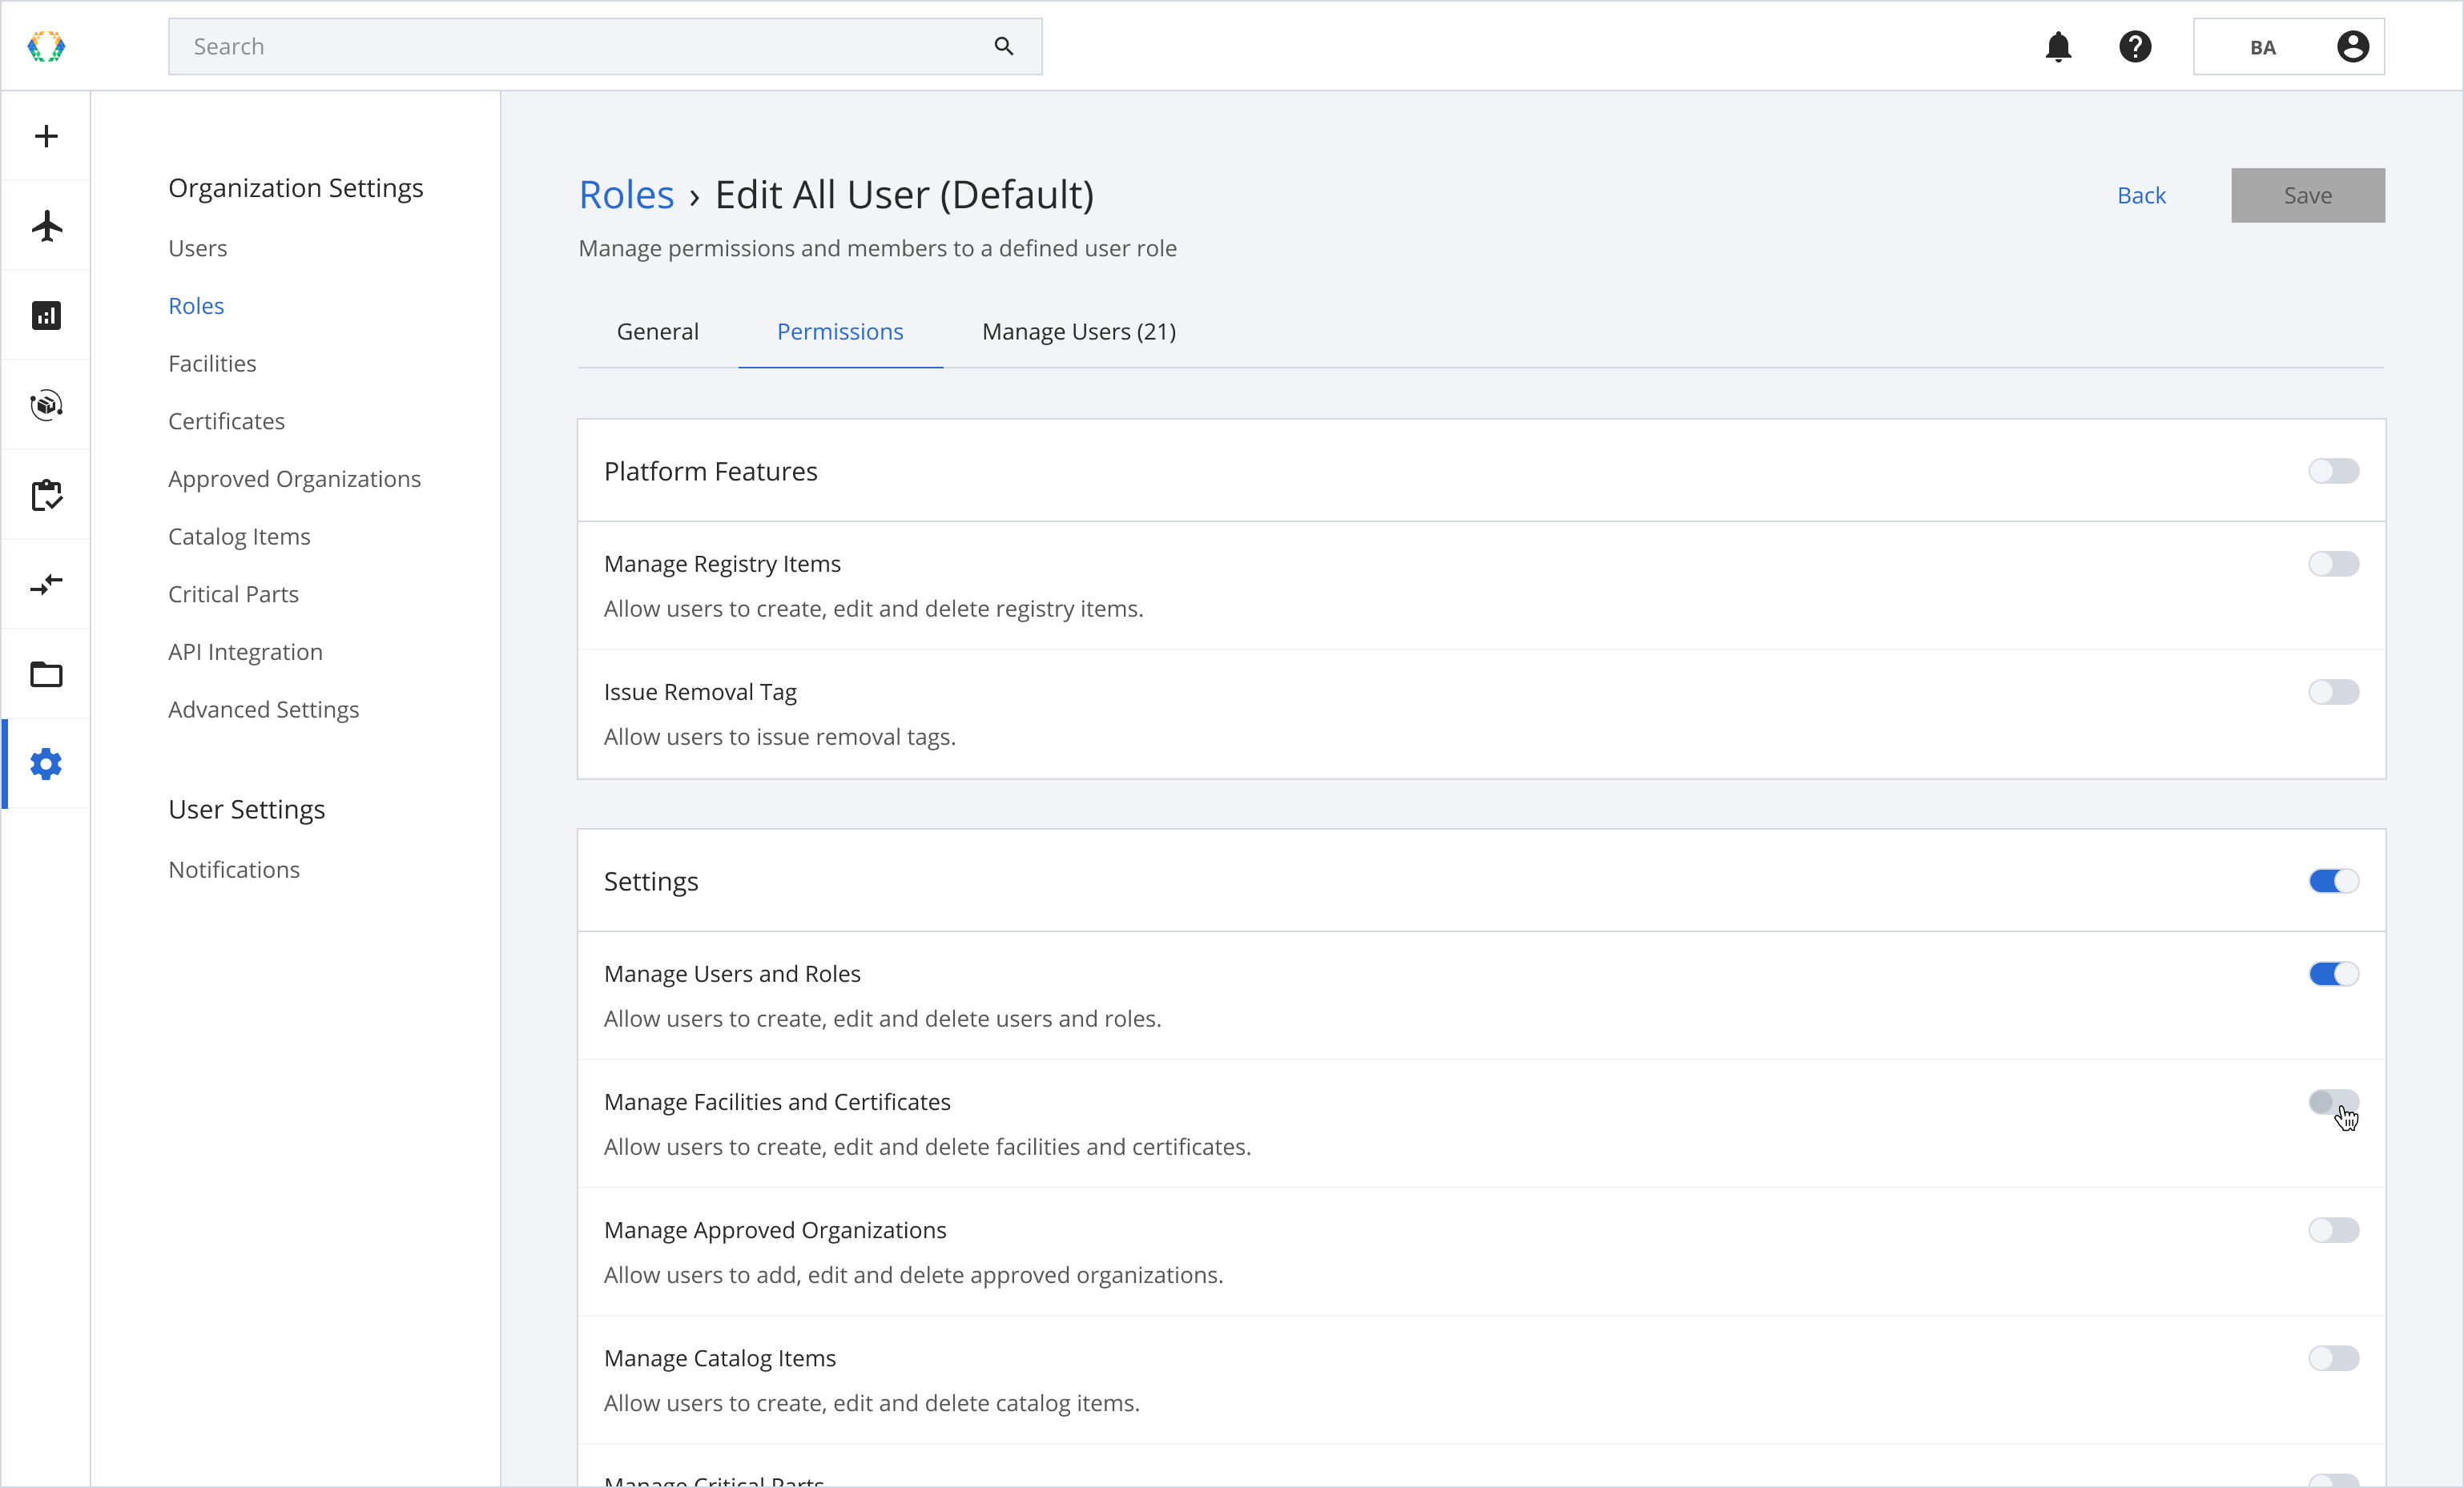
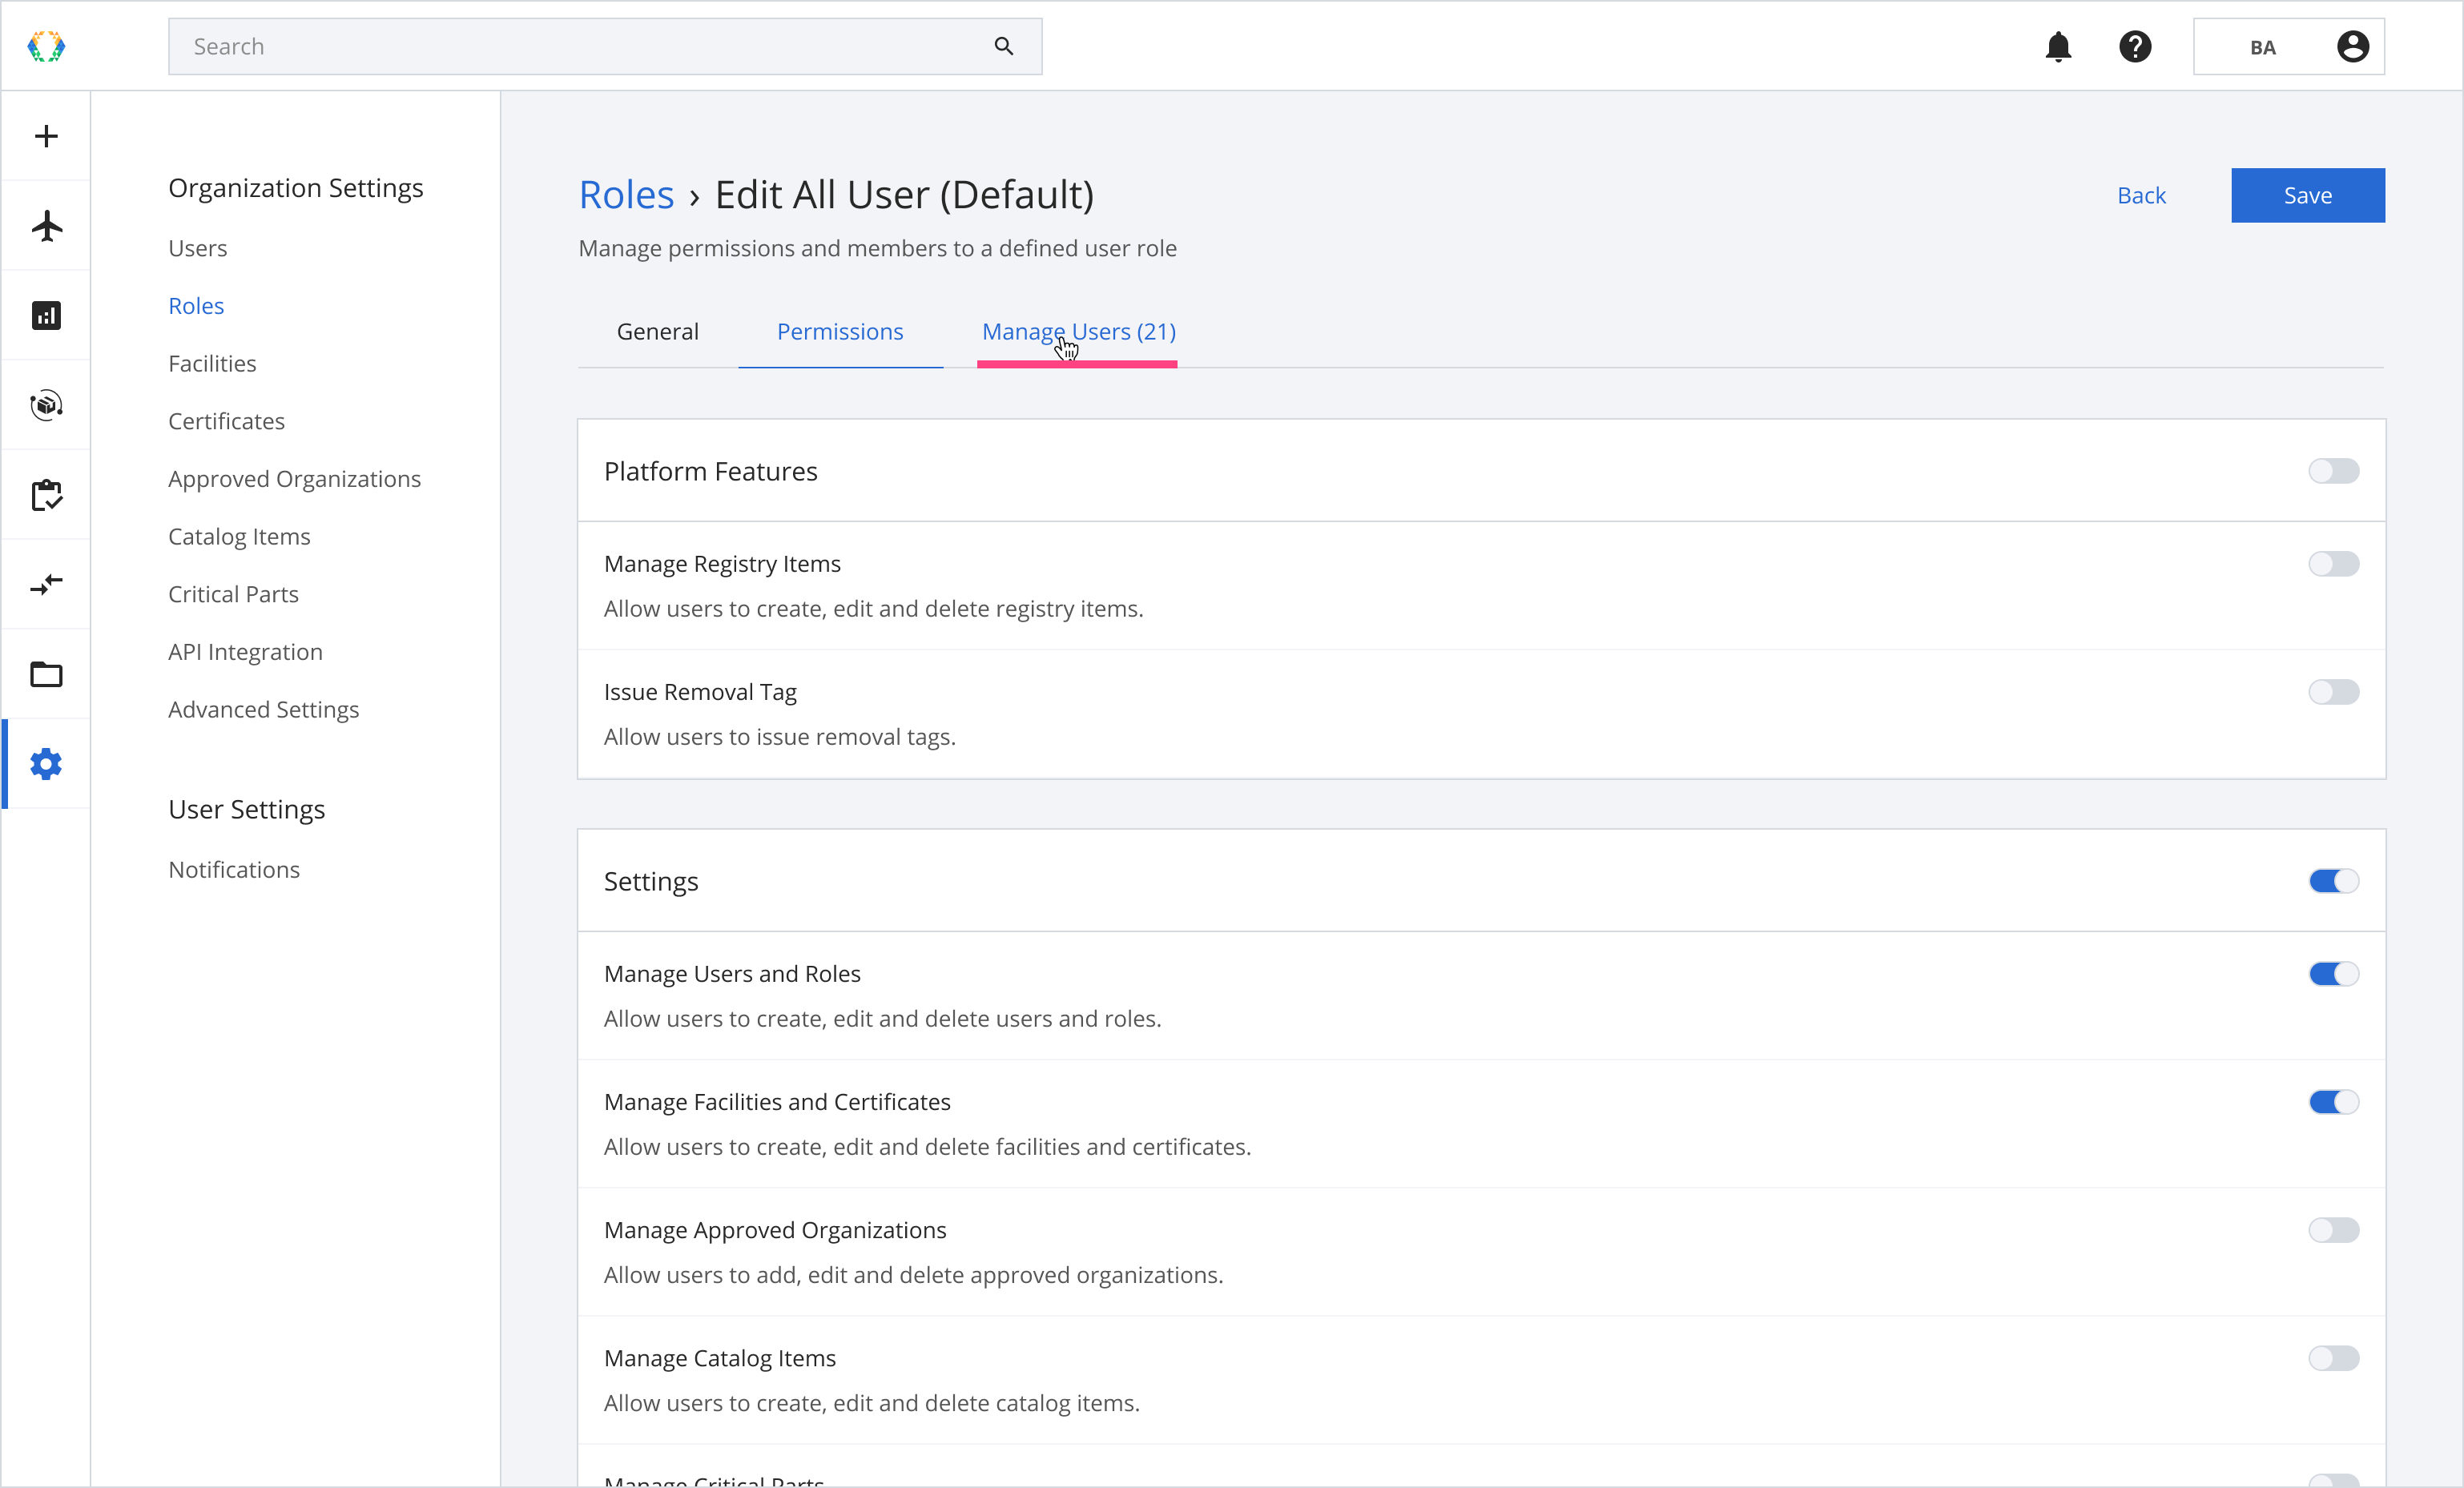
Step 3: Select the permissions you would like to enable/disable for all the users in your organization by clicking on the toggles on the right-hand side of the screen.
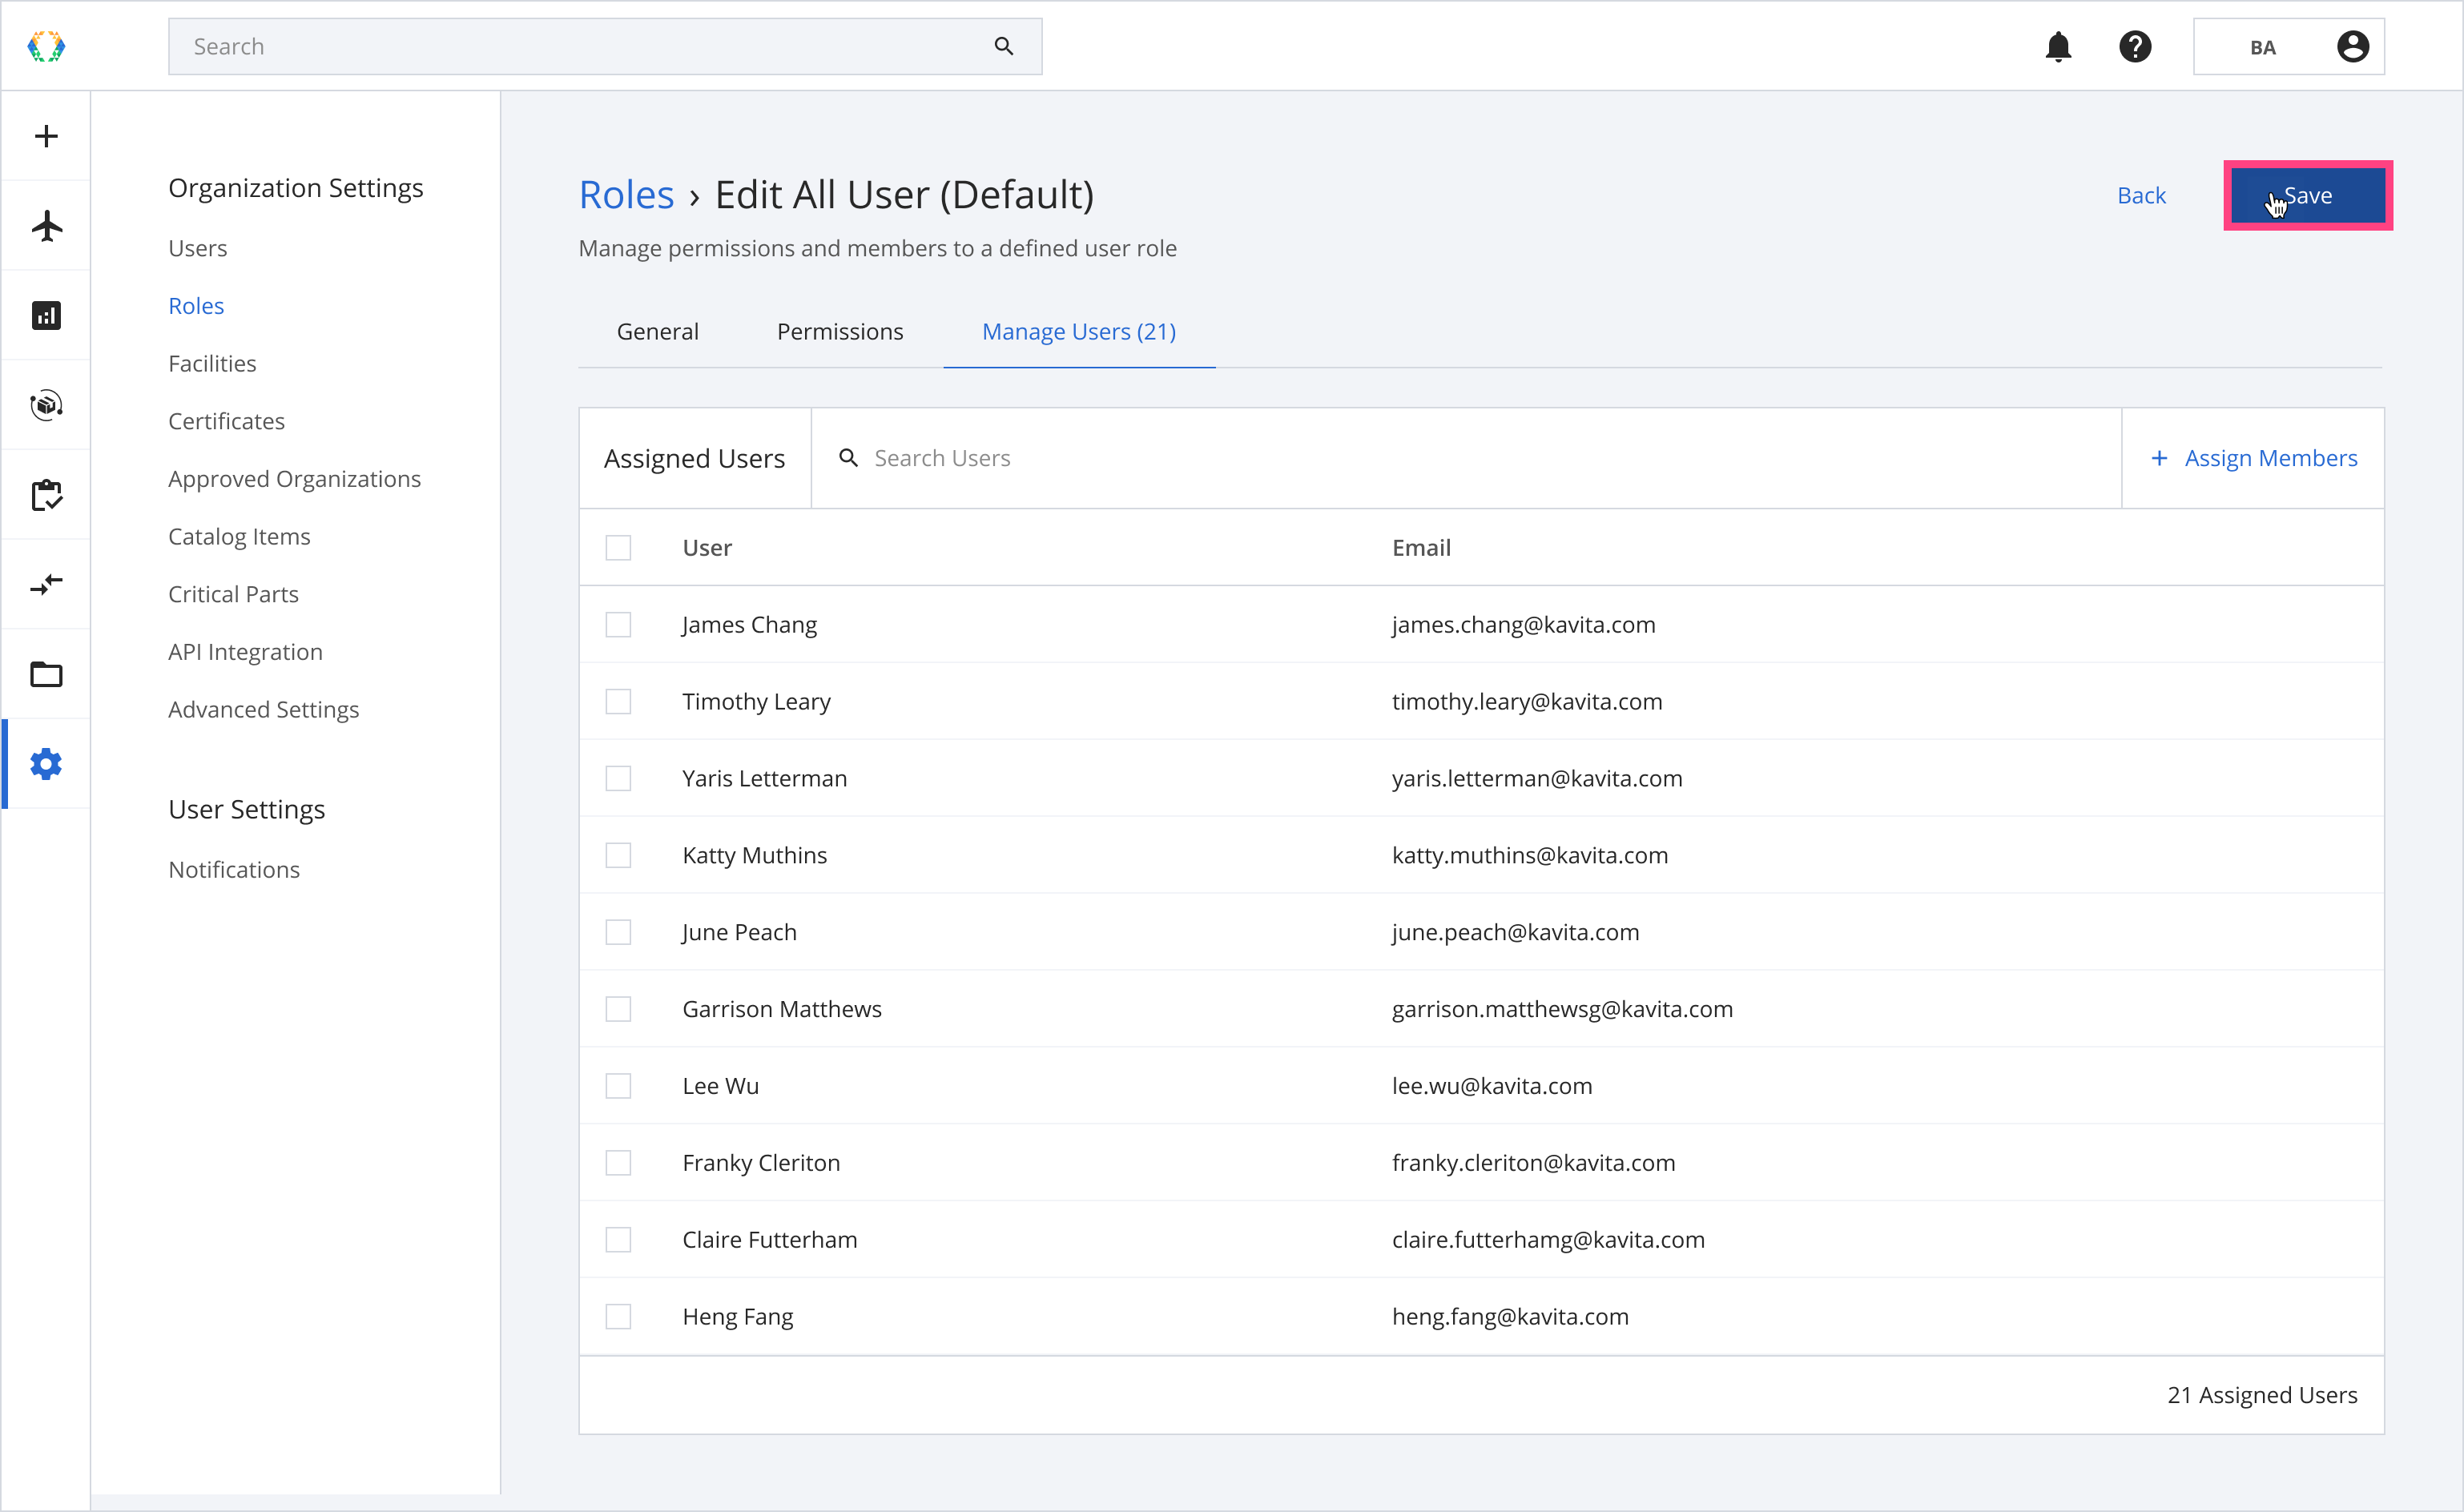
Step 4: Click 'Manage Users' to view the number of users to whom these permissions will be applied.
Step 5: Click 'Save'.
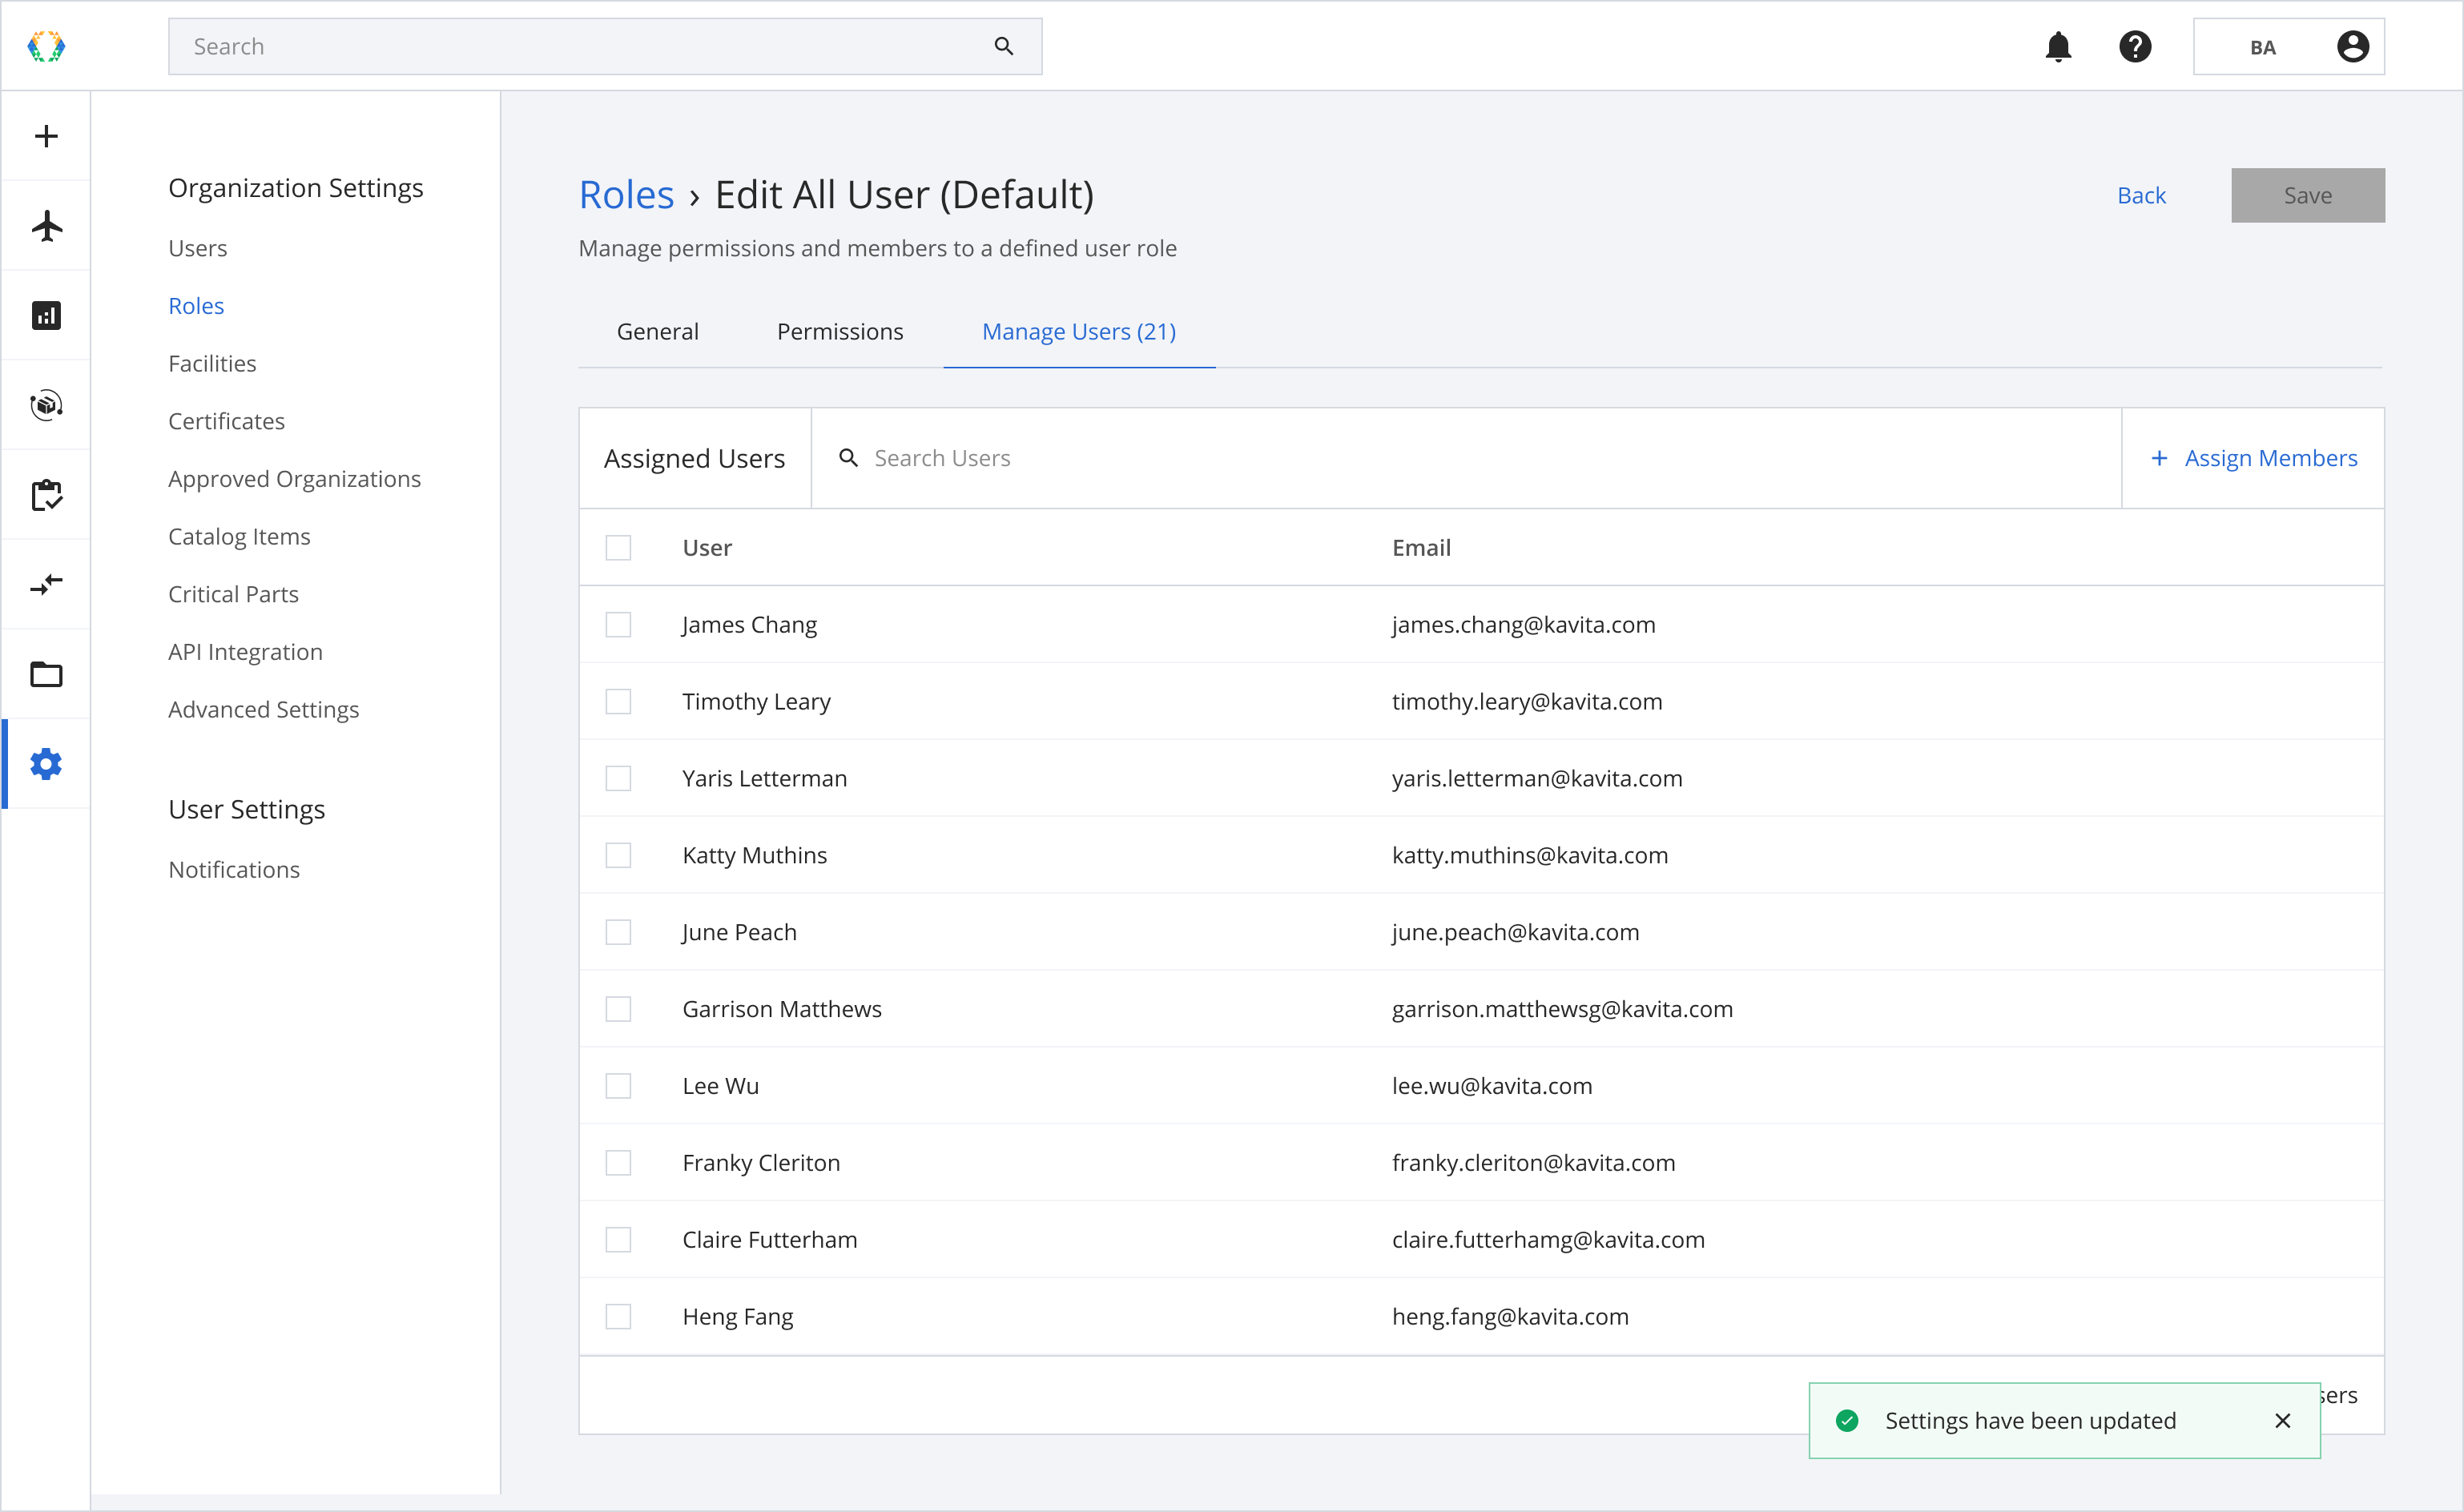
Once the settings have been saved successfully, a green message will appear at the bottom of the screen.
Remove Roles
Delete Role
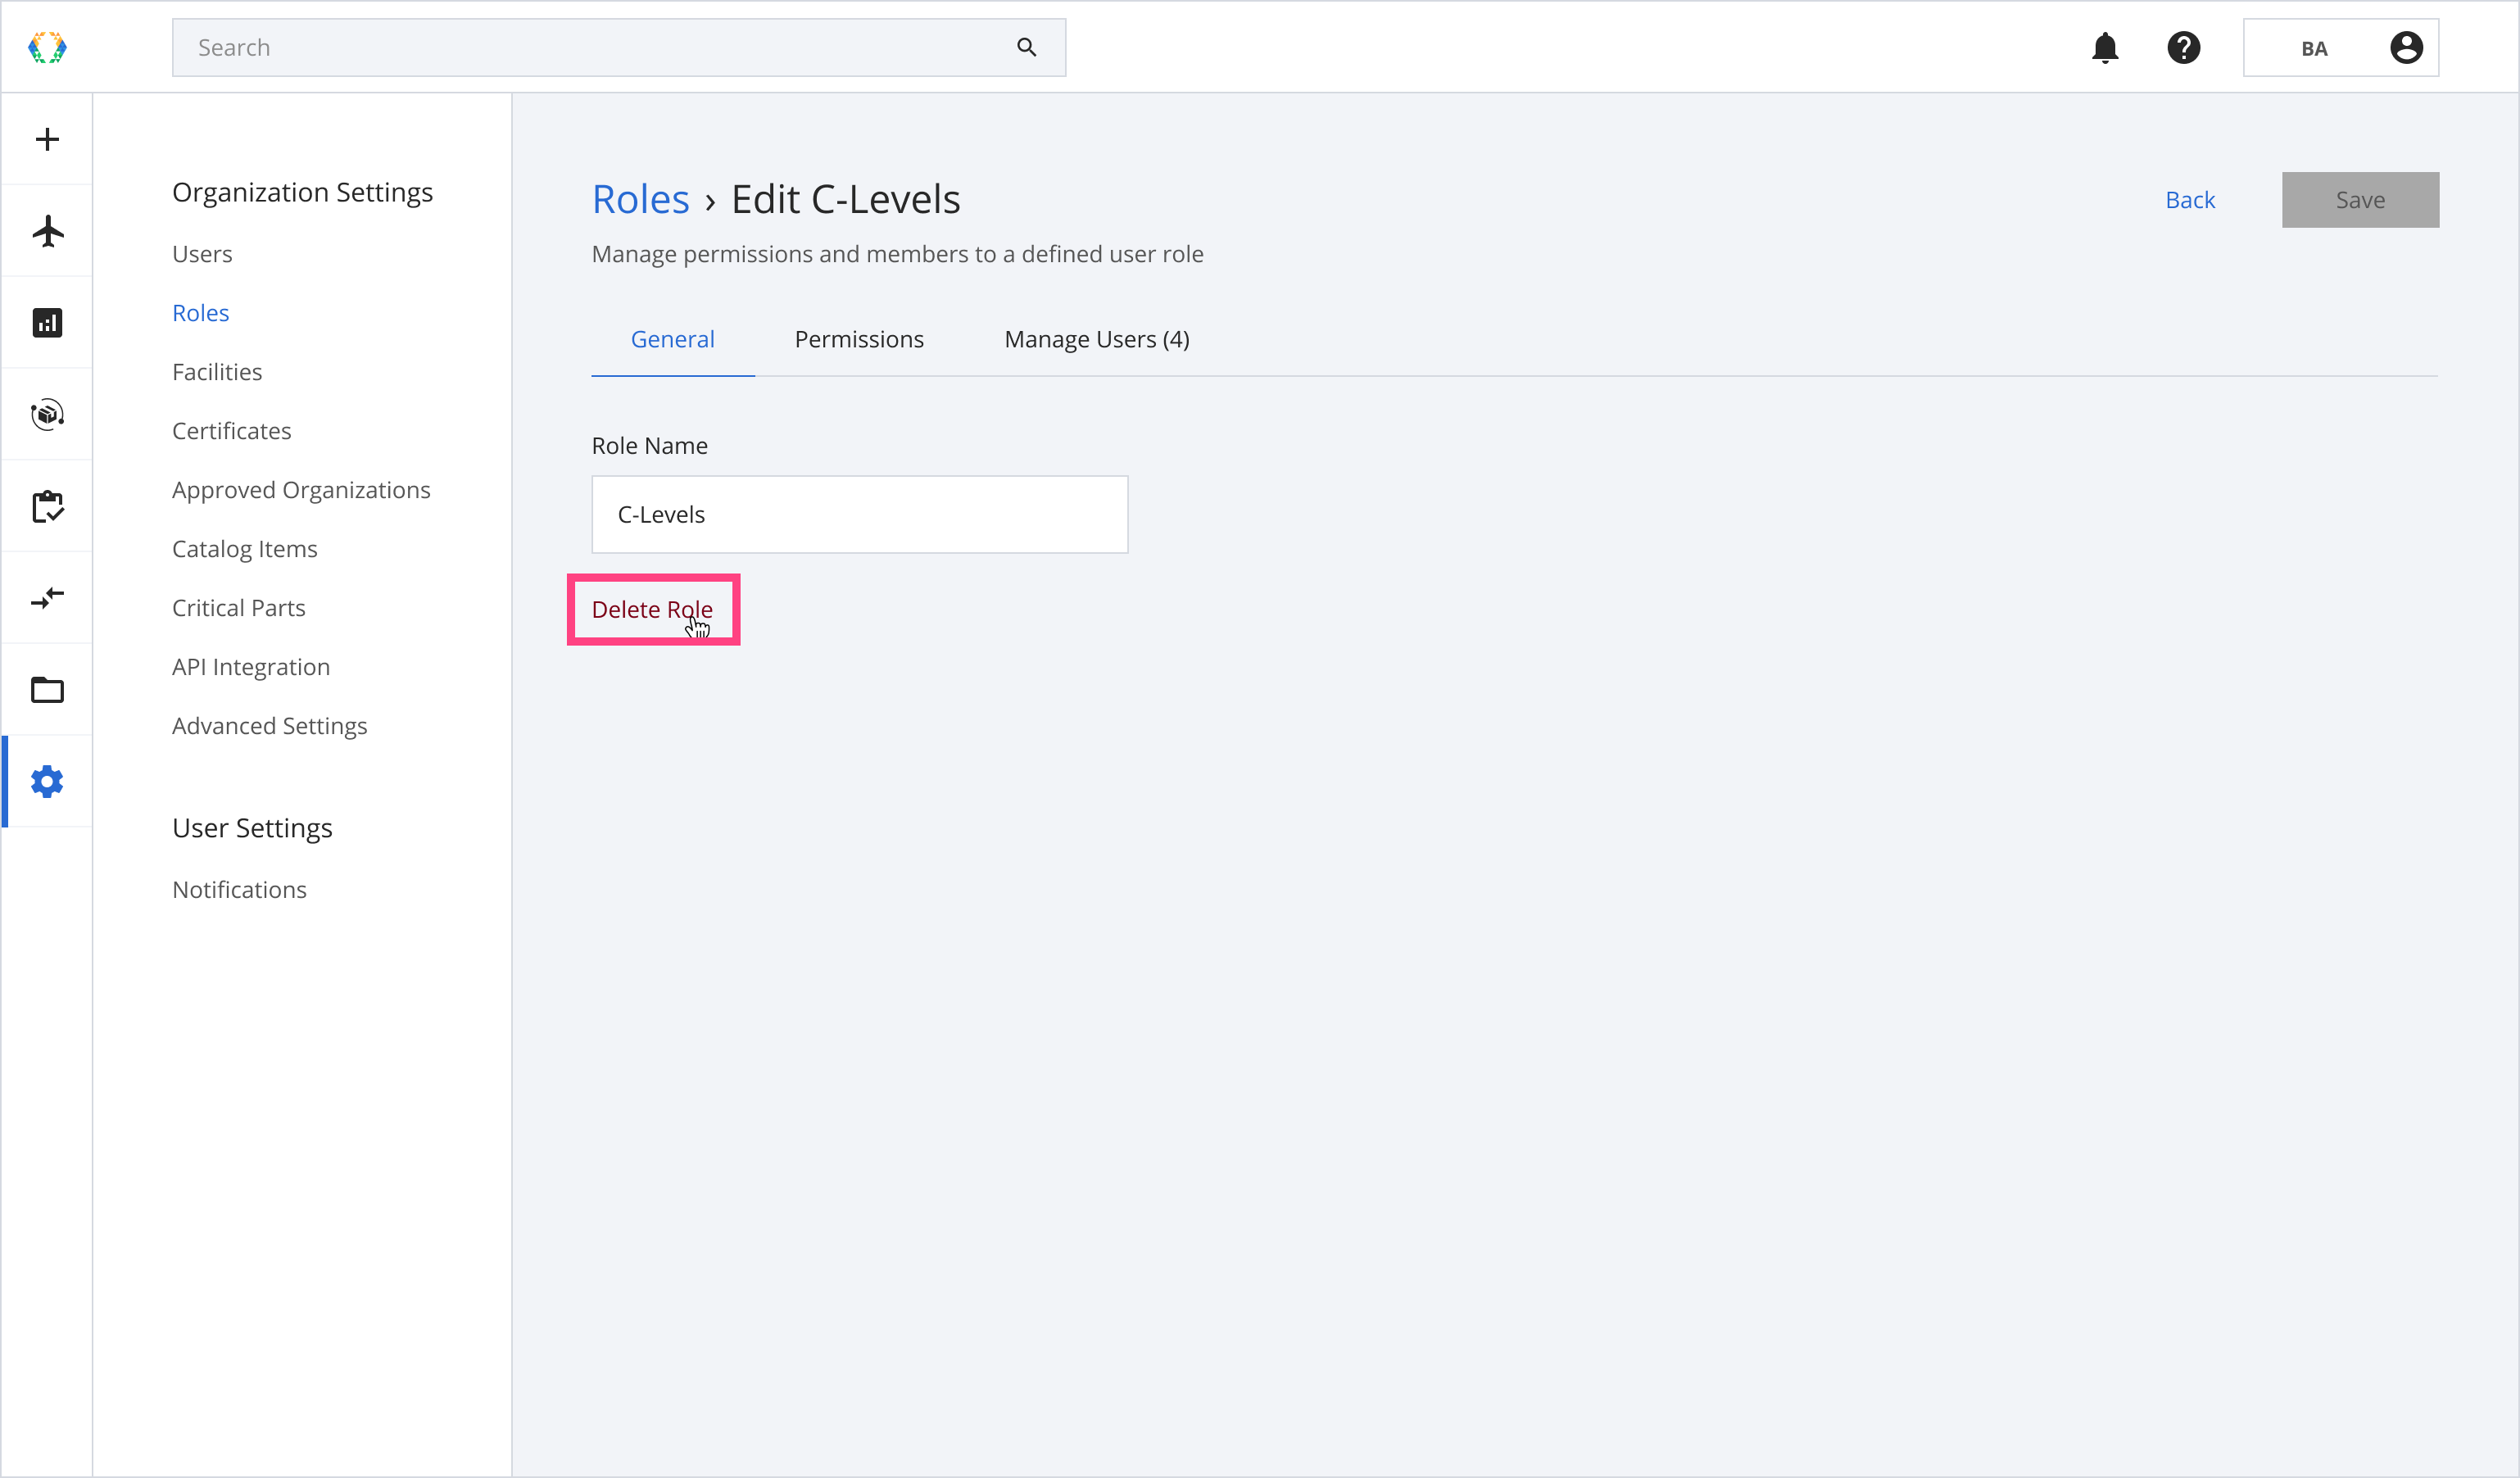
Step 1: From User Roles, open role you want to delete.
Step 2: Click 'Delete Role'.
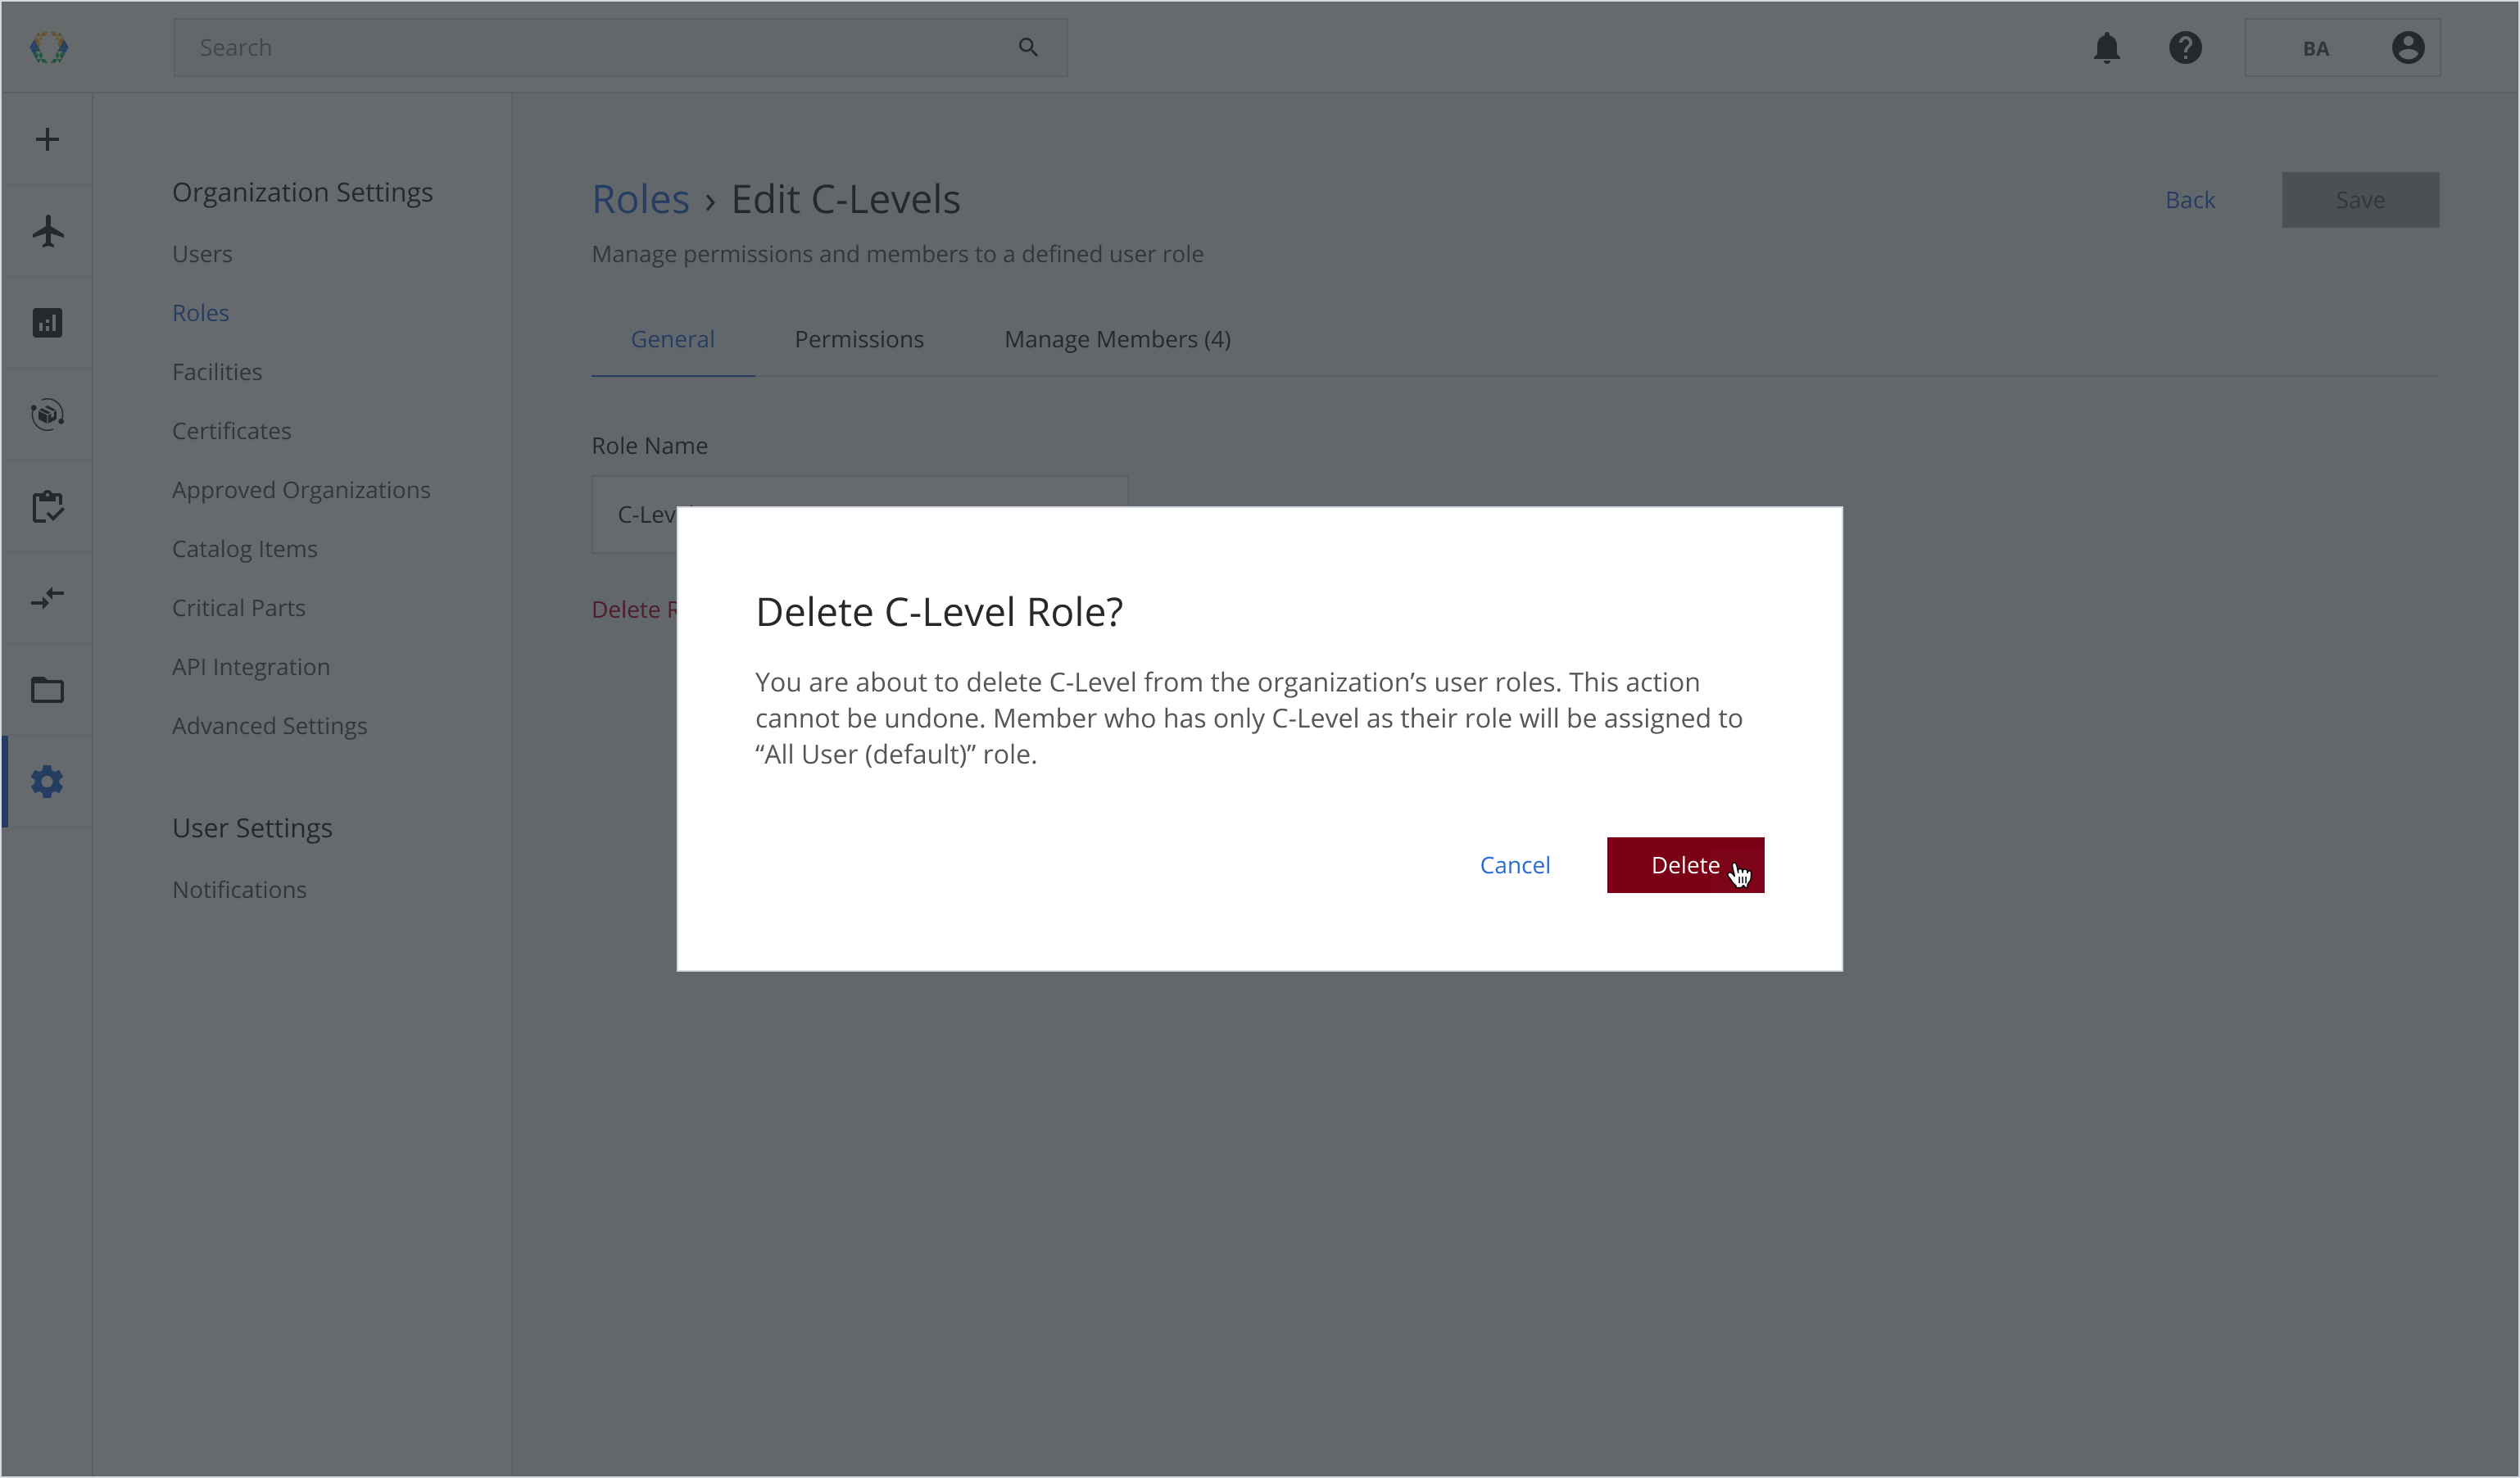
Step 3: A confirmation message will appear, click 'Delete'.
Once the selected role is deleted, users with only the specified role will be assigned to the default role of your organization.
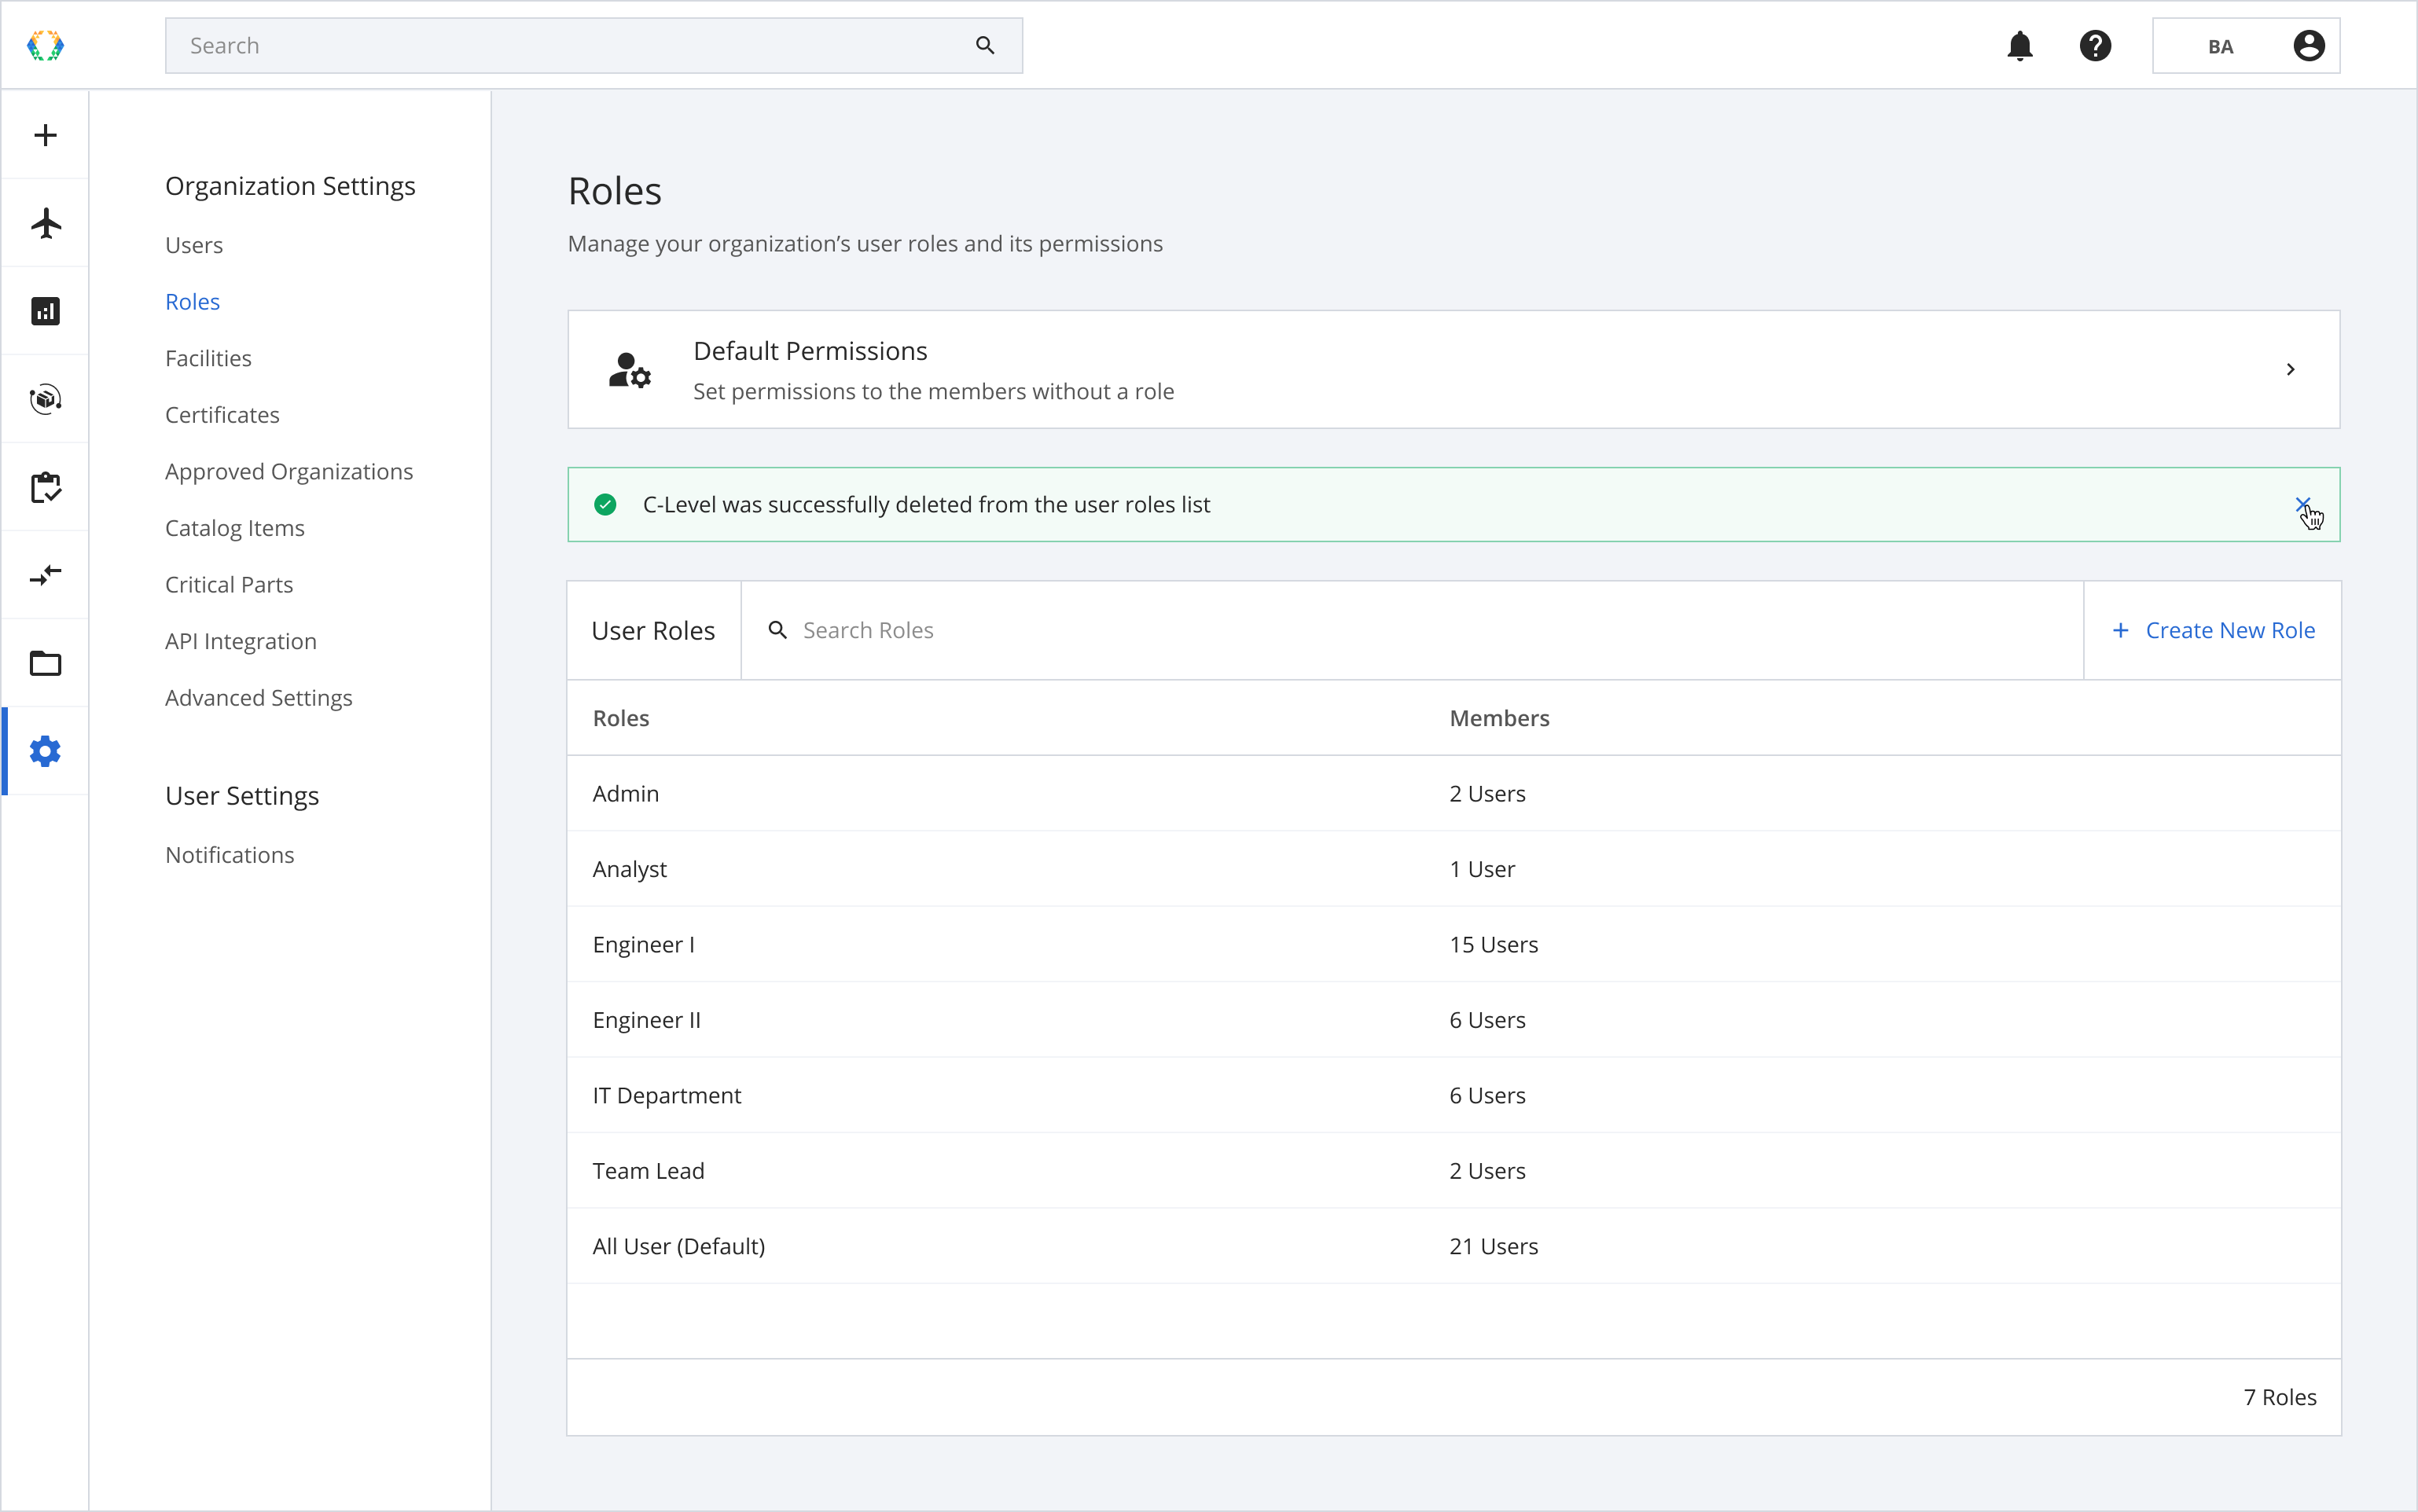
Once the role is deleted successfully, a green banner will appear on top of the roles list.
Remove user from a Role
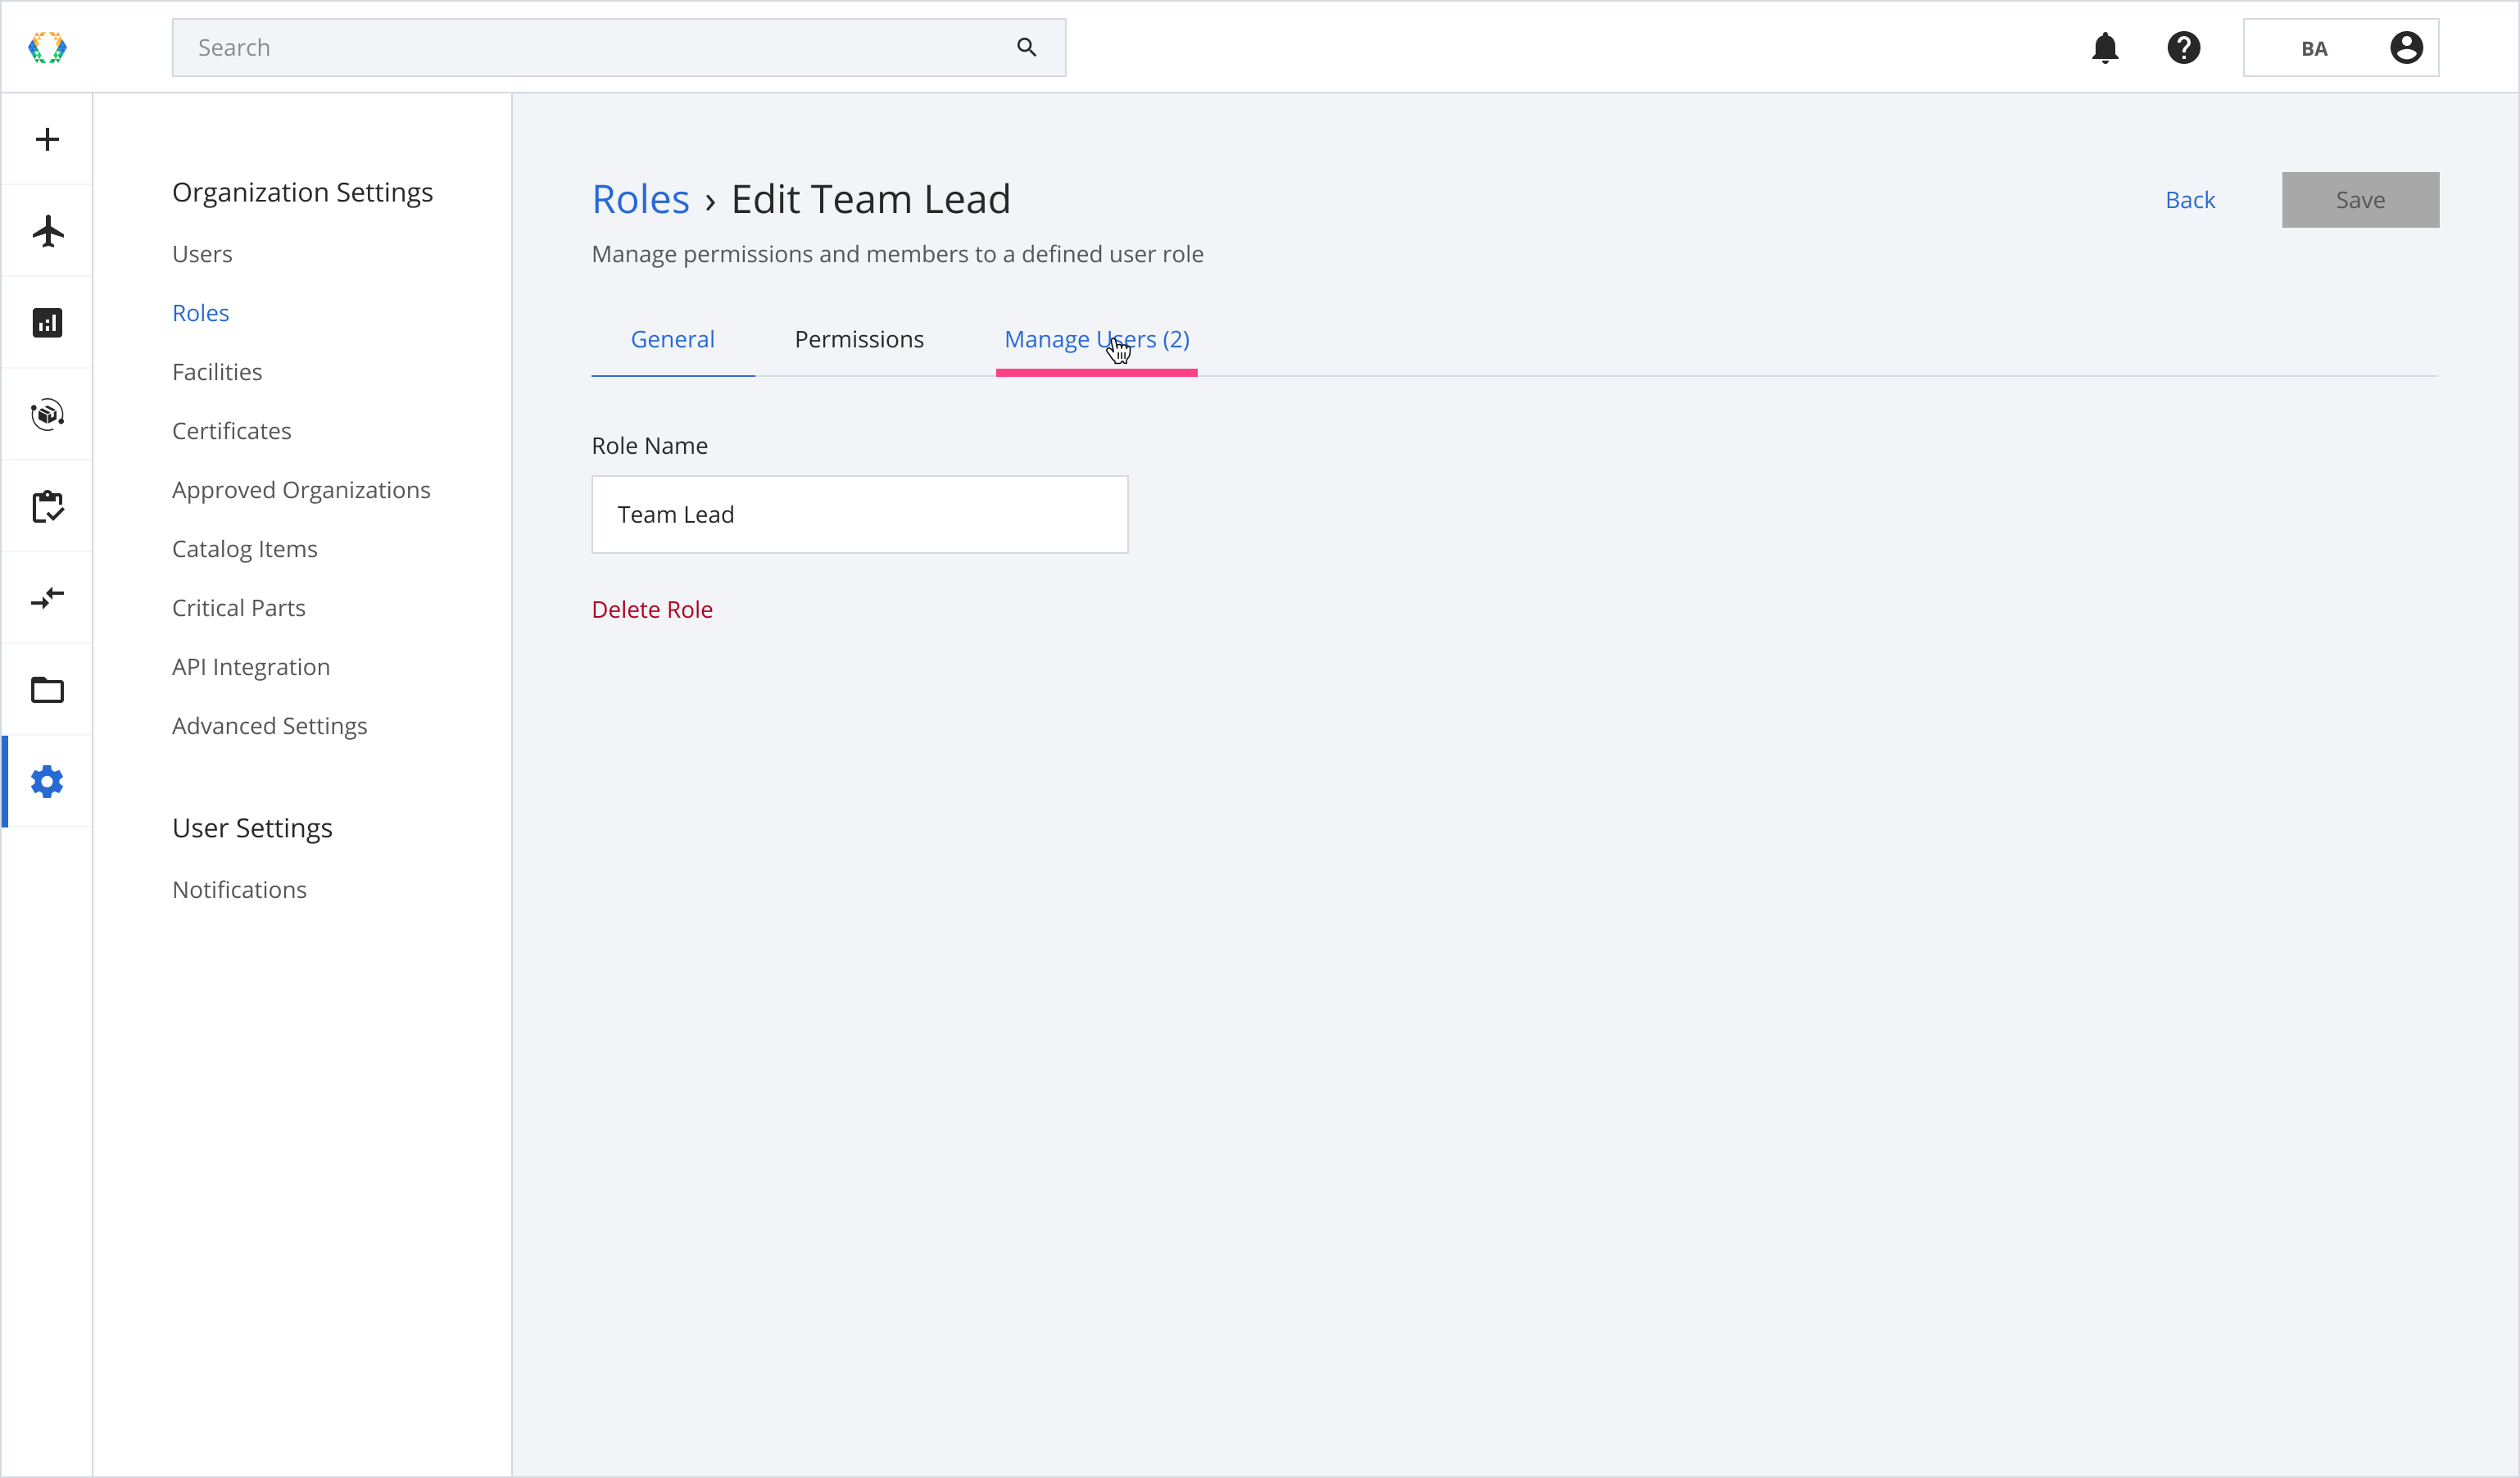
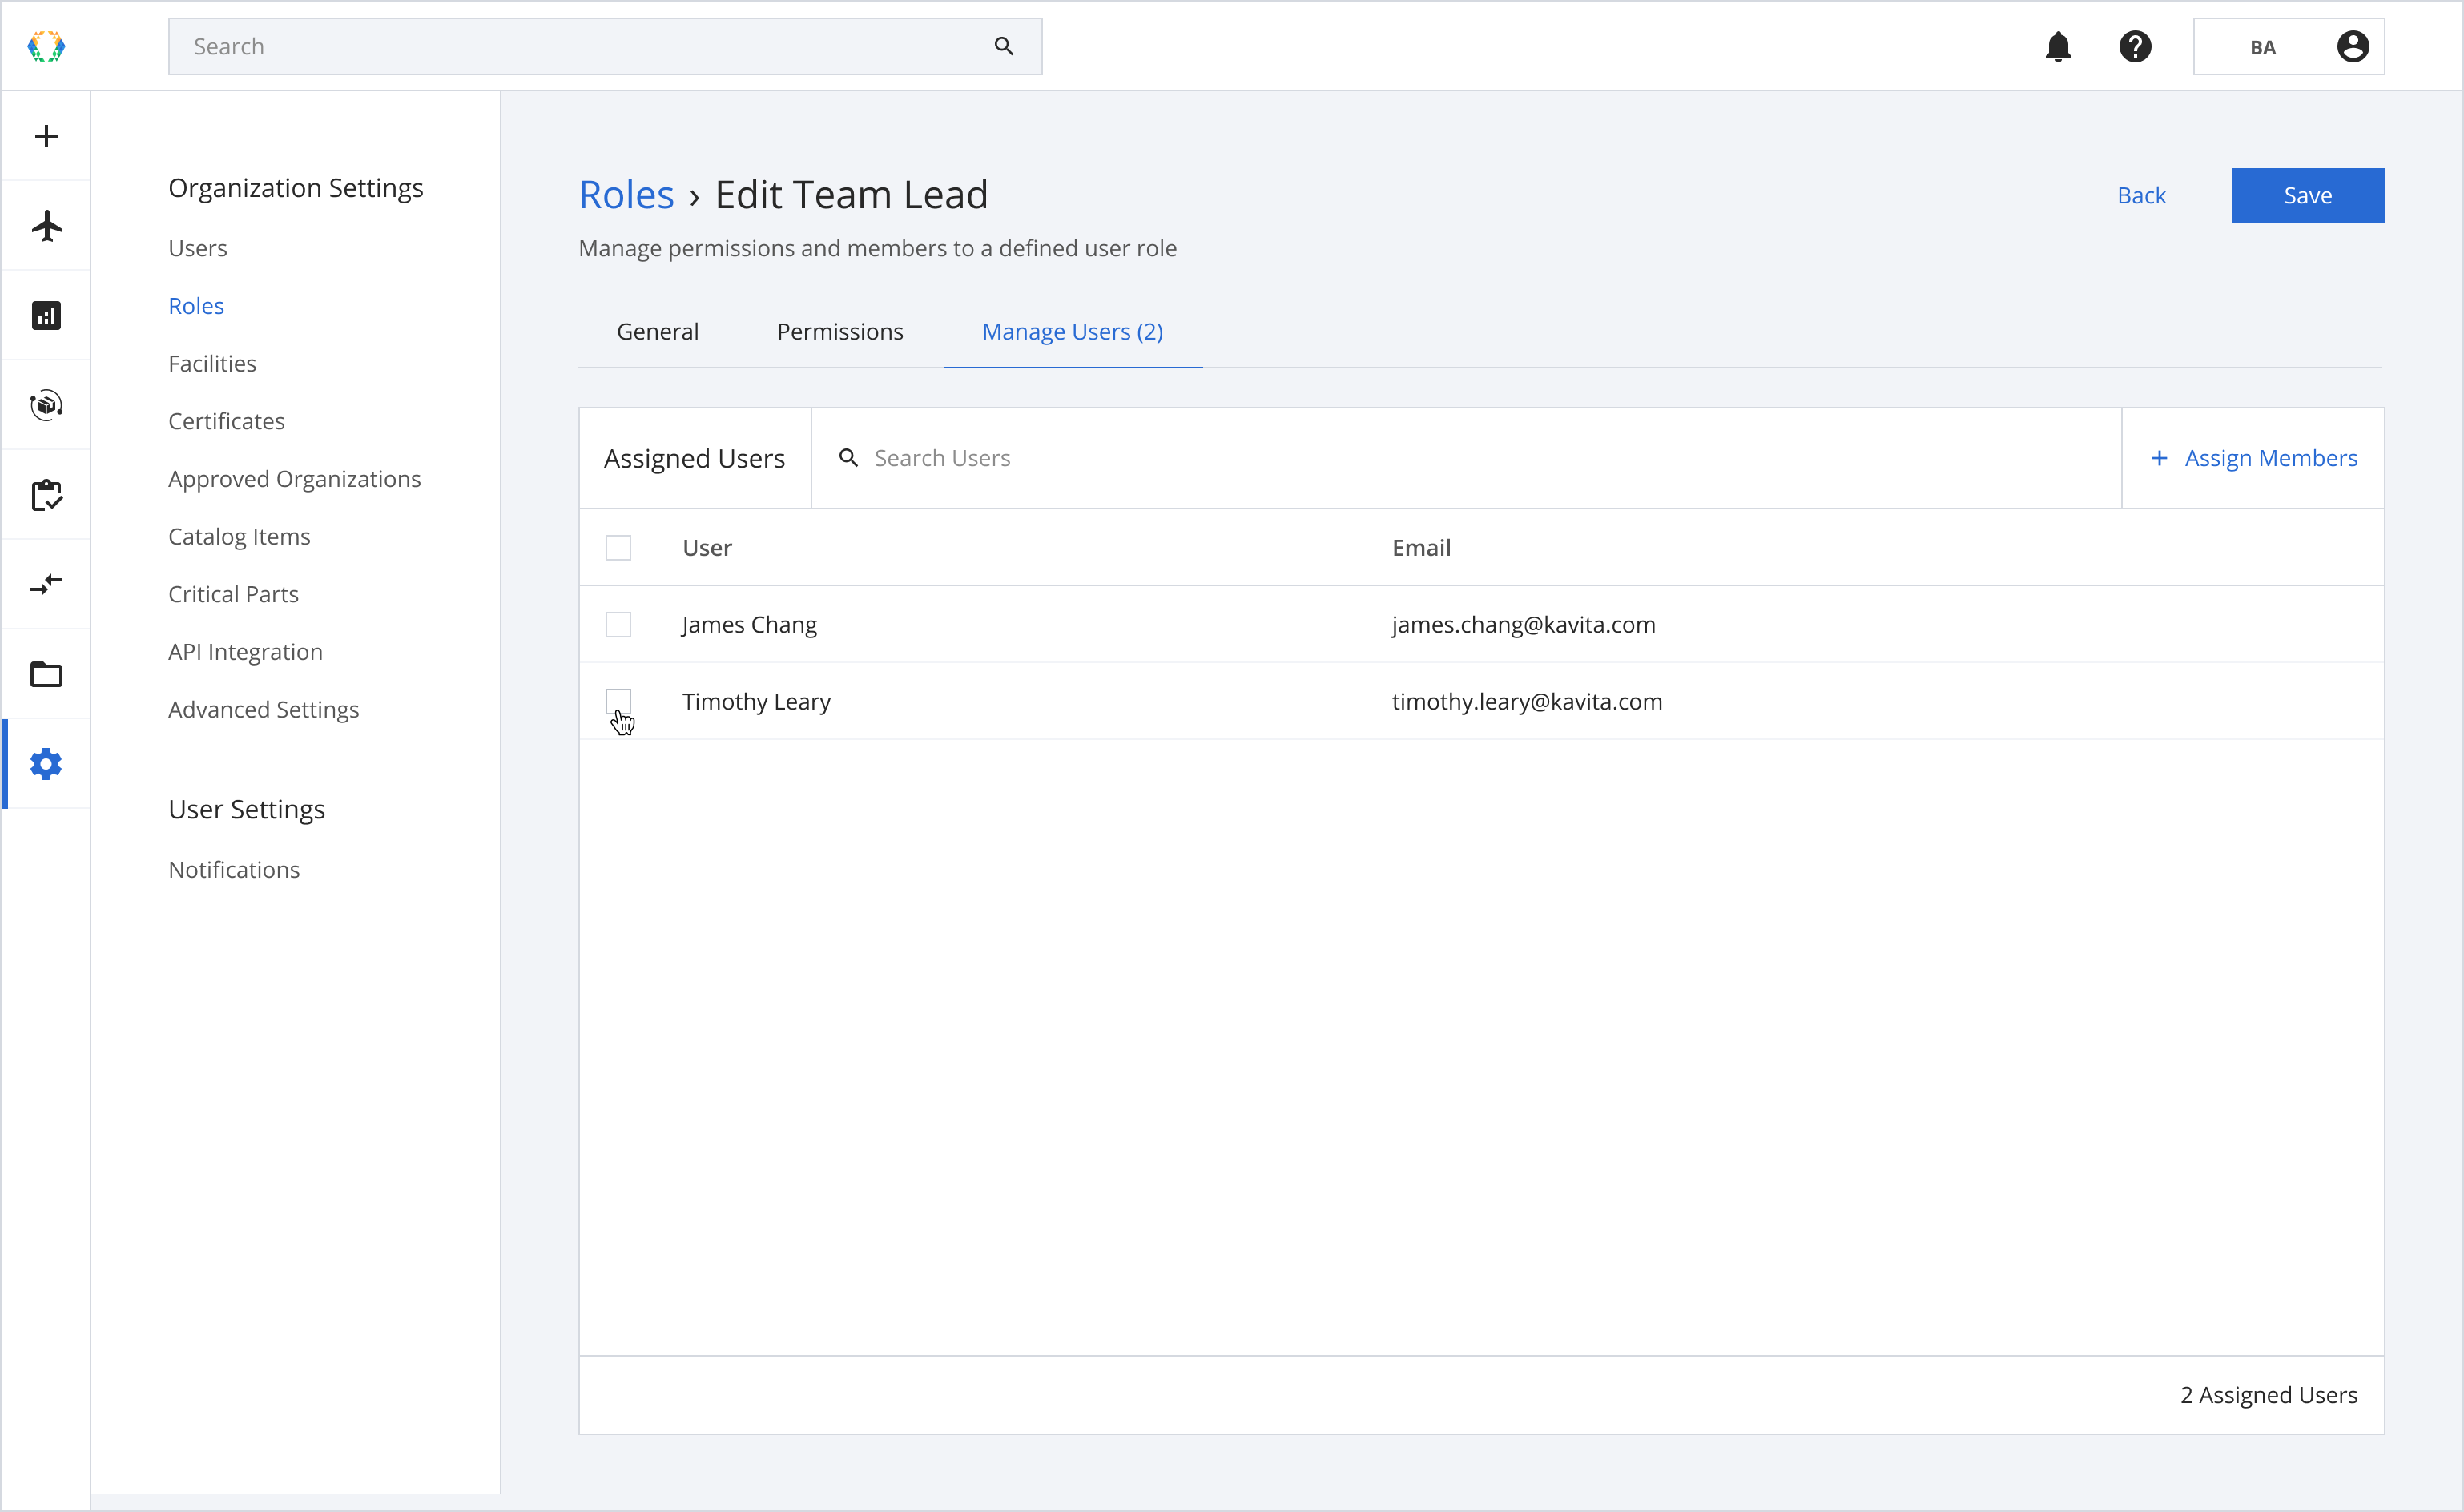
Step 1: Step 1: From User Roles, open role you want to remove users.

Step 2: To remove users, click 'Manage Users'.
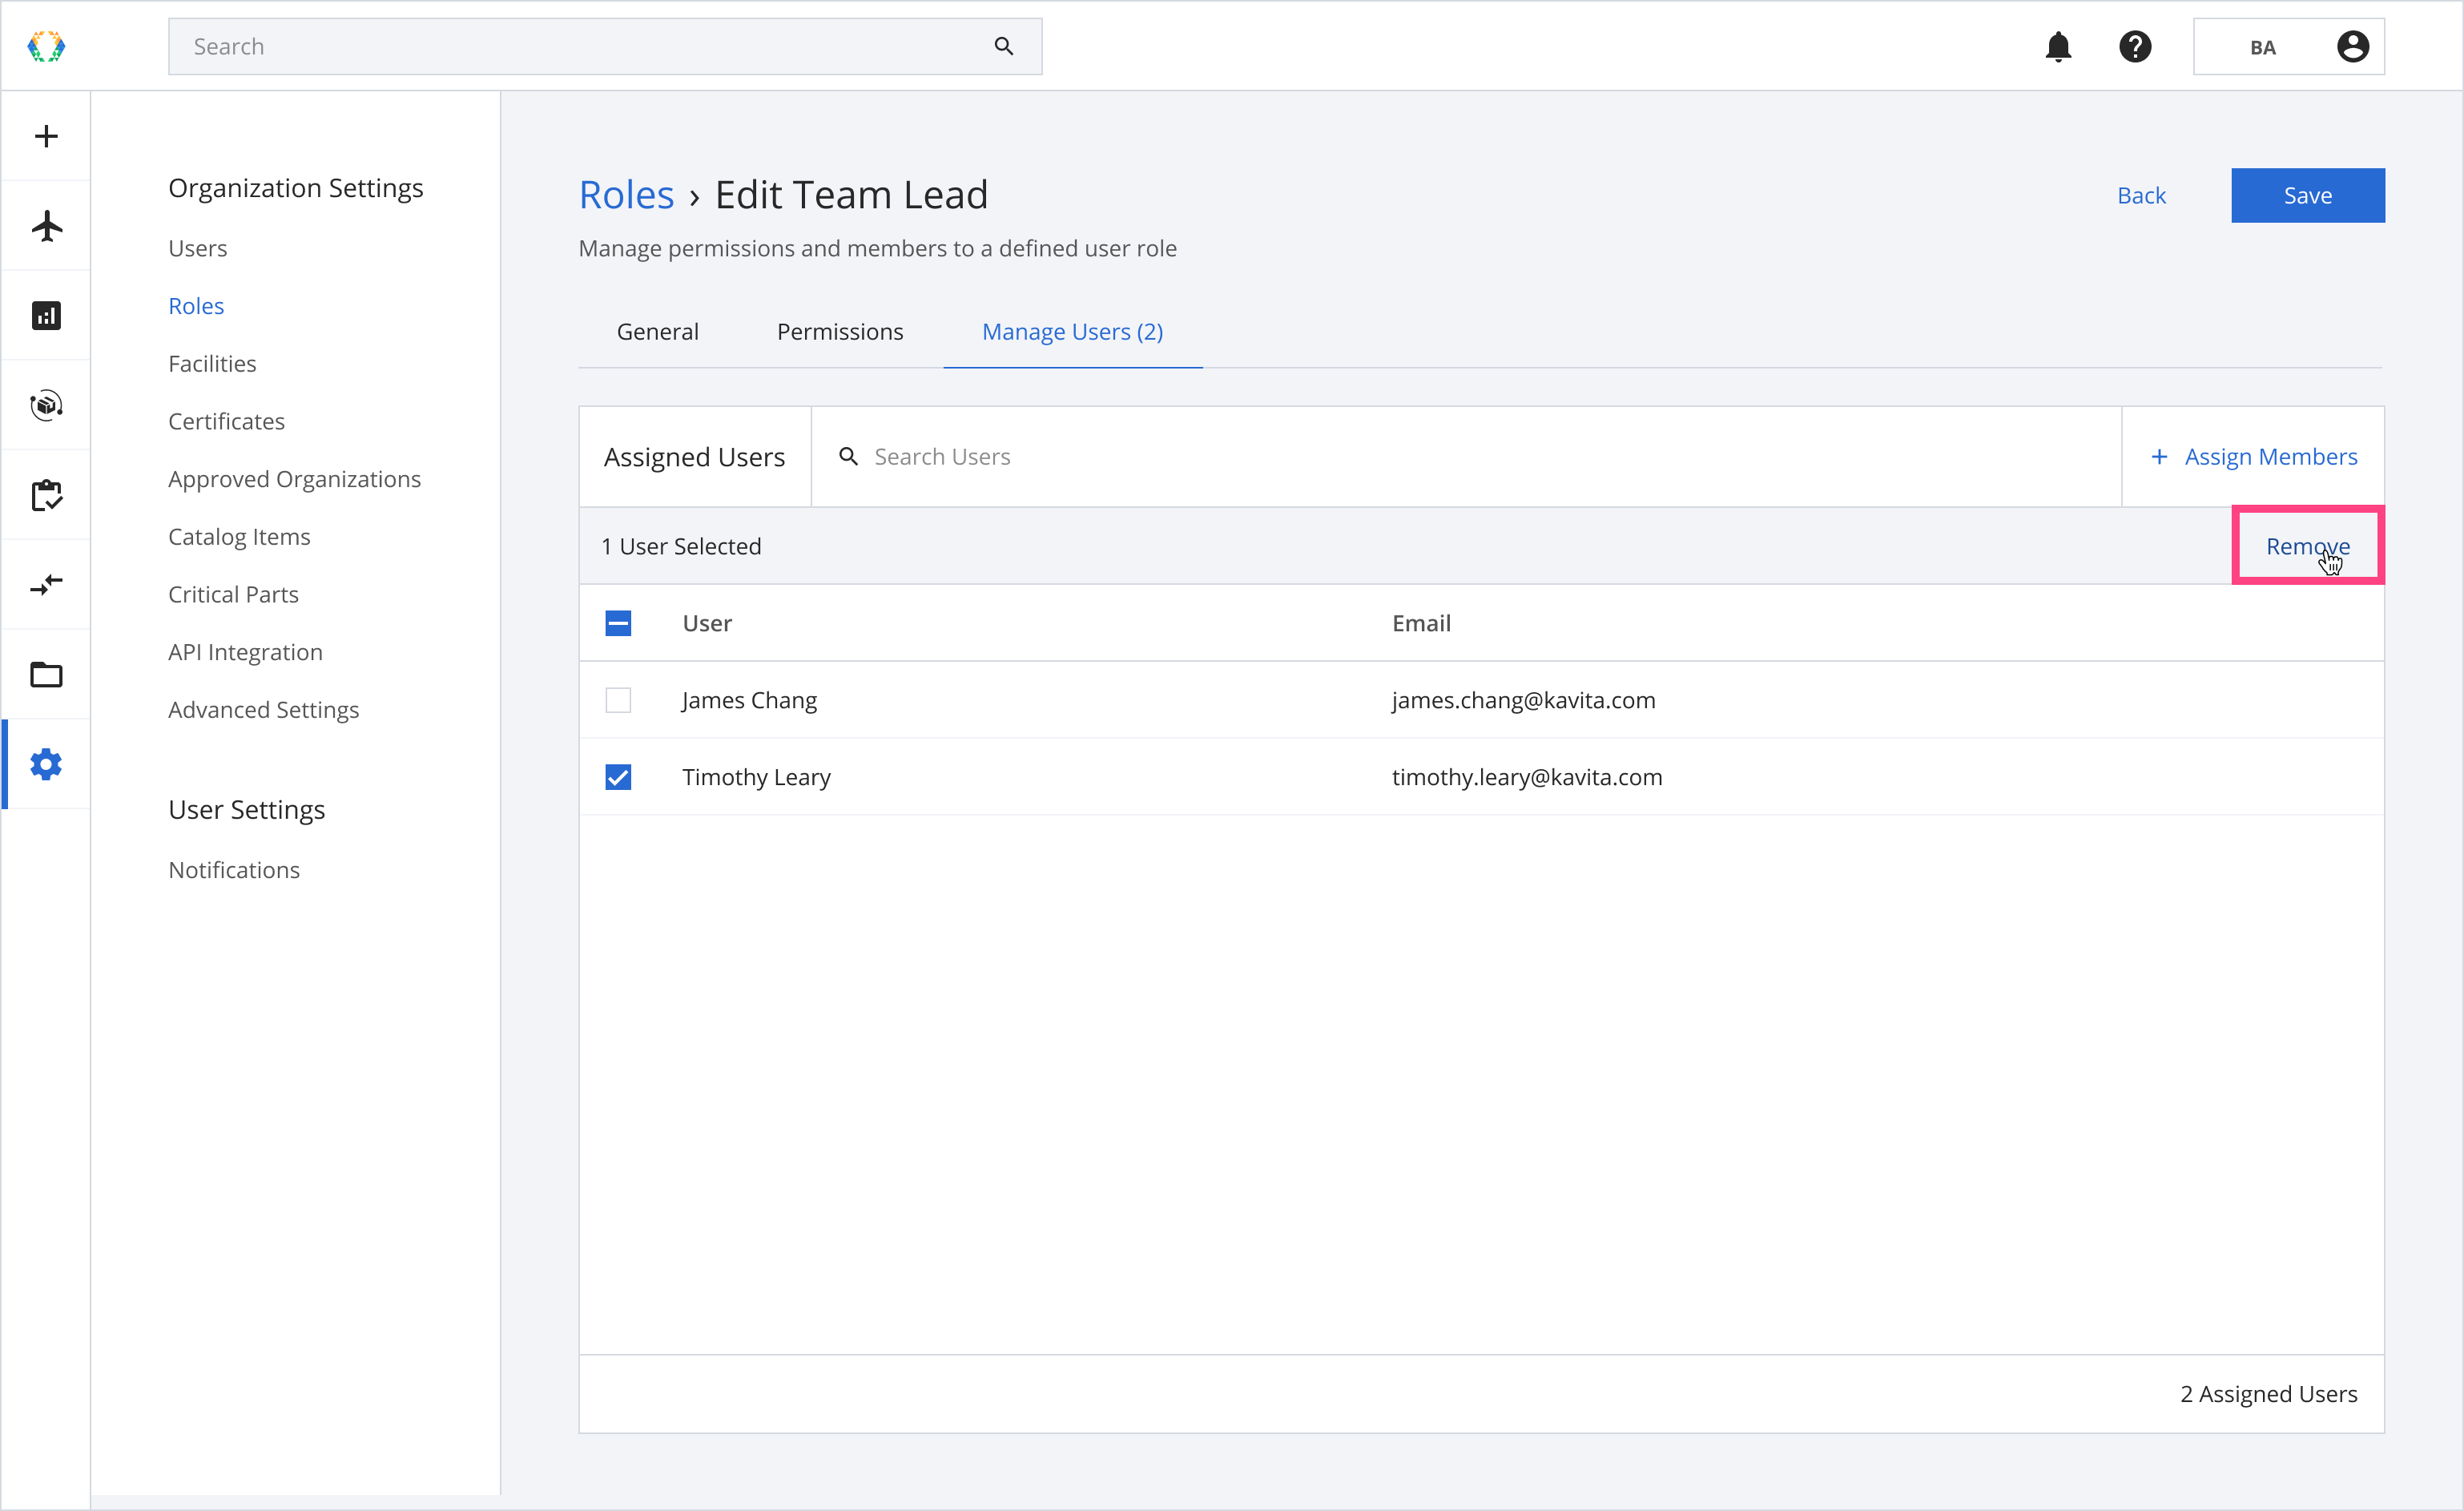
Step 3: From Assigned Users, select user you want to remove.
Step 4: Click 'Remove'.
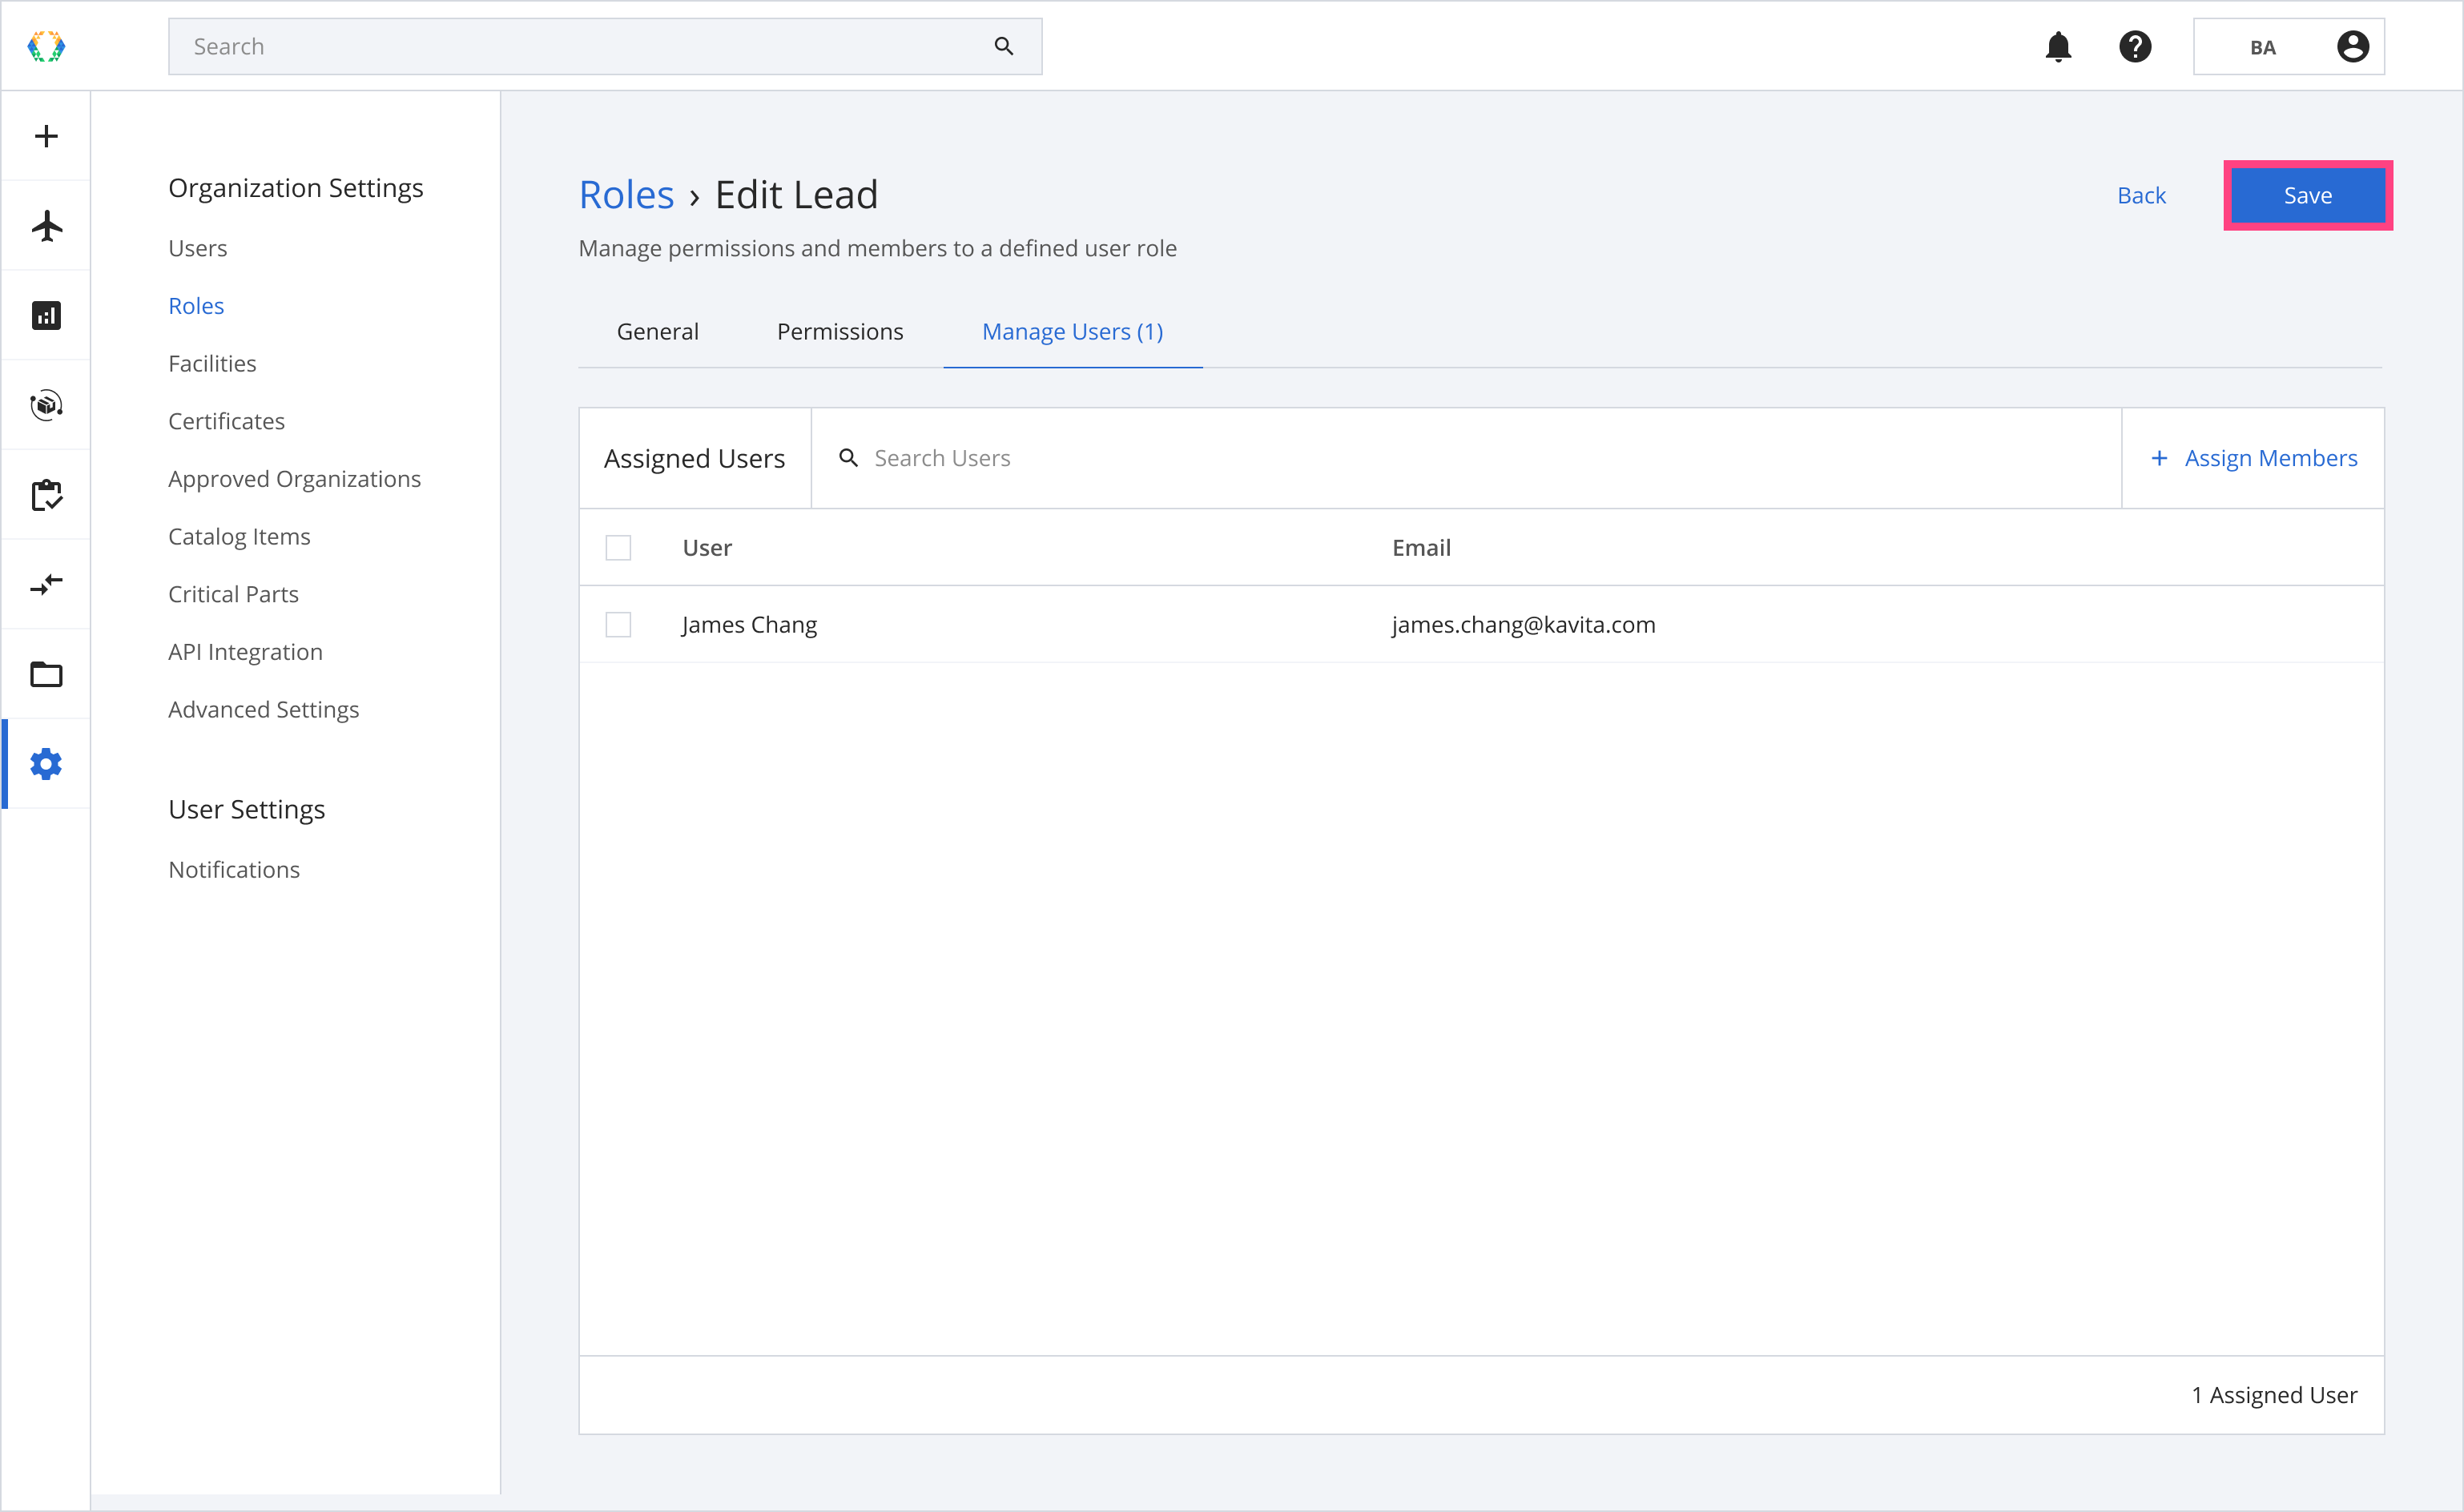
Step 5: Click 'Save'.
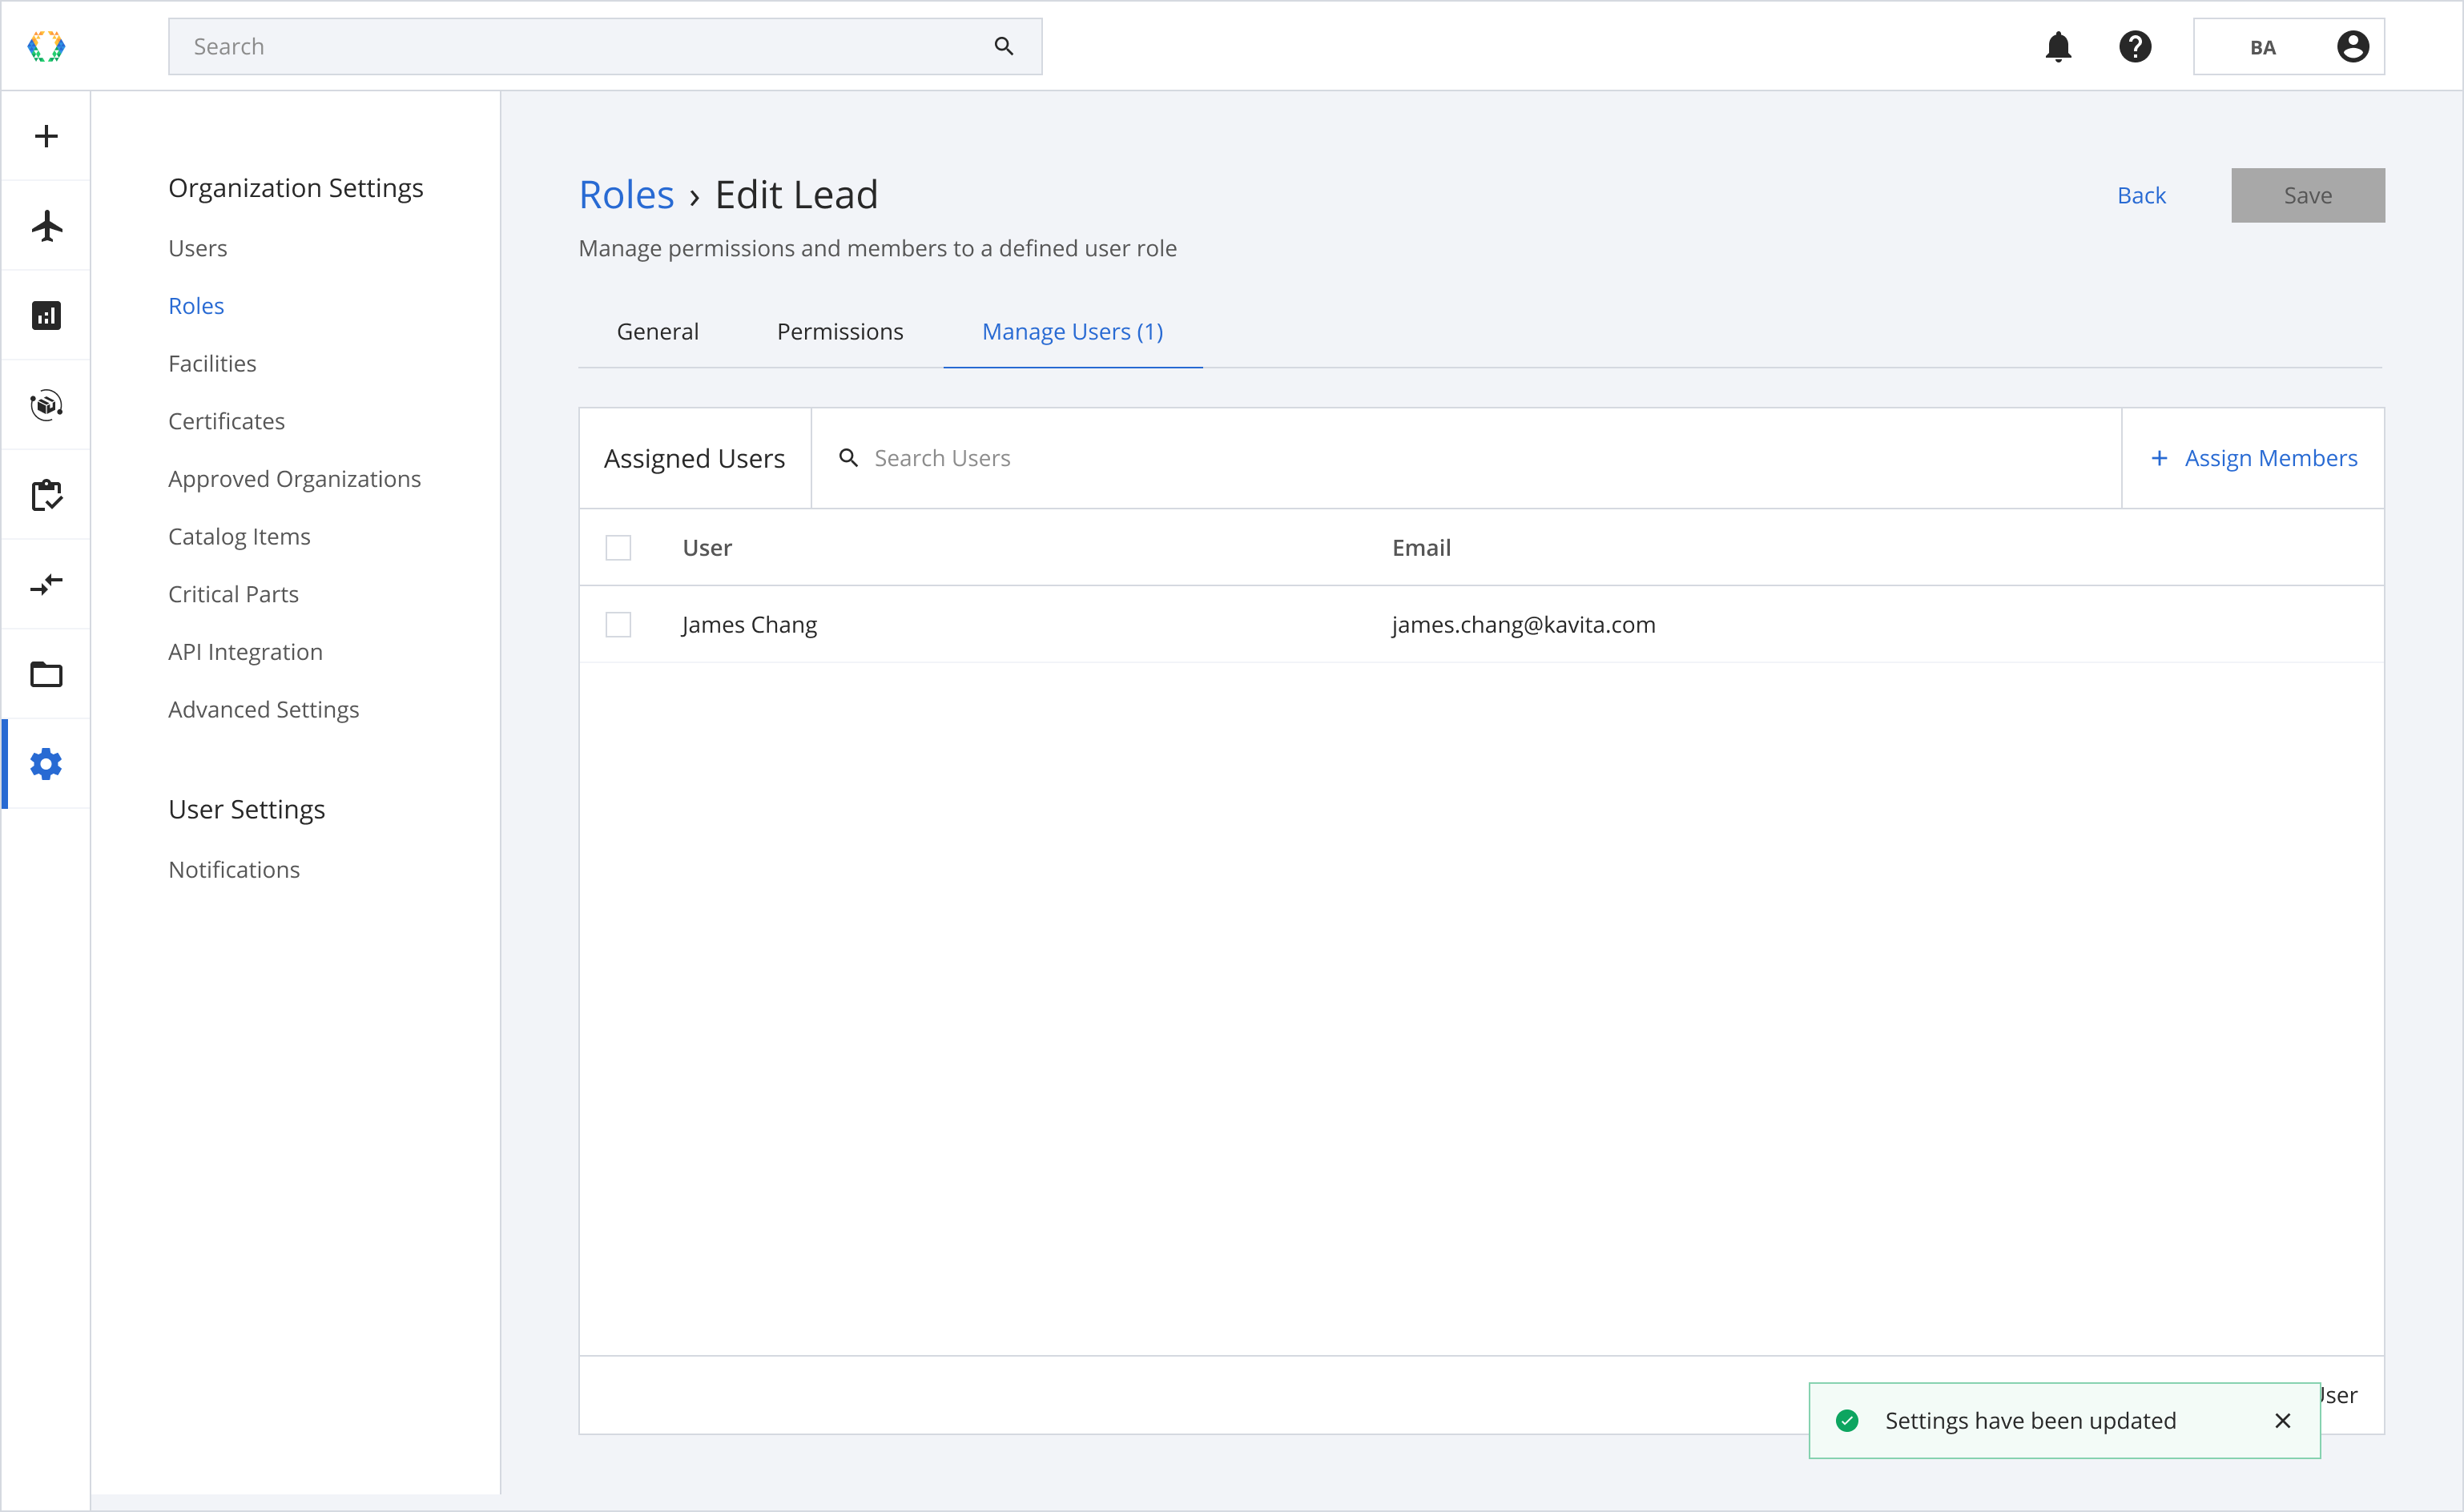
Once the user is removed successfully, a success message will appear at the bottom of the screen.
Updated 5 months ago