Claims Bulk Operations
Getting Started
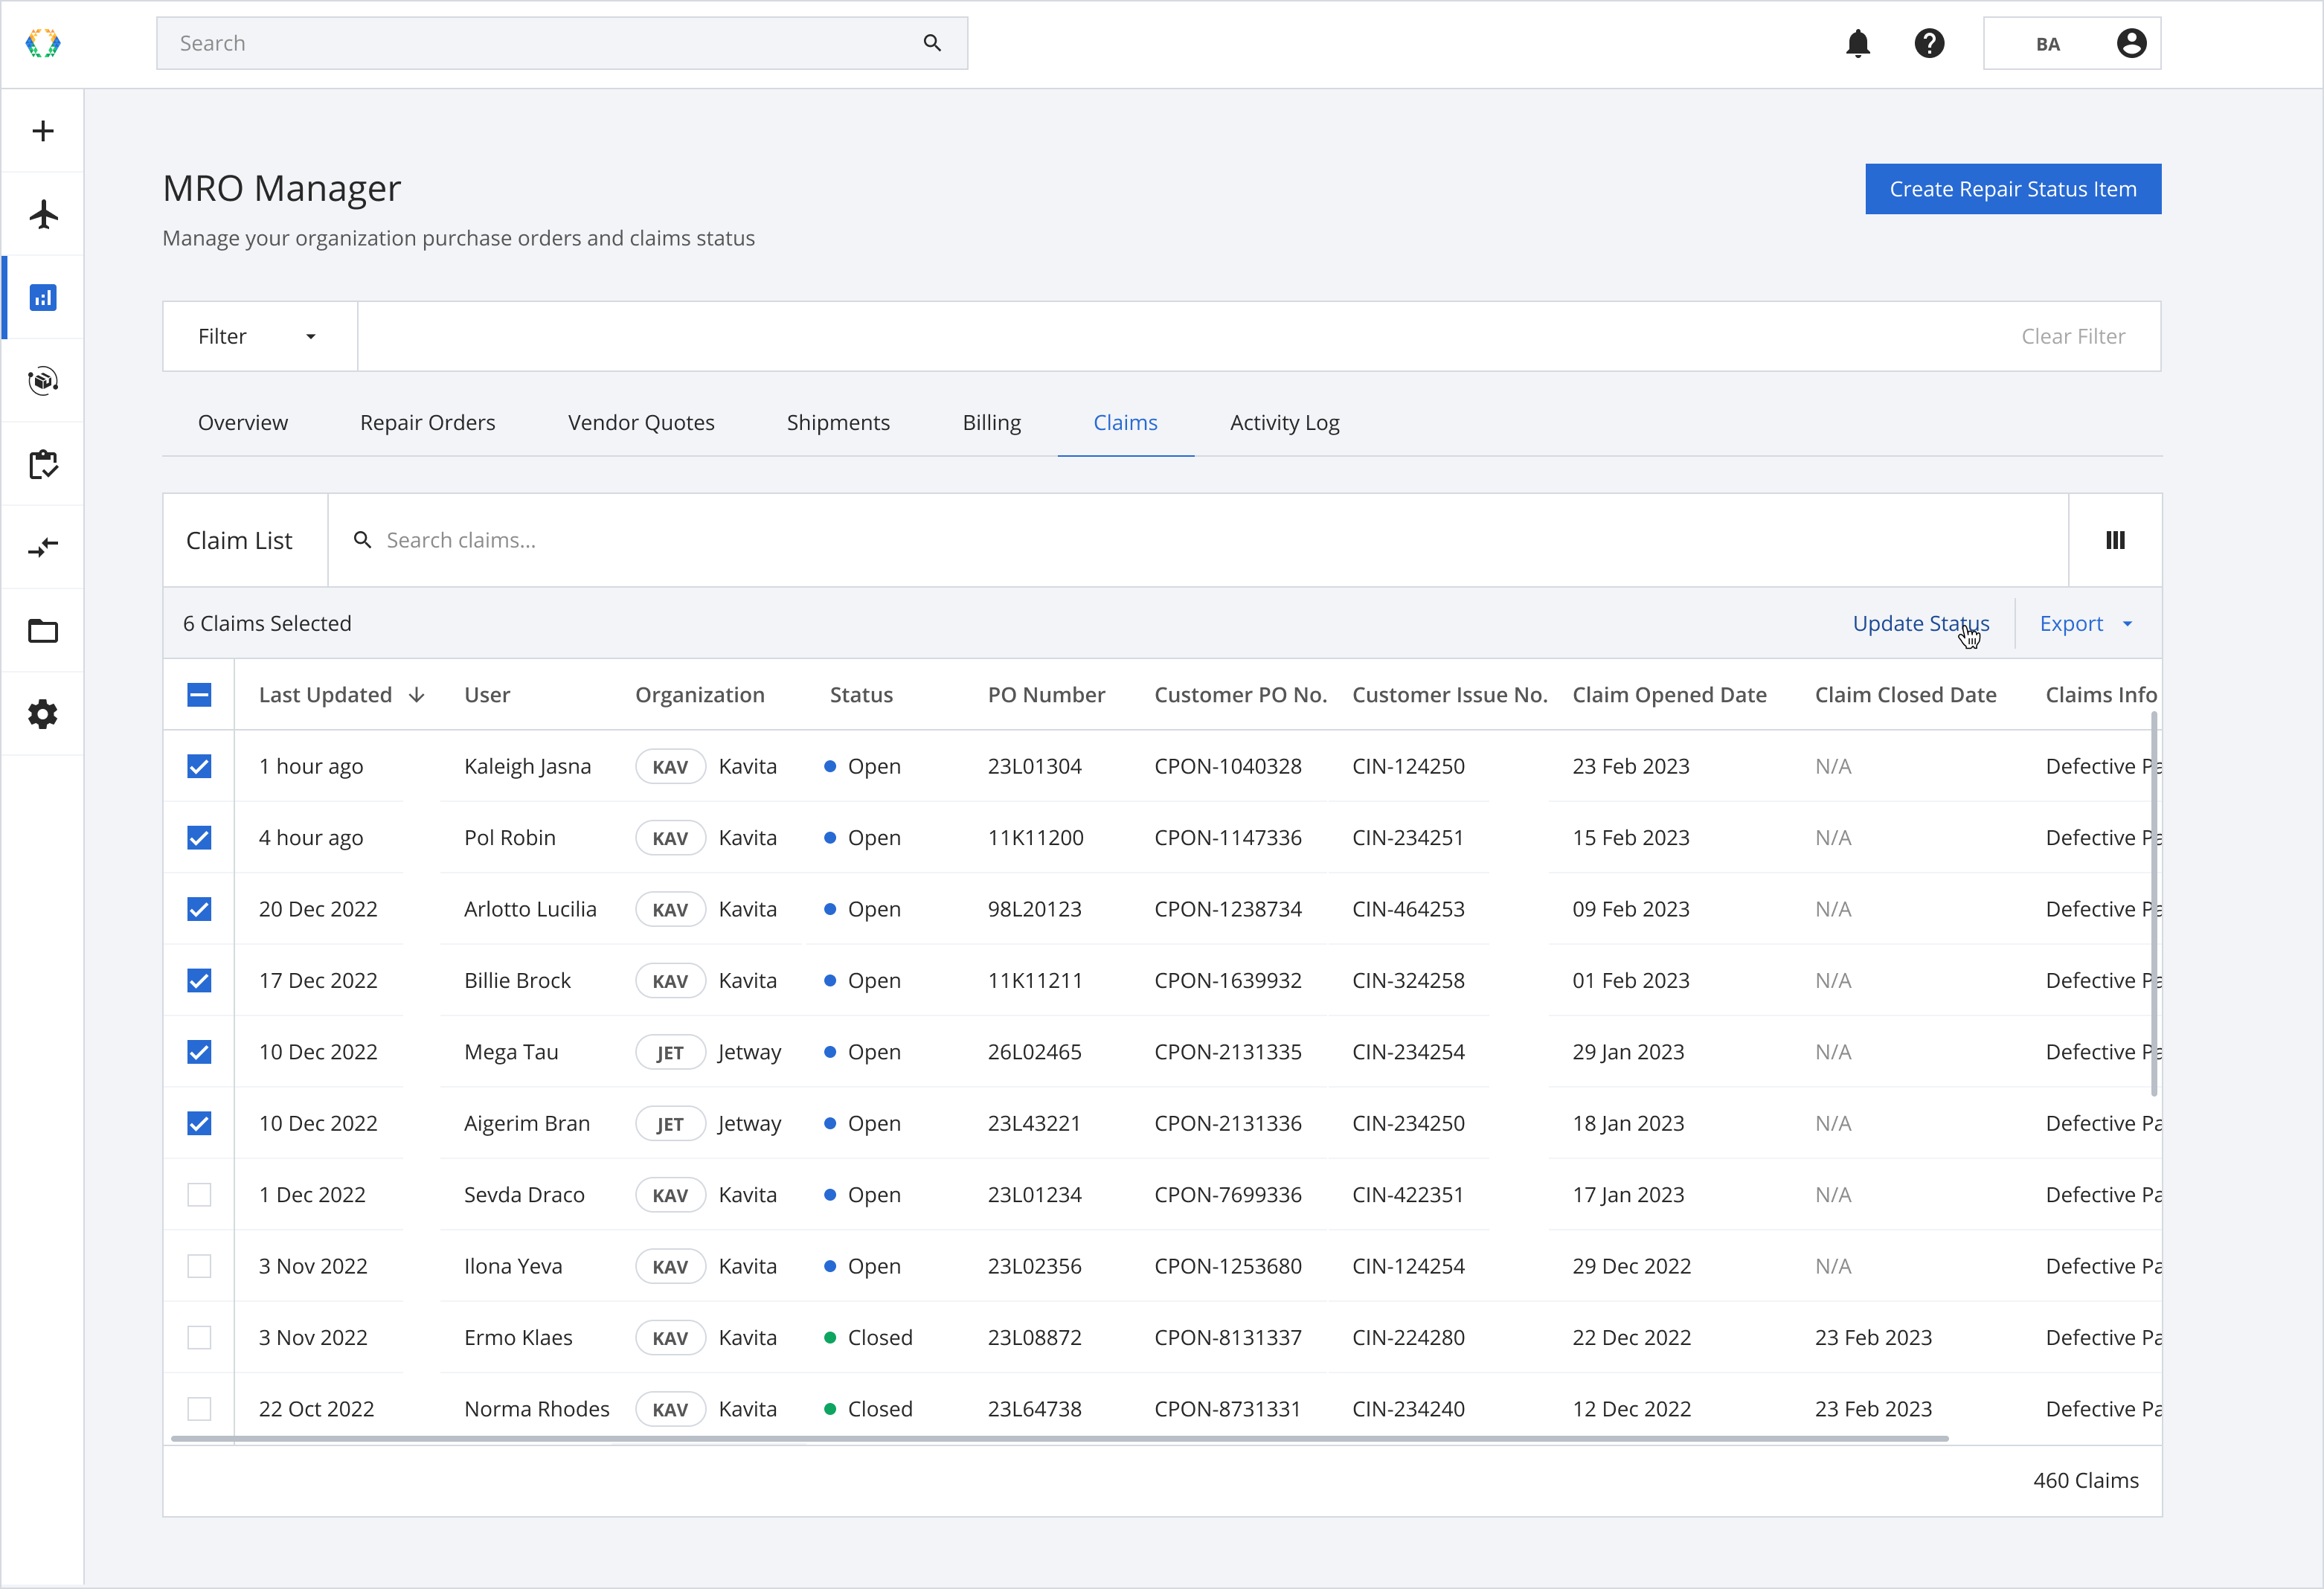
To view your organization's list of Claims, click the 'Claims' button on the MRO manager navigation tab.
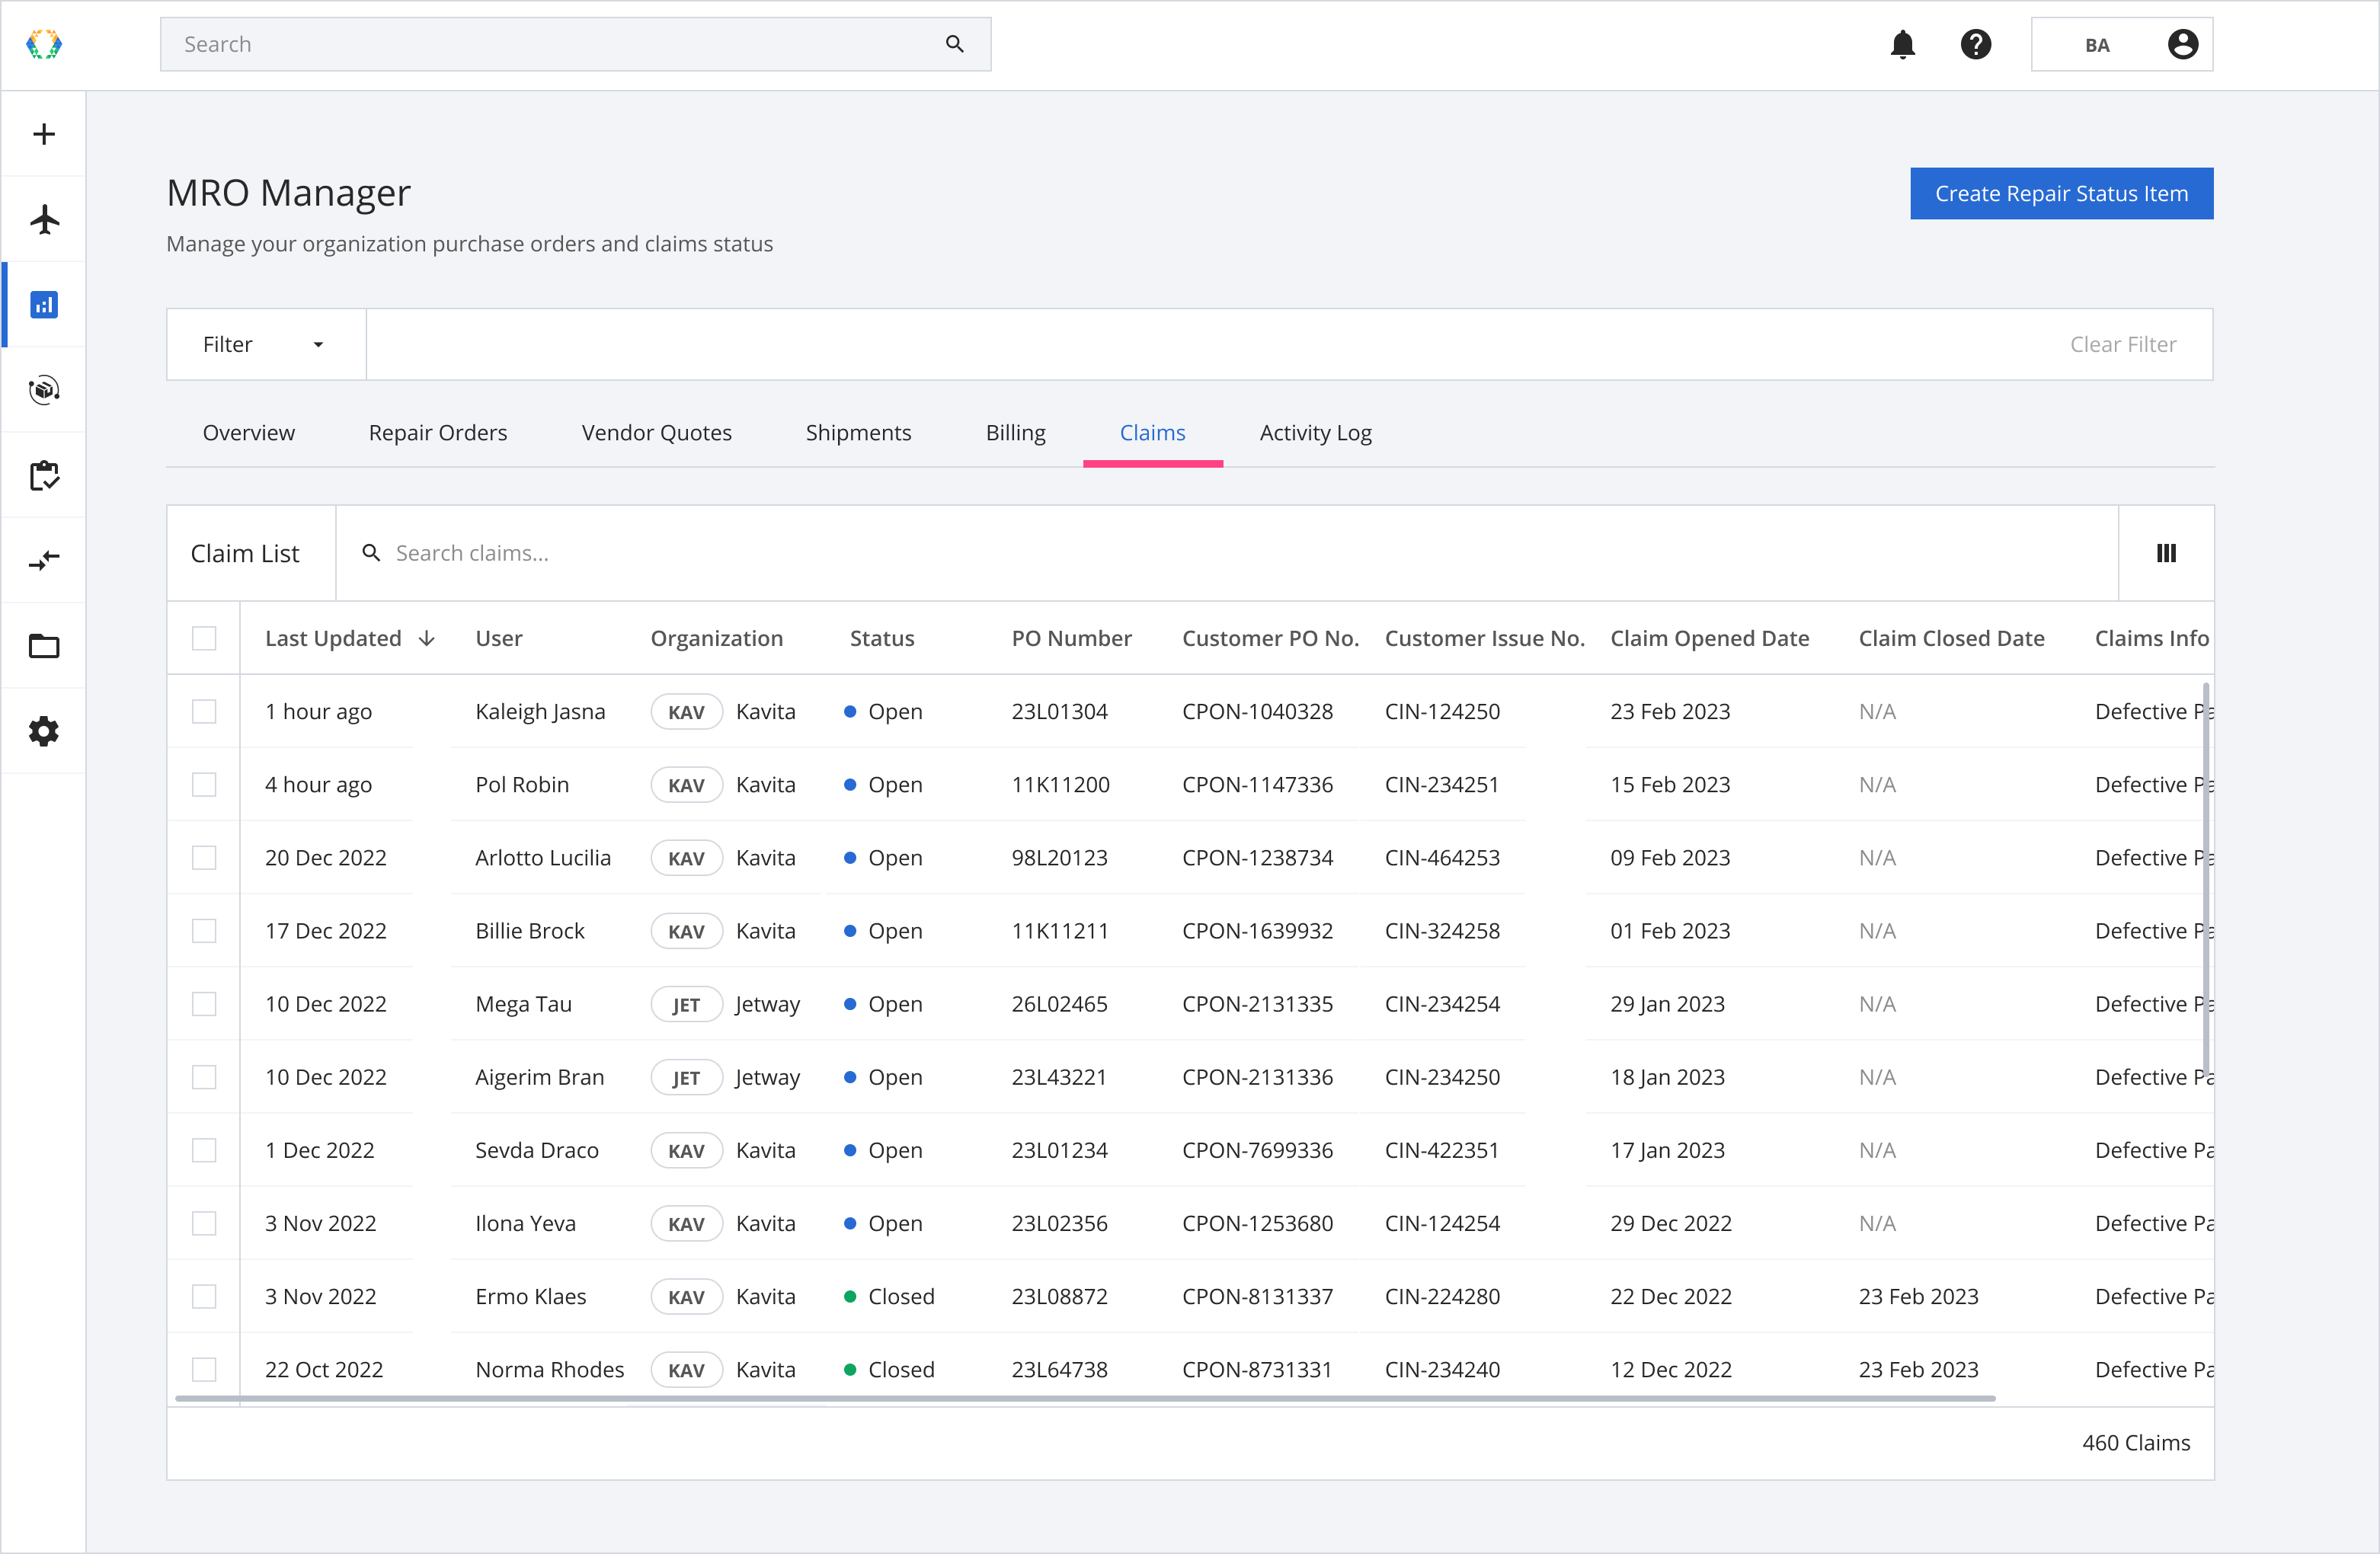
Claims List Layout
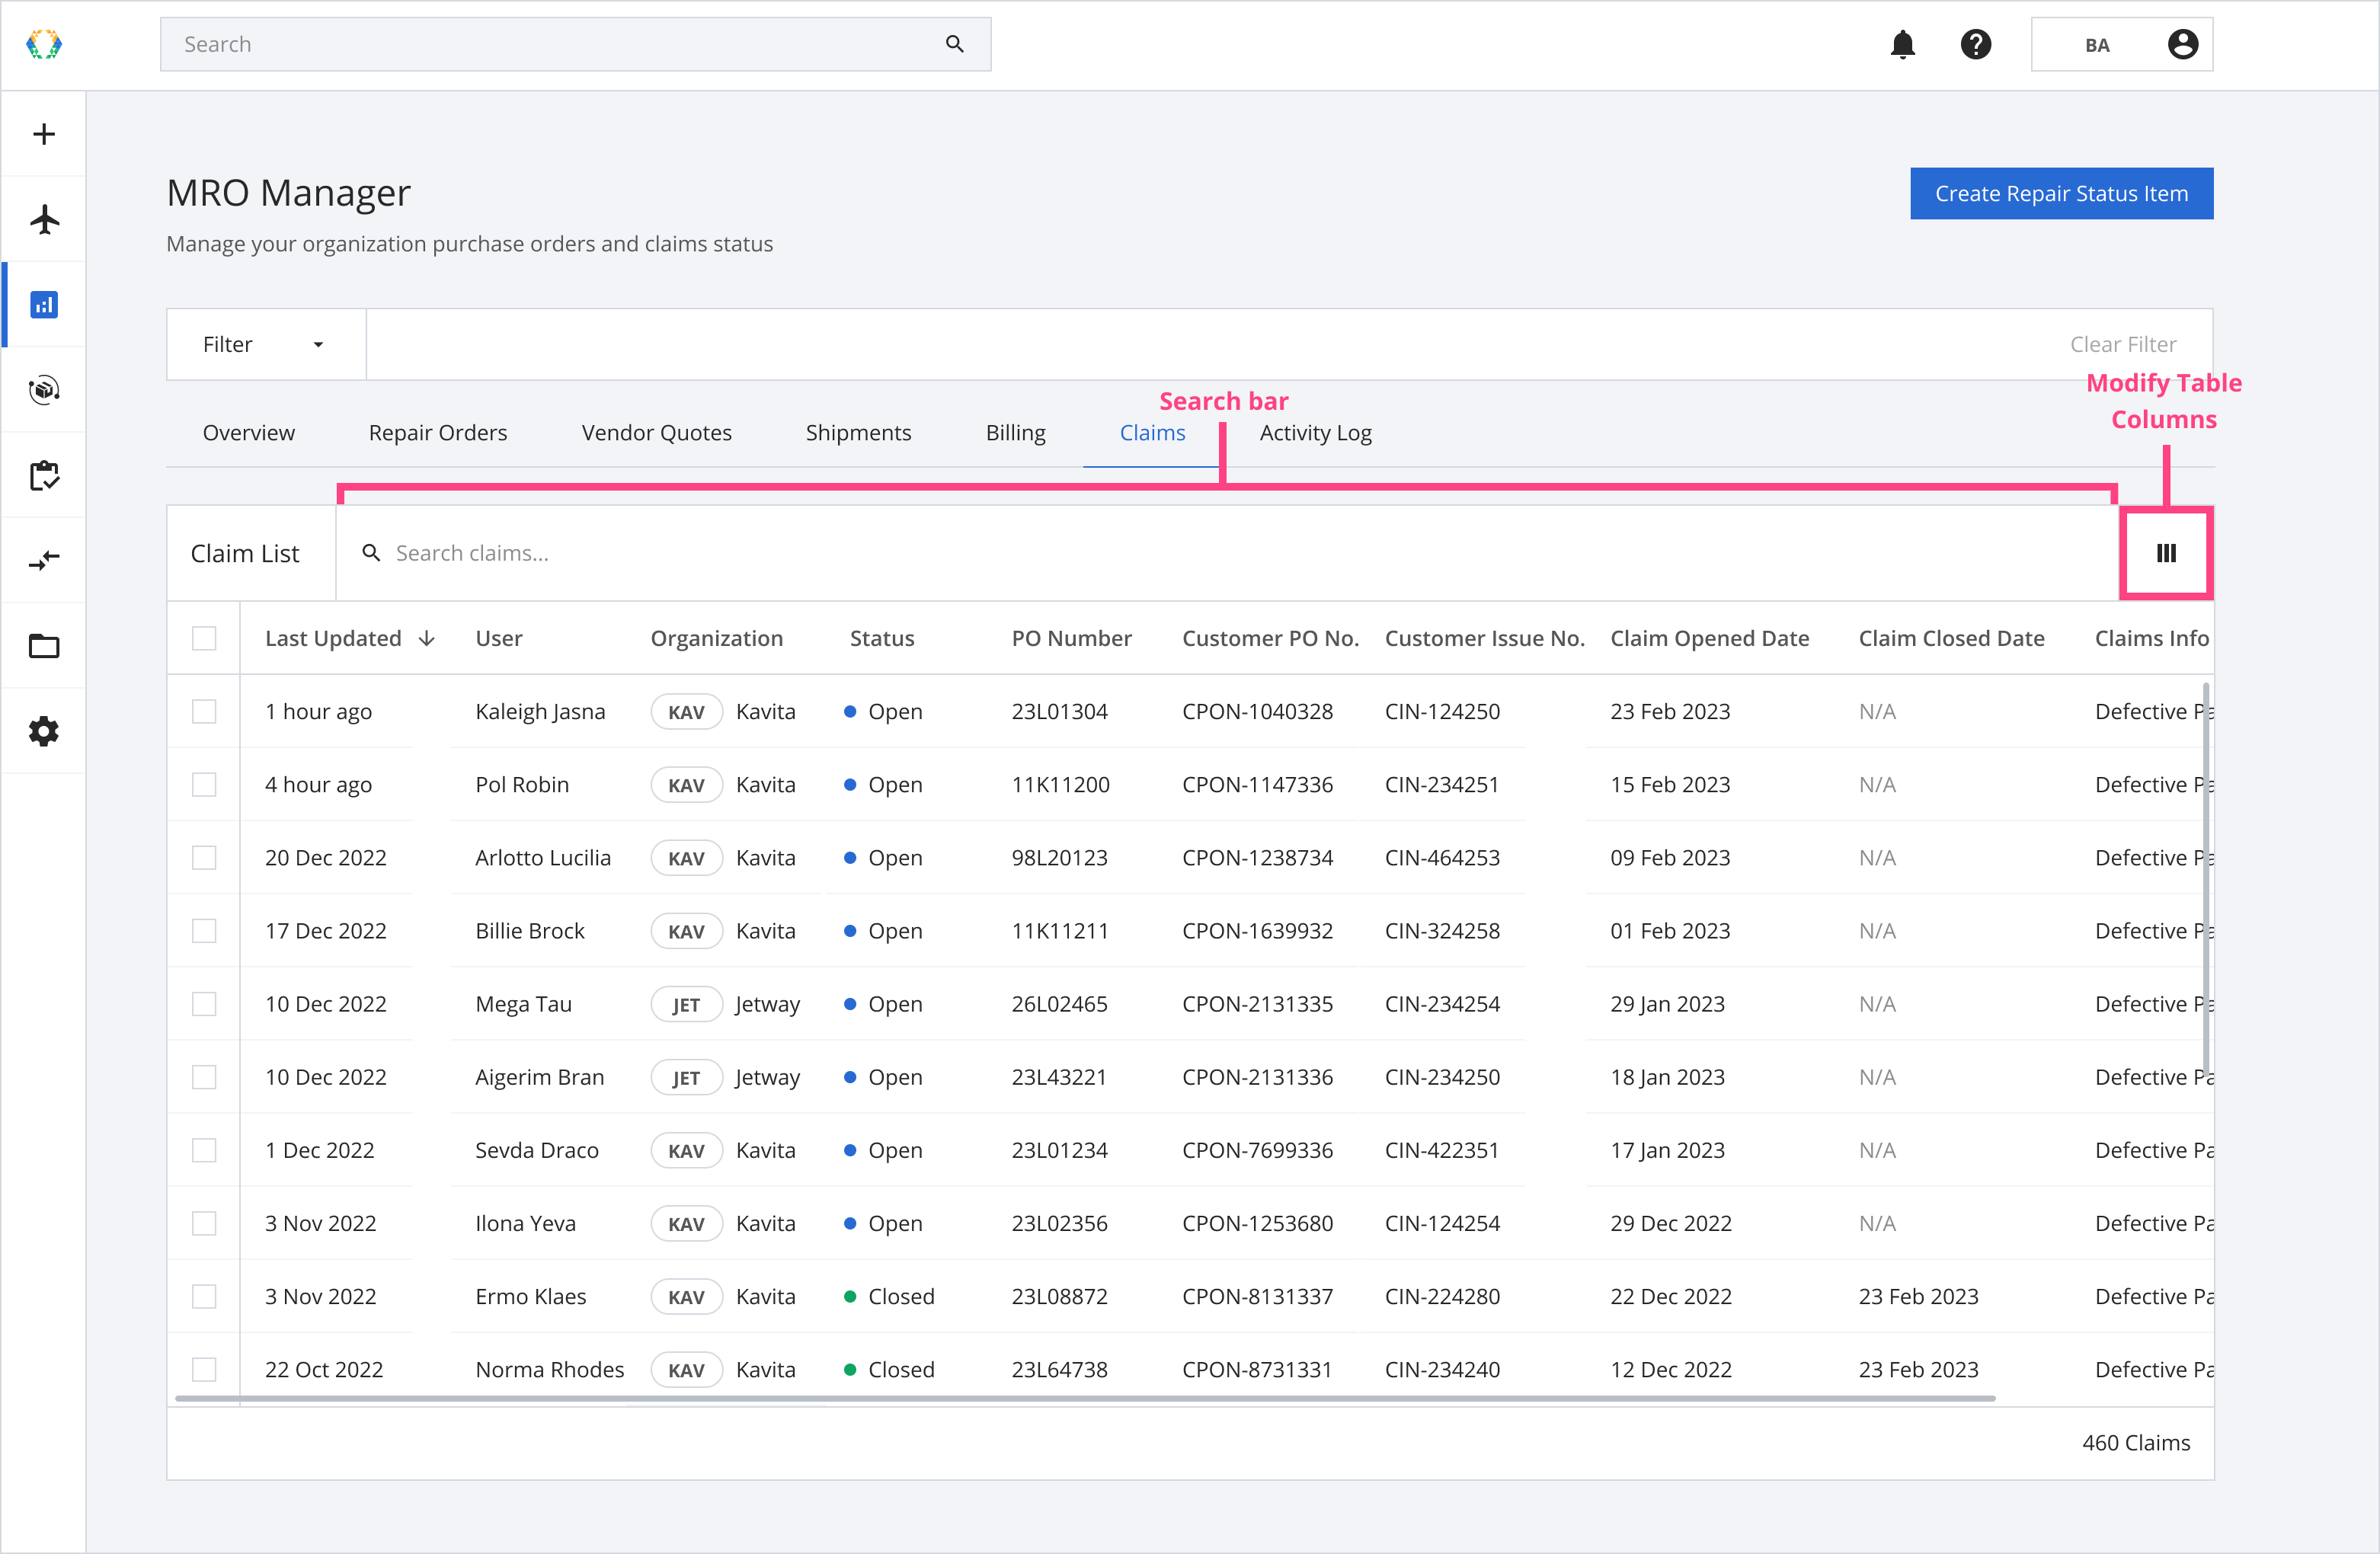
Searching on Claim List
The Search Bar on the Claim List allows you to search for specific Claims within your organization. You can use a variety of parameters to search for your Claims.
| Searchable Parameters |
|---|
| Status |
| Vendor ID |
| Customer ID |
| Vendor Name |
| Customer I-TAG No. |
| Customer RCA No. |
| RMA Number |
| Vendor Claim Number |
| Customer Claim Number |
| Reason for Claim |
| User |
| PO Number |
| Work Order Number |
| Customer PO Number |
| Customer Work Order Number |
| Customer Issue Number |
| Customer Nominal Number |
| SECT Code |
| ASSY Code |
| ATA No. |
| Module Code |
| OTC Code |
| ORT Code |
Exporting the Claim List
You can export your Claims to view or update them from the platform.
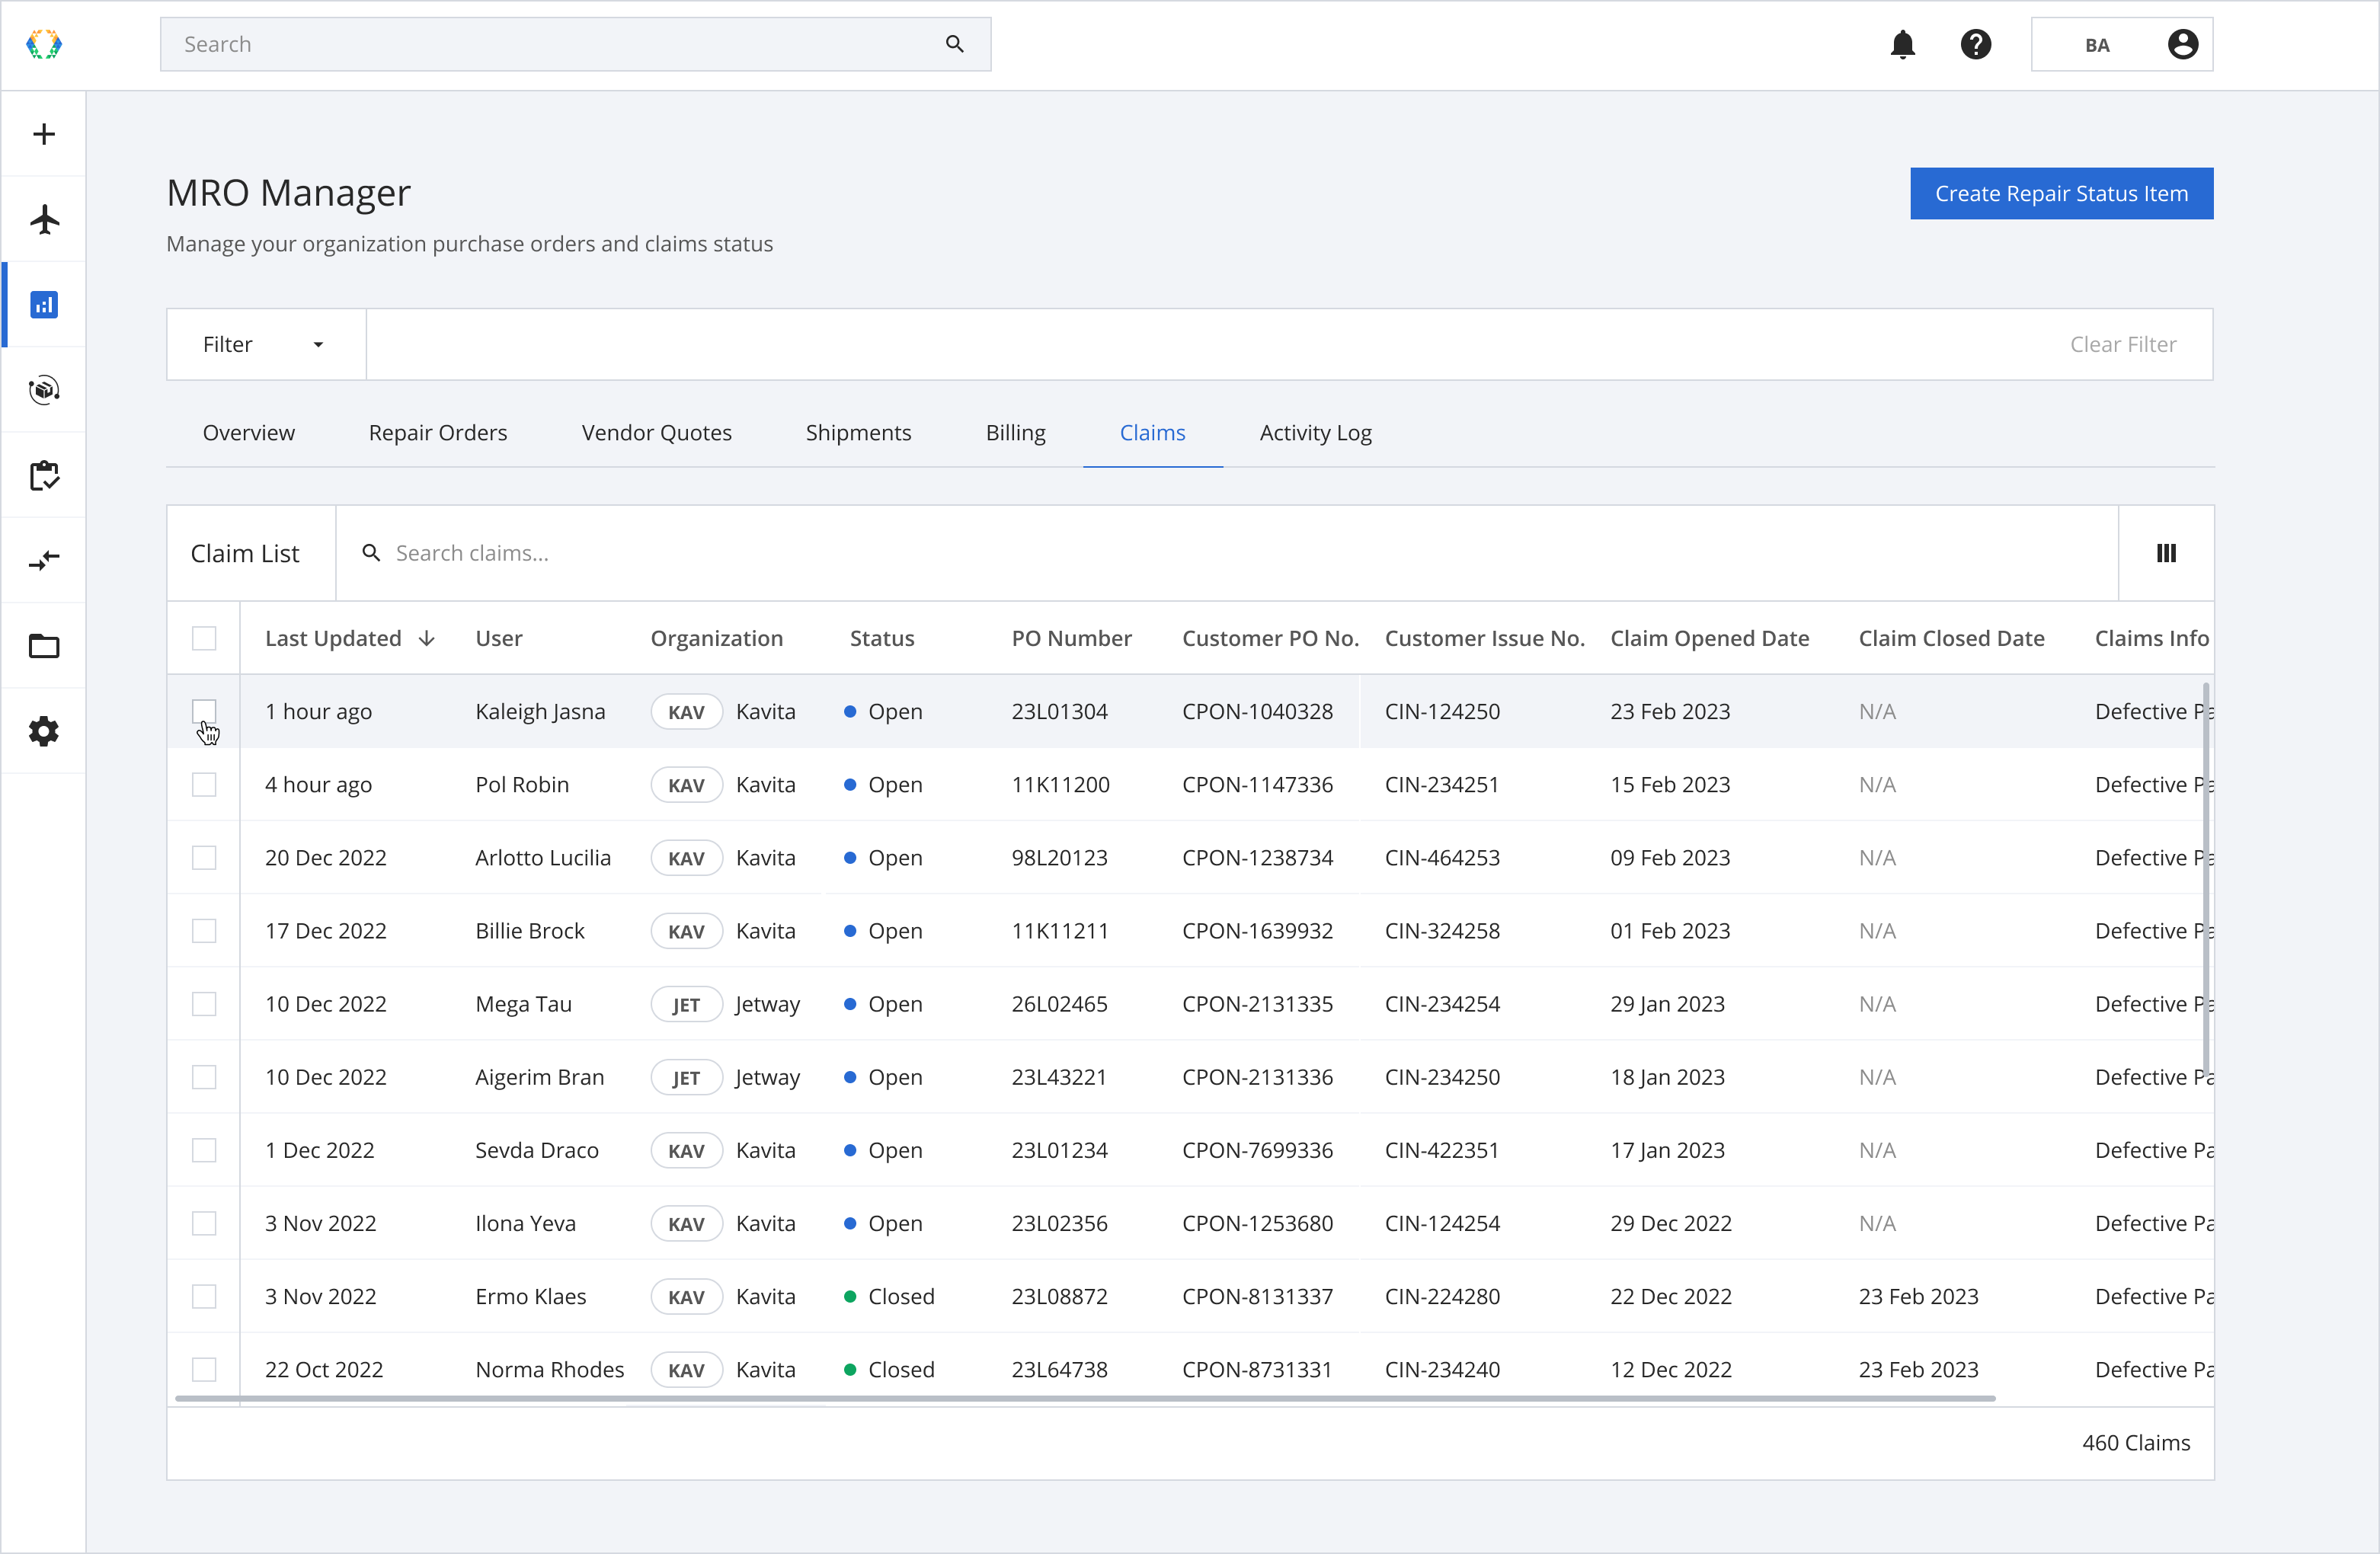
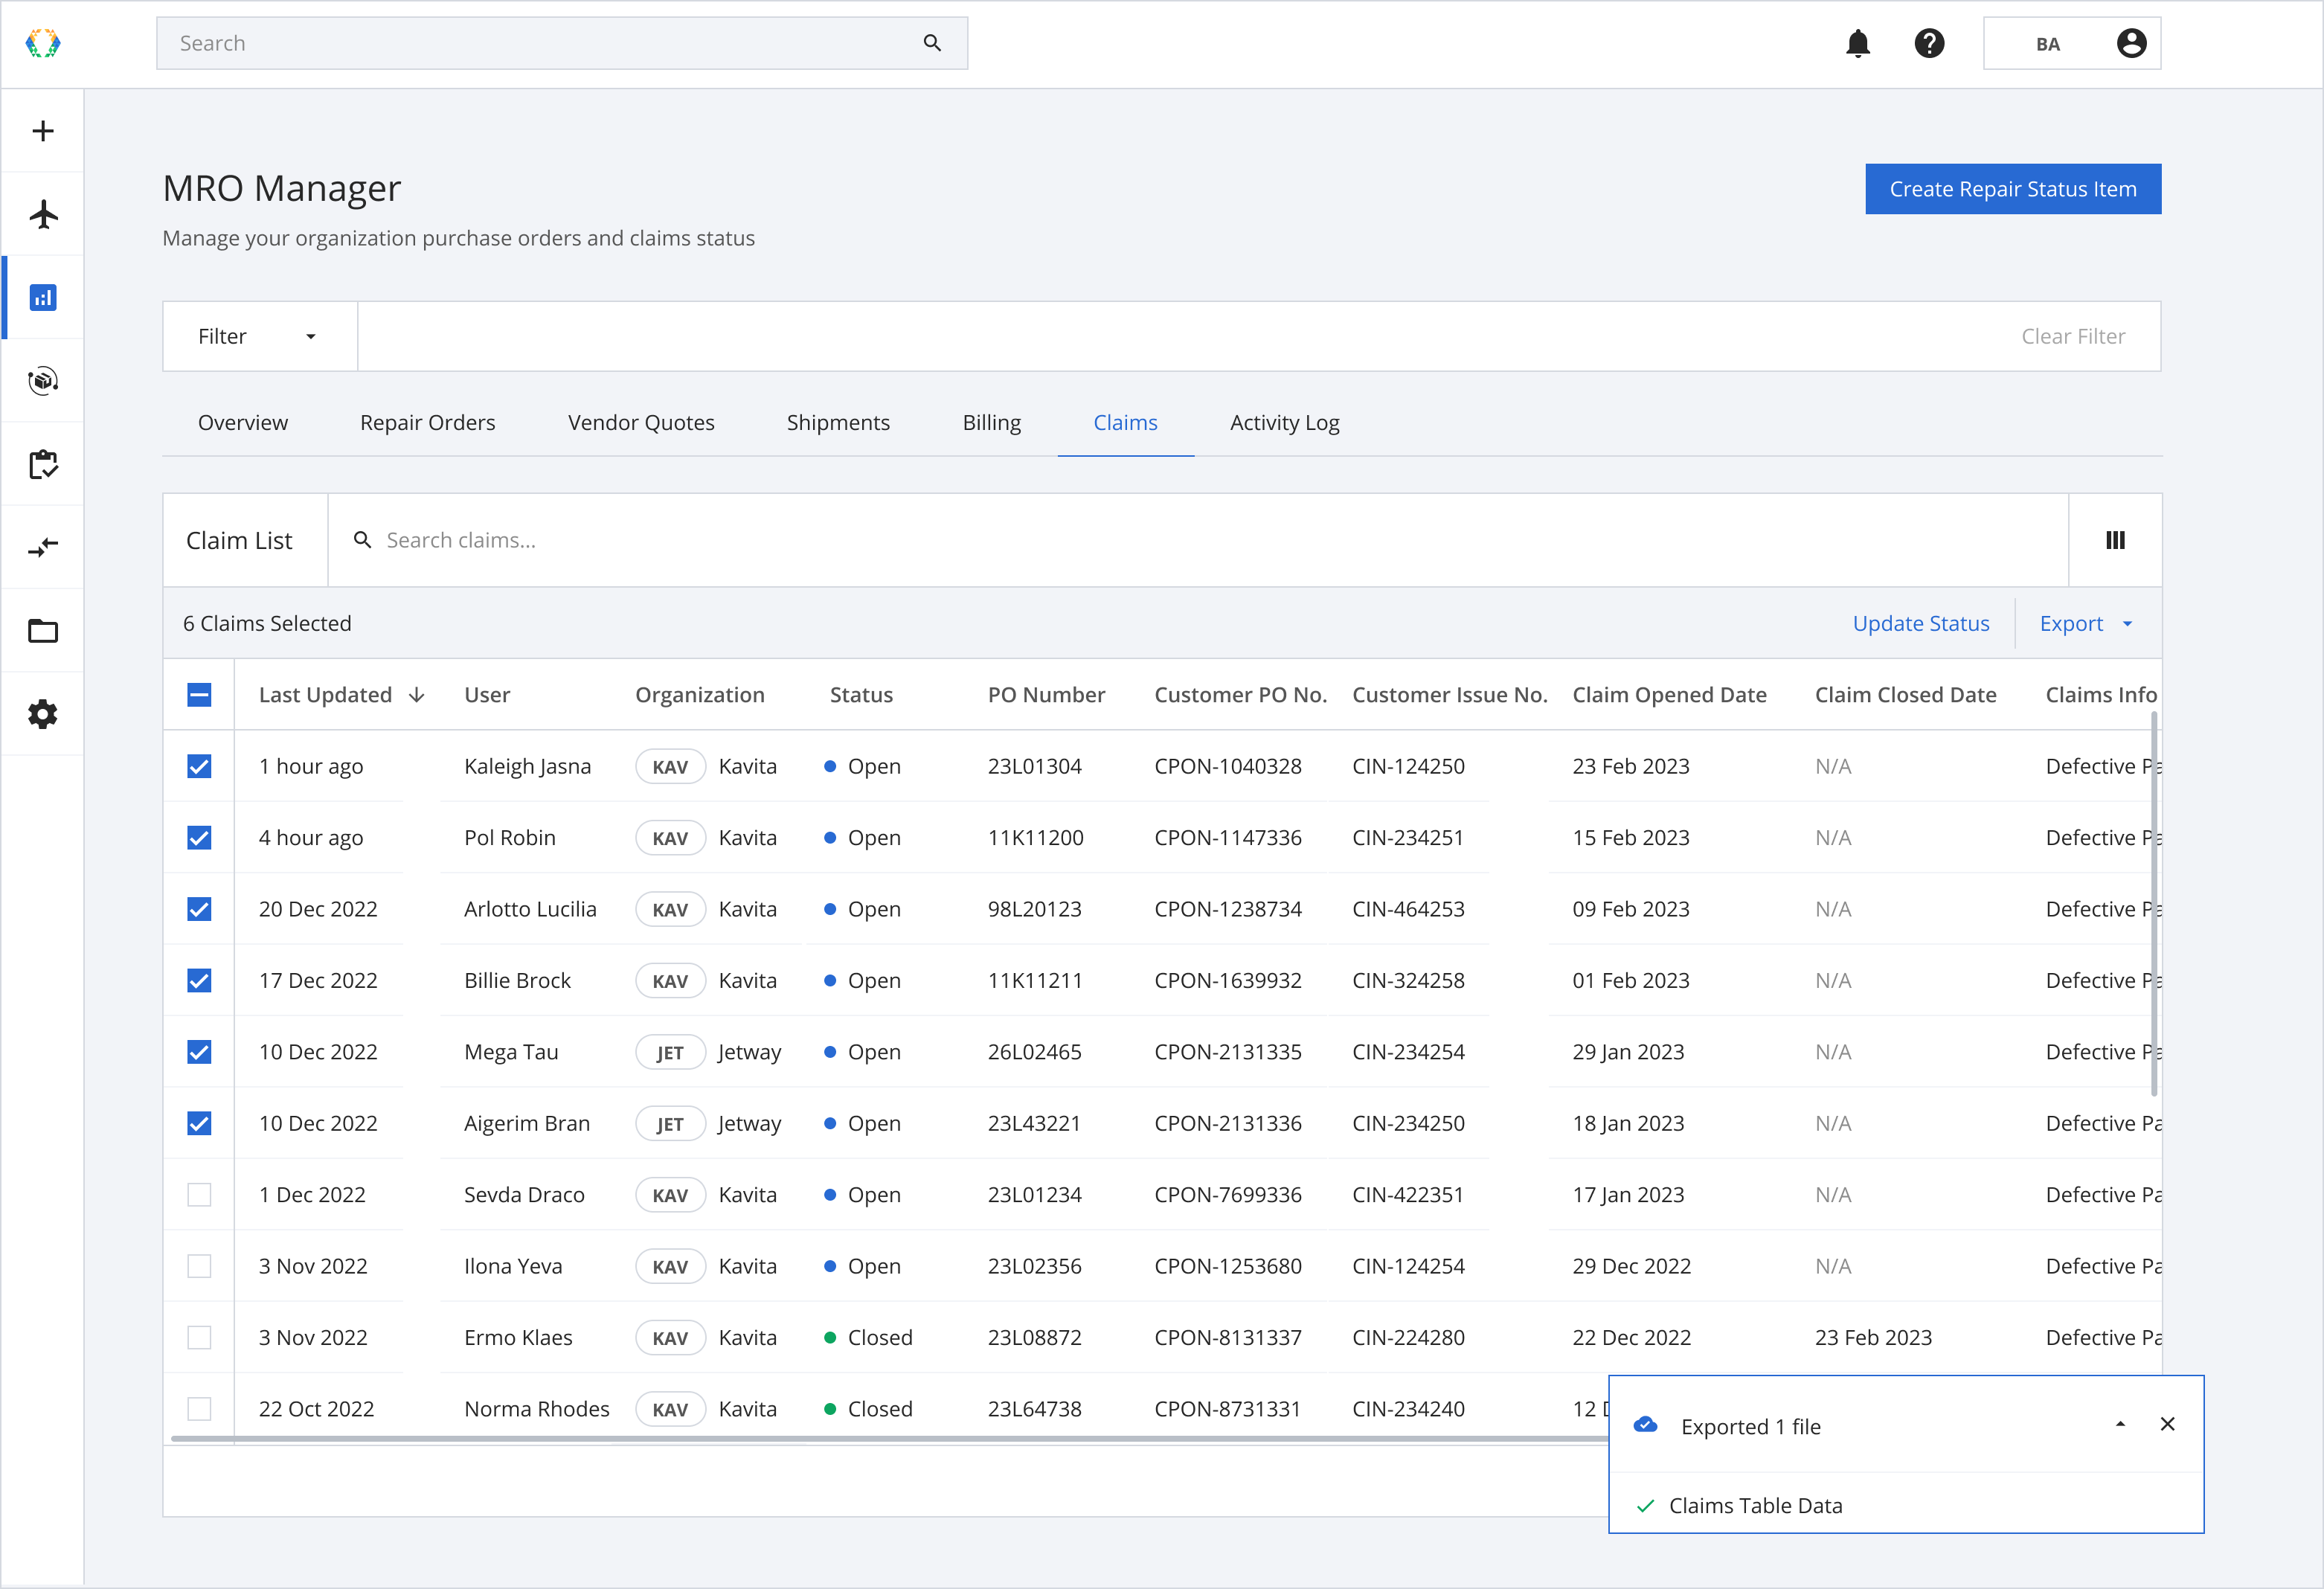
Step 1: From the Claims List, select claims you want to export.
Step 2: Click ‘Export’ and then select 'Table Data'.
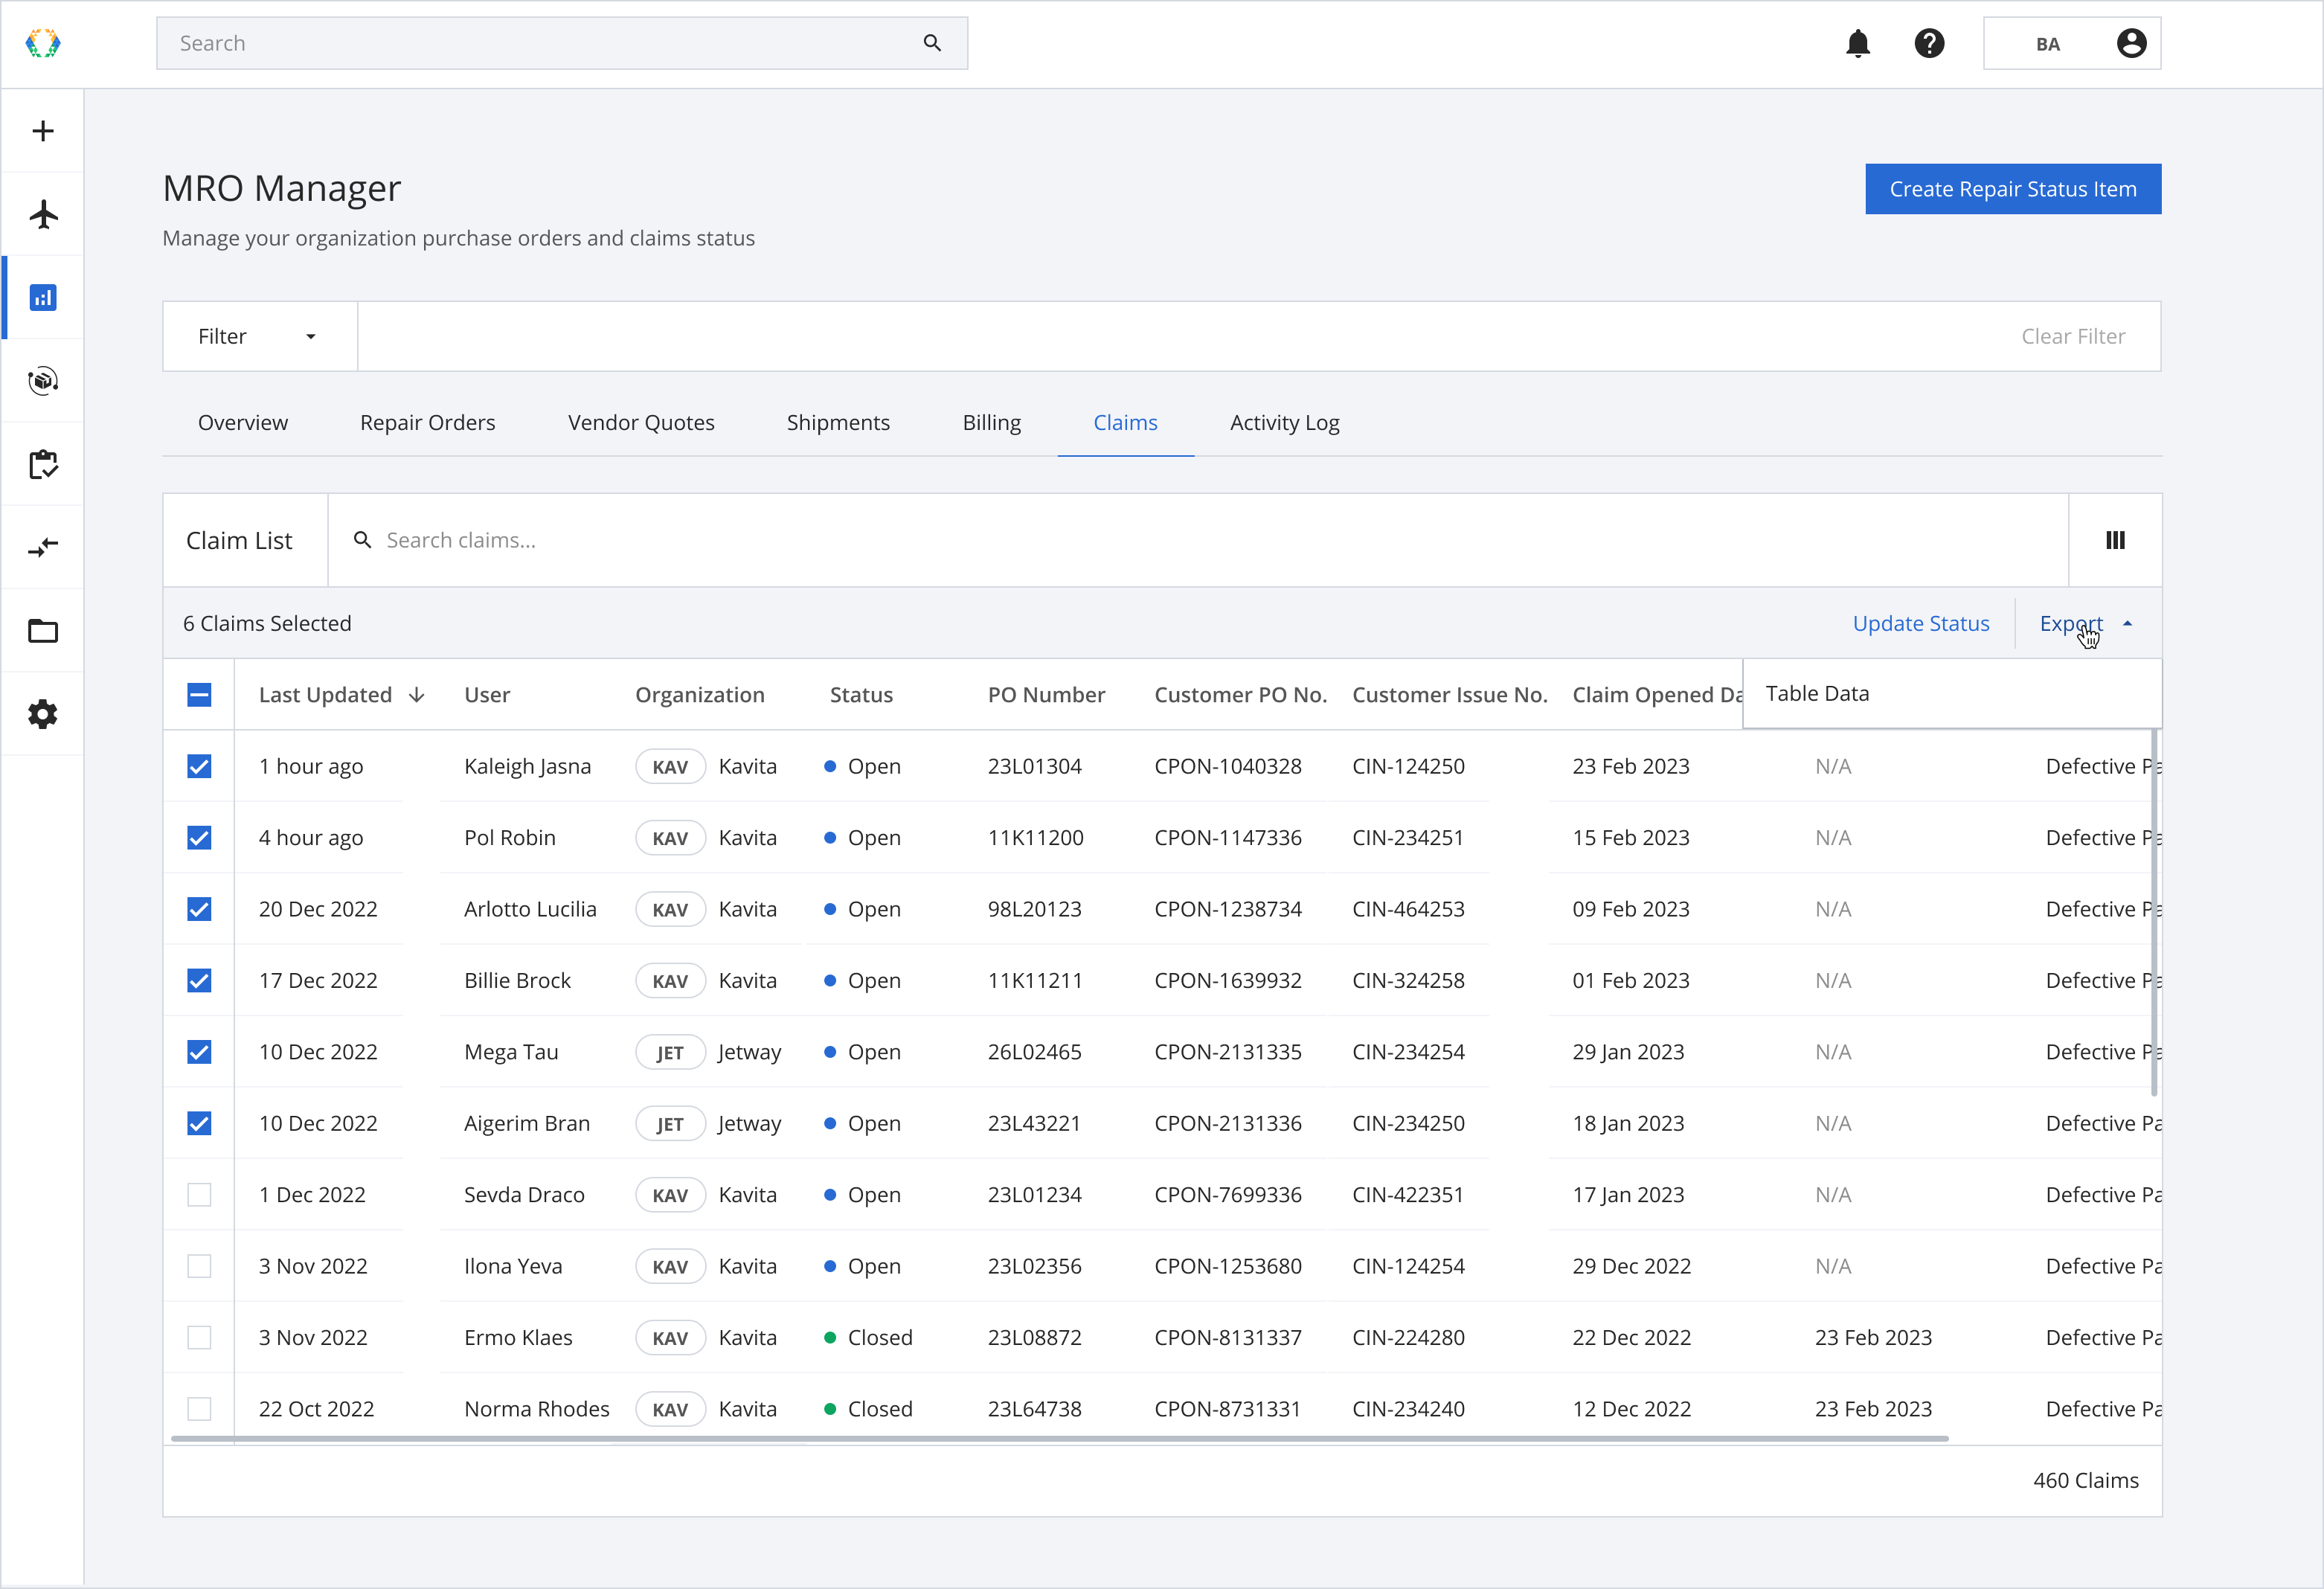
Step 3: The Excel file containing the claims details will be exported and downloaded to your computer.
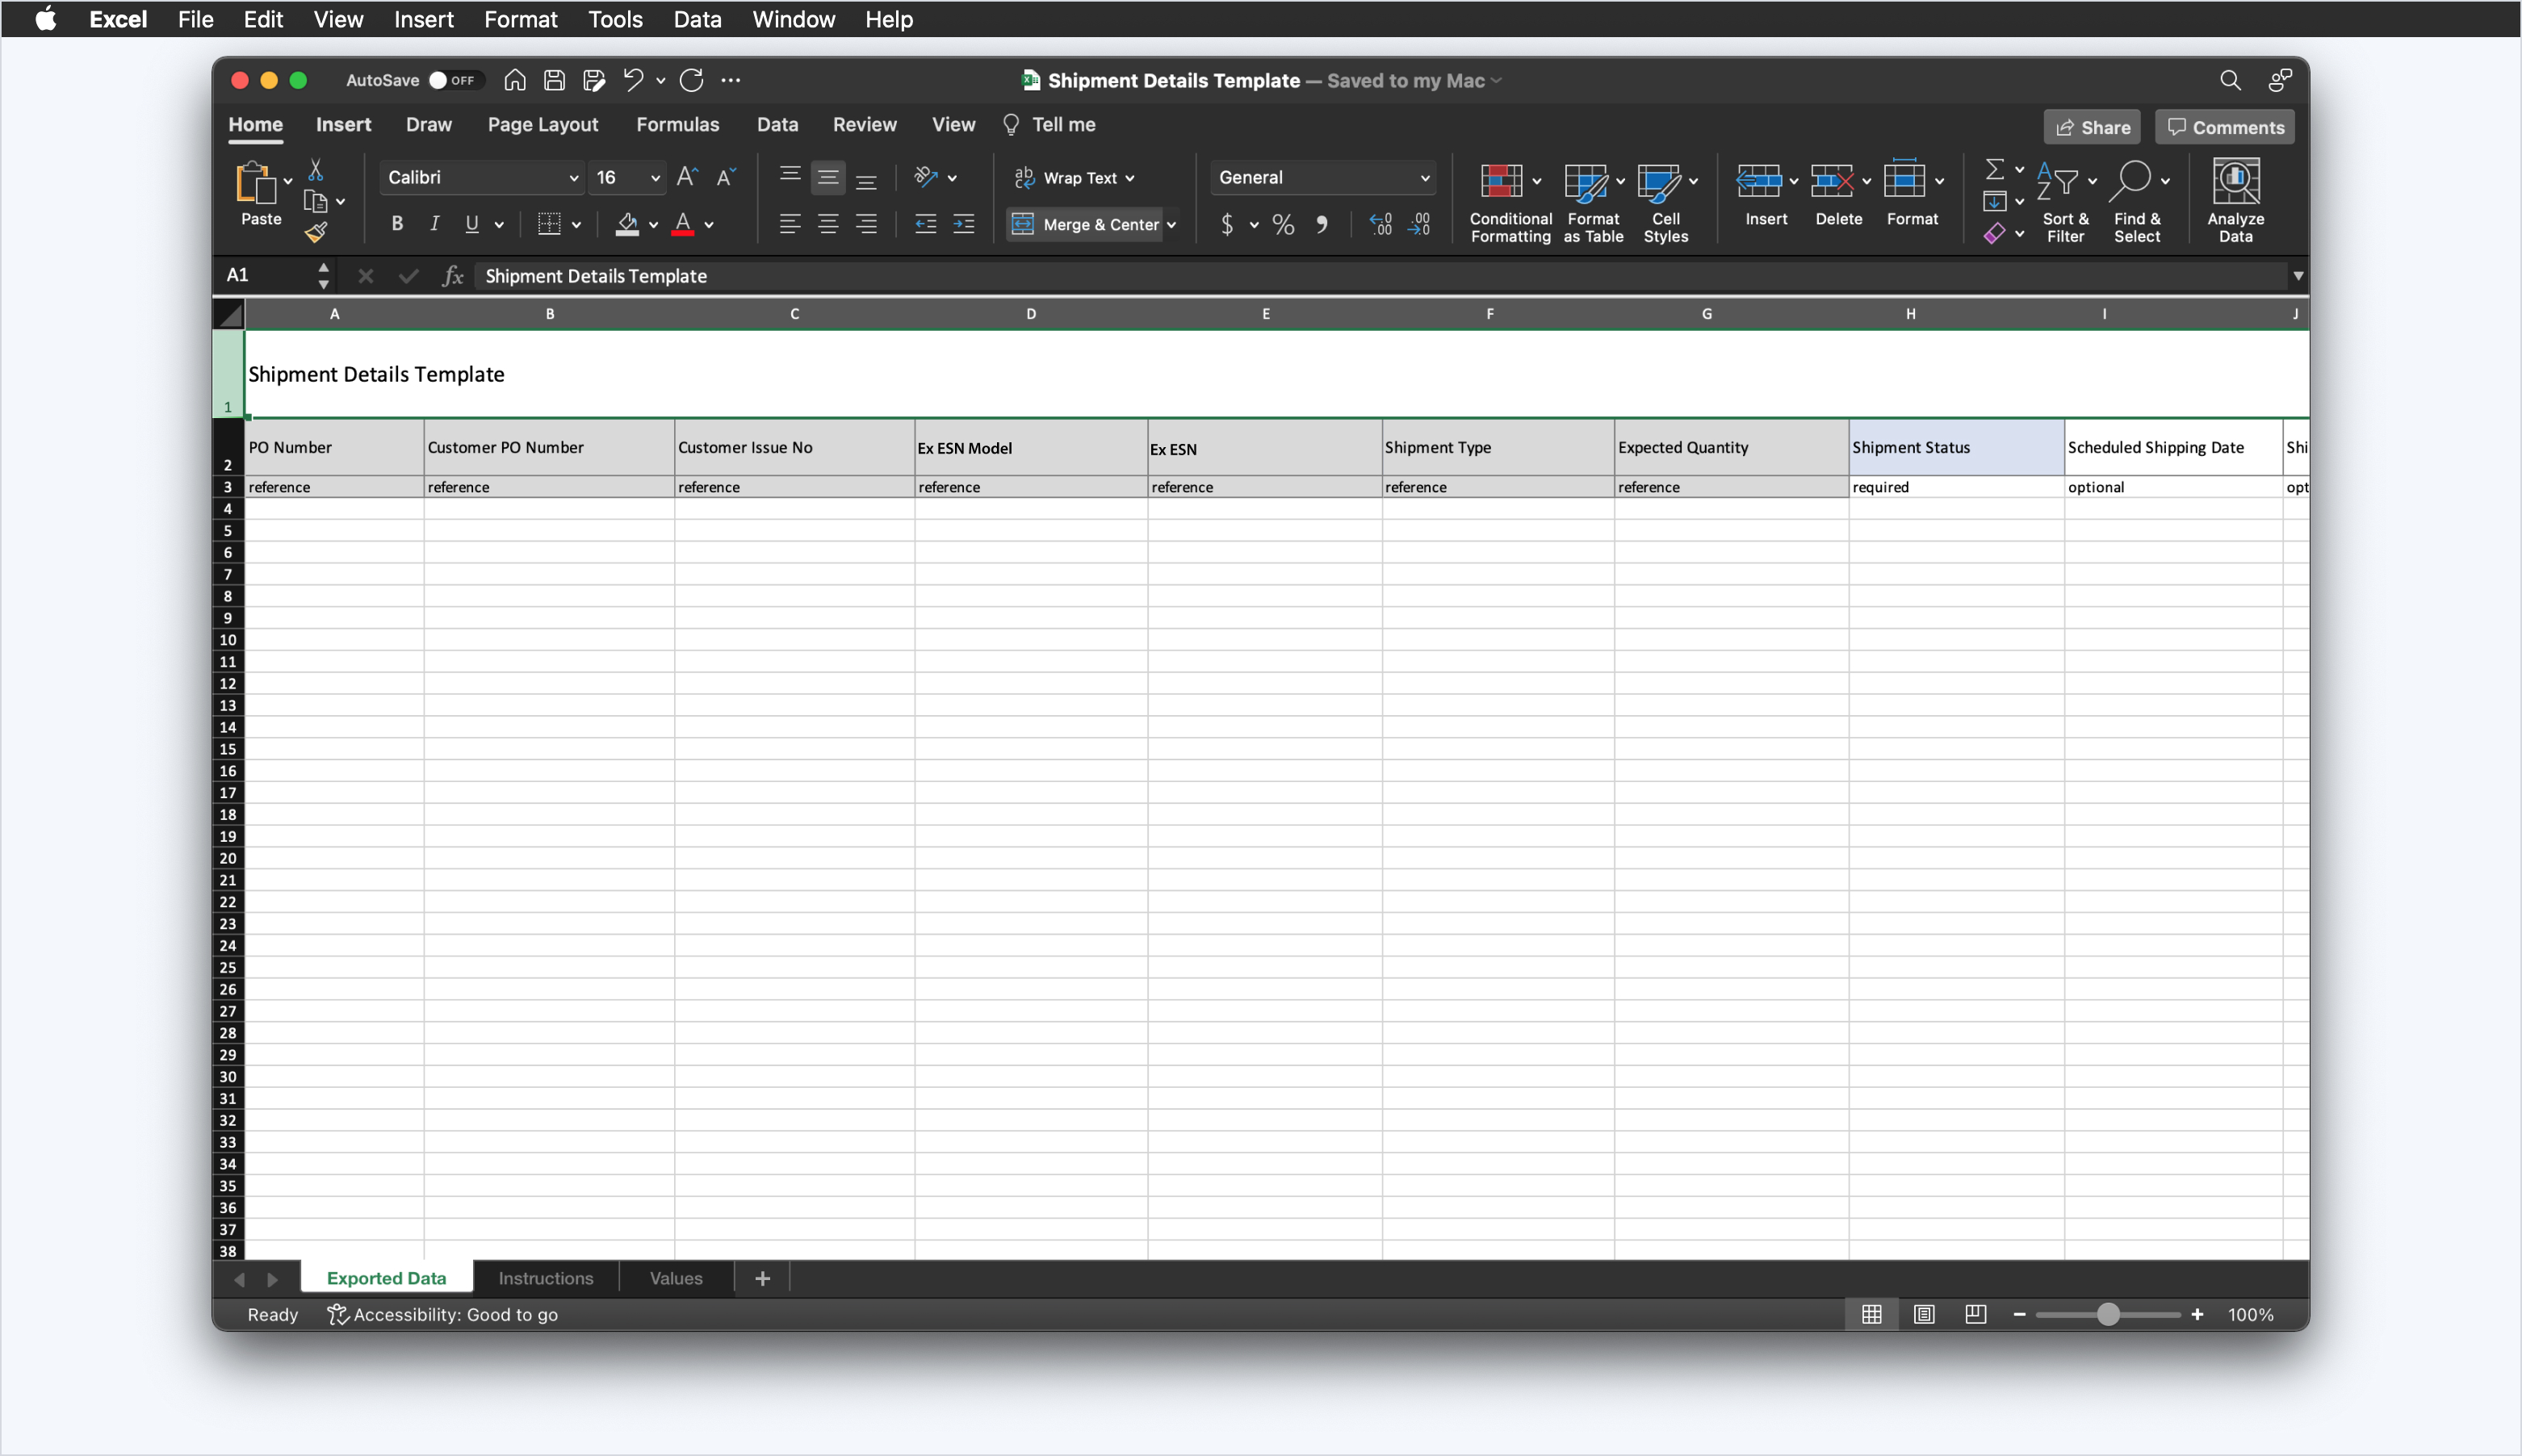
Step 4: Open the template in Excel format and view the data on your computer.
Updating Claims Details
Update Status of Claims
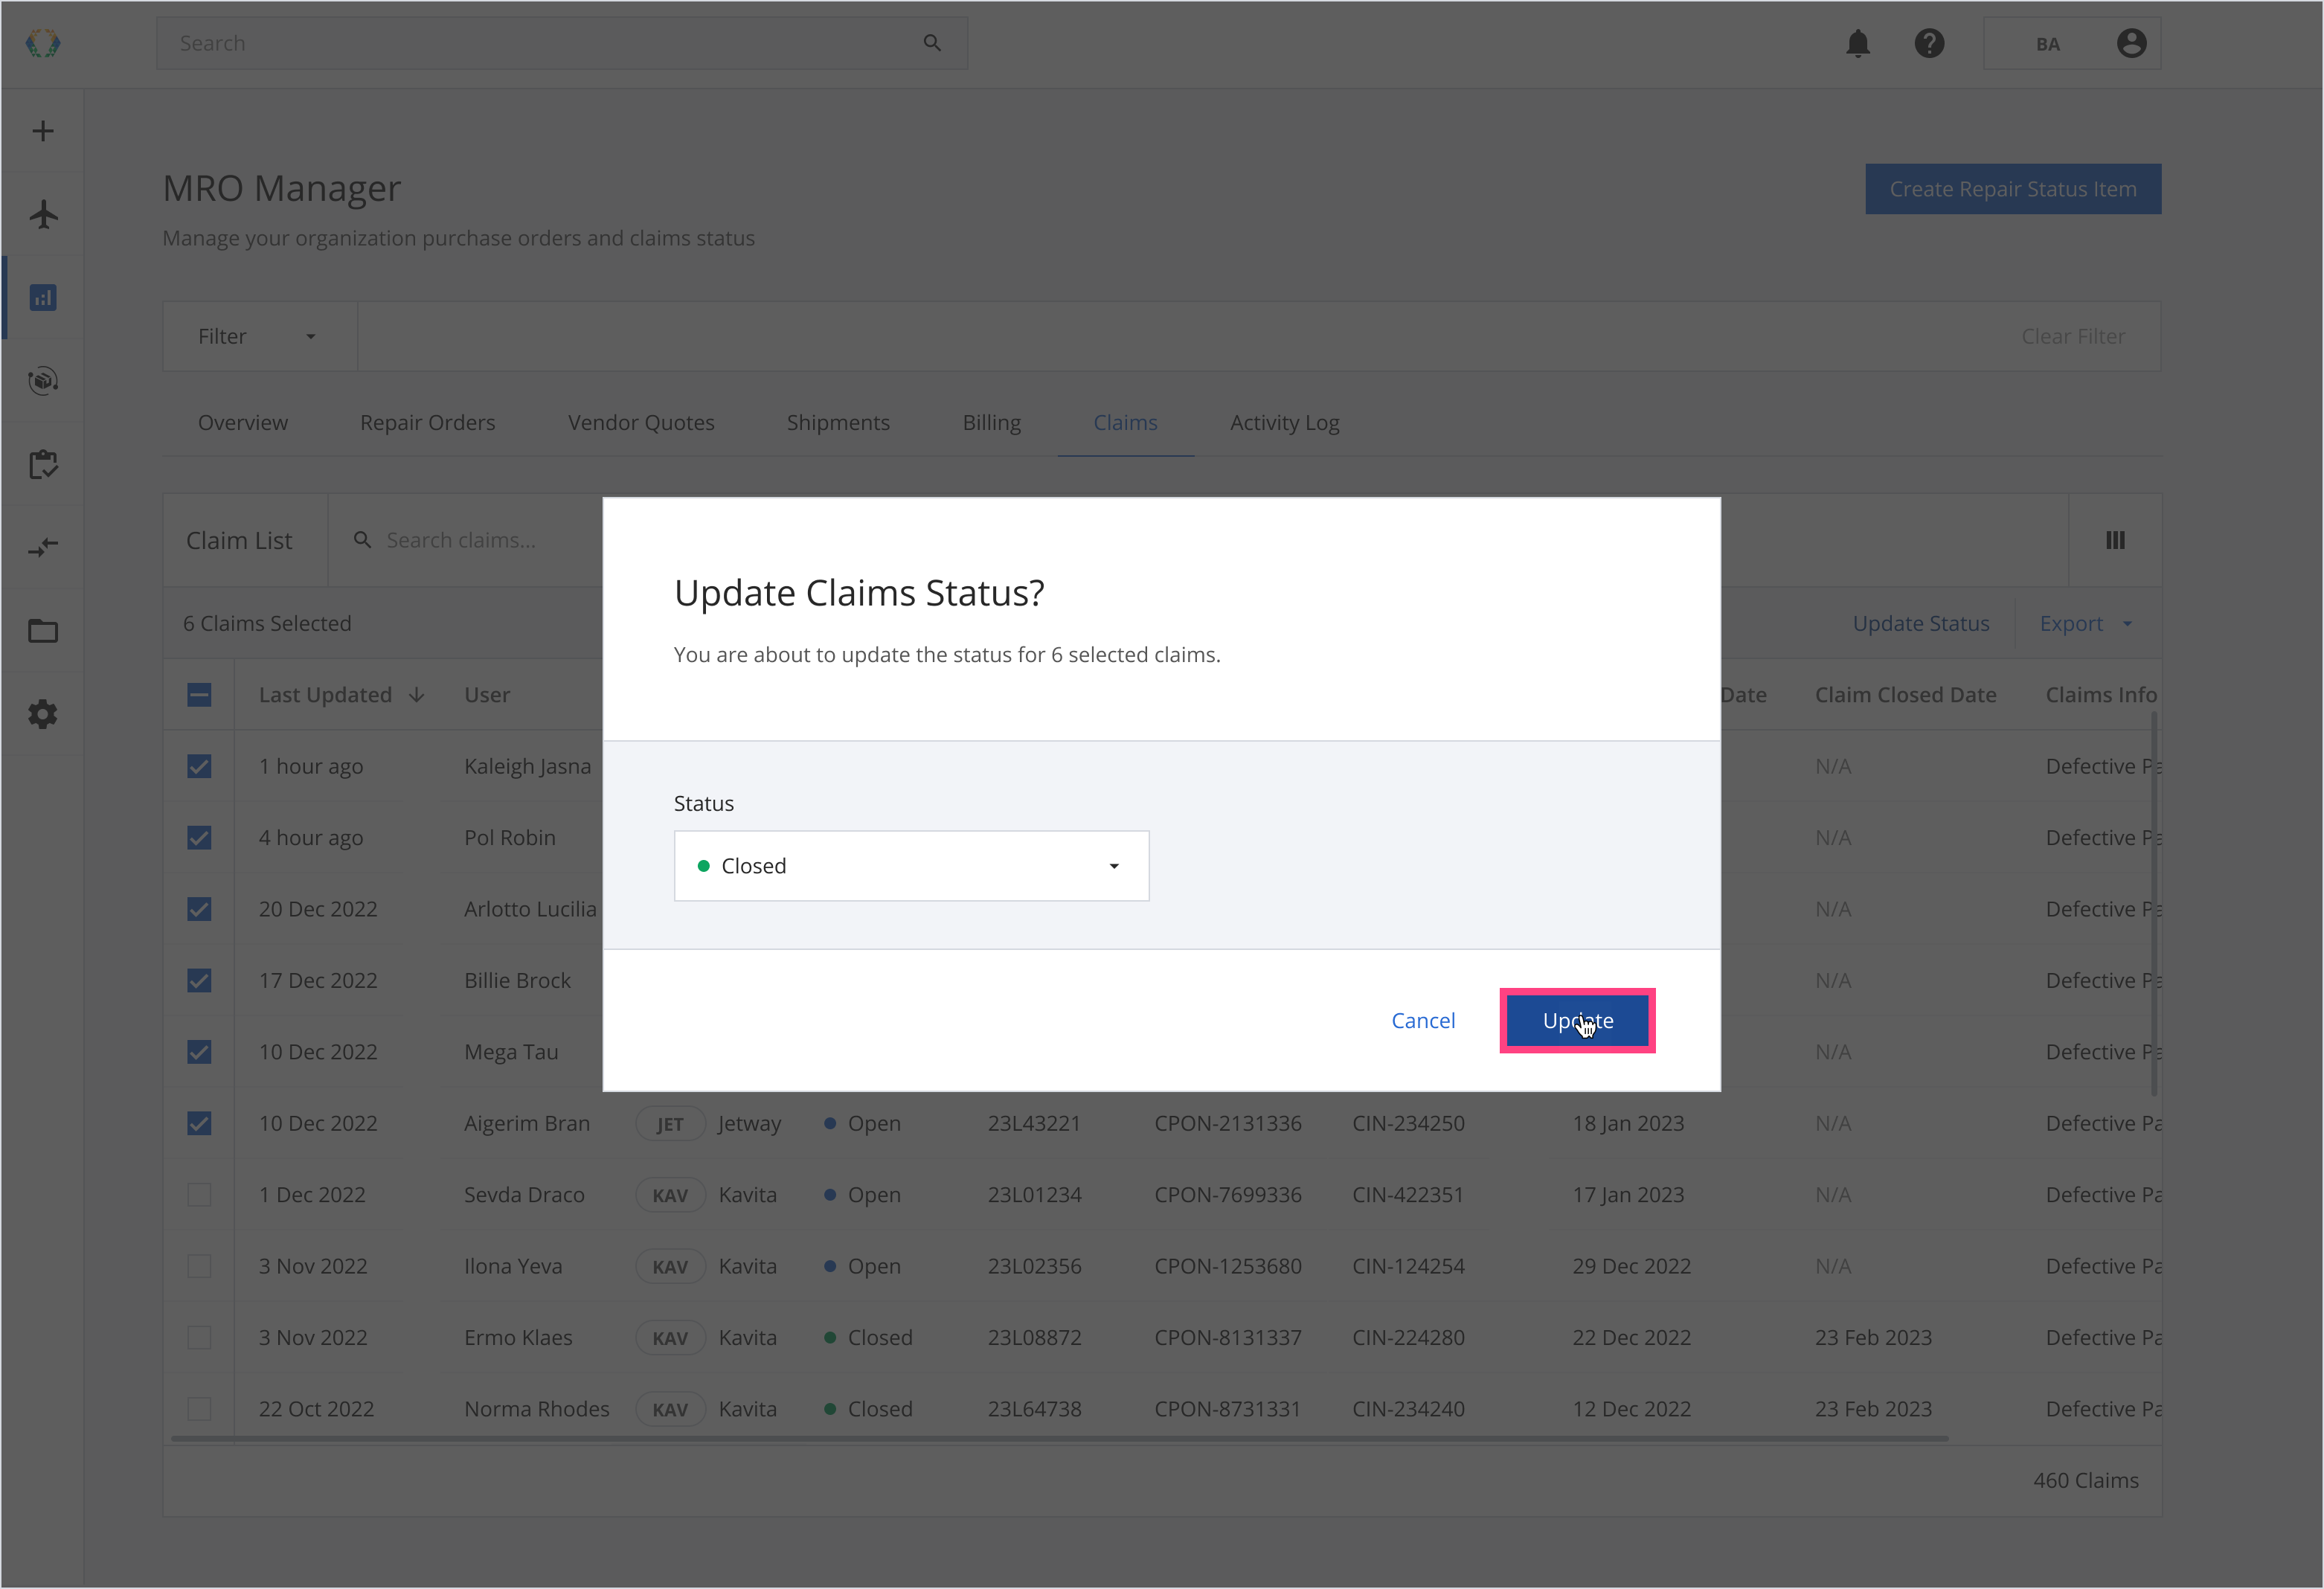
Step 1: From the Claim List, select claims you want to update status.
Step 2: Under the 'Status' section, select status.
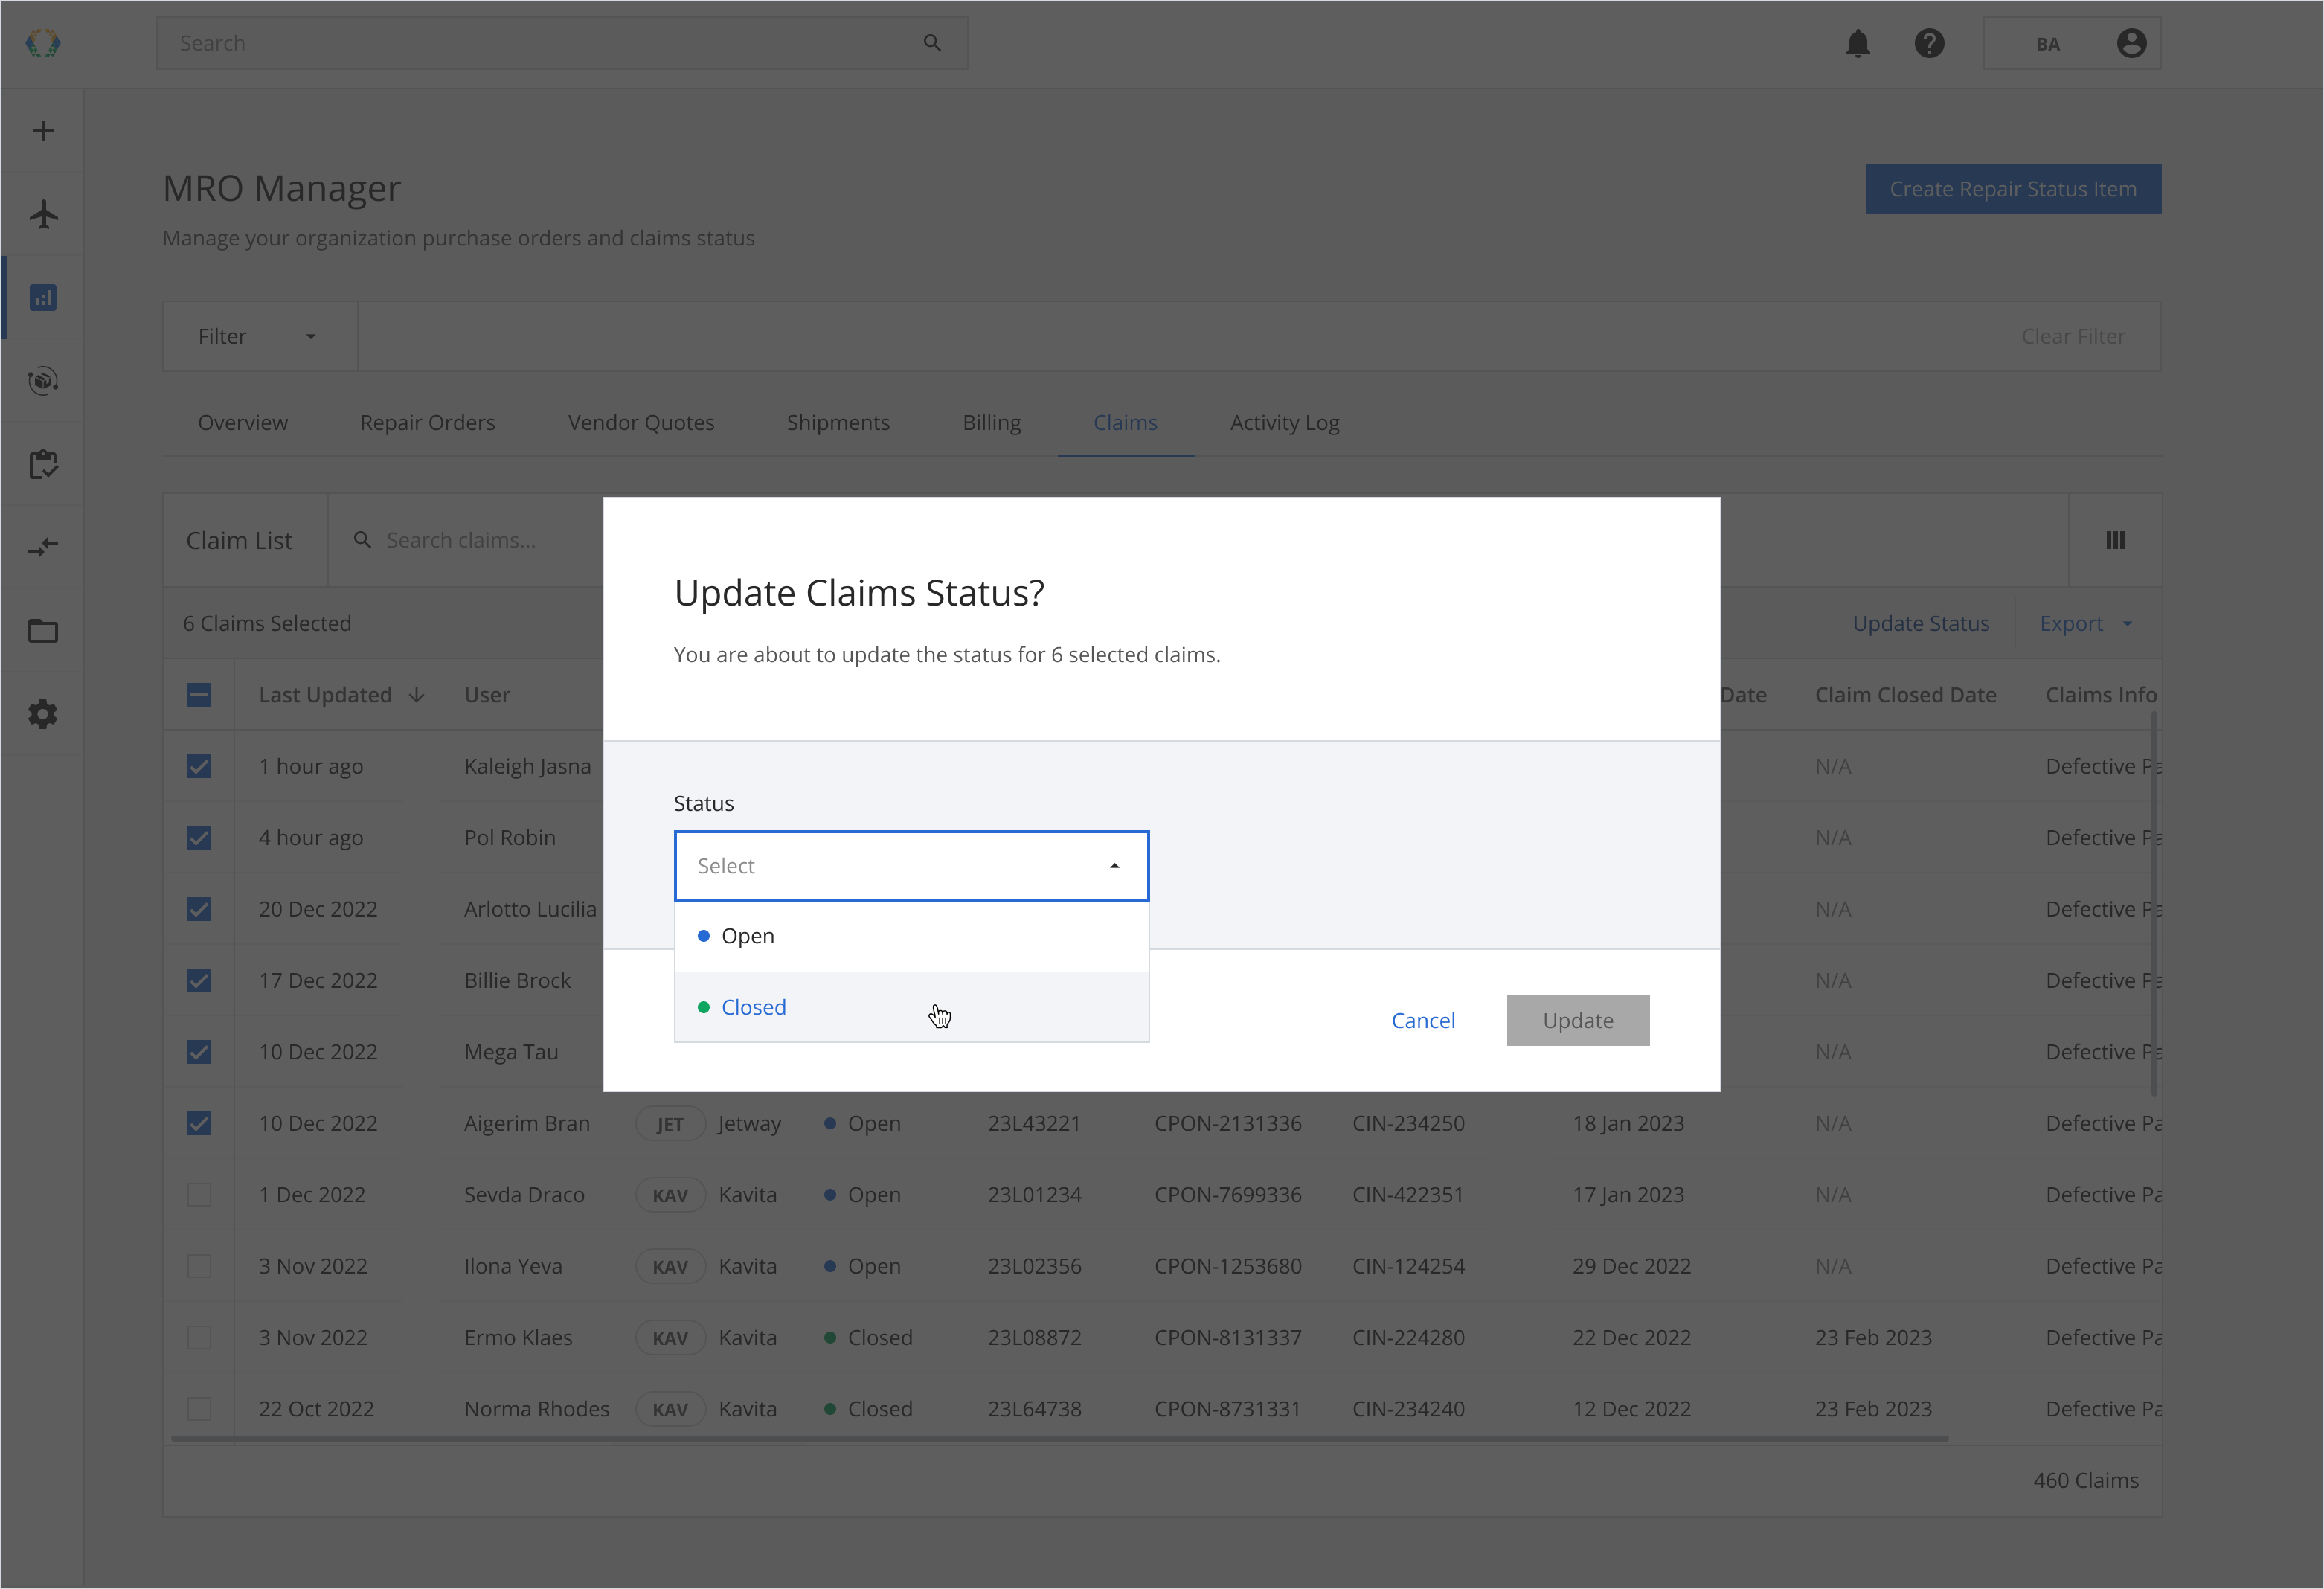
Step 3: Click 'Update' to confirm your selection.
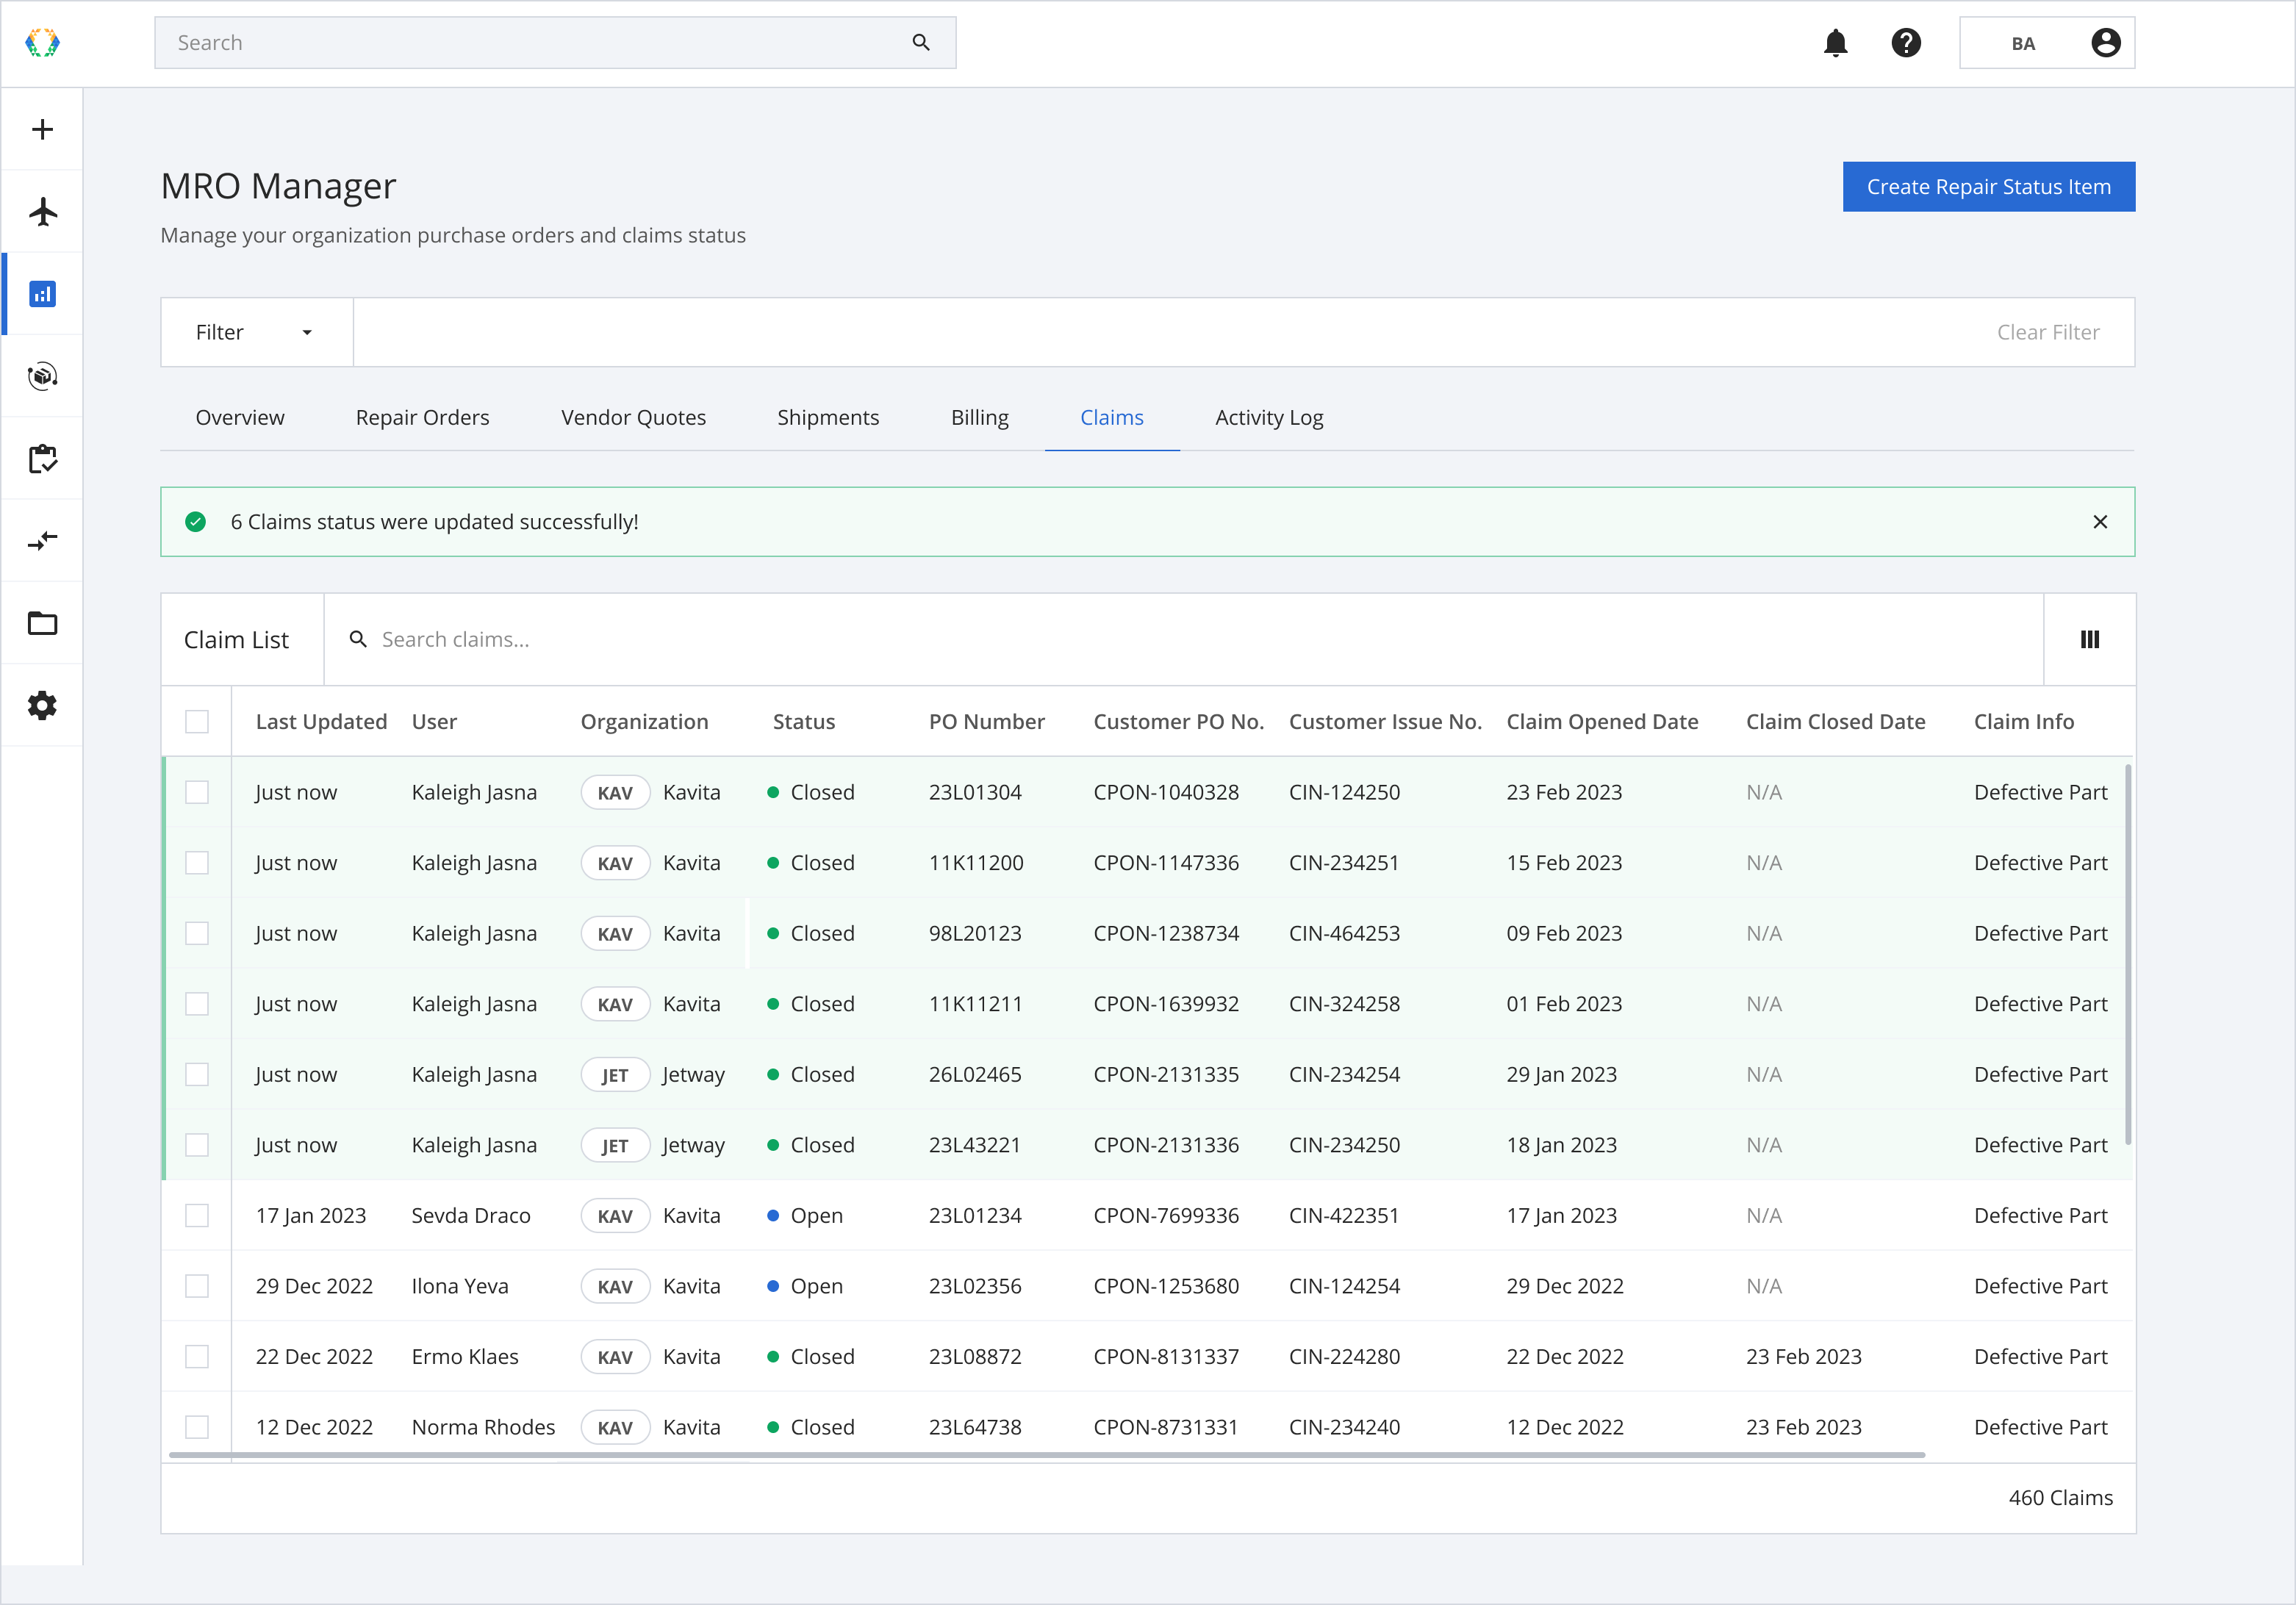
Once your claims statuses are successfully updated, a green banner will appear at the top of the claim list.
Updated over 1 year ago