Assets
The Asset List is where you manage your organization’s fleet and inventory. By default, it displays assets that are owned, operated, or managed by your organization. You can also toggle the view to include all assets available across the Block Aero network, providing broader access to discover and collaborate on assets managed by other organizations.
Getting Started
To access asset list, click ‘Assets’ tab.
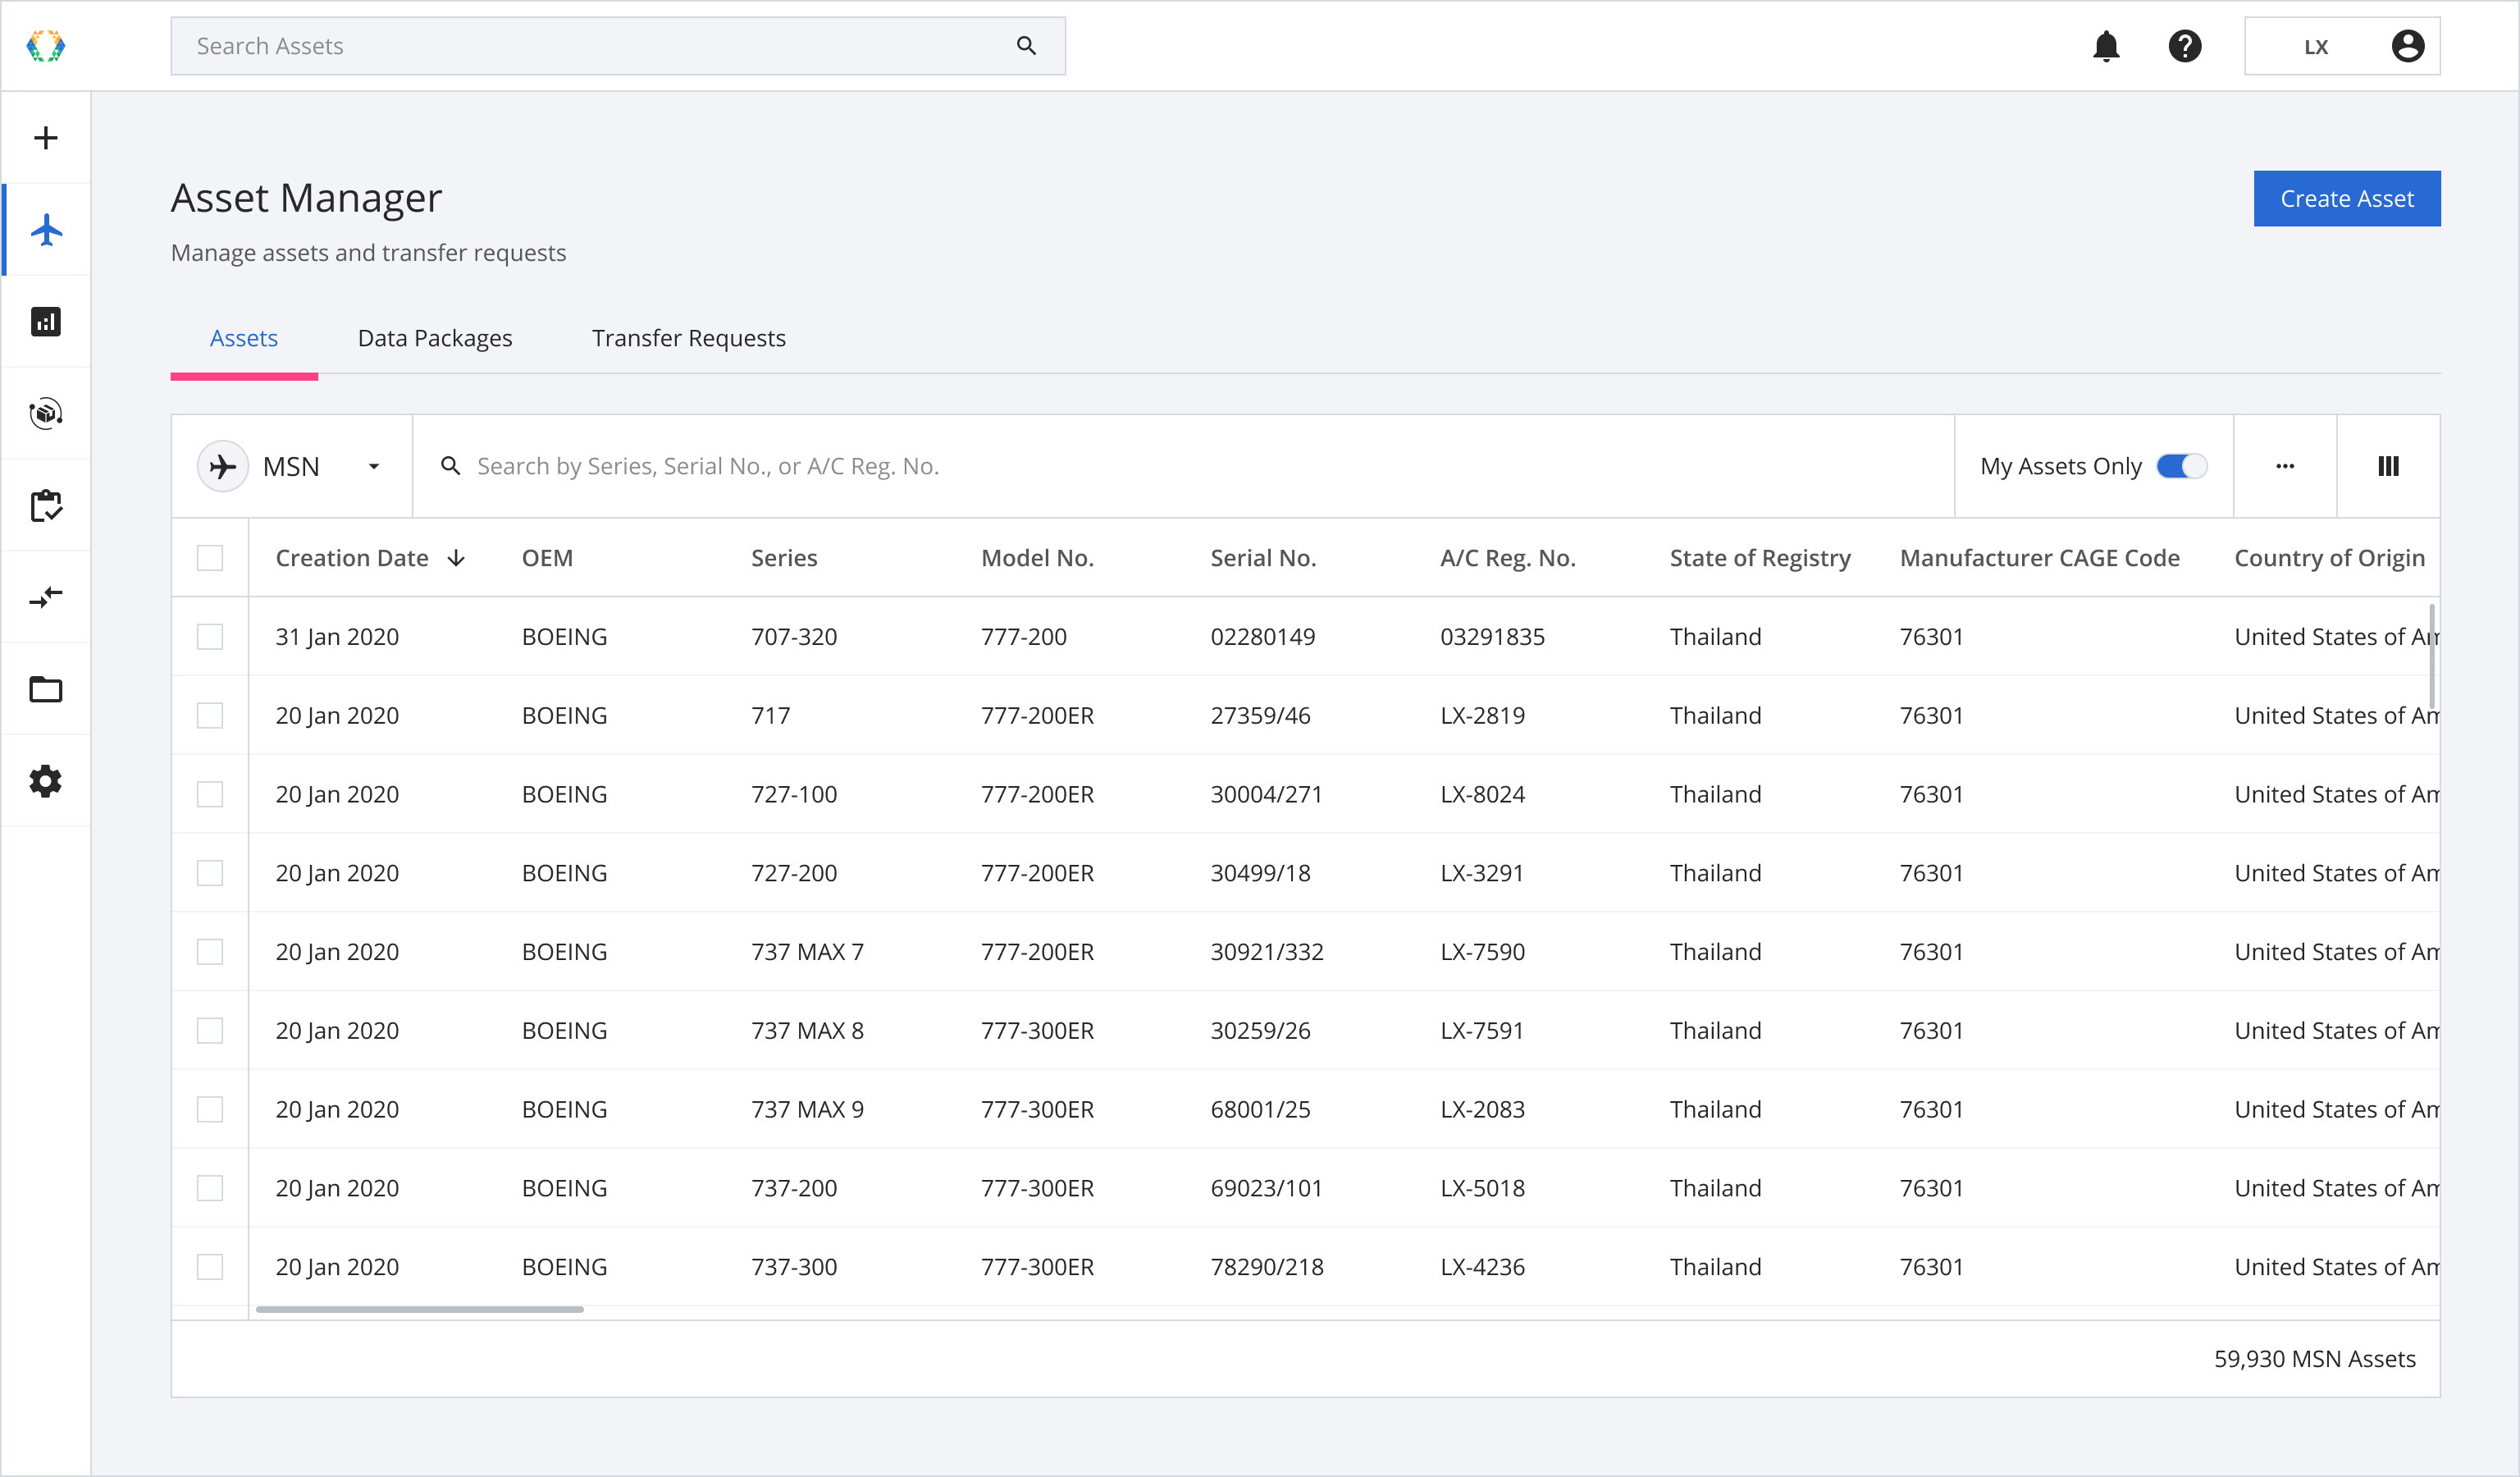
Asset List Layout
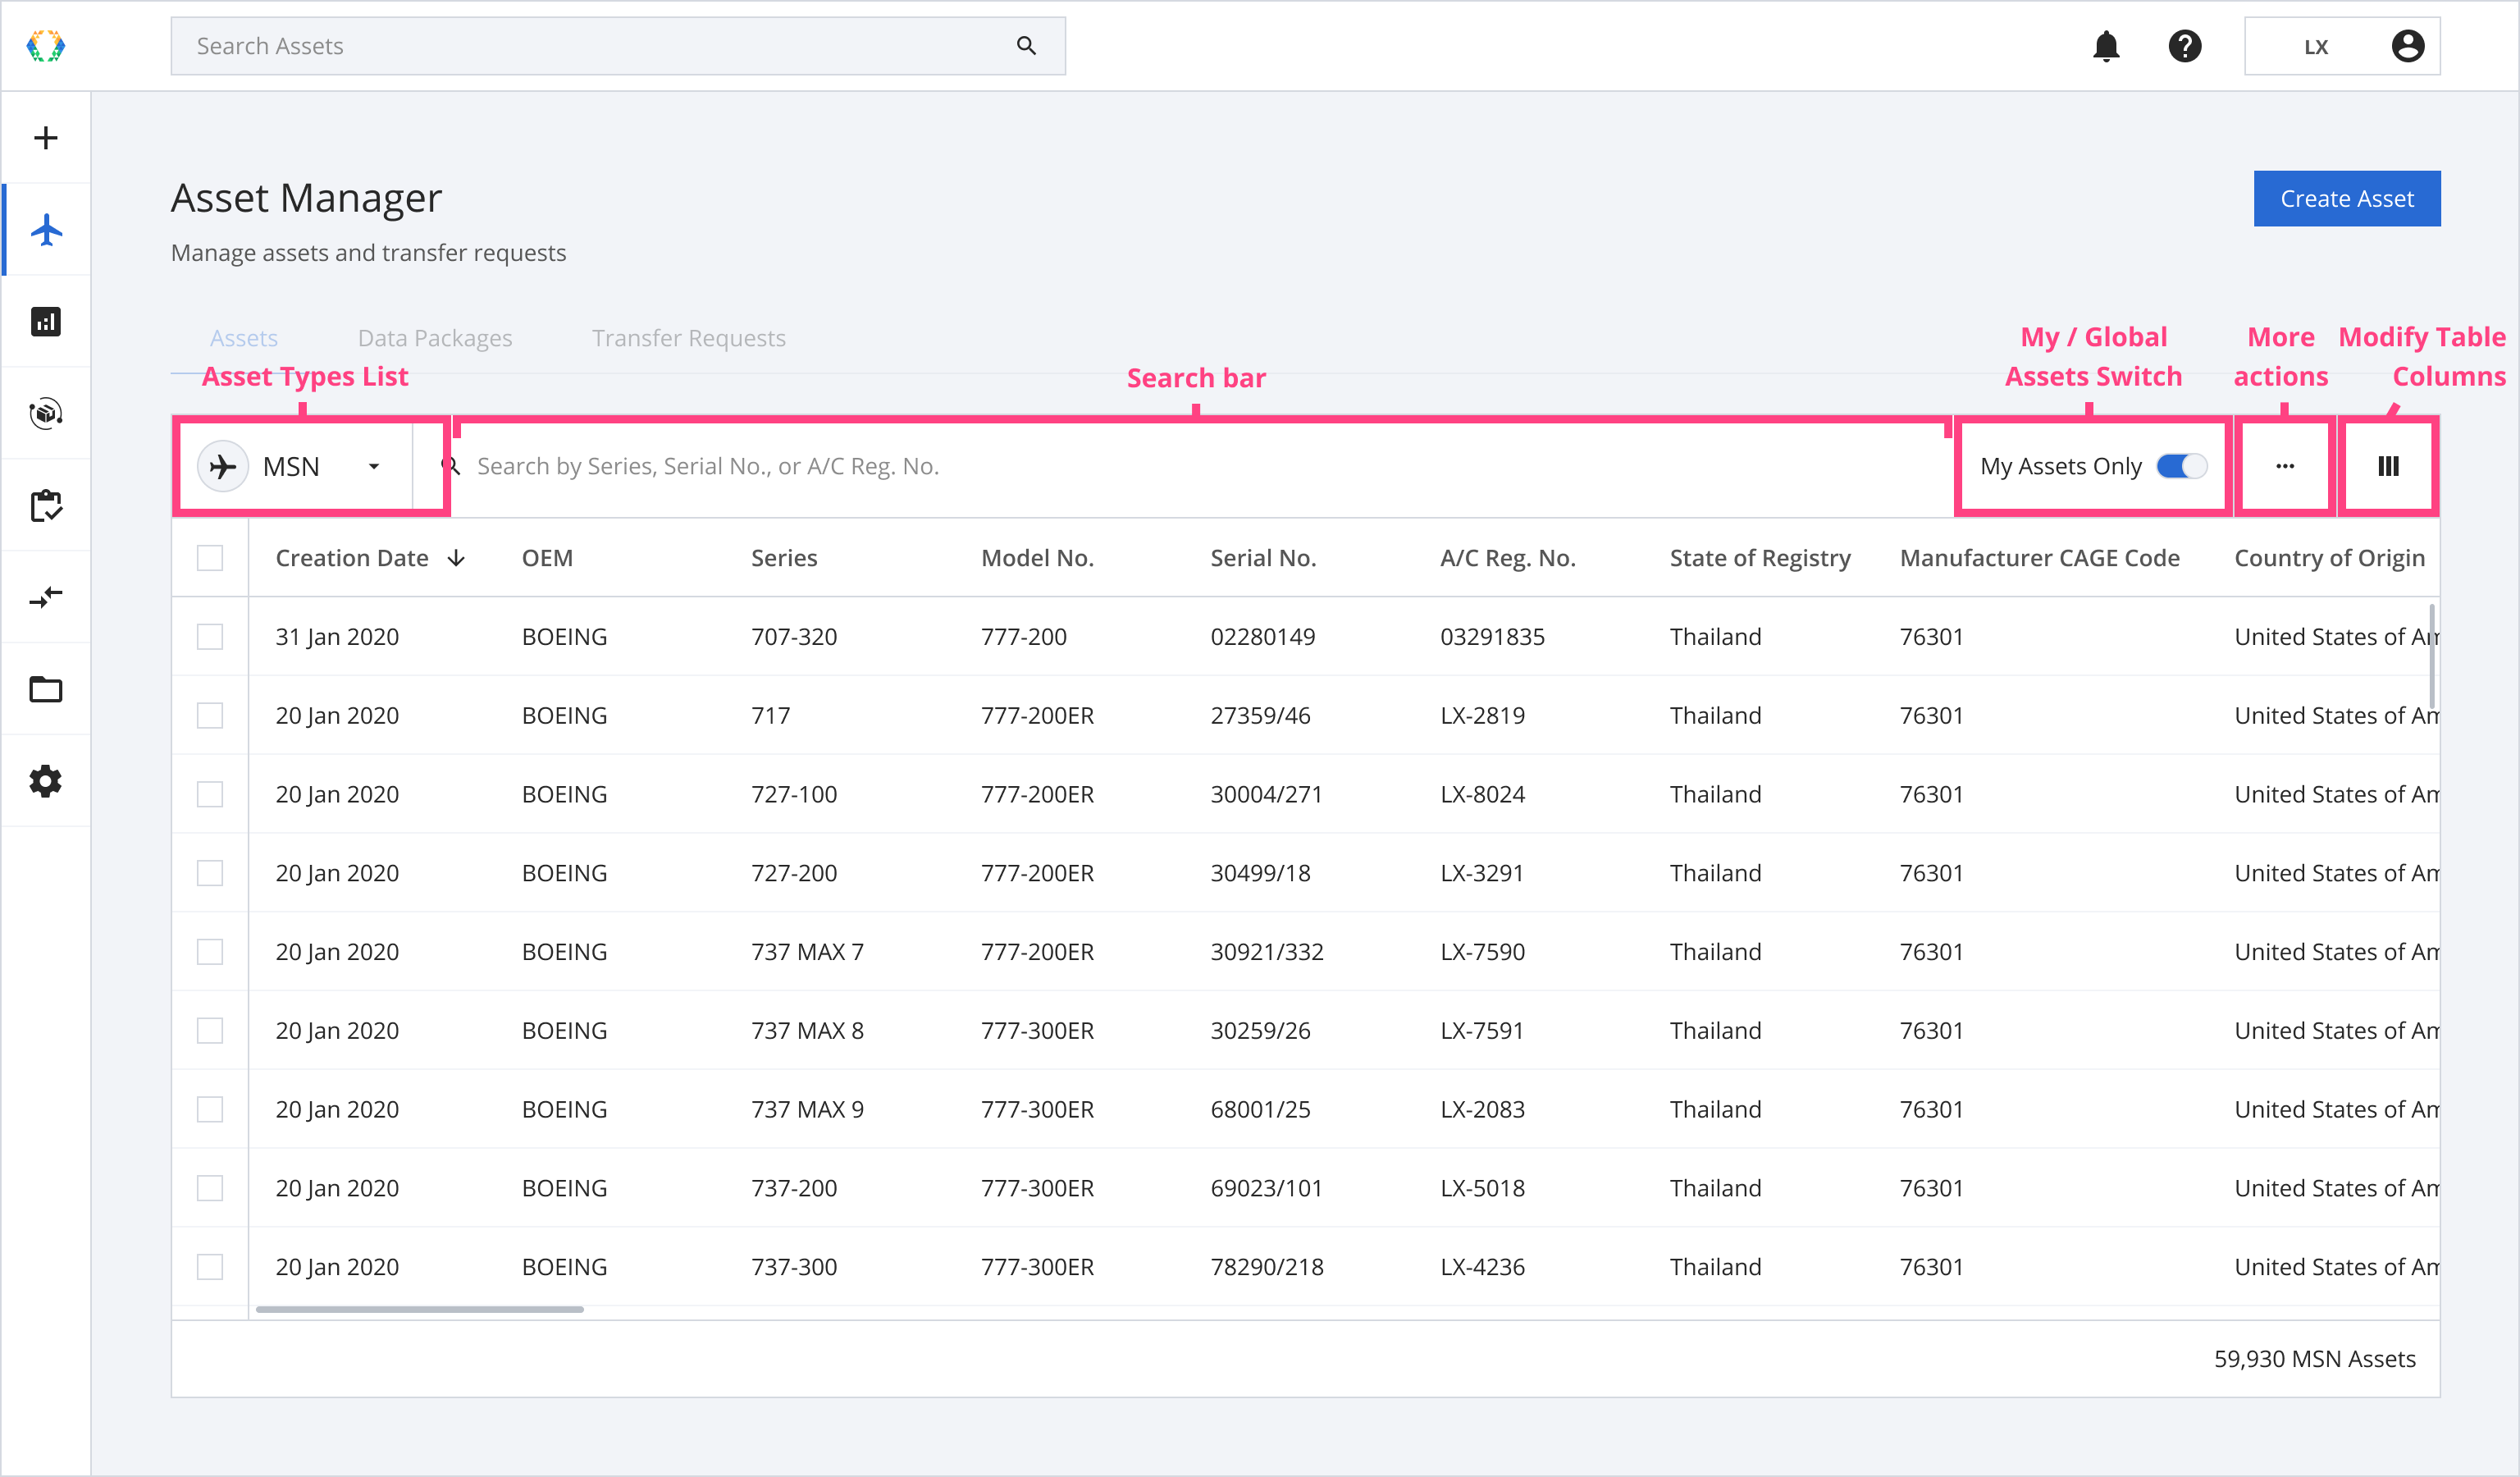
Searching on Asset List
Use the Search bar to quickly find specific Blockchain Aviation Assets. You can search using the following parameters:
| Asset Type | Searchable Parameters |
|---|---|
| MSN | Serial Number Model Number A/C Reg. Number |
| ESN/APU | Serial Number Model Number Part Number |
| PART/GSE | Serial Number Part Number |
Updated 3 months ago
Did this page help you?