Manage Claims
Getting Started
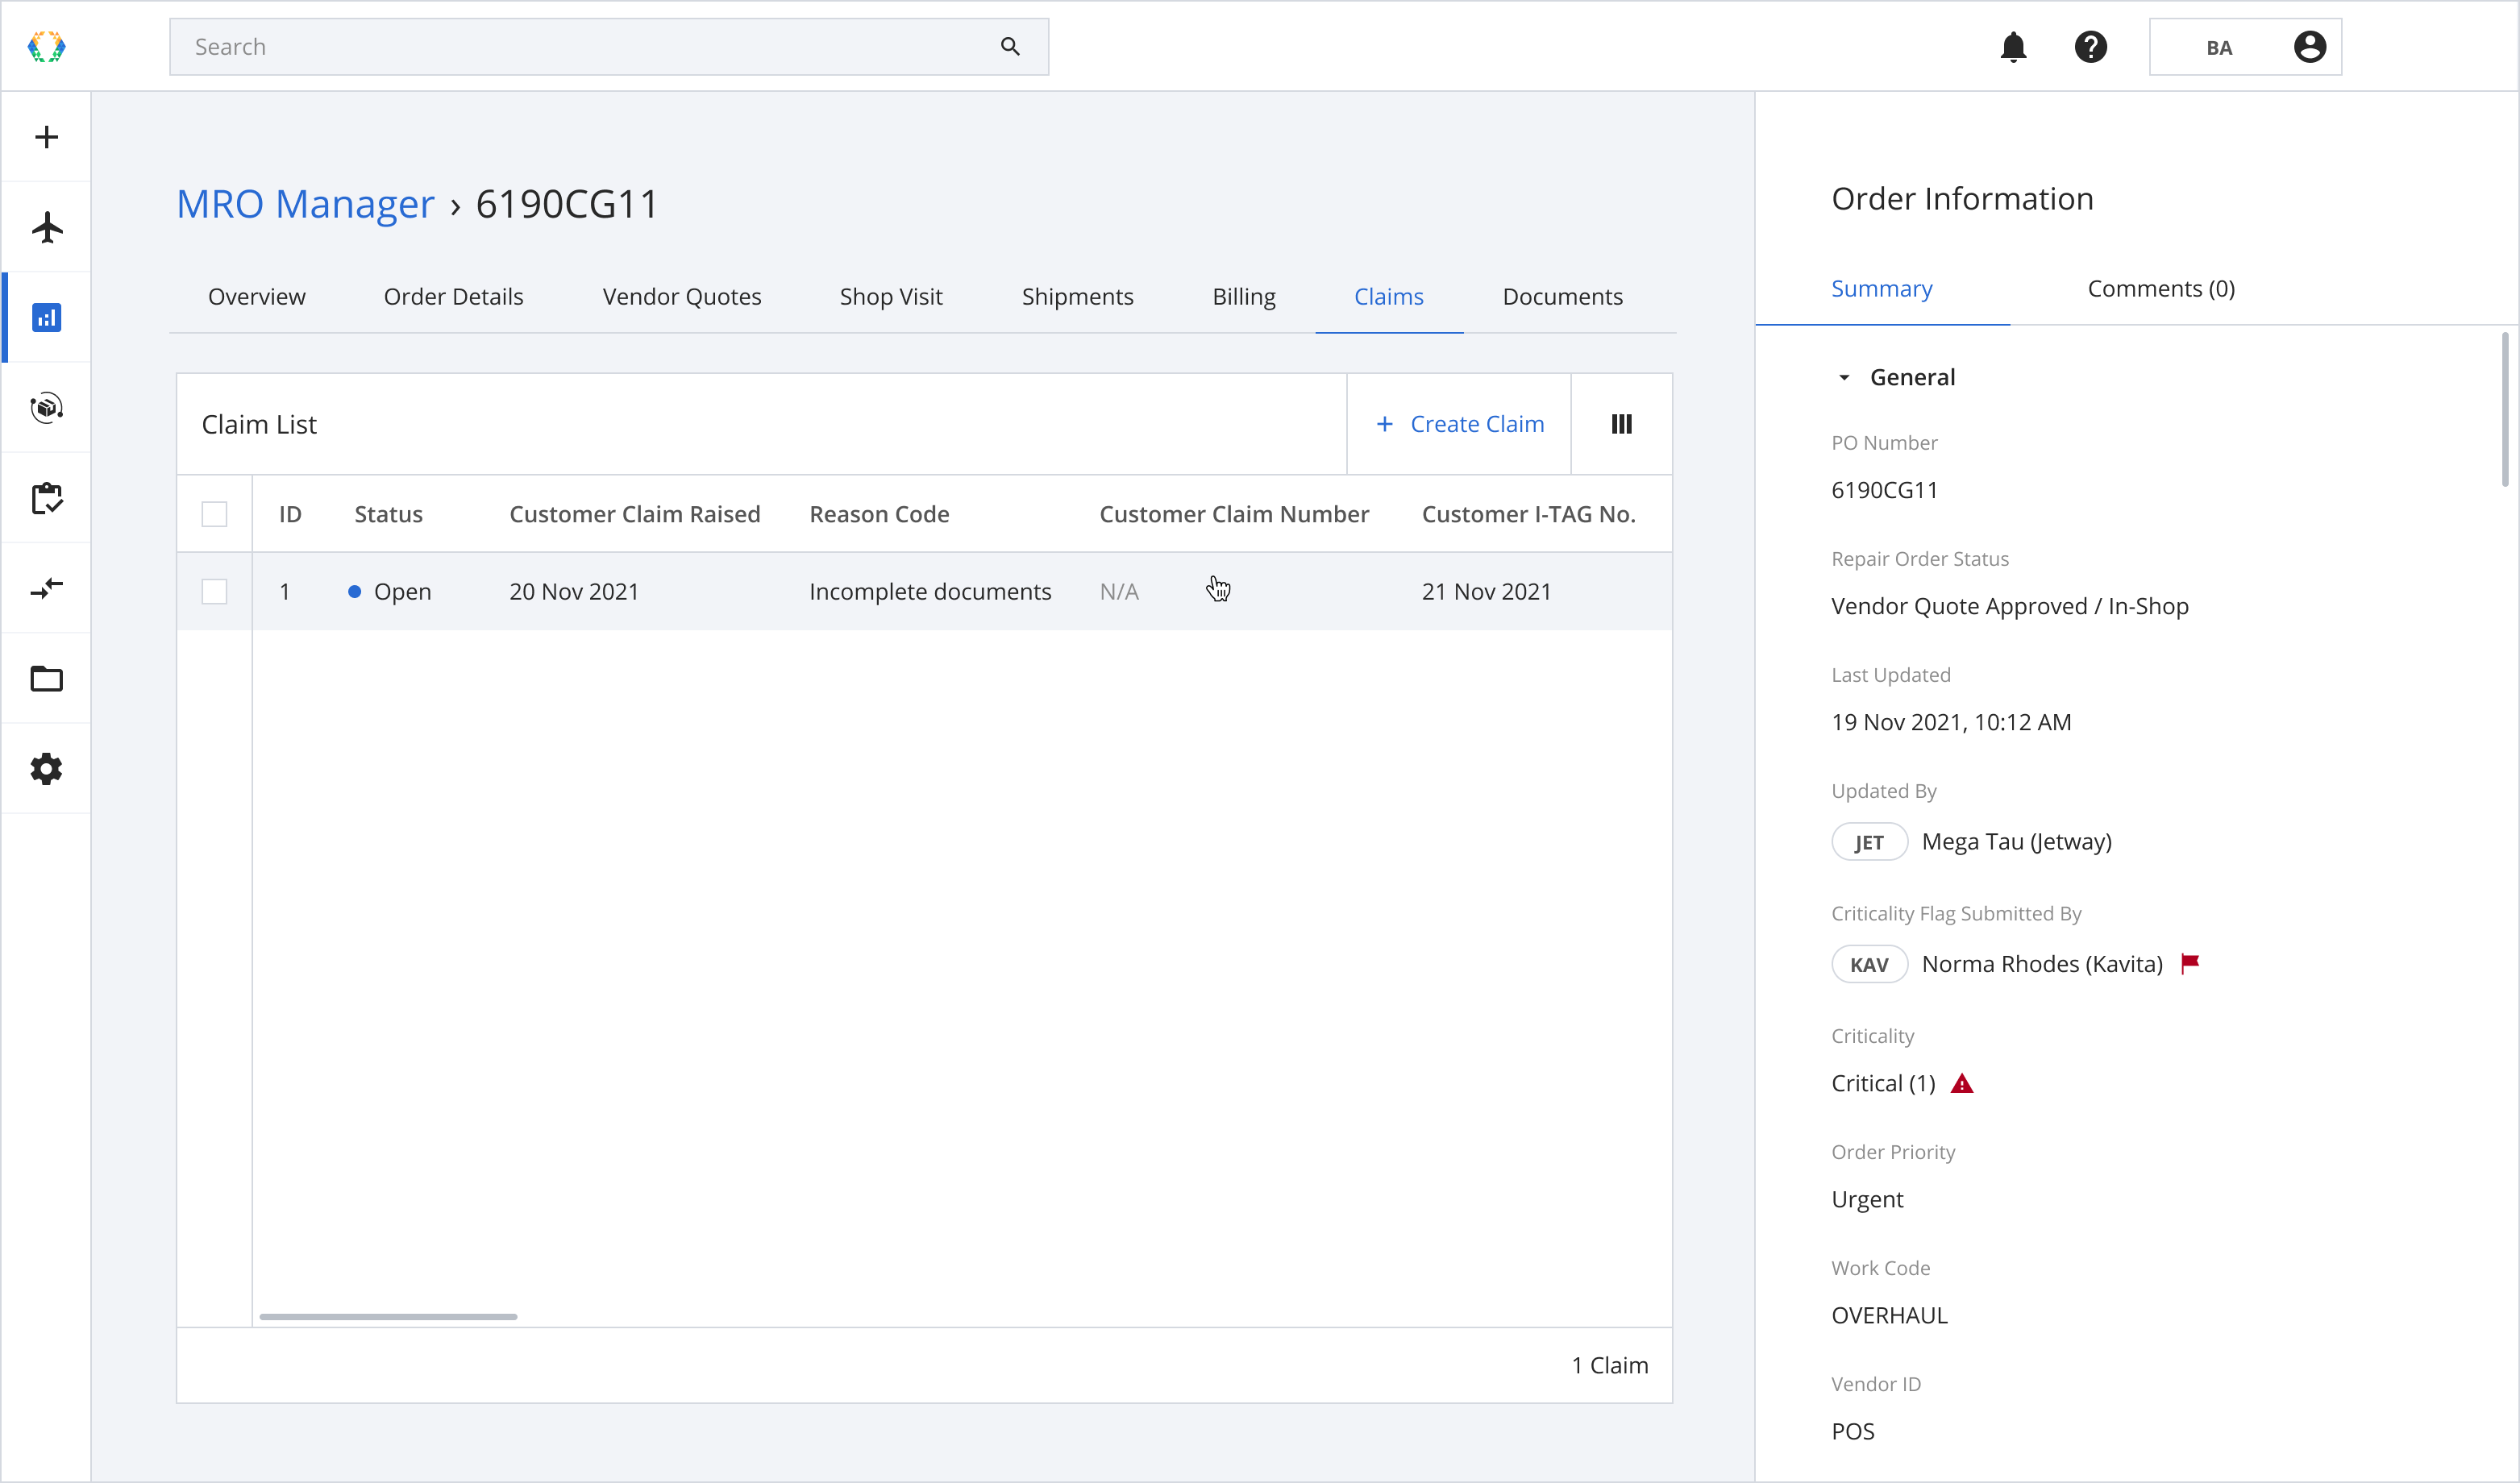
To manage your organization's claims, click 'Claims' tab.
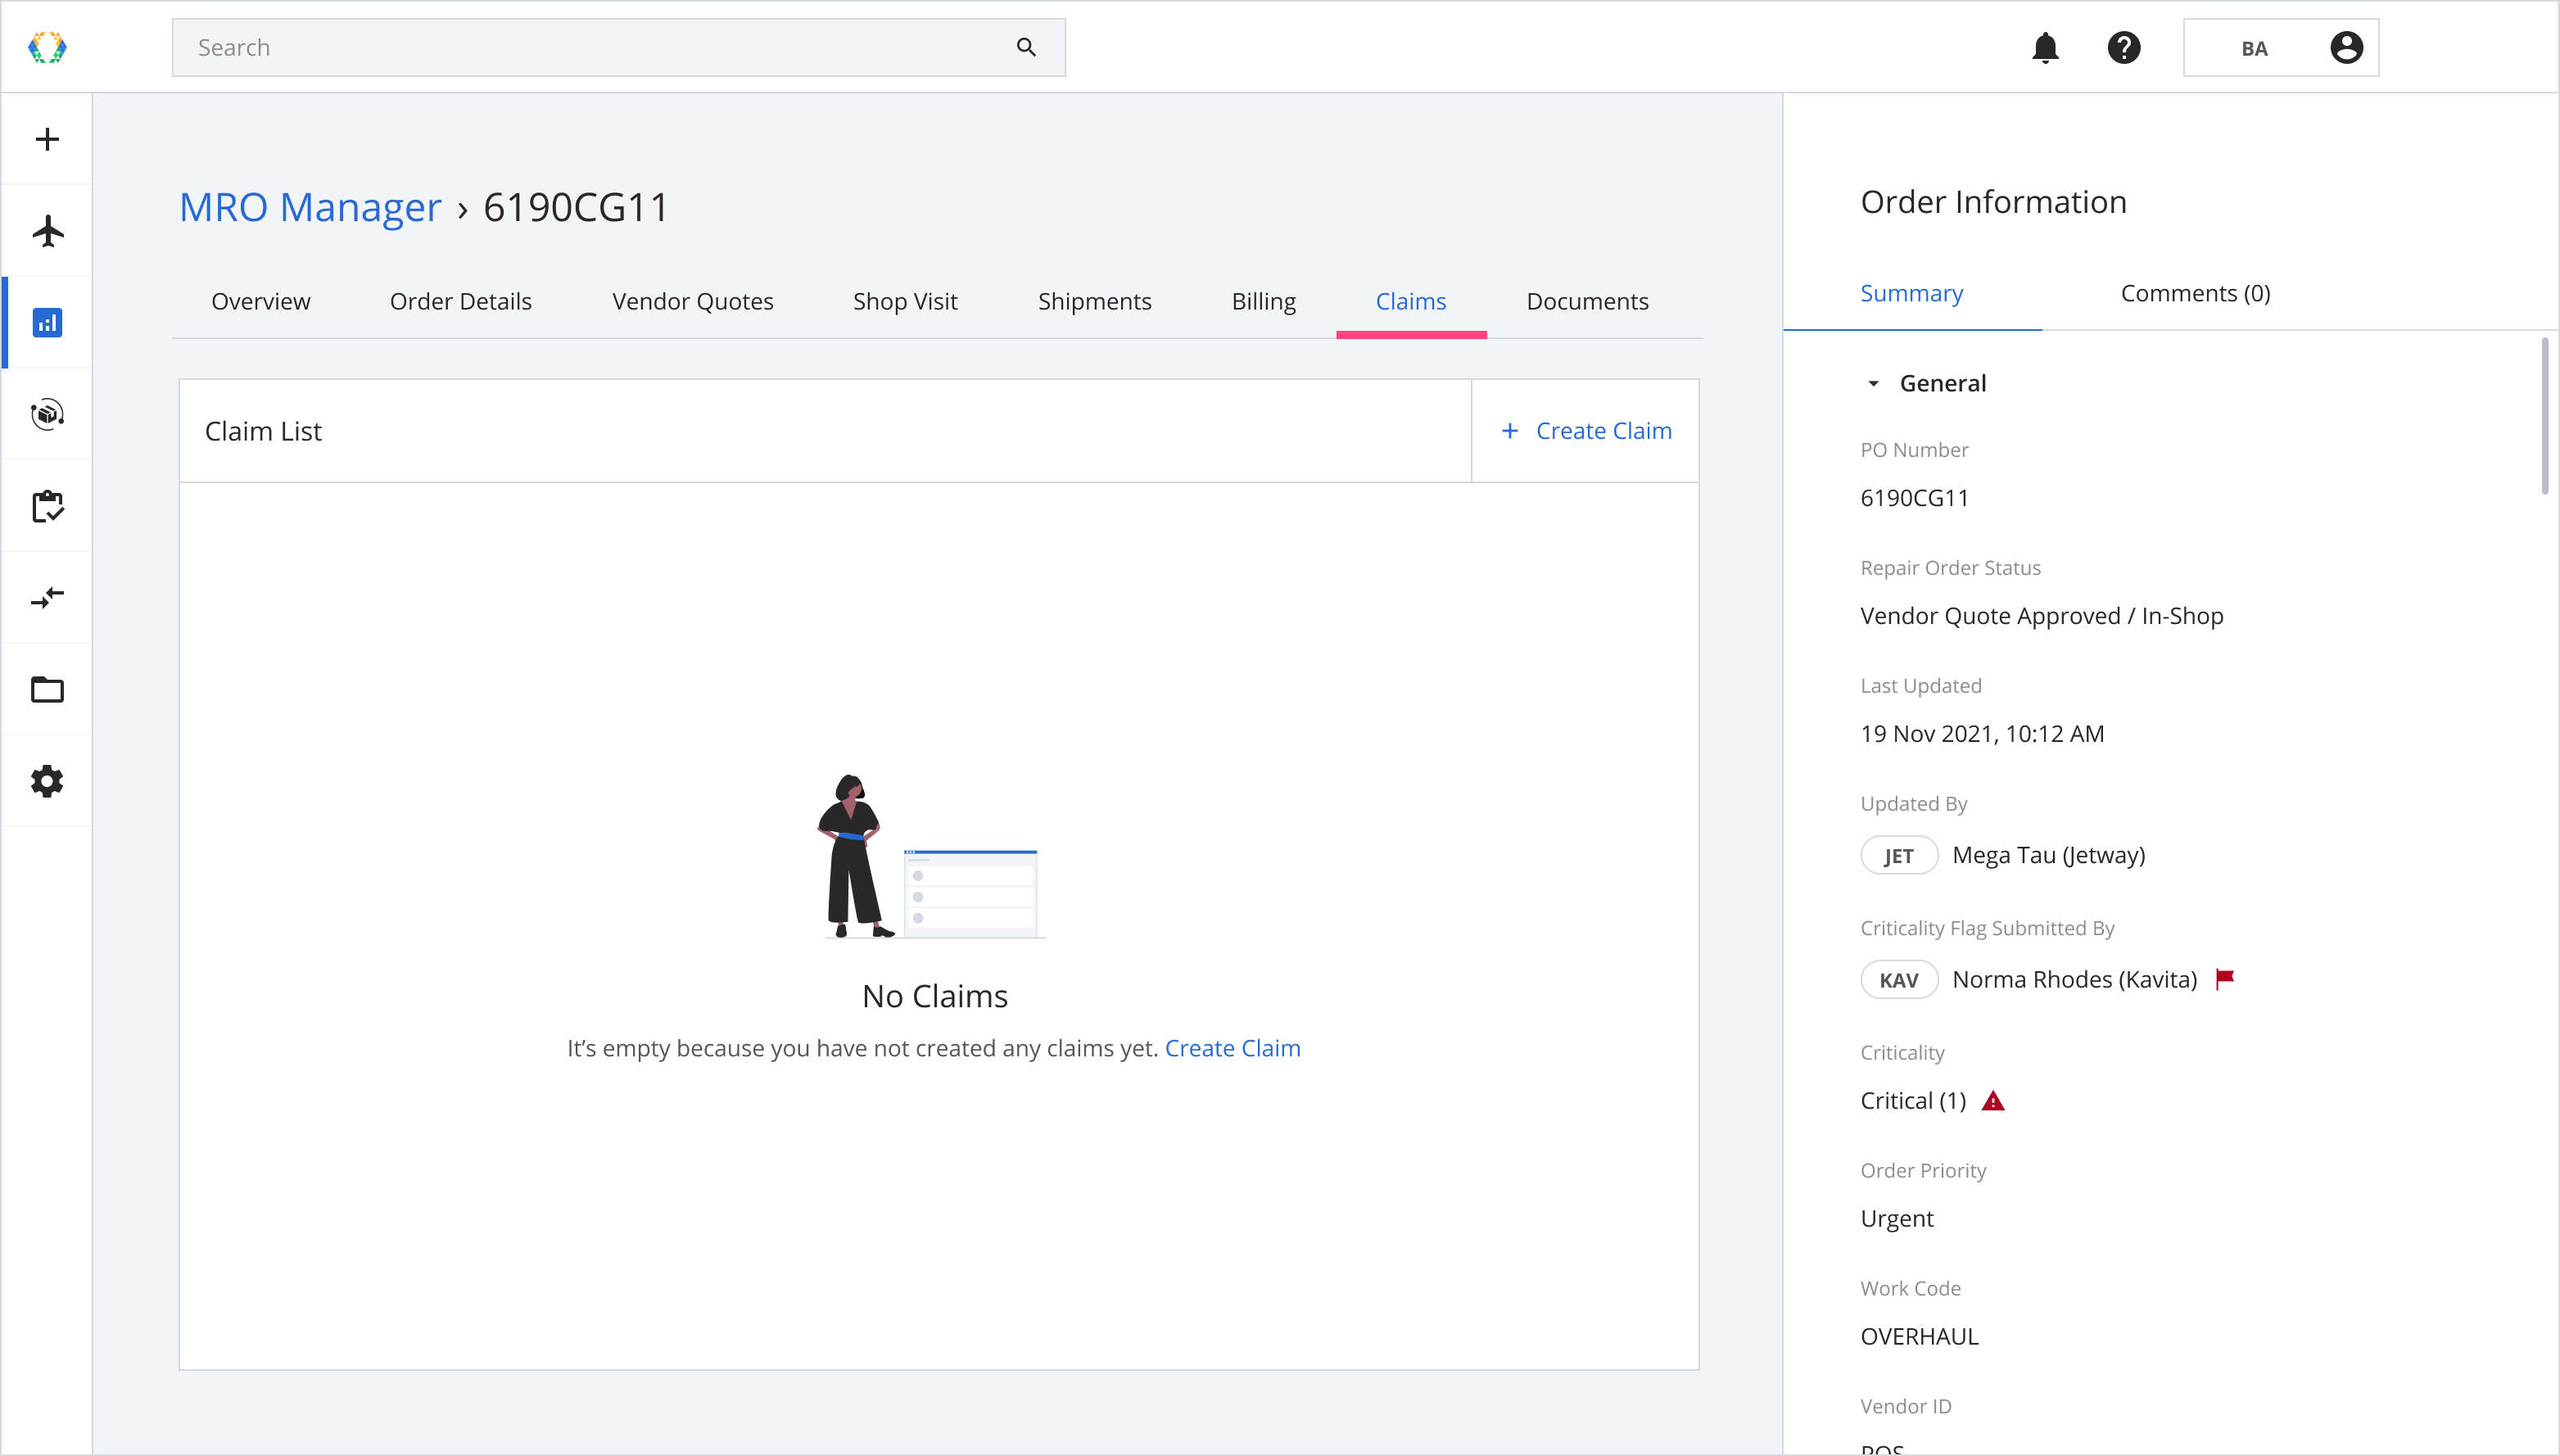
Creating Claims
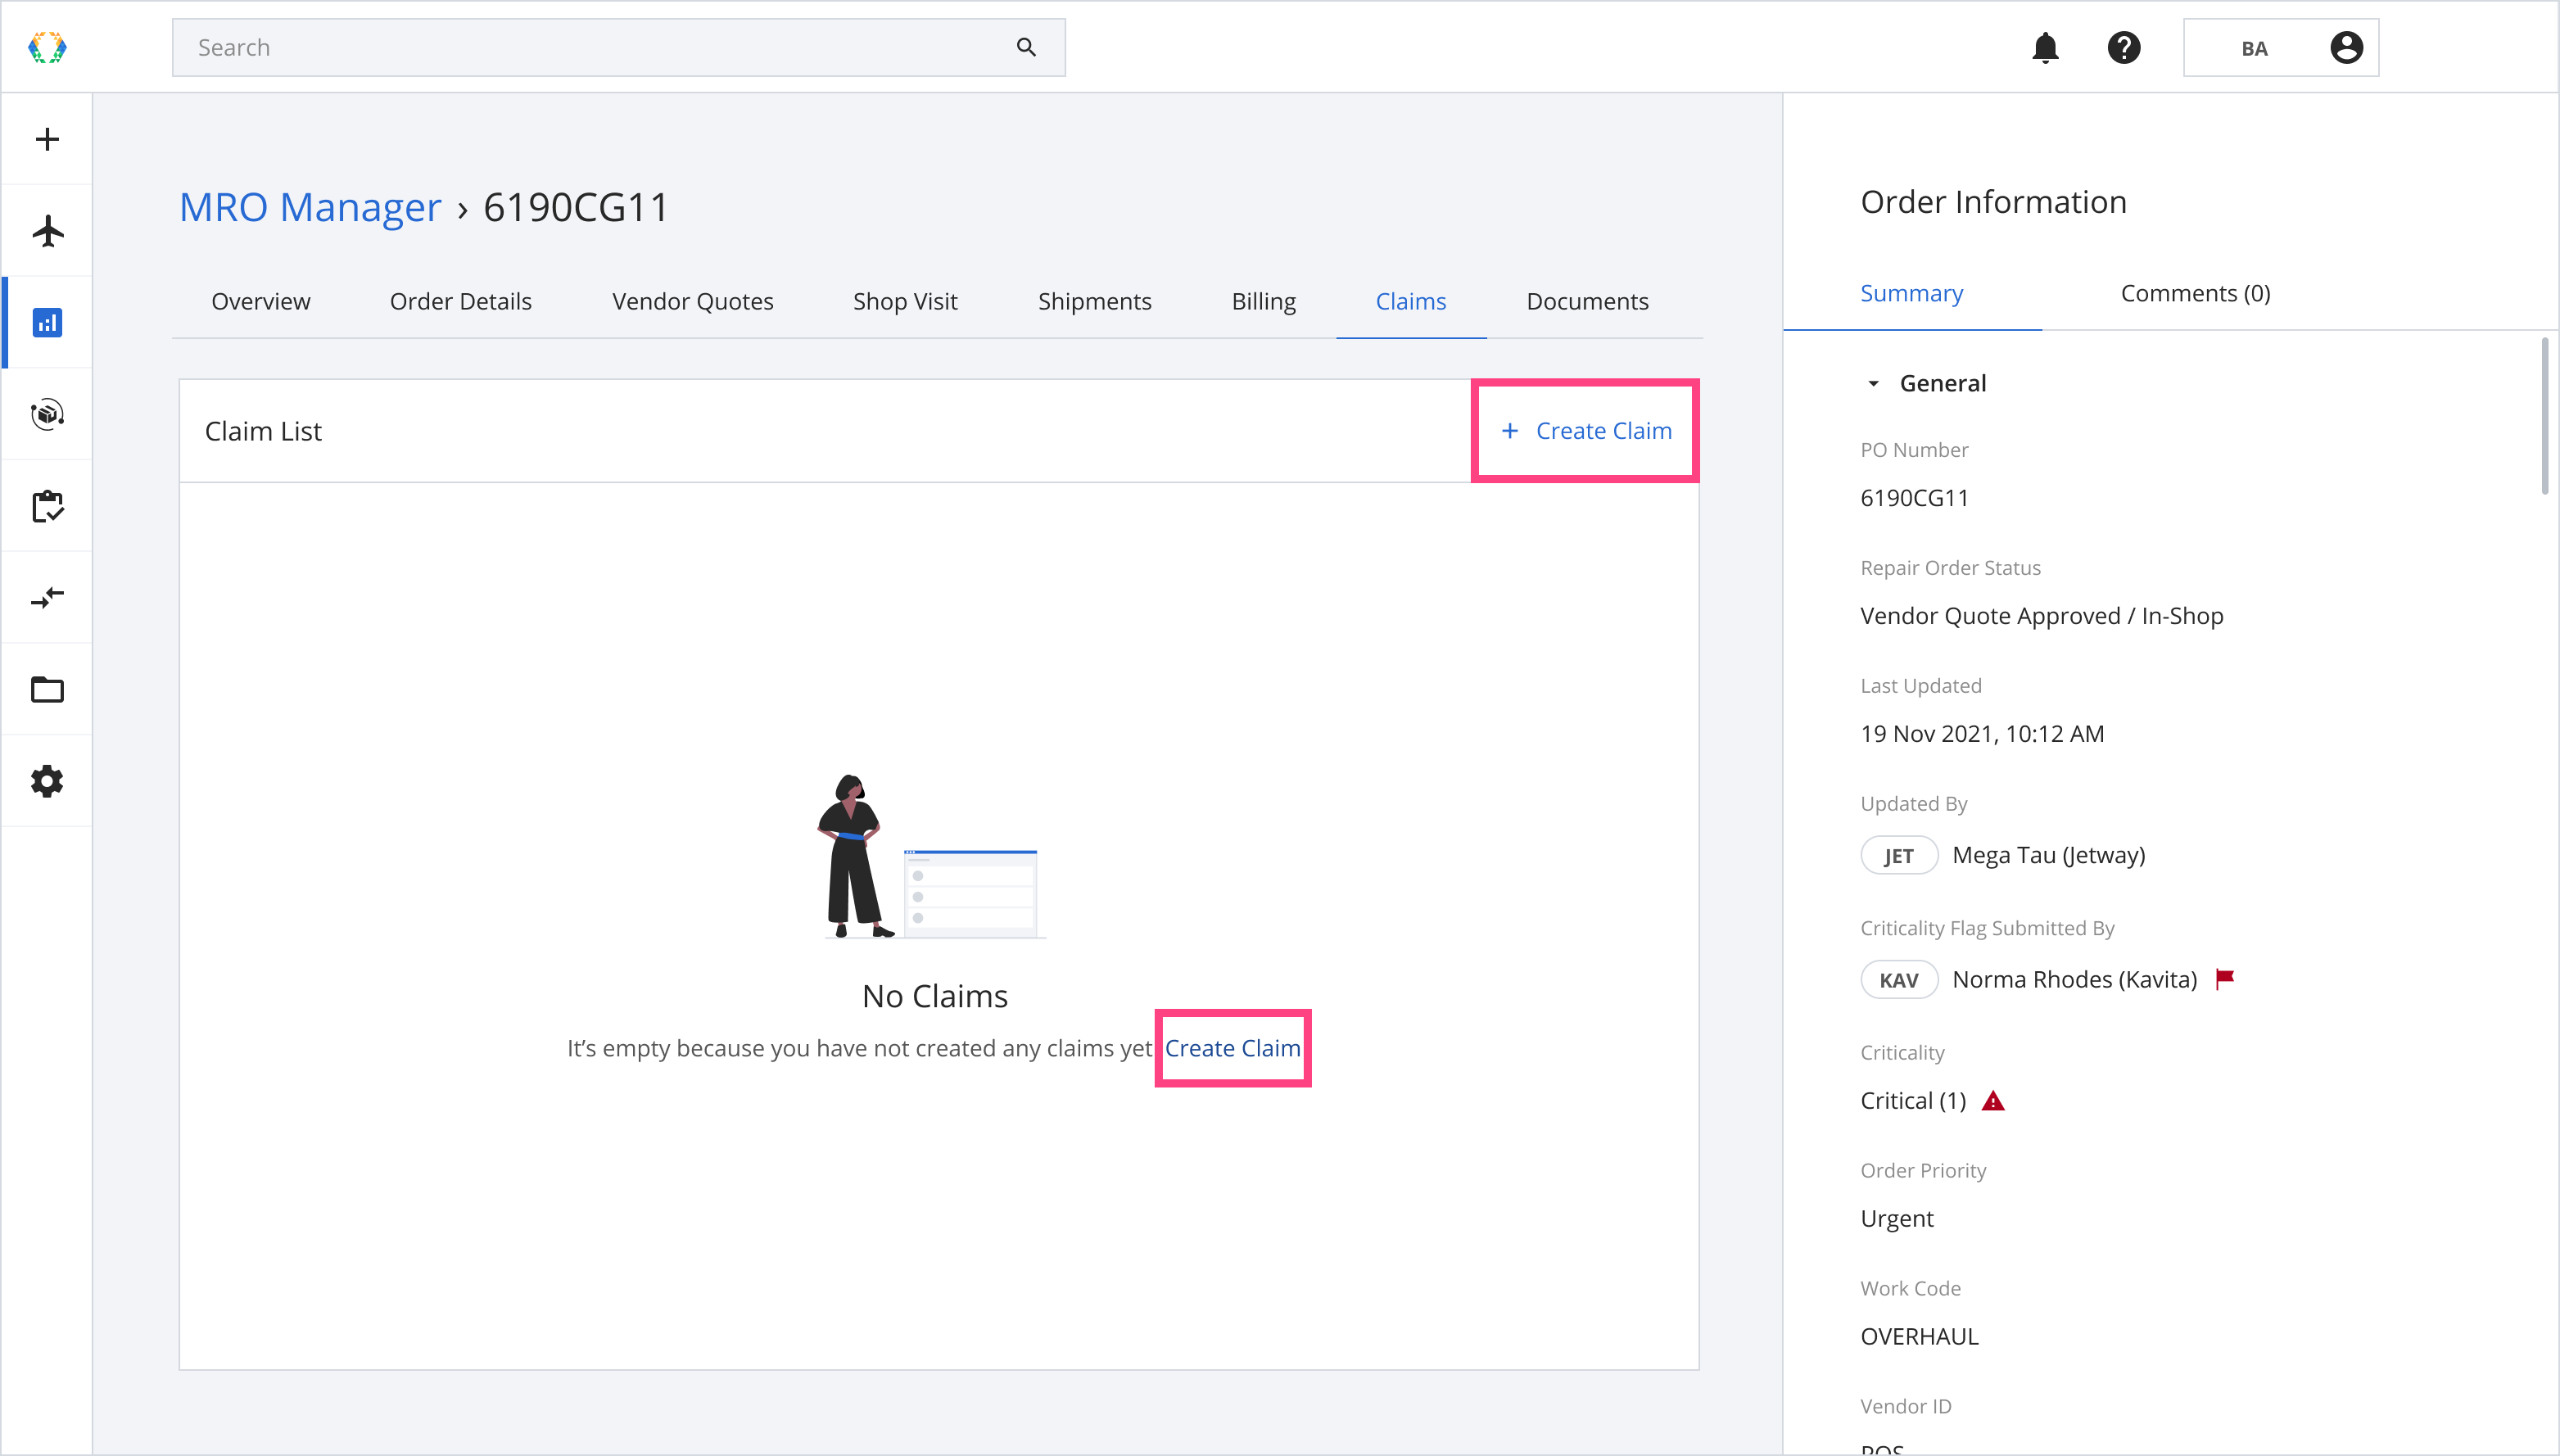
Step 1: Click ‘Create Claim’.
Step 2: Select the assets for your claim and click ‘Next’.
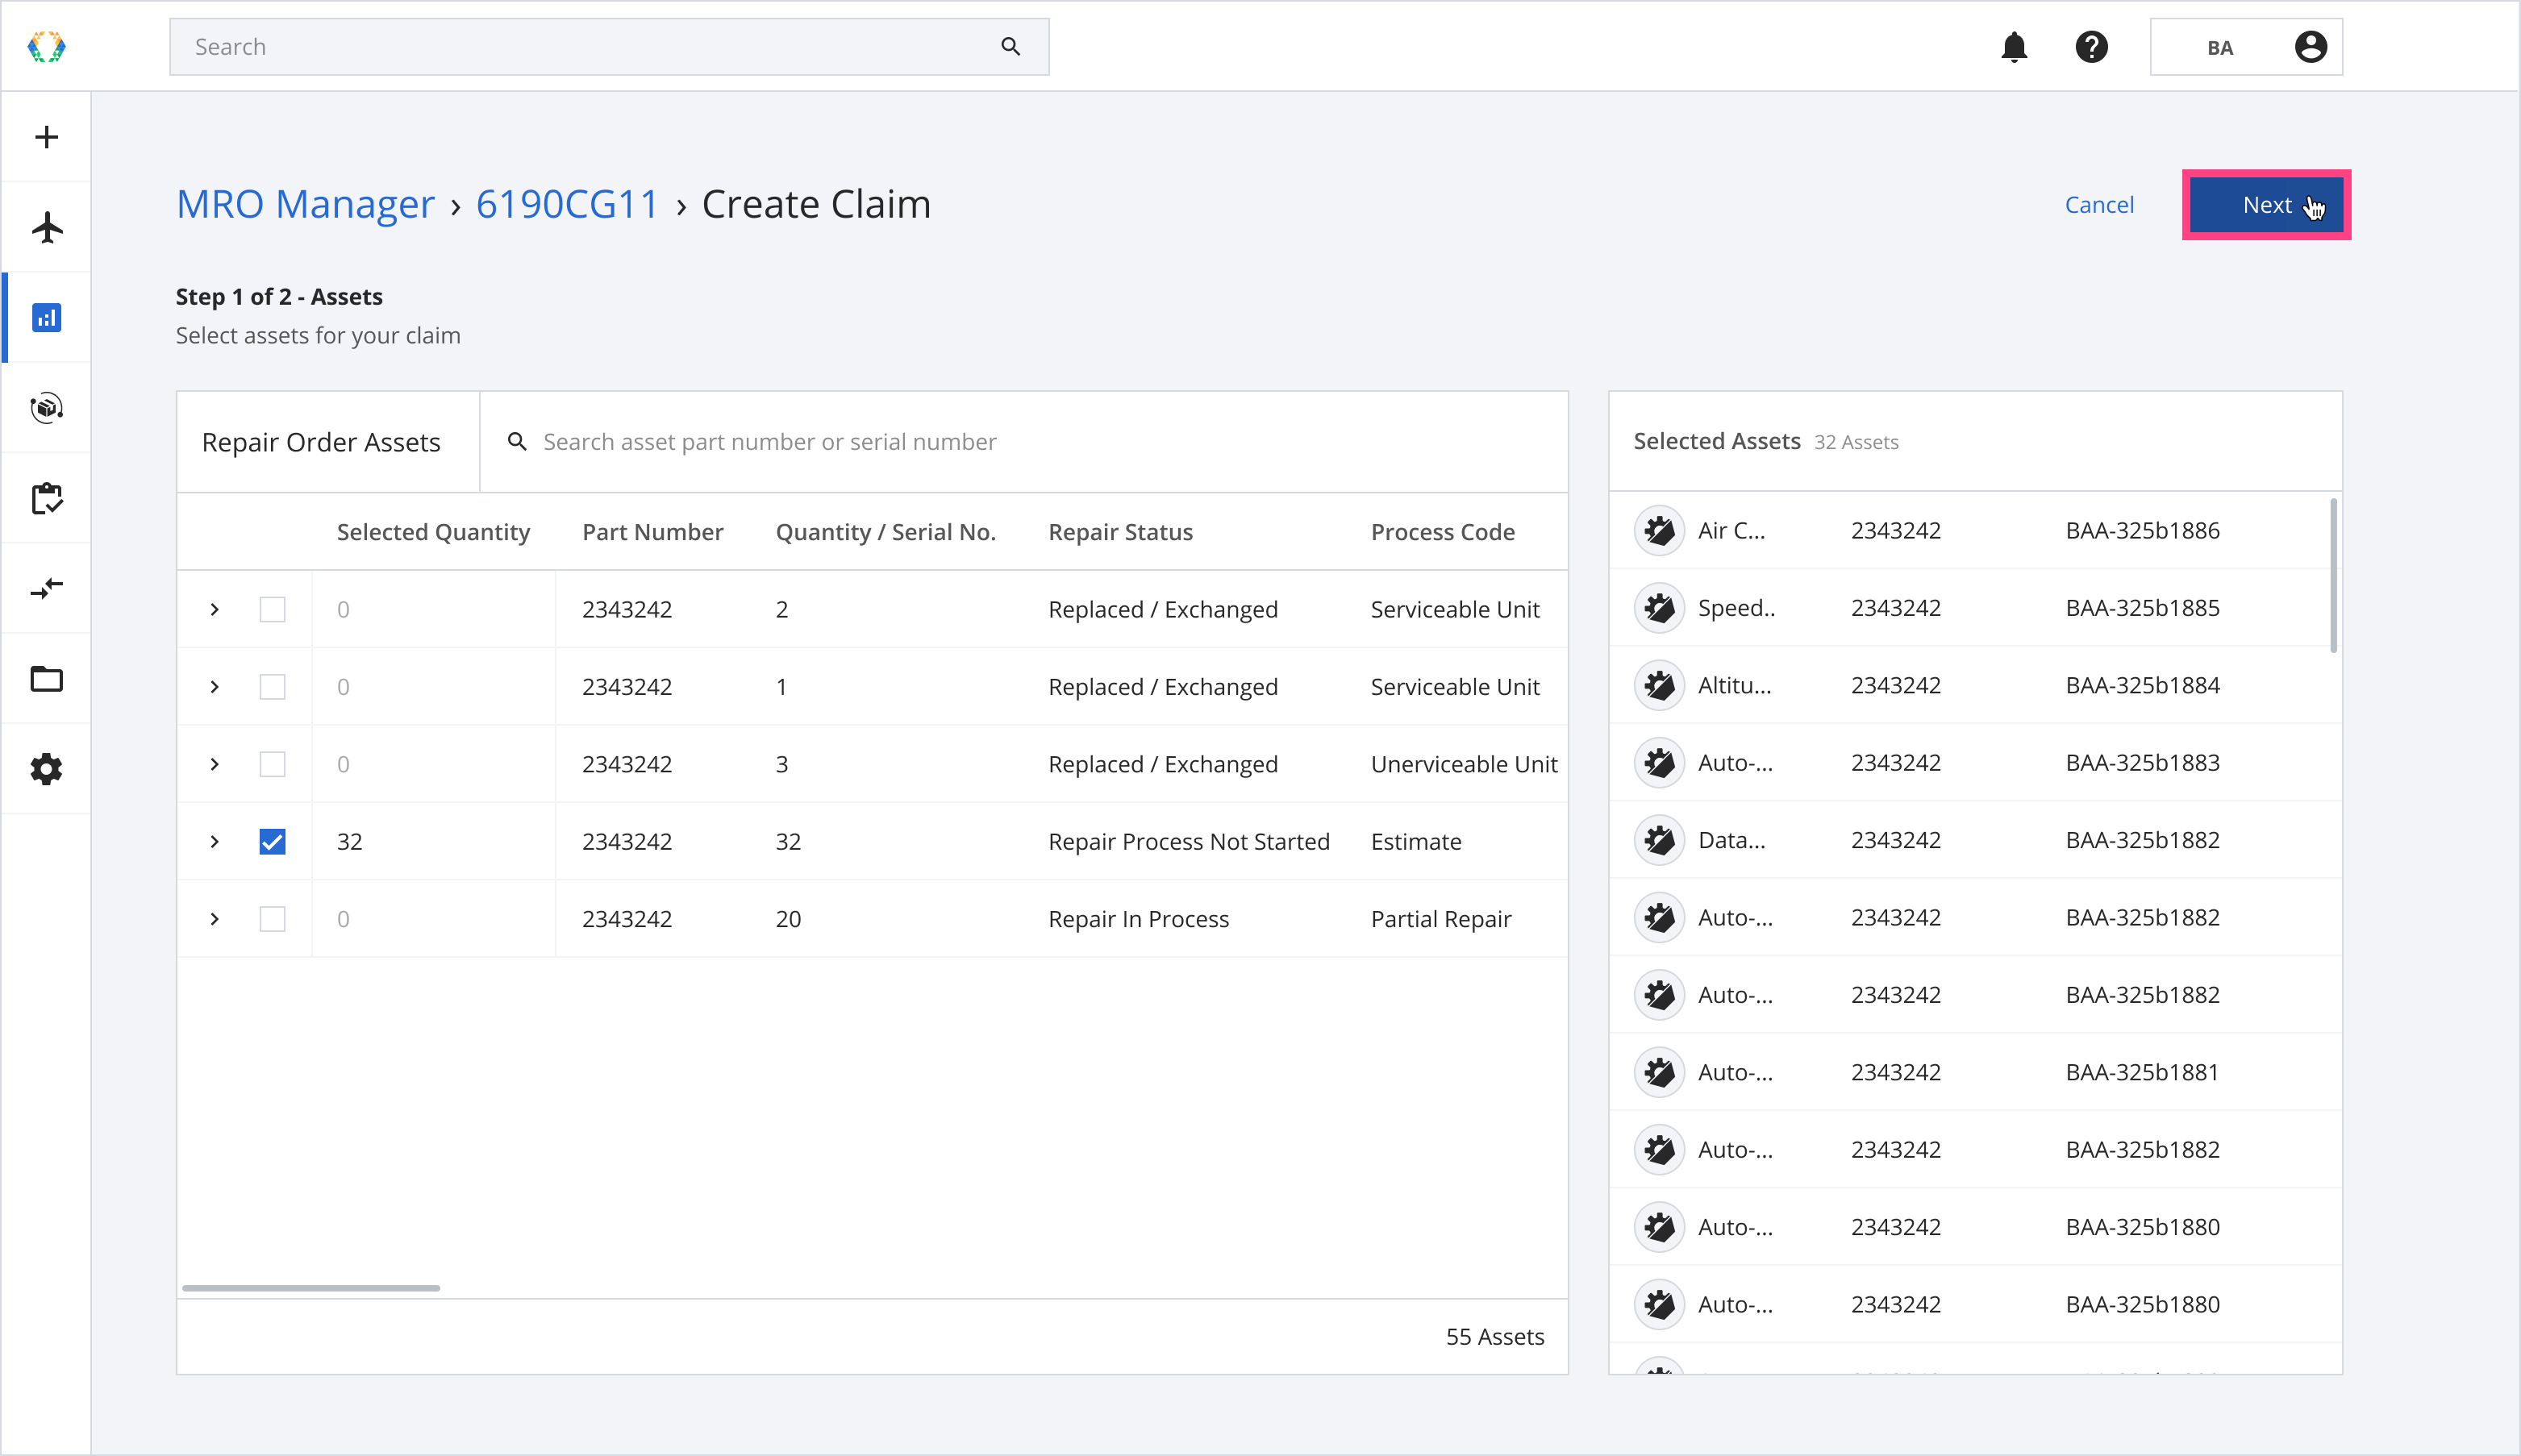
Alternatively, you can modify your selected Repair Order Assets Quantity by changing the number in the 'Selected Quantity' column.

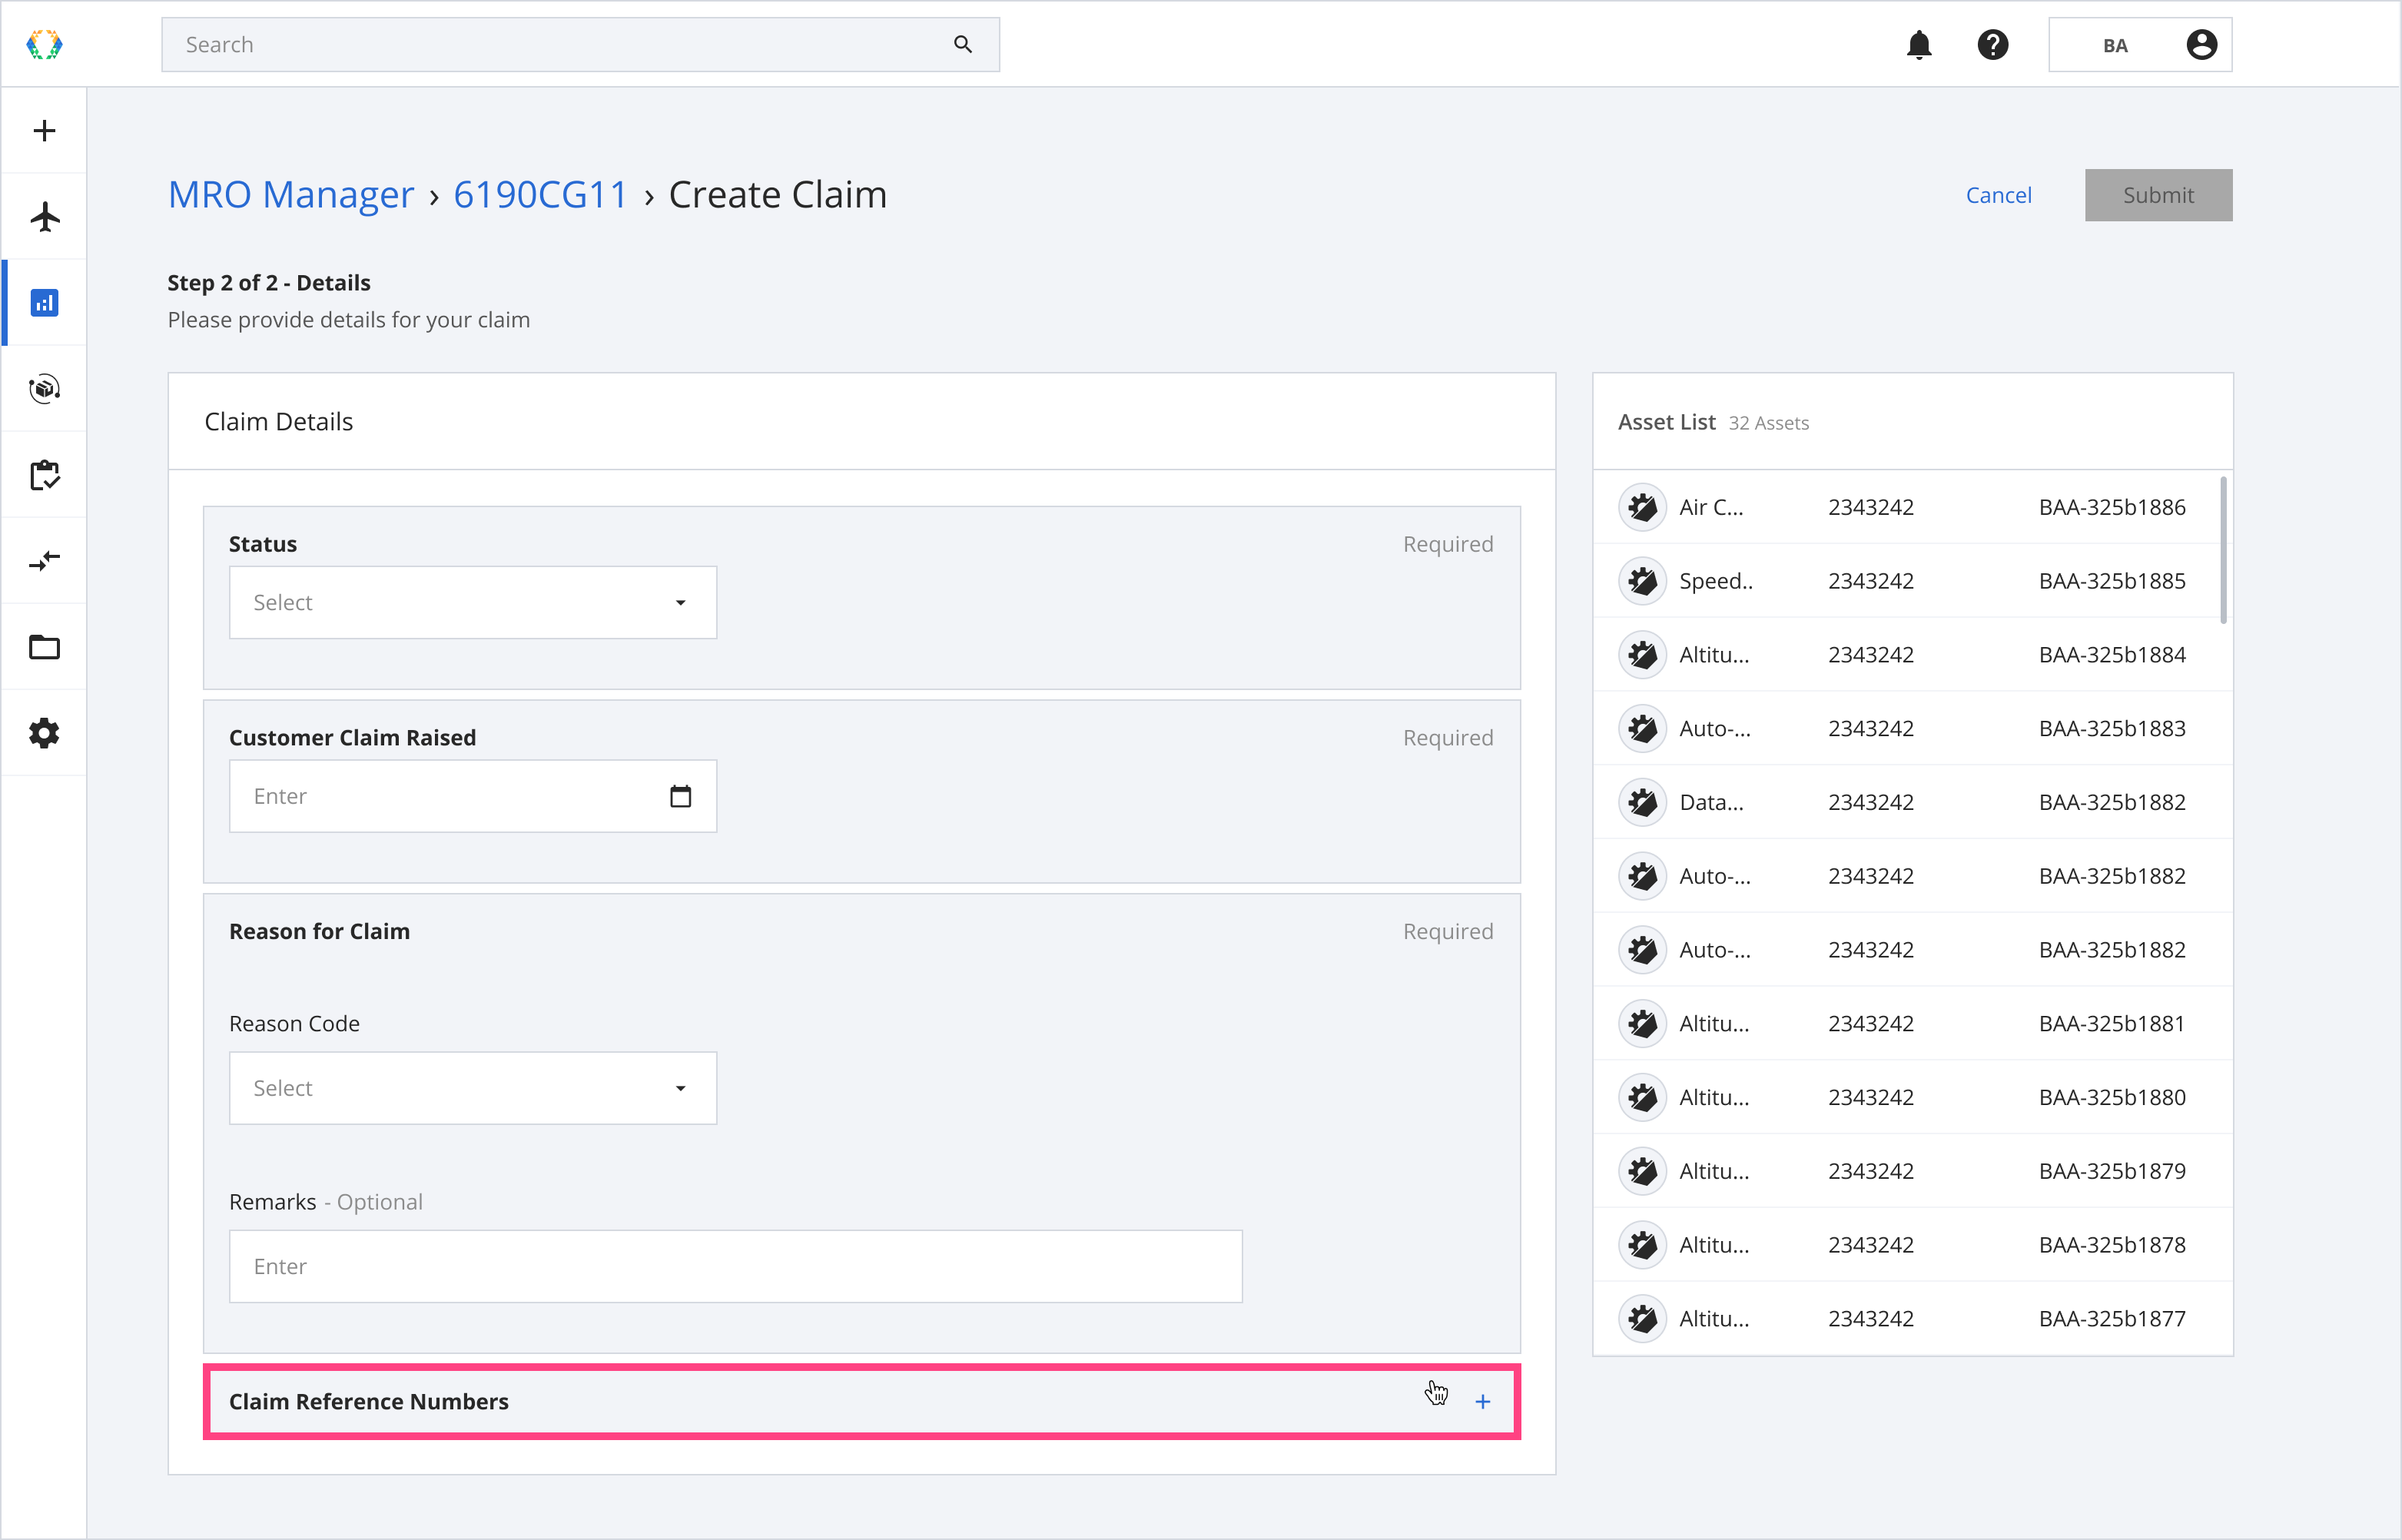
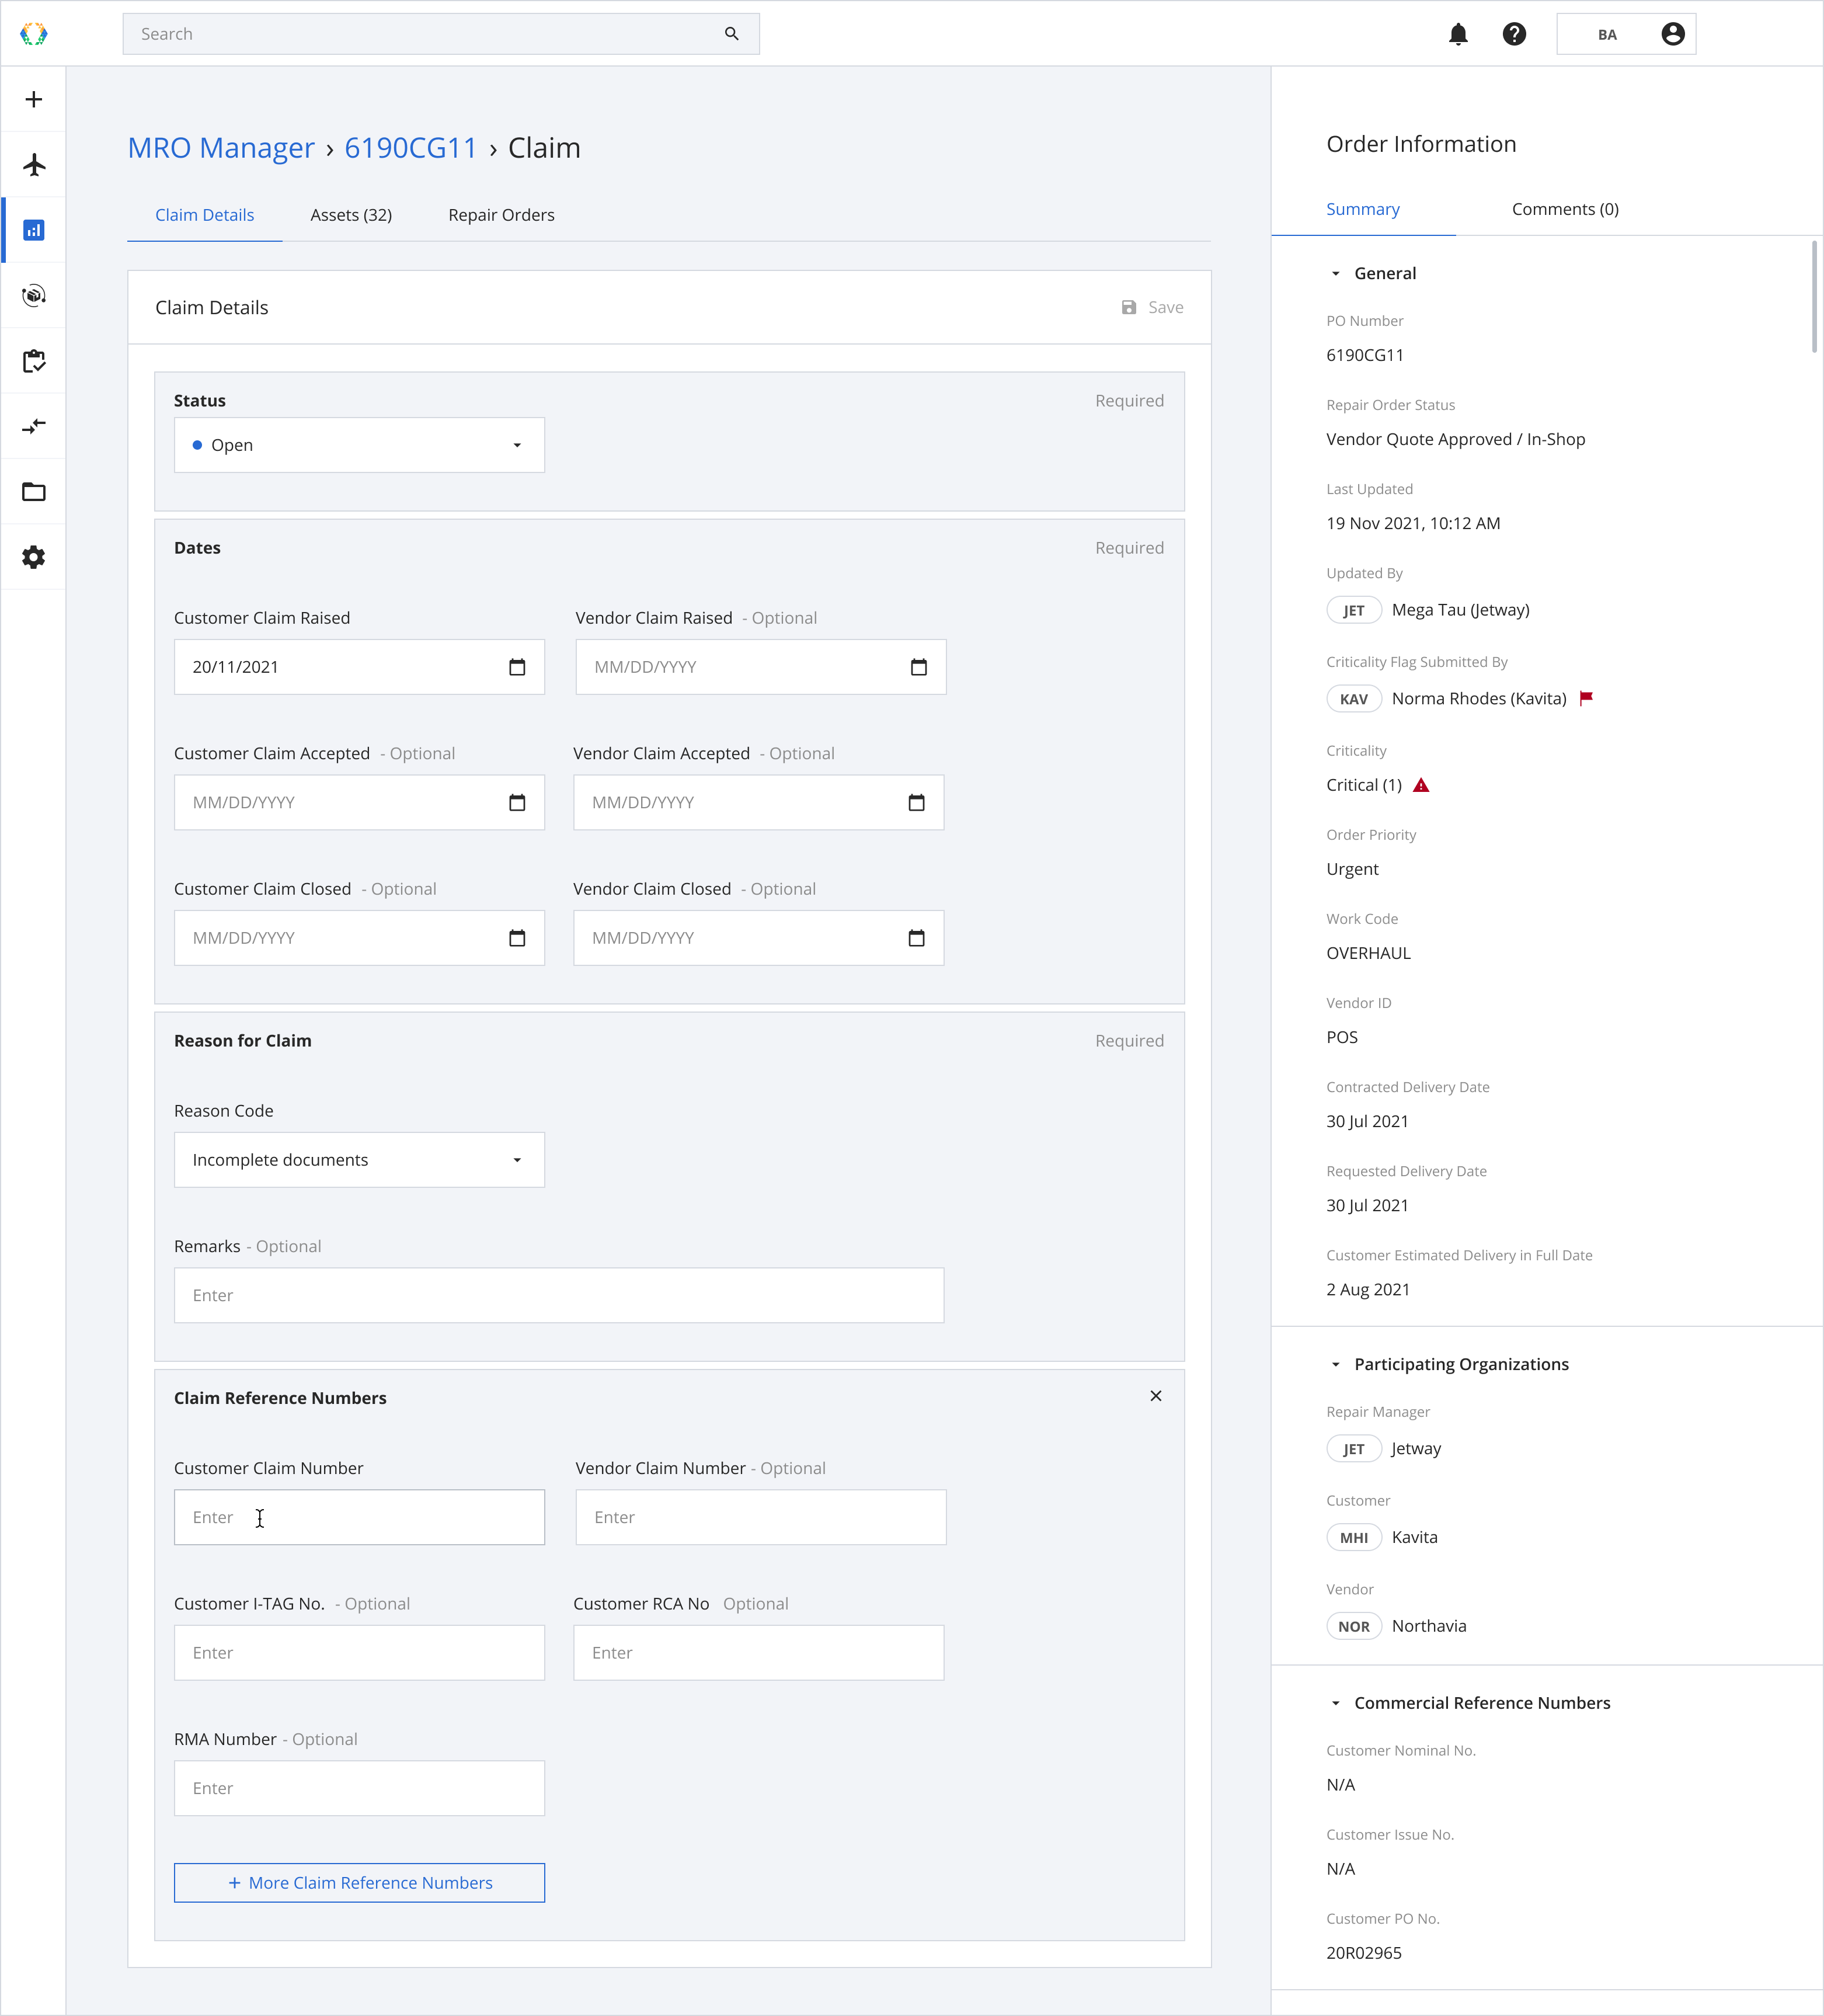
Step 4: Provide details for your claim.
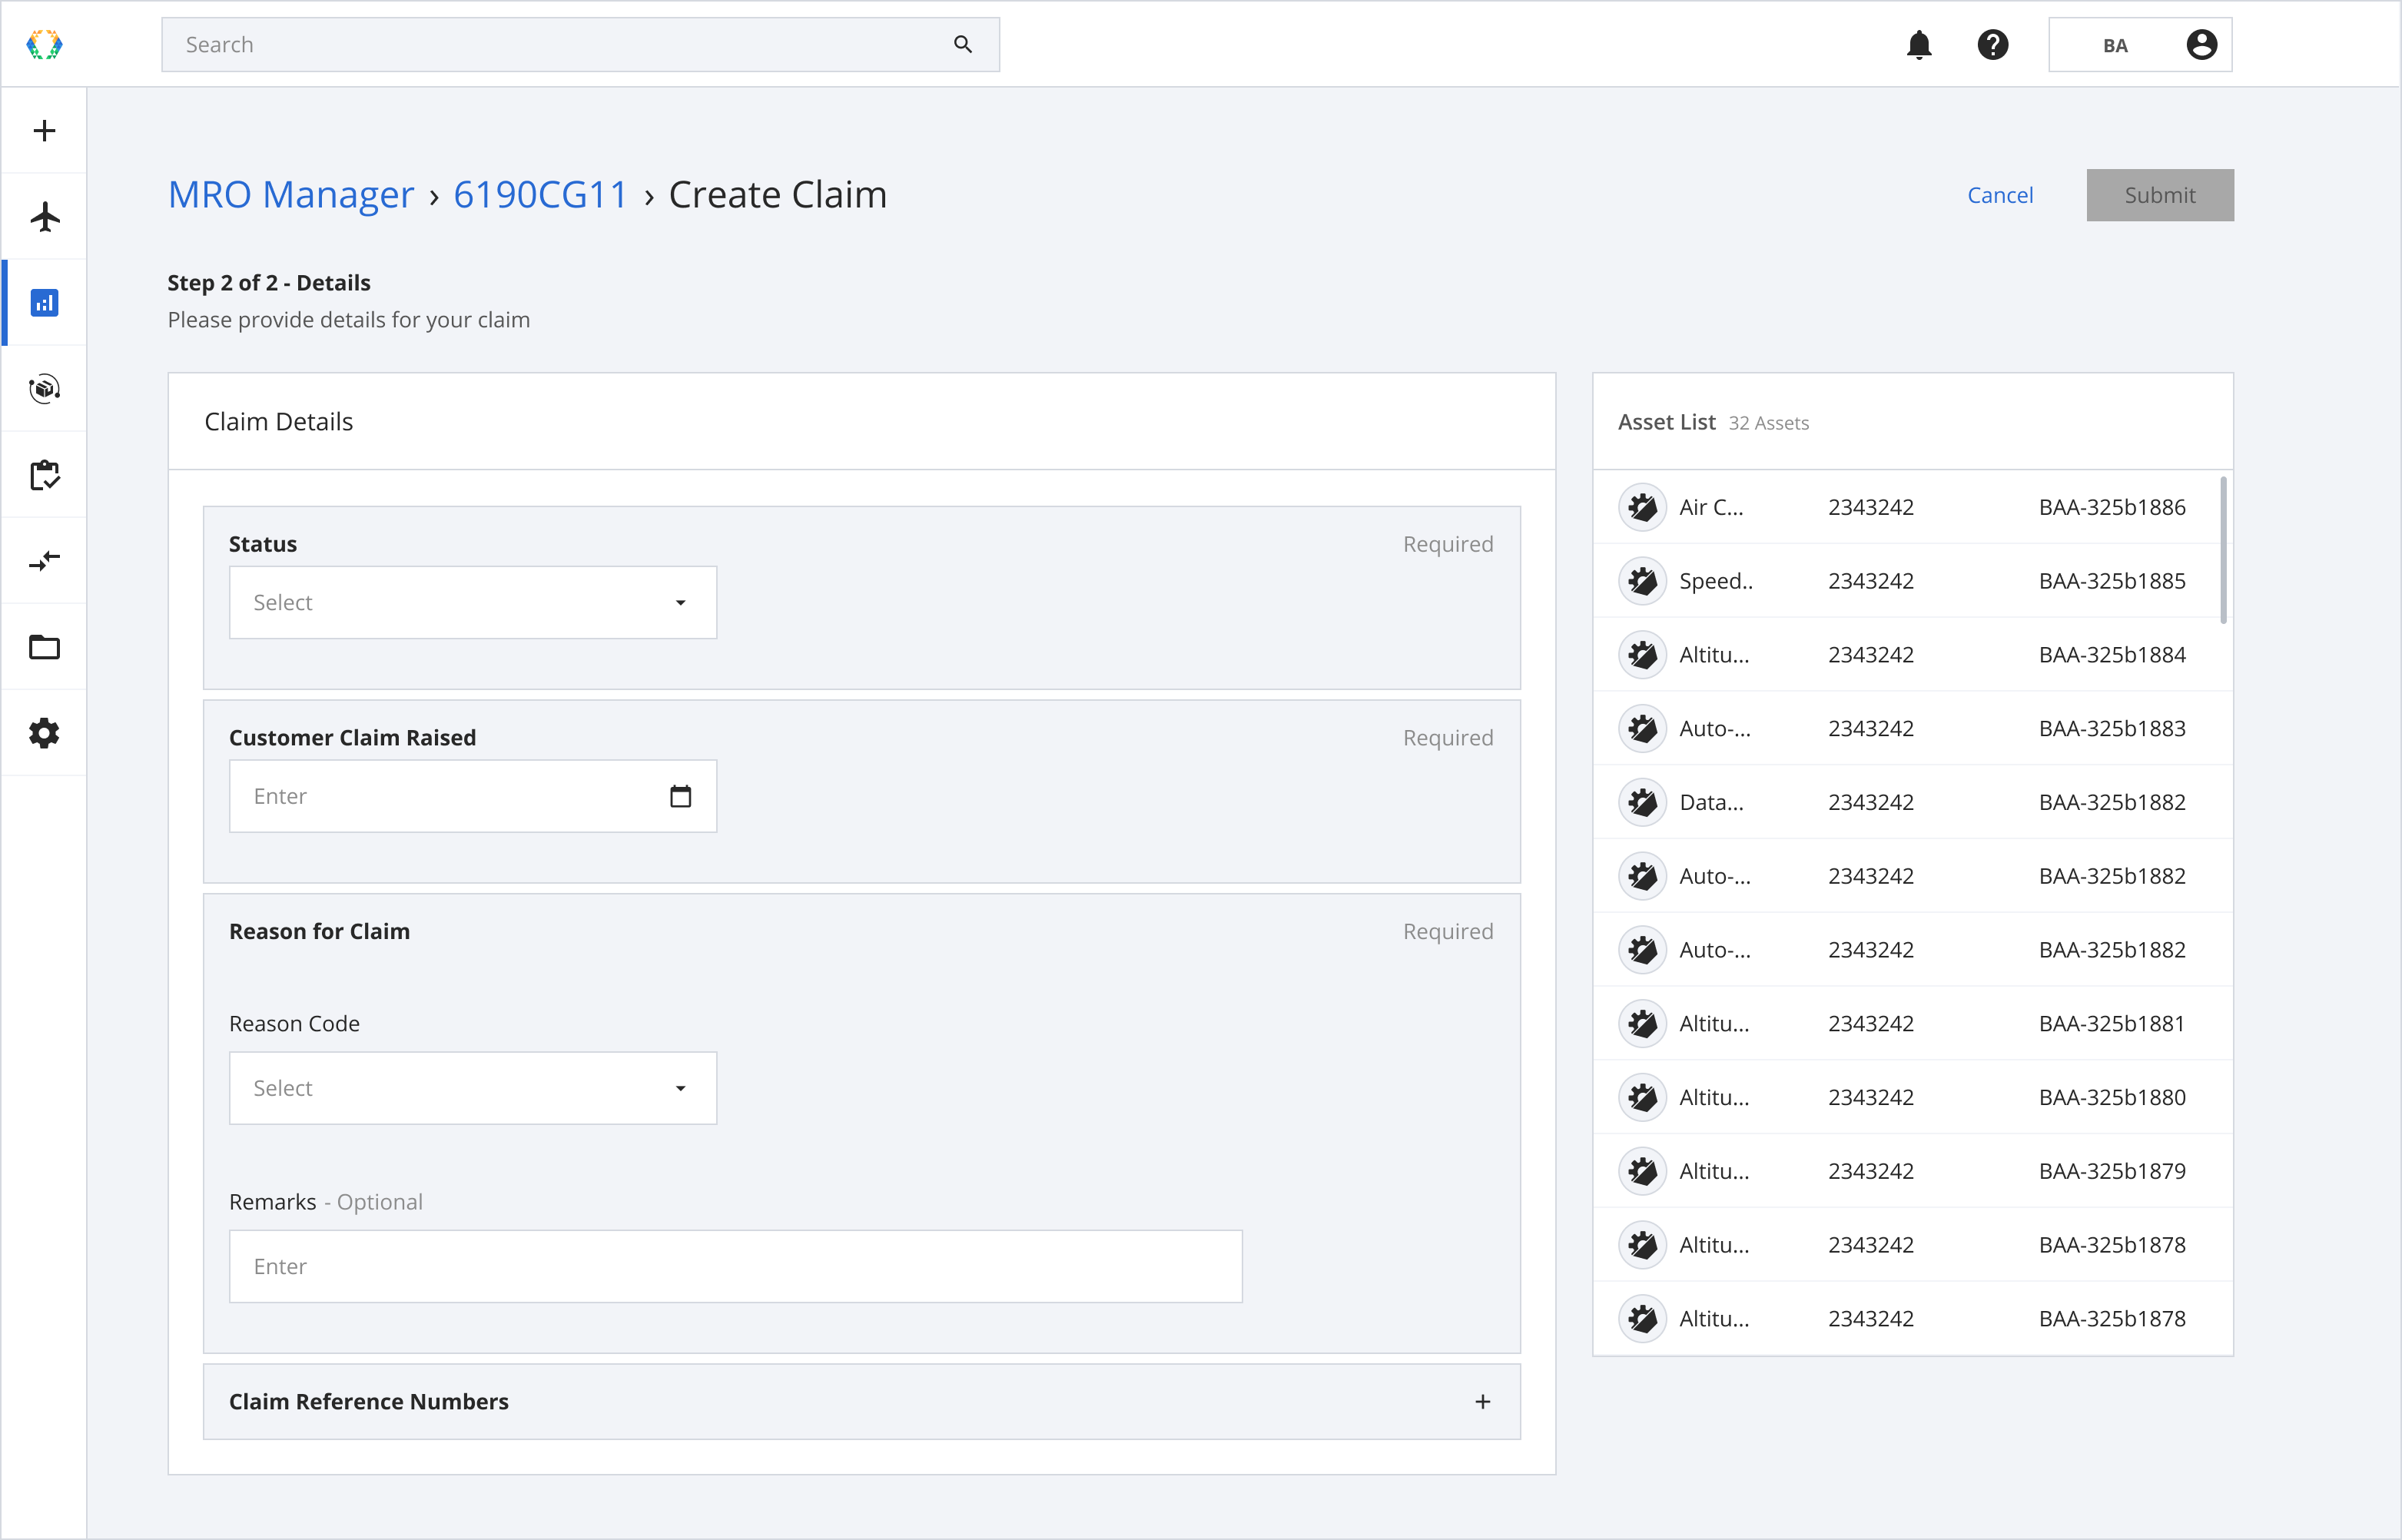
Under Claim Details, there are three required sections to be filled.
Status (Required)
Select the Claim Status of your Repair Assets (Open or Closed).

Customer Claim Raised (Required)
Select the date on which the customer claim was raised.

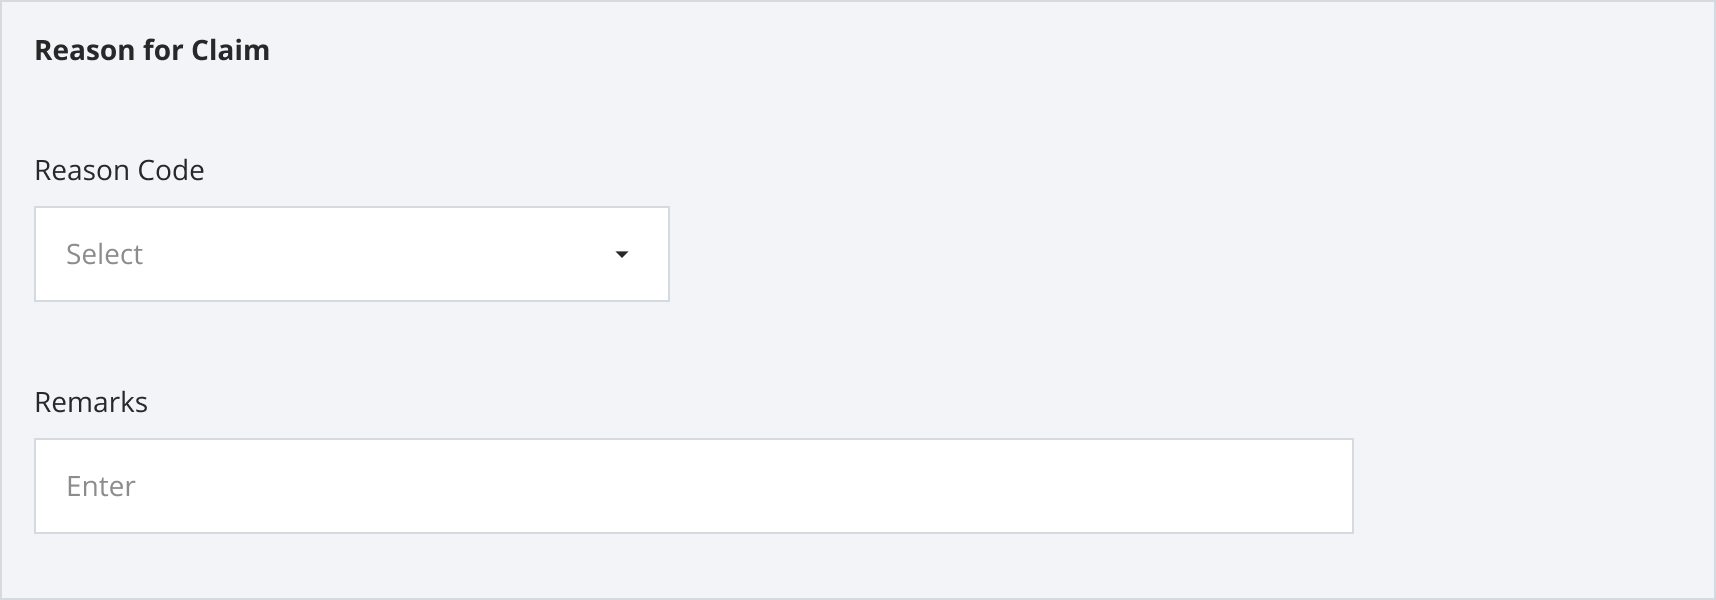
Reason for Claim (Required)
Select Reason Code and enter remarks (if necessary).
| Available options for Reason for Claim |
|---|
| Incomplete documents |
| Incomplete packaging |
| Incomplete product |
Claim Reference Number
The Claim Reference Number section is optional. You can enter additional details for your claim in this section. Click on the collapsed section to expand it.
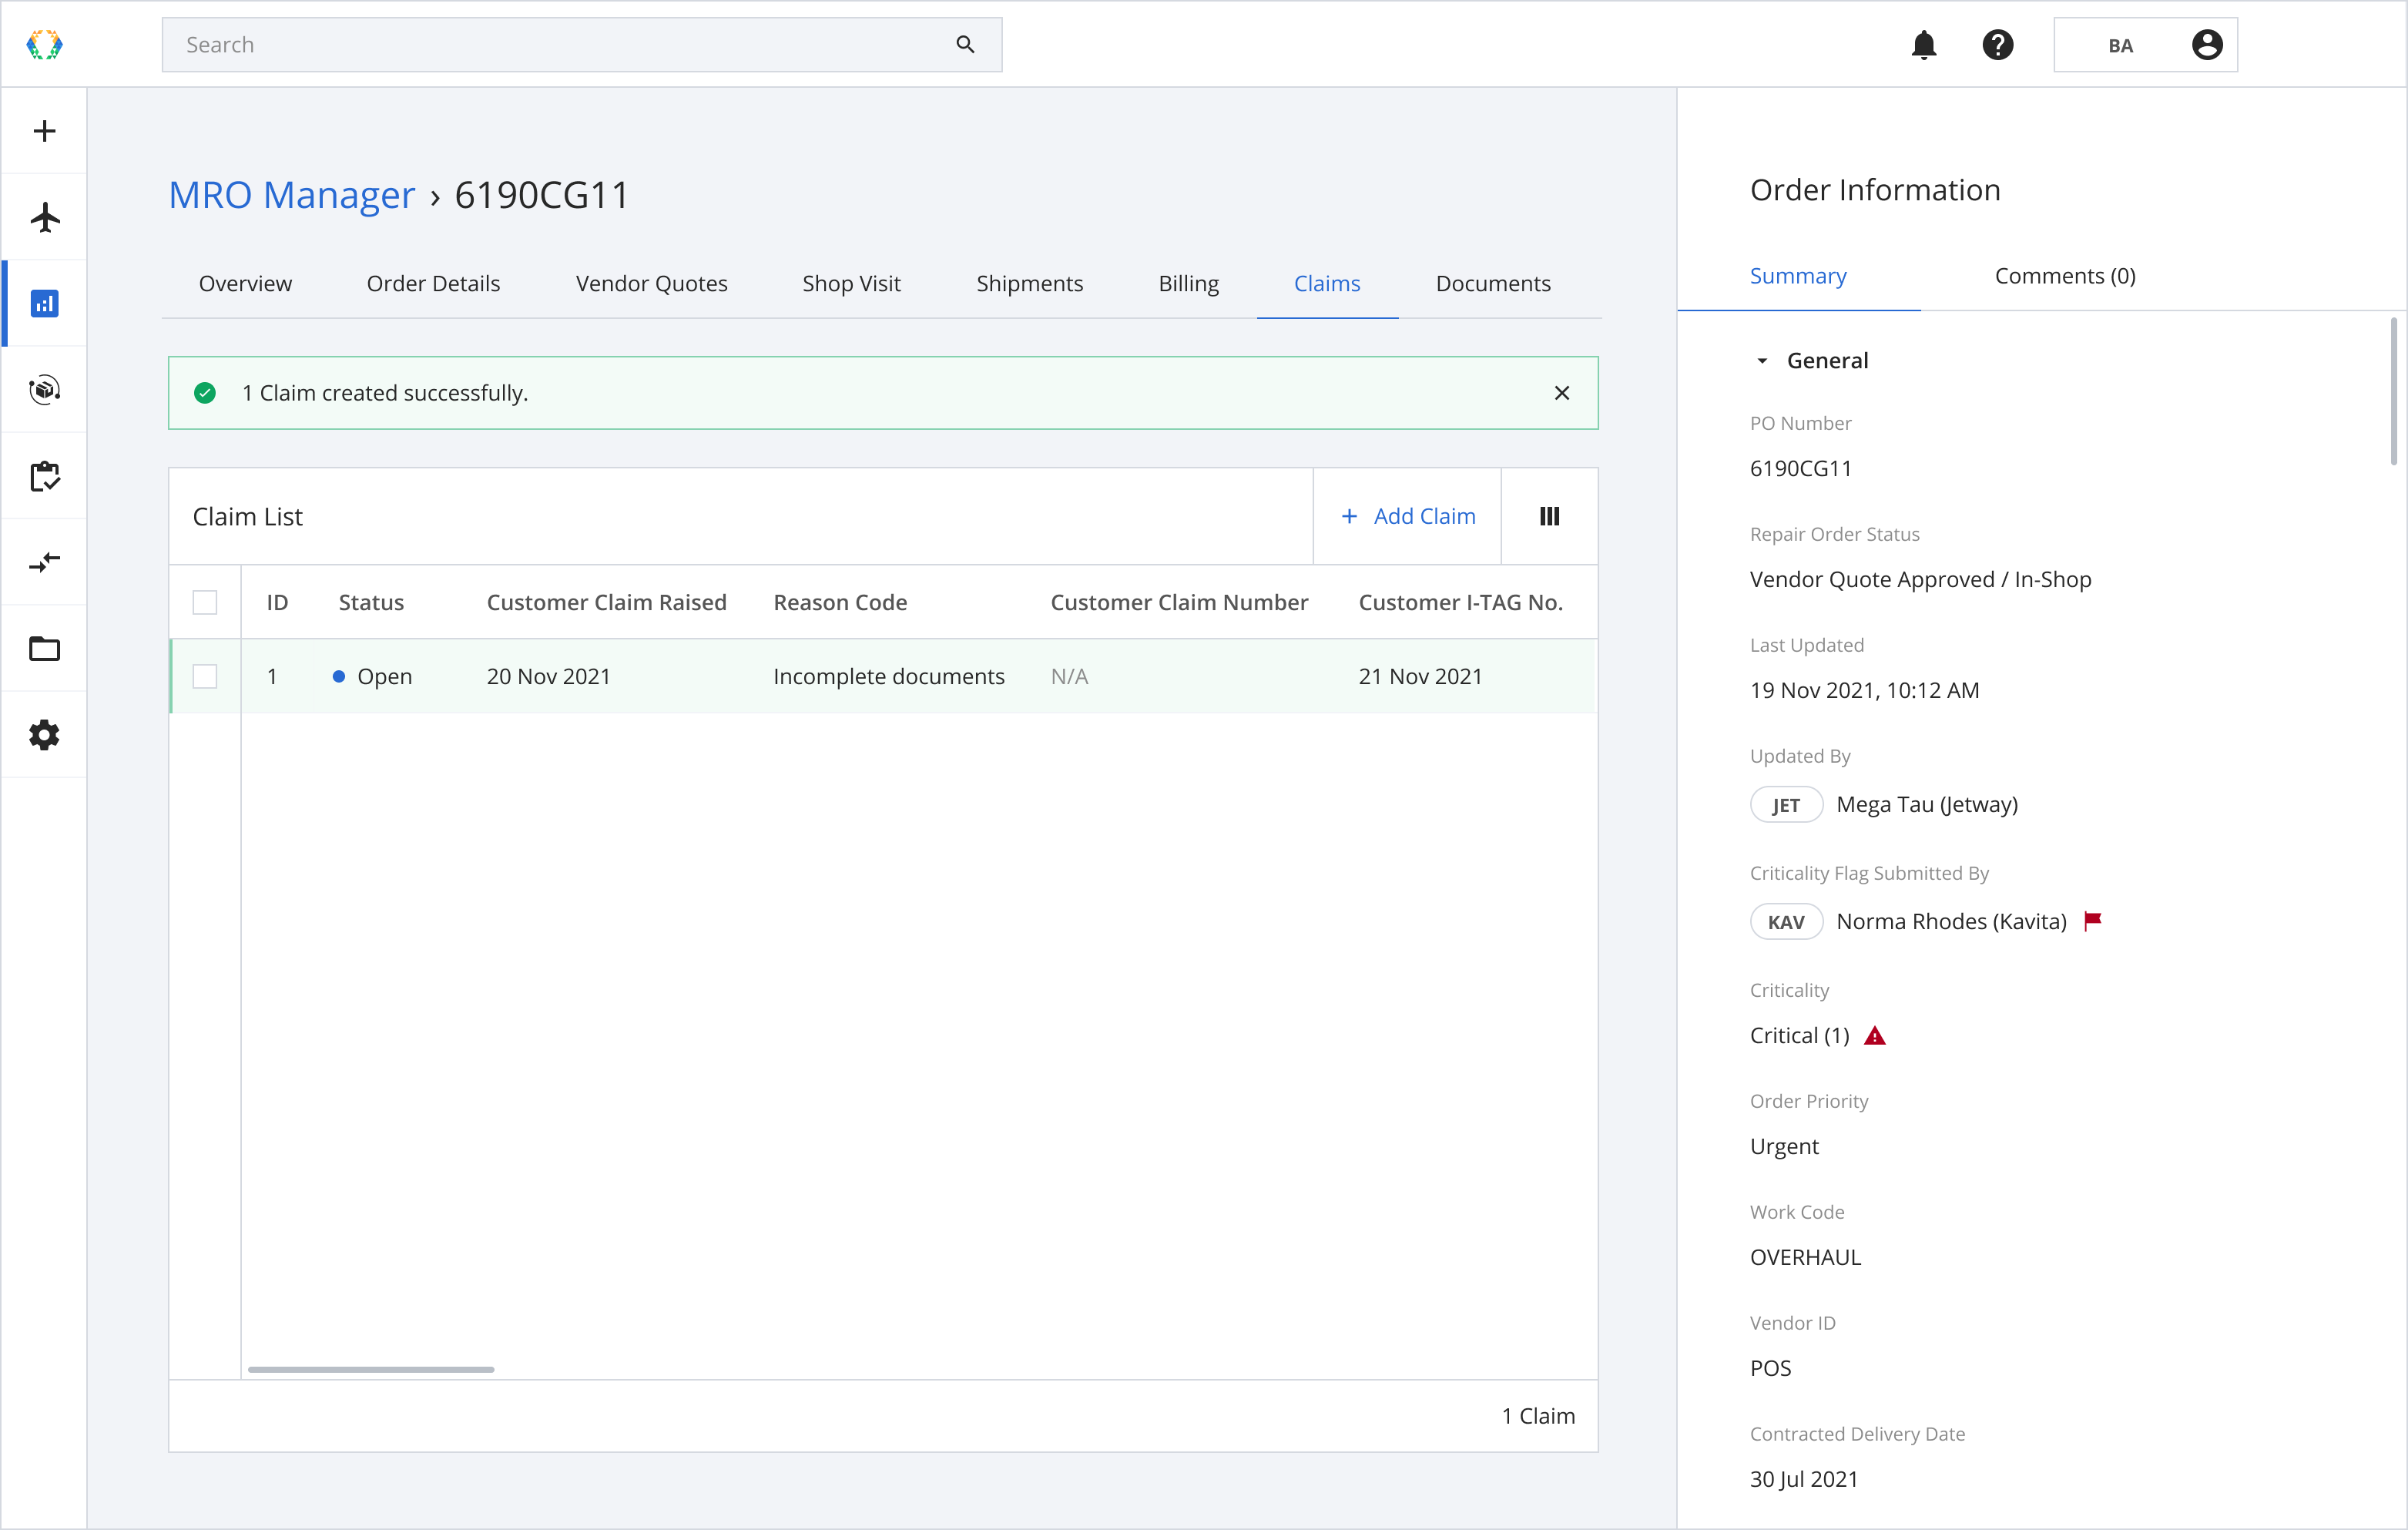
Step 4: Click ‘Submit’.
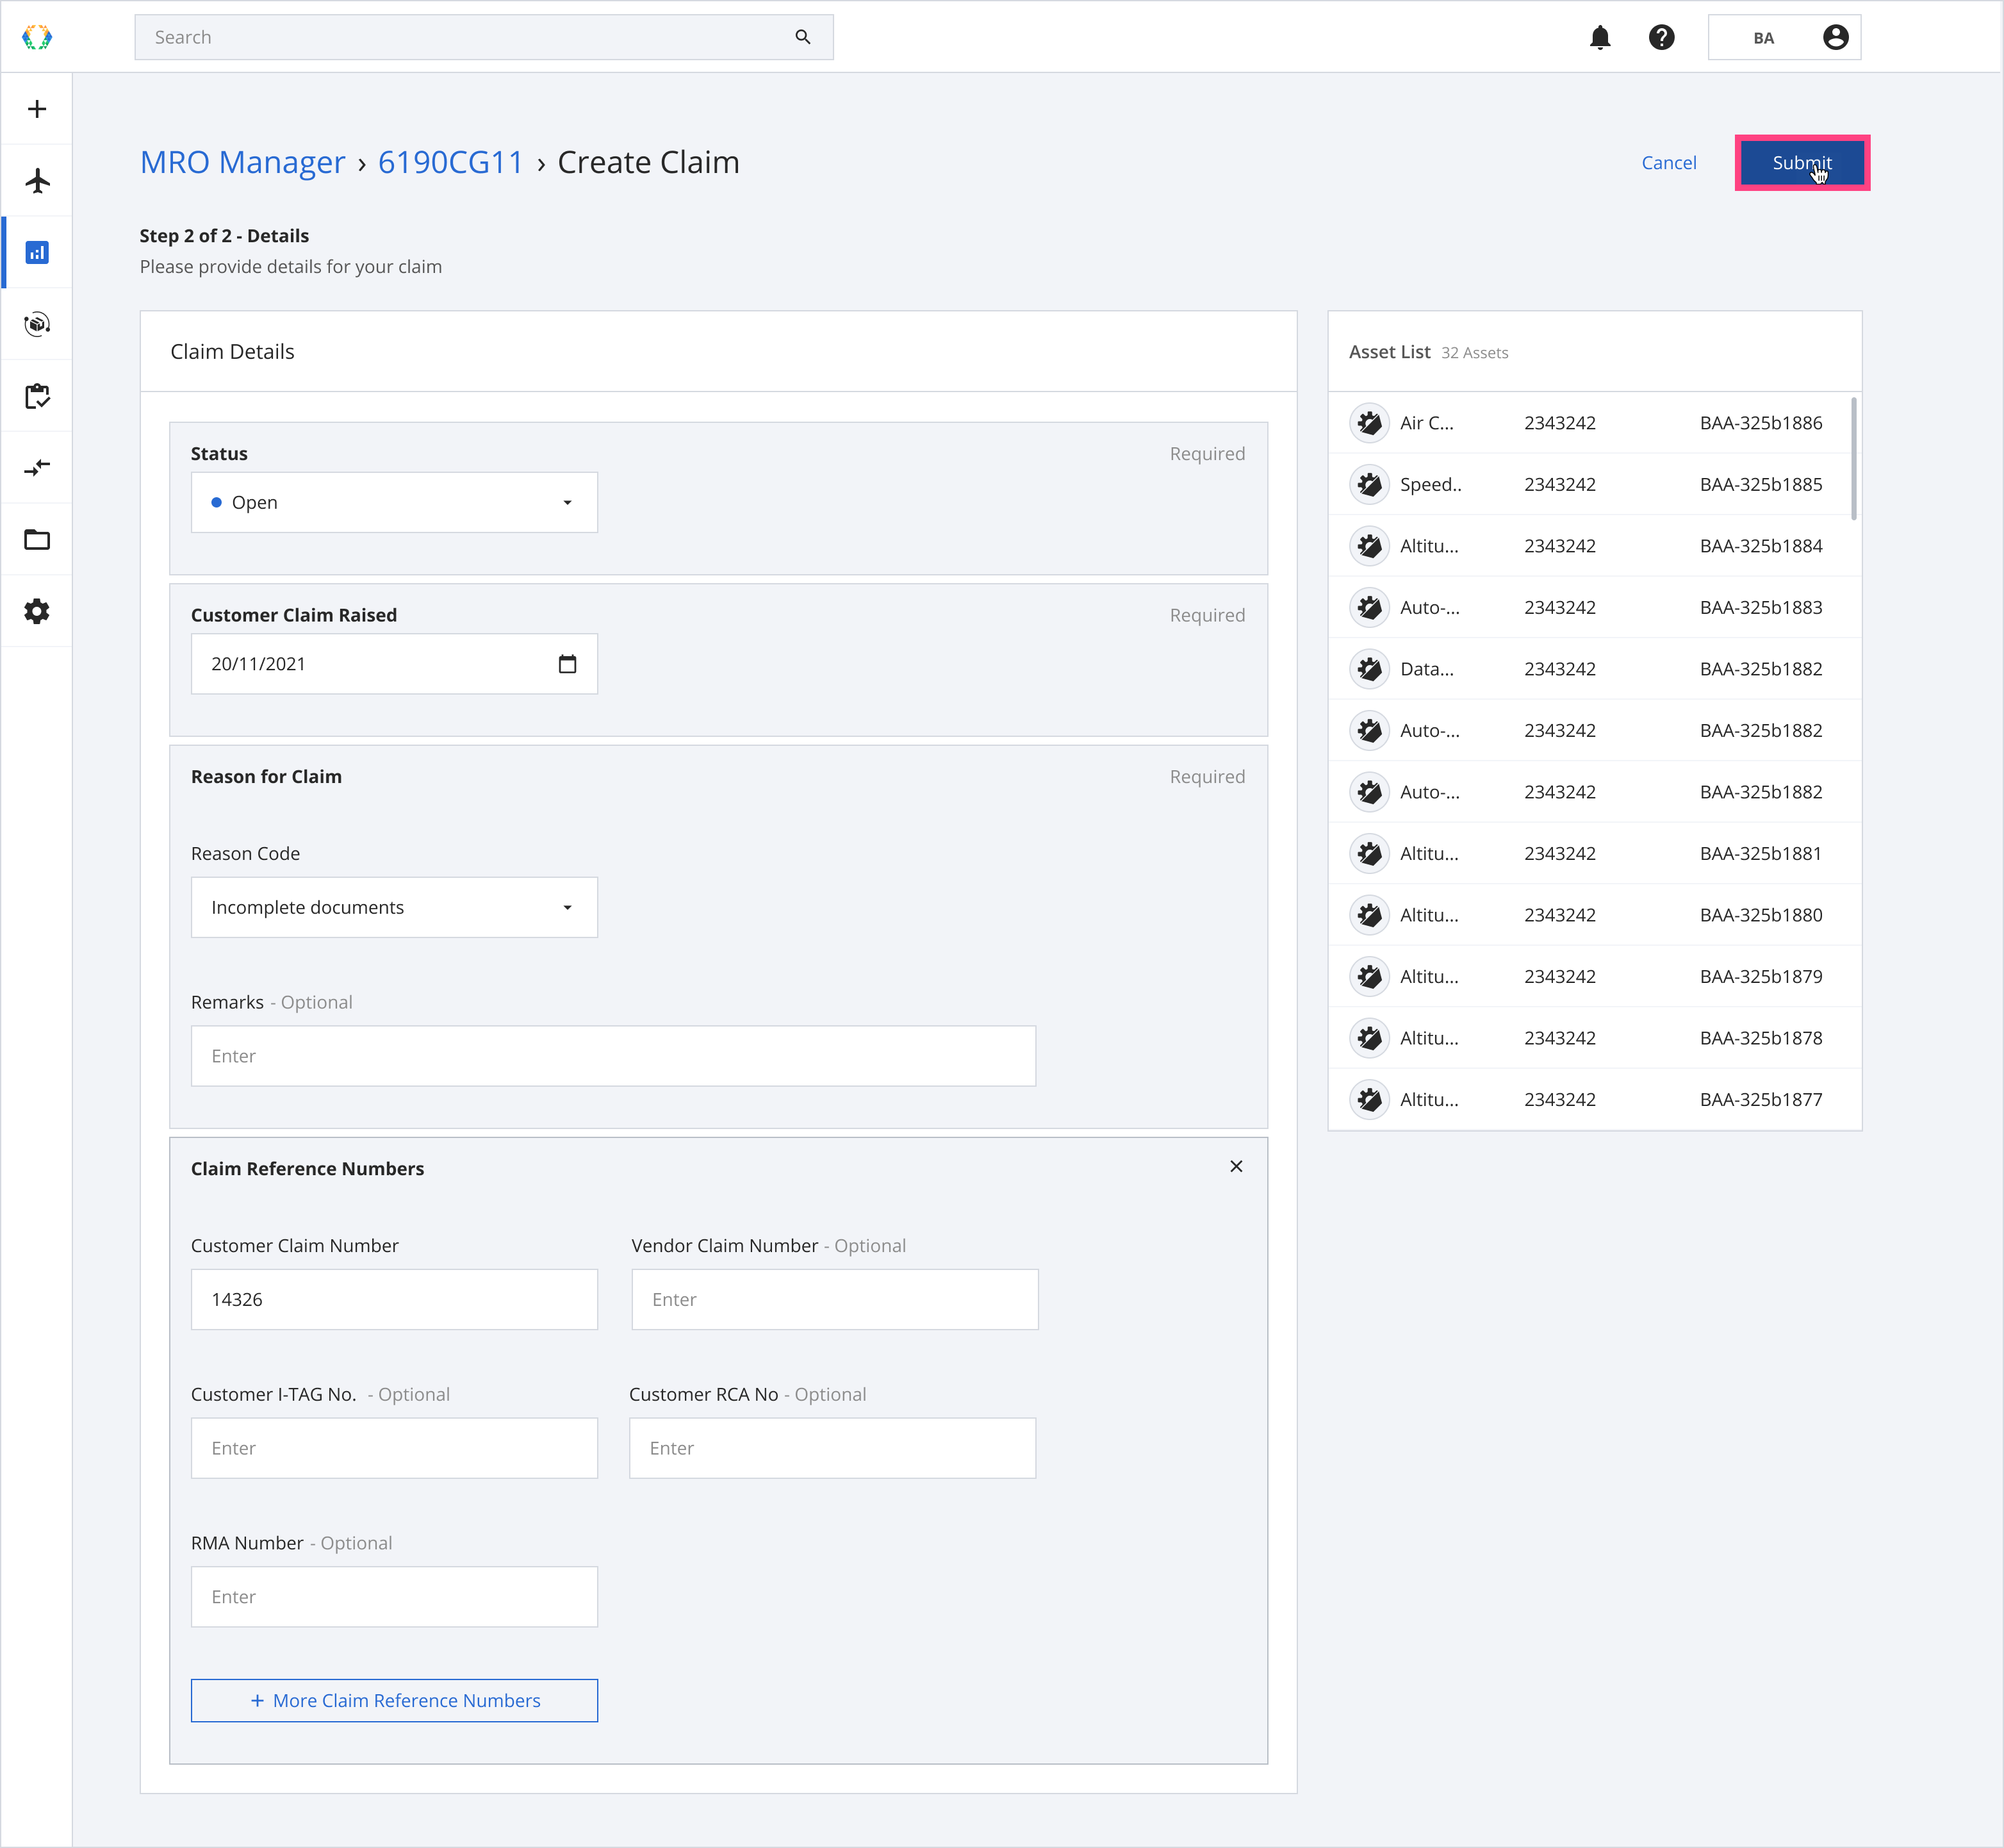
Once the claim is created successfully, a green banner will appear at the top of the claim list.
Editing Claims
Under Edit Claims, there are three different operations for you to edit your Claims.
From the Claim List, open claim you want to edit.
Editing Claim Details
You will be redirected to the Claim page to edit your Order Claim.
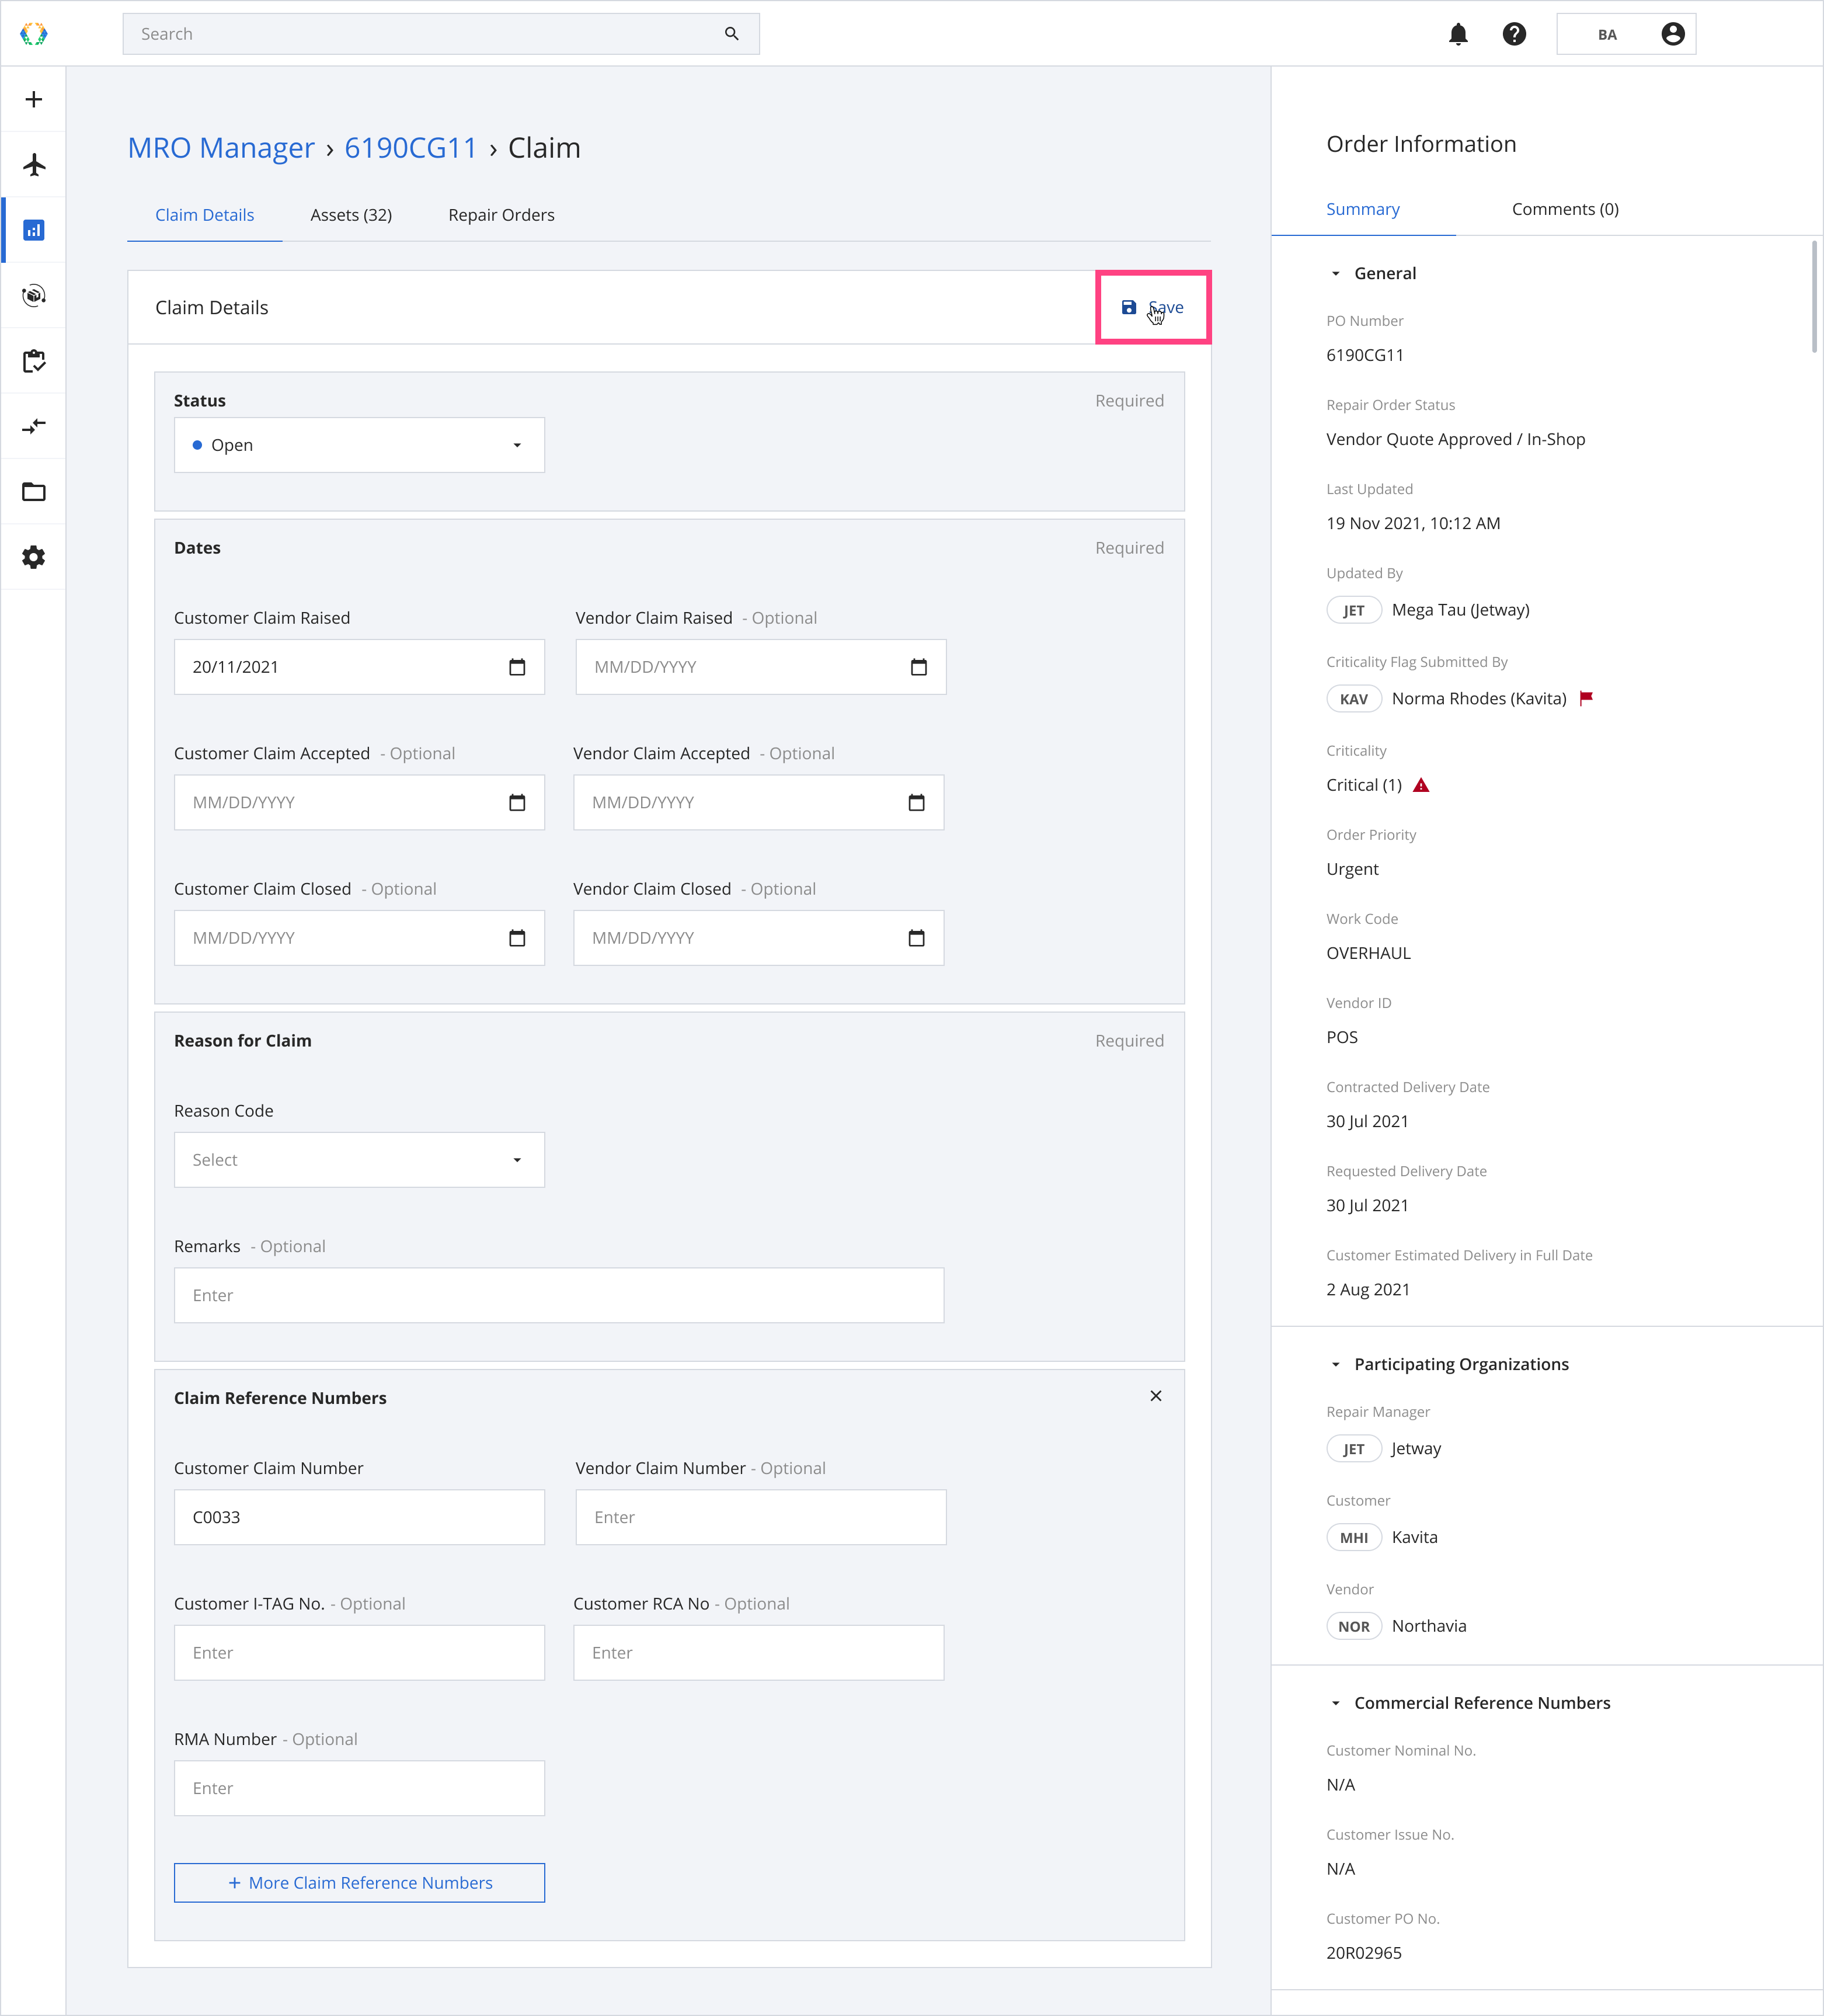
Step 1: Update claim details.
Step 2: Click 'Save'.
Editing Claim Assets
Removing Claim Asset(s)
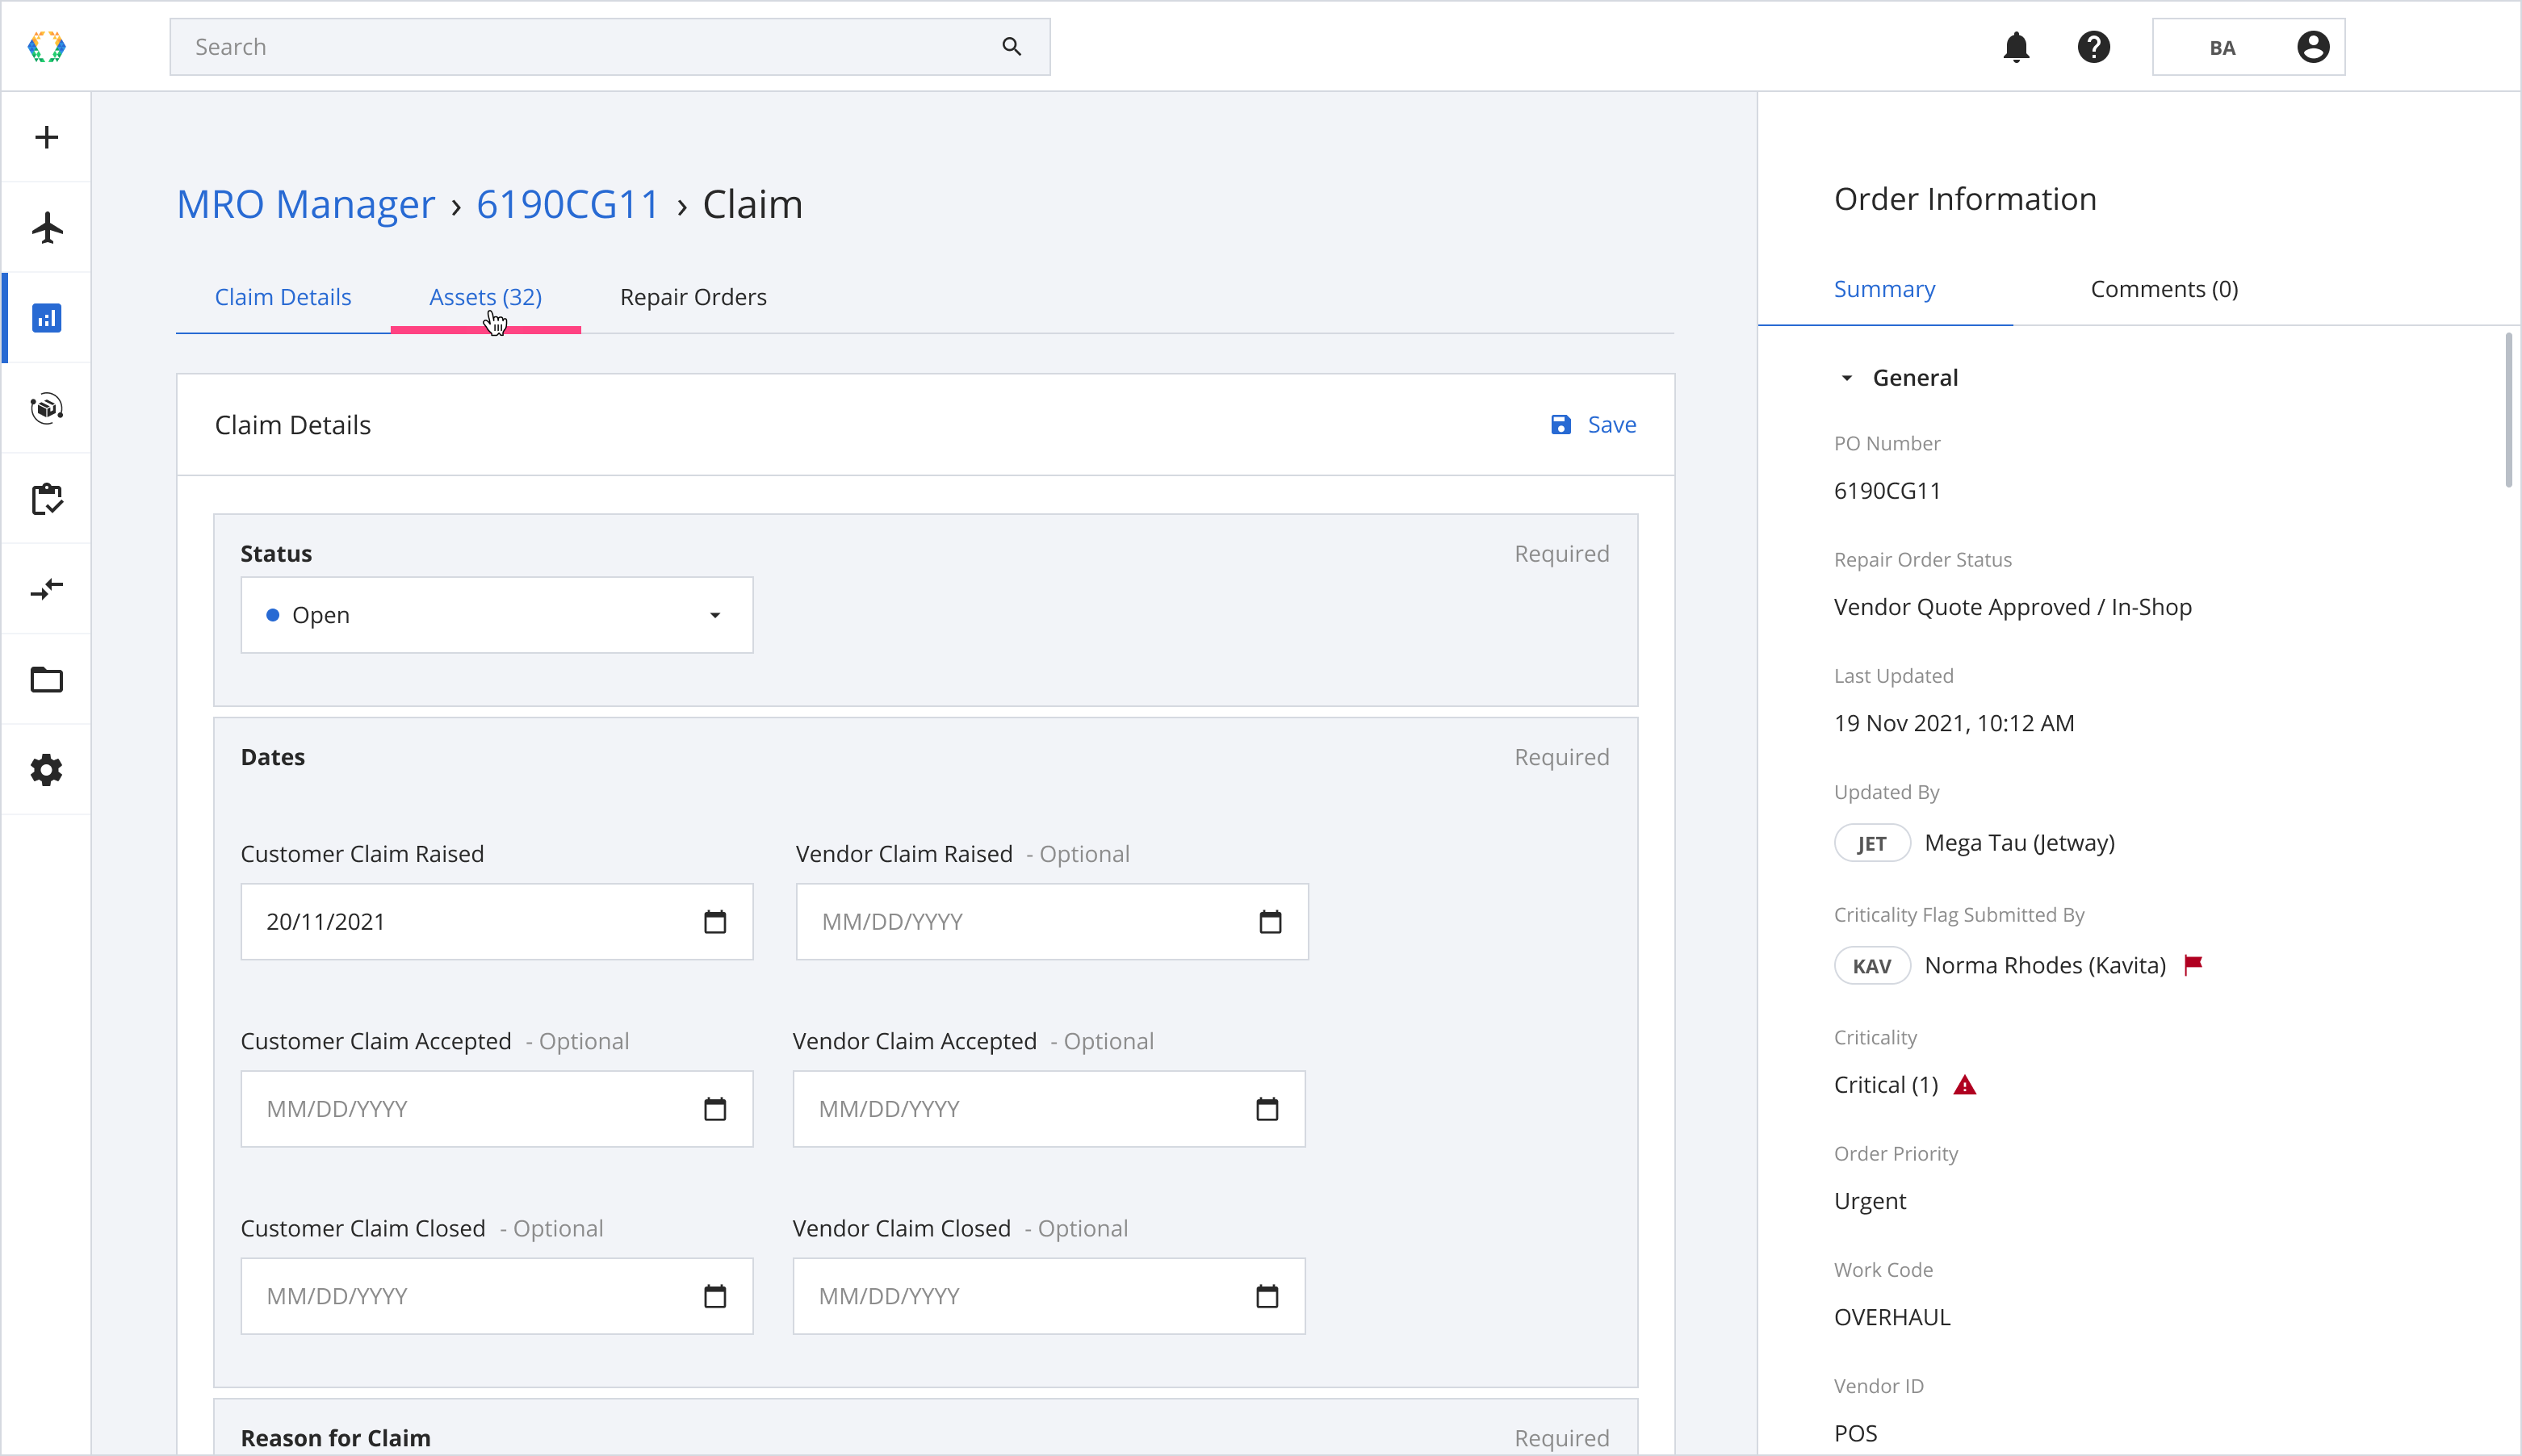
Step 1: From the claim page tabs, click 'Assets' to navigate to the claims assets.
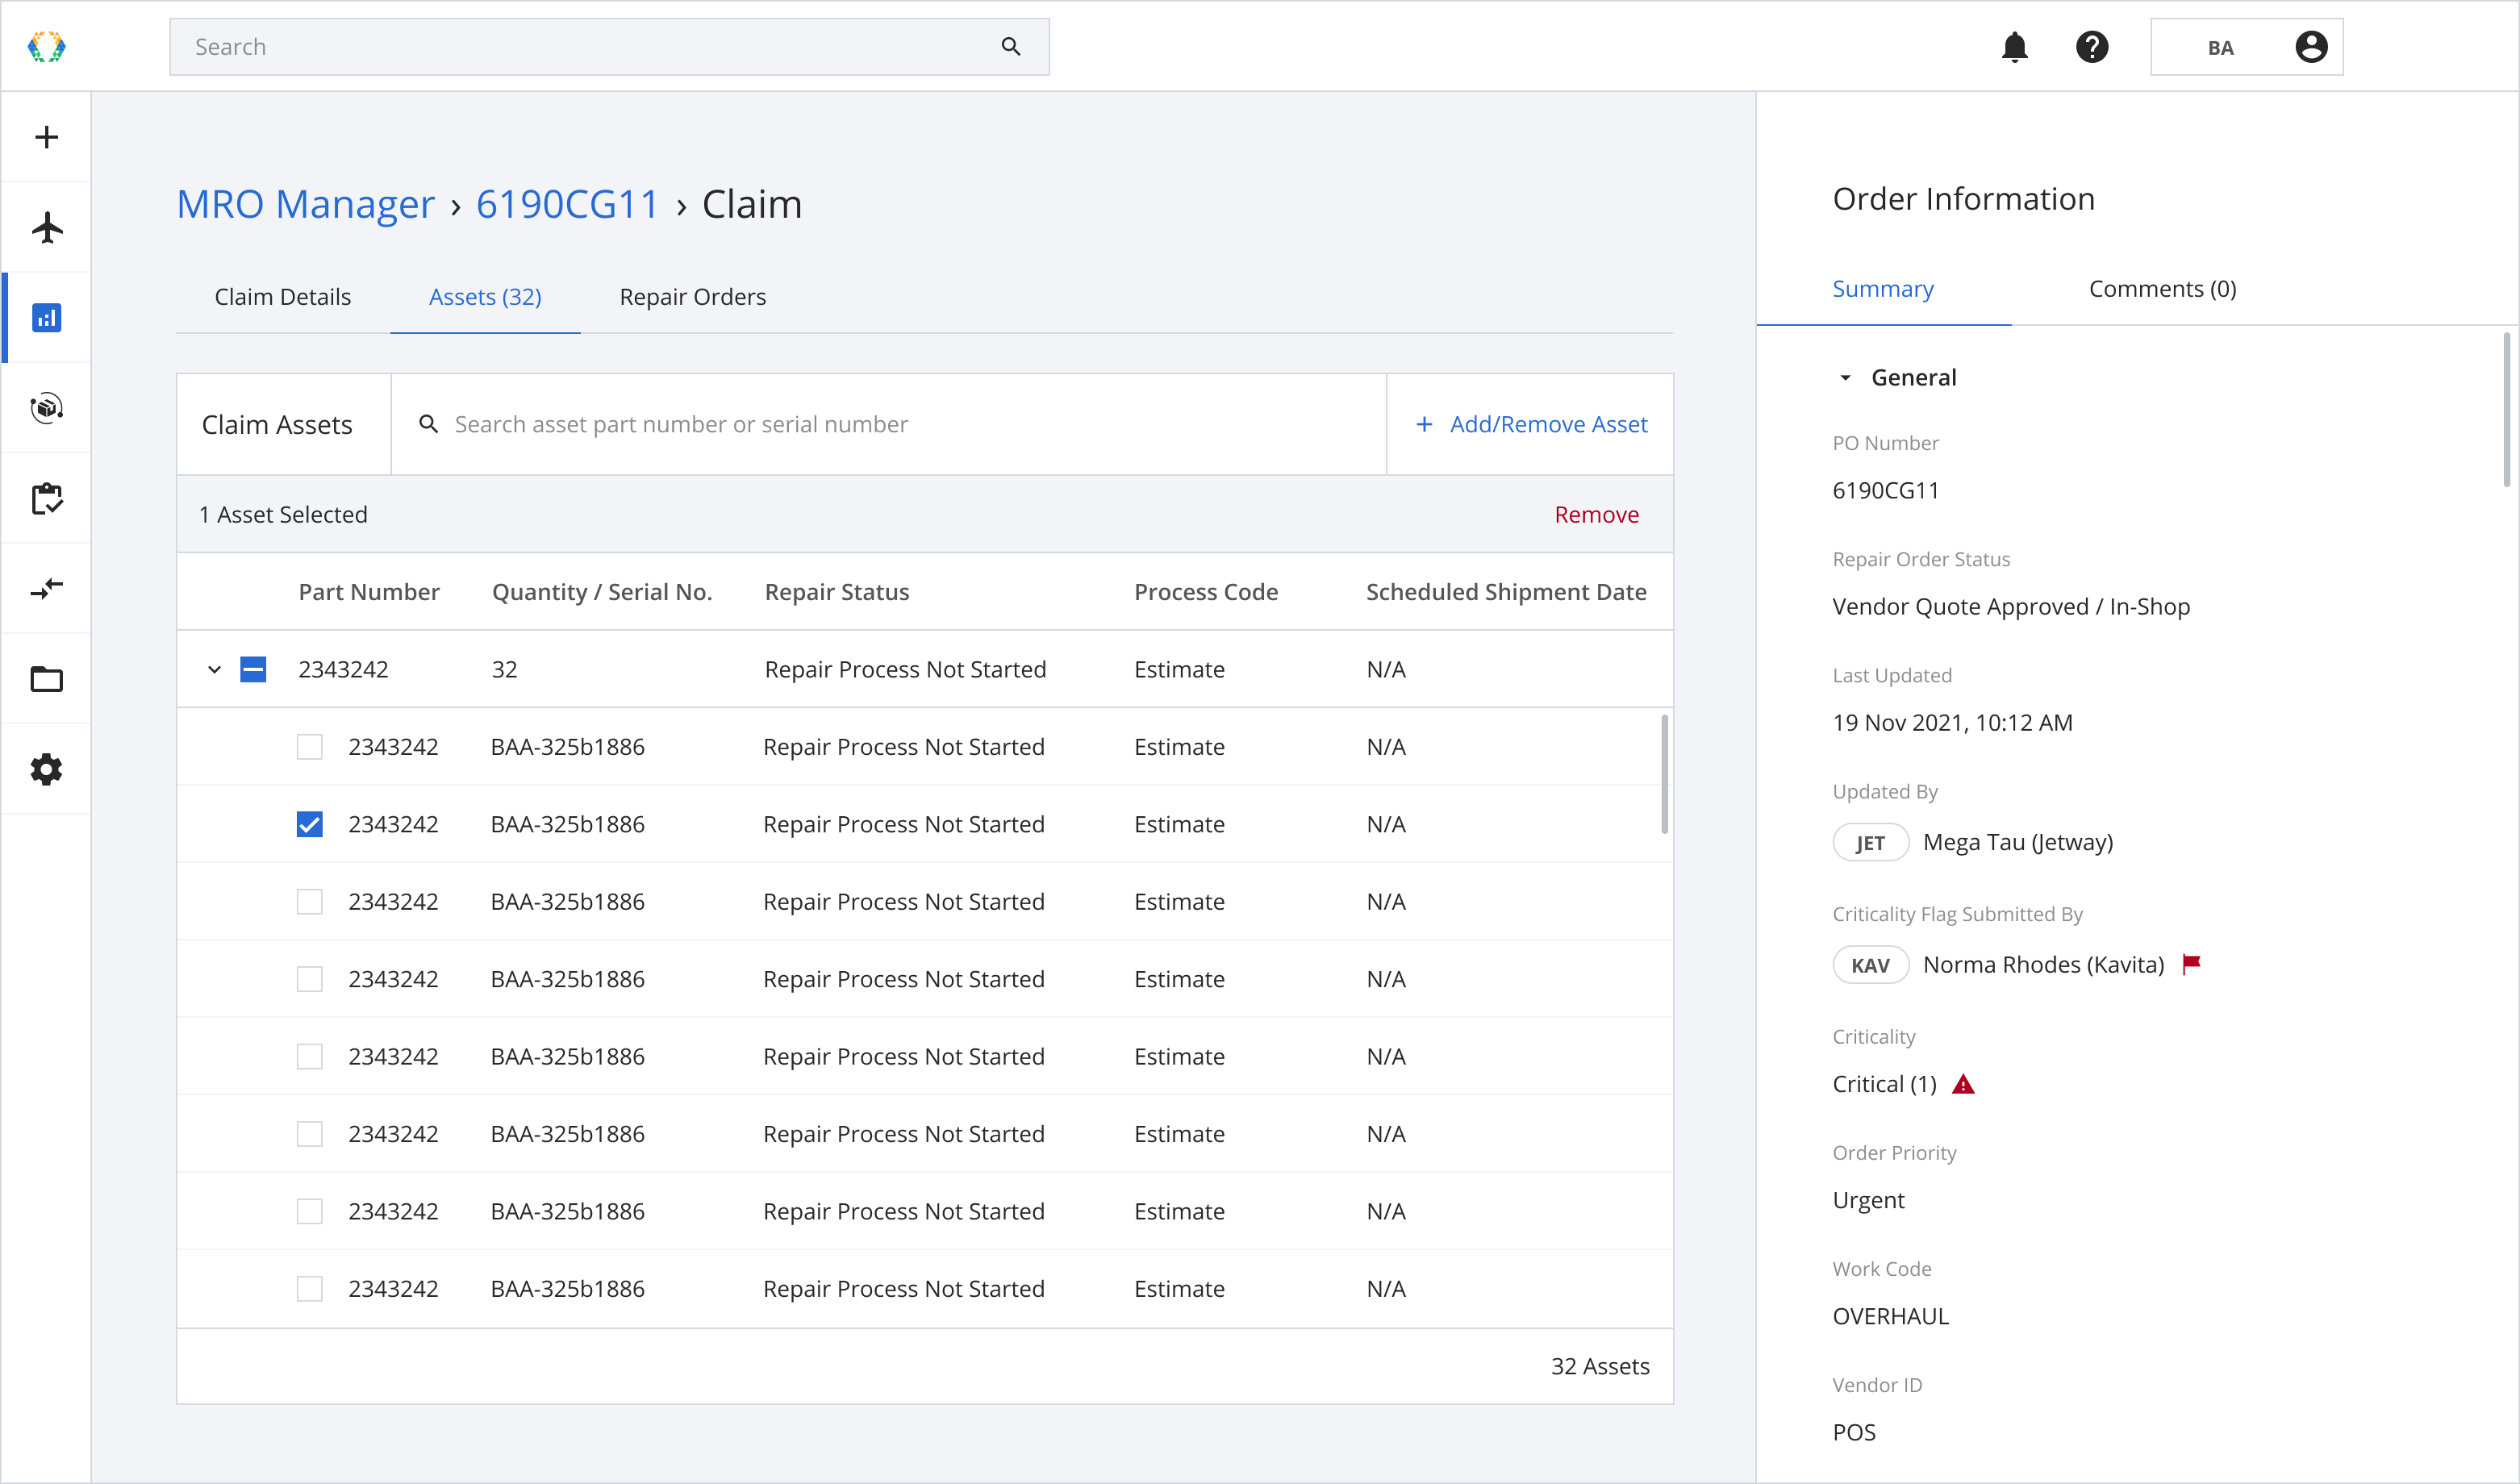
Step 2: Select assets for your claim.
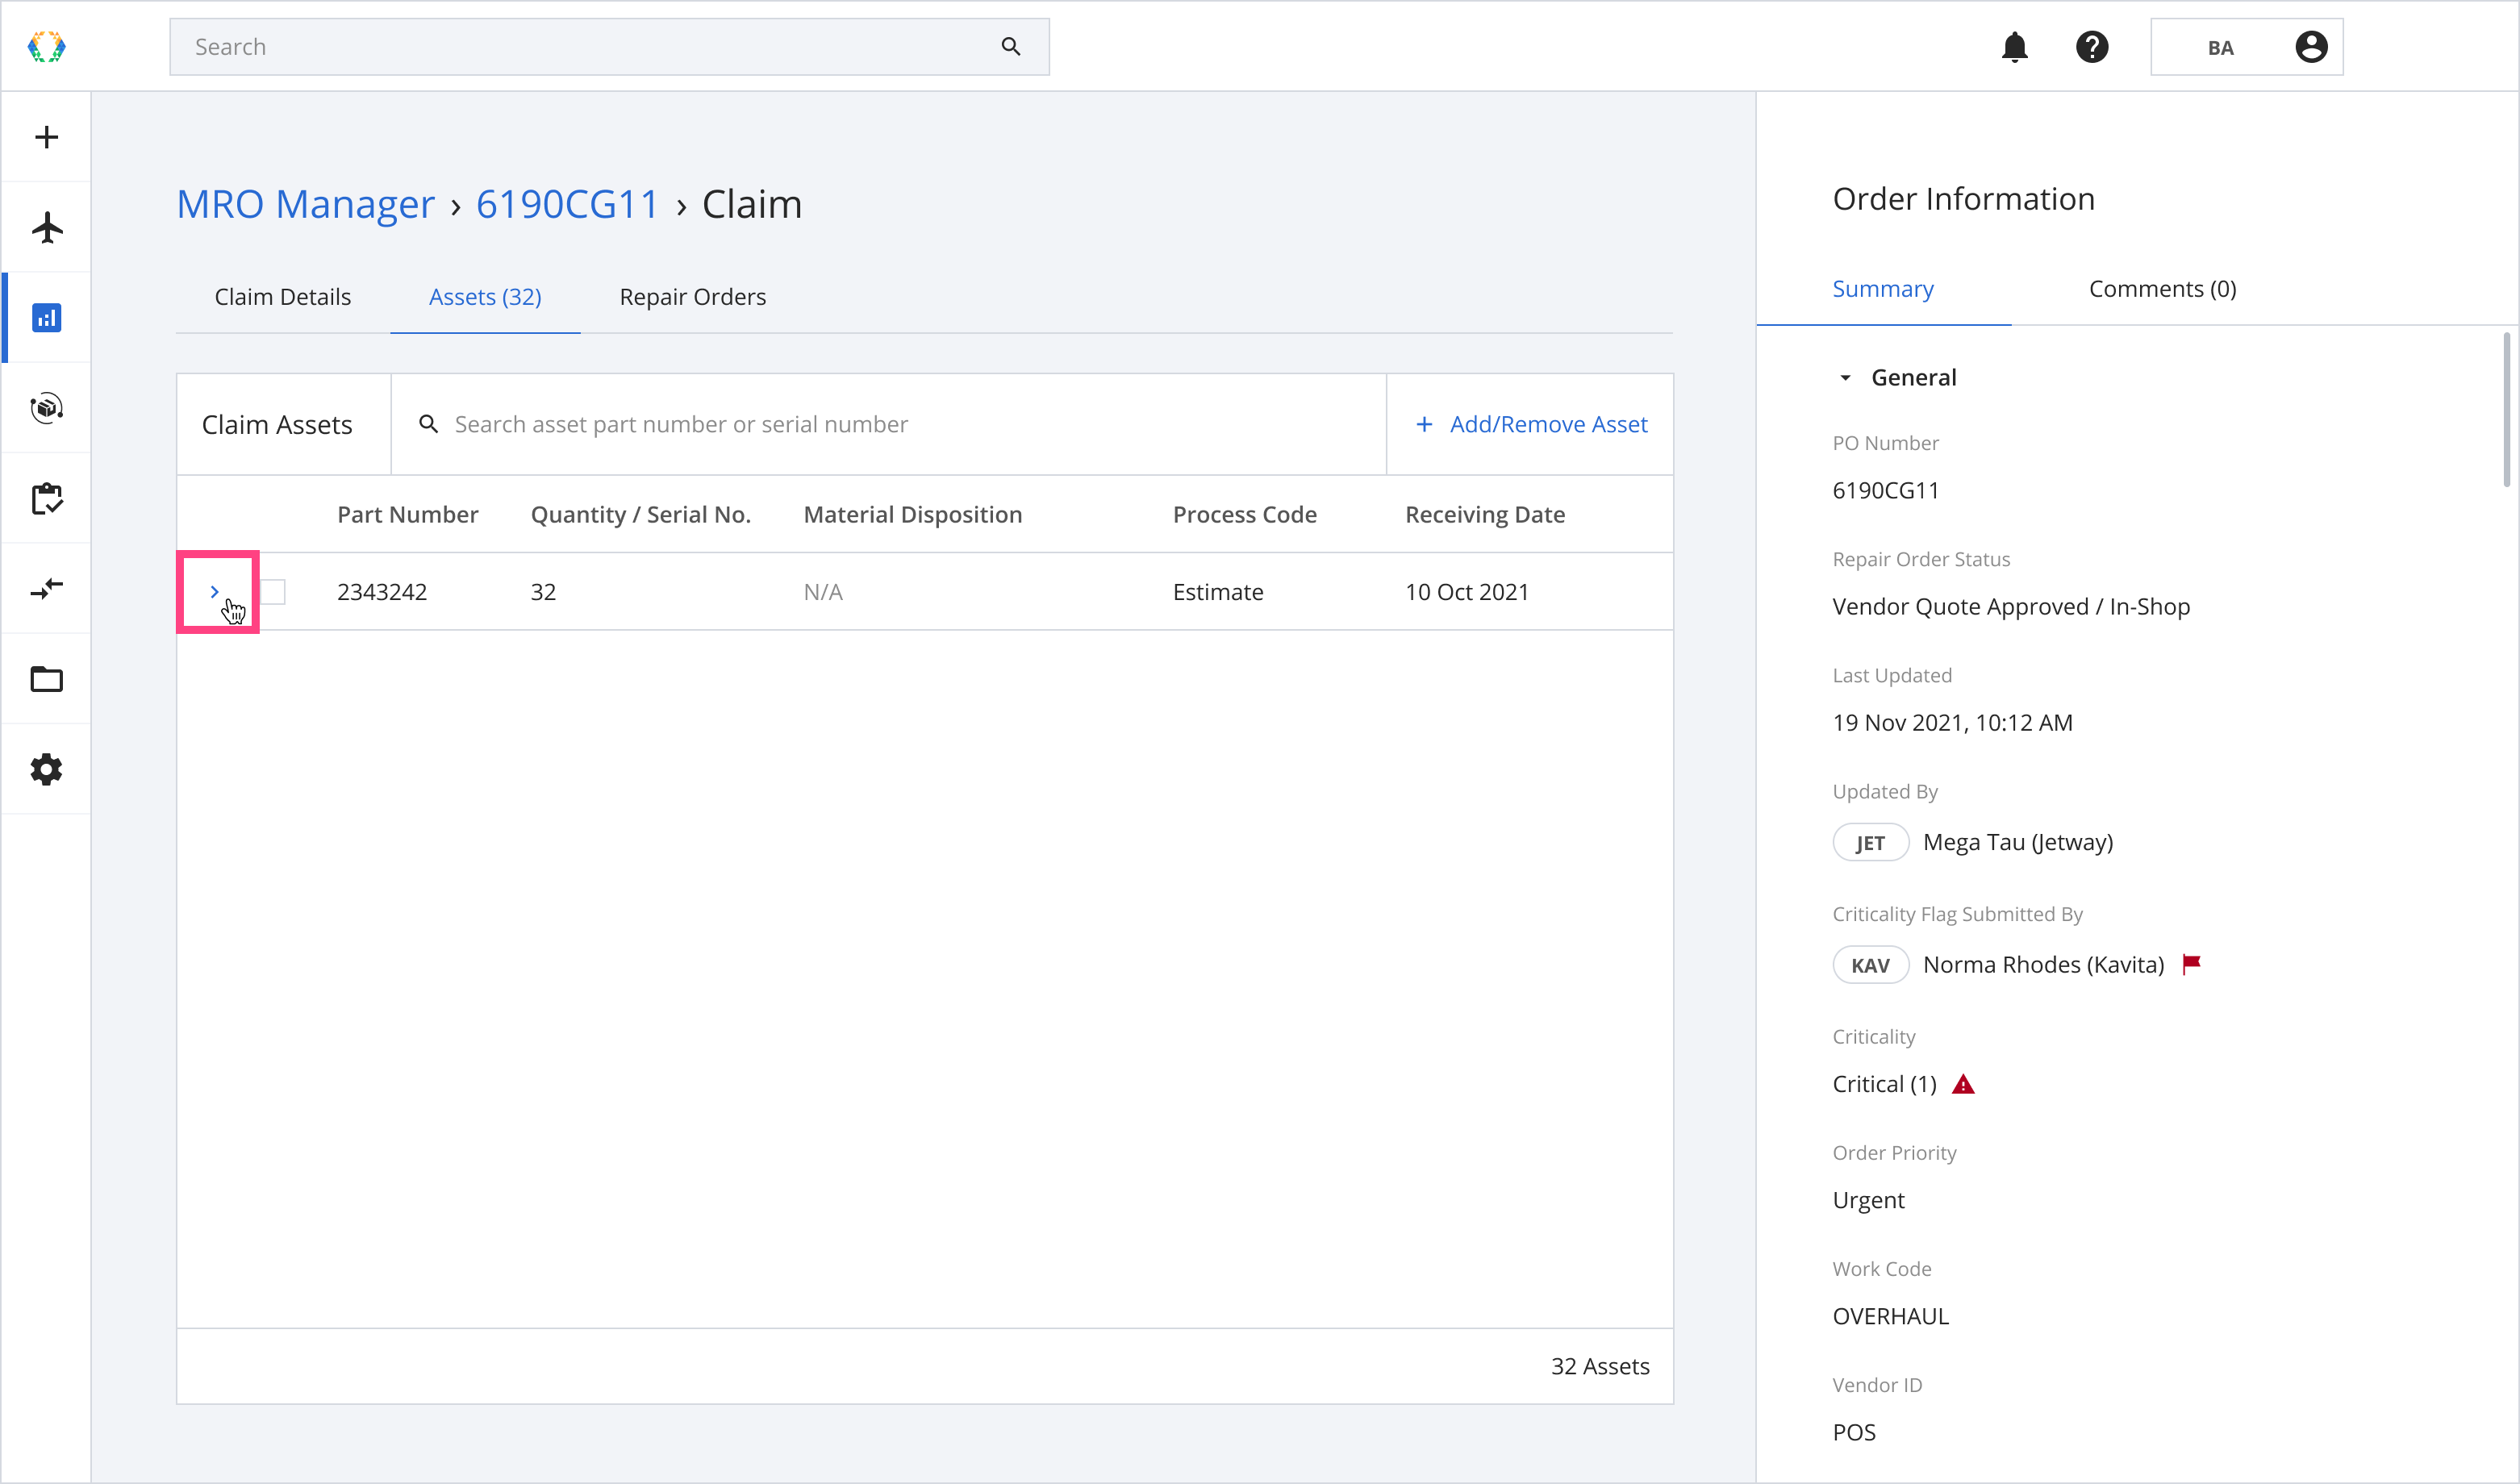
You can expand assets to select specific assets for removal.
Step 3: Click 'Remove'.
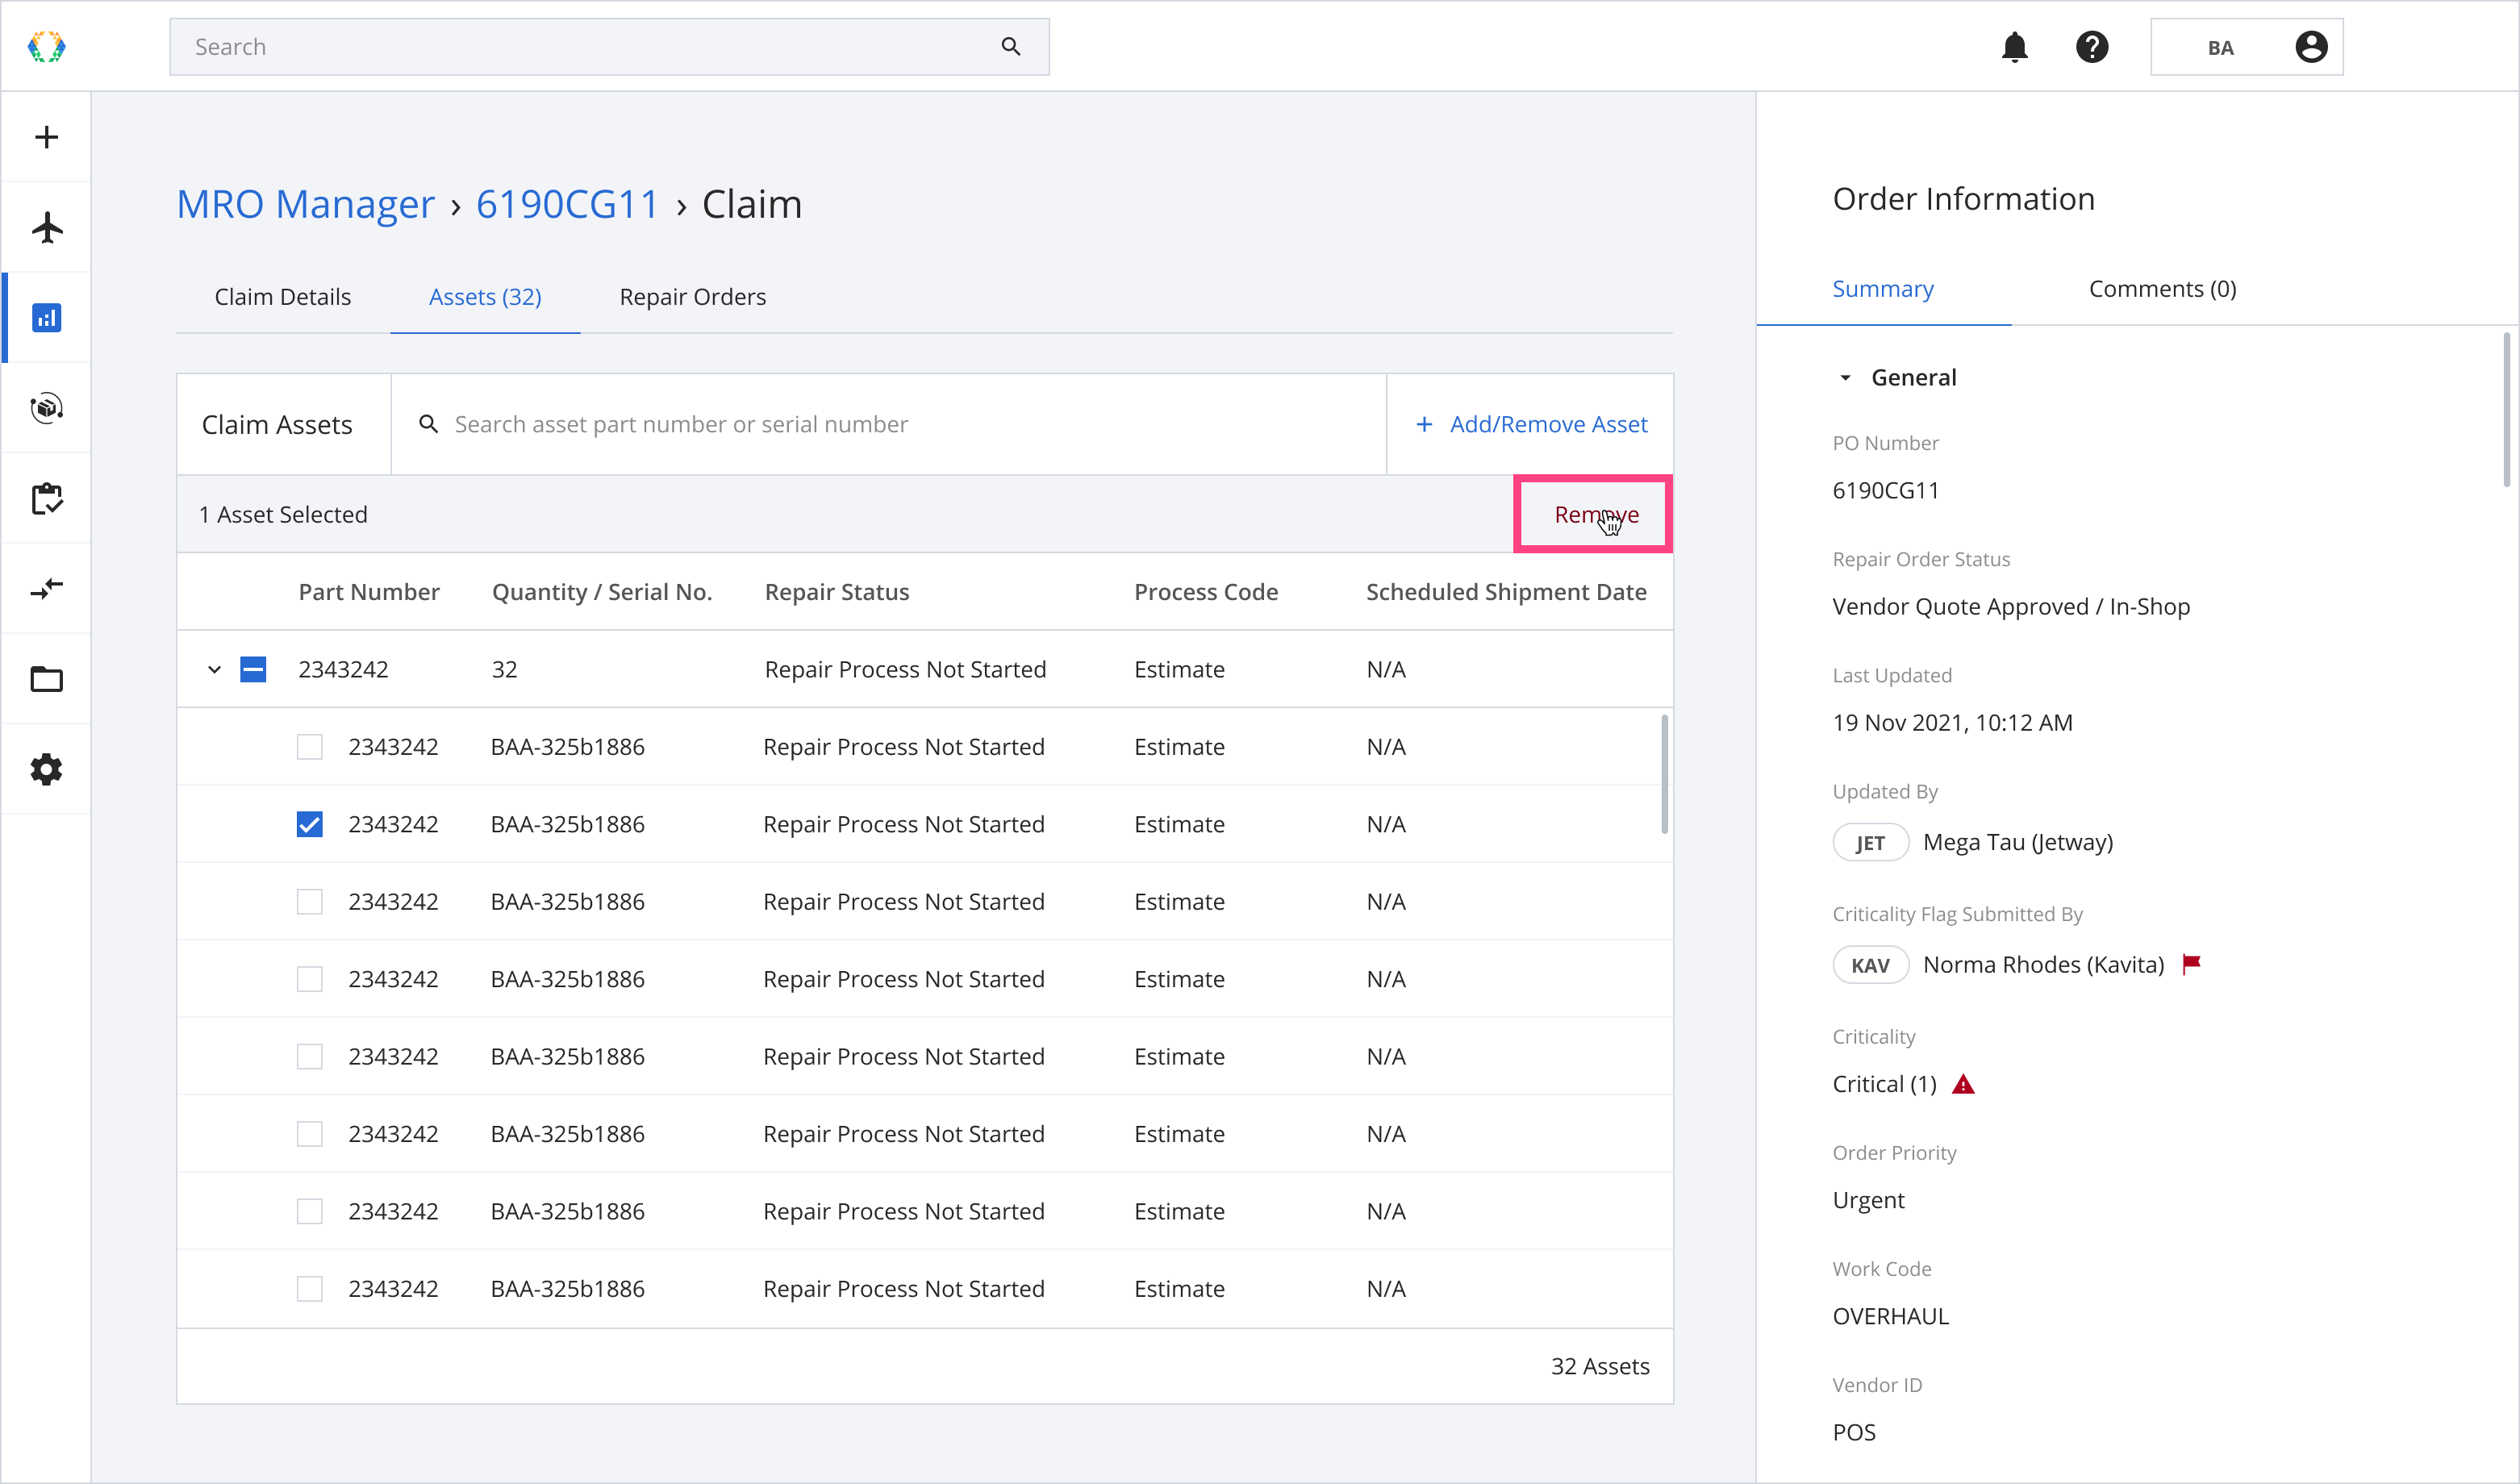
Step 4: A confirmation message will appear, click ‘Remove’.
Once you remove the Asset(s), the action cannot be undone/restored.

Once your claim assets are removed successfully, a green banner will appear on top of the claim assets list.

Adding Claim Assets
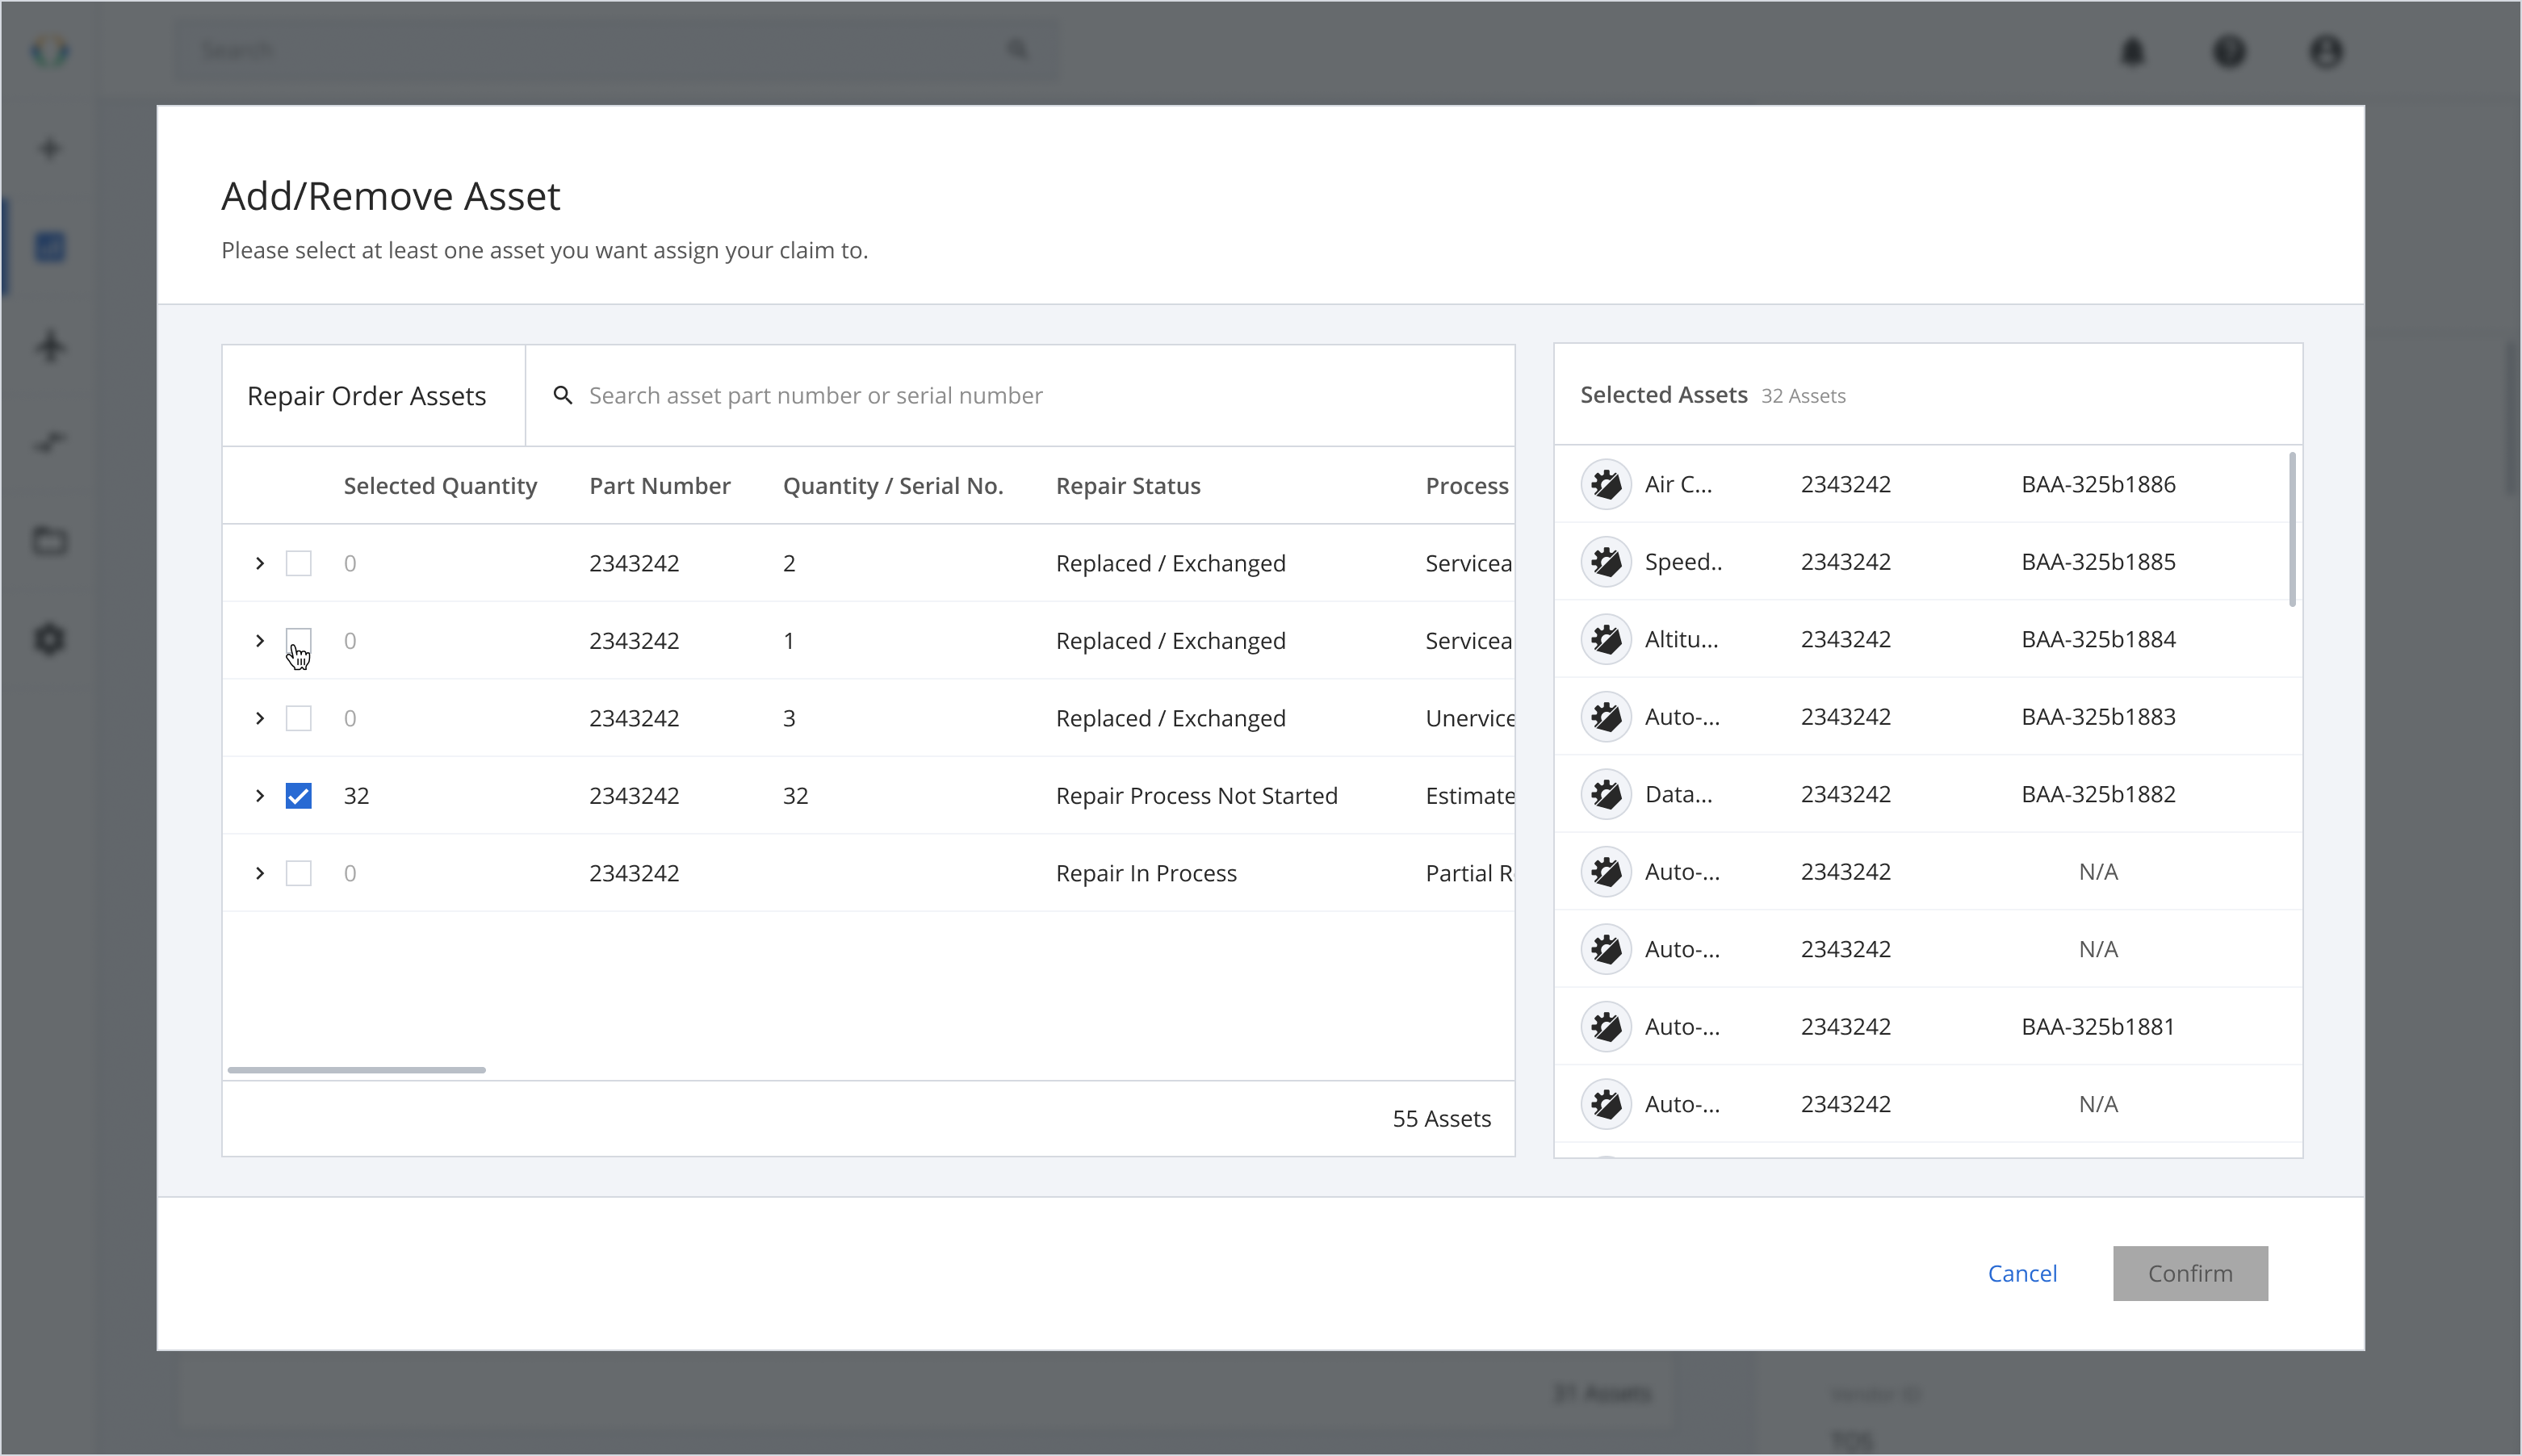
Step 1: Click ‘Add/Remove Assets’.
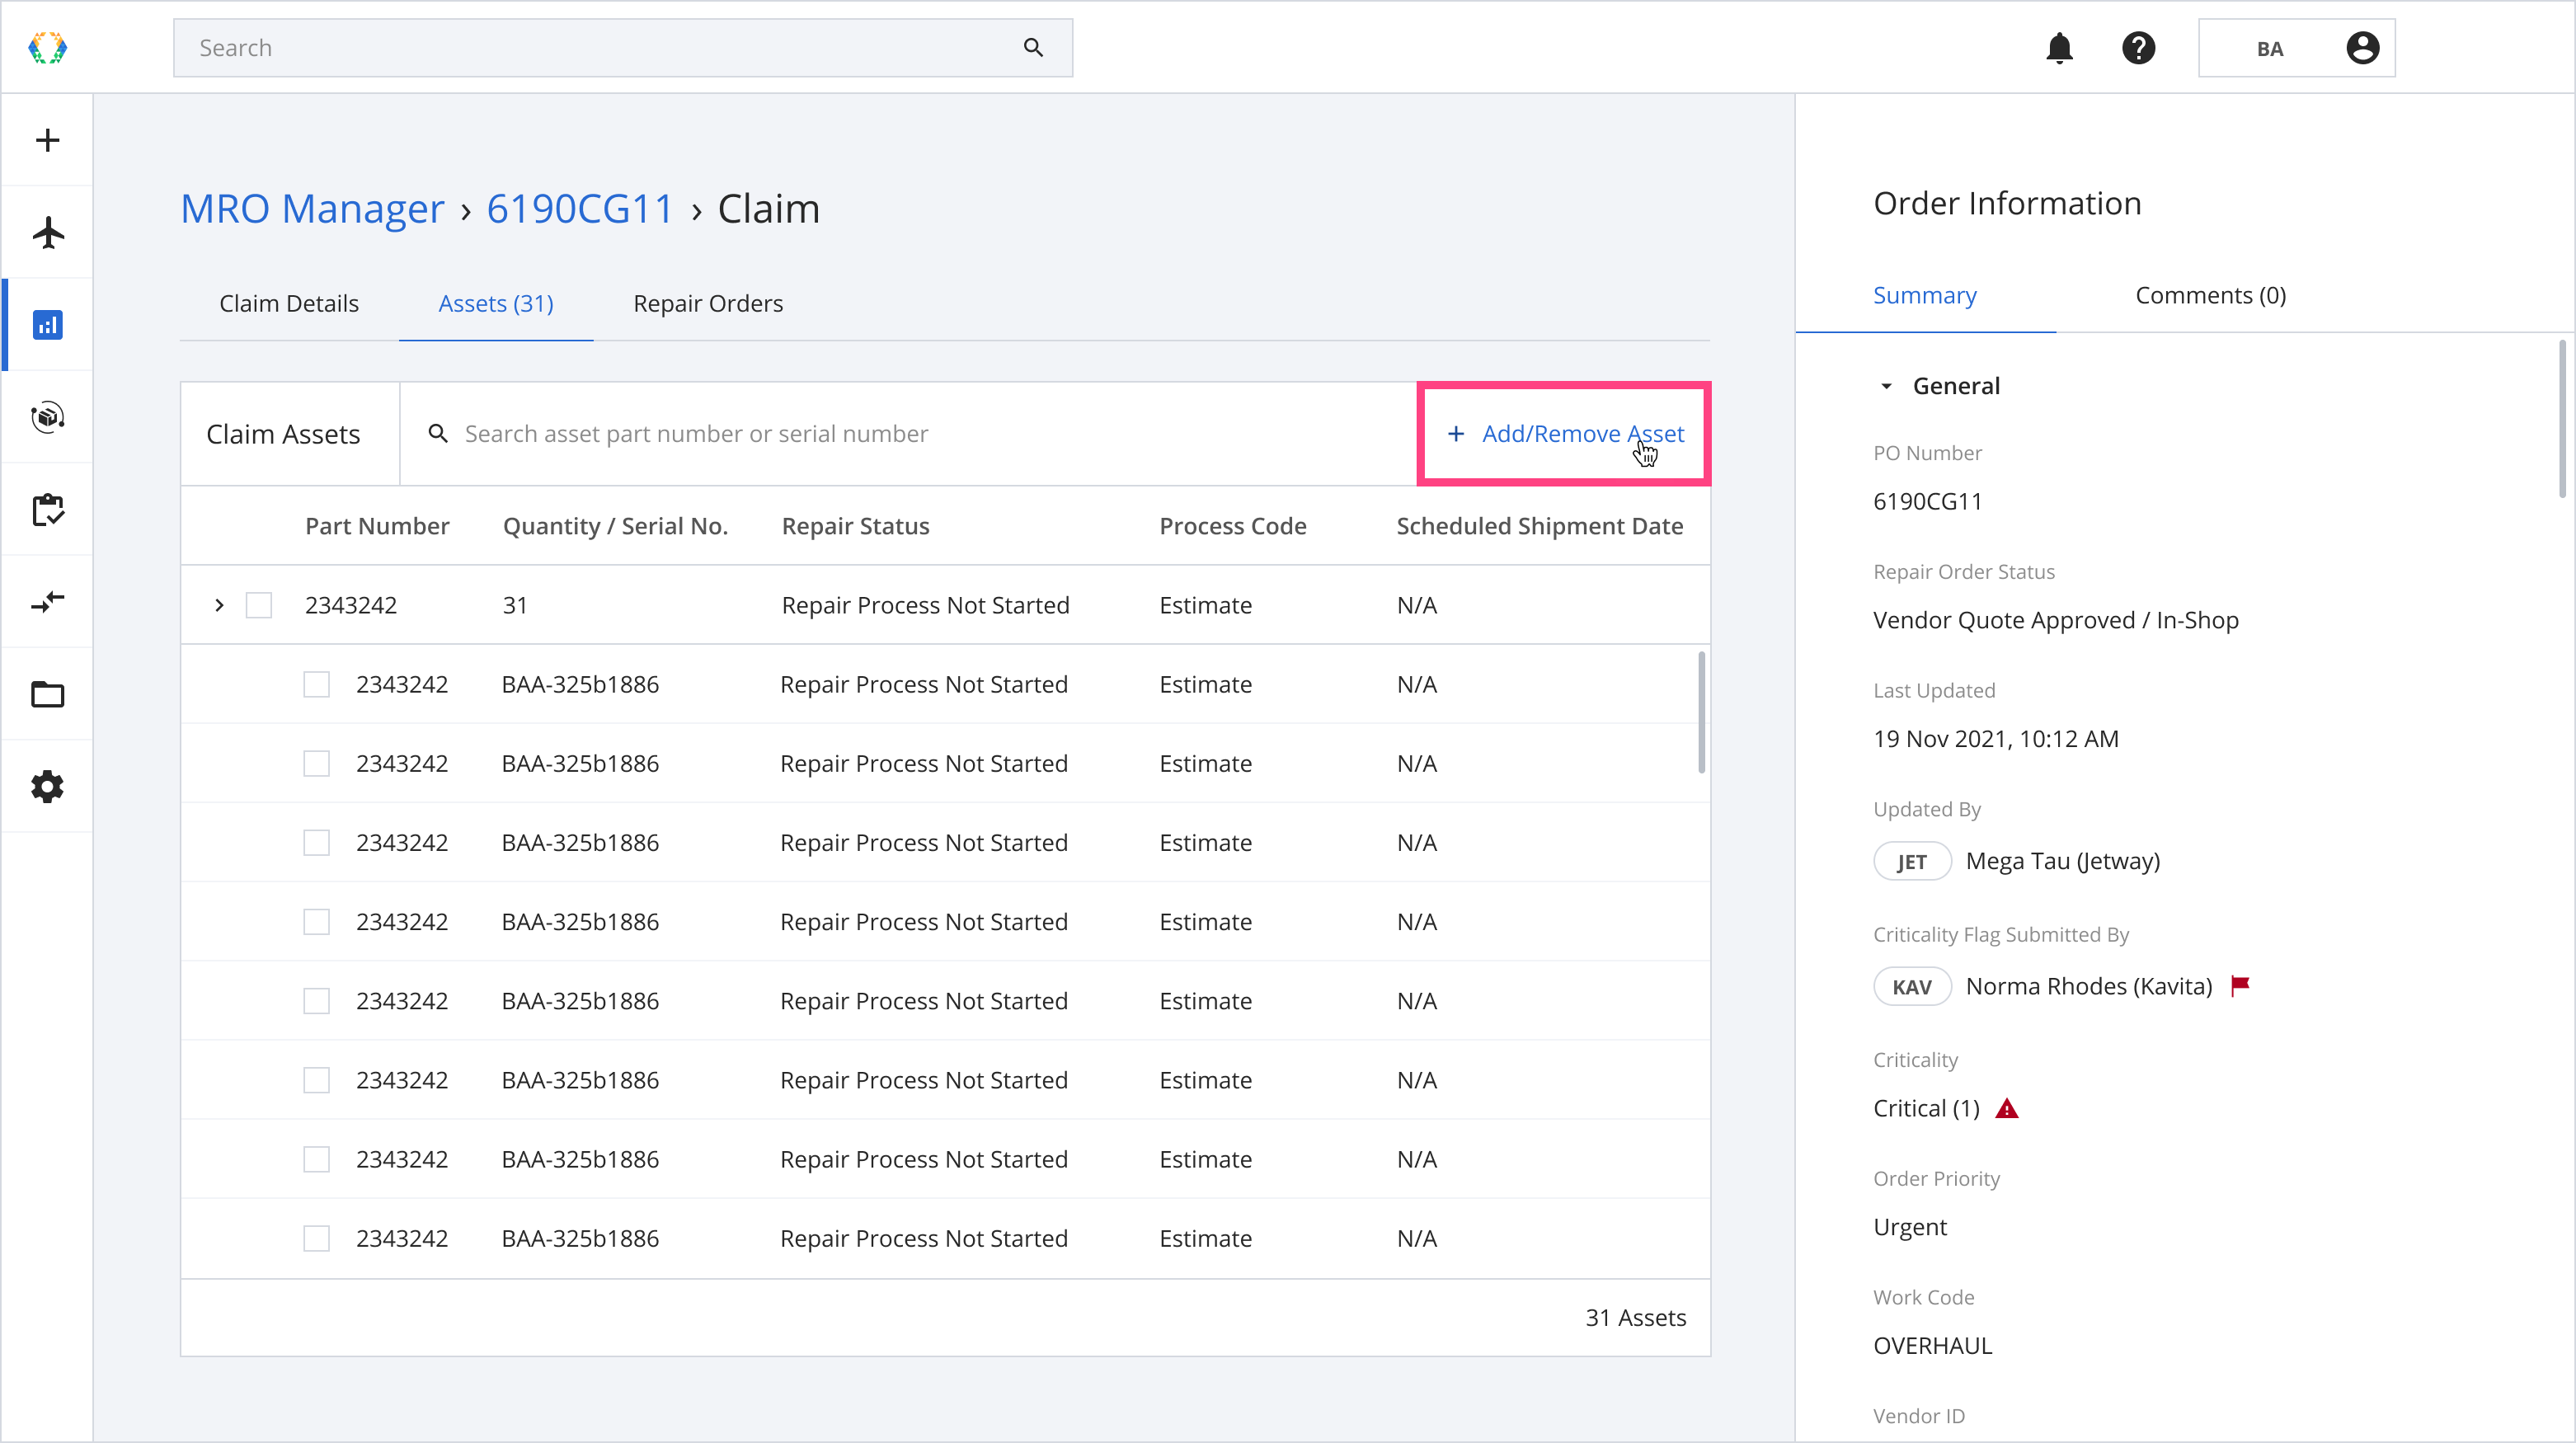
Step 2: Select the assets for your claim.
Step 3: Click ‘Confirm’.
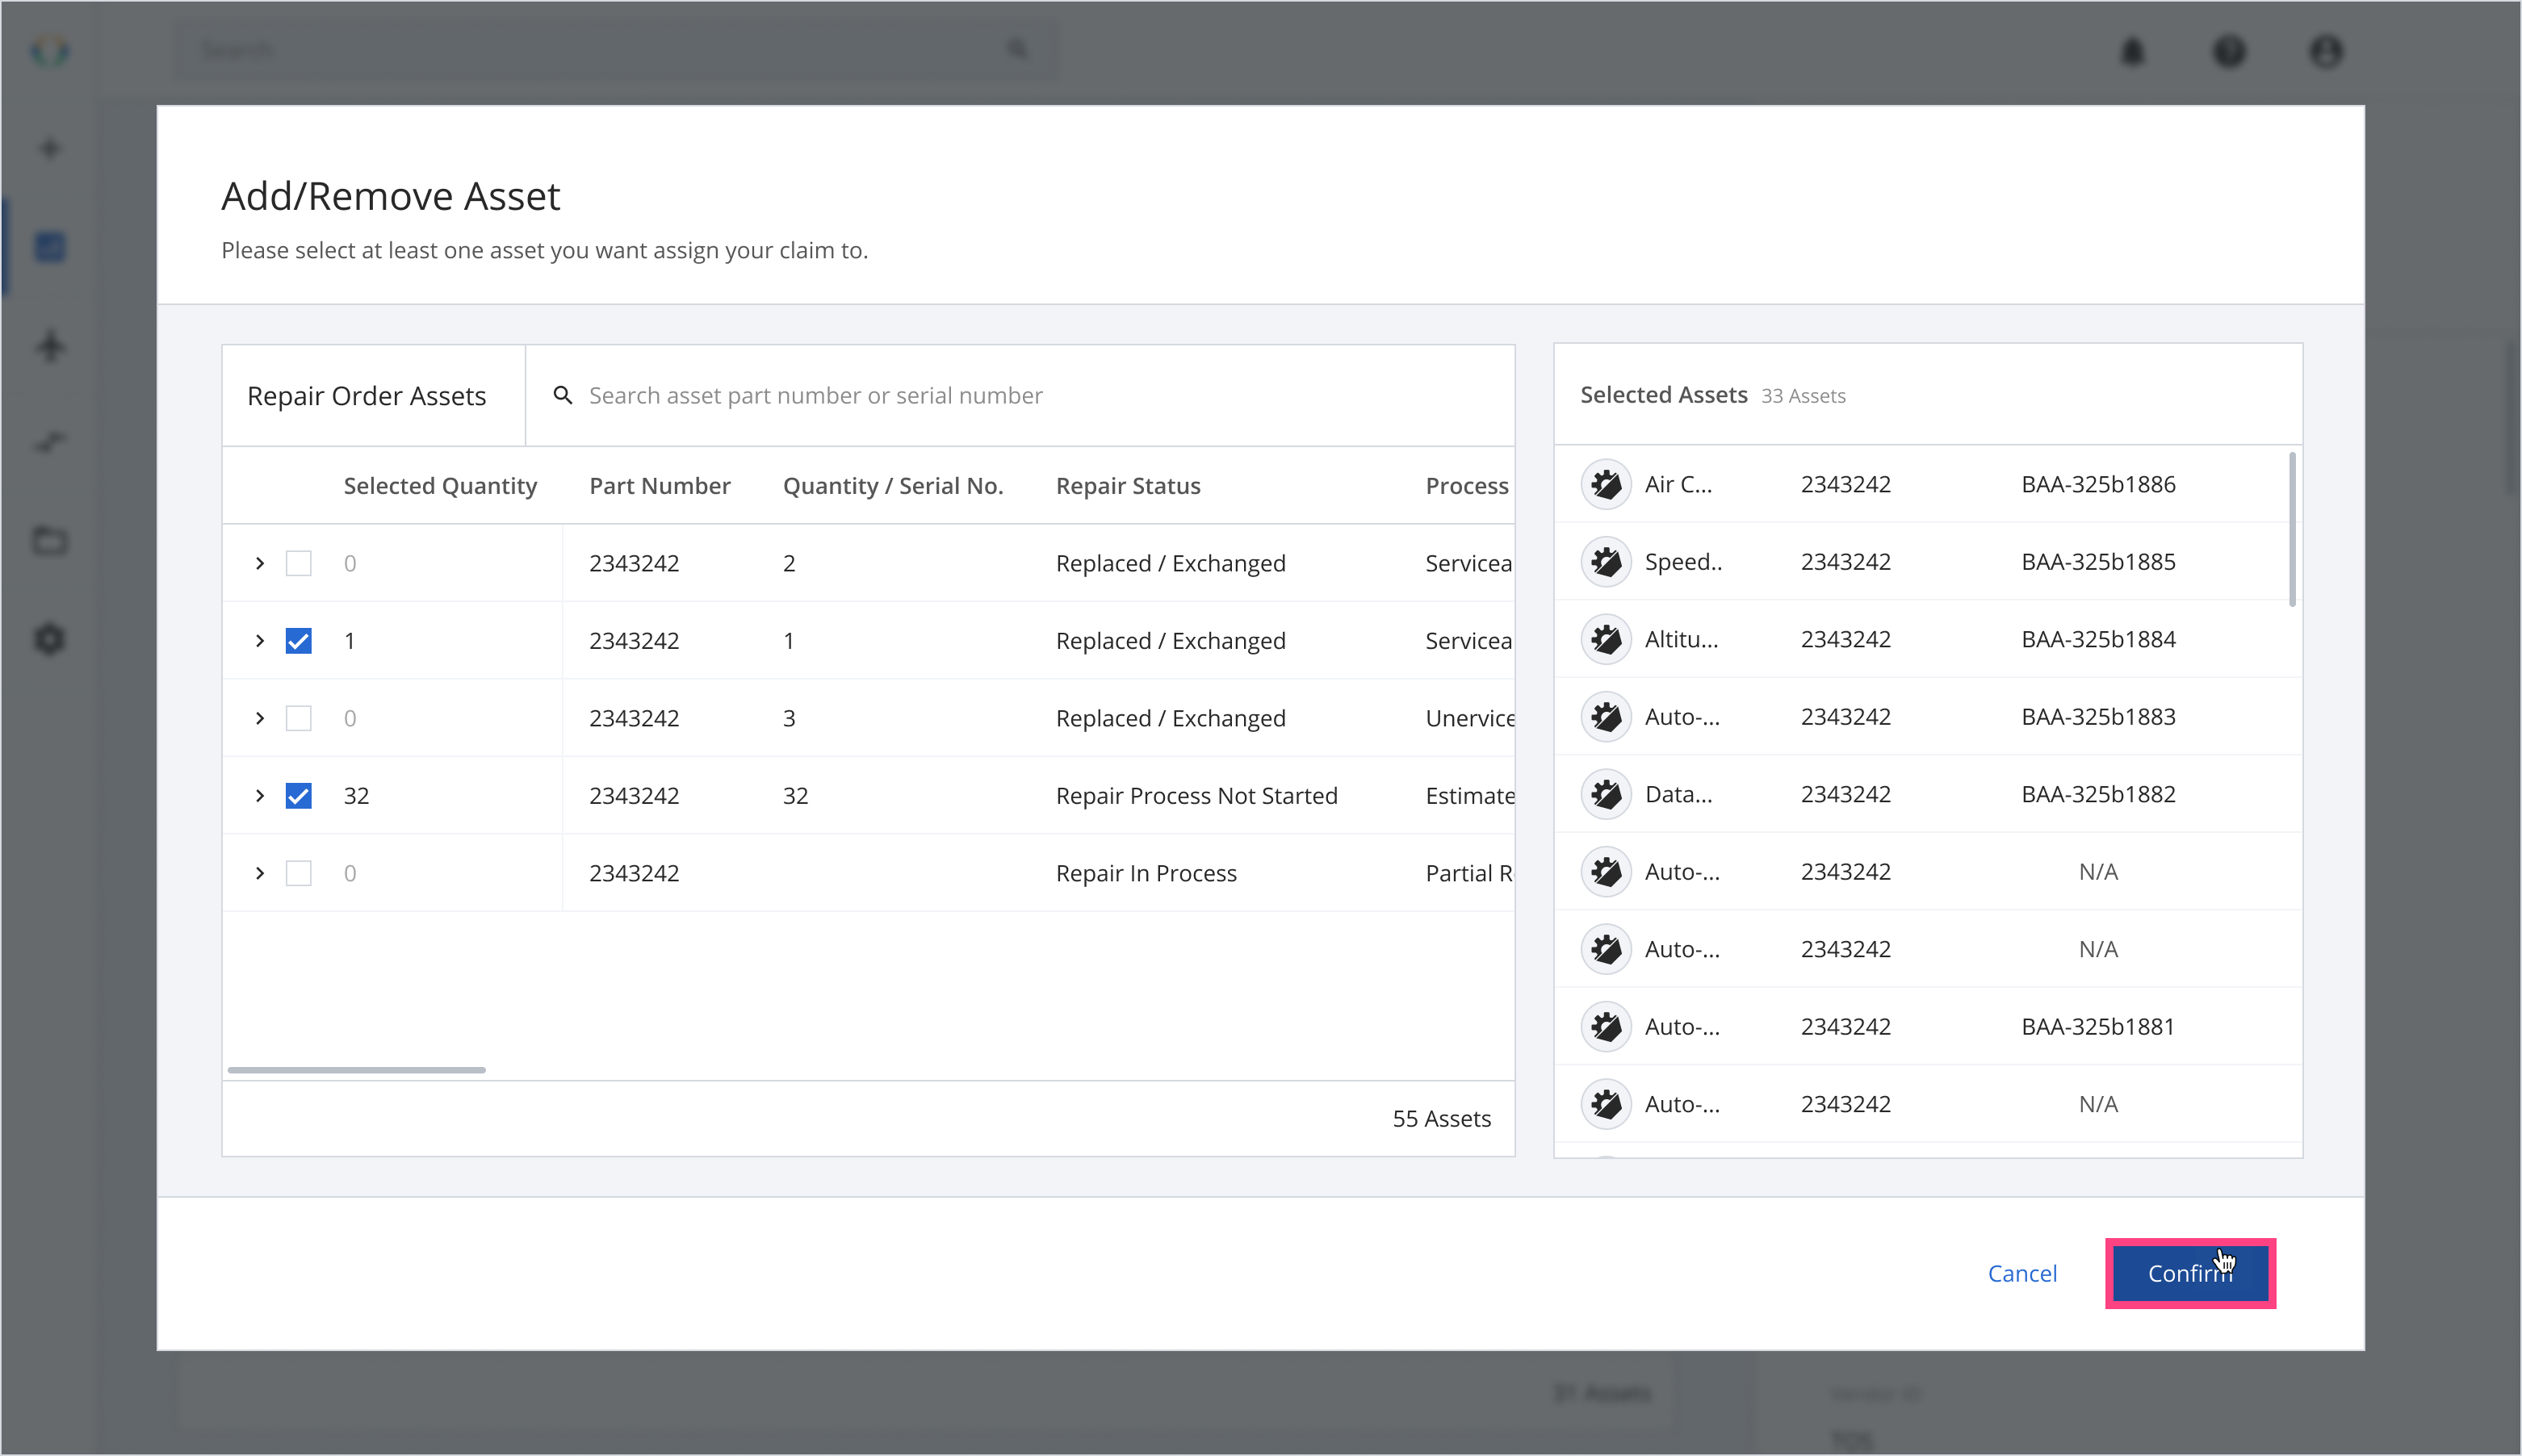
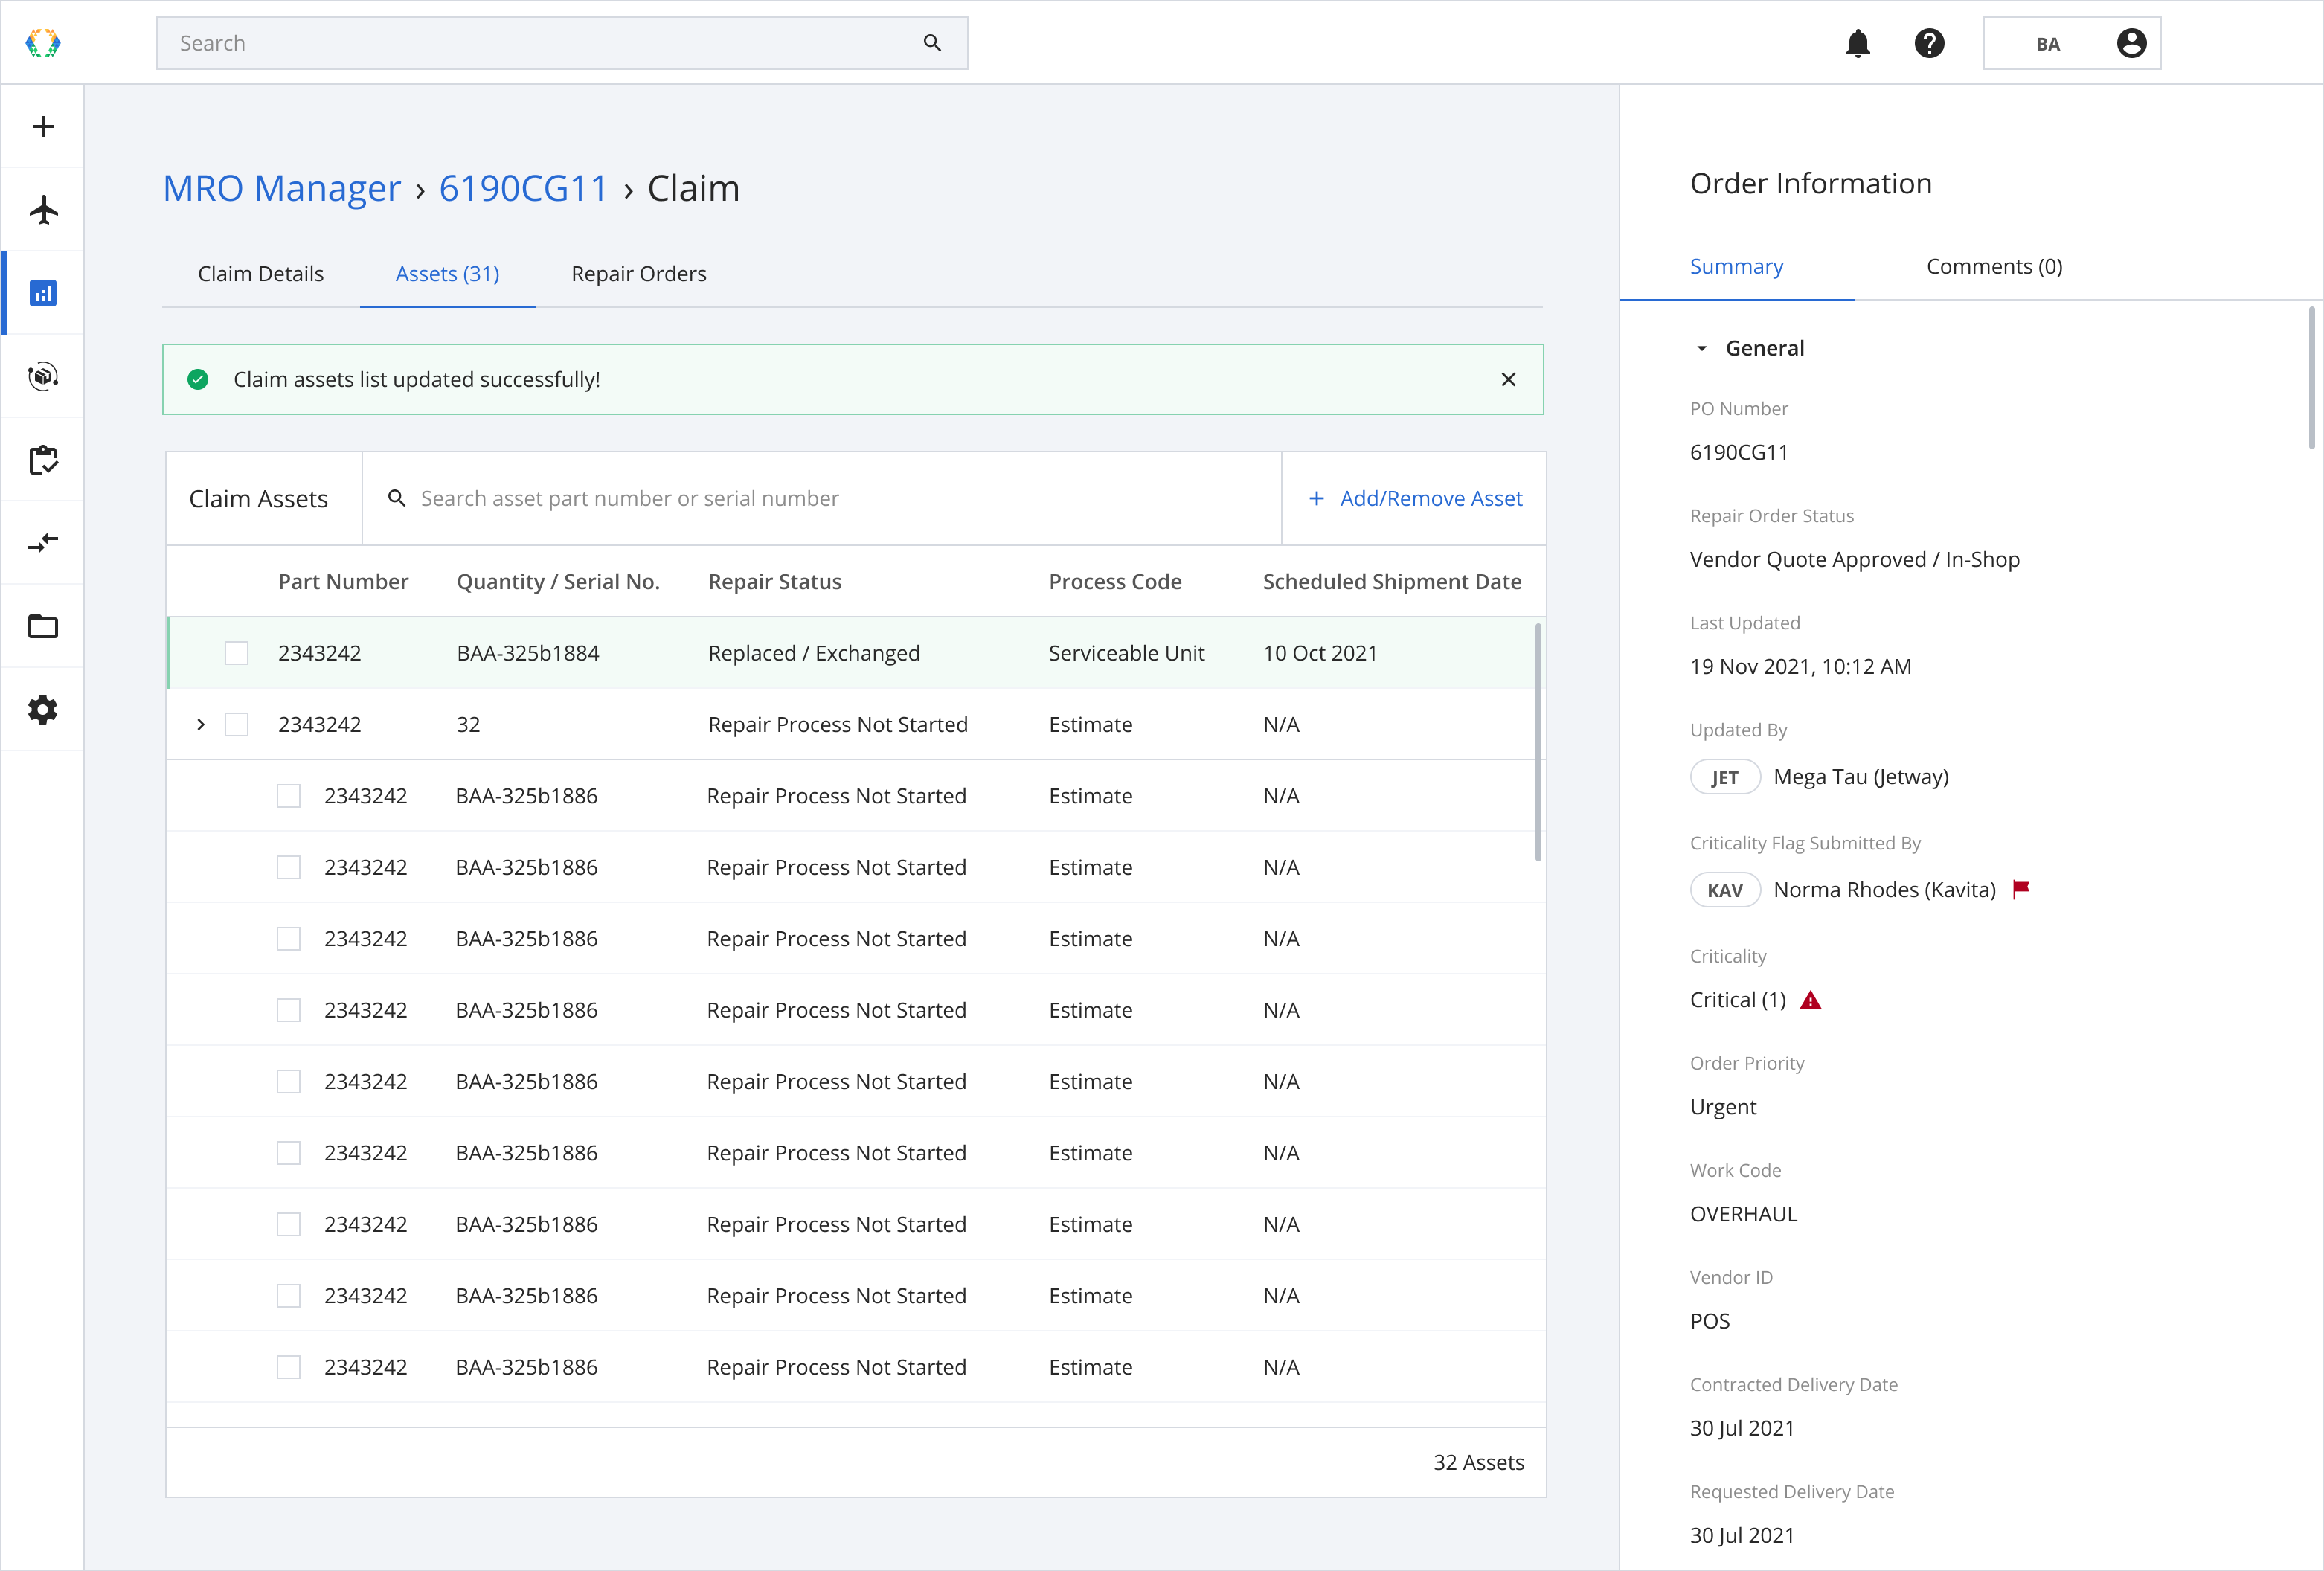
Once your claim assets are added successfully, a green banner will appear on top of the claim assets list.
Creating a Repair Order within your Claim
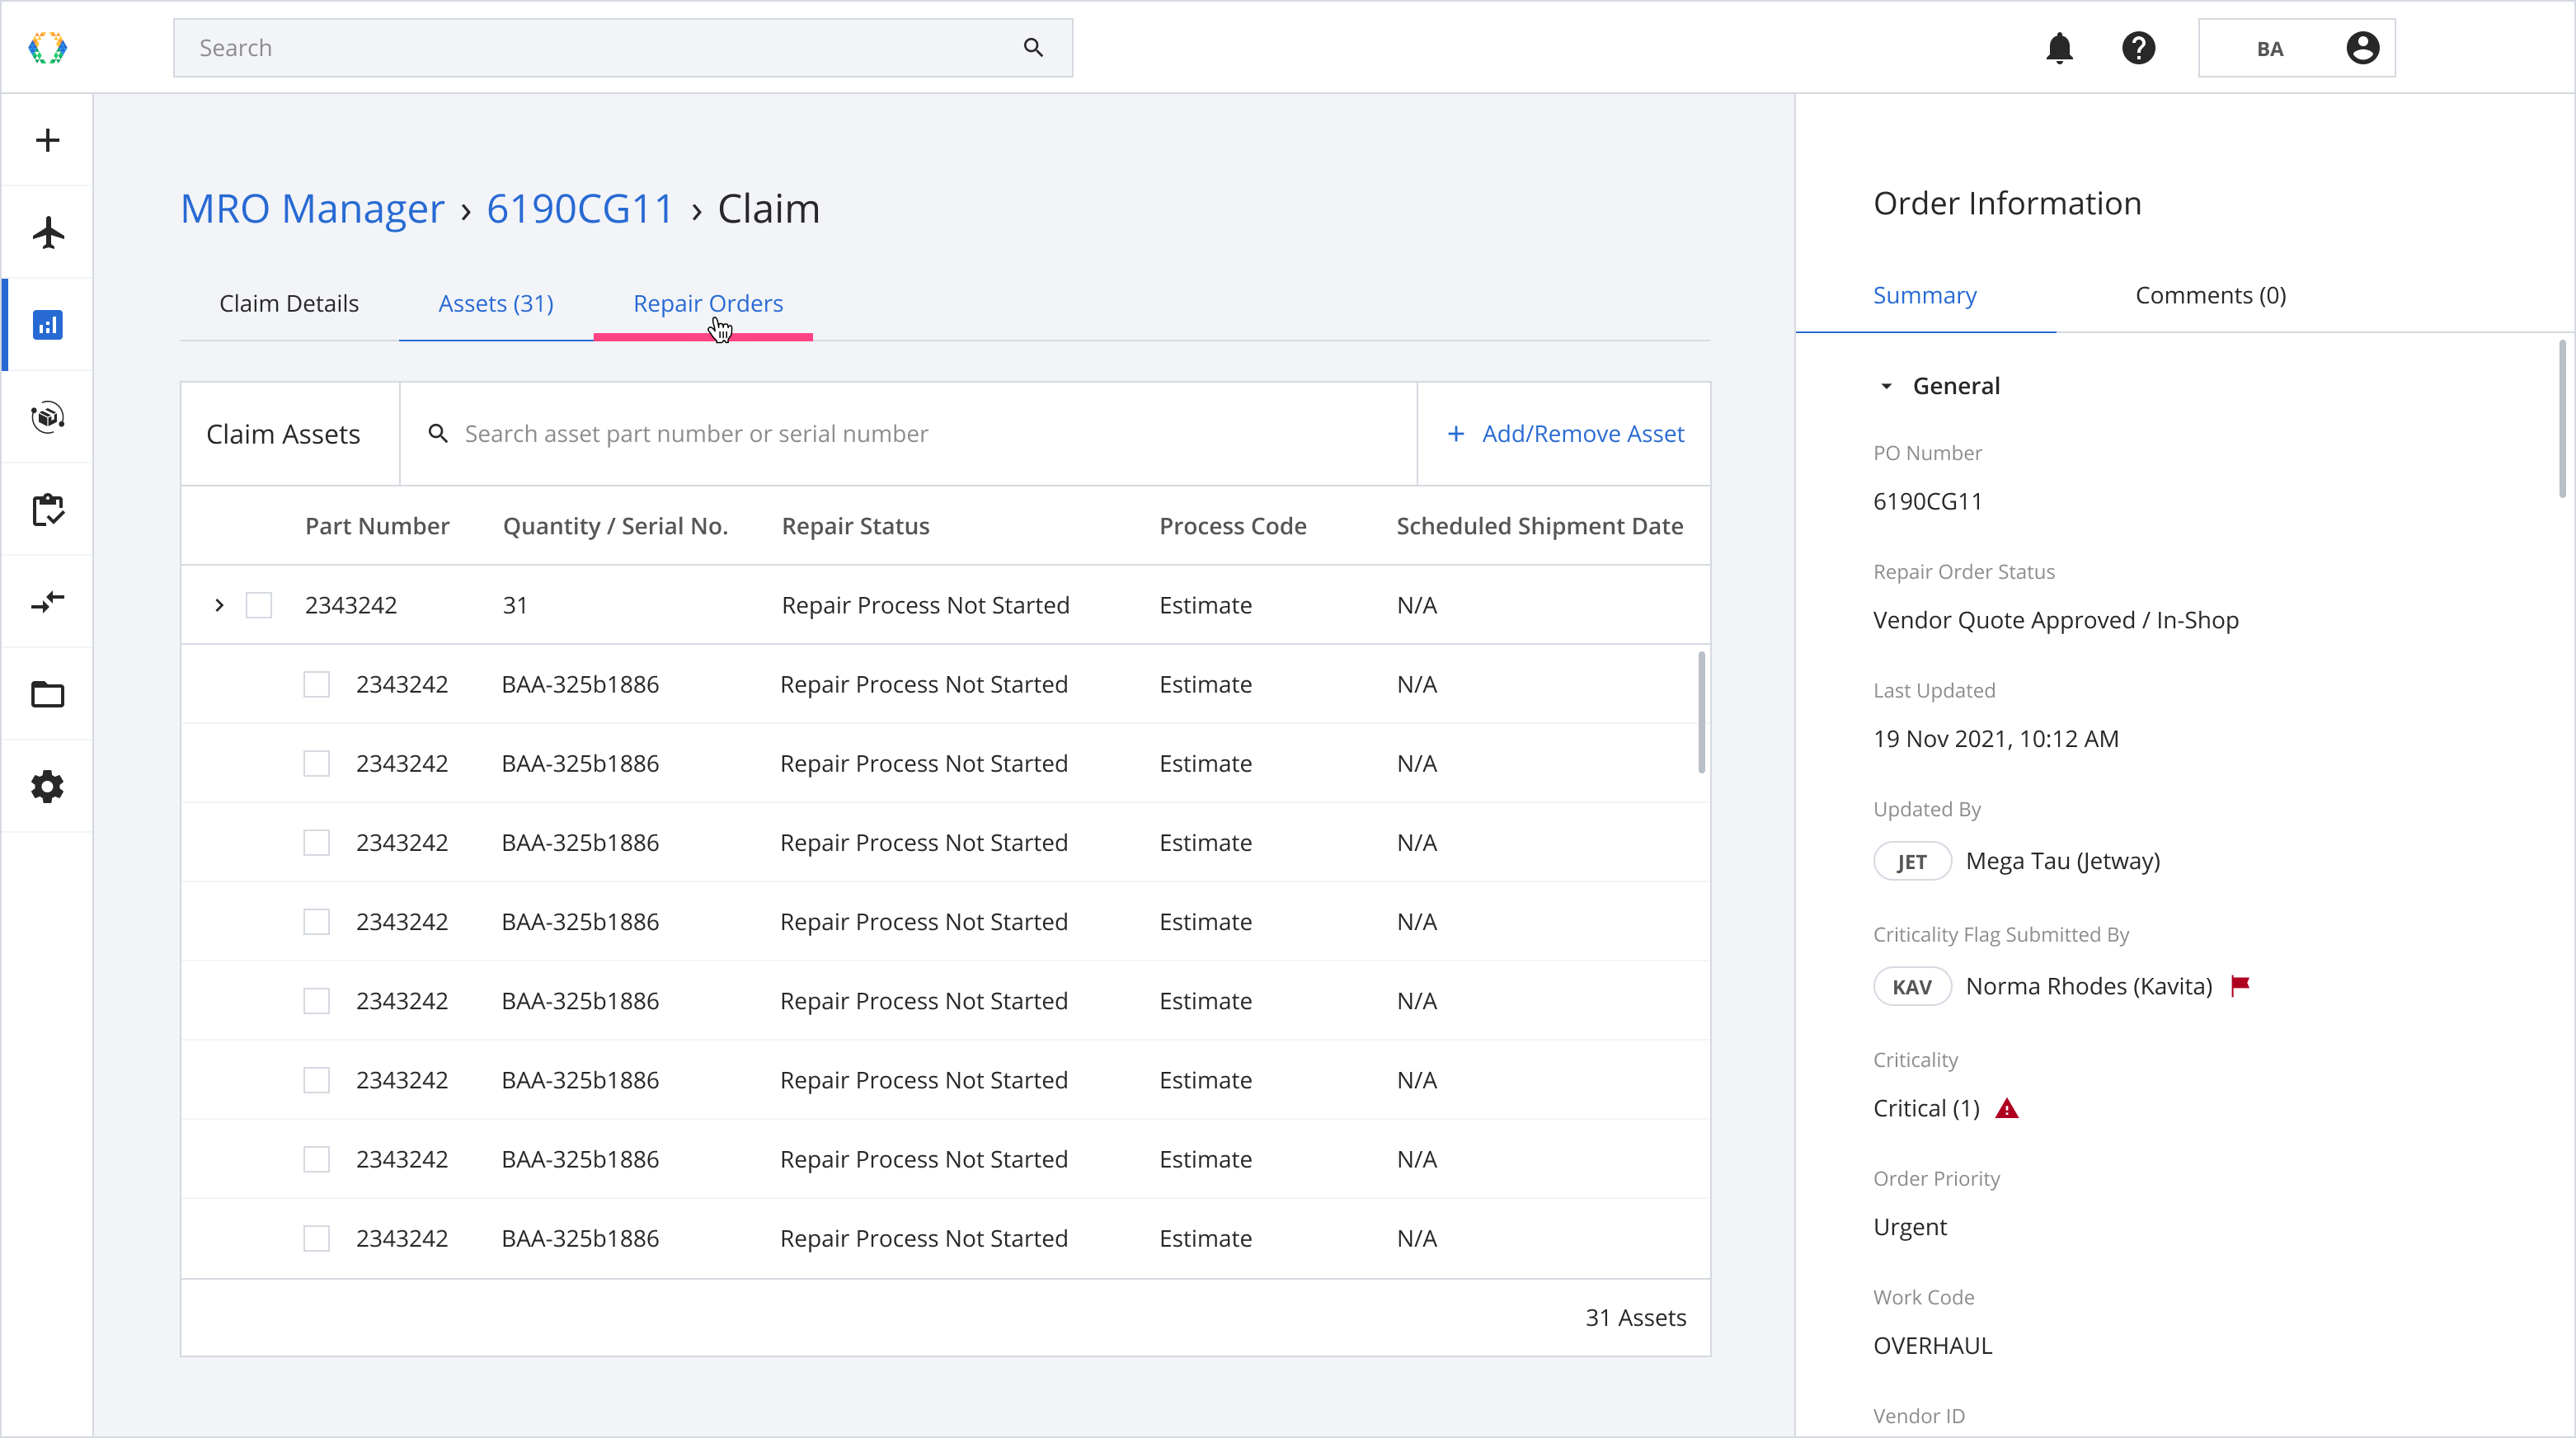
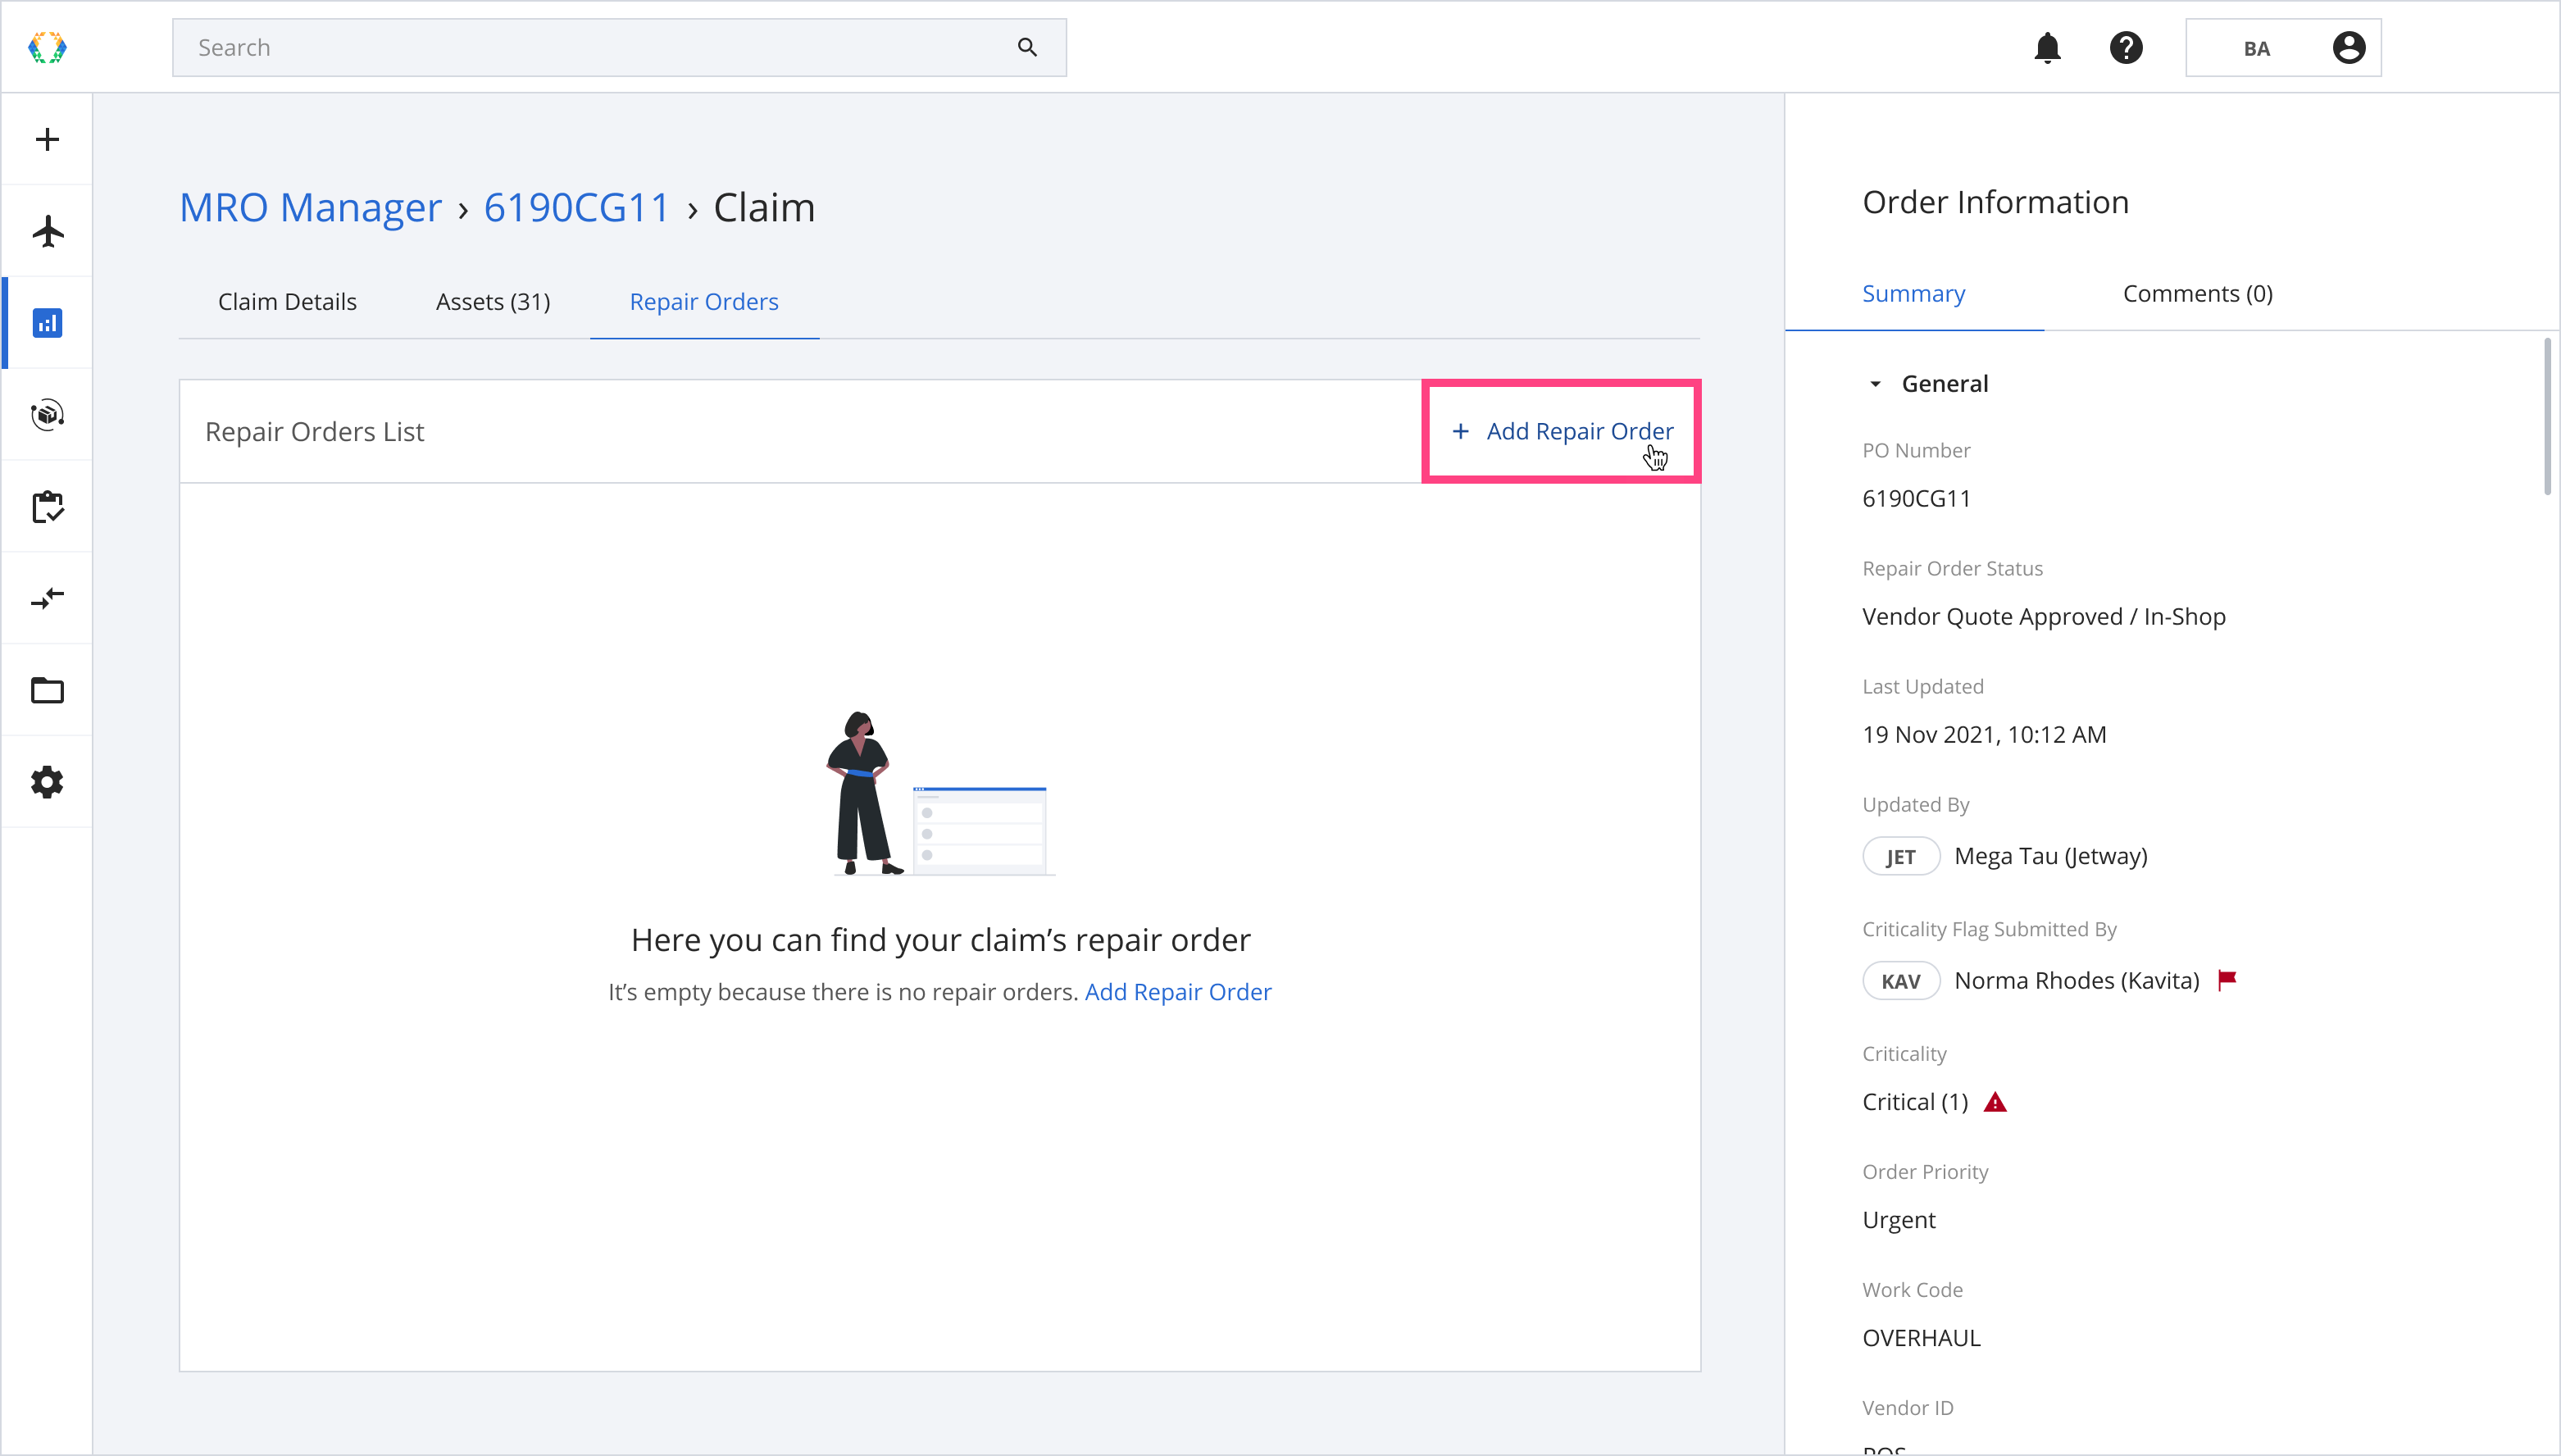
Step 1: From the claim page tabs, click ‘Repair Orders’ to navigate to the claims repair orders.
Step 2: Click ‘Add Repair Order’.
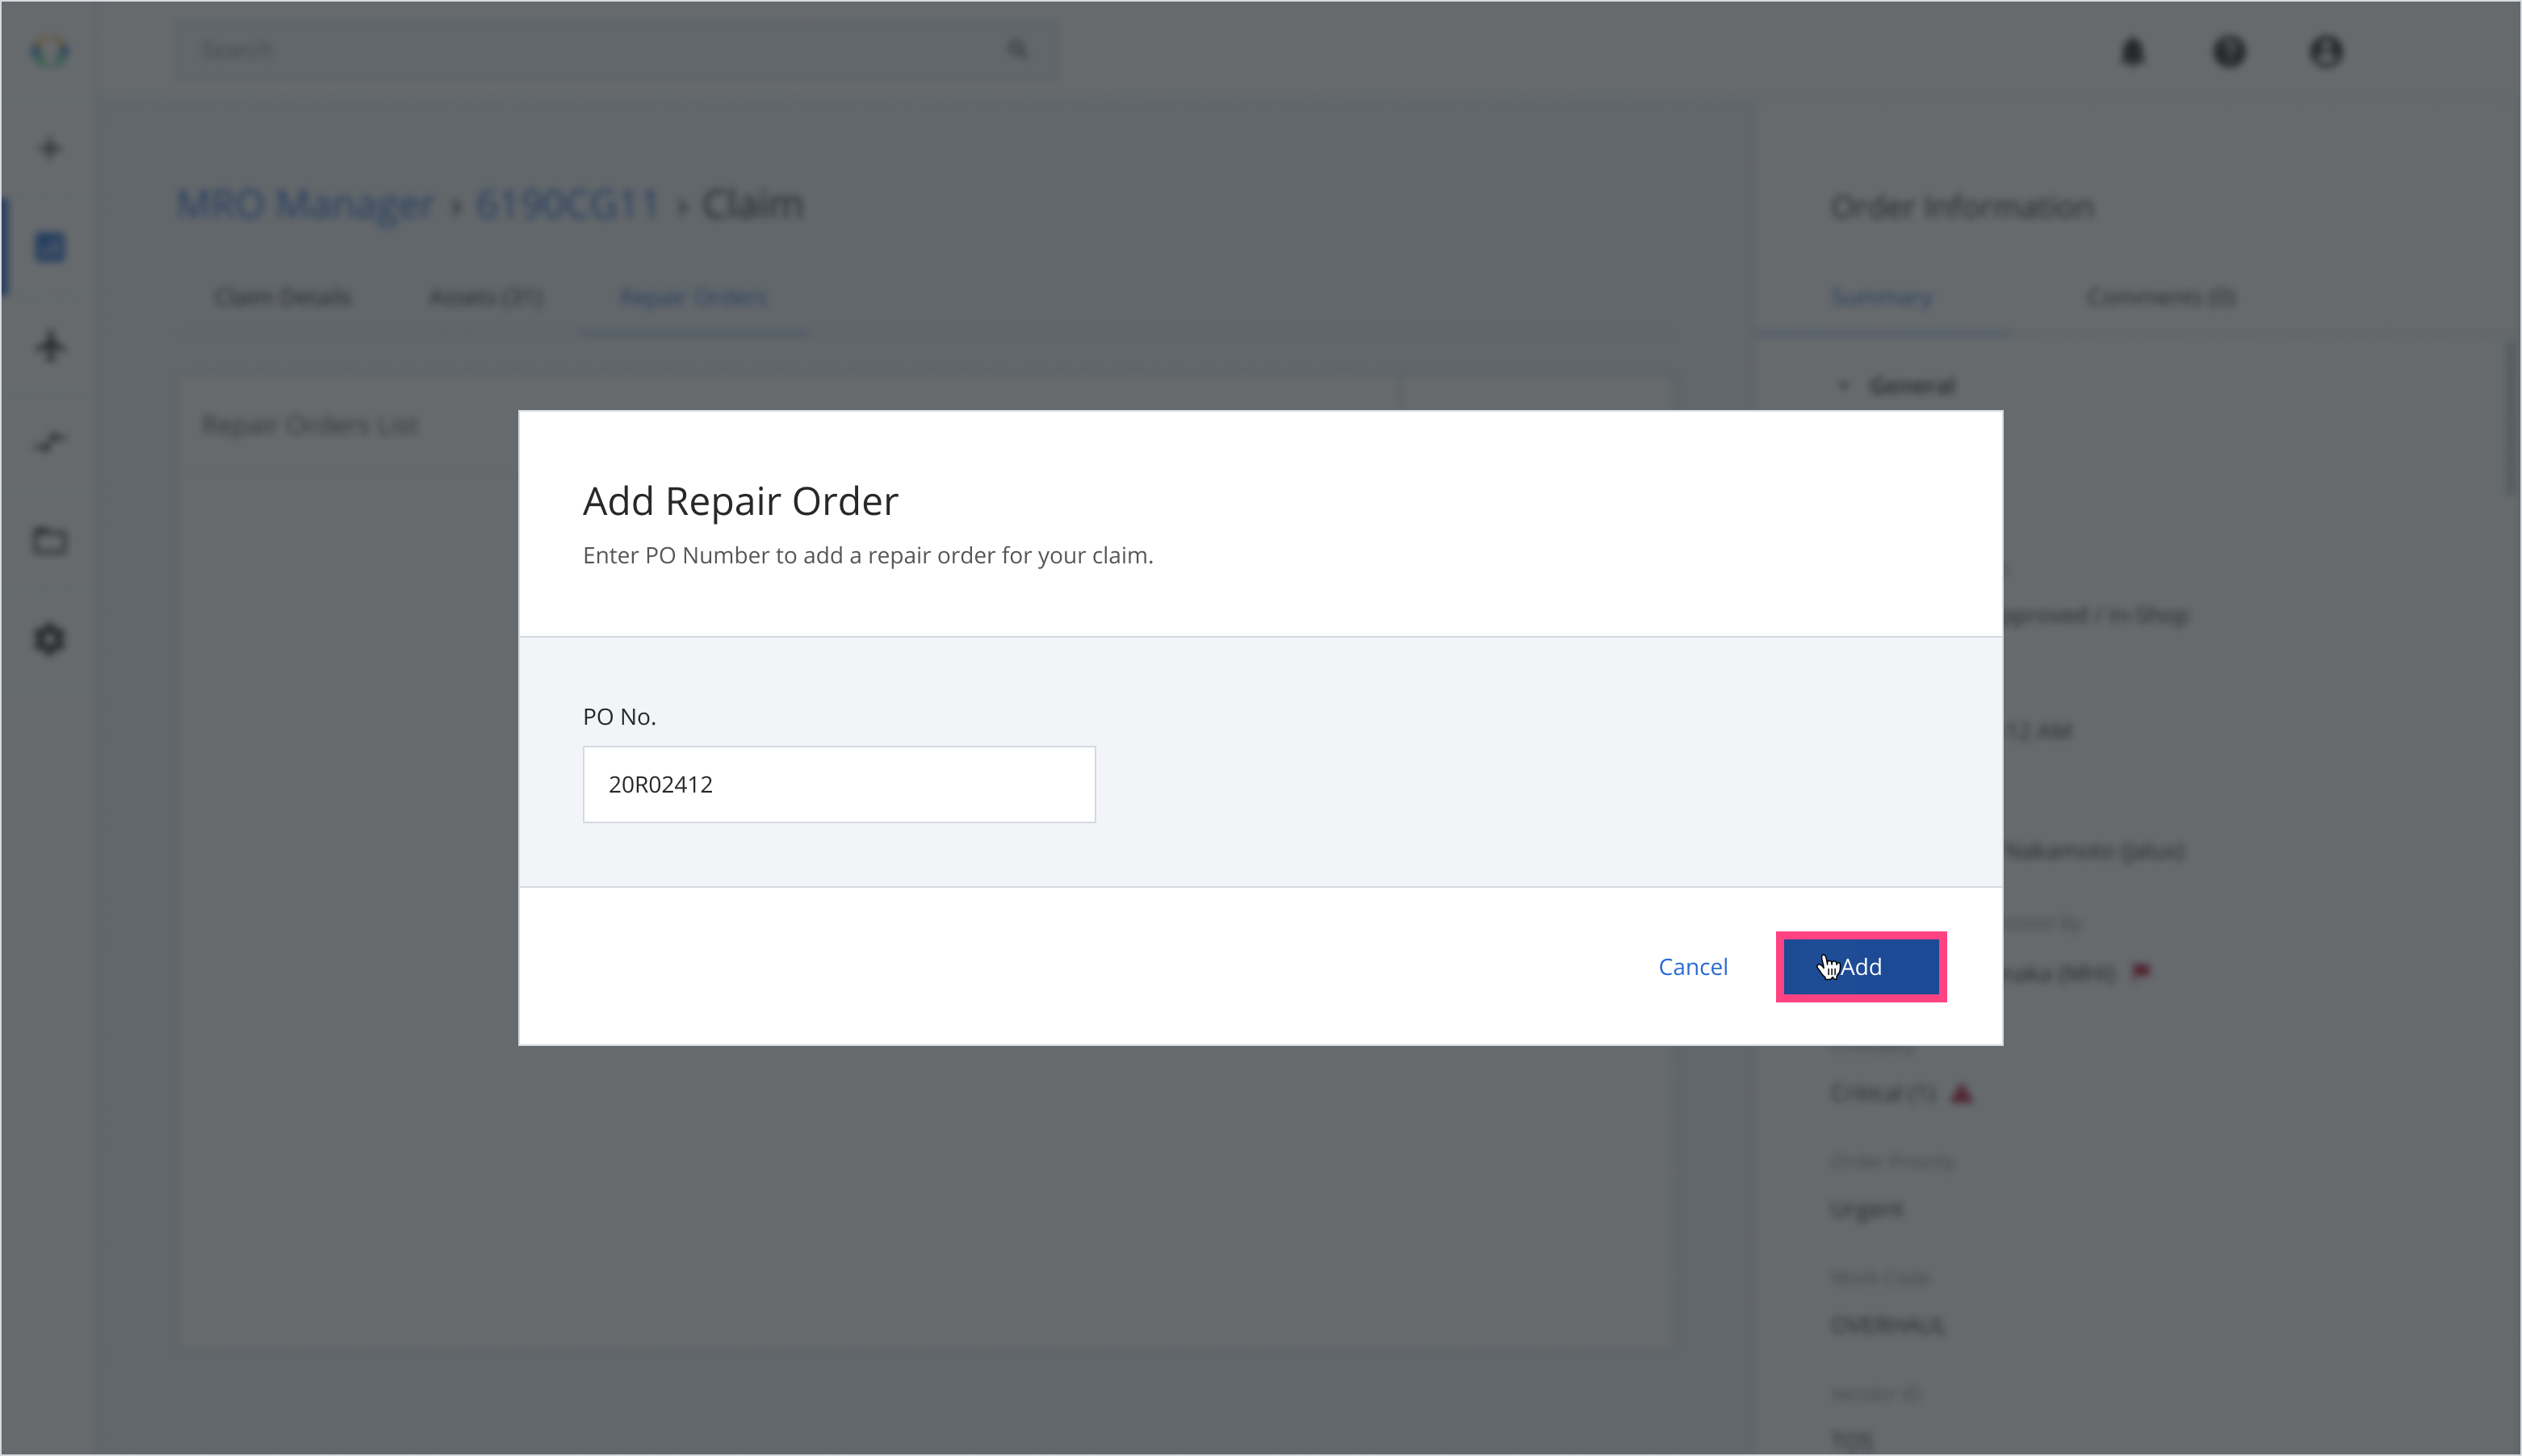
Step 3: Provide the PO number for your repair order.

Step 4: Click ‘Add’.
PO Number for Repair Order is unique. Duplicated PO Number on the entry field that coincides with existing records of PO Numbers cannot be added.
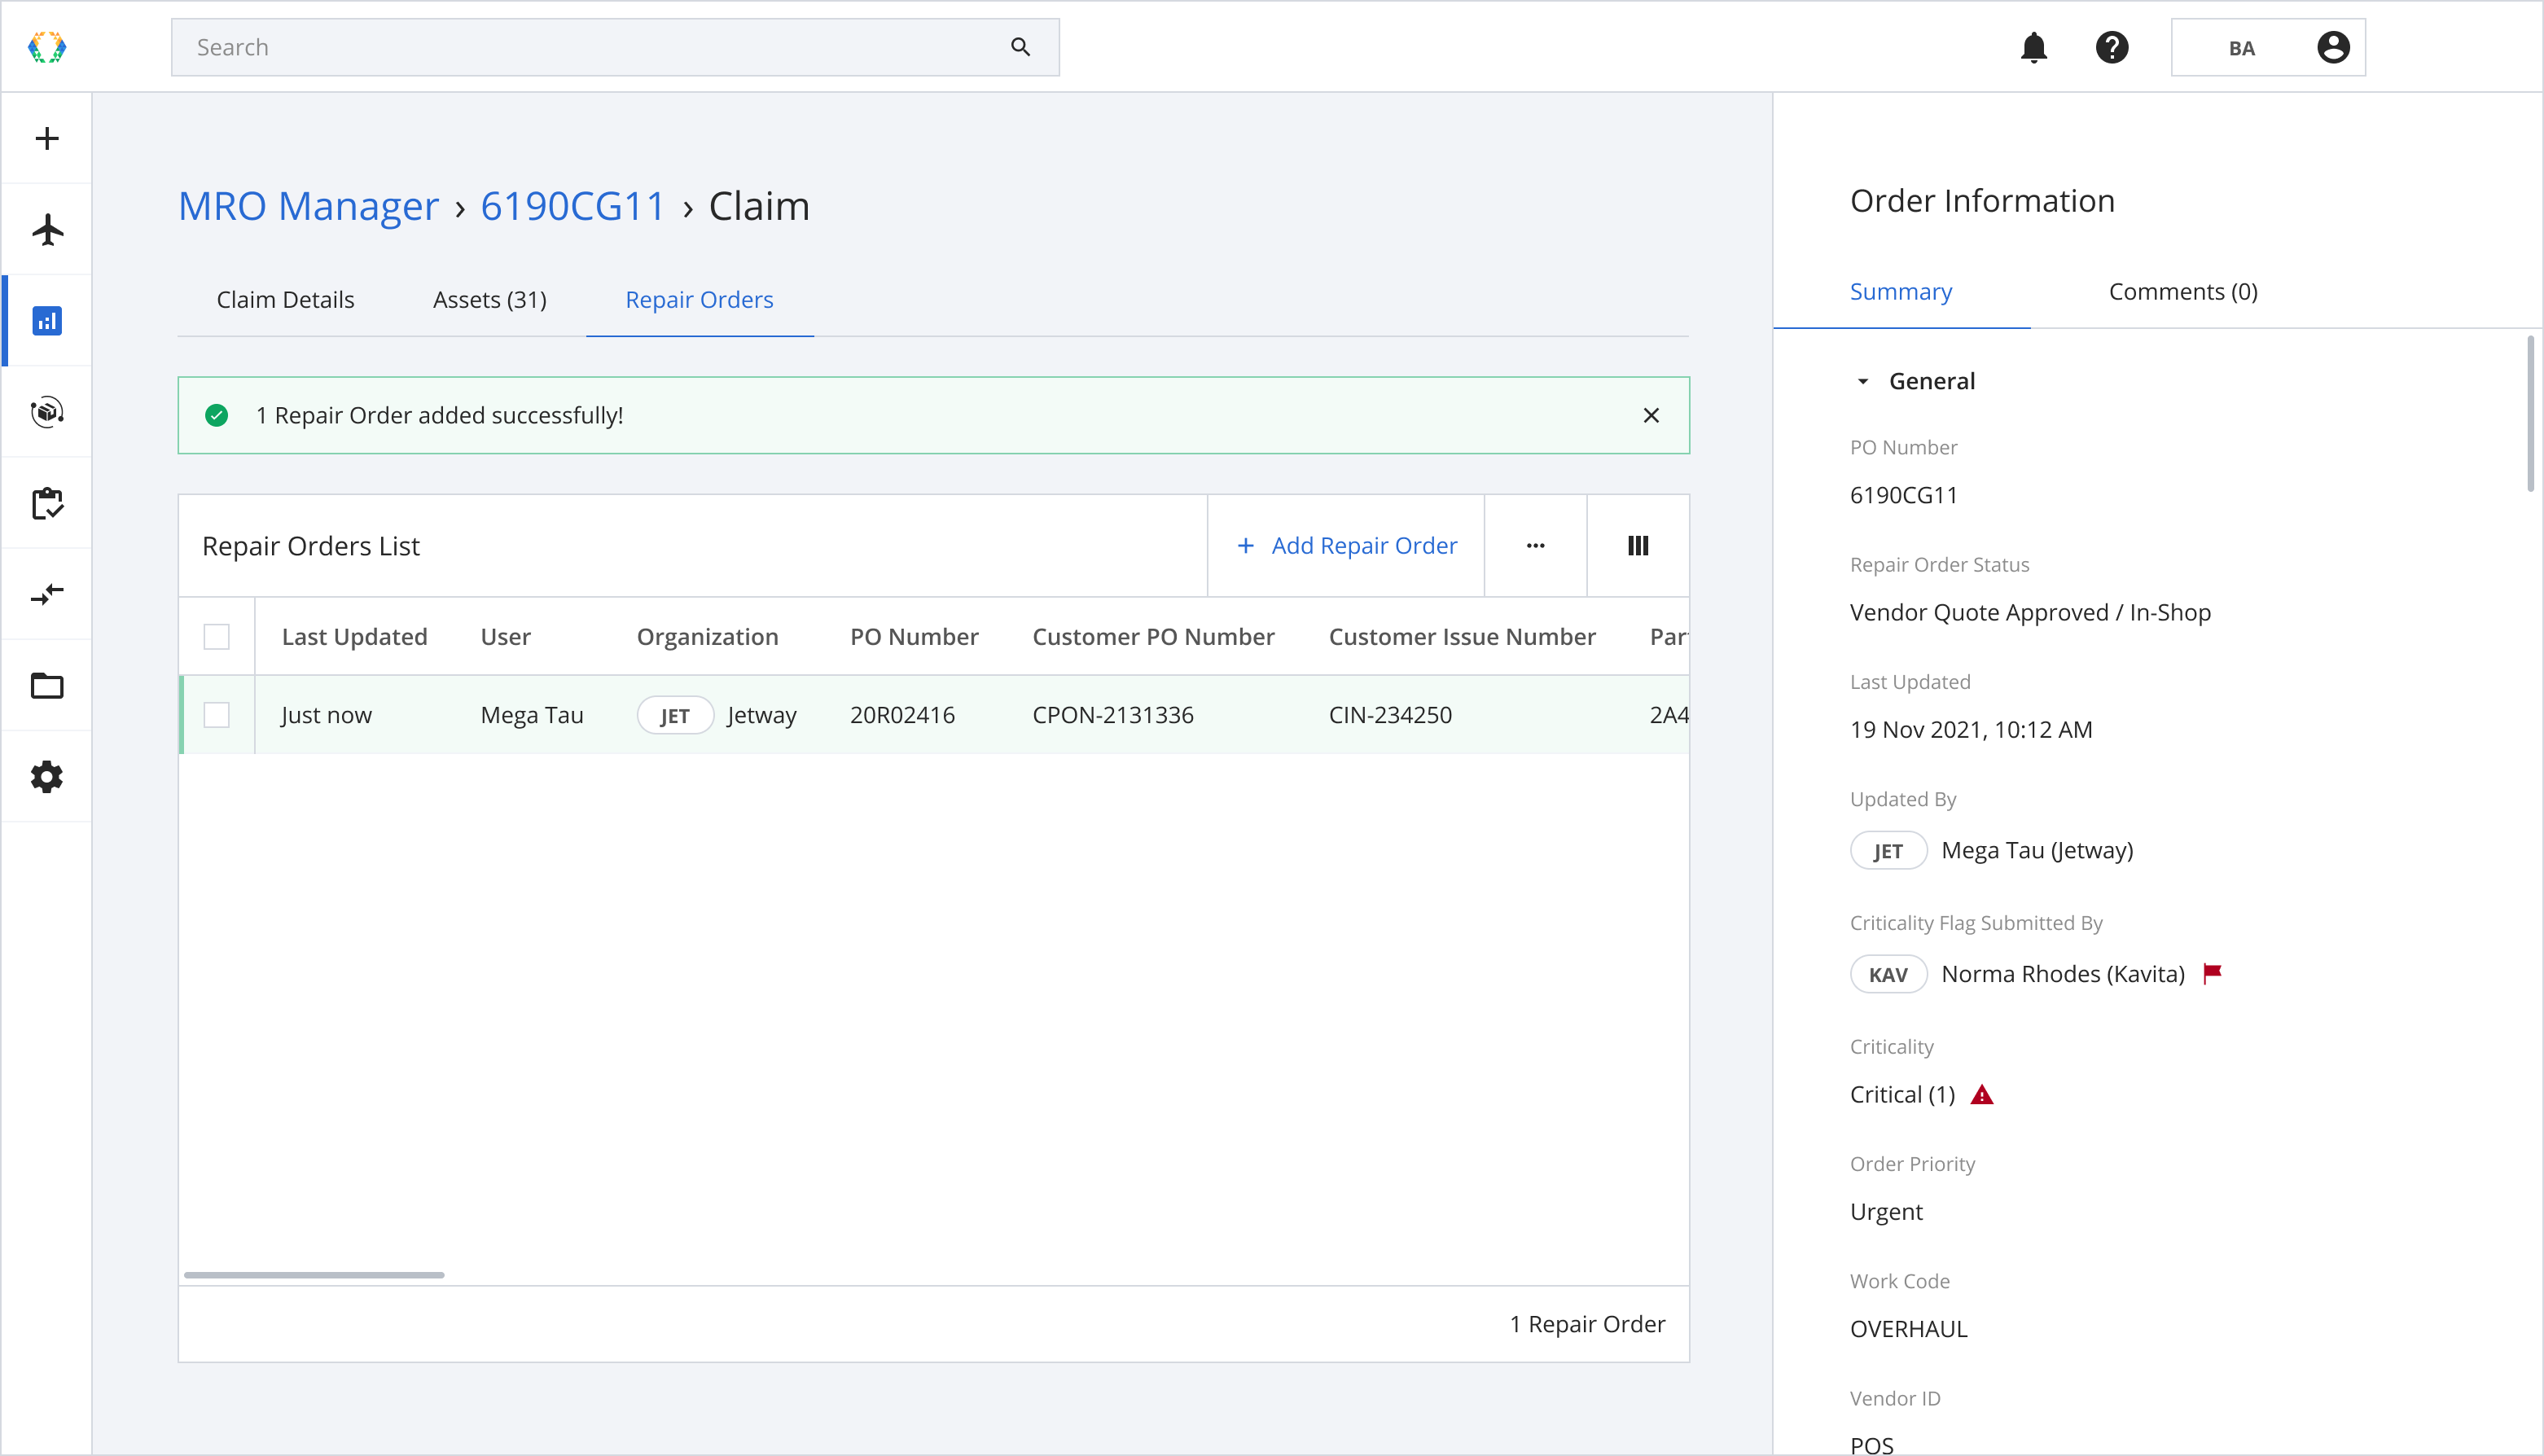
Once the repair order is created successfully, a green banner will appear on top of the repair orders list.
Managing Repair Order in Claim
You can manage your Repair Order after adding it to your Claim. The Claim Repair Order created can be managed as other regular Repair Orders.
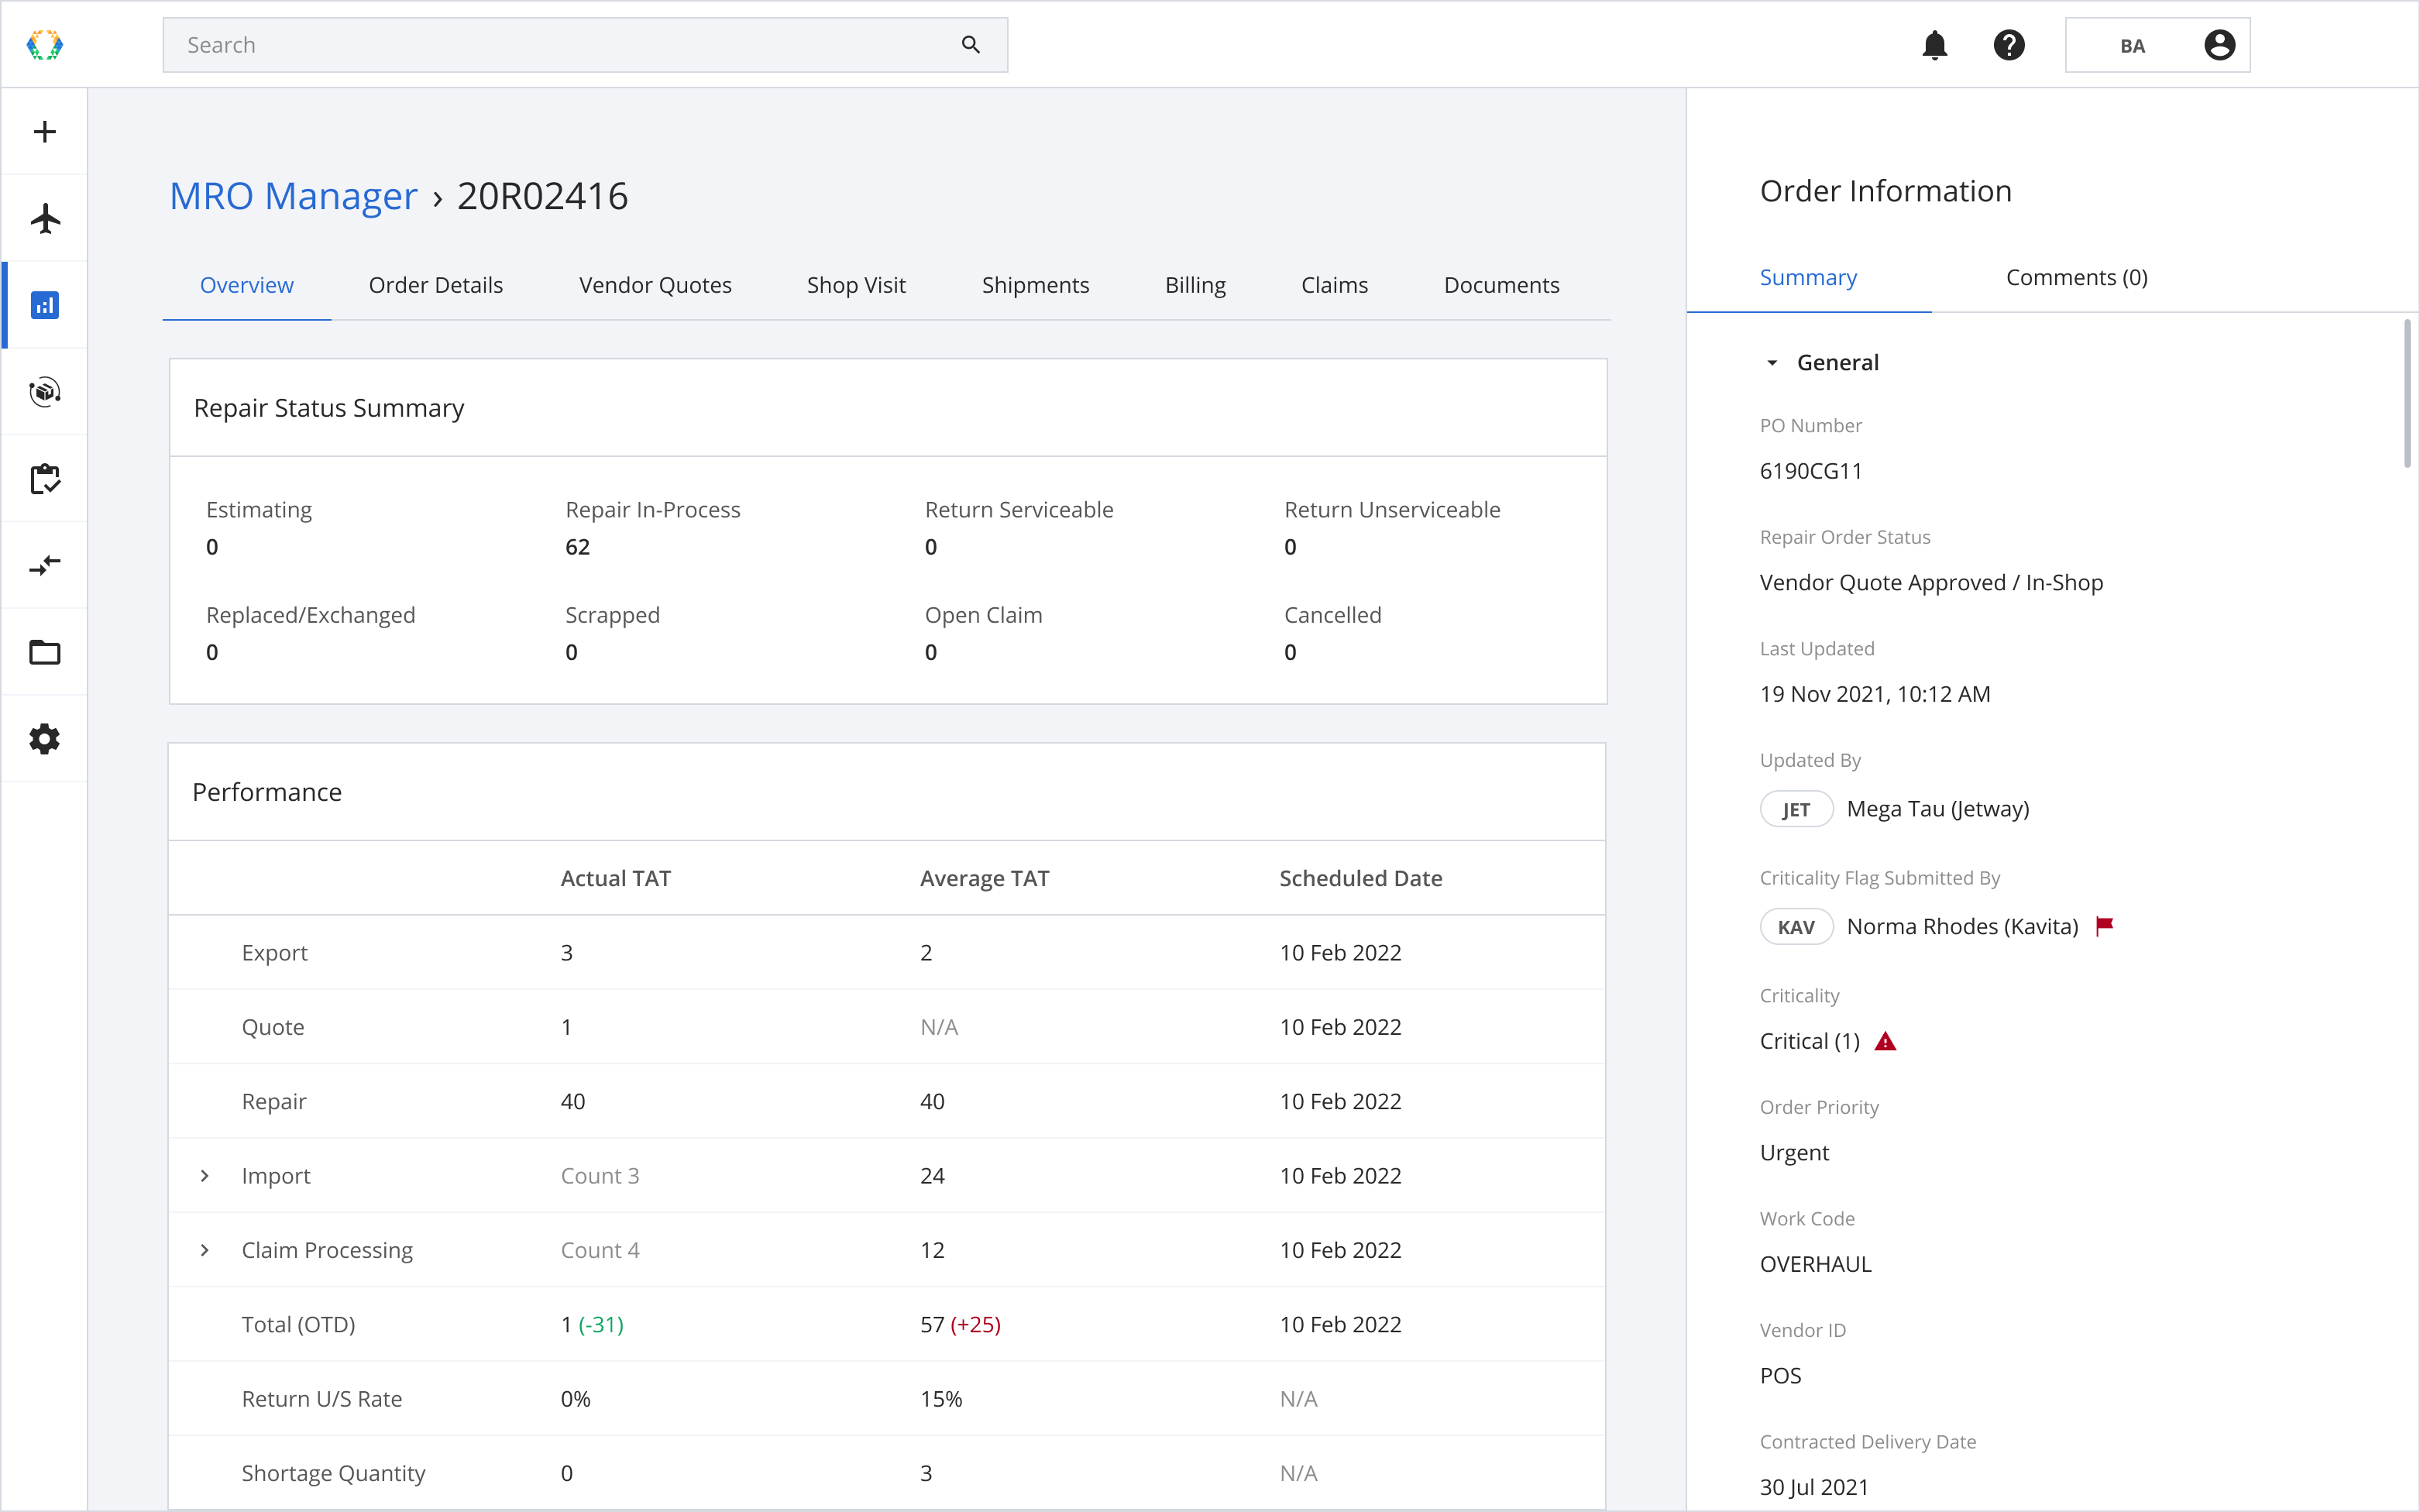
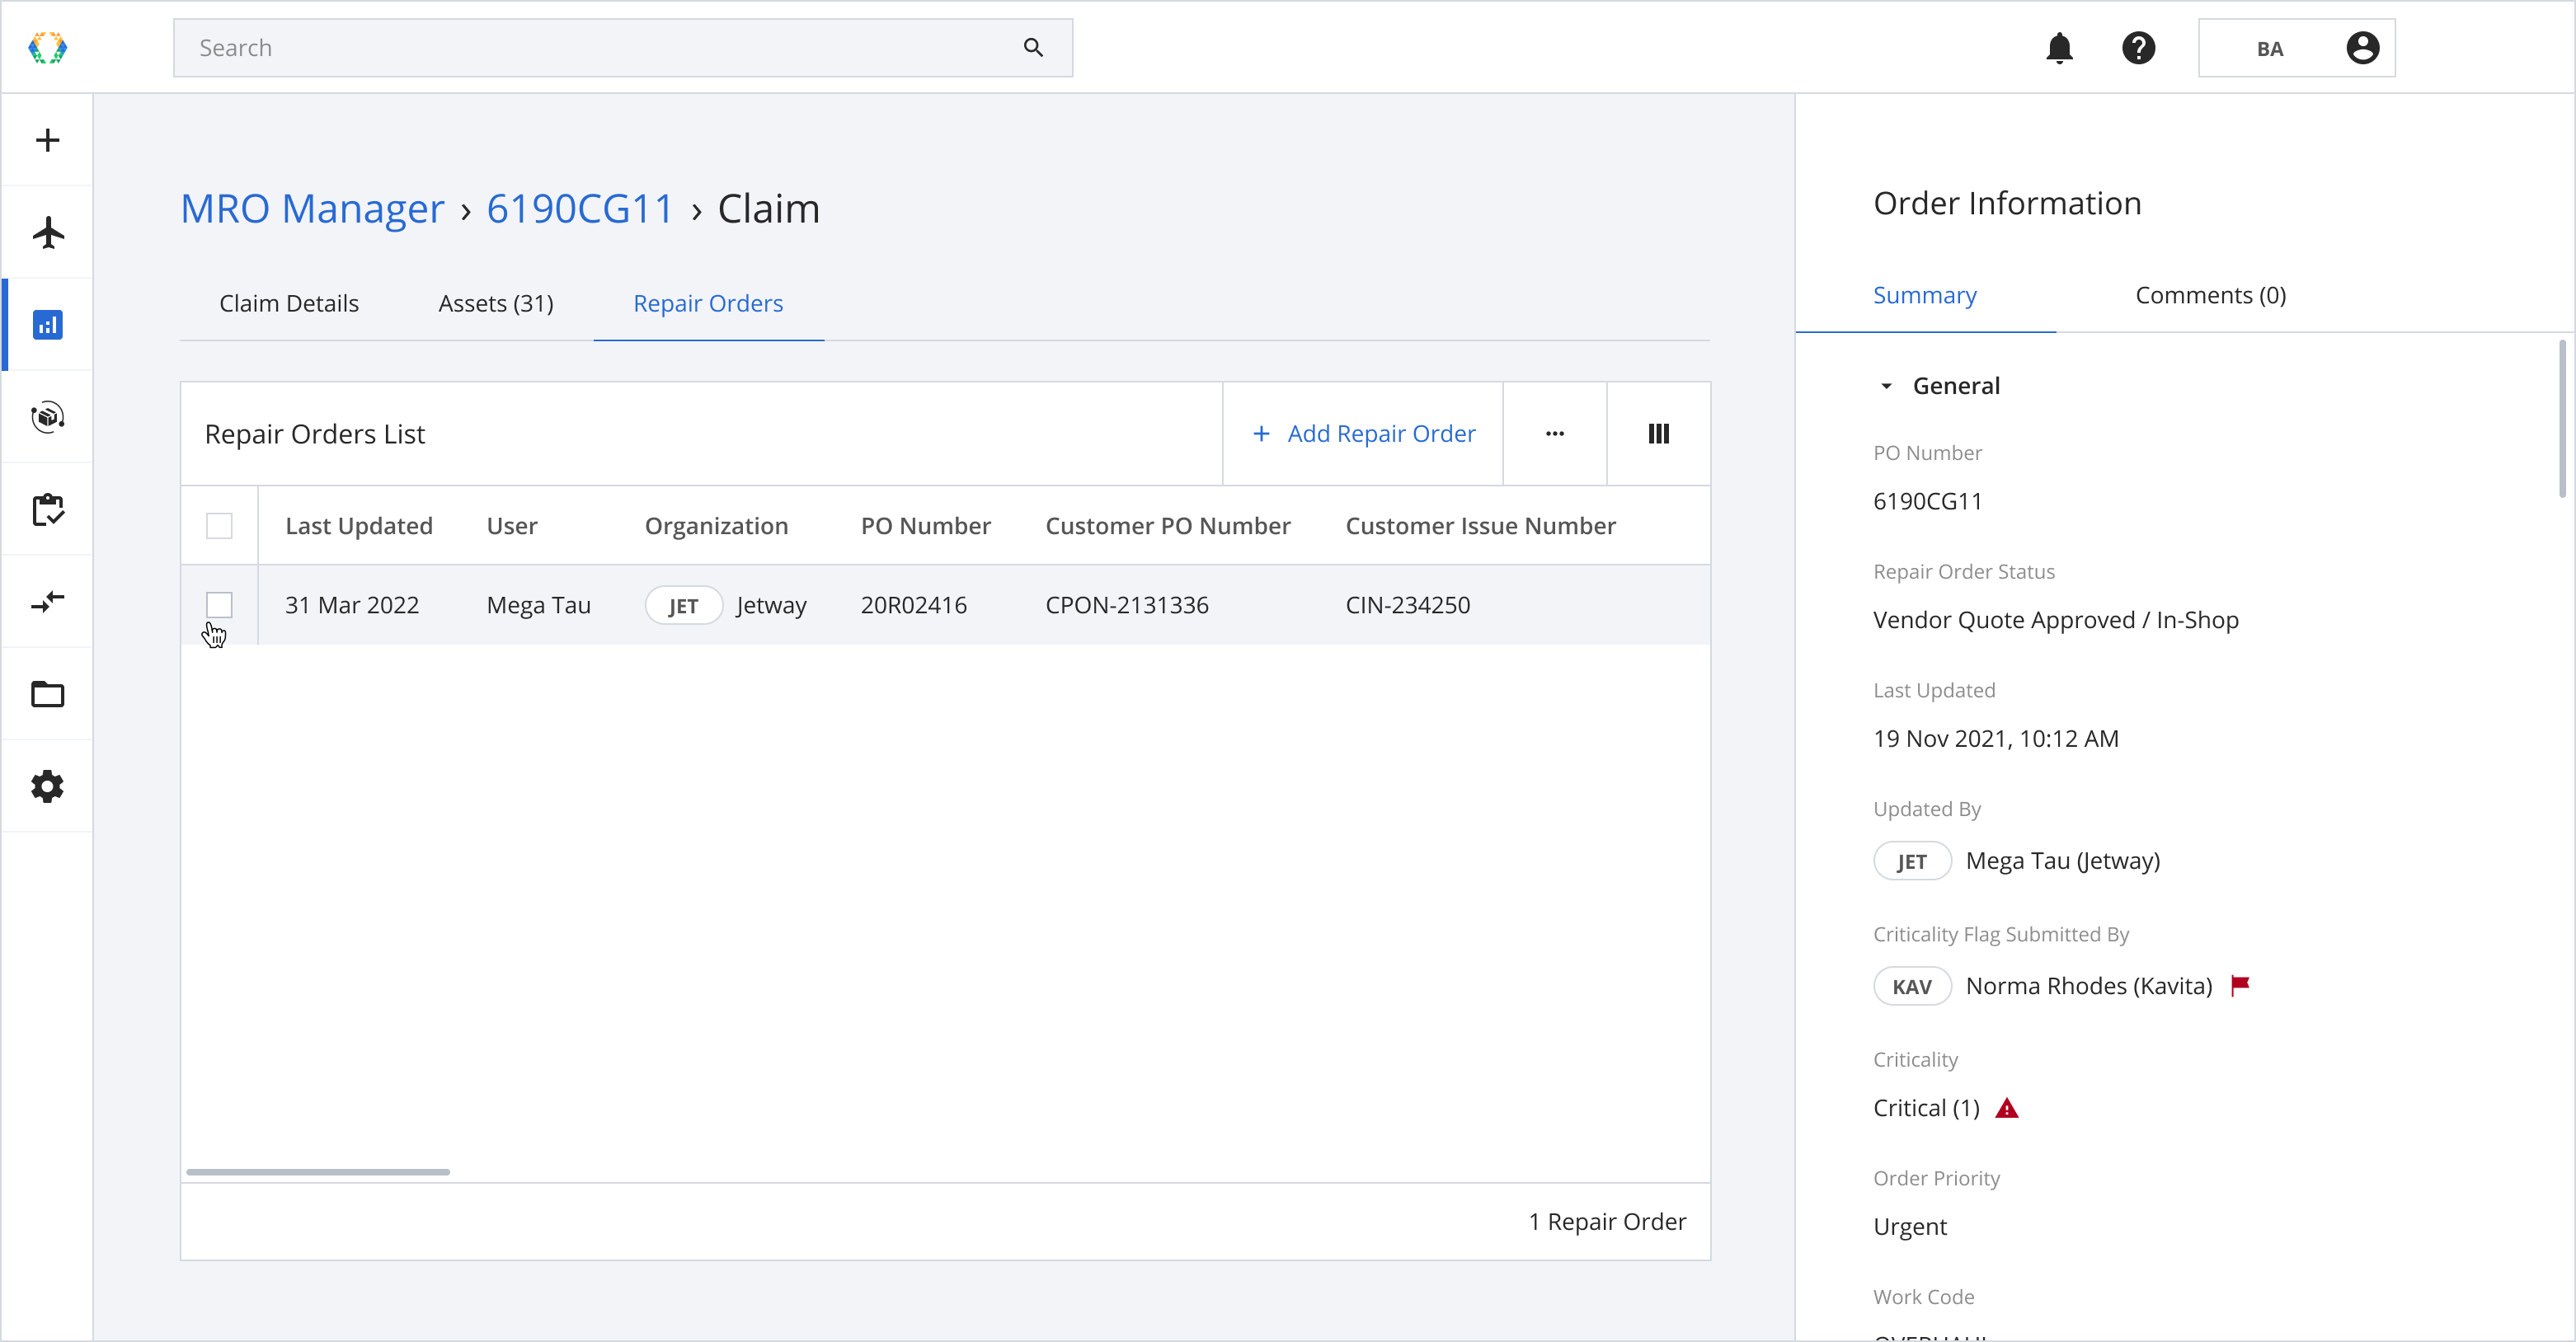
Viewing the Repair Order created in Claim
Step 1: From the Repair Orders List, open repair order you want to review.

Step 2: You will be redirected to the Repair Order Details page of the Claim Repair Order. For other available operations on the Repair Order Details page, you can refer to Repair Order Details.
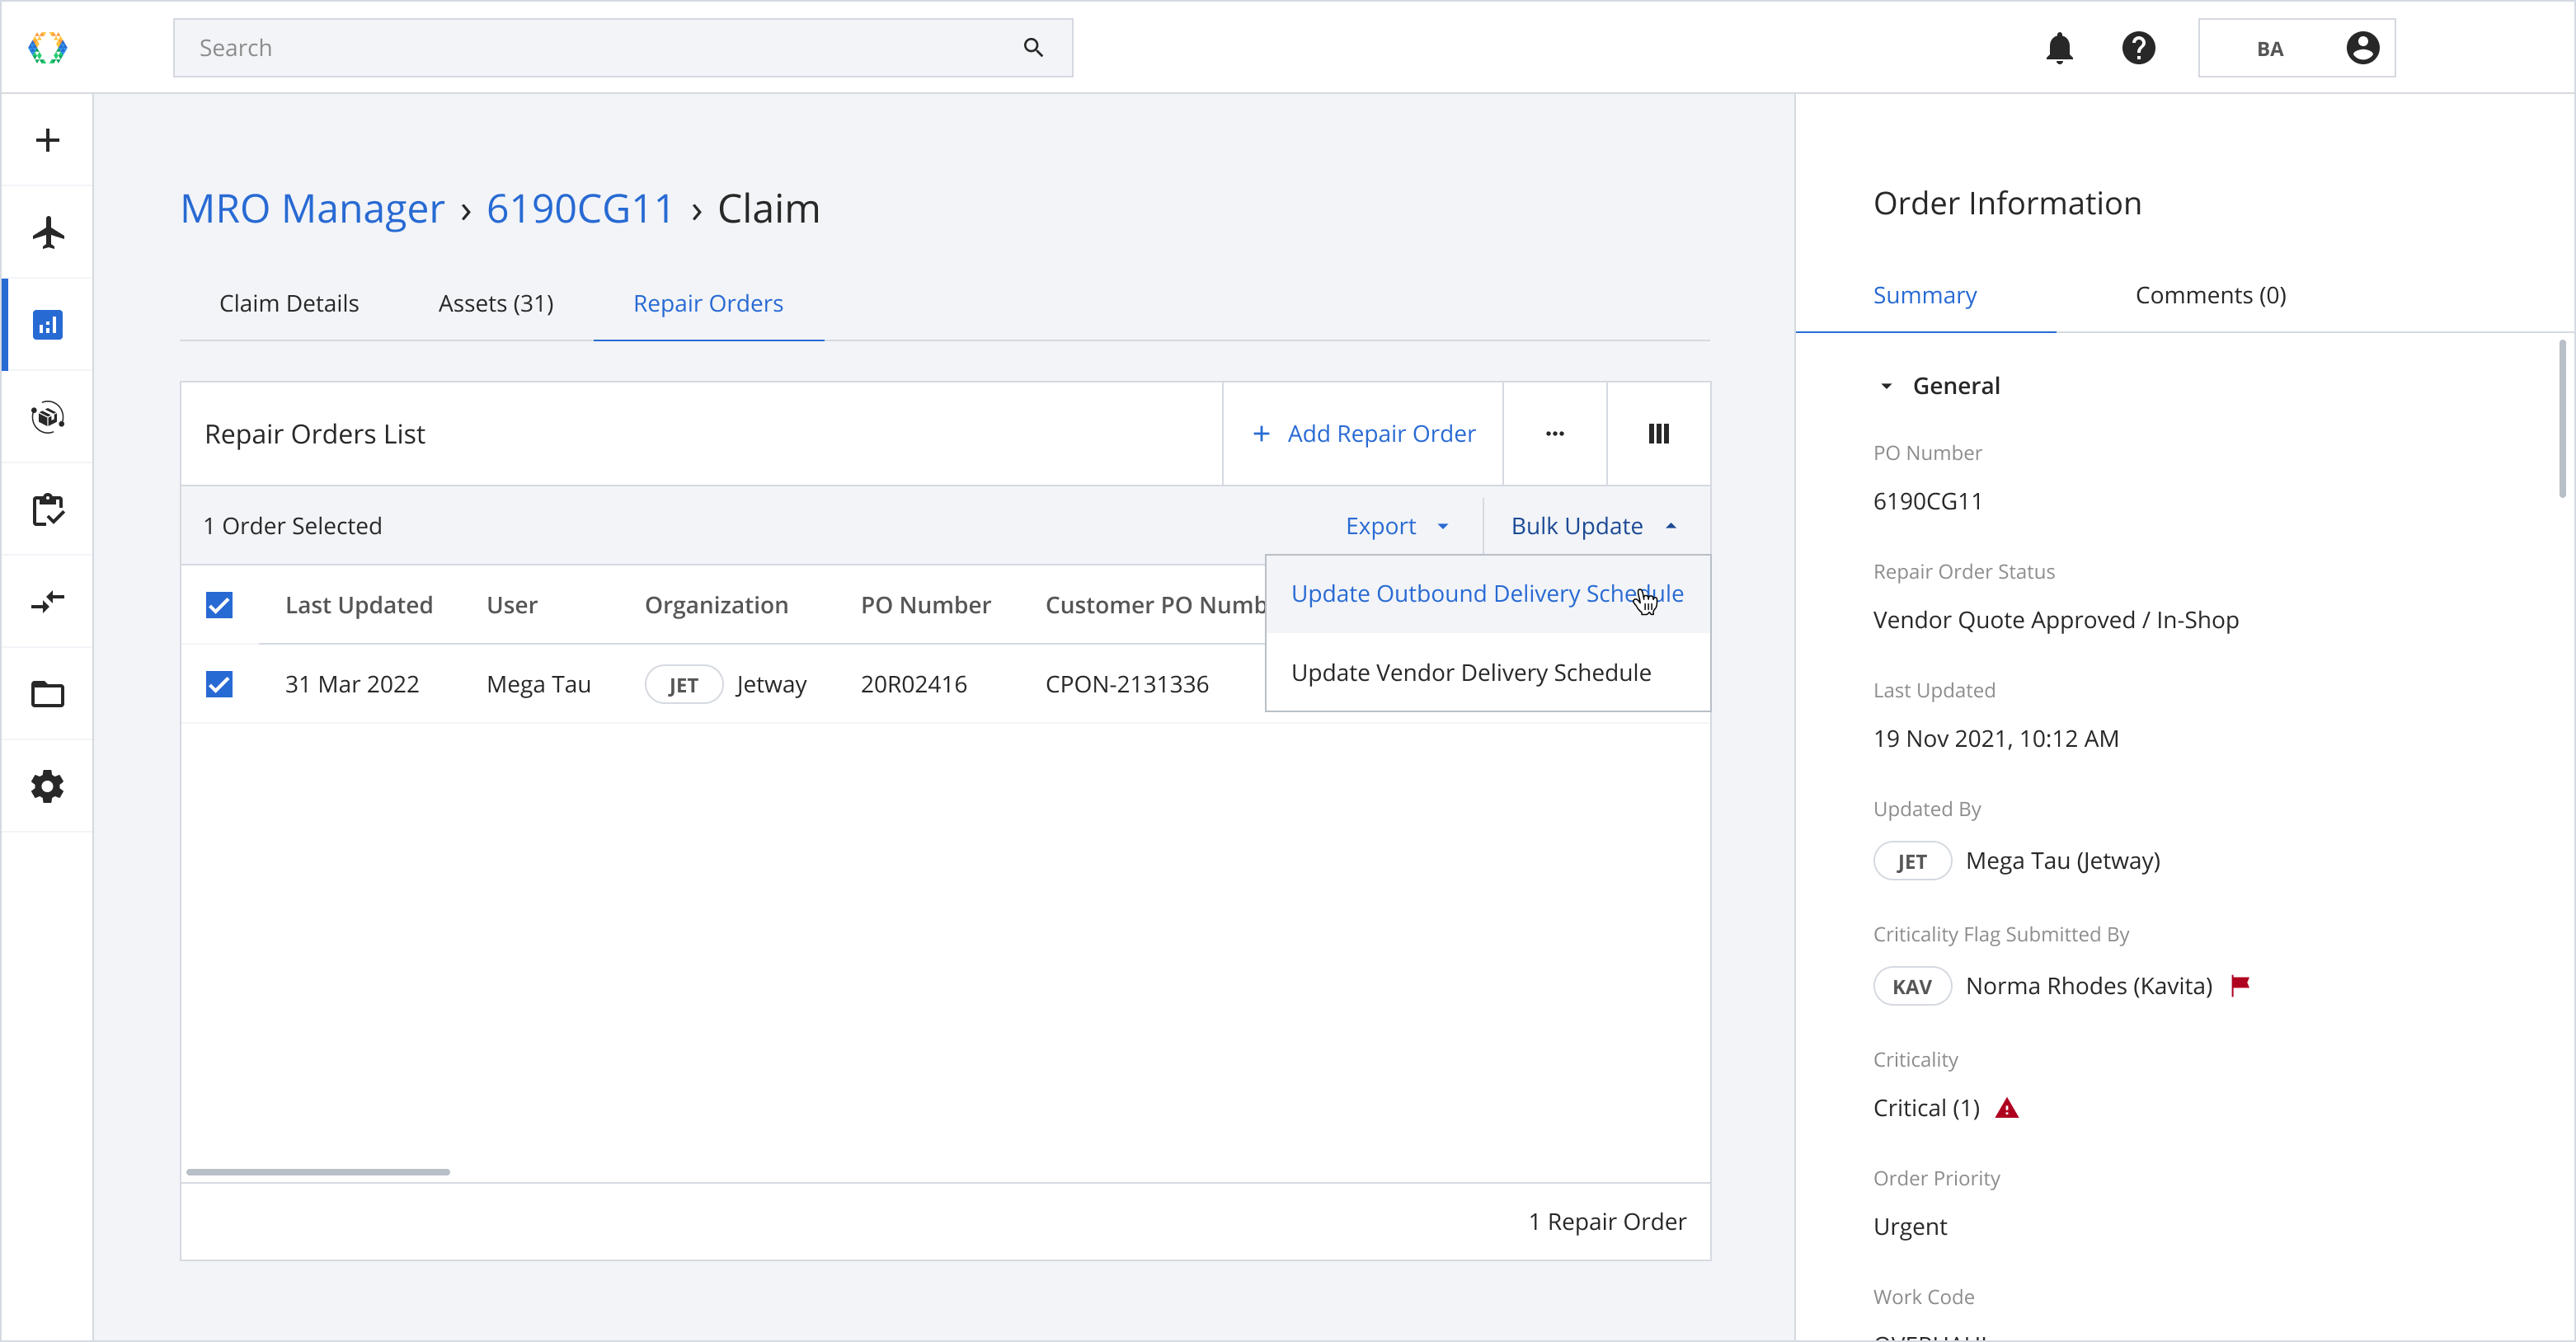
Updating the Repair Order in Claim
You can update the Repair Order in Claim via the Repair Orders List.
Step 1: From the repair order list, select the repair order you want to update.
Step 2: Click 'Bulk Update' and then select 'Update Outbound Delivery Schedule'.
Step 3: Update the repair orders or export them into an excel template and update it on your computer. For more information regarding updating Repair Orders, see Repair Order Bulk Operations.
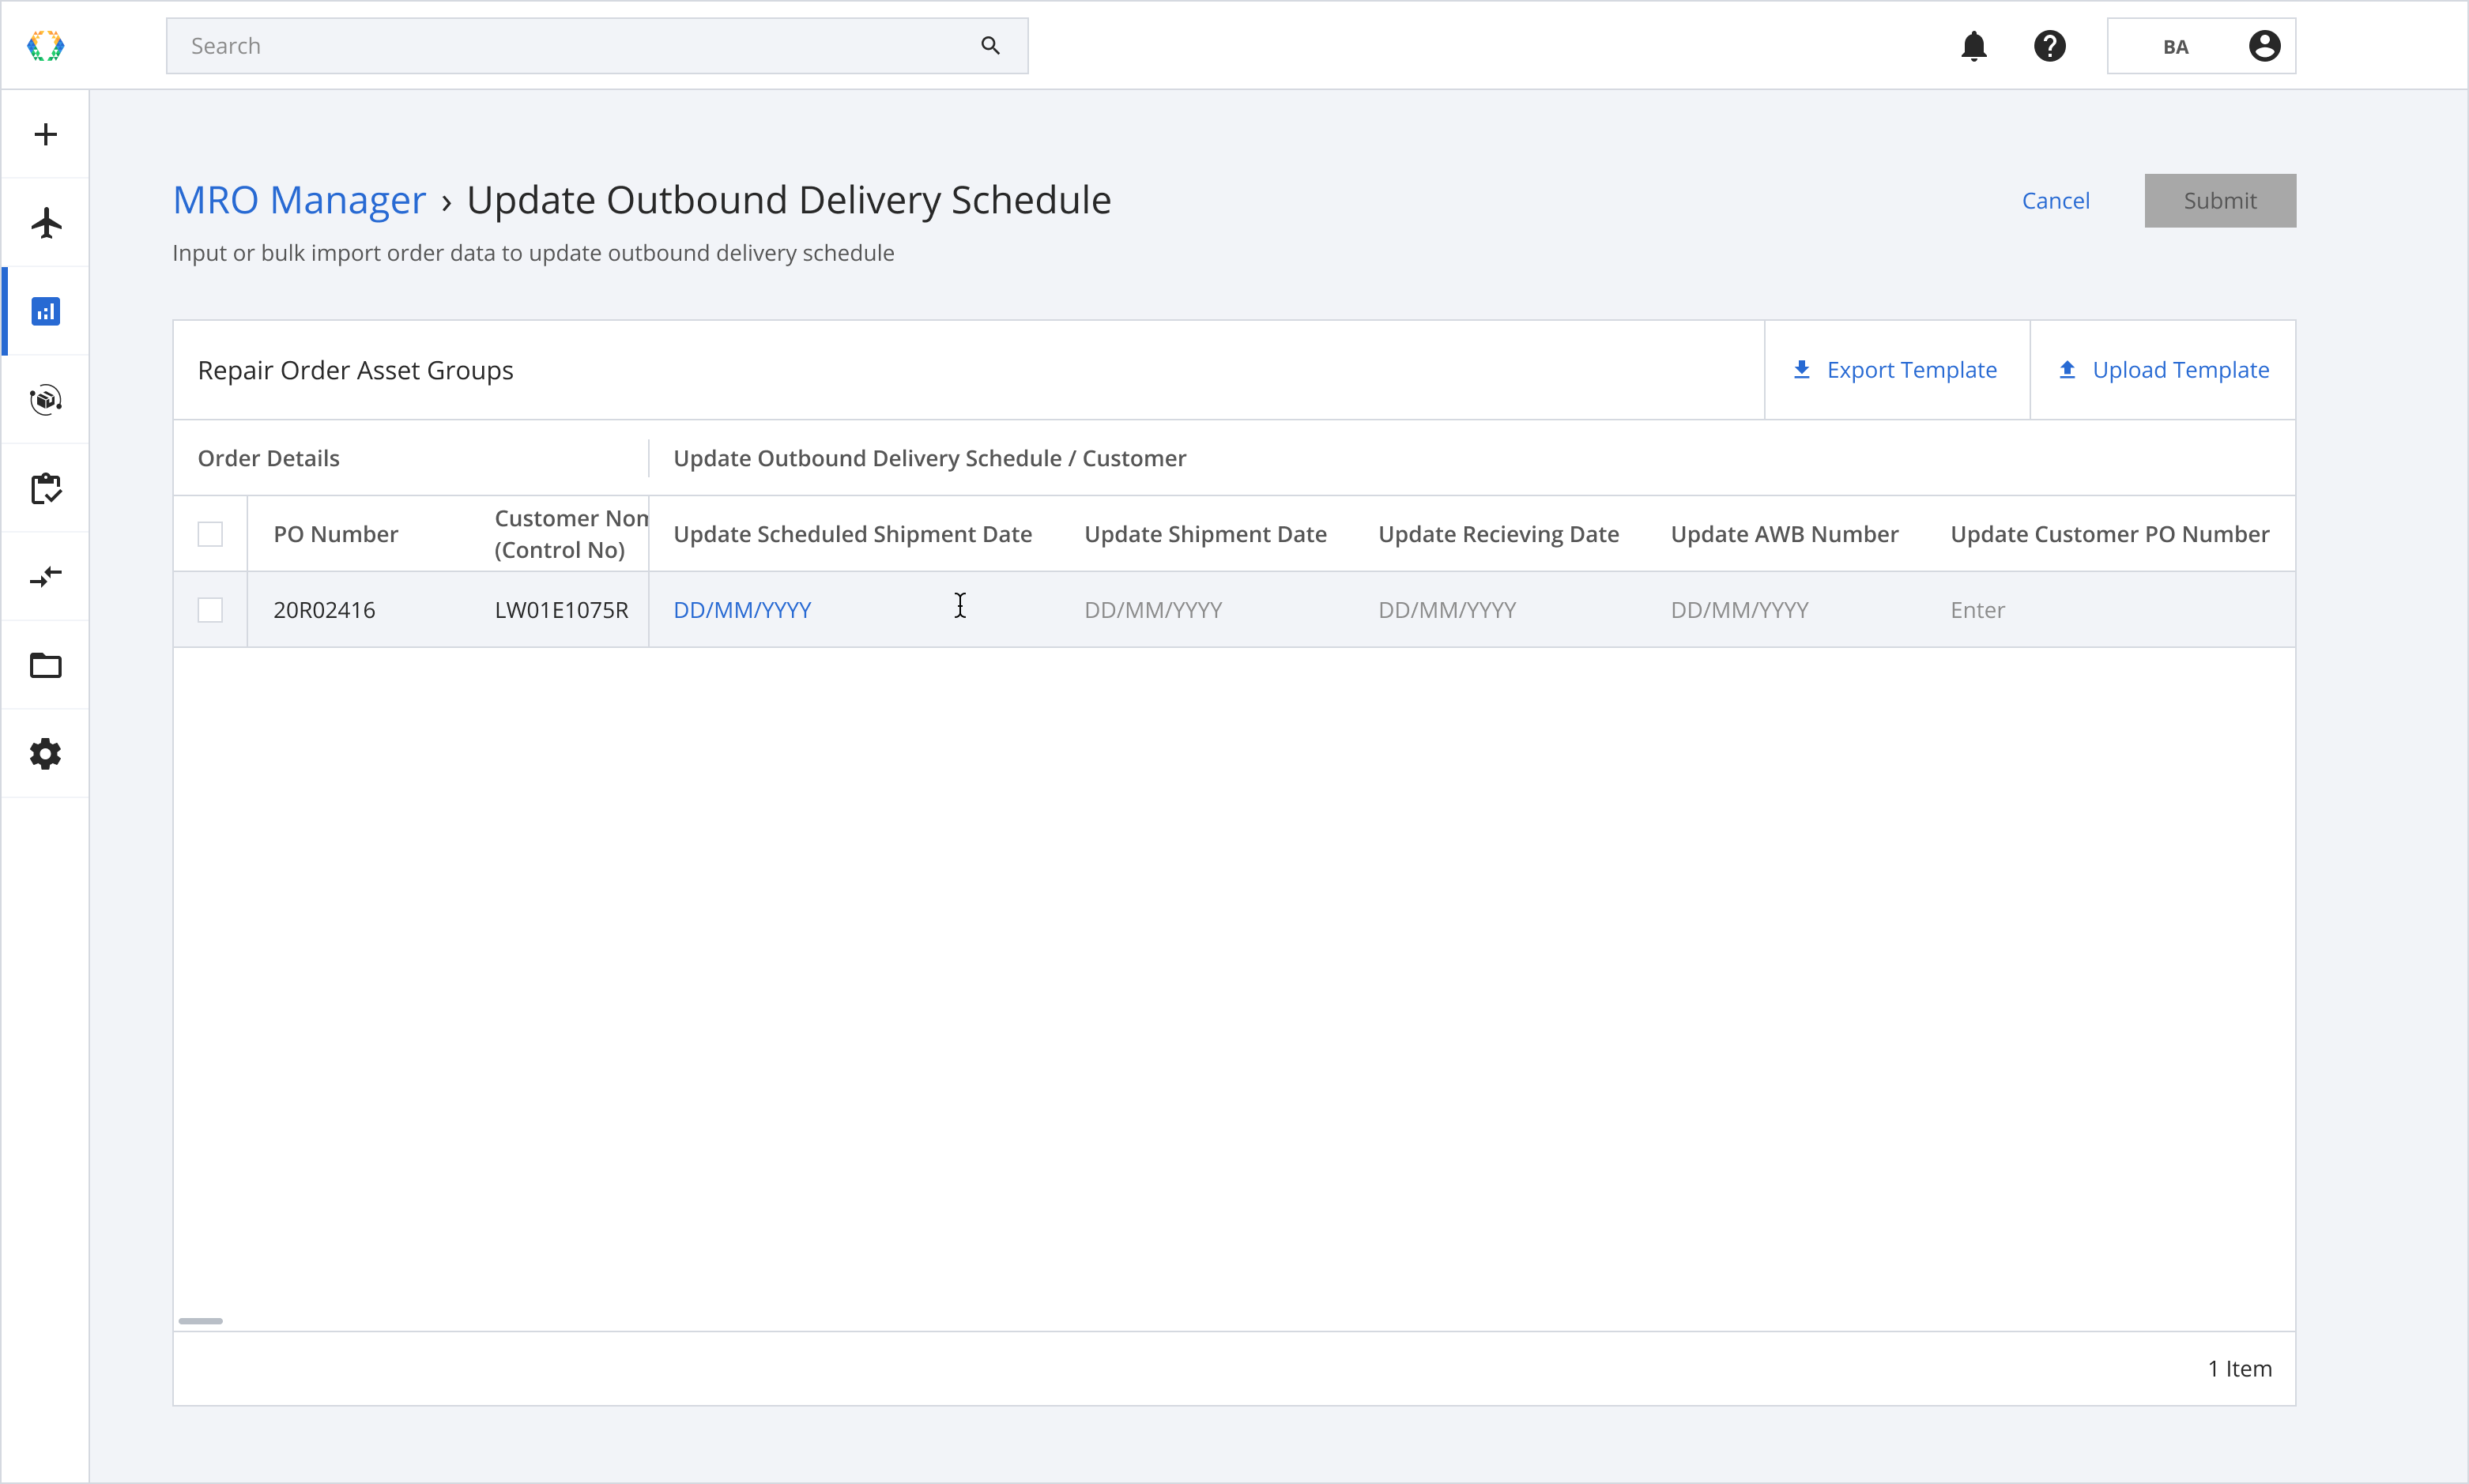
Step 4: Update the repair order details.

Step 5: Click 'Submit'.
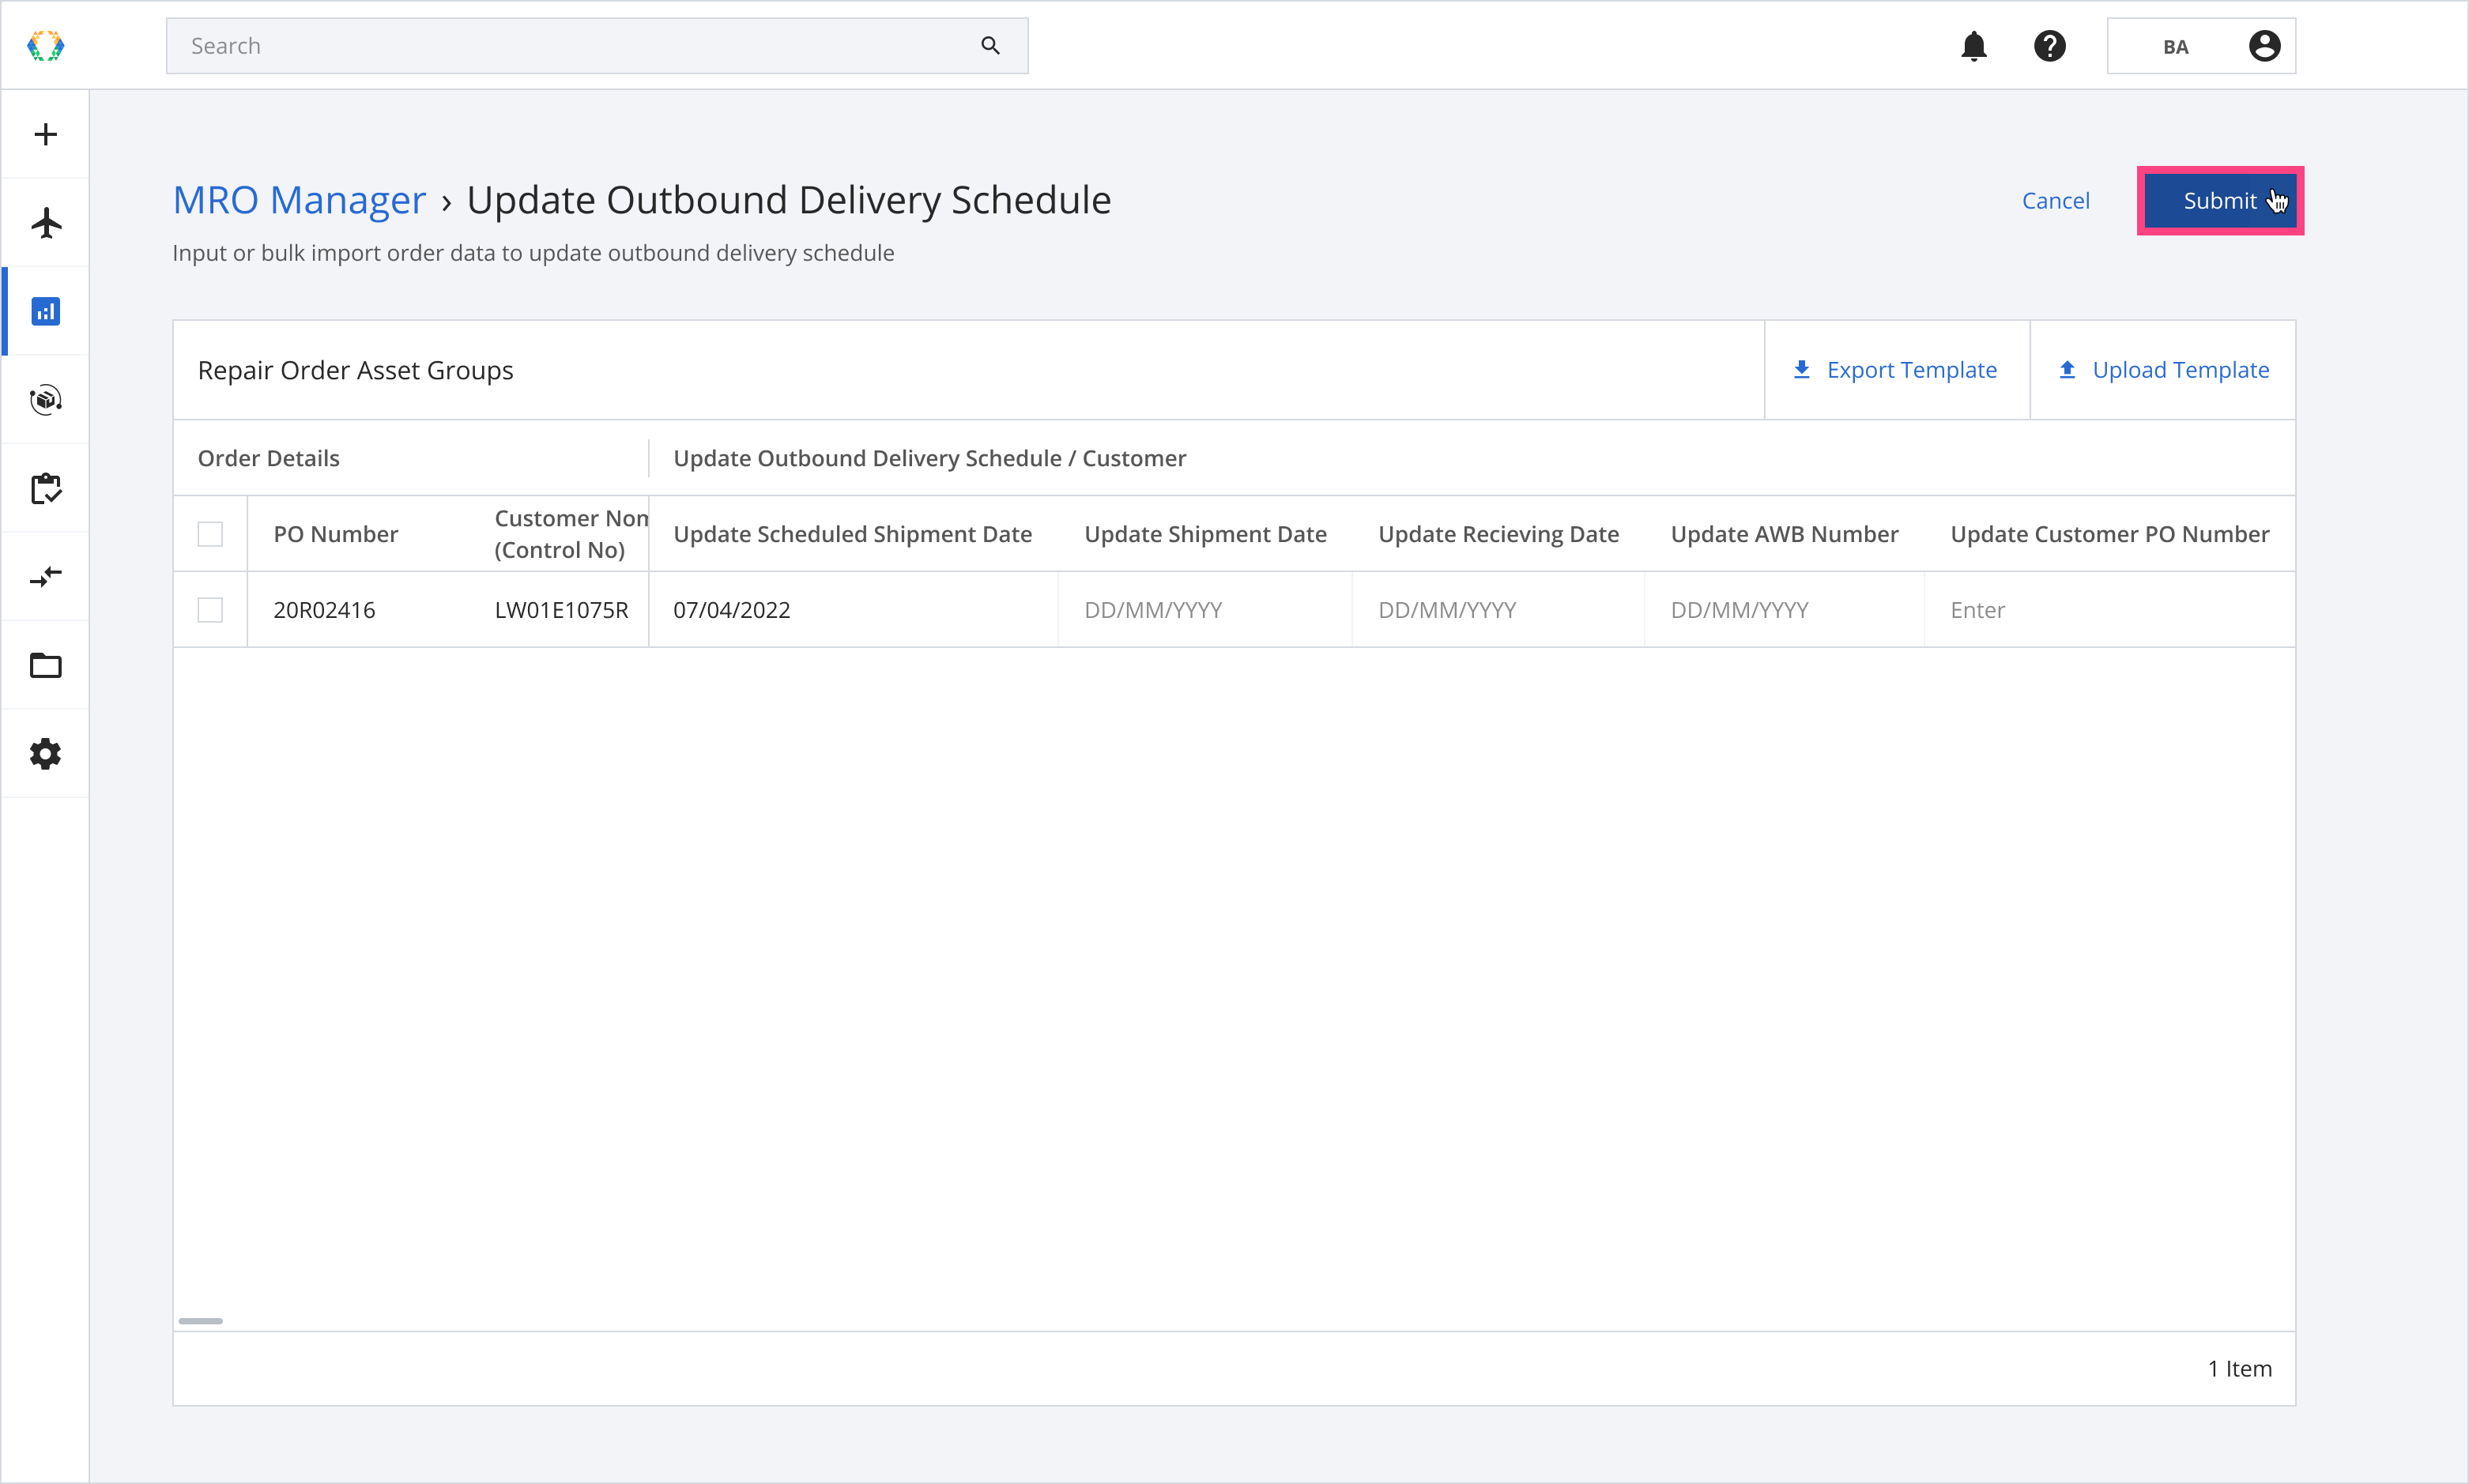
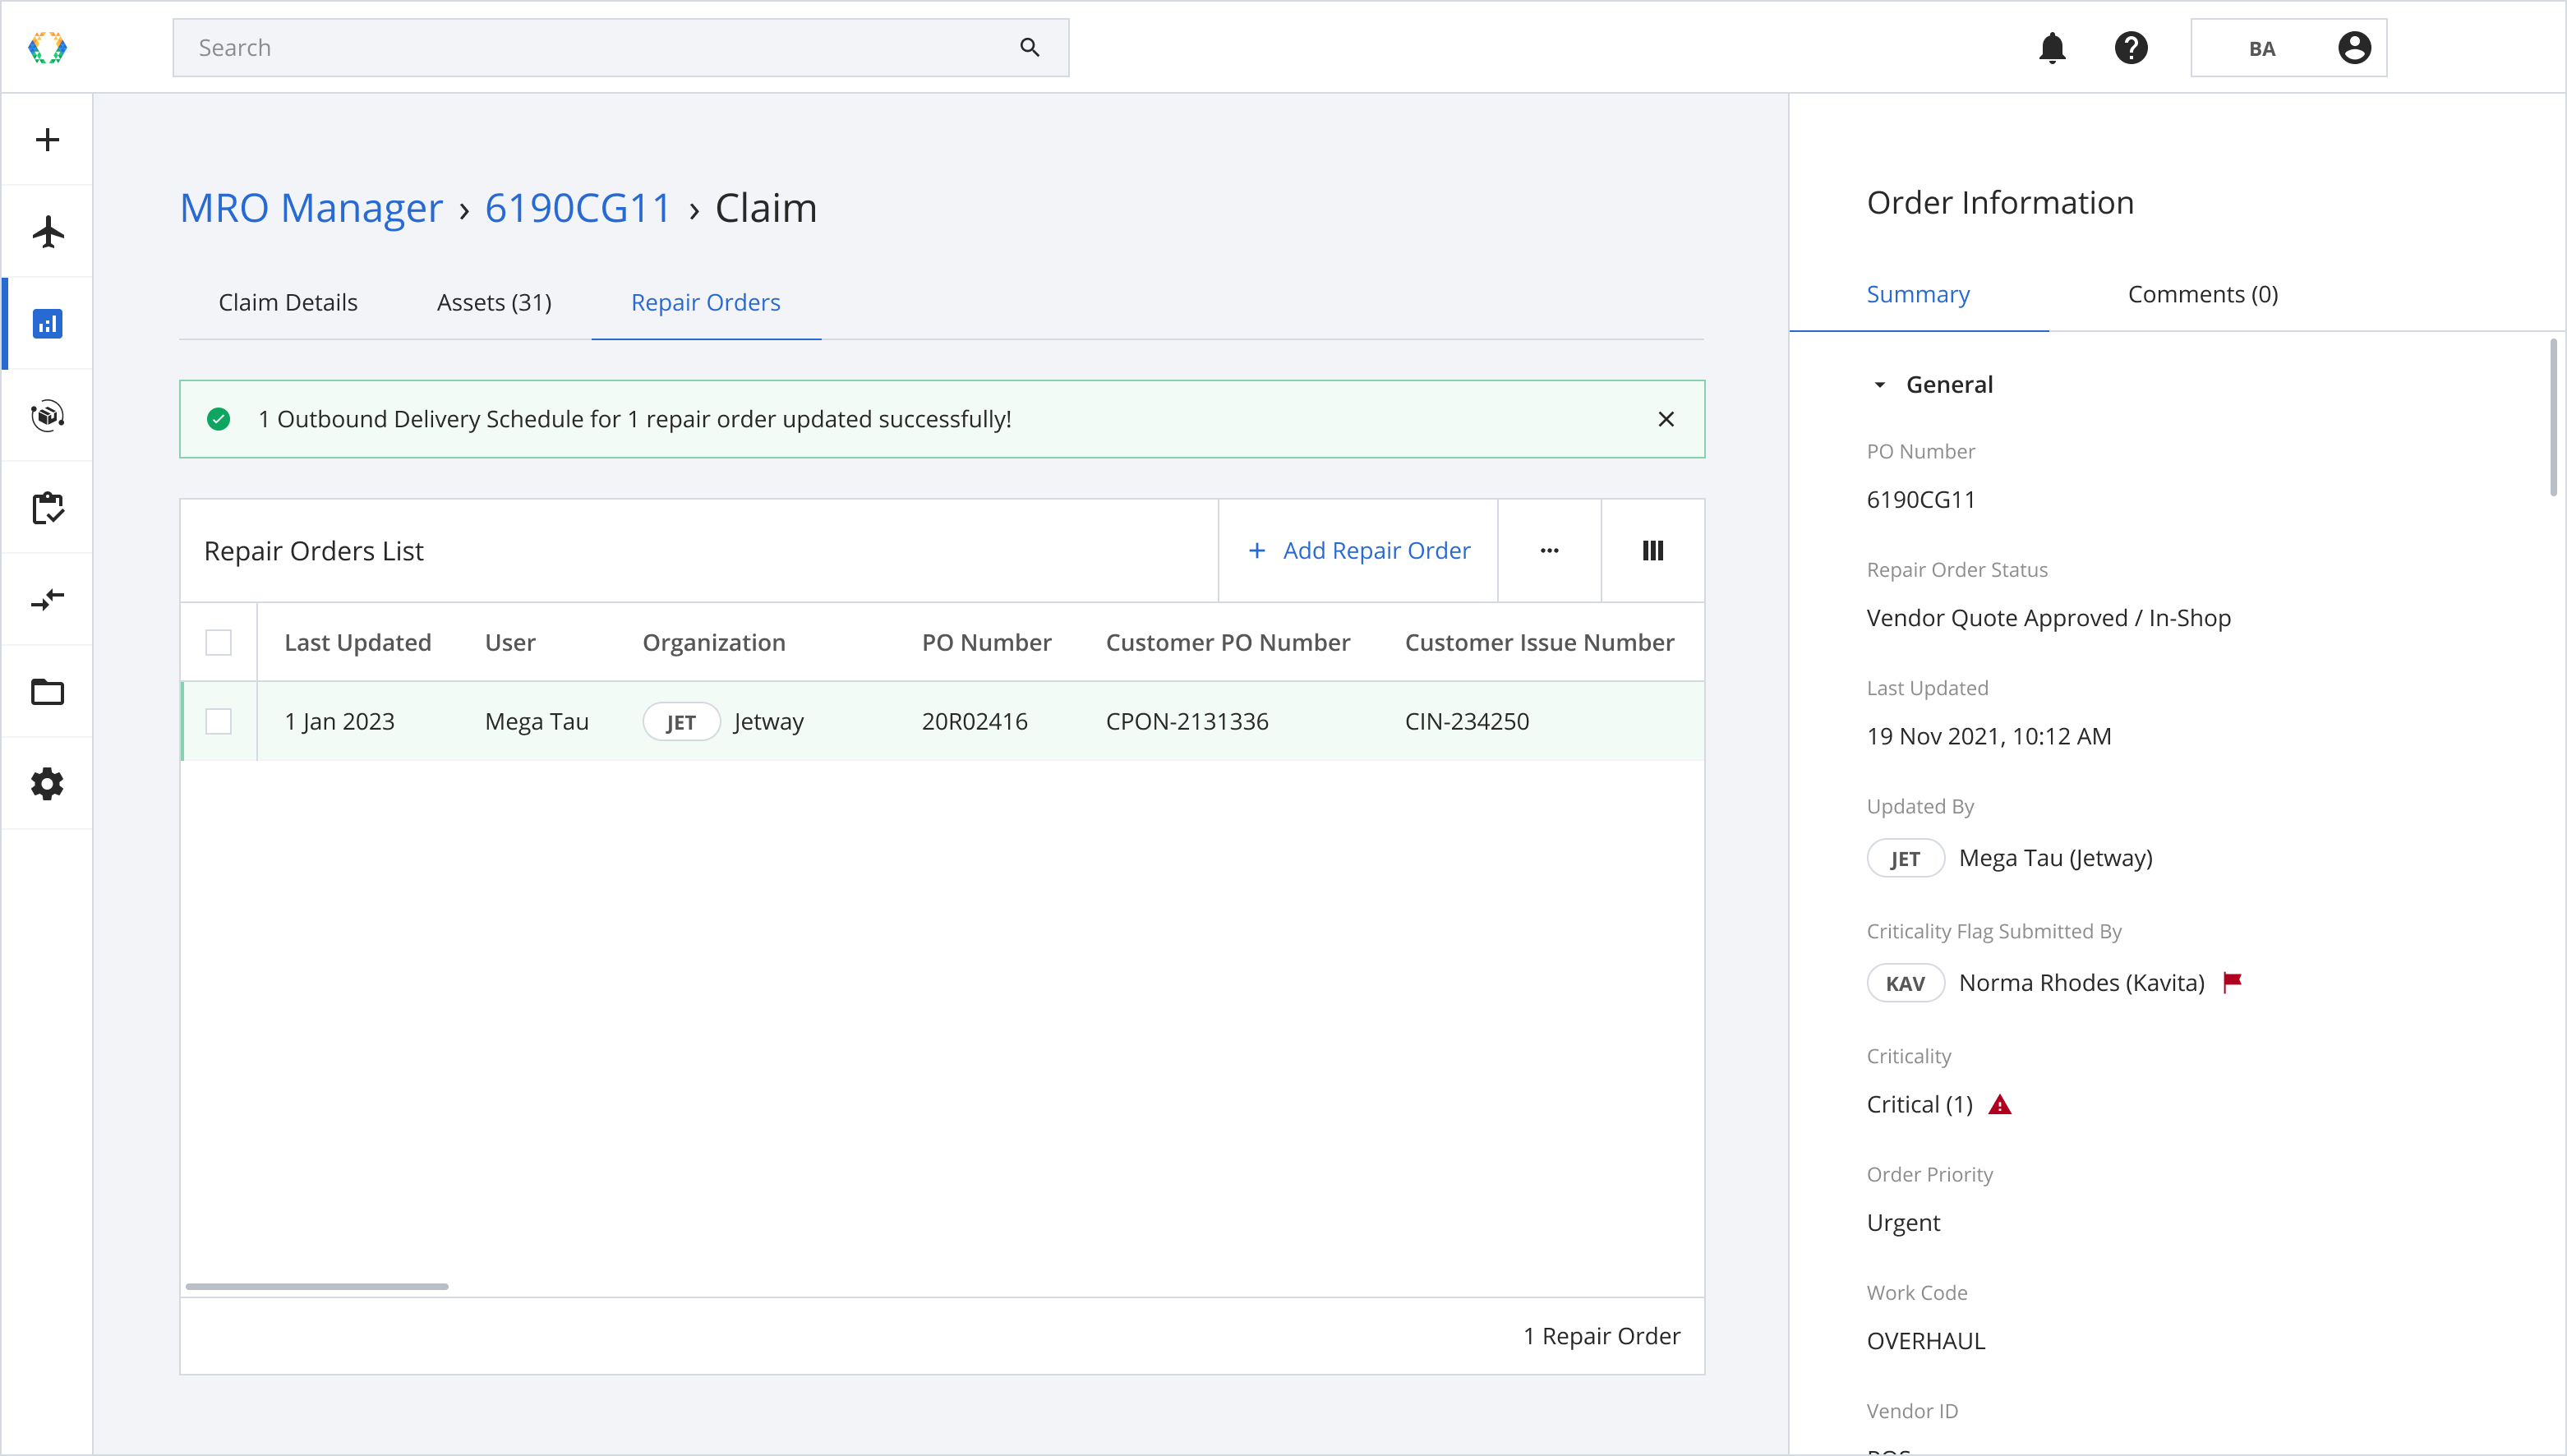
Once the repair order is updated successfully, a green banner will appear at the top of the repair orders list.
Updated over 1 year ago