Update Claim (Single Operation)
There are 2 ways to update your Claims Details.
Option 1: Update Claims Details
Option 2: Update Claims Assets
Option 1: Update Claims Details
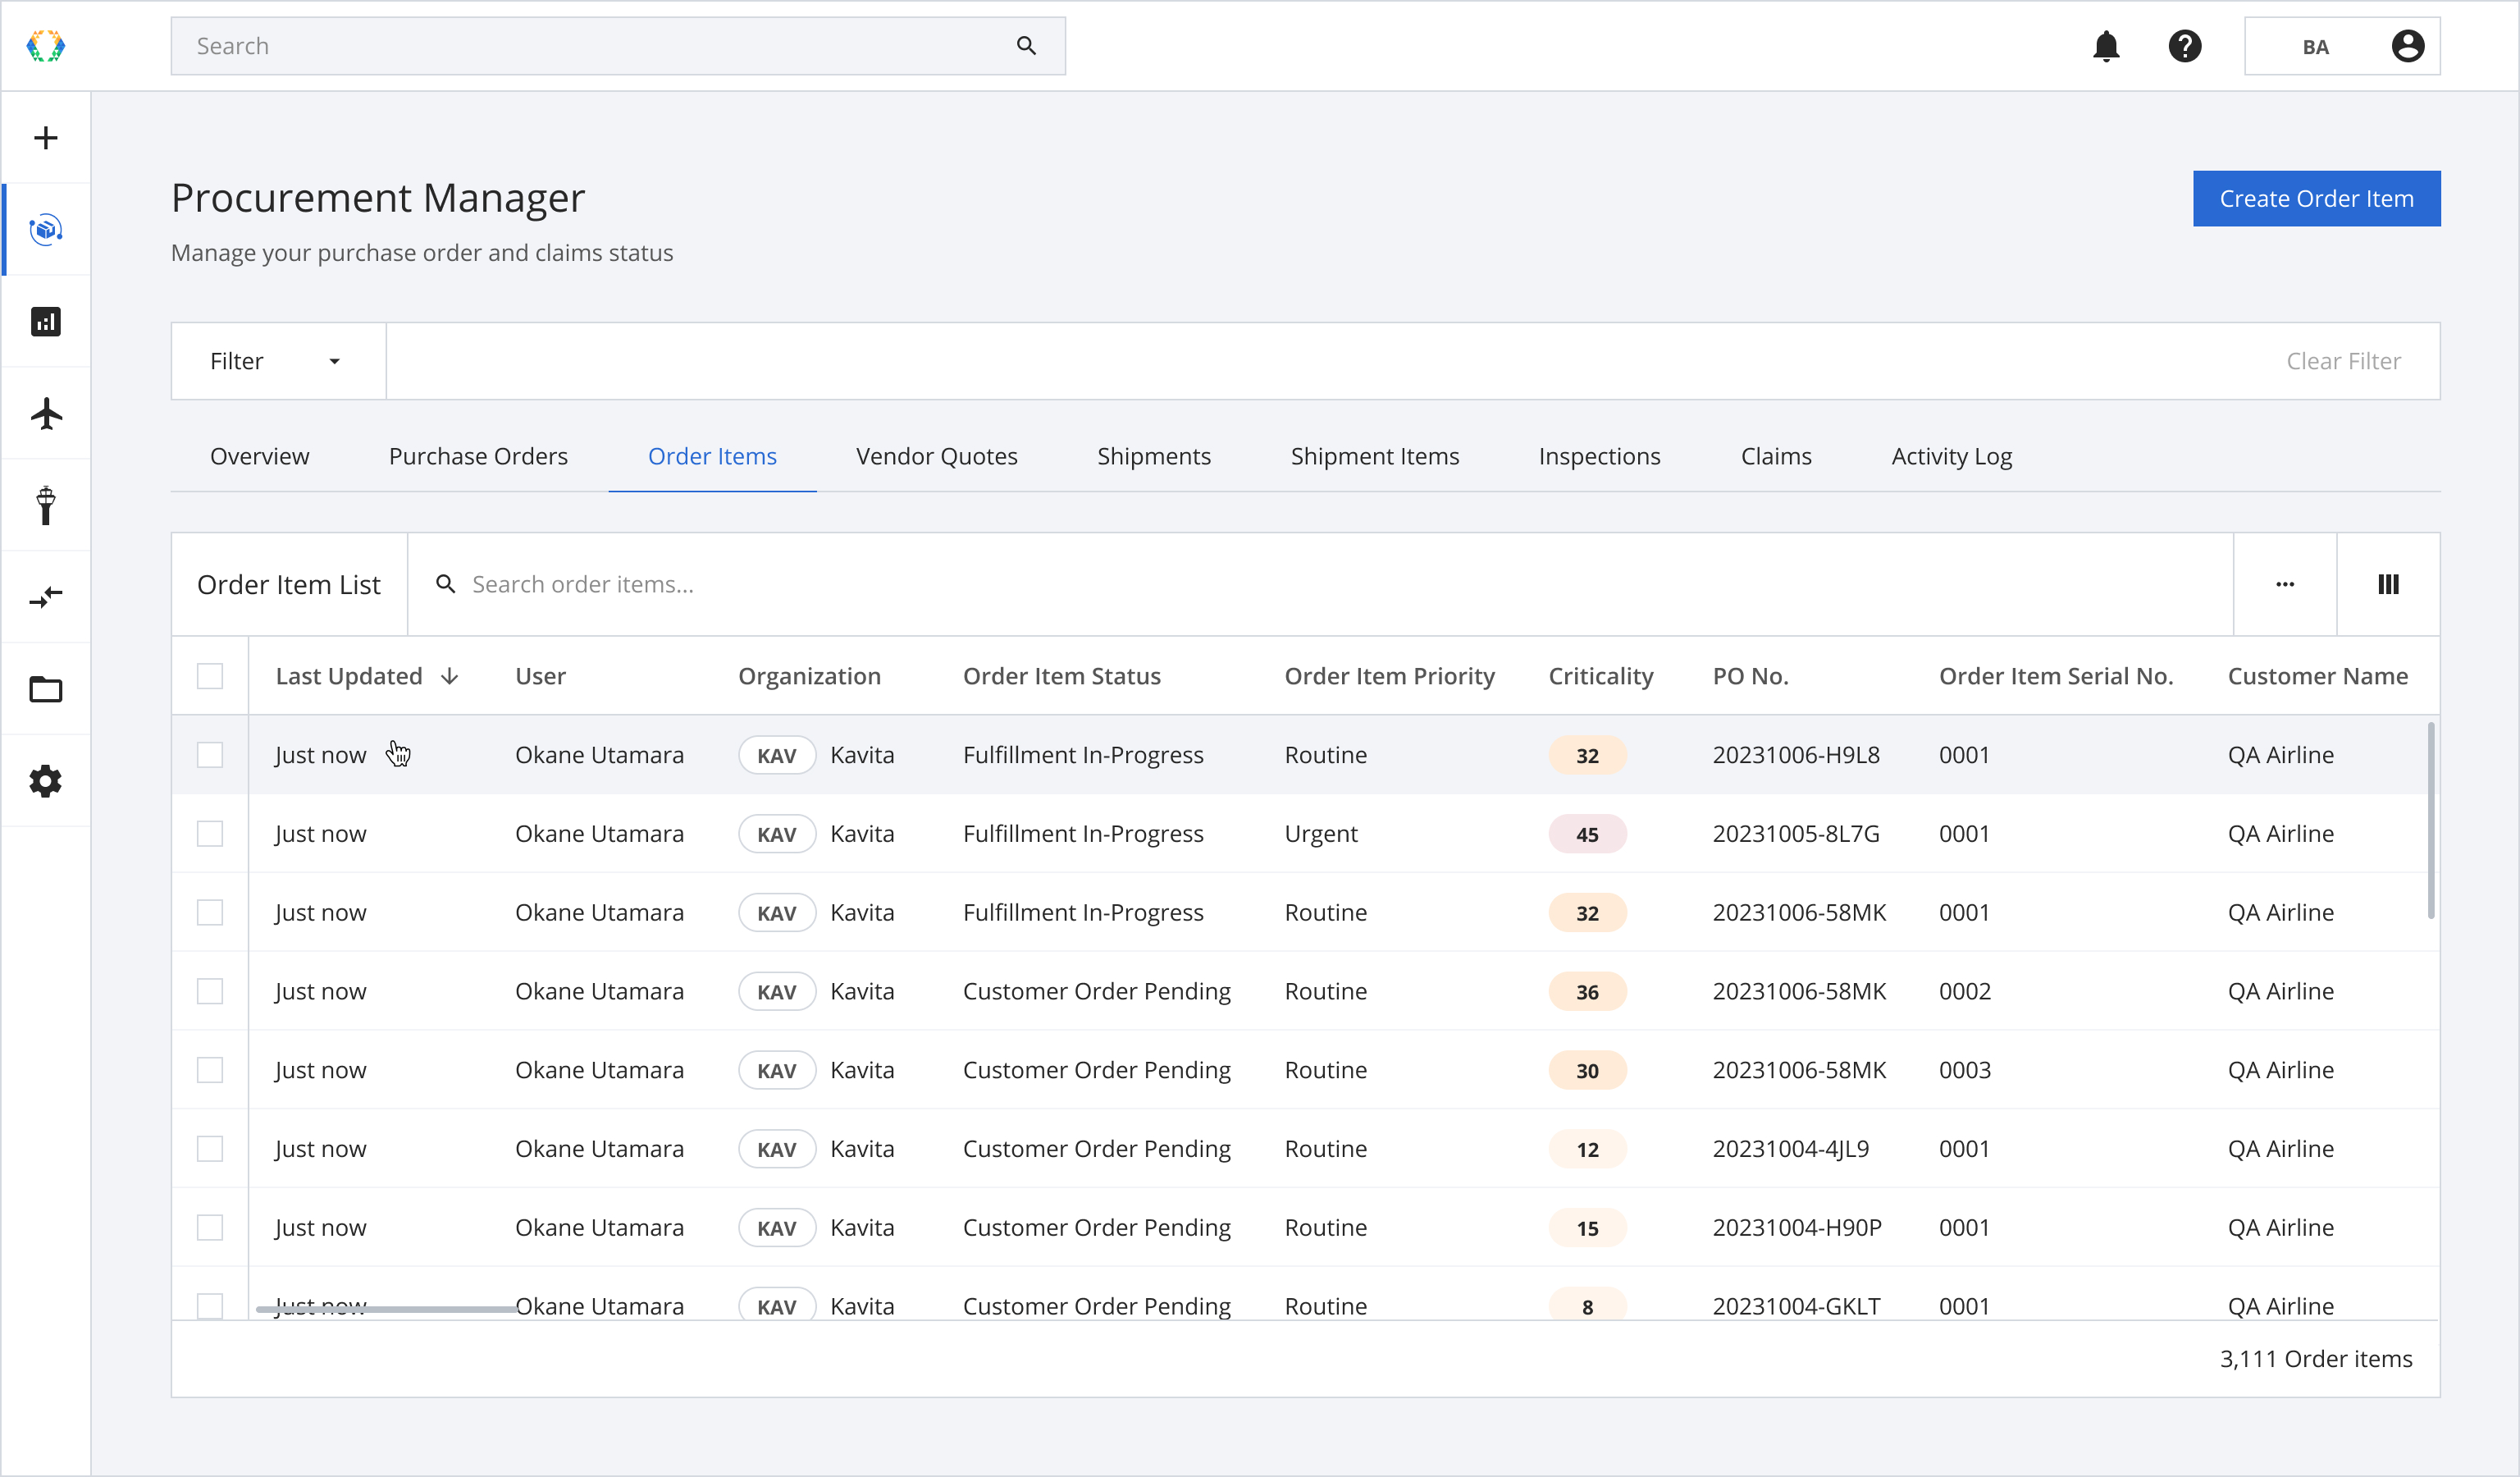
Step 1: From the order item list, open an order item for which you want to update a claim.
Step 2: Click on Claims tab.
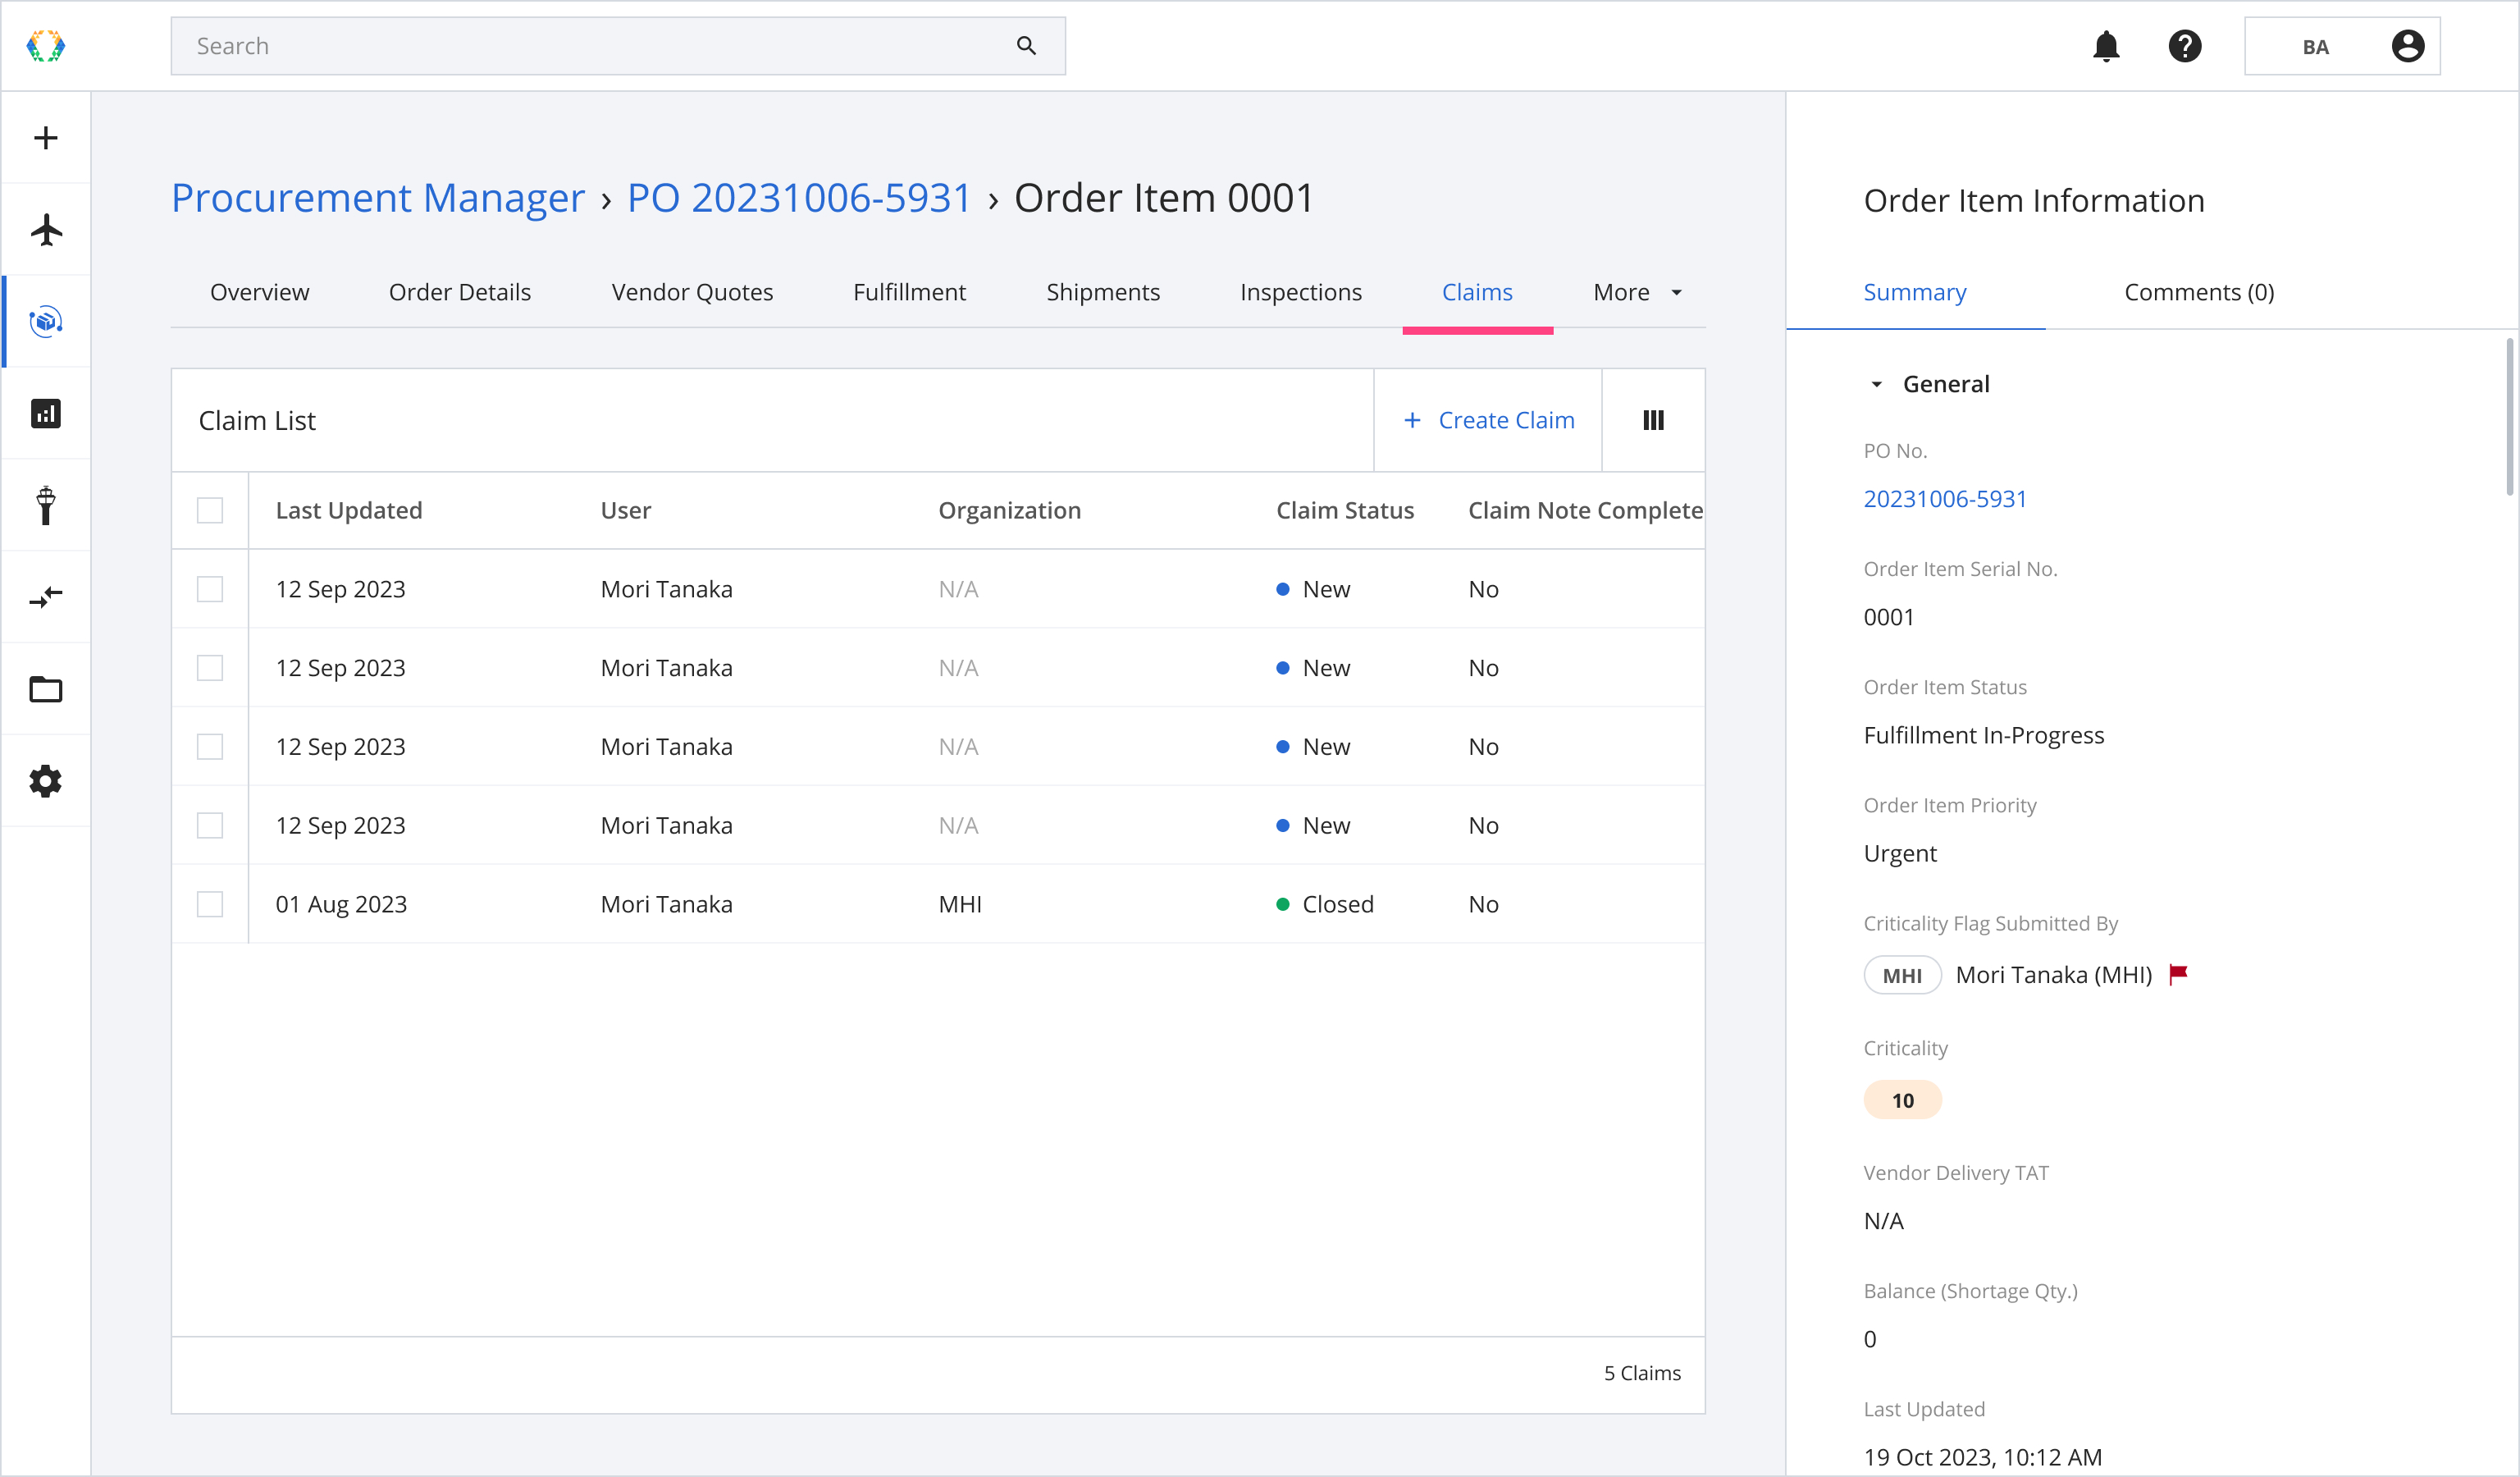
Step 3: Open a claim you want to update.
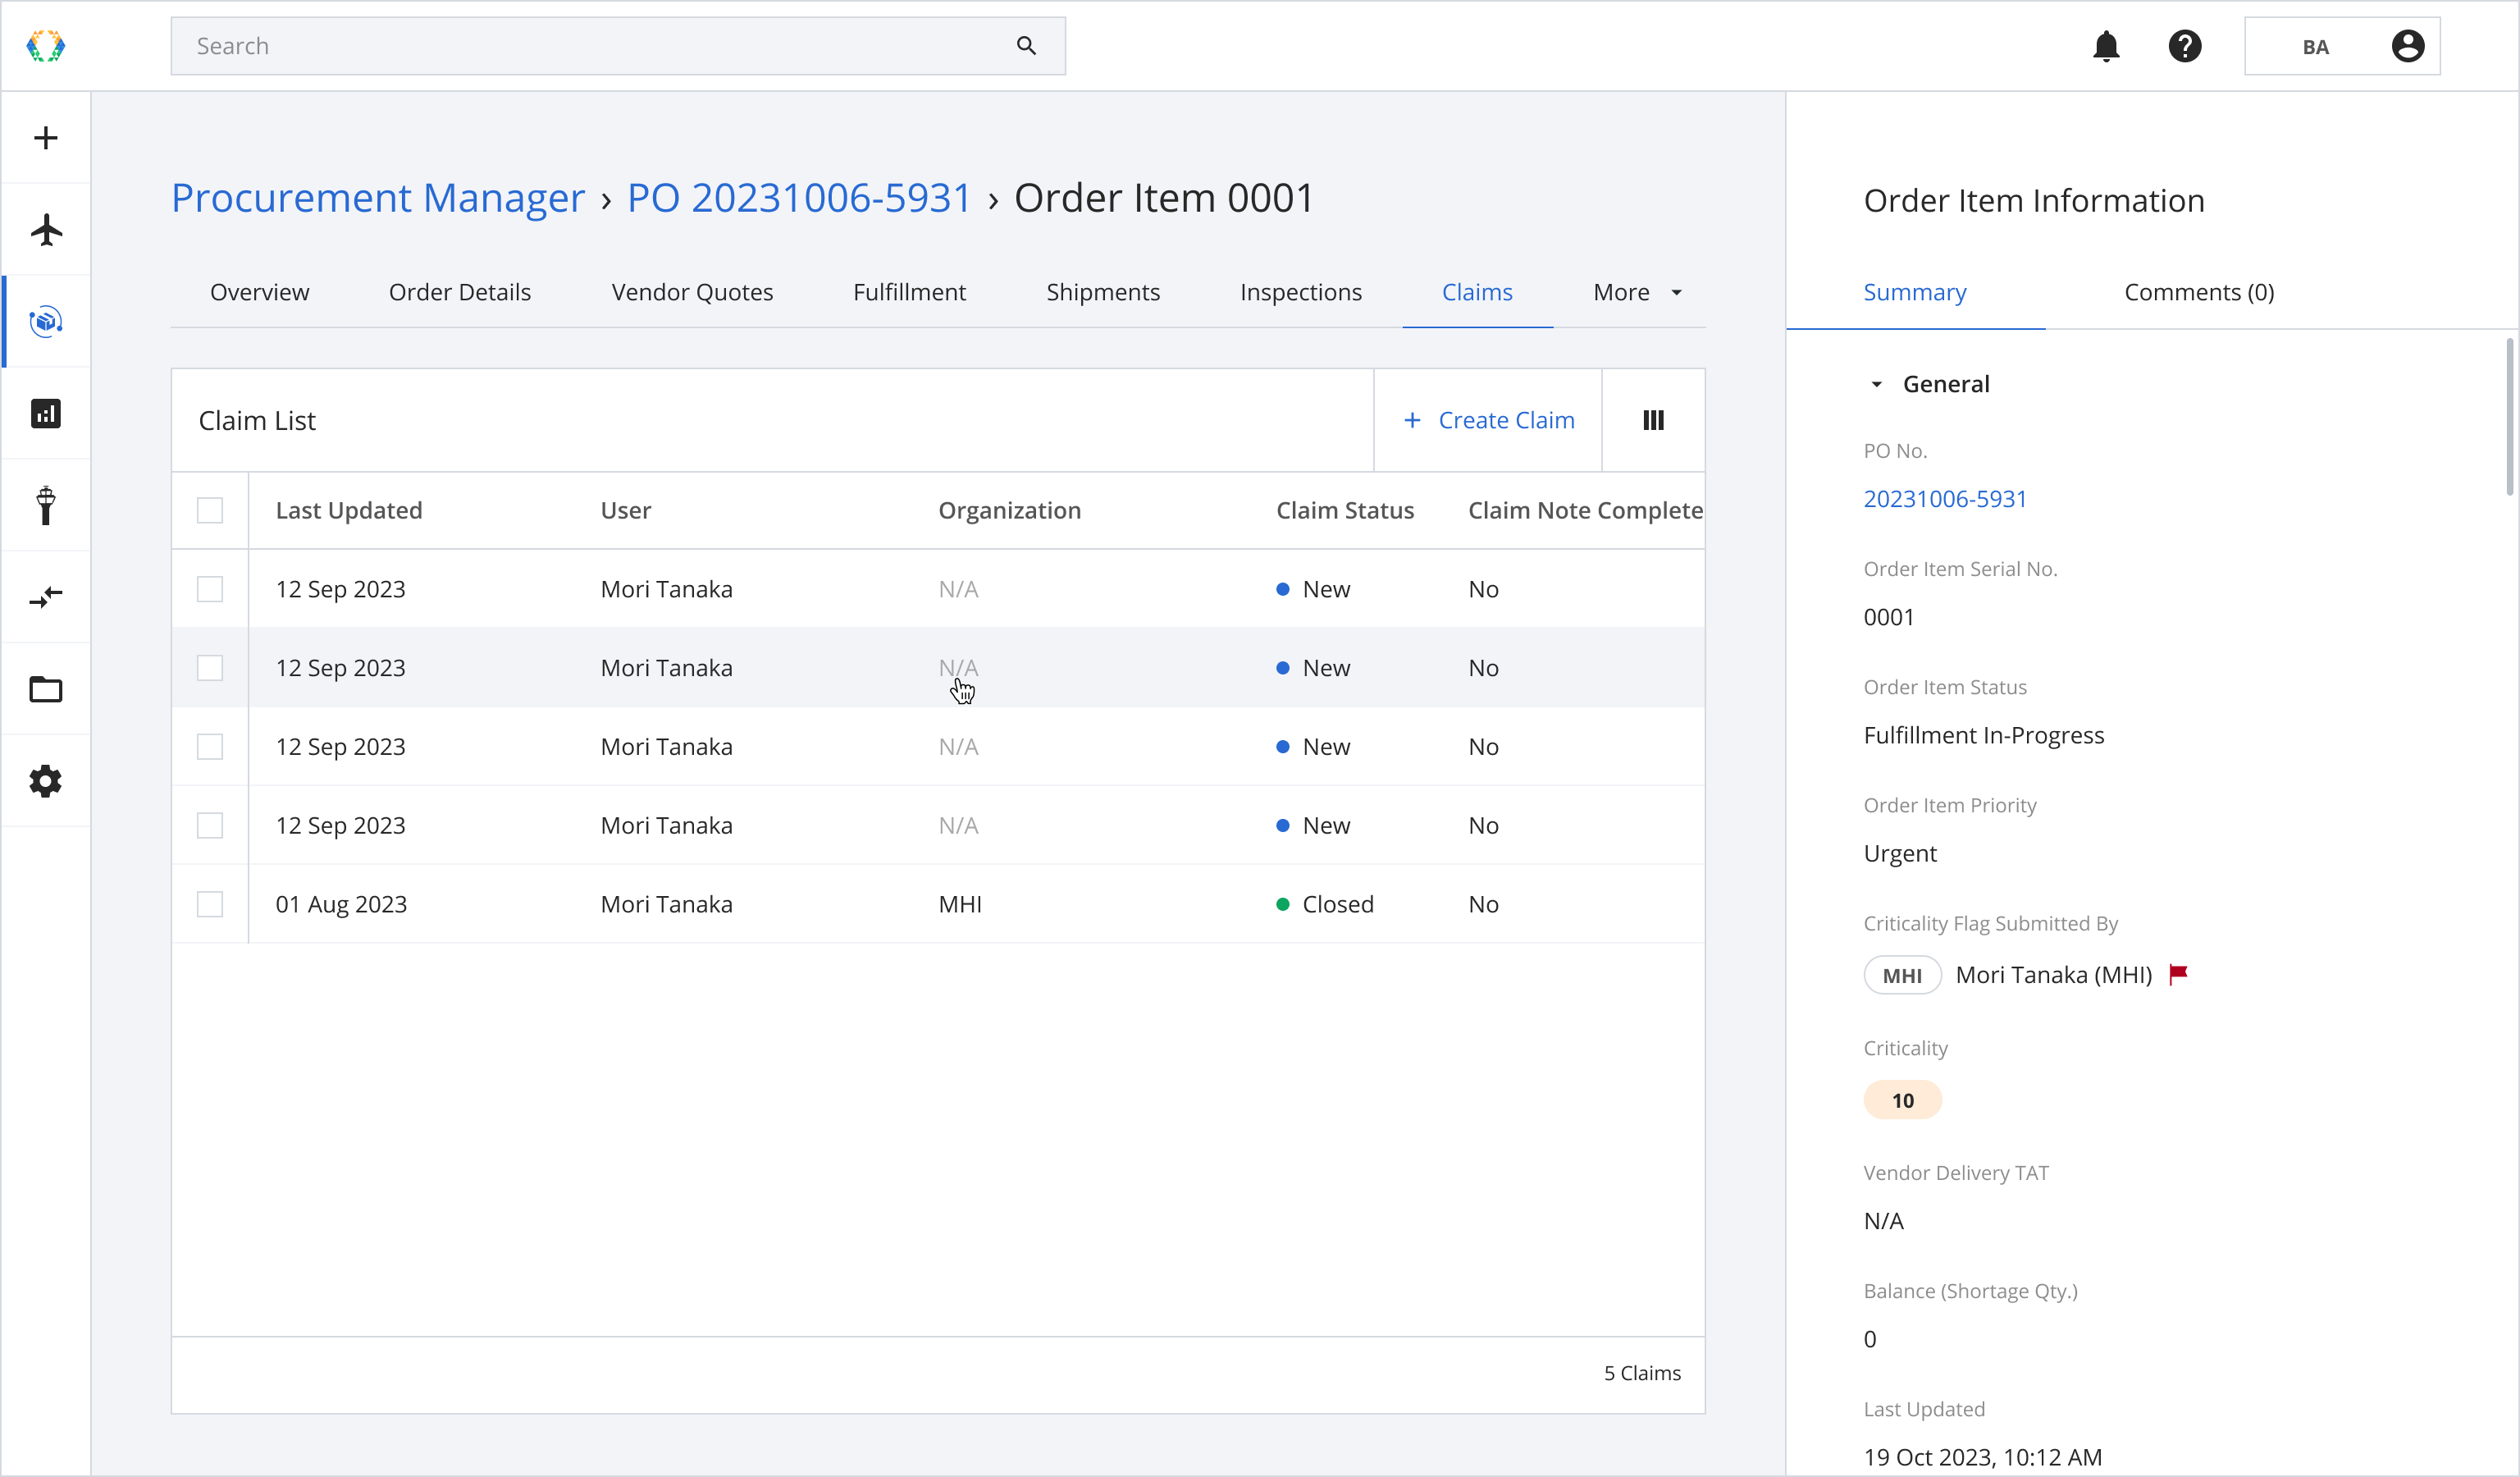
You will be redirected to the Claim details page.
Here you can:
- Manage claim details
- View or add/remove assets
- View or create order items related to the claim
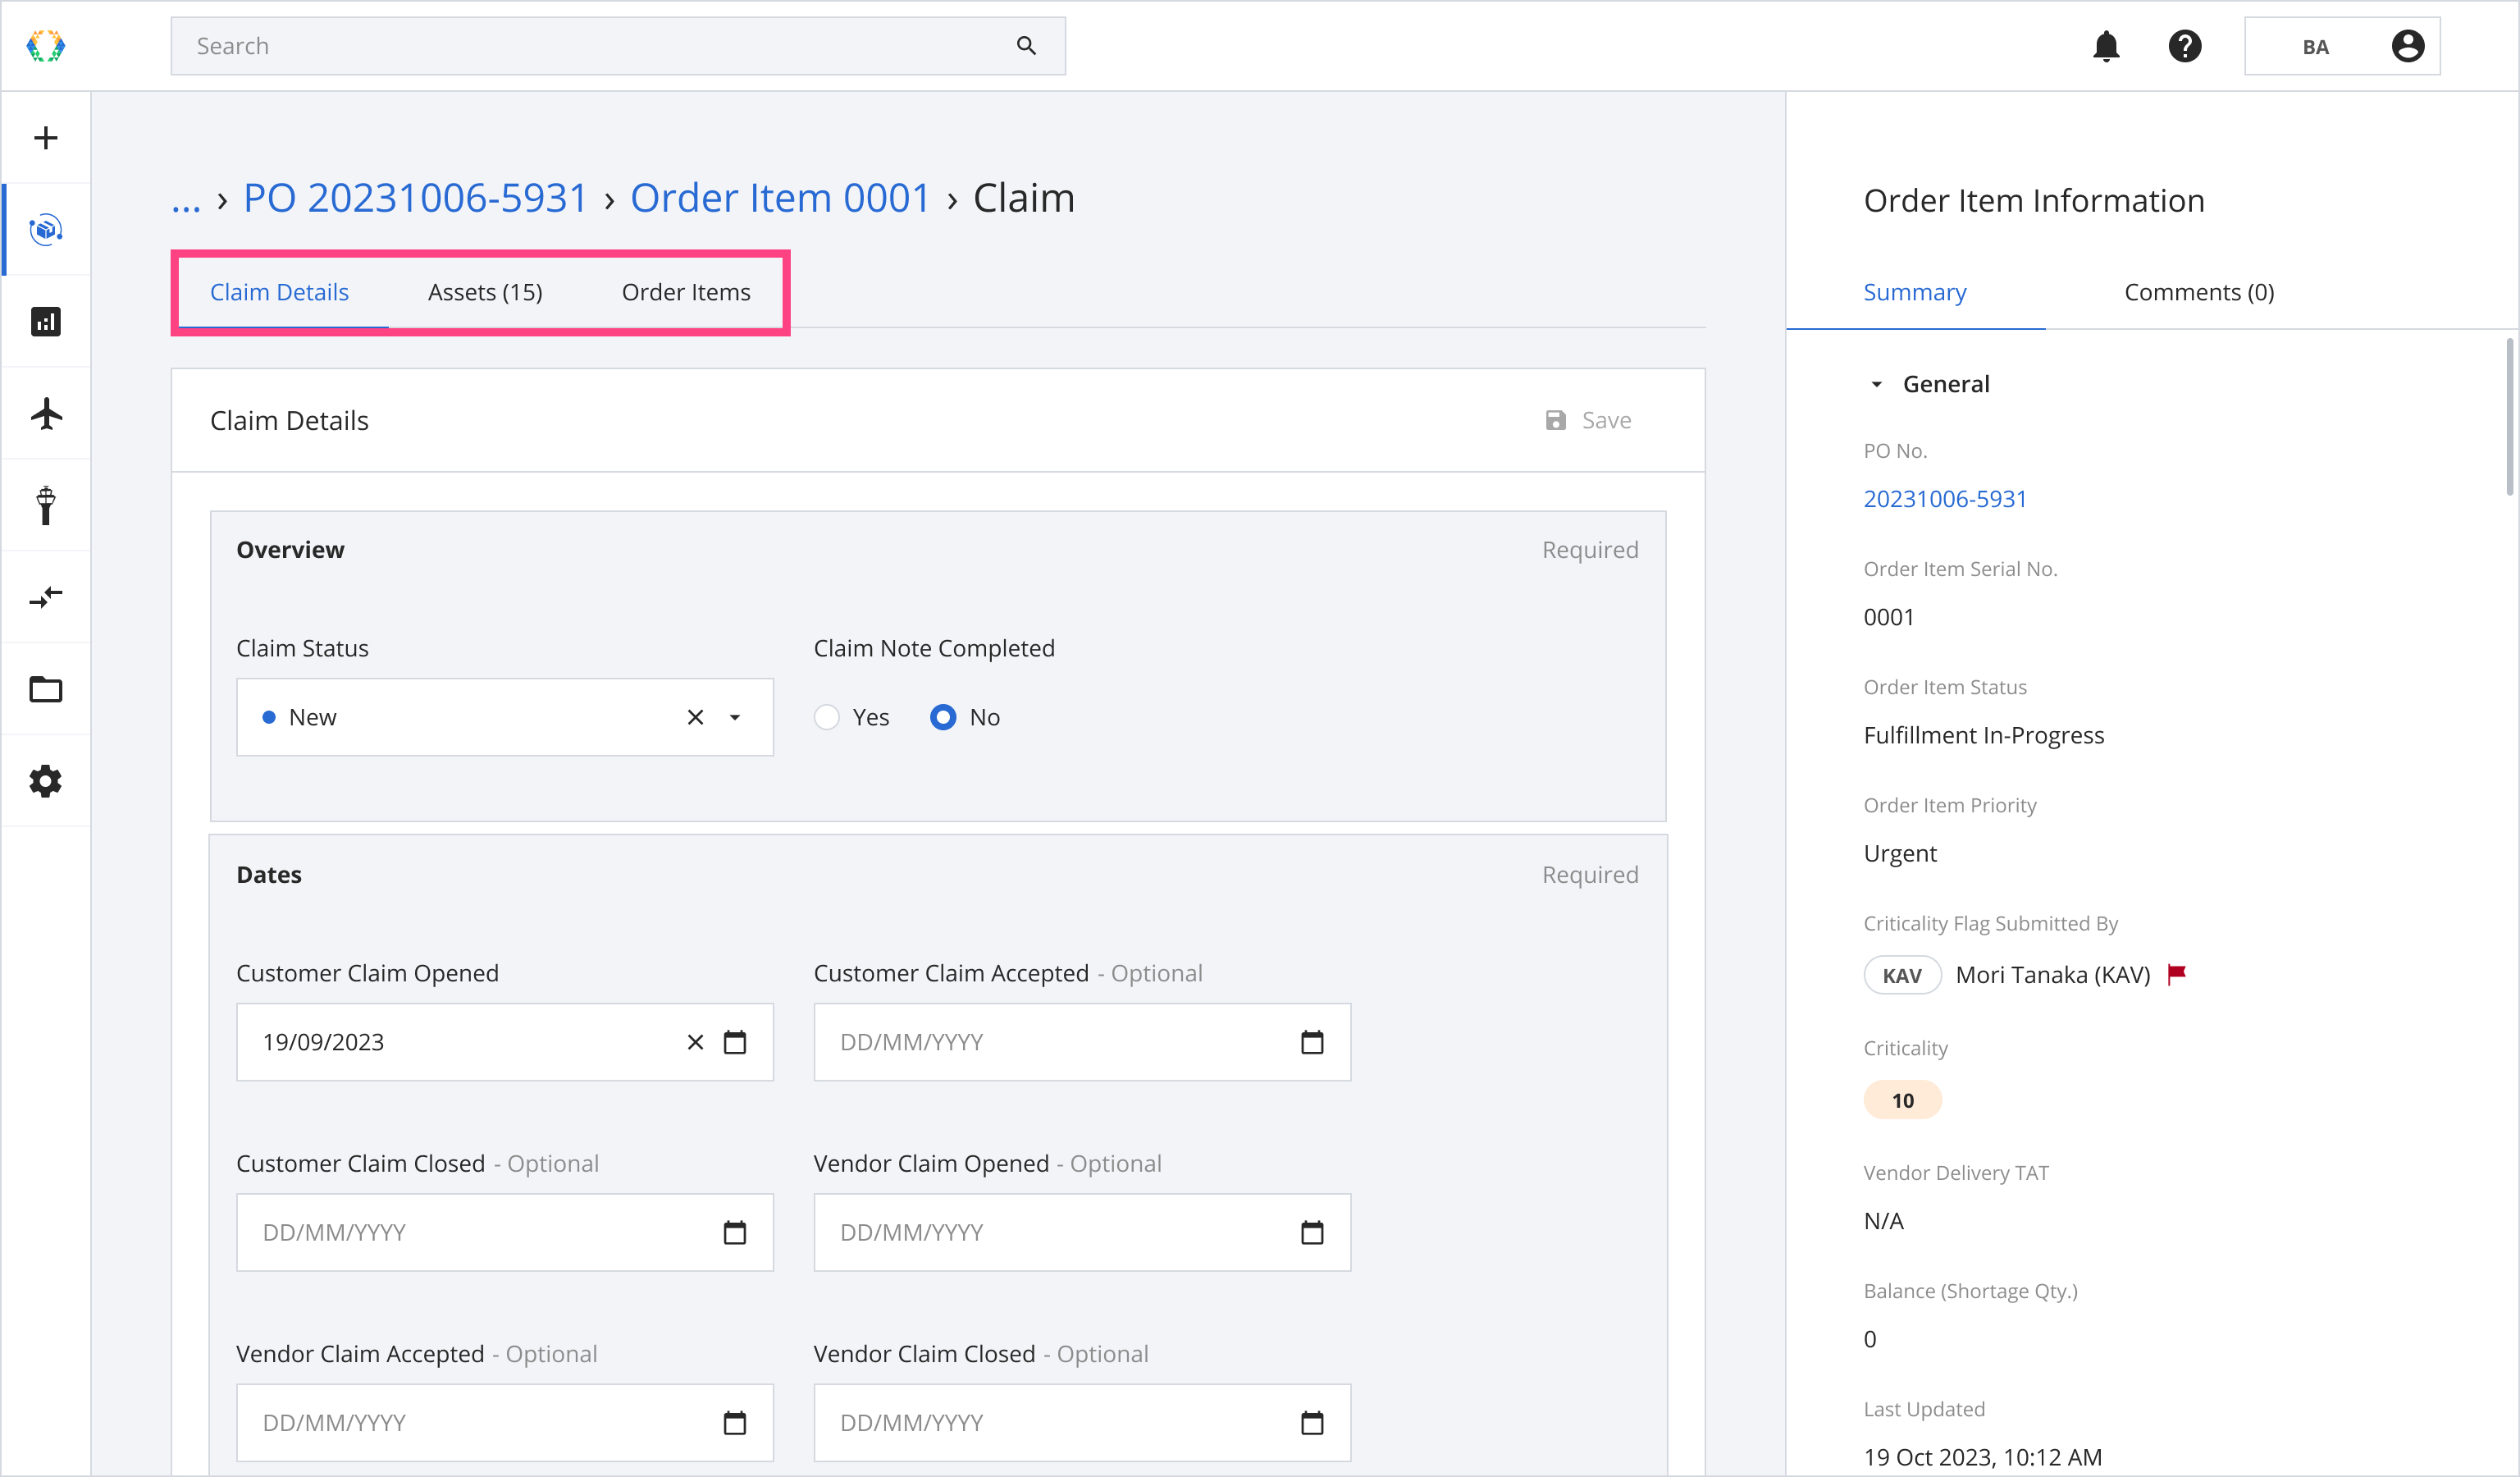
Step 2: Update claim details.
Claim Status and Claim DispositionClaim Status and Claim Disposition needs to be updated manually.
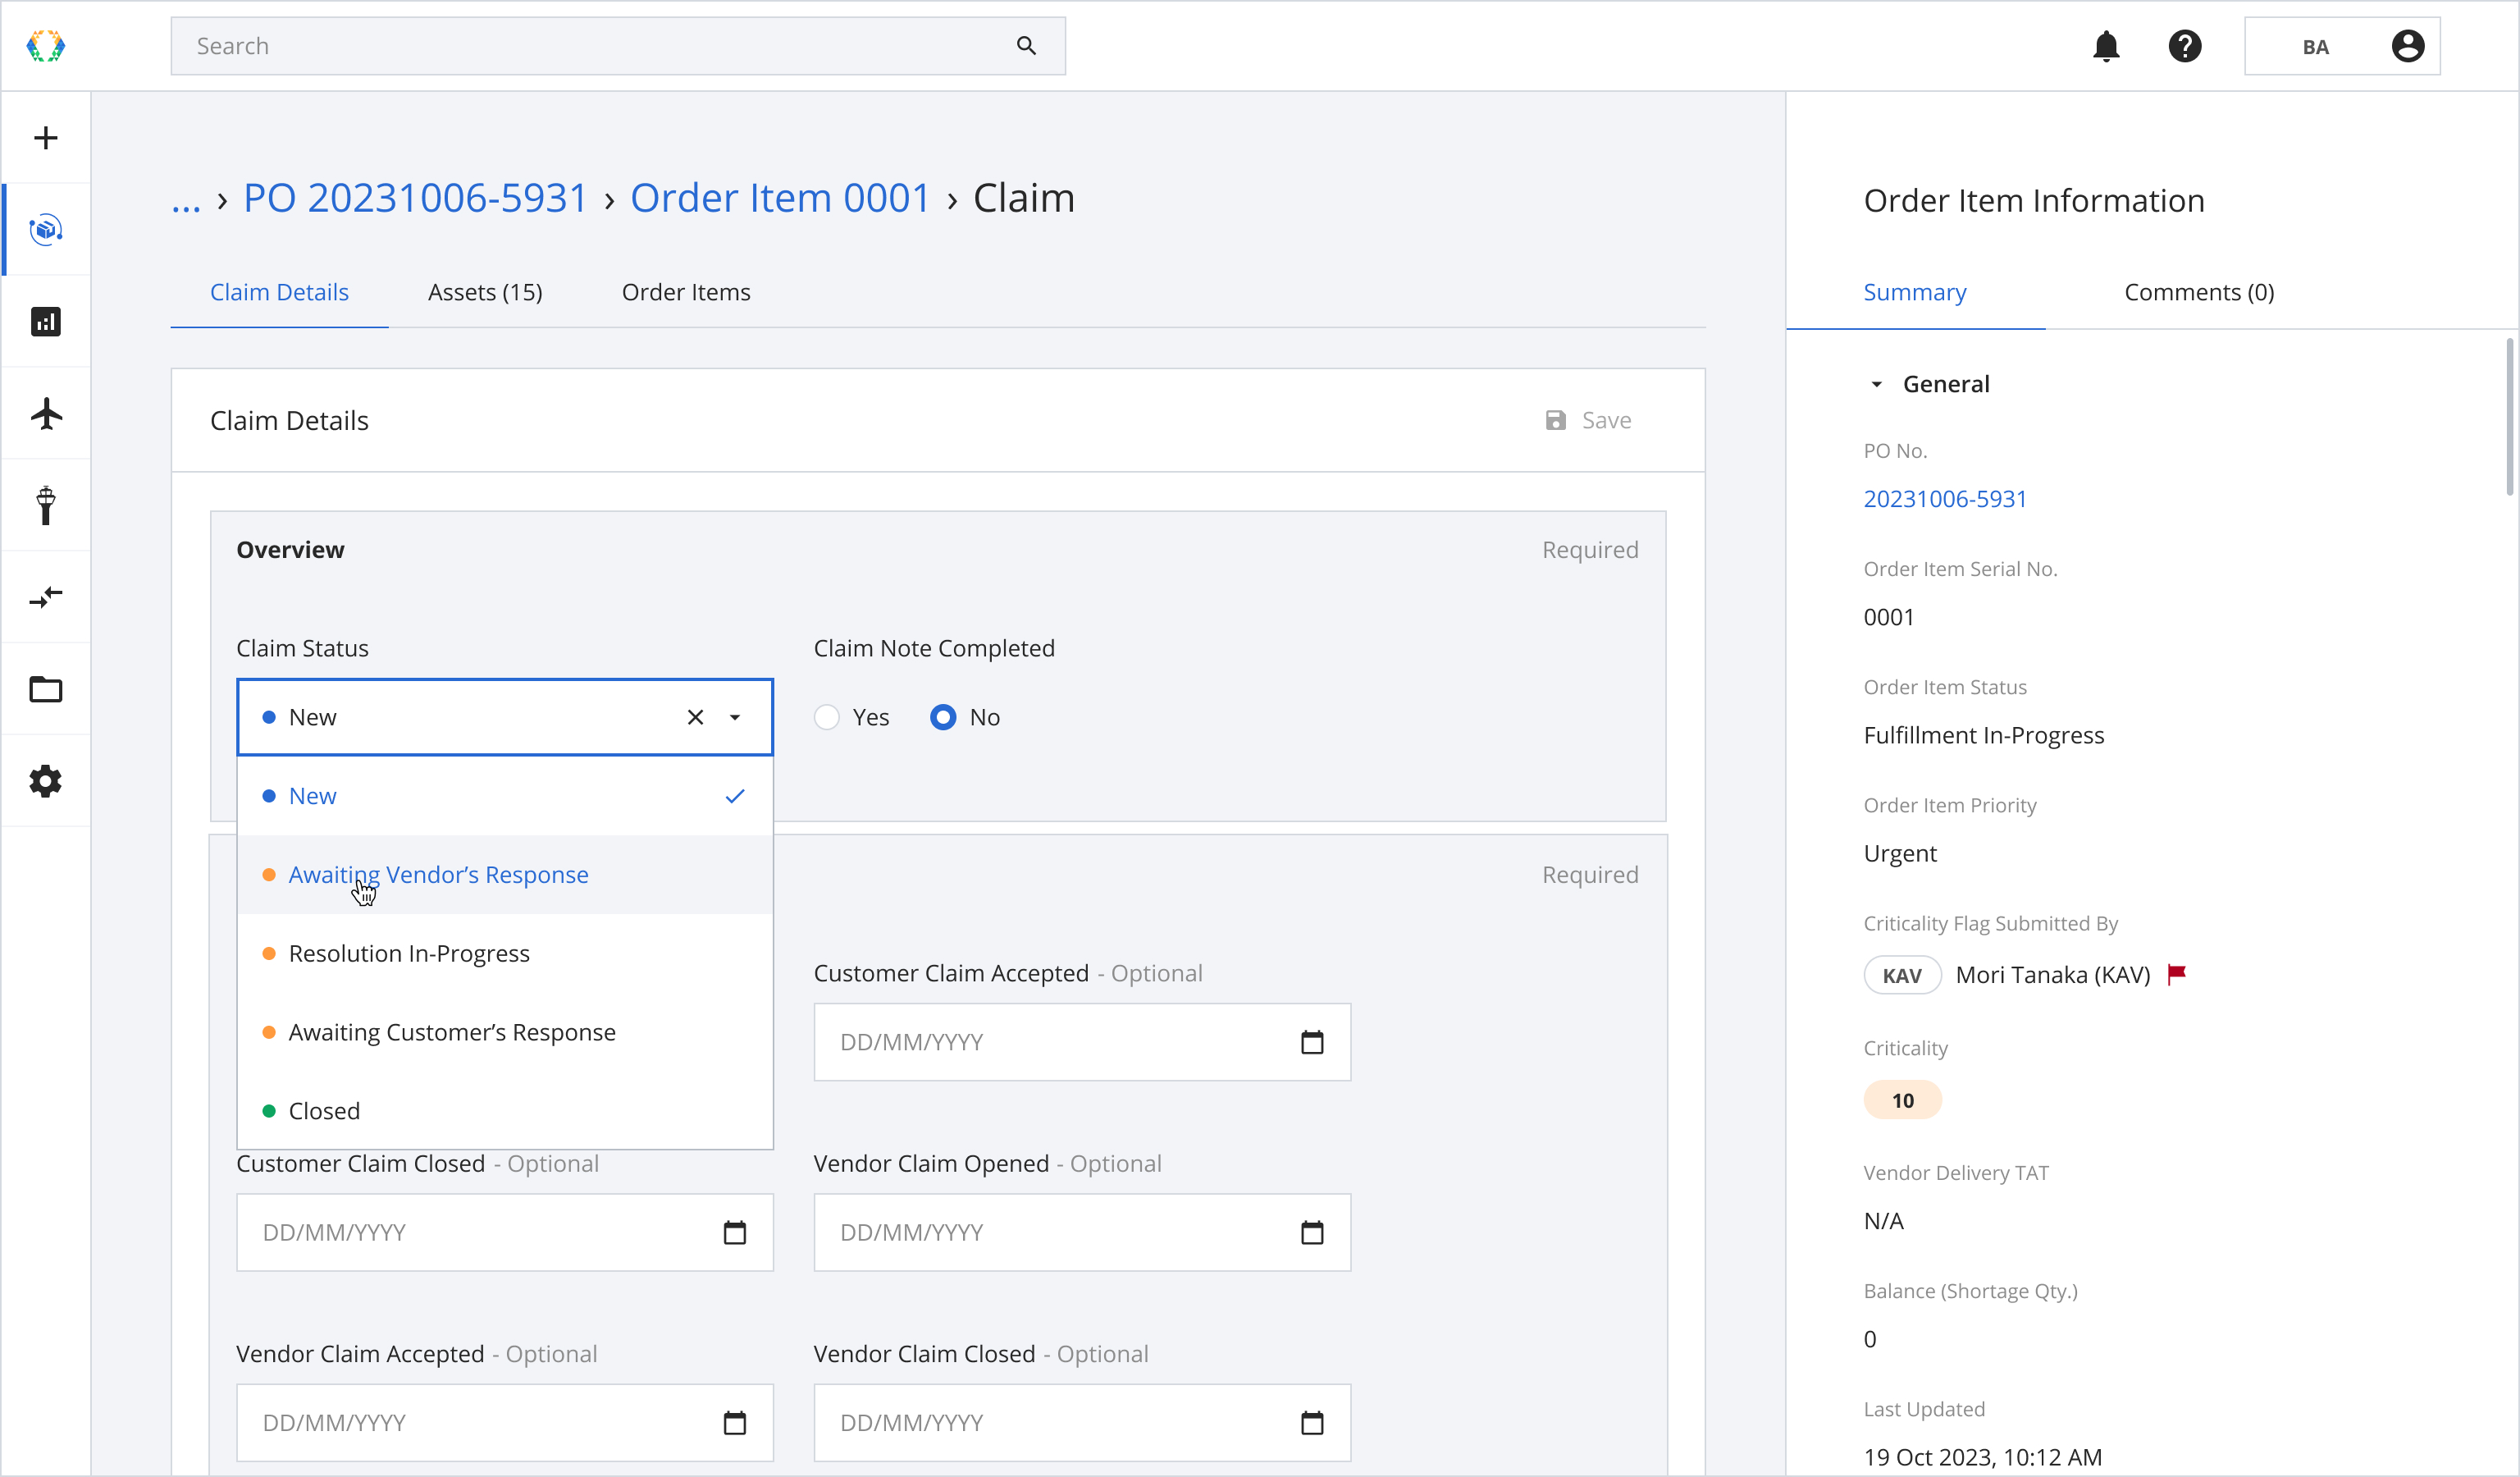

Cancel ClaimUpdate claim disposition to 'Claim Cancelled' and claim status to 'Closed'.
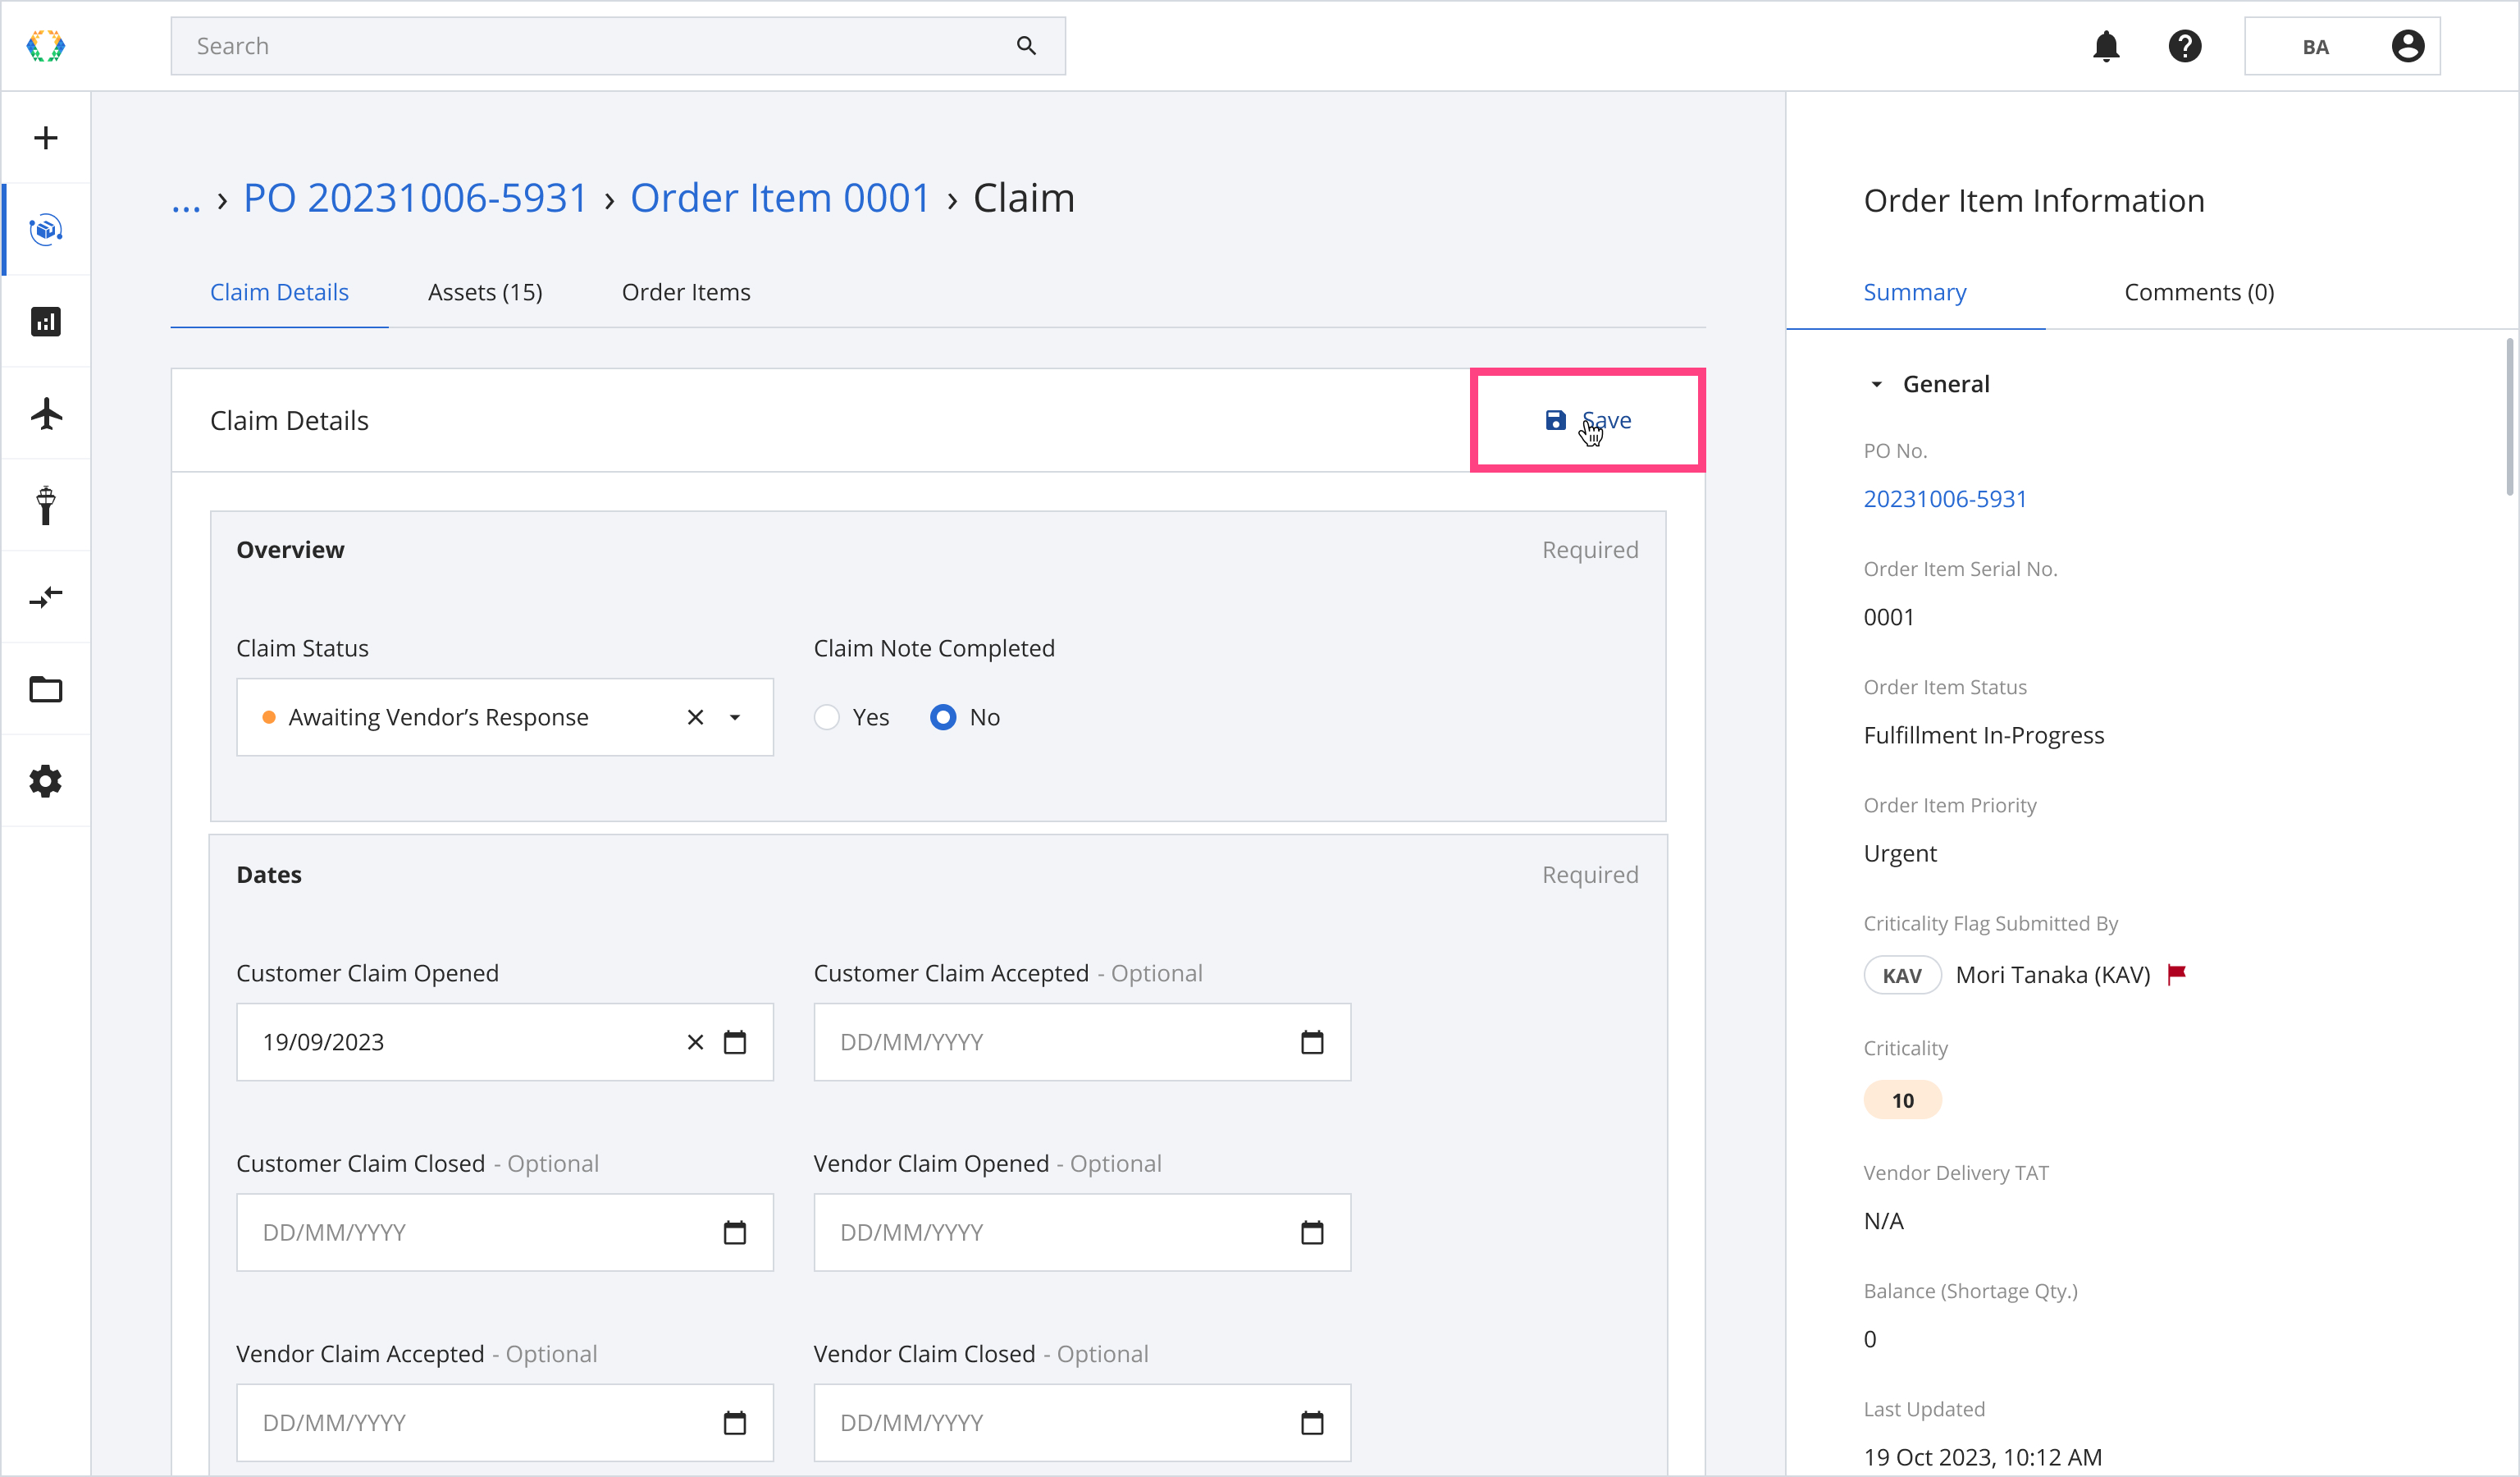
Step 3: Click 'Save'.
Option 2: Update Claims Assets
Add Assets to a Claim
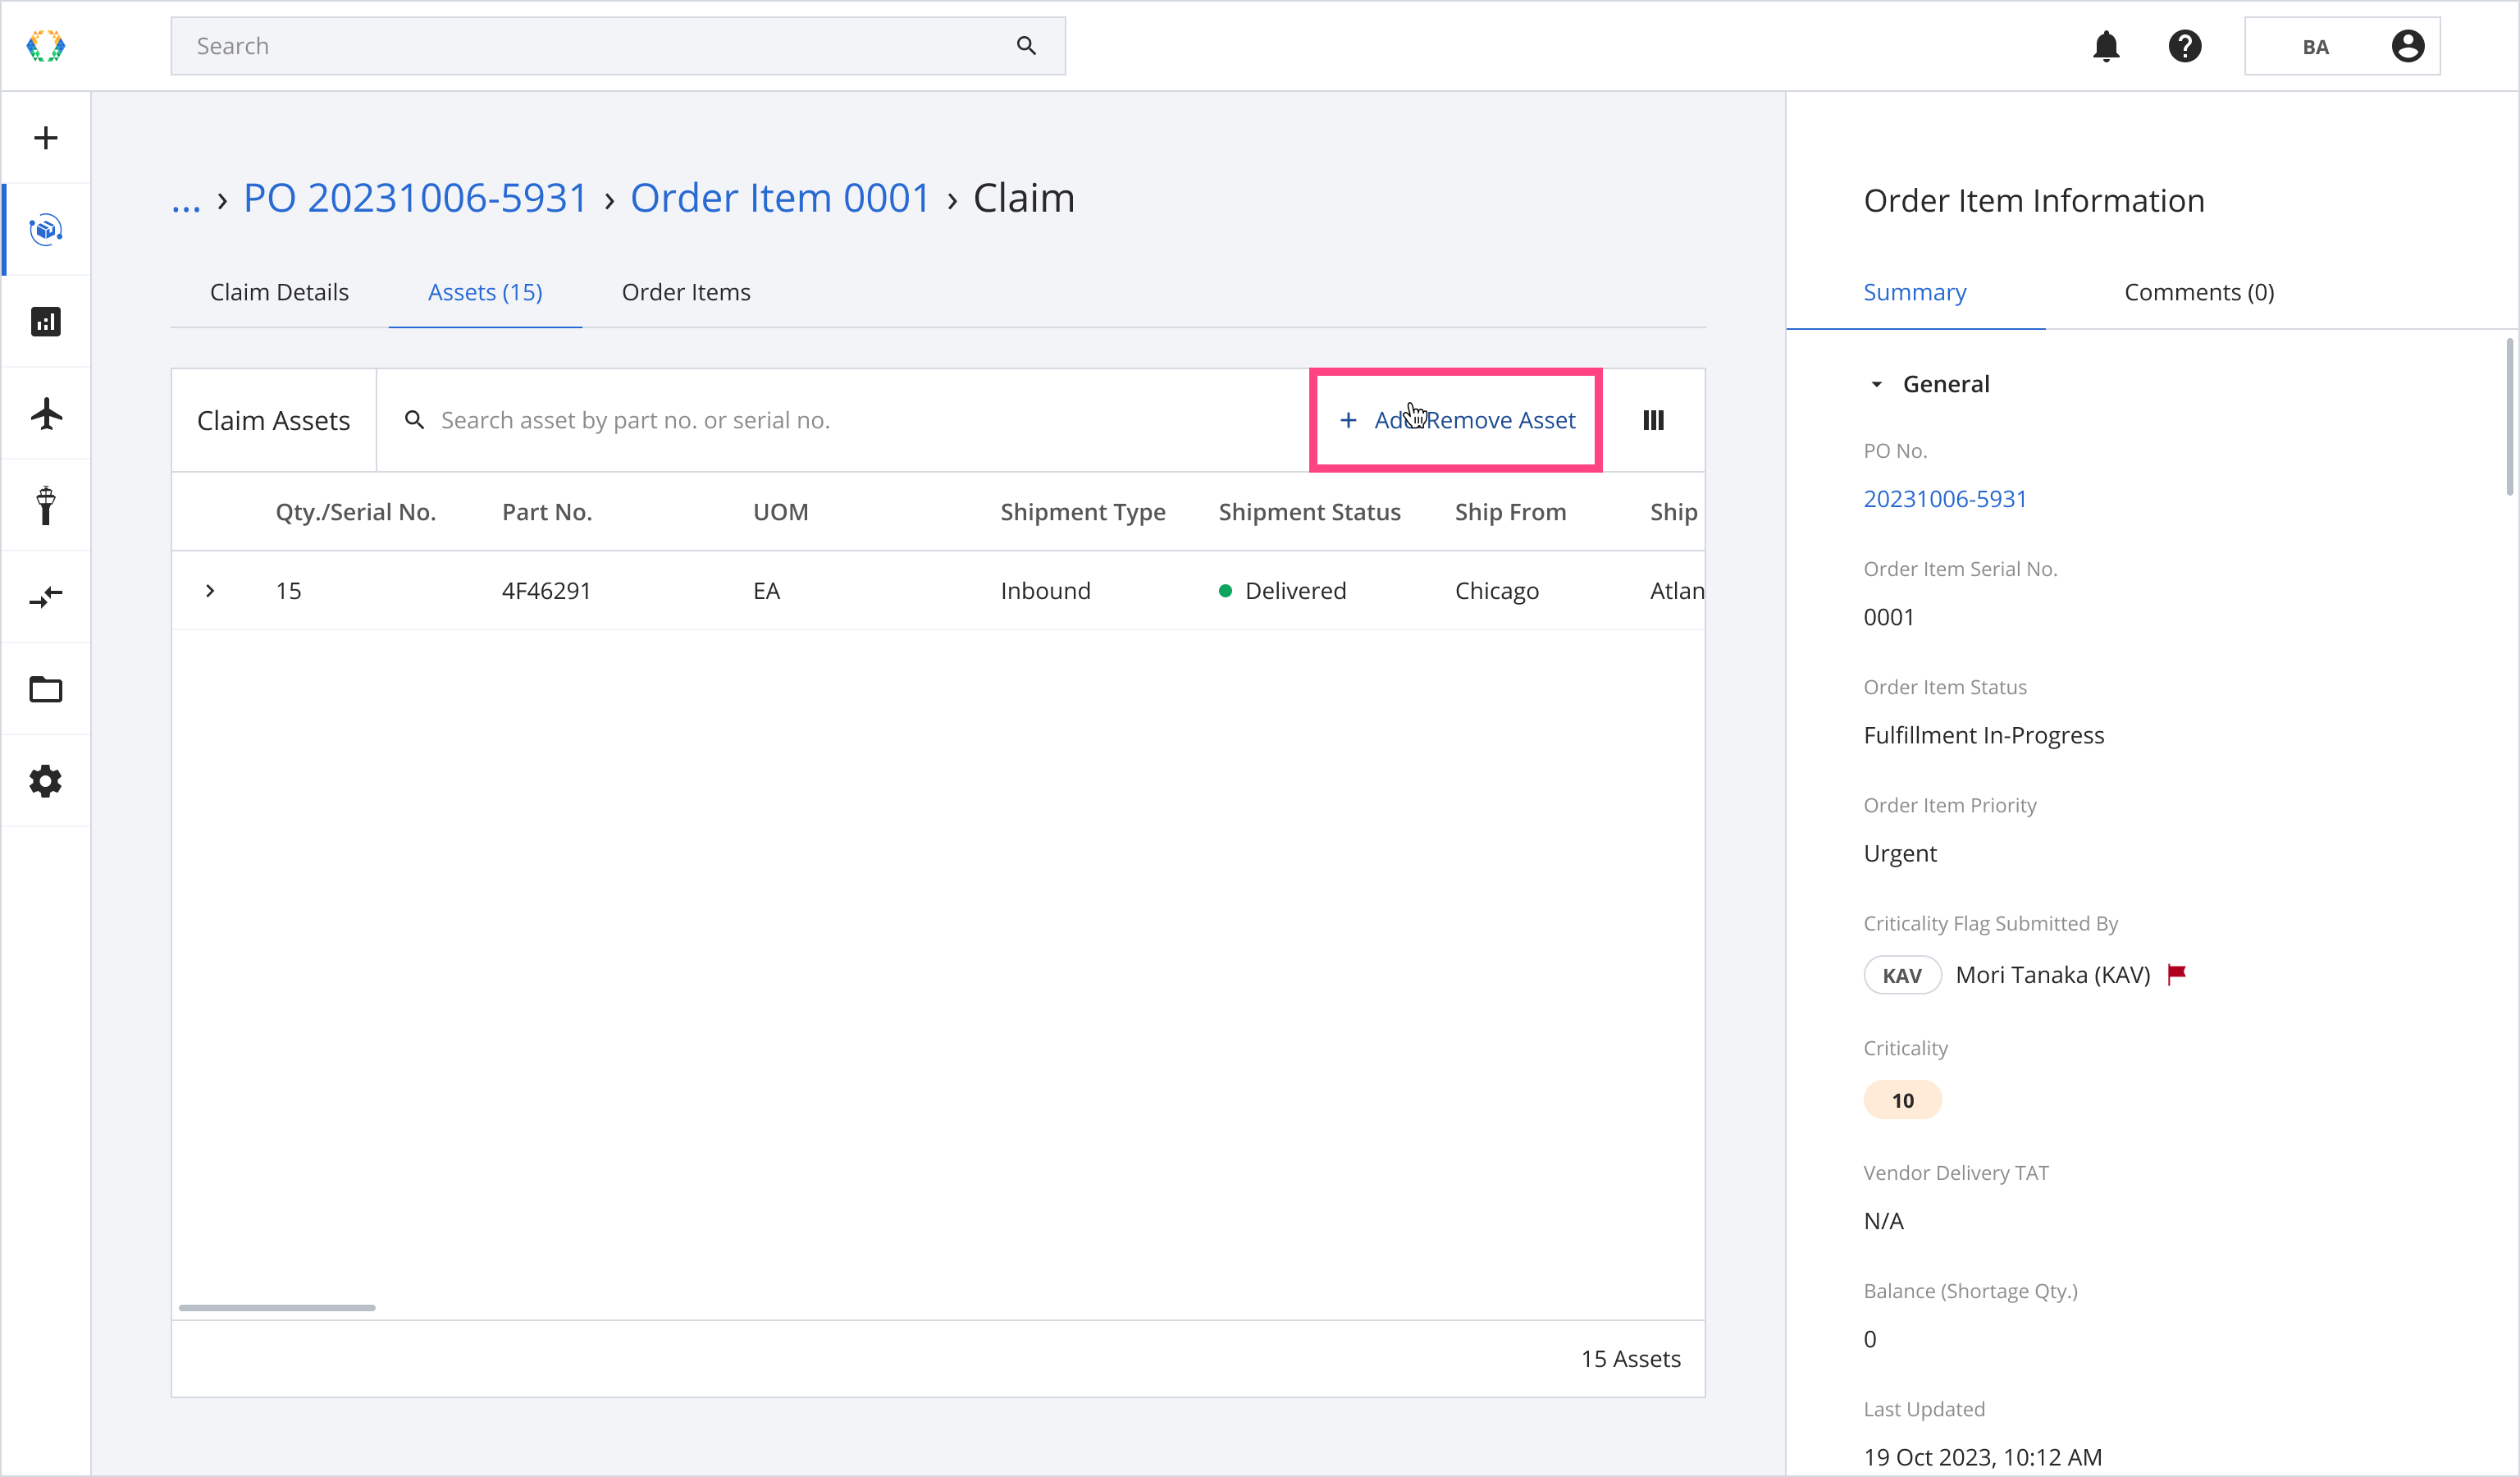
Step 1: On claim details page, click on 'Assets' tab.
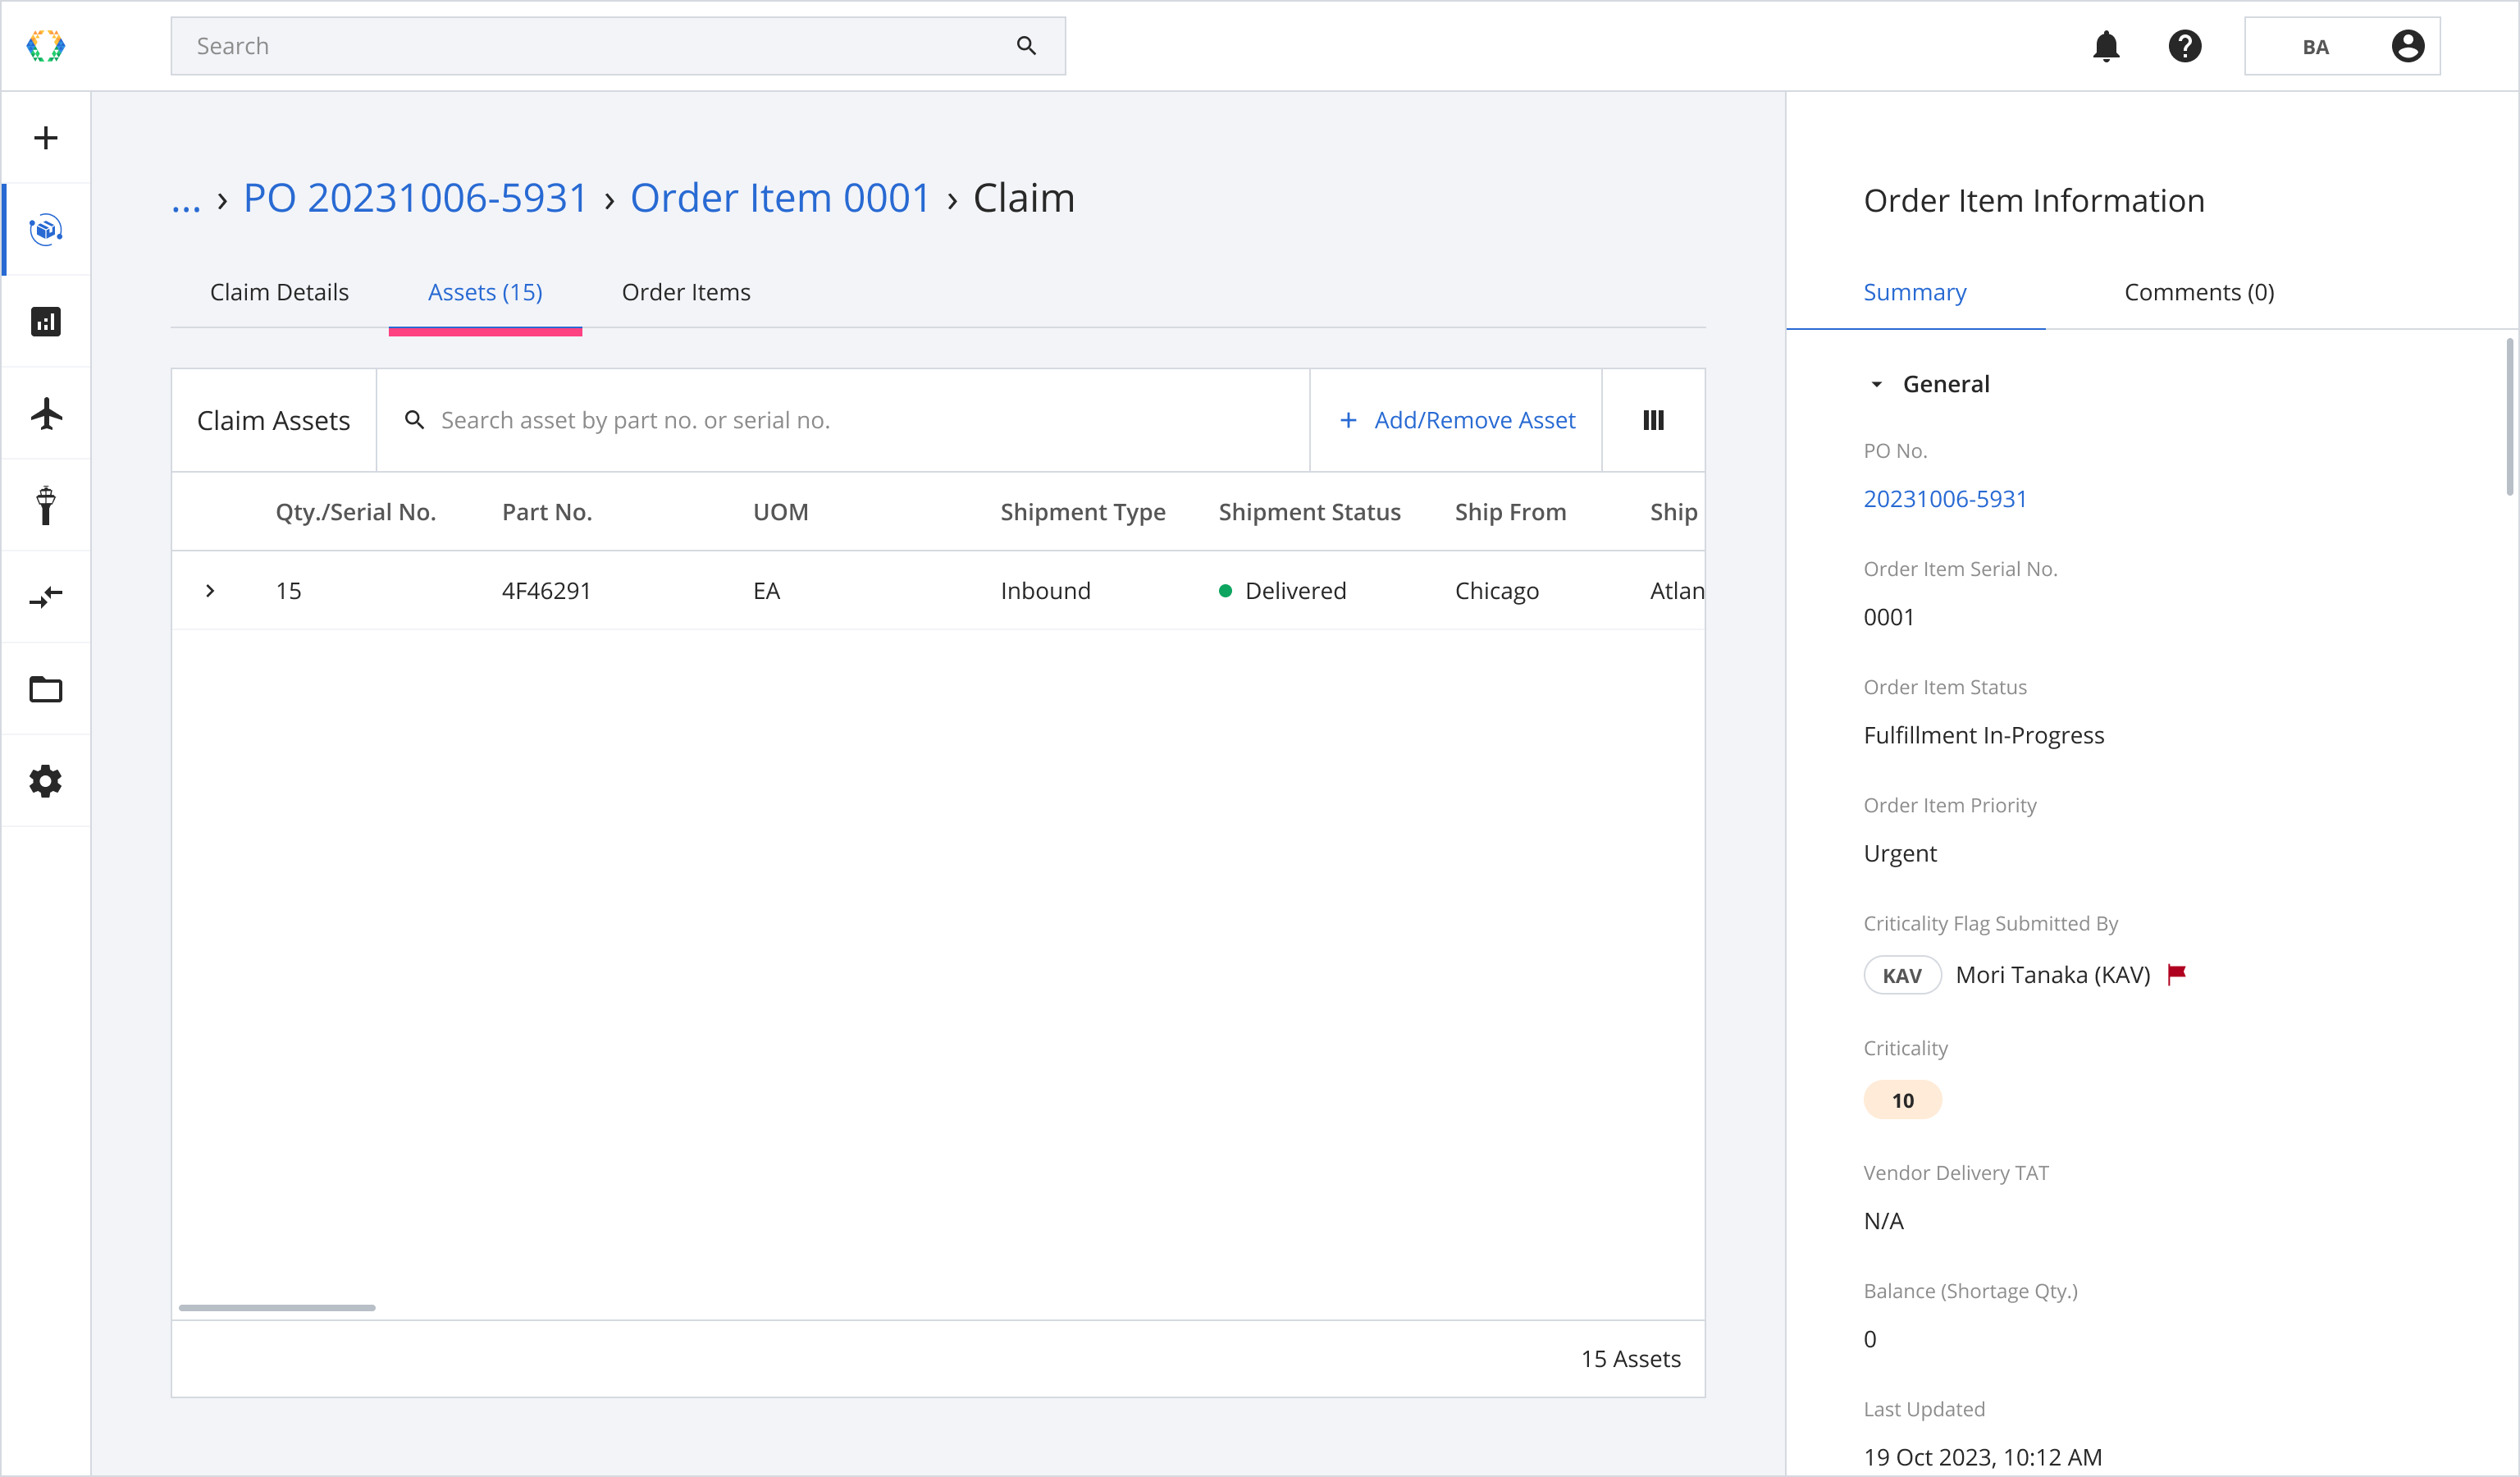
Step 2: Click '+ Add/Remove Assets'.

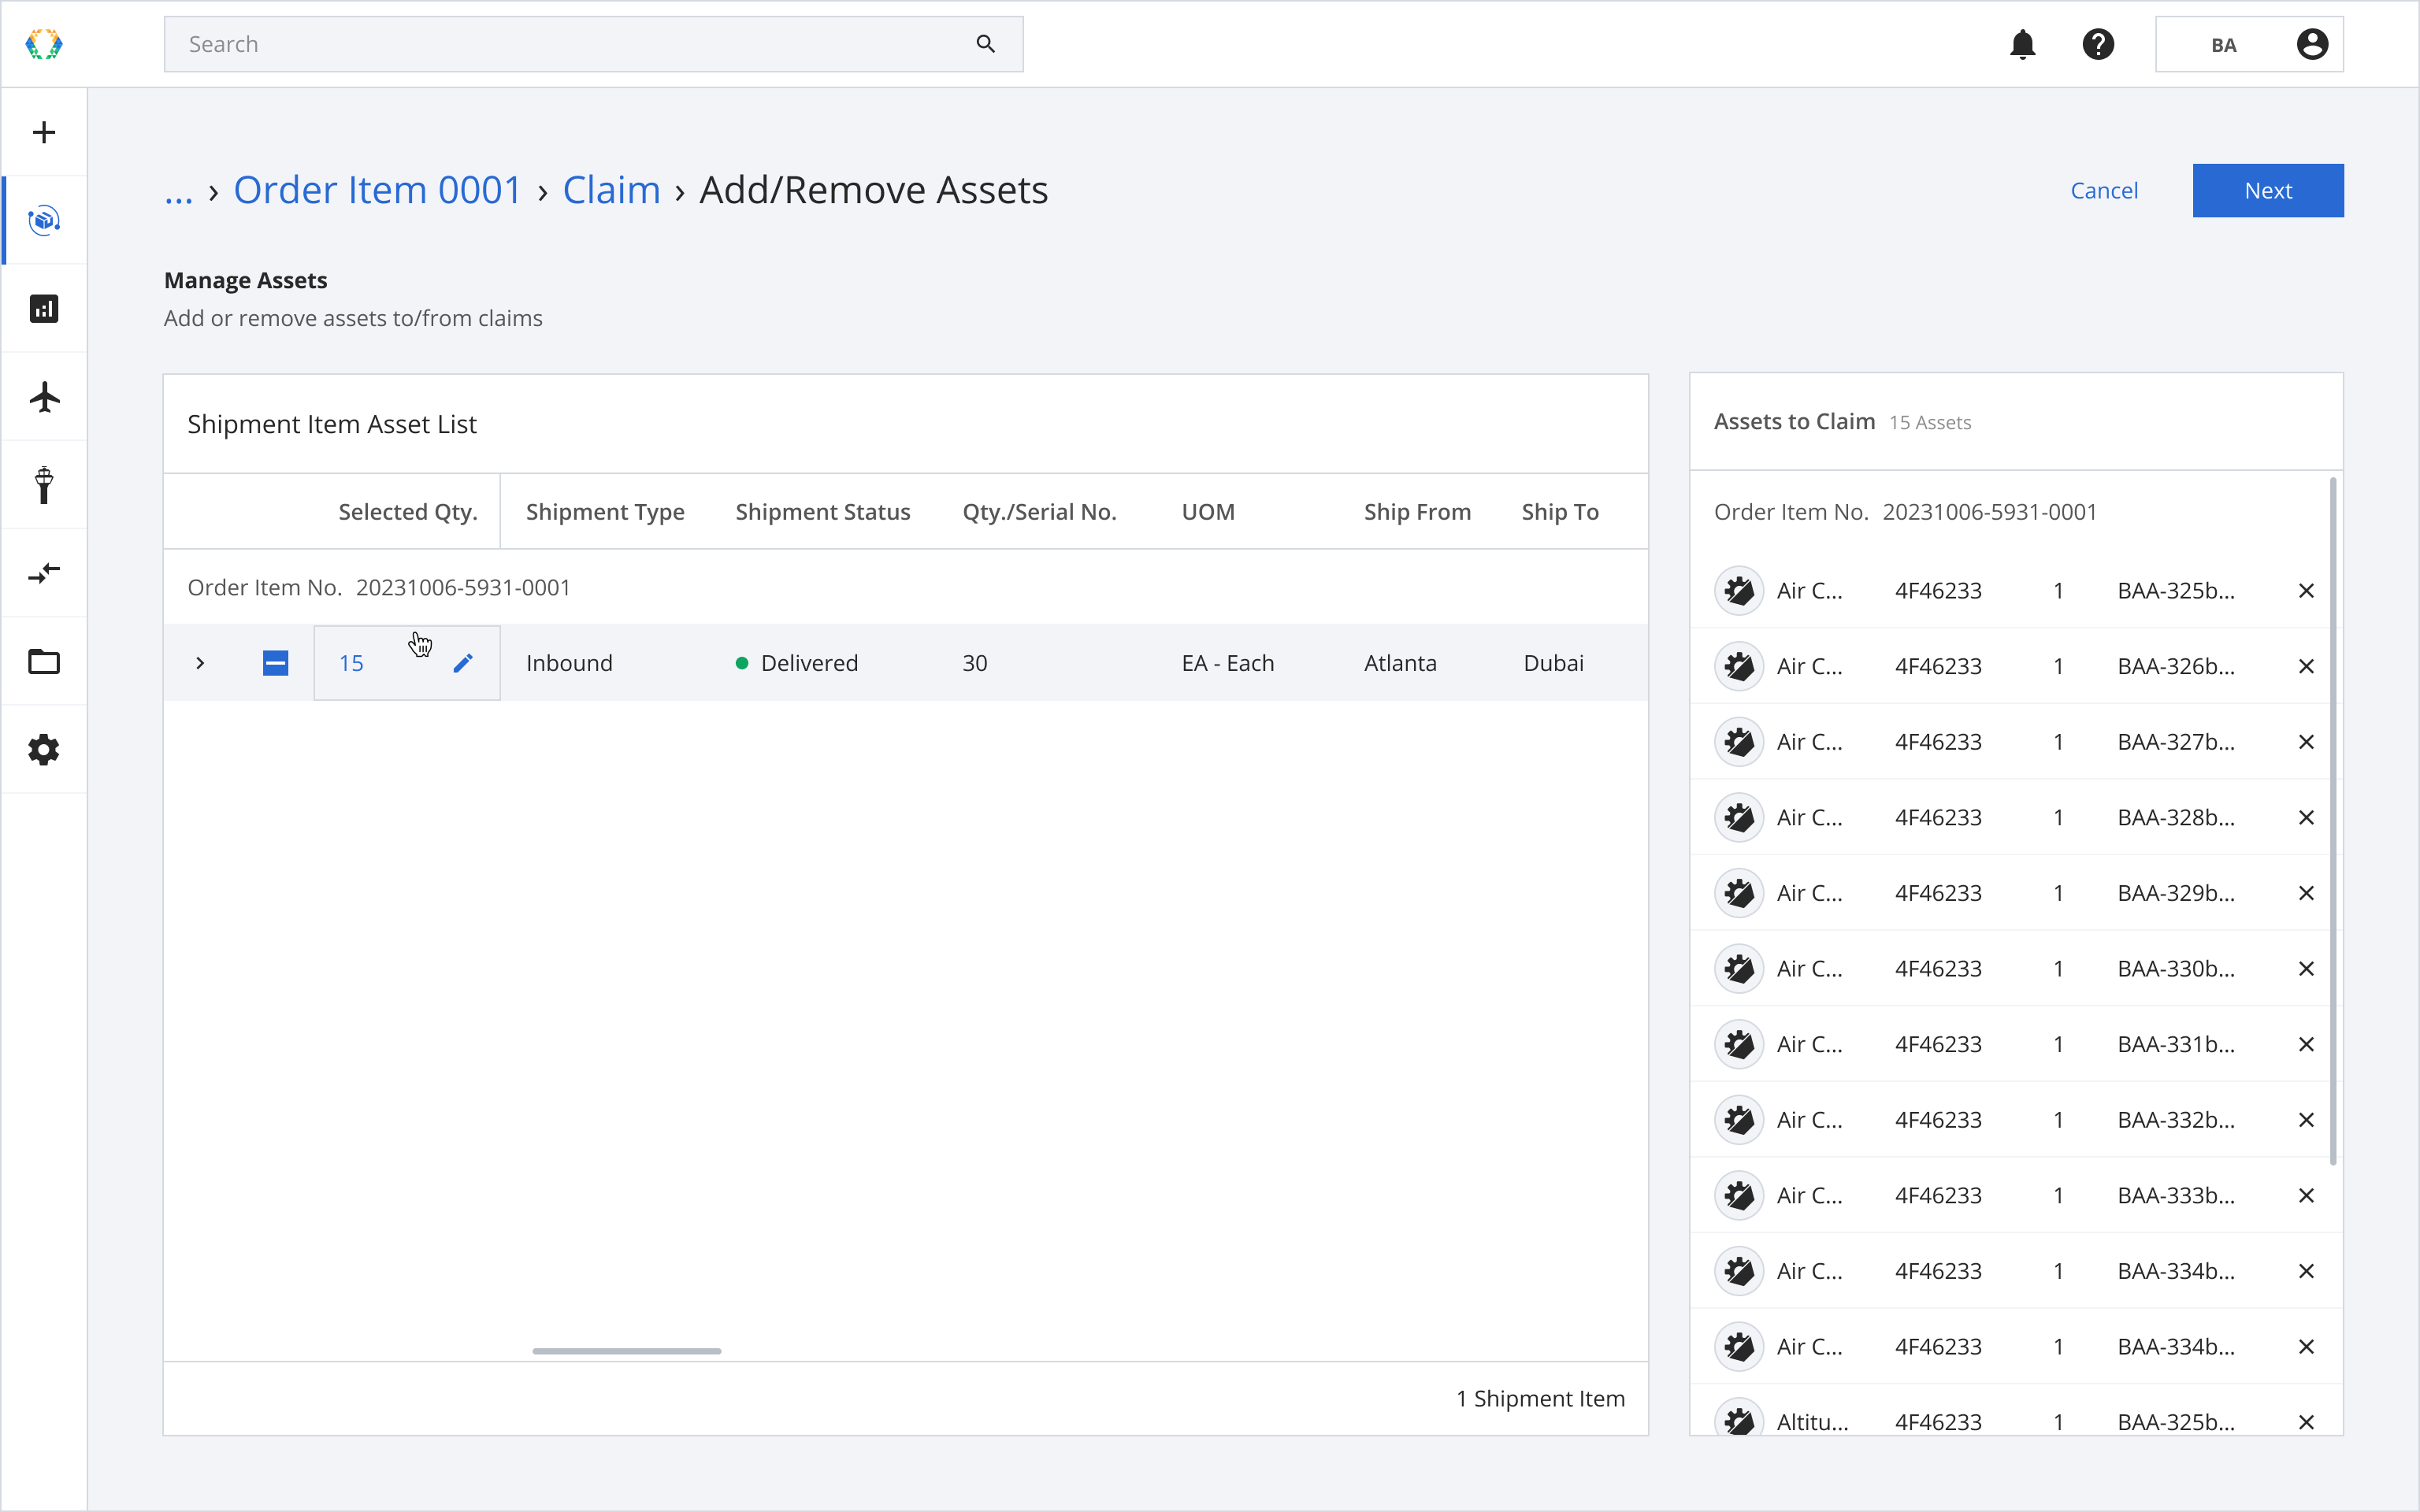
Step 3: In the 'Manage Assets' step, you will see the Shipment Item Asset List with the shipment item you used as a reference while creating the claim. Add assets to your claim.
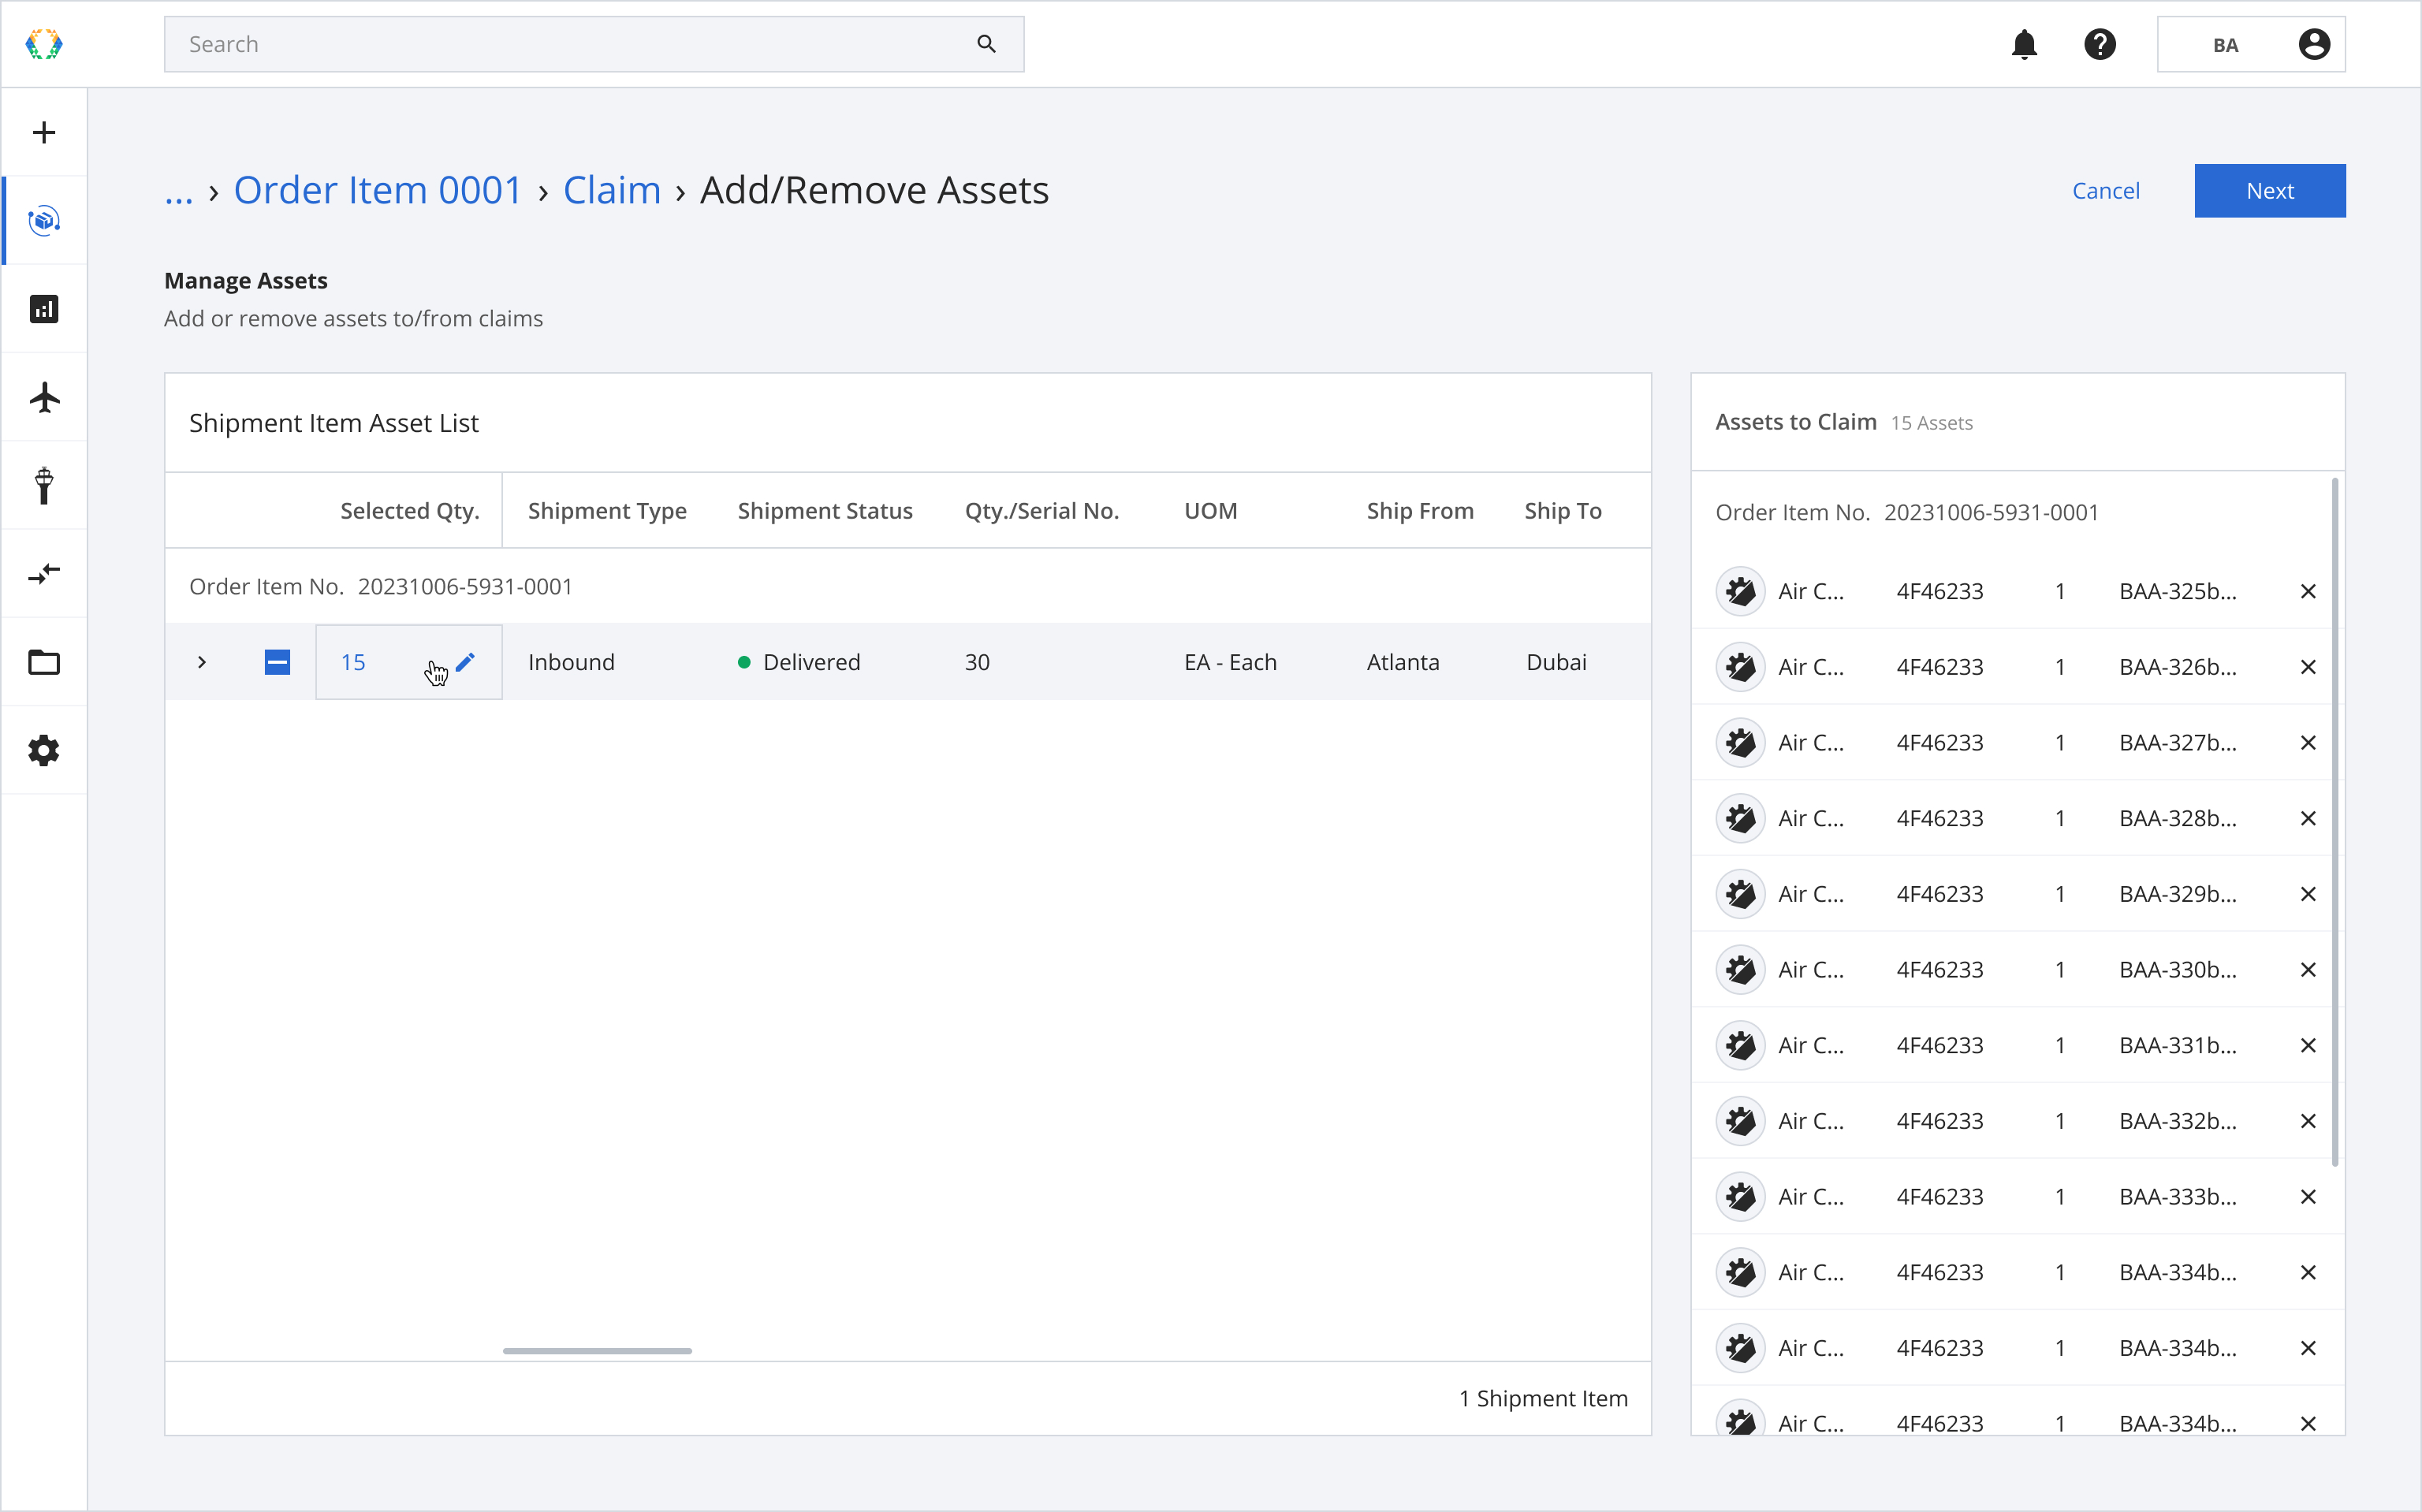

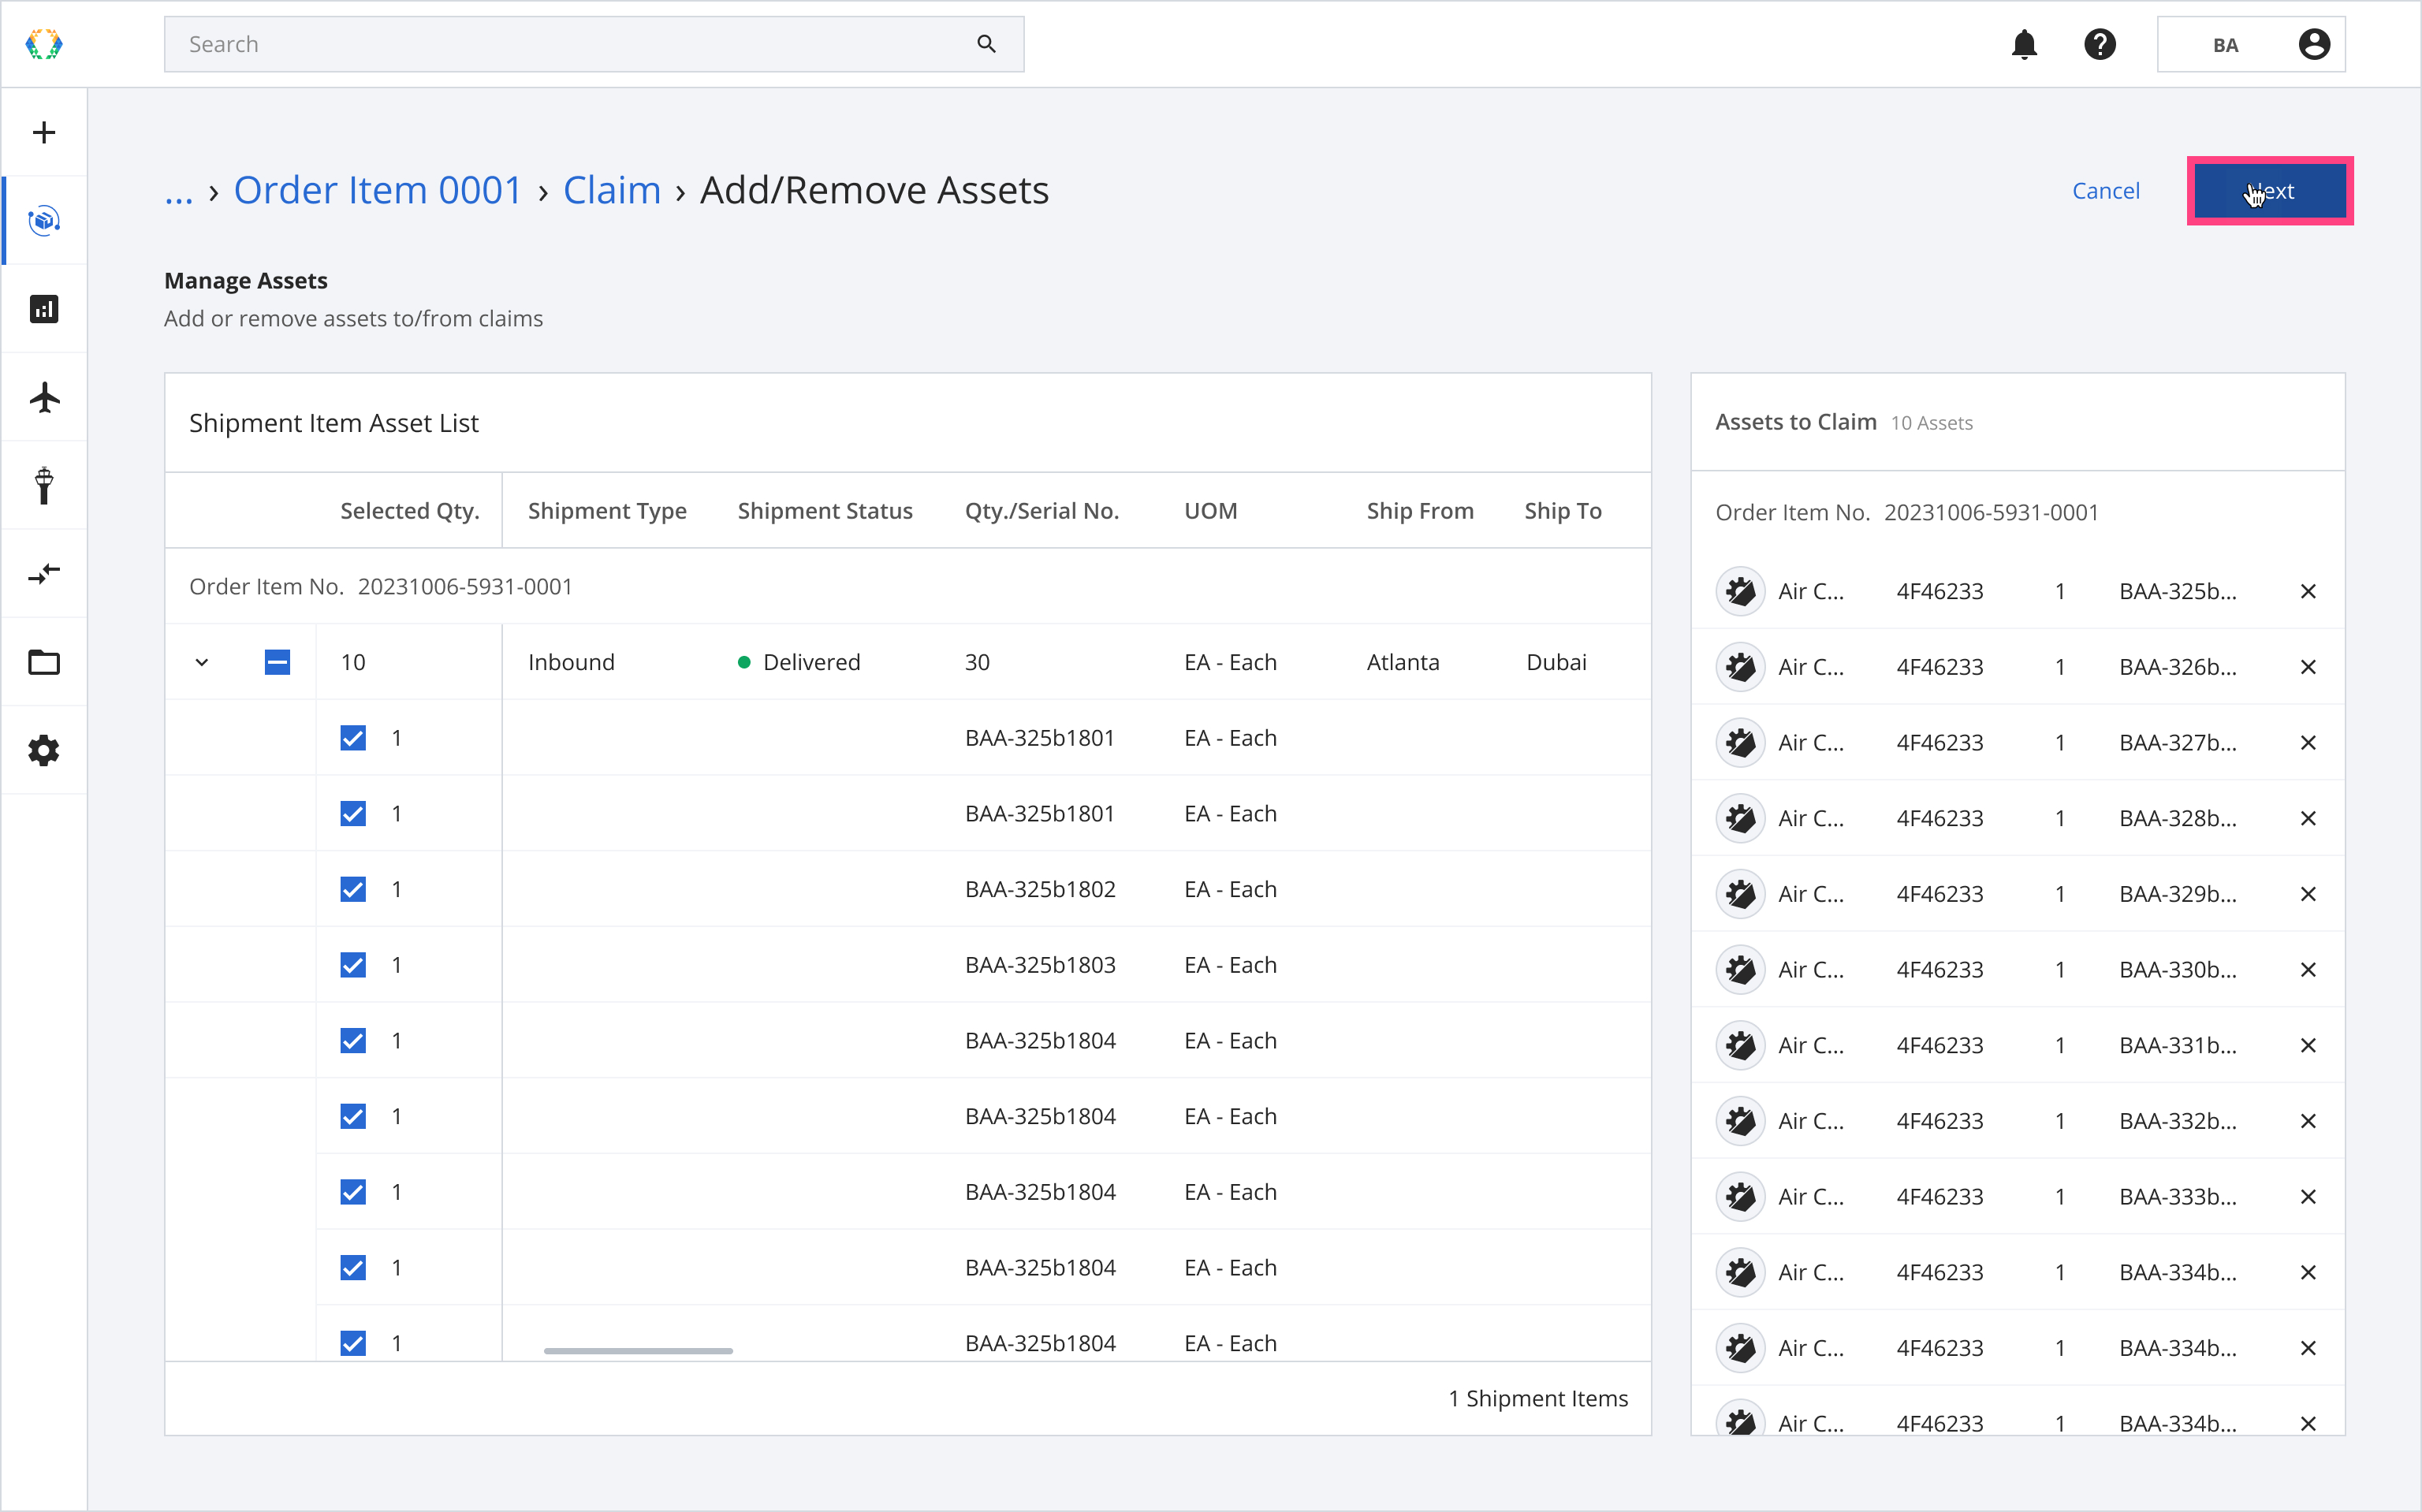
For serialized assets: You can expand claim assets to select specific serialized assets to add or remove.
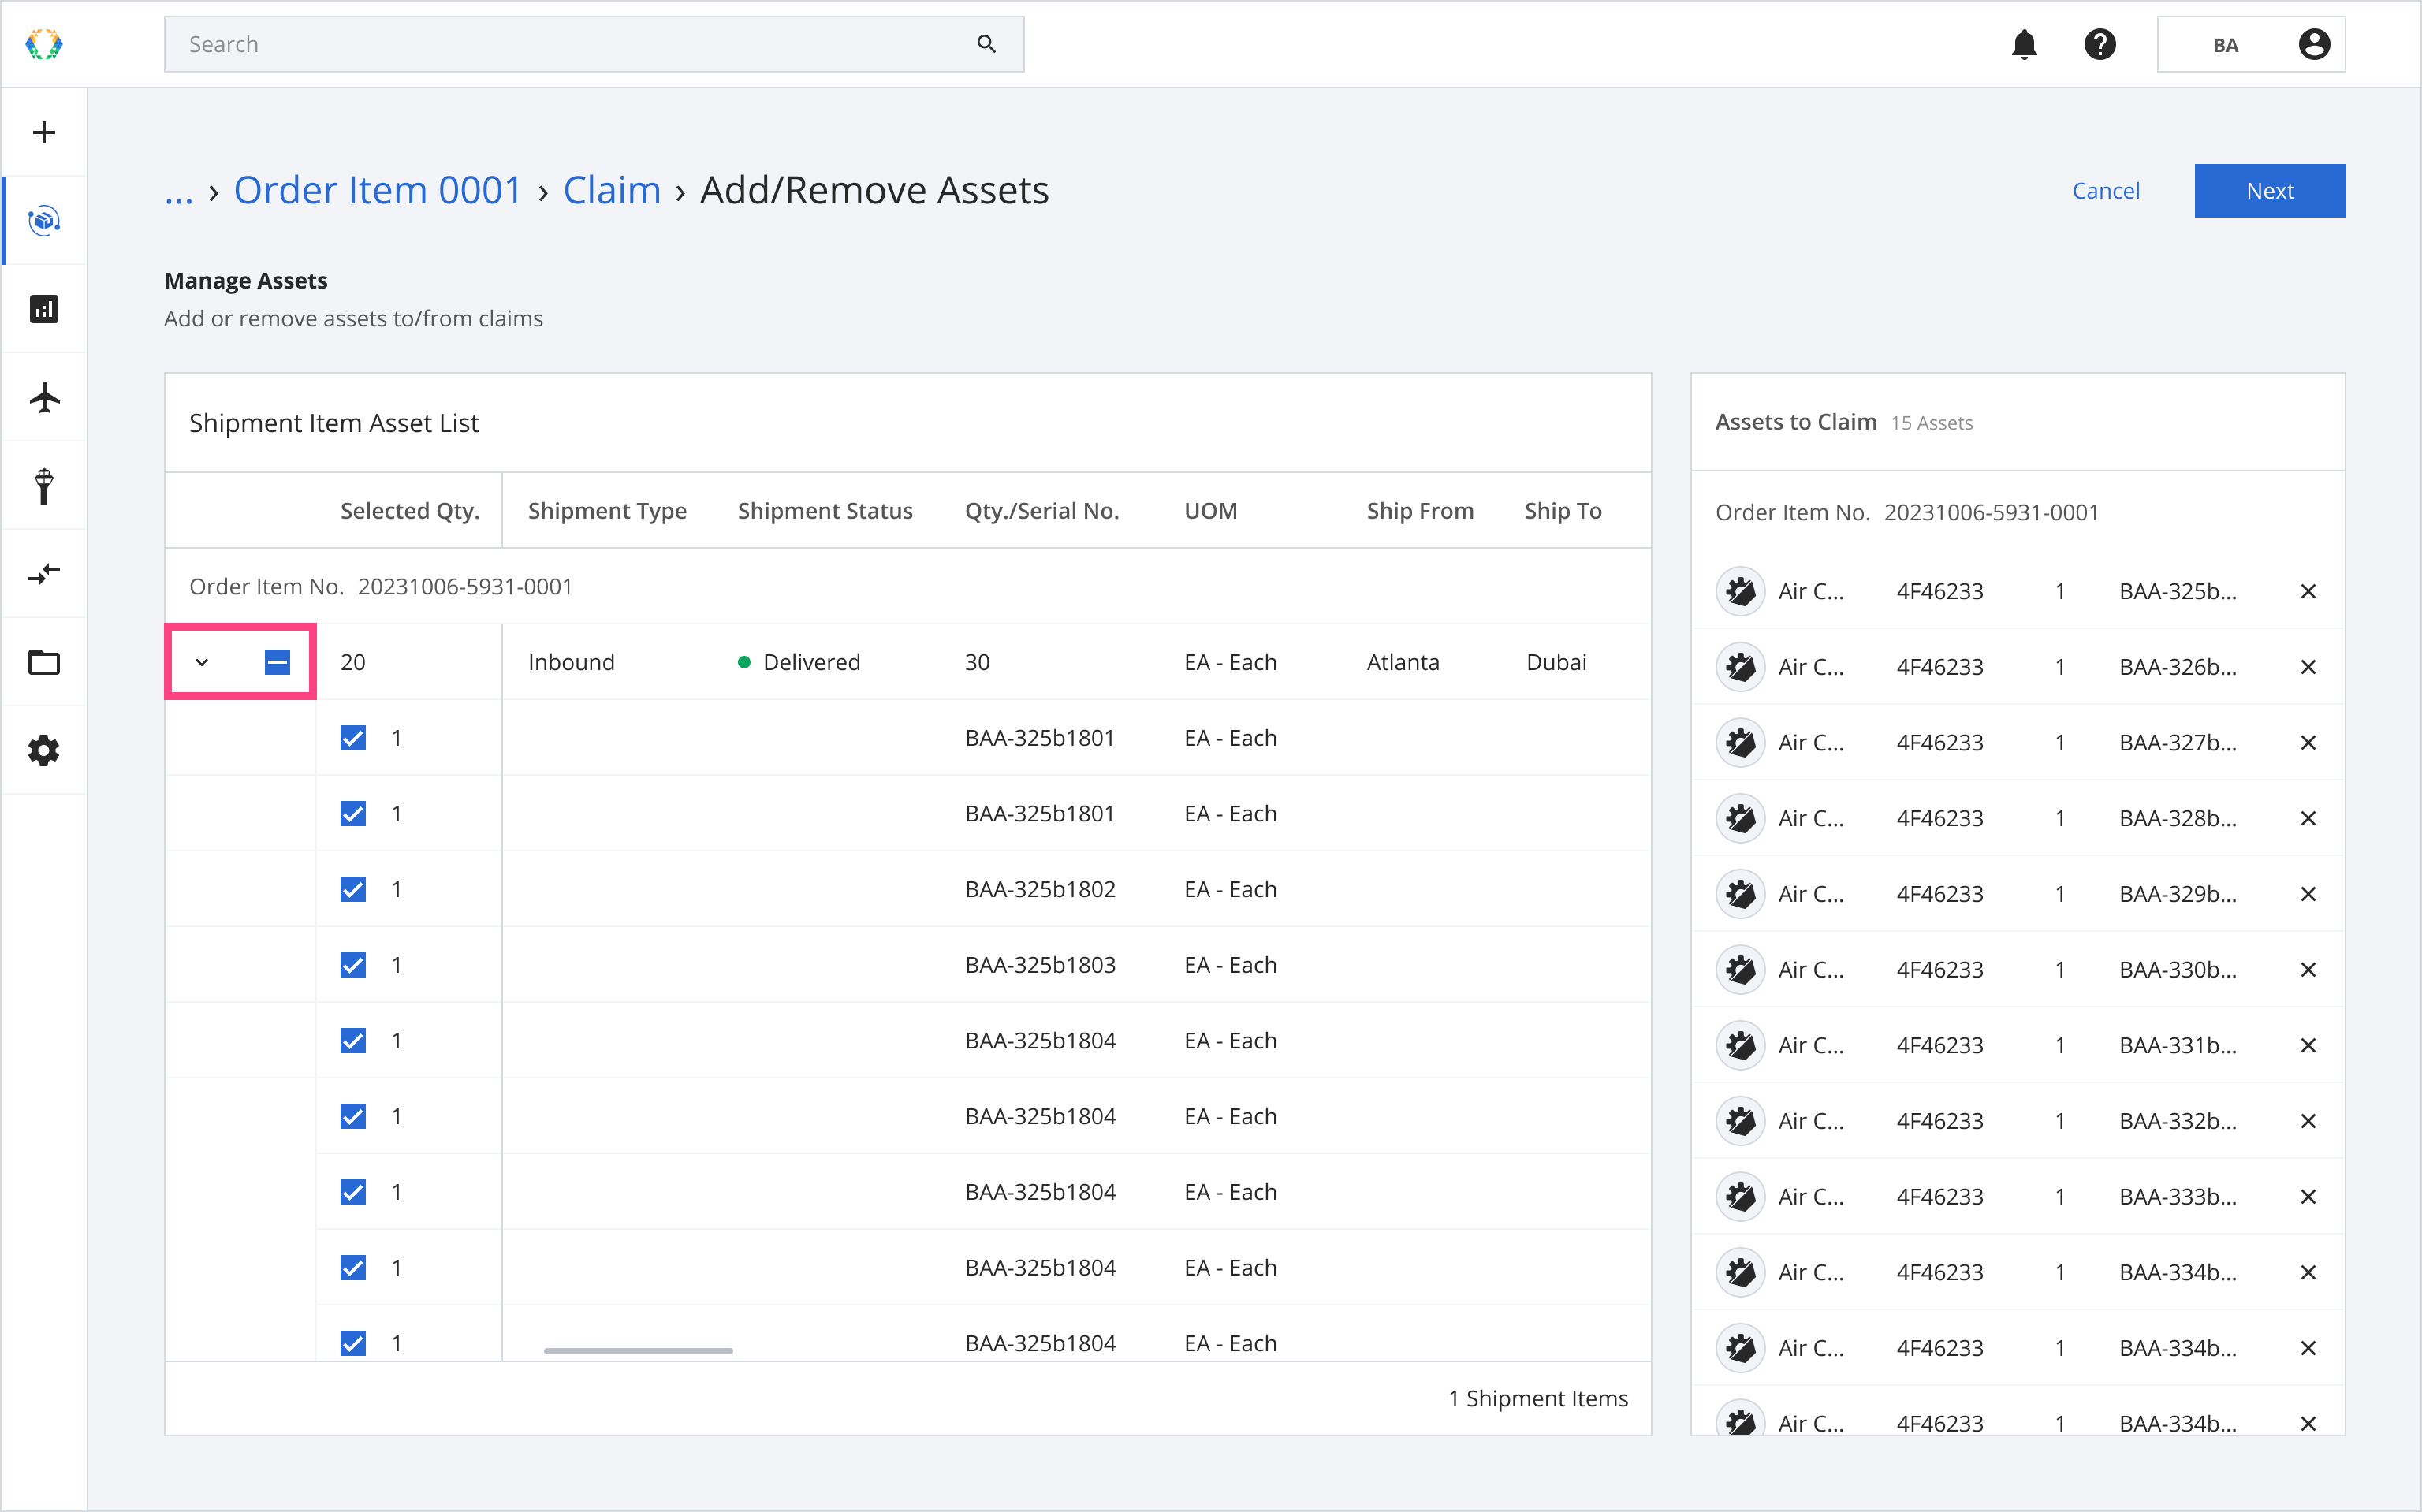
Step 4: Click 'Next'.

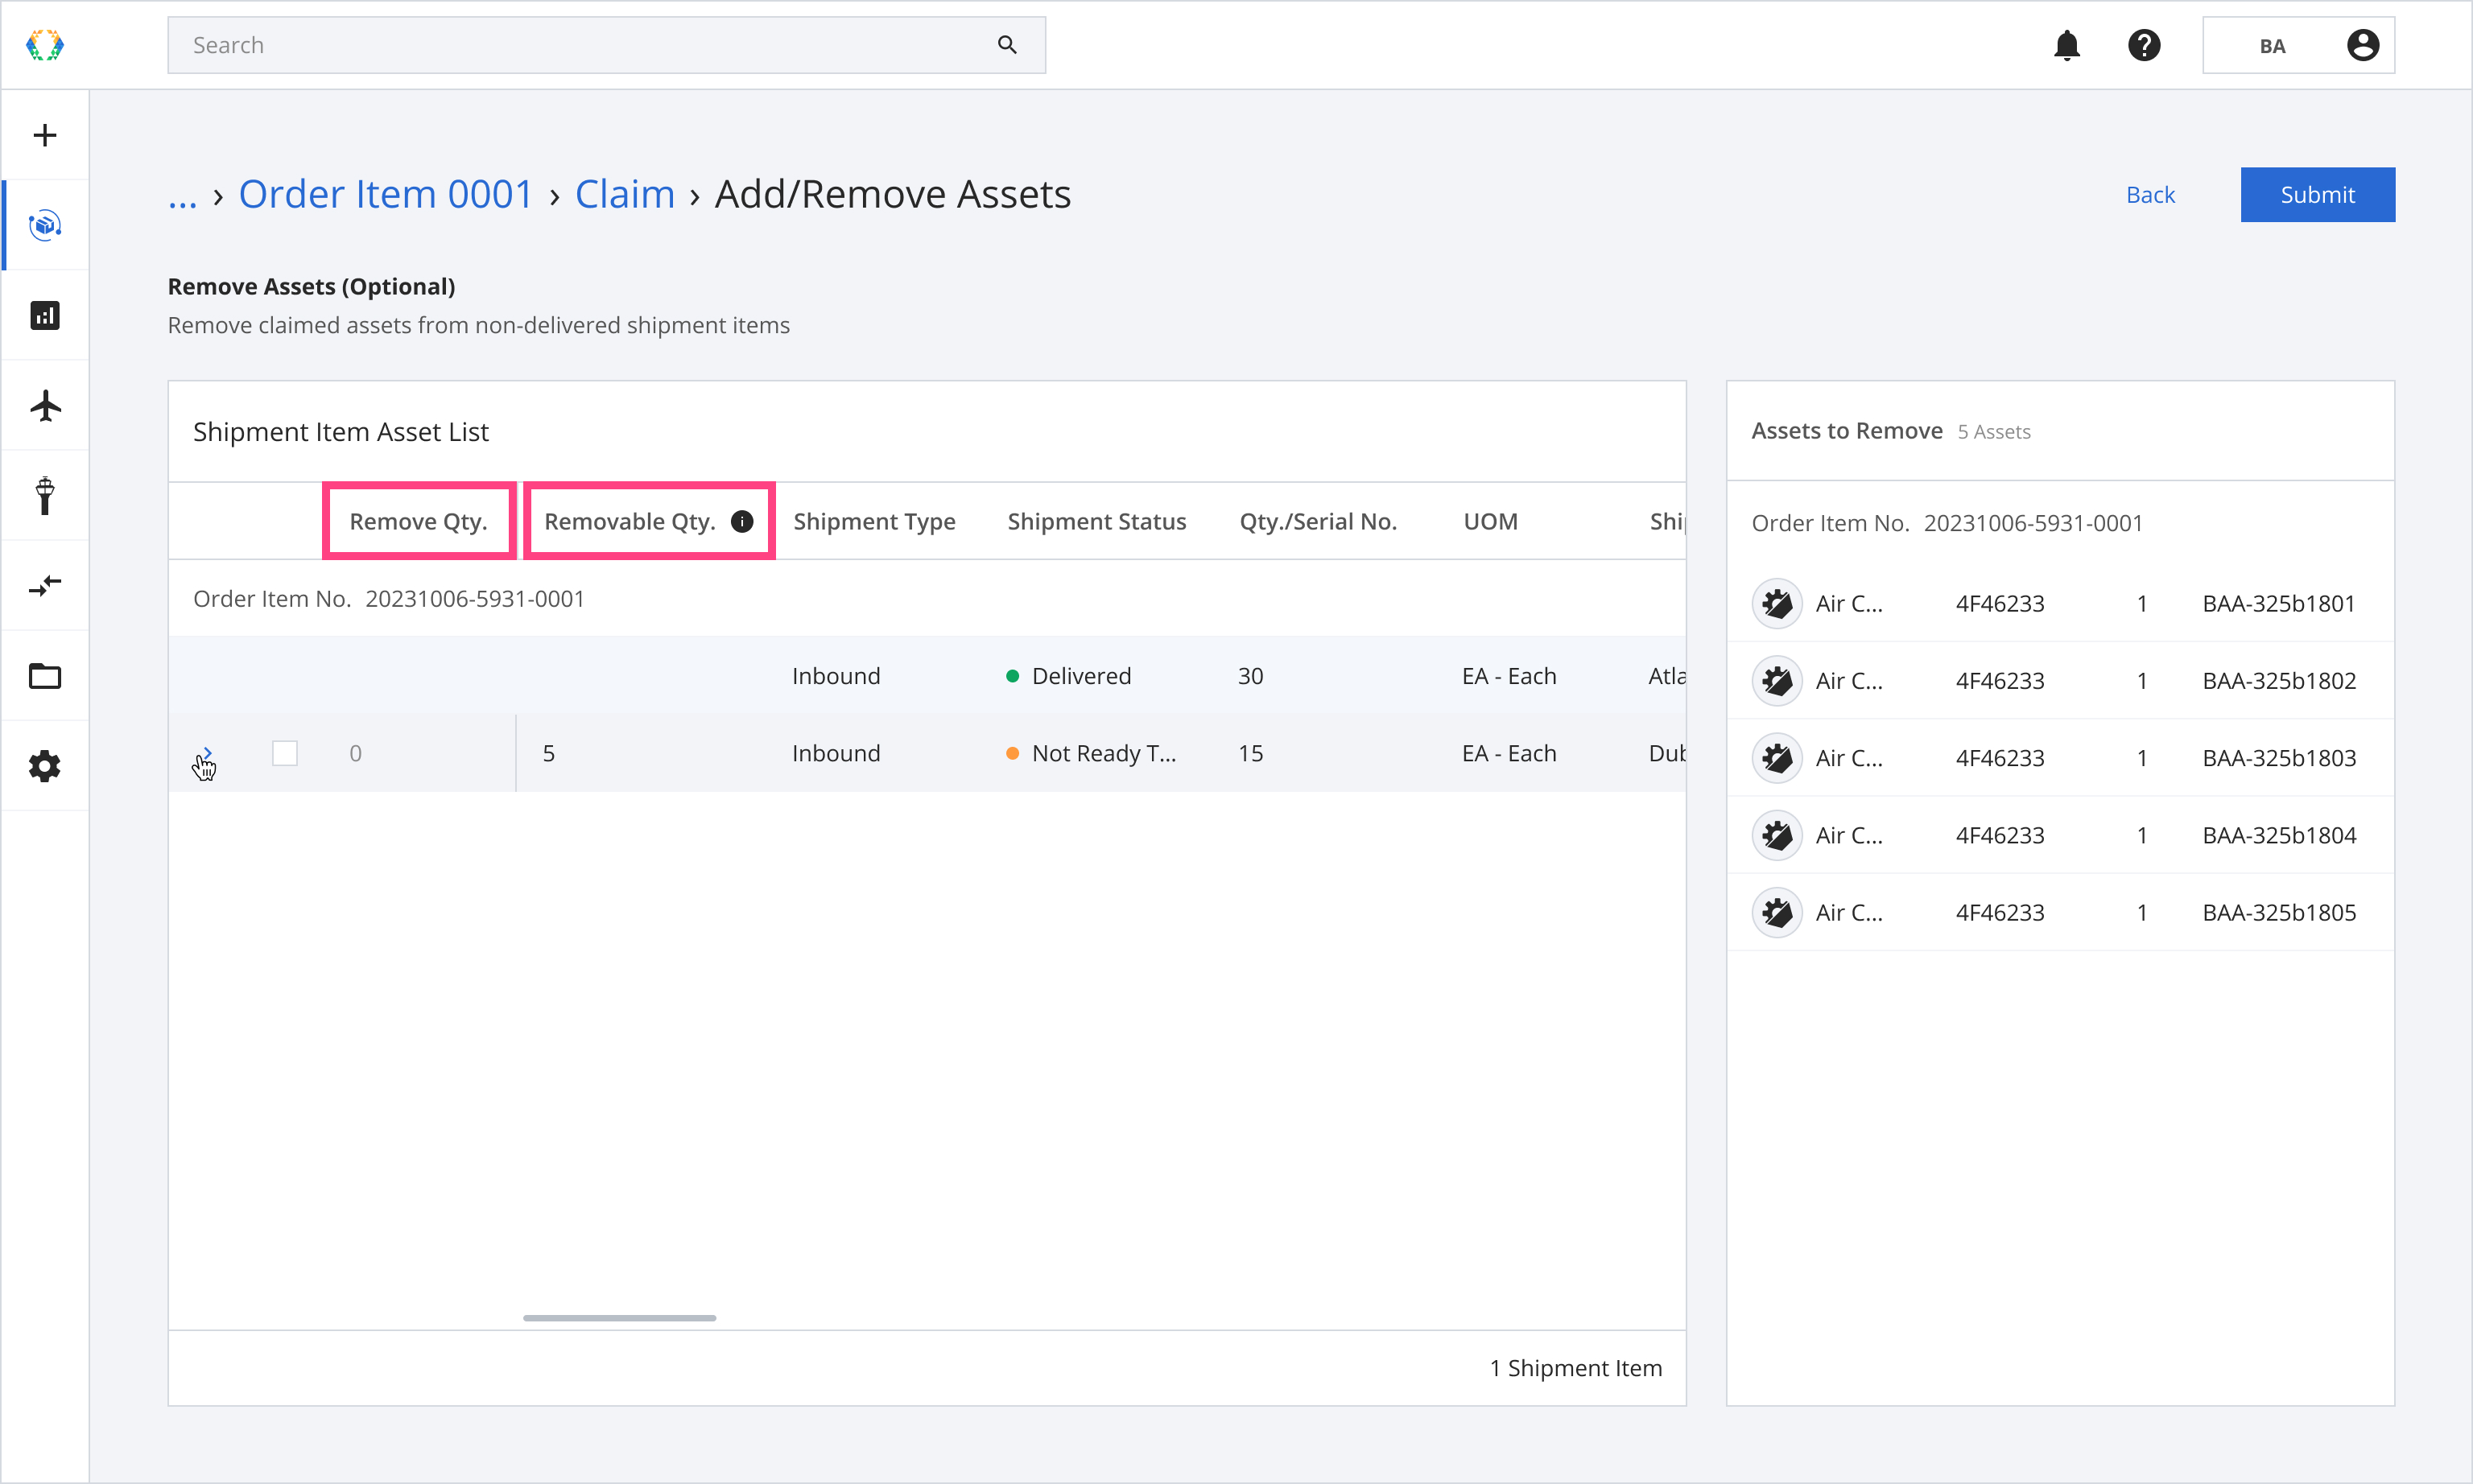
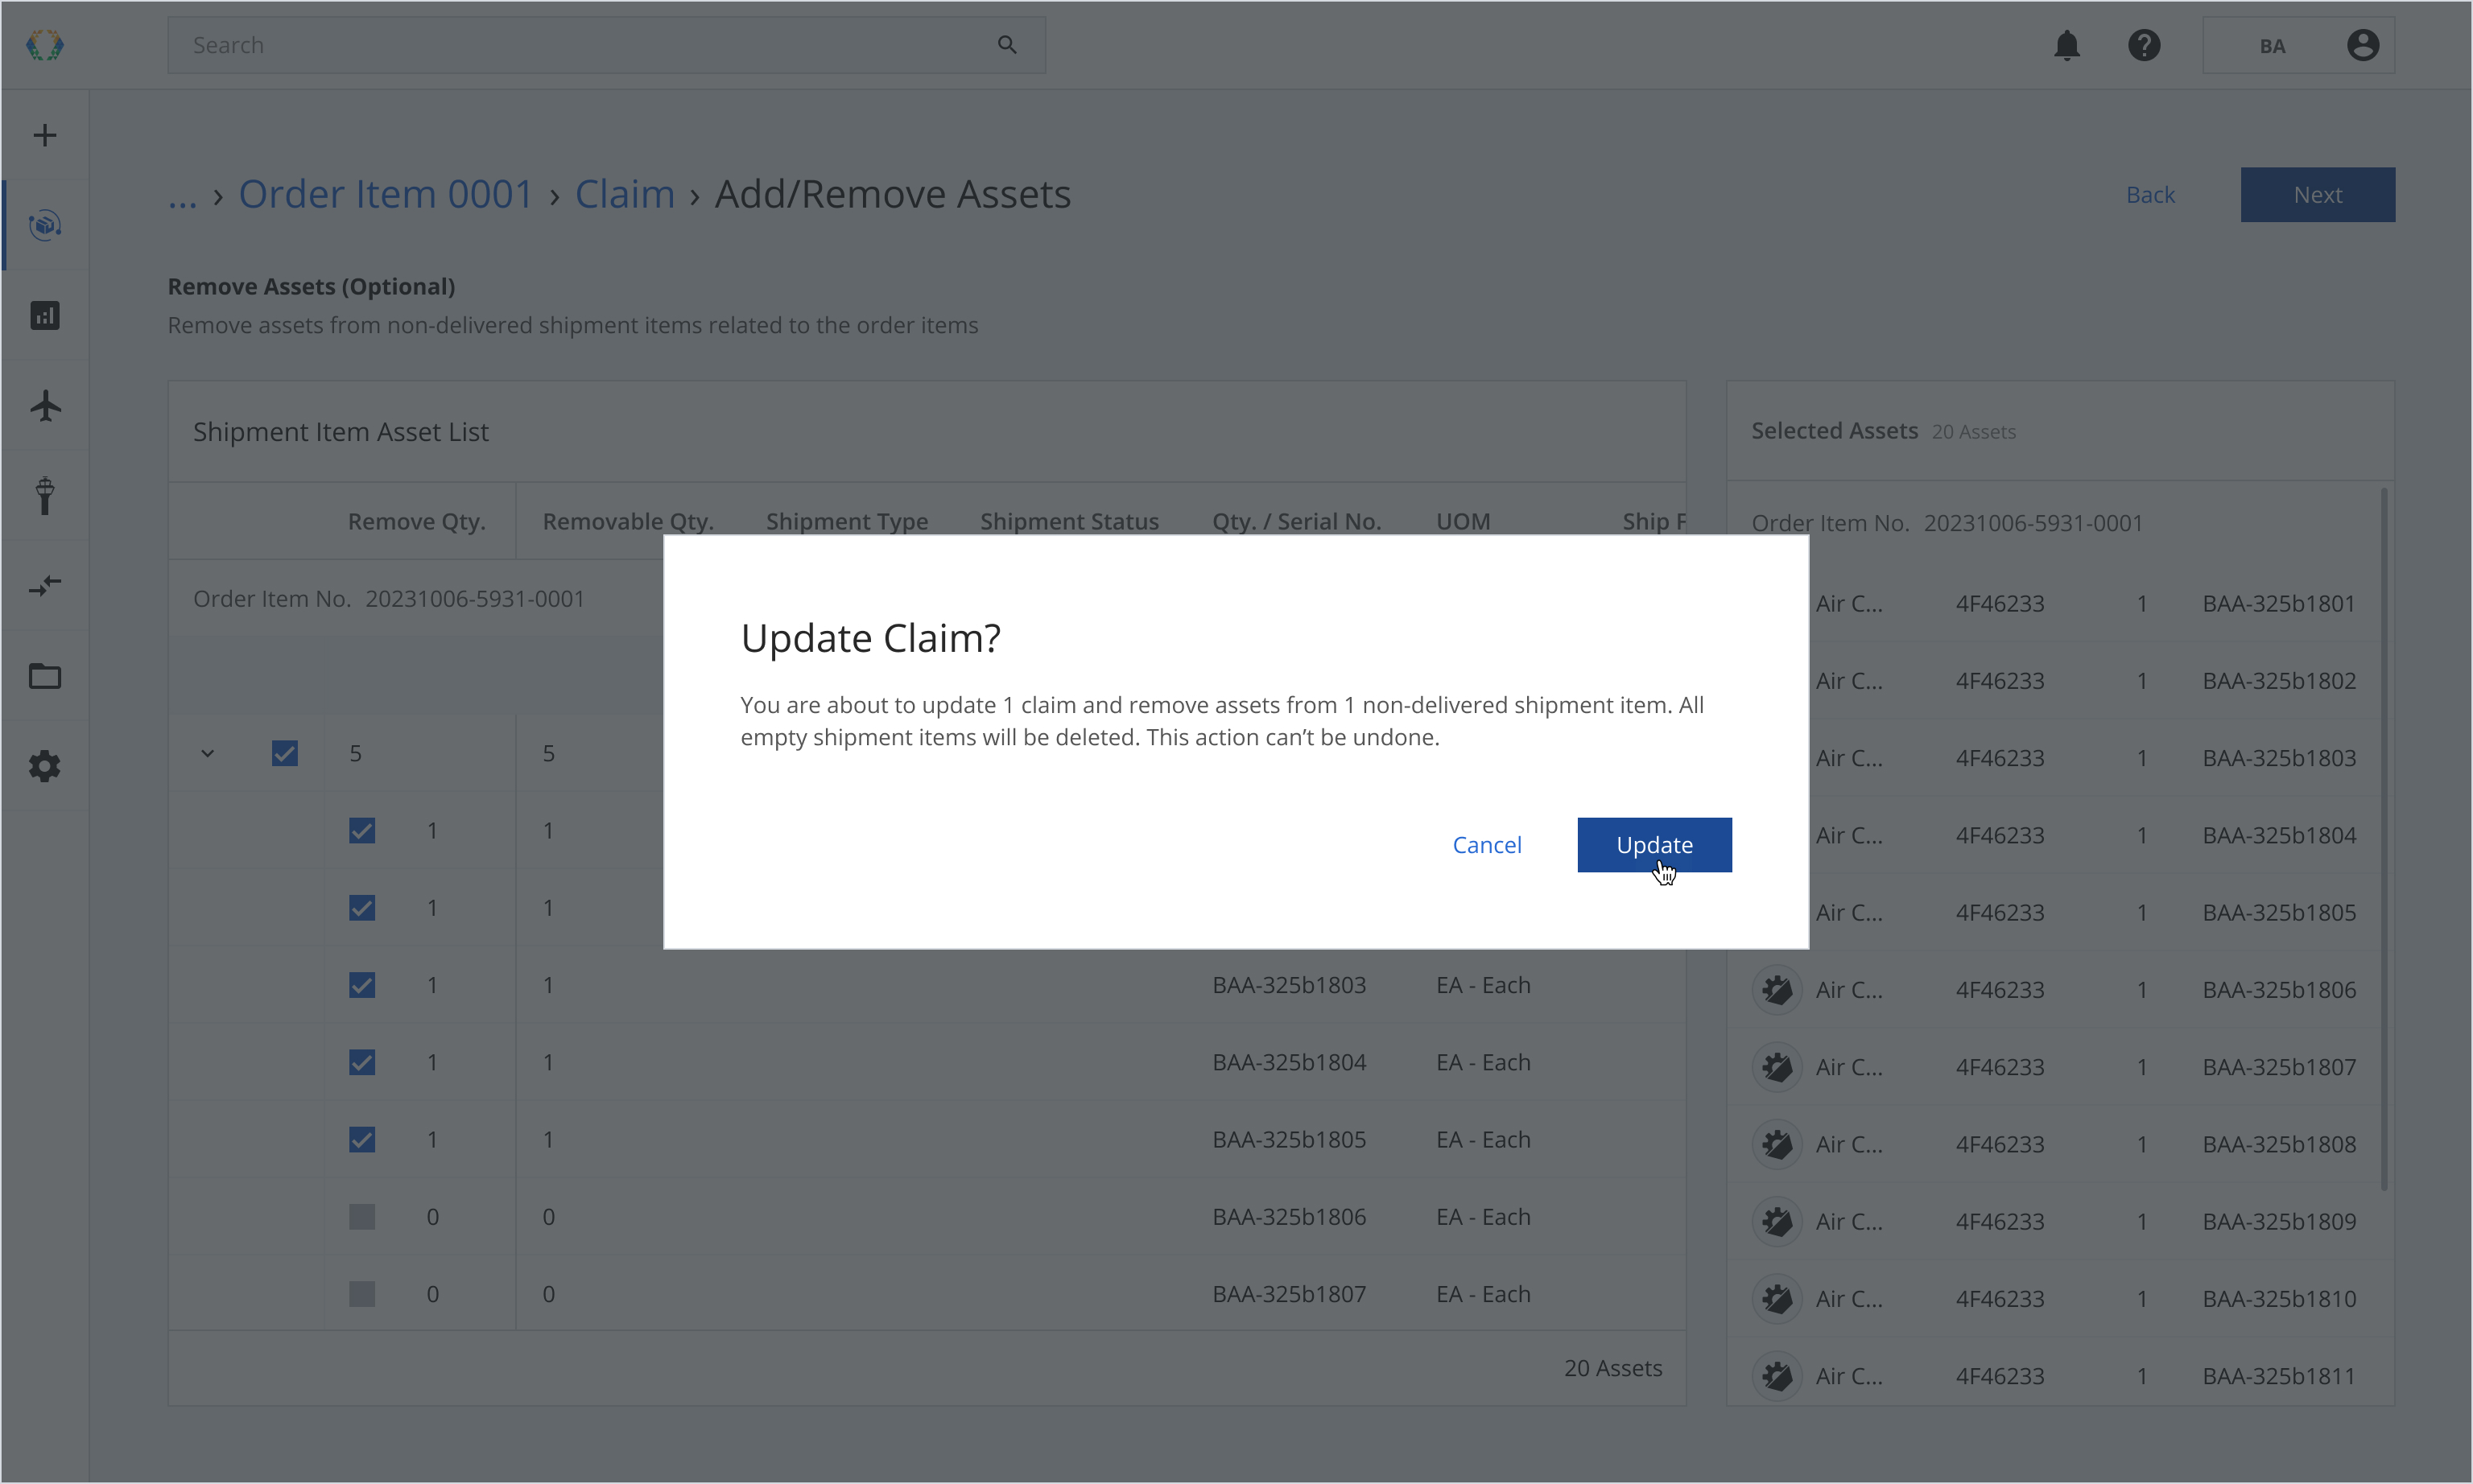
Step 5: Remove assets from non-delivered shipment items (Optional).
This step will appear only if you have non-delivered shipment items.
Select the claimed assets you want to remove from non-delivered shipment items in the ‘Remove Qty.’ field. ‘Removable Qty.’ field indicates the available quantity of assets.
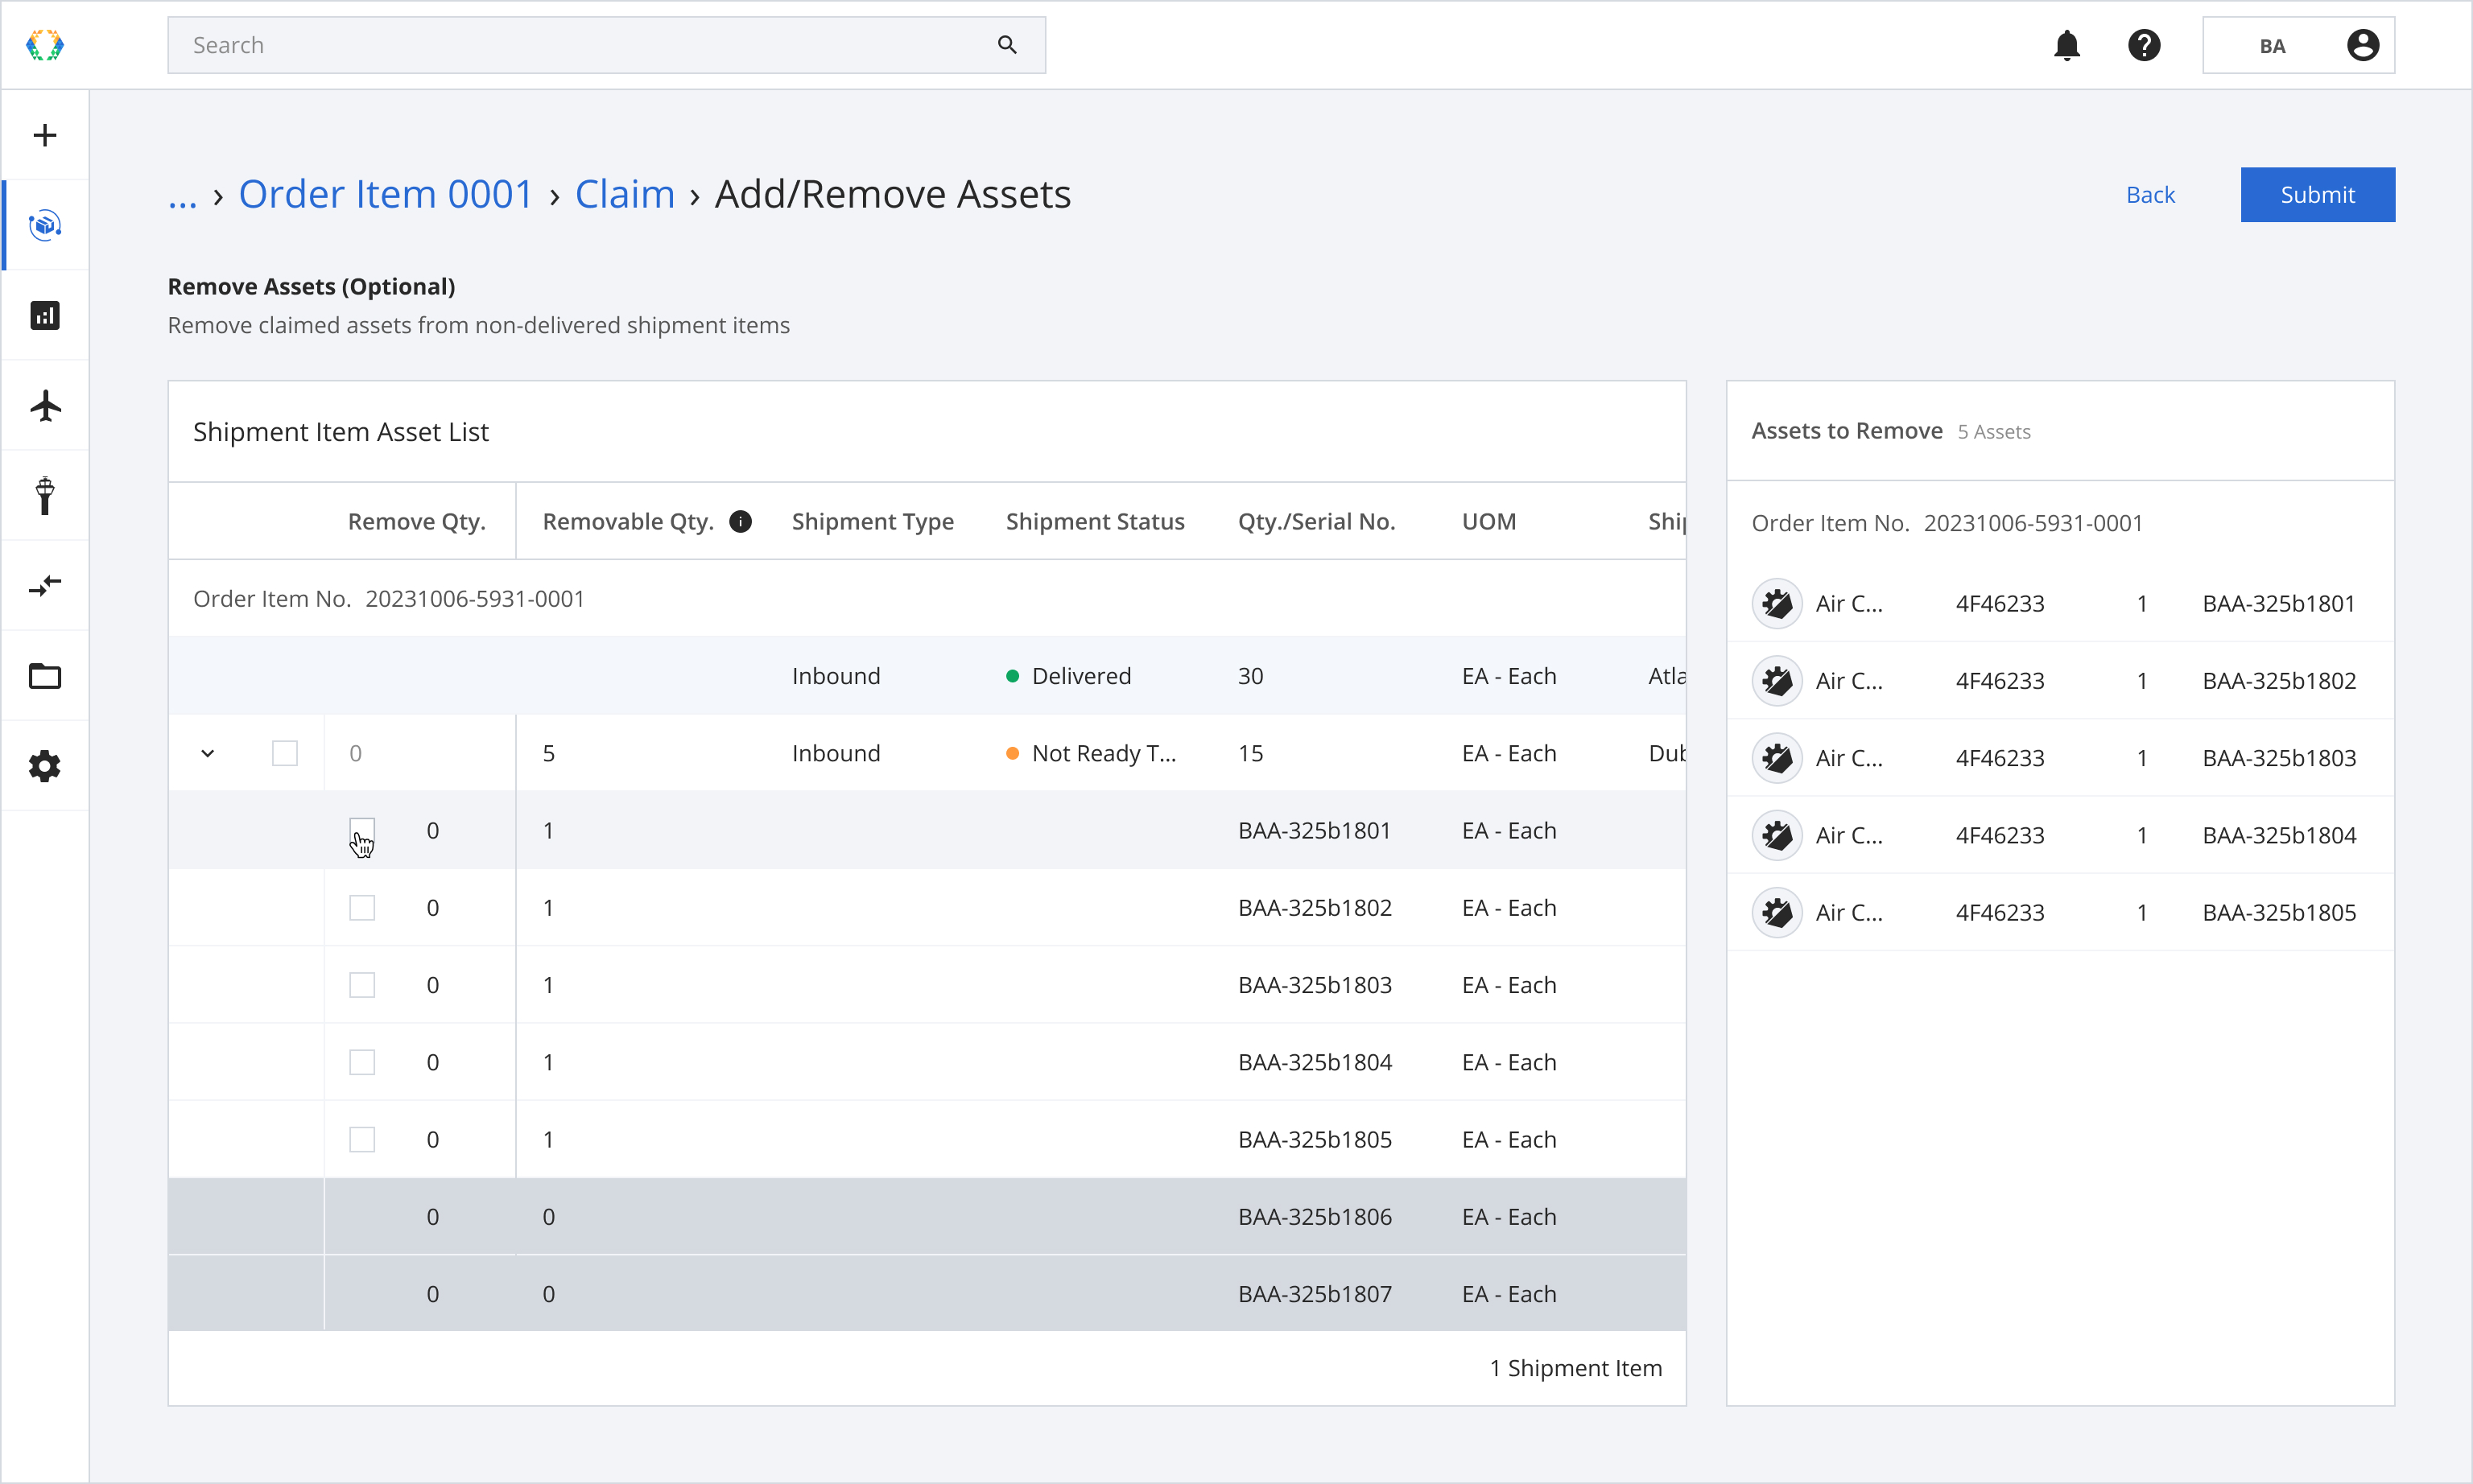
For serialized assets: You can expand claim assets to select specific serialized assets to add or remove.
If you input a number for serialized assets in Remove Qty., the system will select random serialized assets.
Step 6: Click 'Submit'.
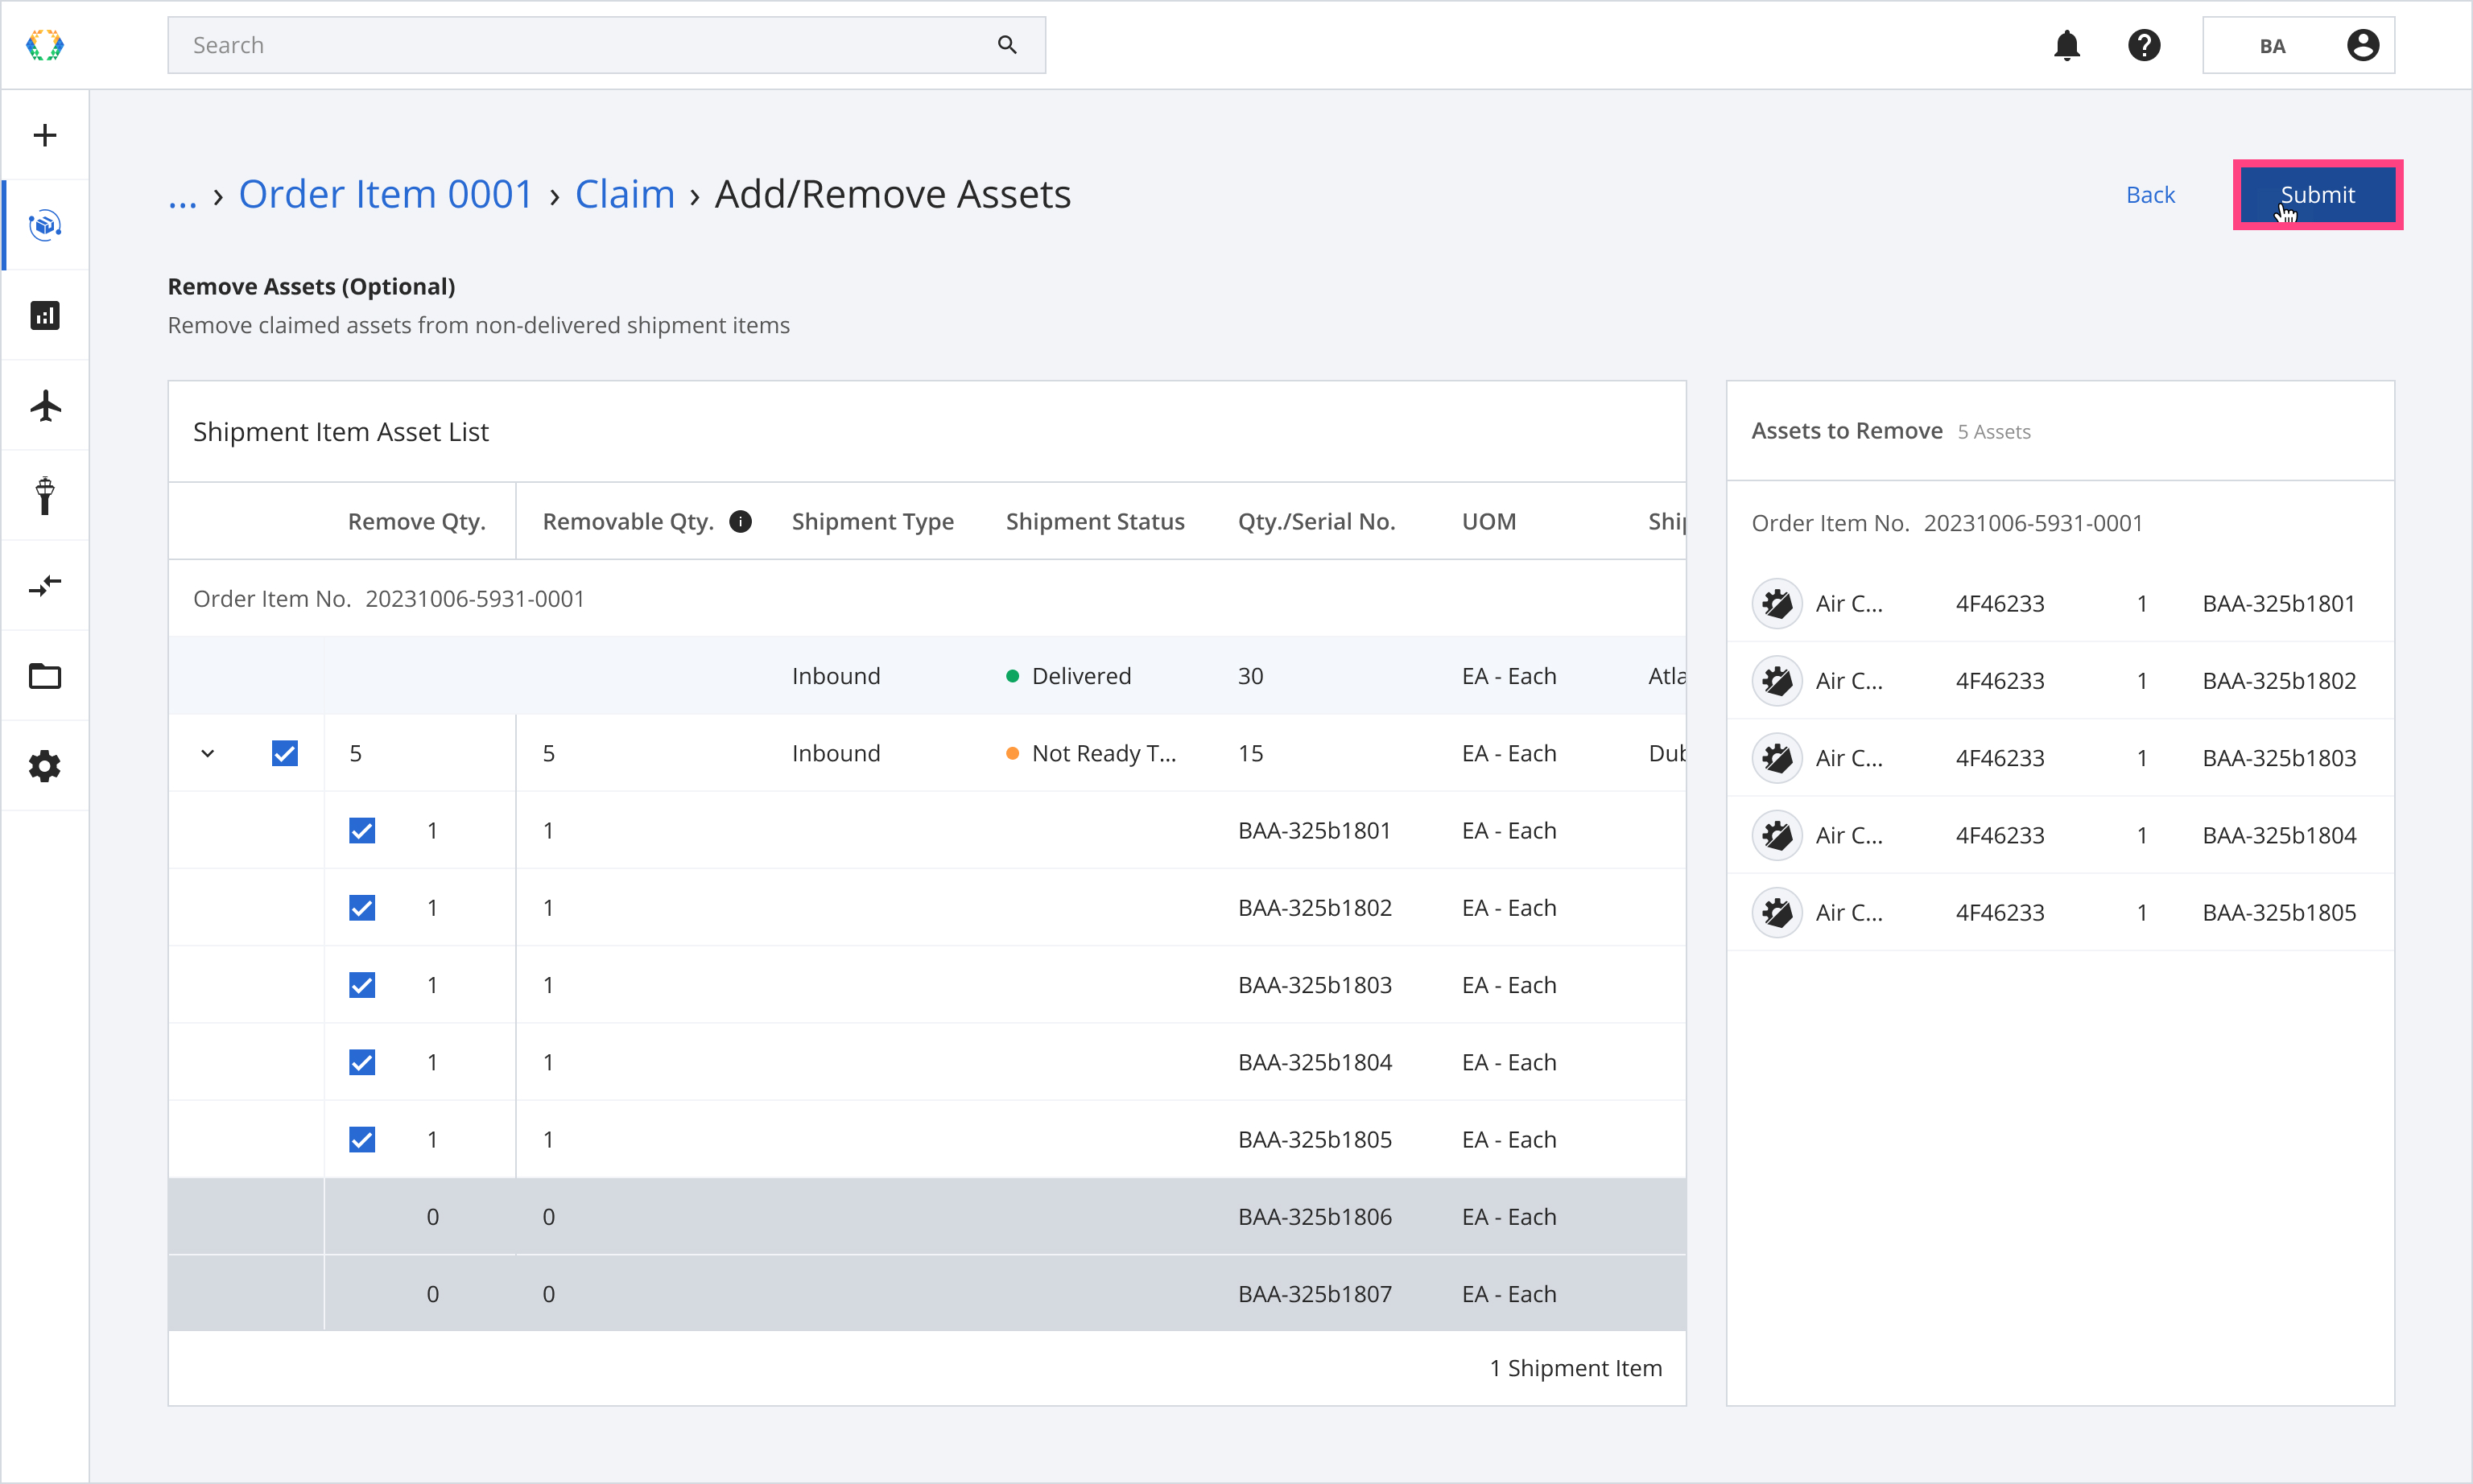
Step 7: A confirmation banner will appear, communicating the actions that will be triggered.
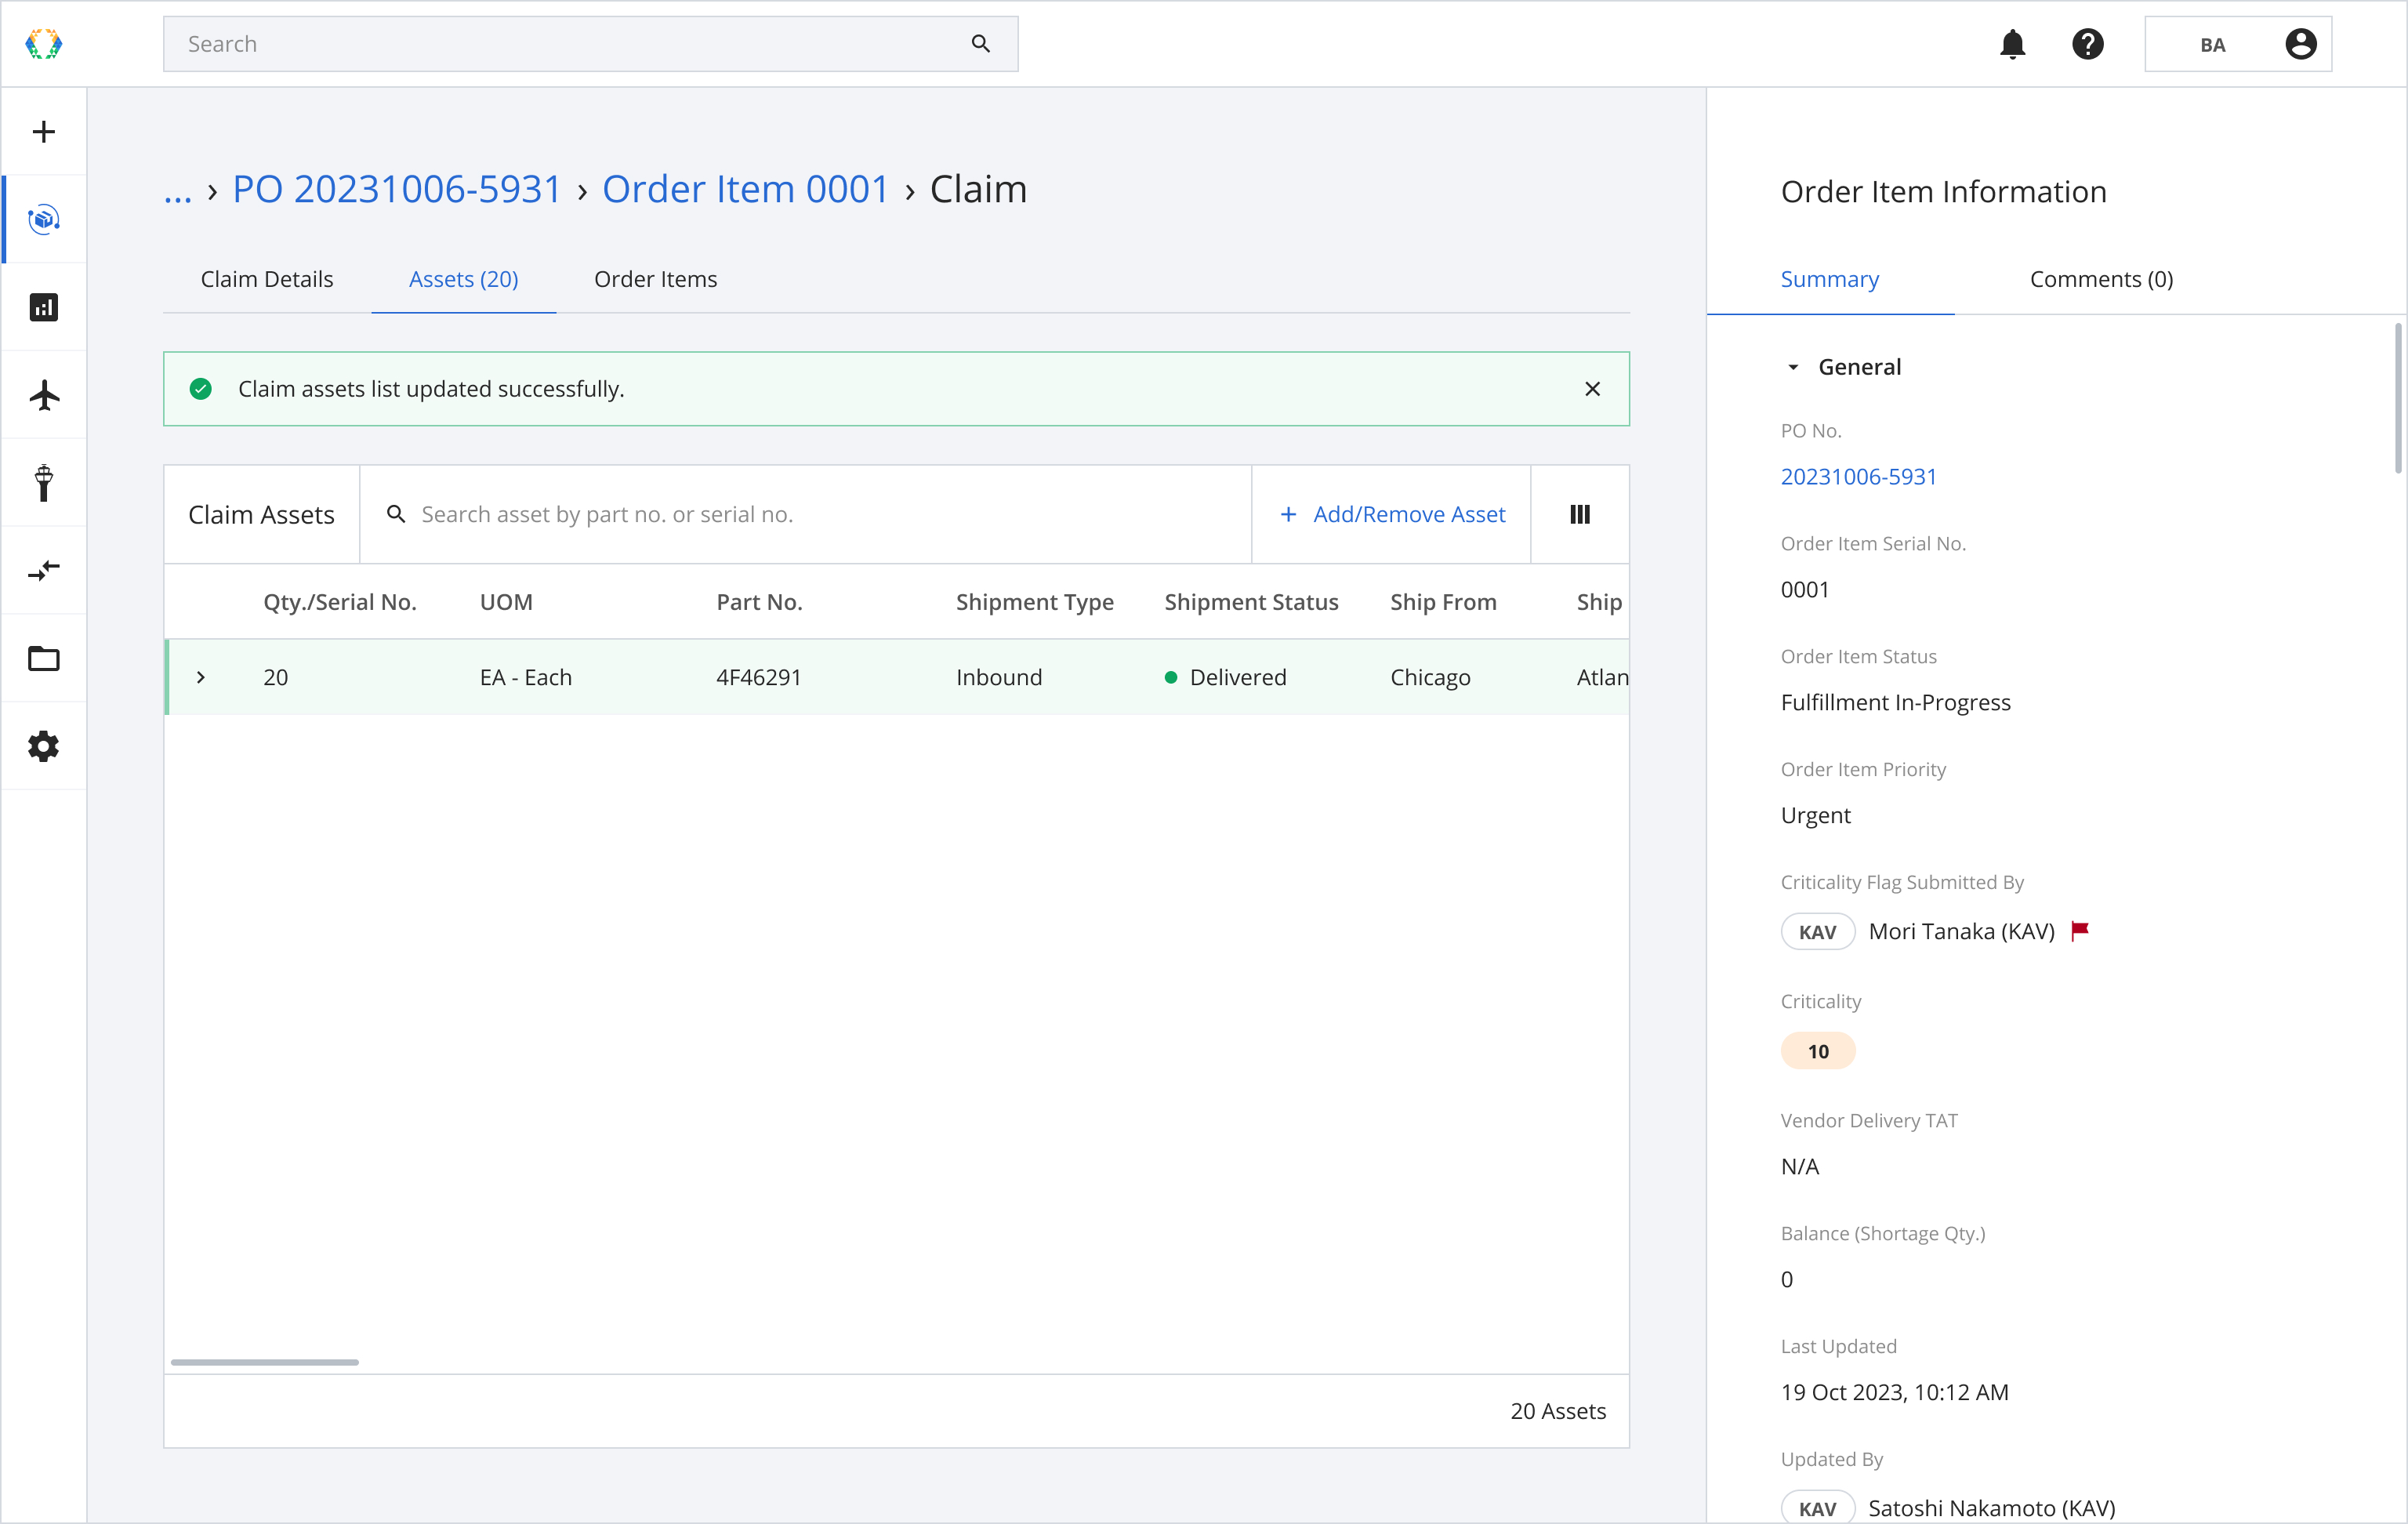
Step 8: A green banner will appear at the top of the claim list when the claim is updated successfully.
Remove Assets from a Claim
Step 1: On the claim details page, click on 'Assets' tab.
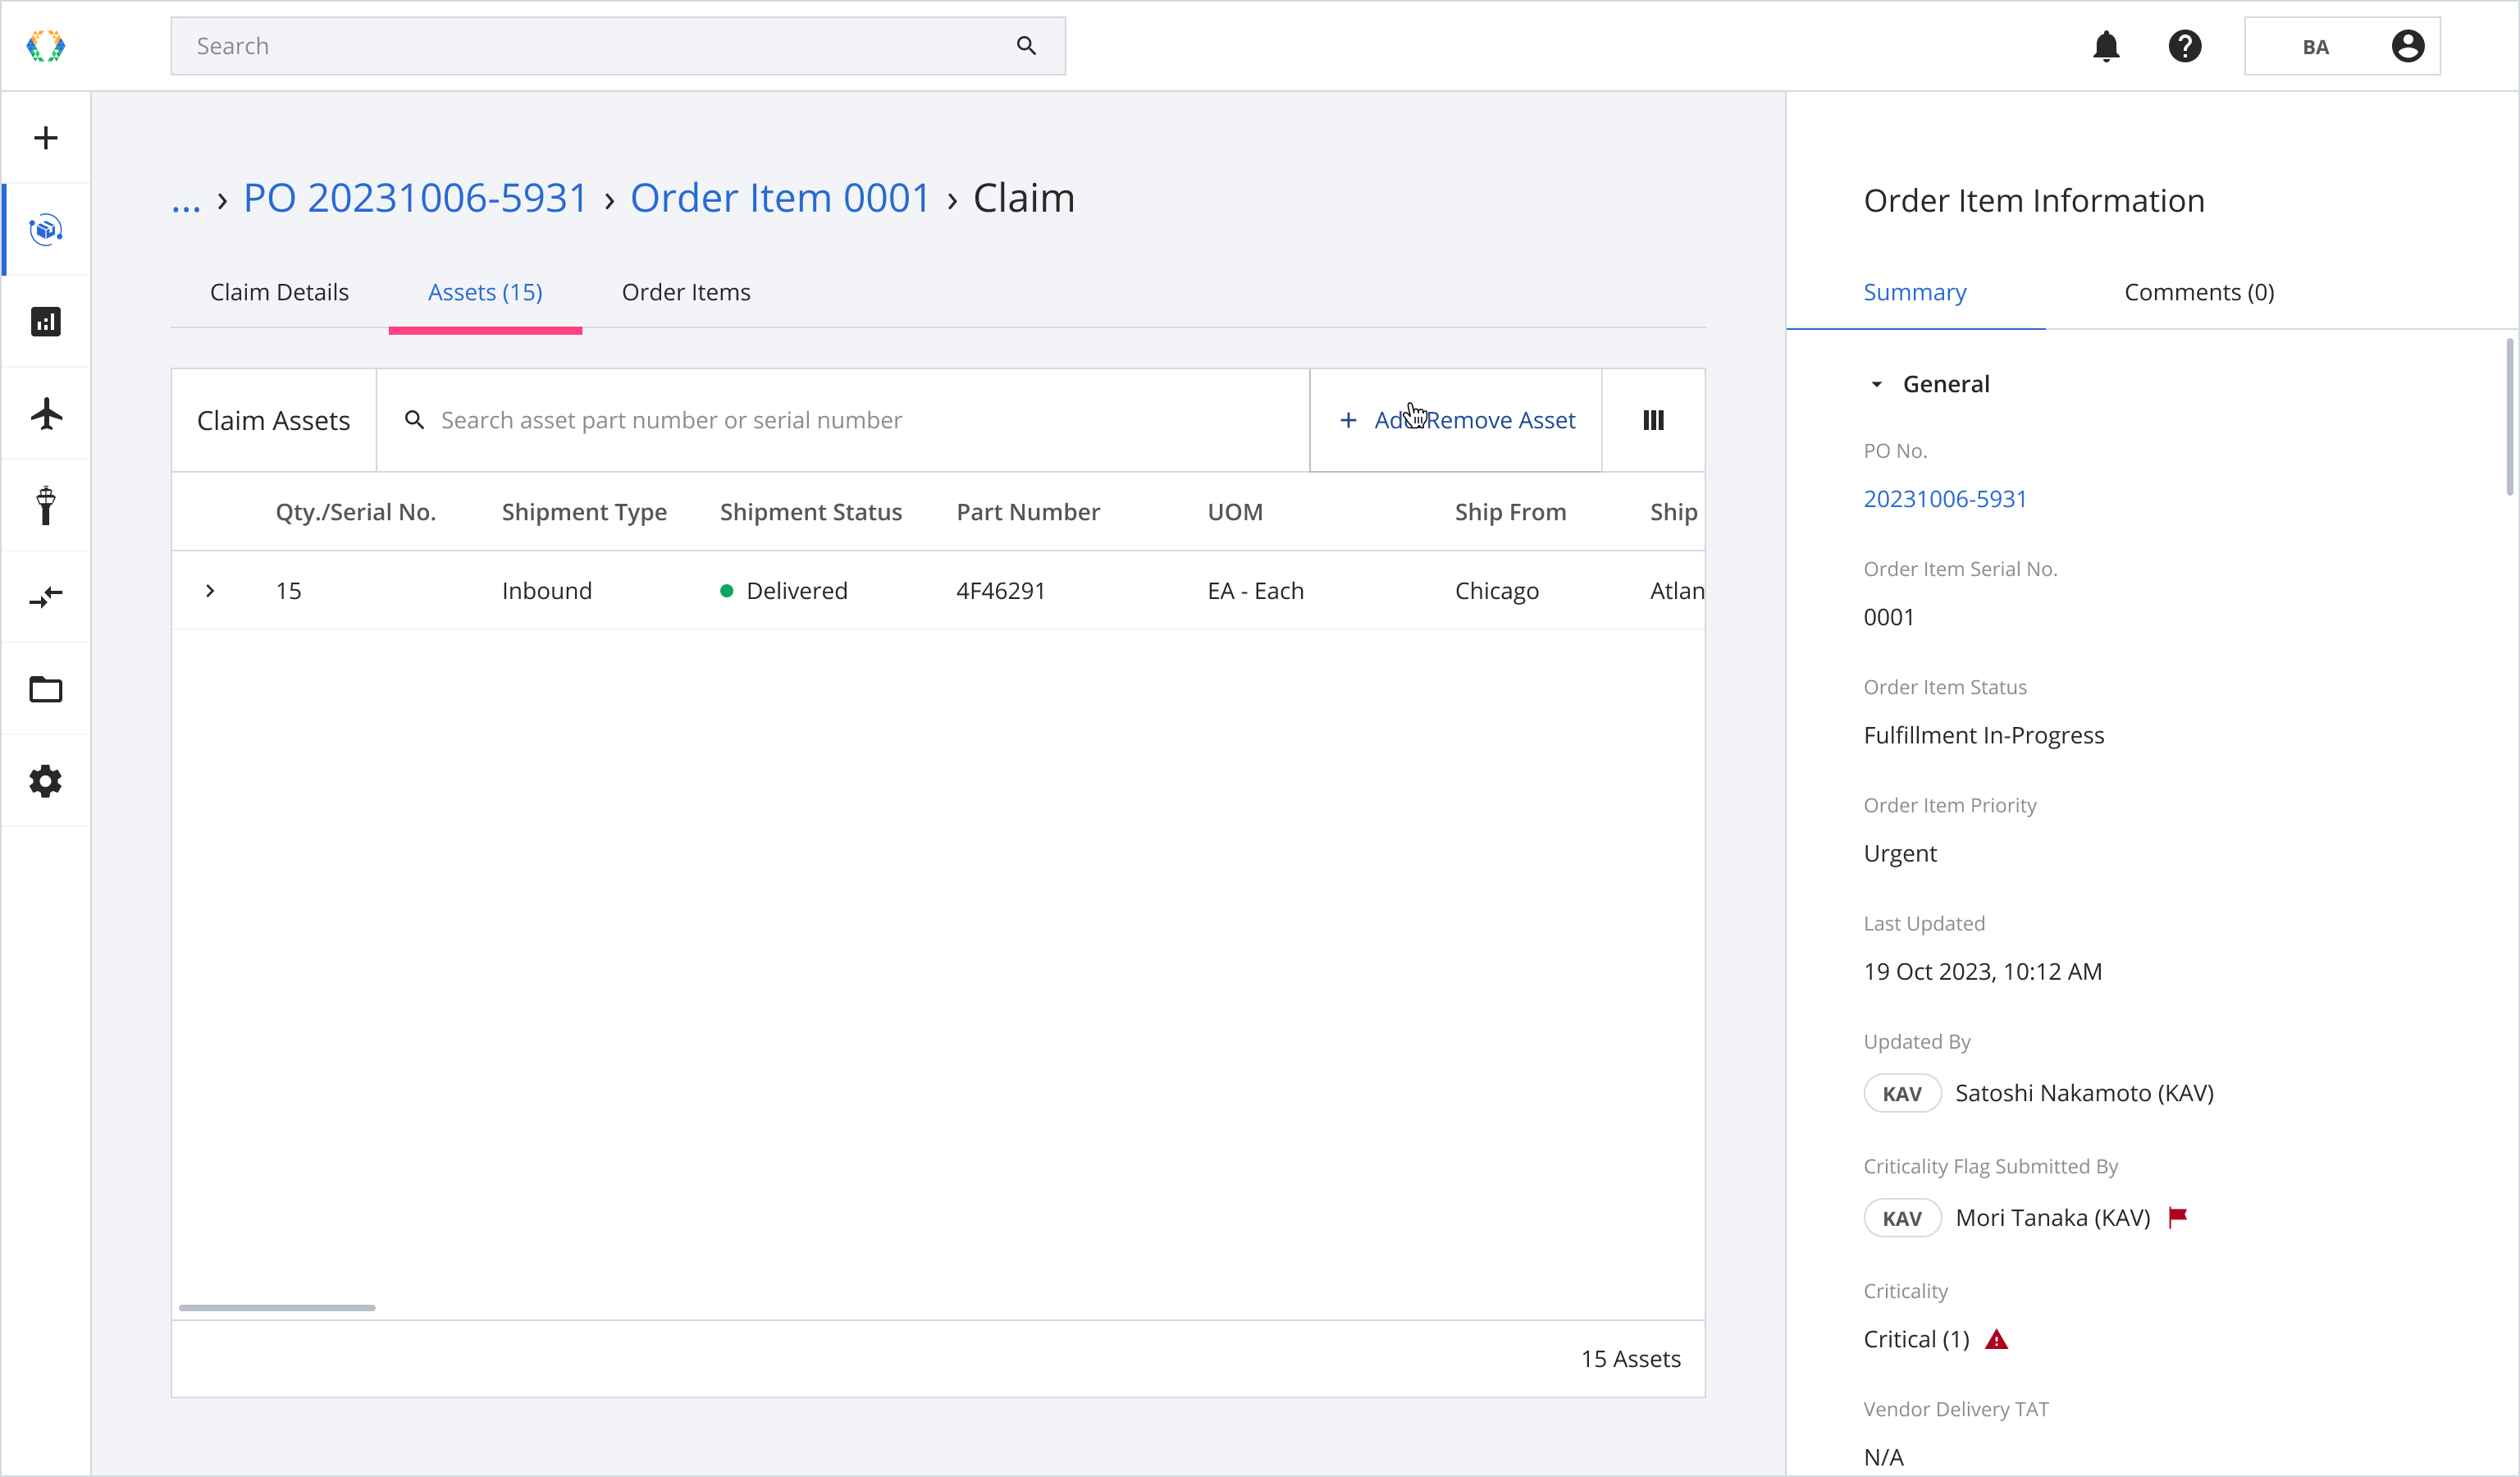
Step 2: Click '+ Add/Remove Assets'.
Step 3: In the 'Manage Assets' step, you will see the Shipment Item Asset List with the shipment item you used as a reference while creating the claim. Remove assets from your claim.
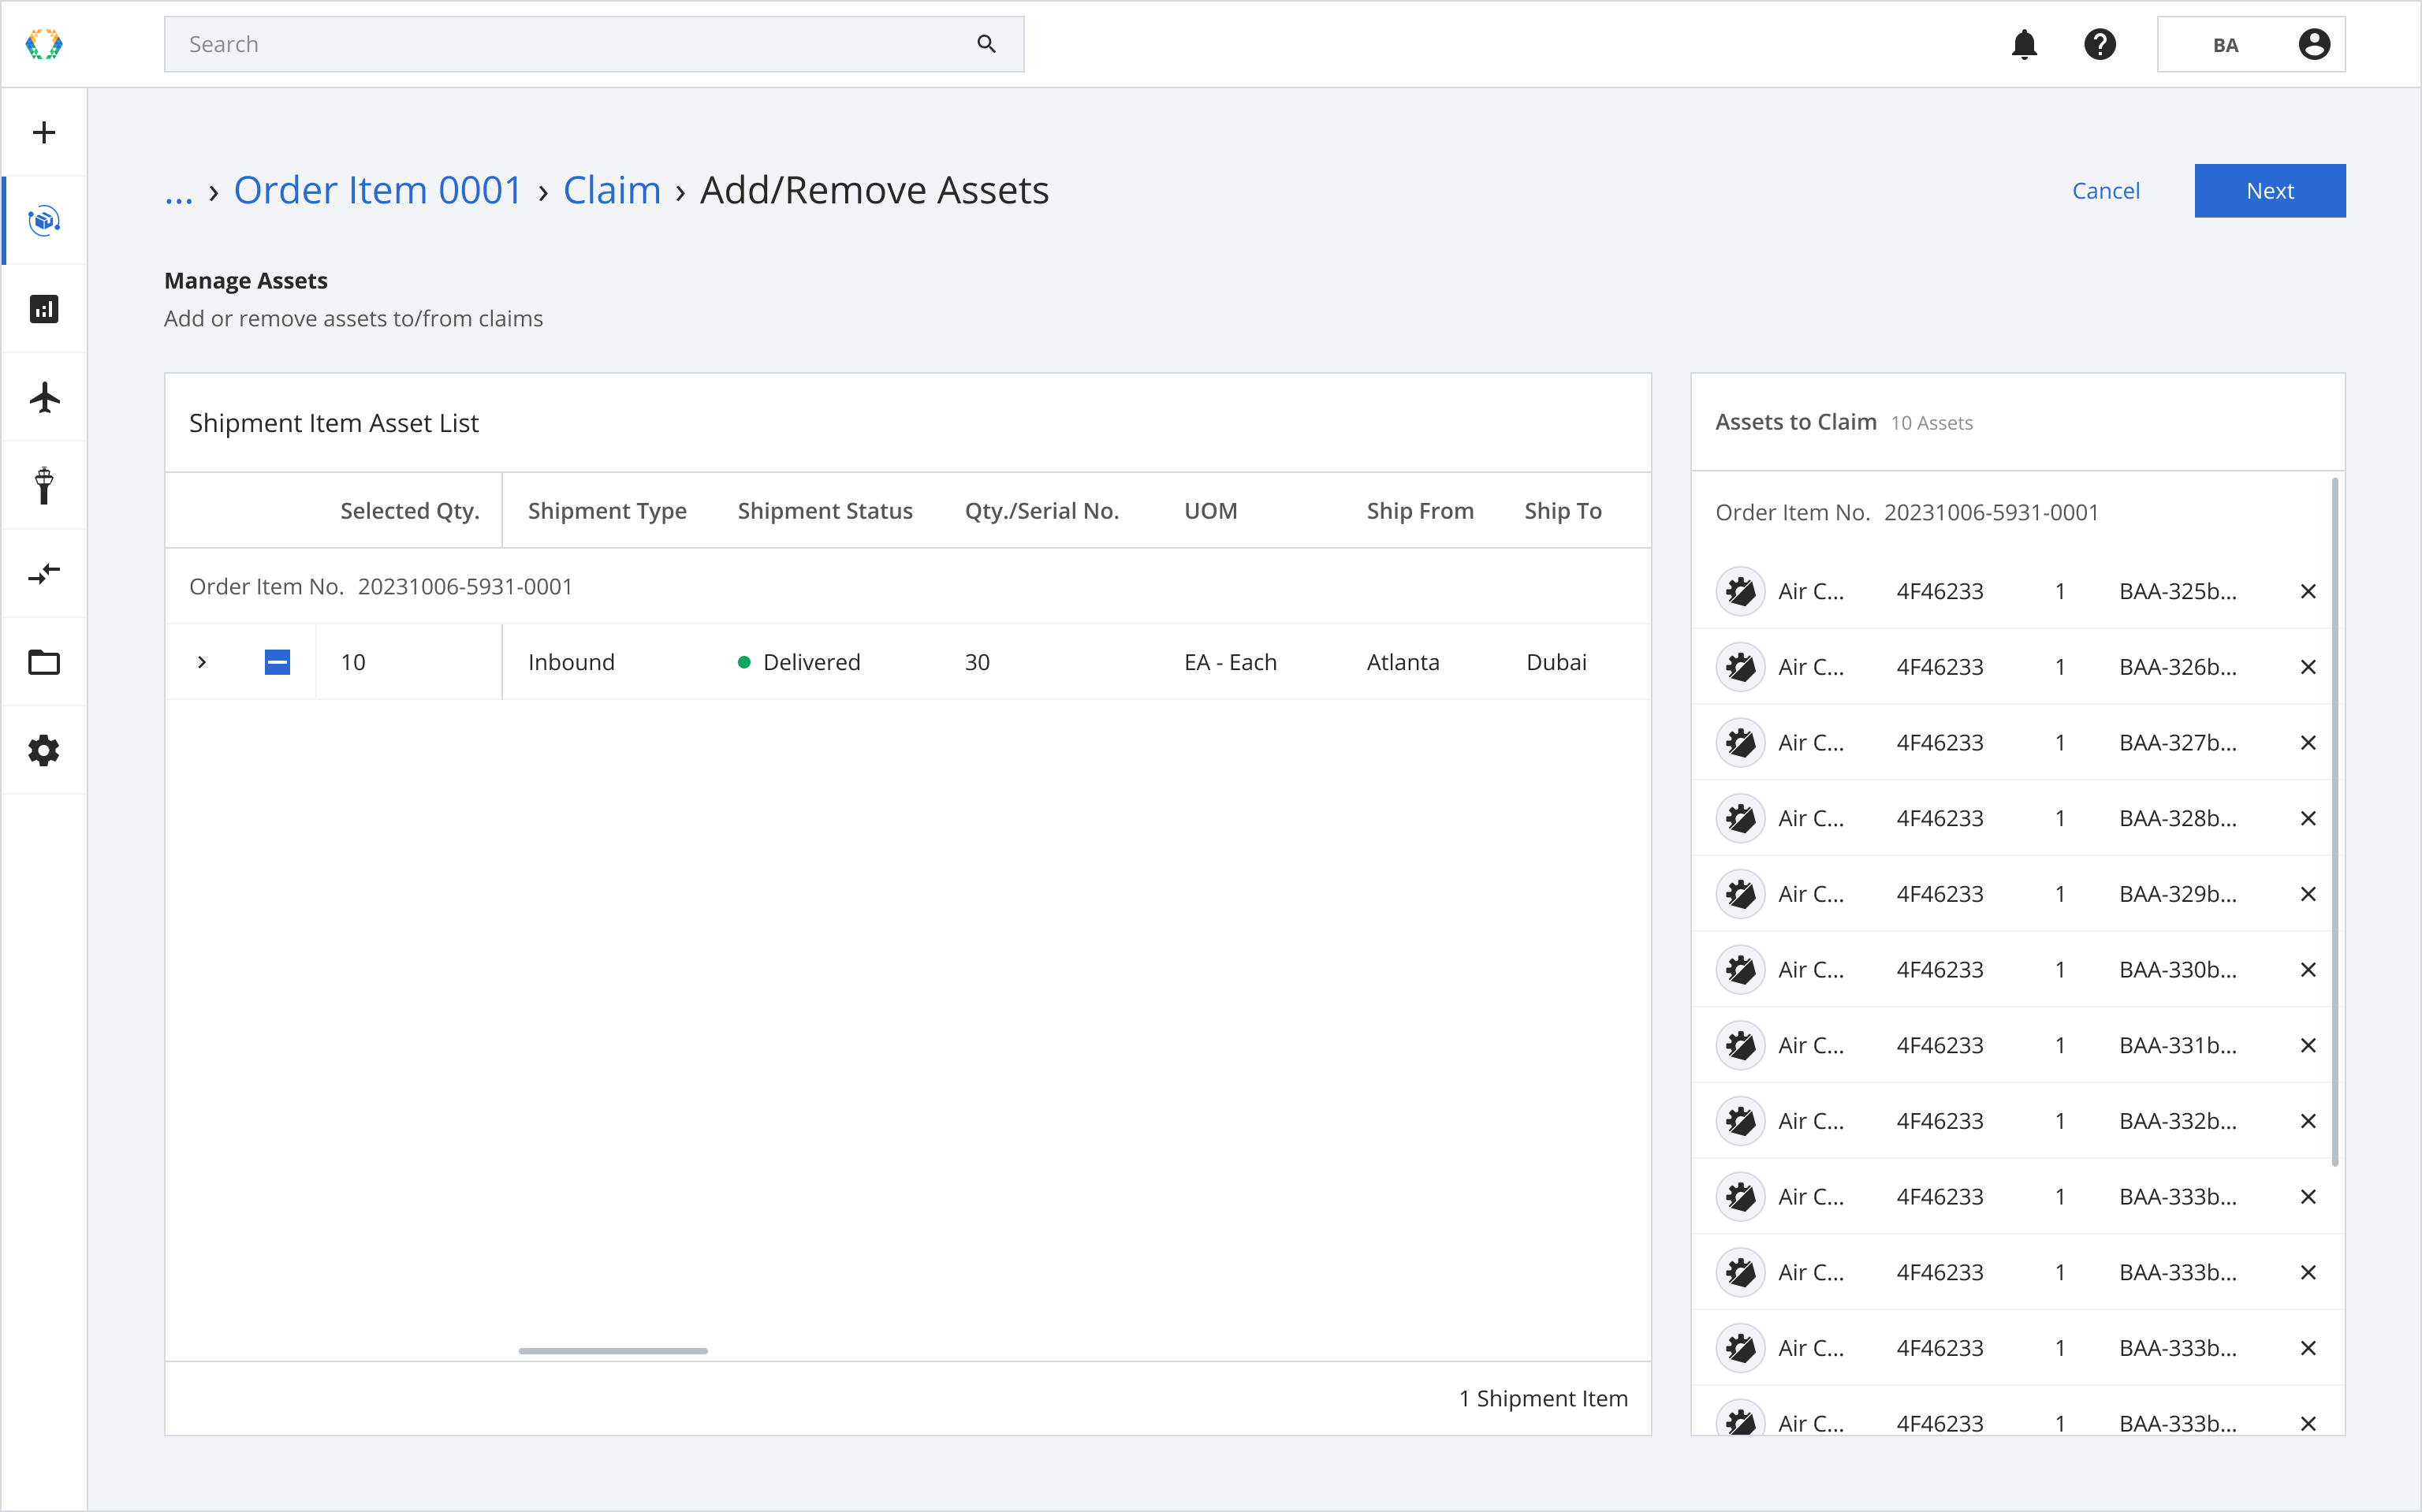
For serialized assets: You can expand claim assets to select specific serialized assets to add or remove.

Step 4: Click 'Next'.
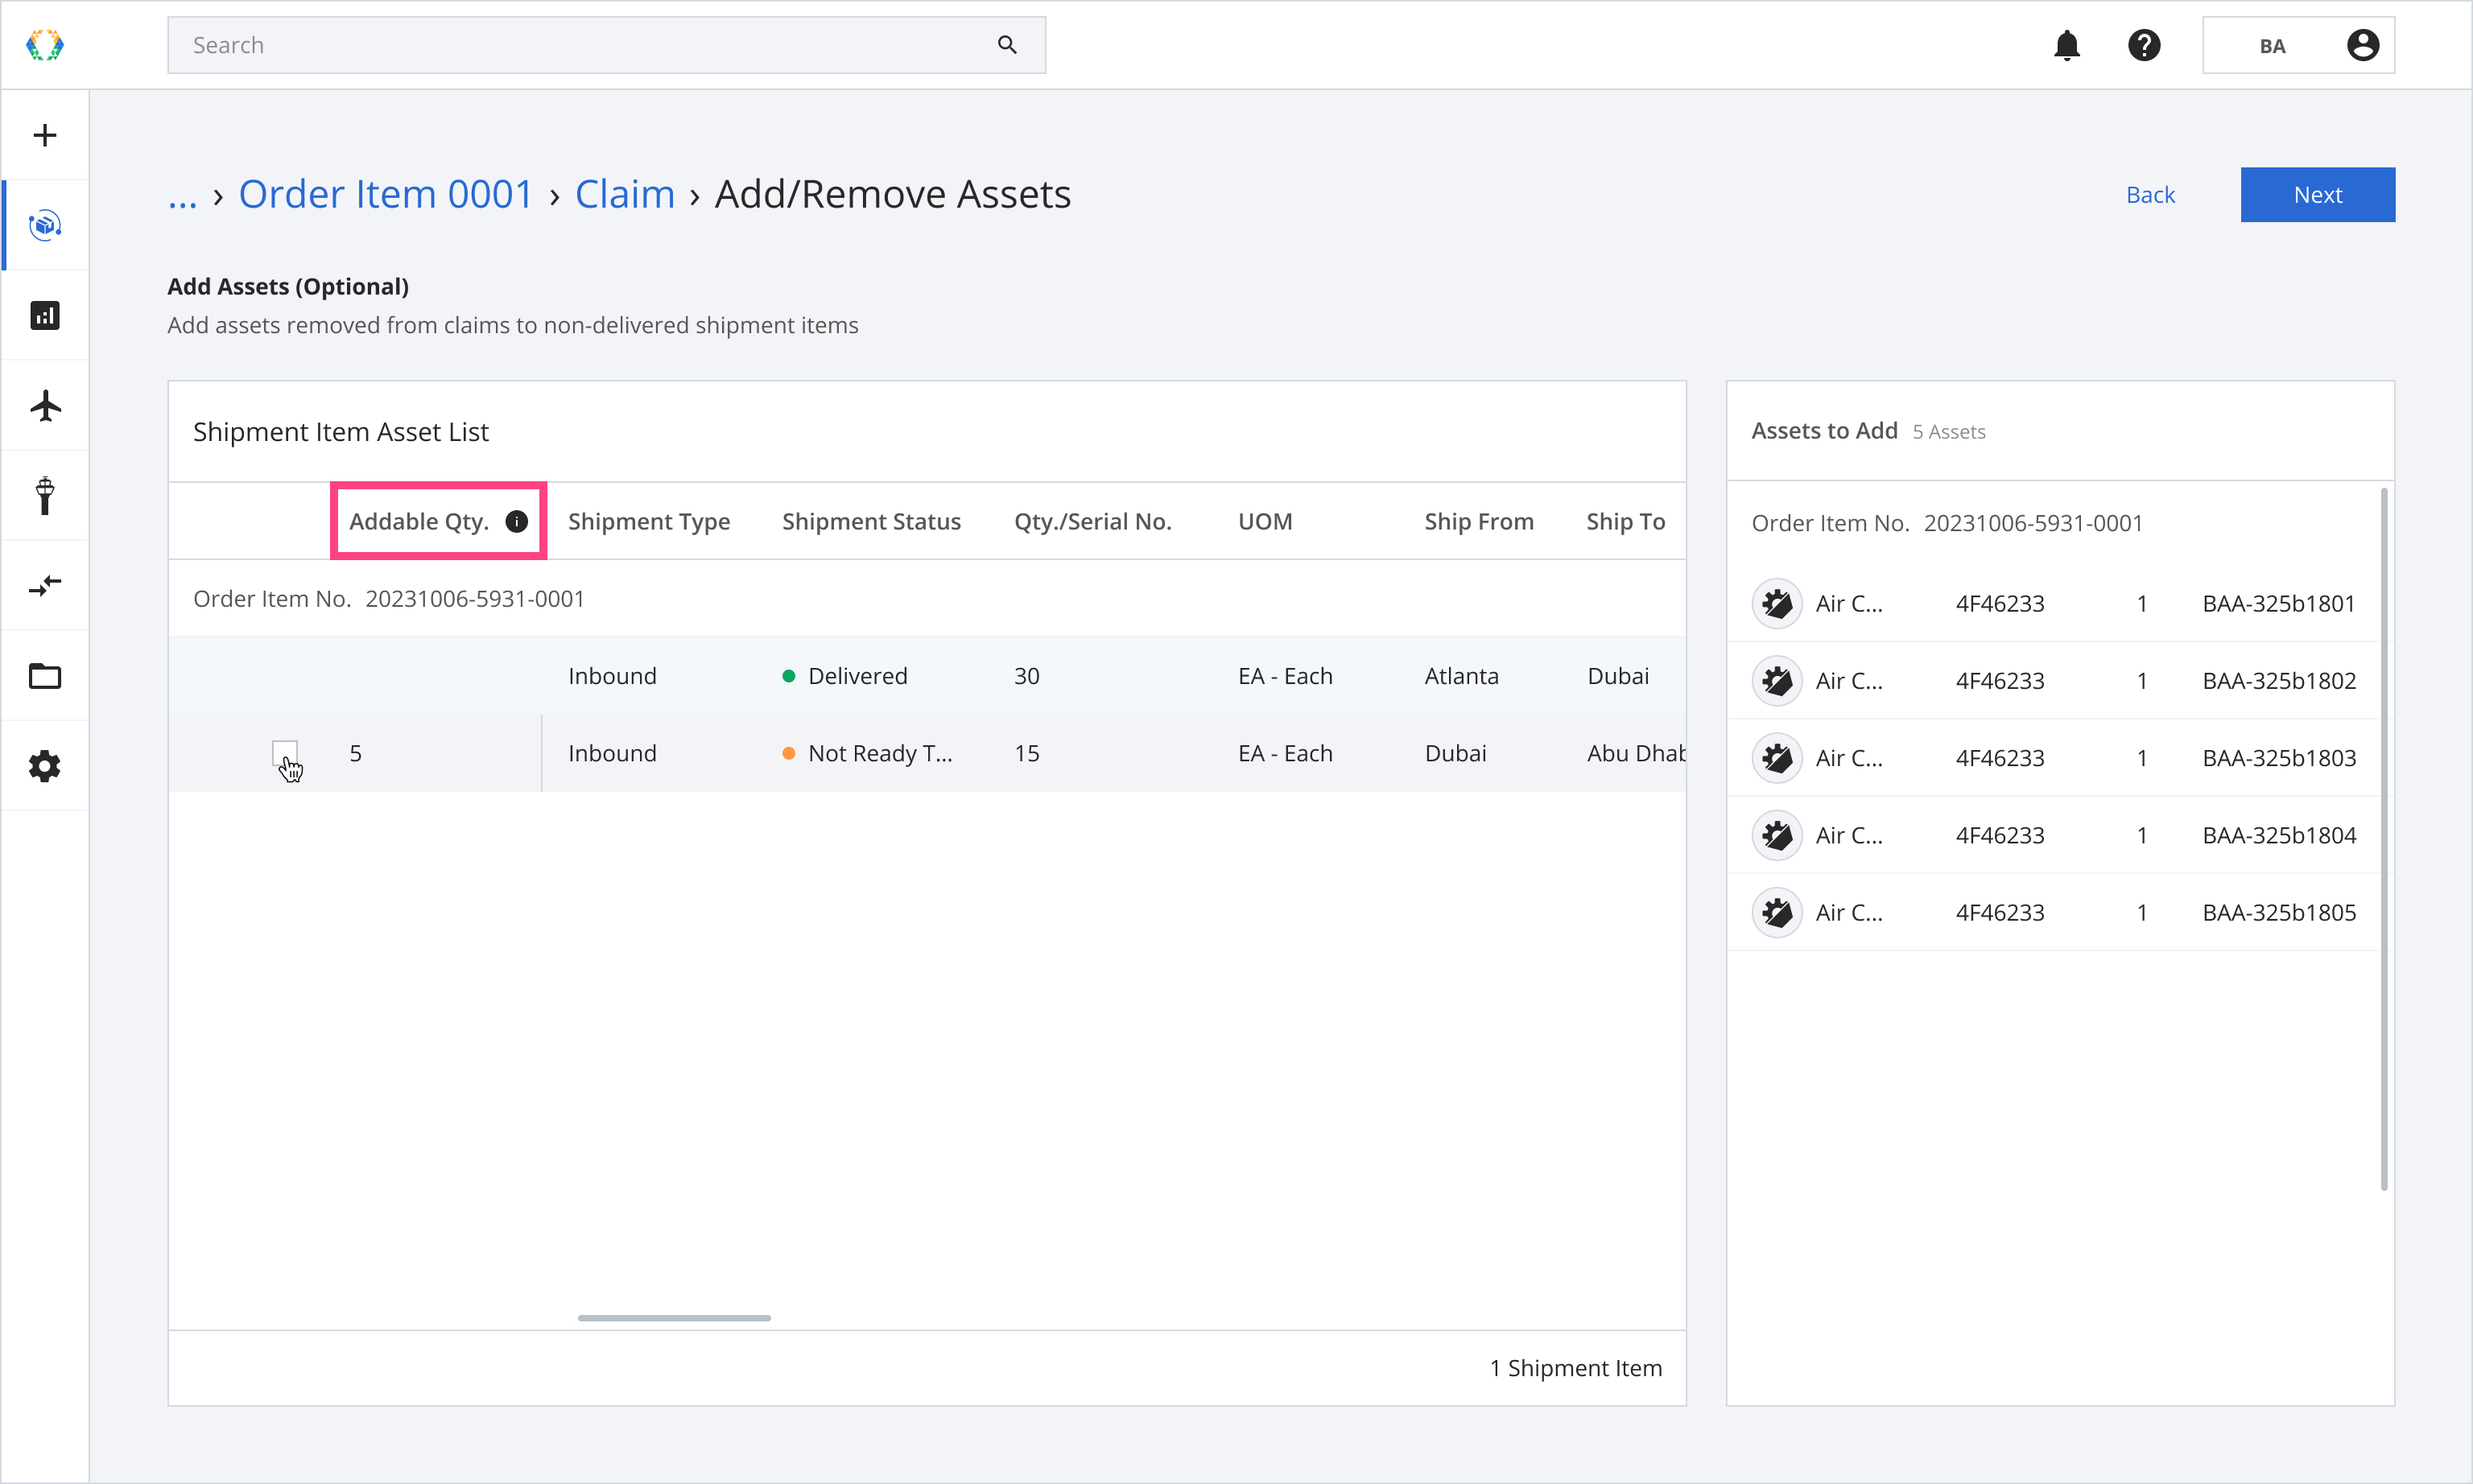
Step 5: Add assets to non-delivered shipment items (if necessary).
This step will appear if you have non-delivered shipment items.
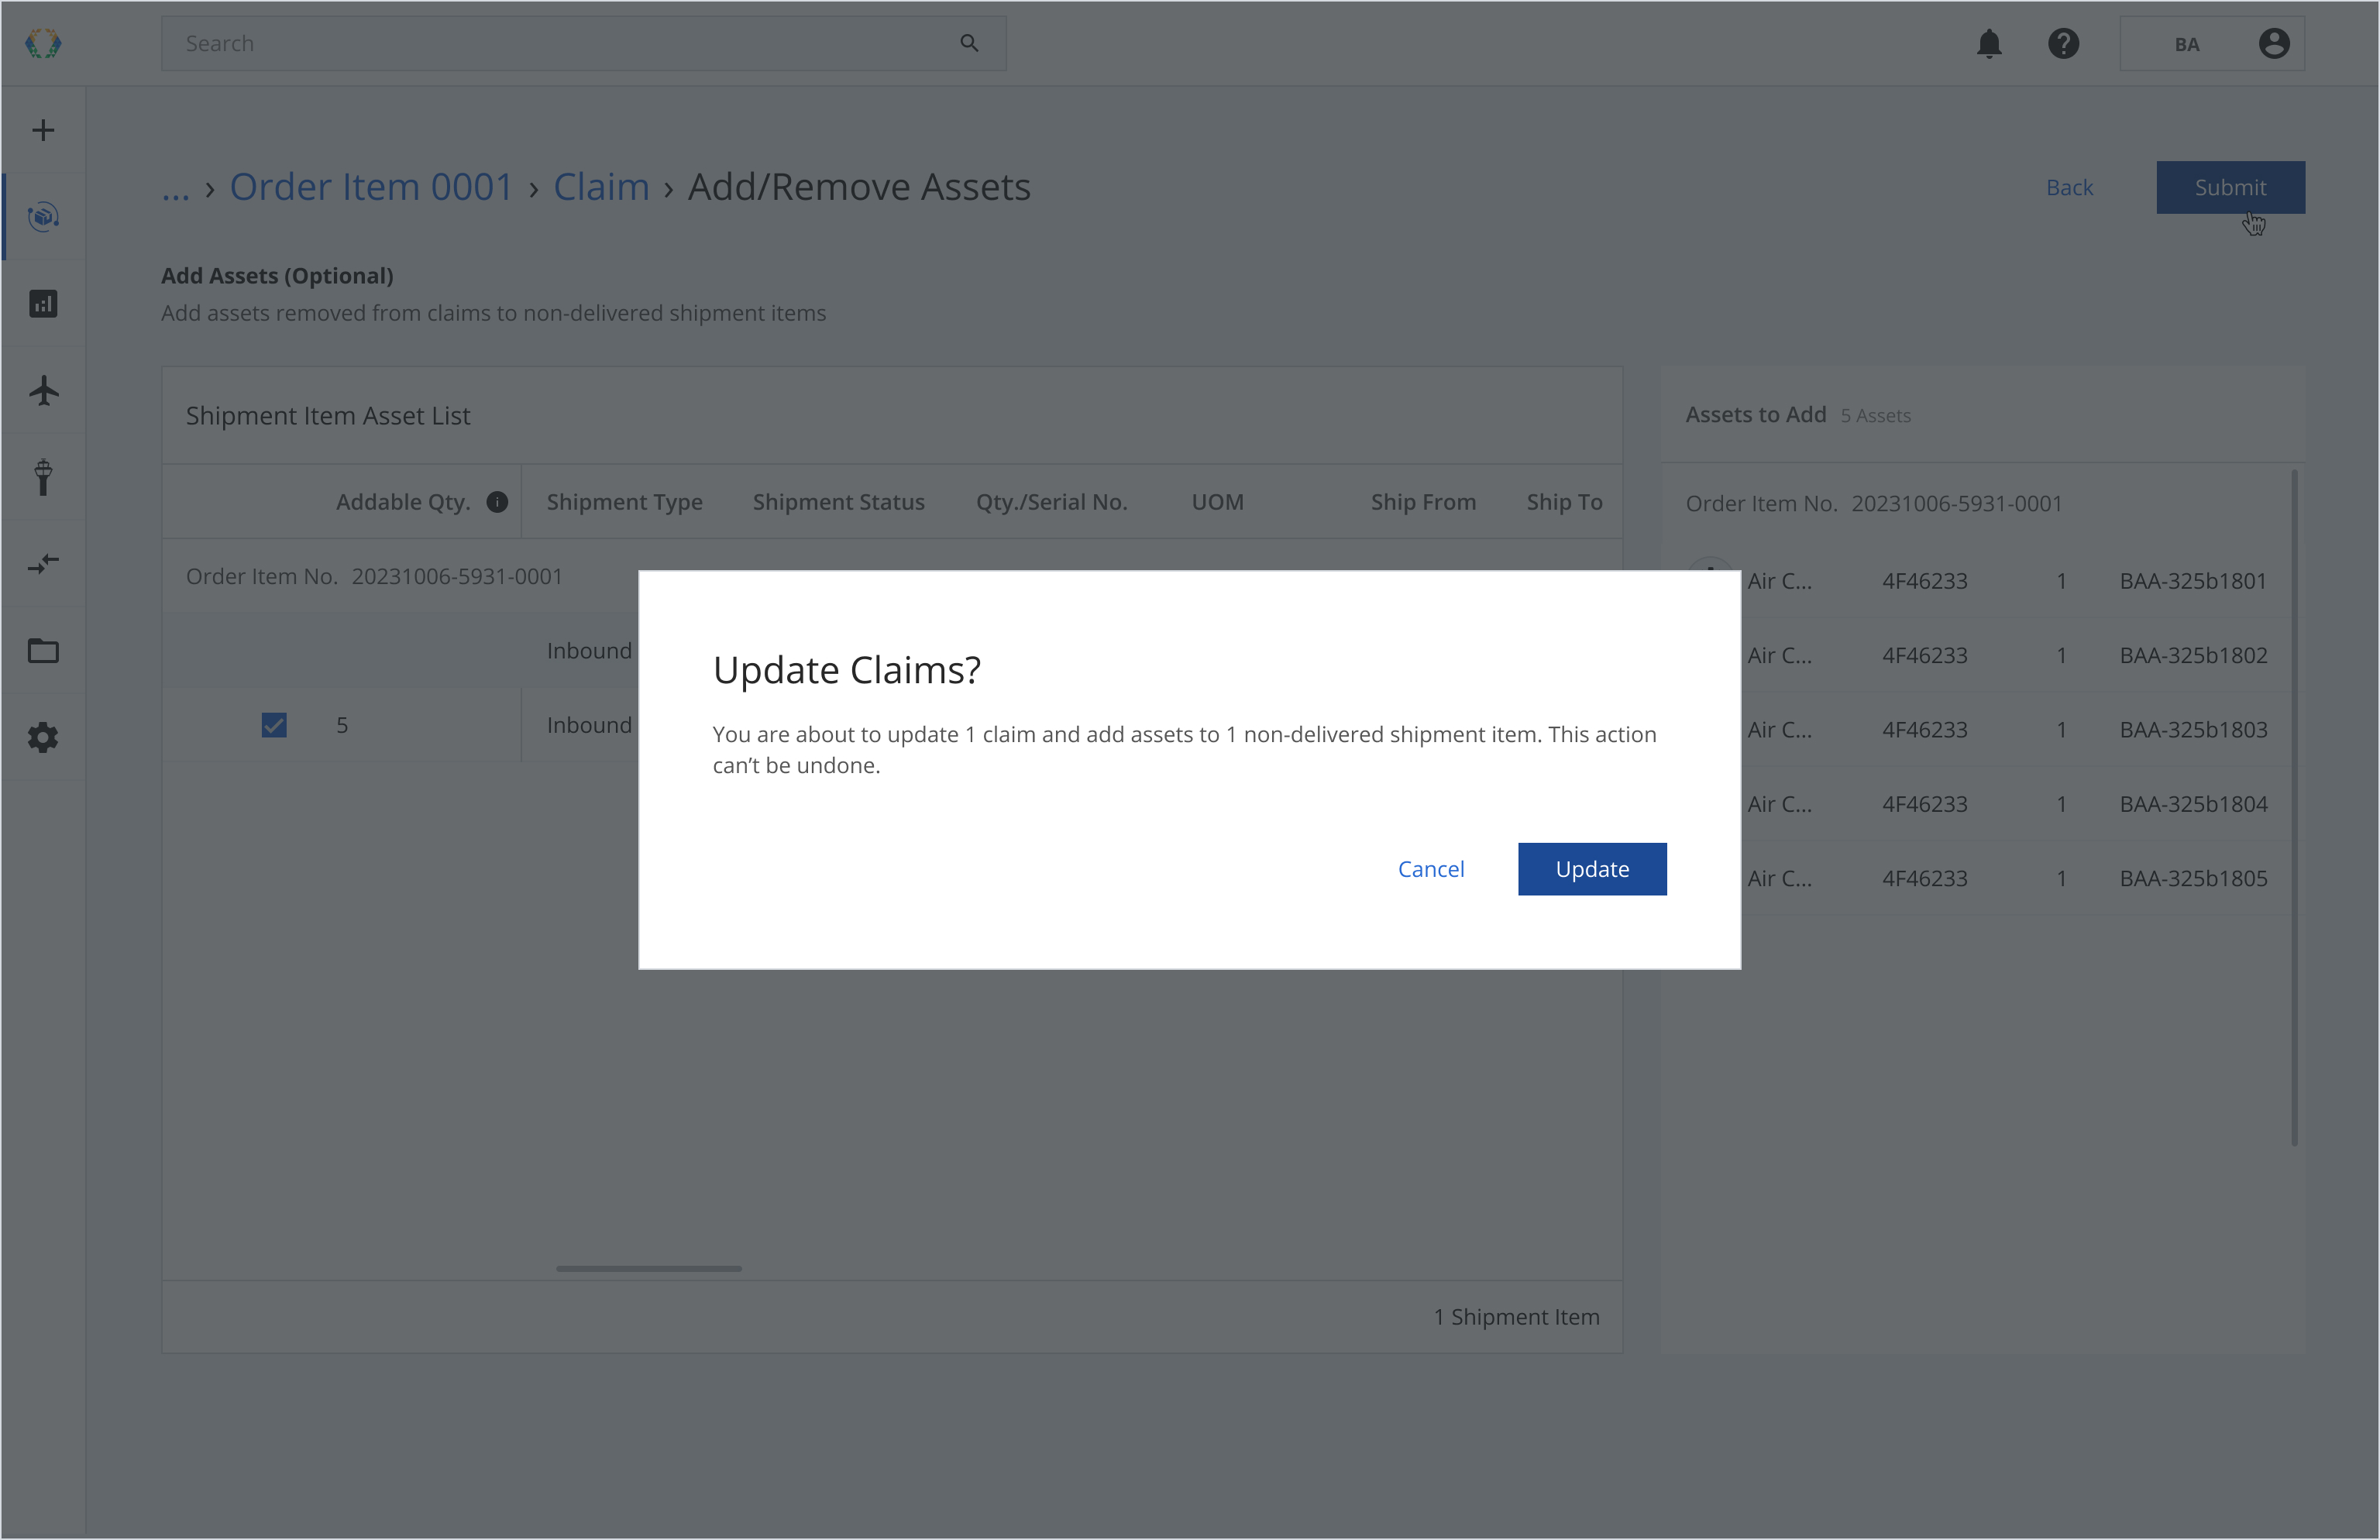
Select assets that were removed from the claim to add them to non-delivered shipment items. The ‘Addable Qty.’ field indicates the available quantity of assets you can add.
Step 6: Click 'Submit'.

Step 7: A confirmation banner will appear, communicating the actions that will be triggered.
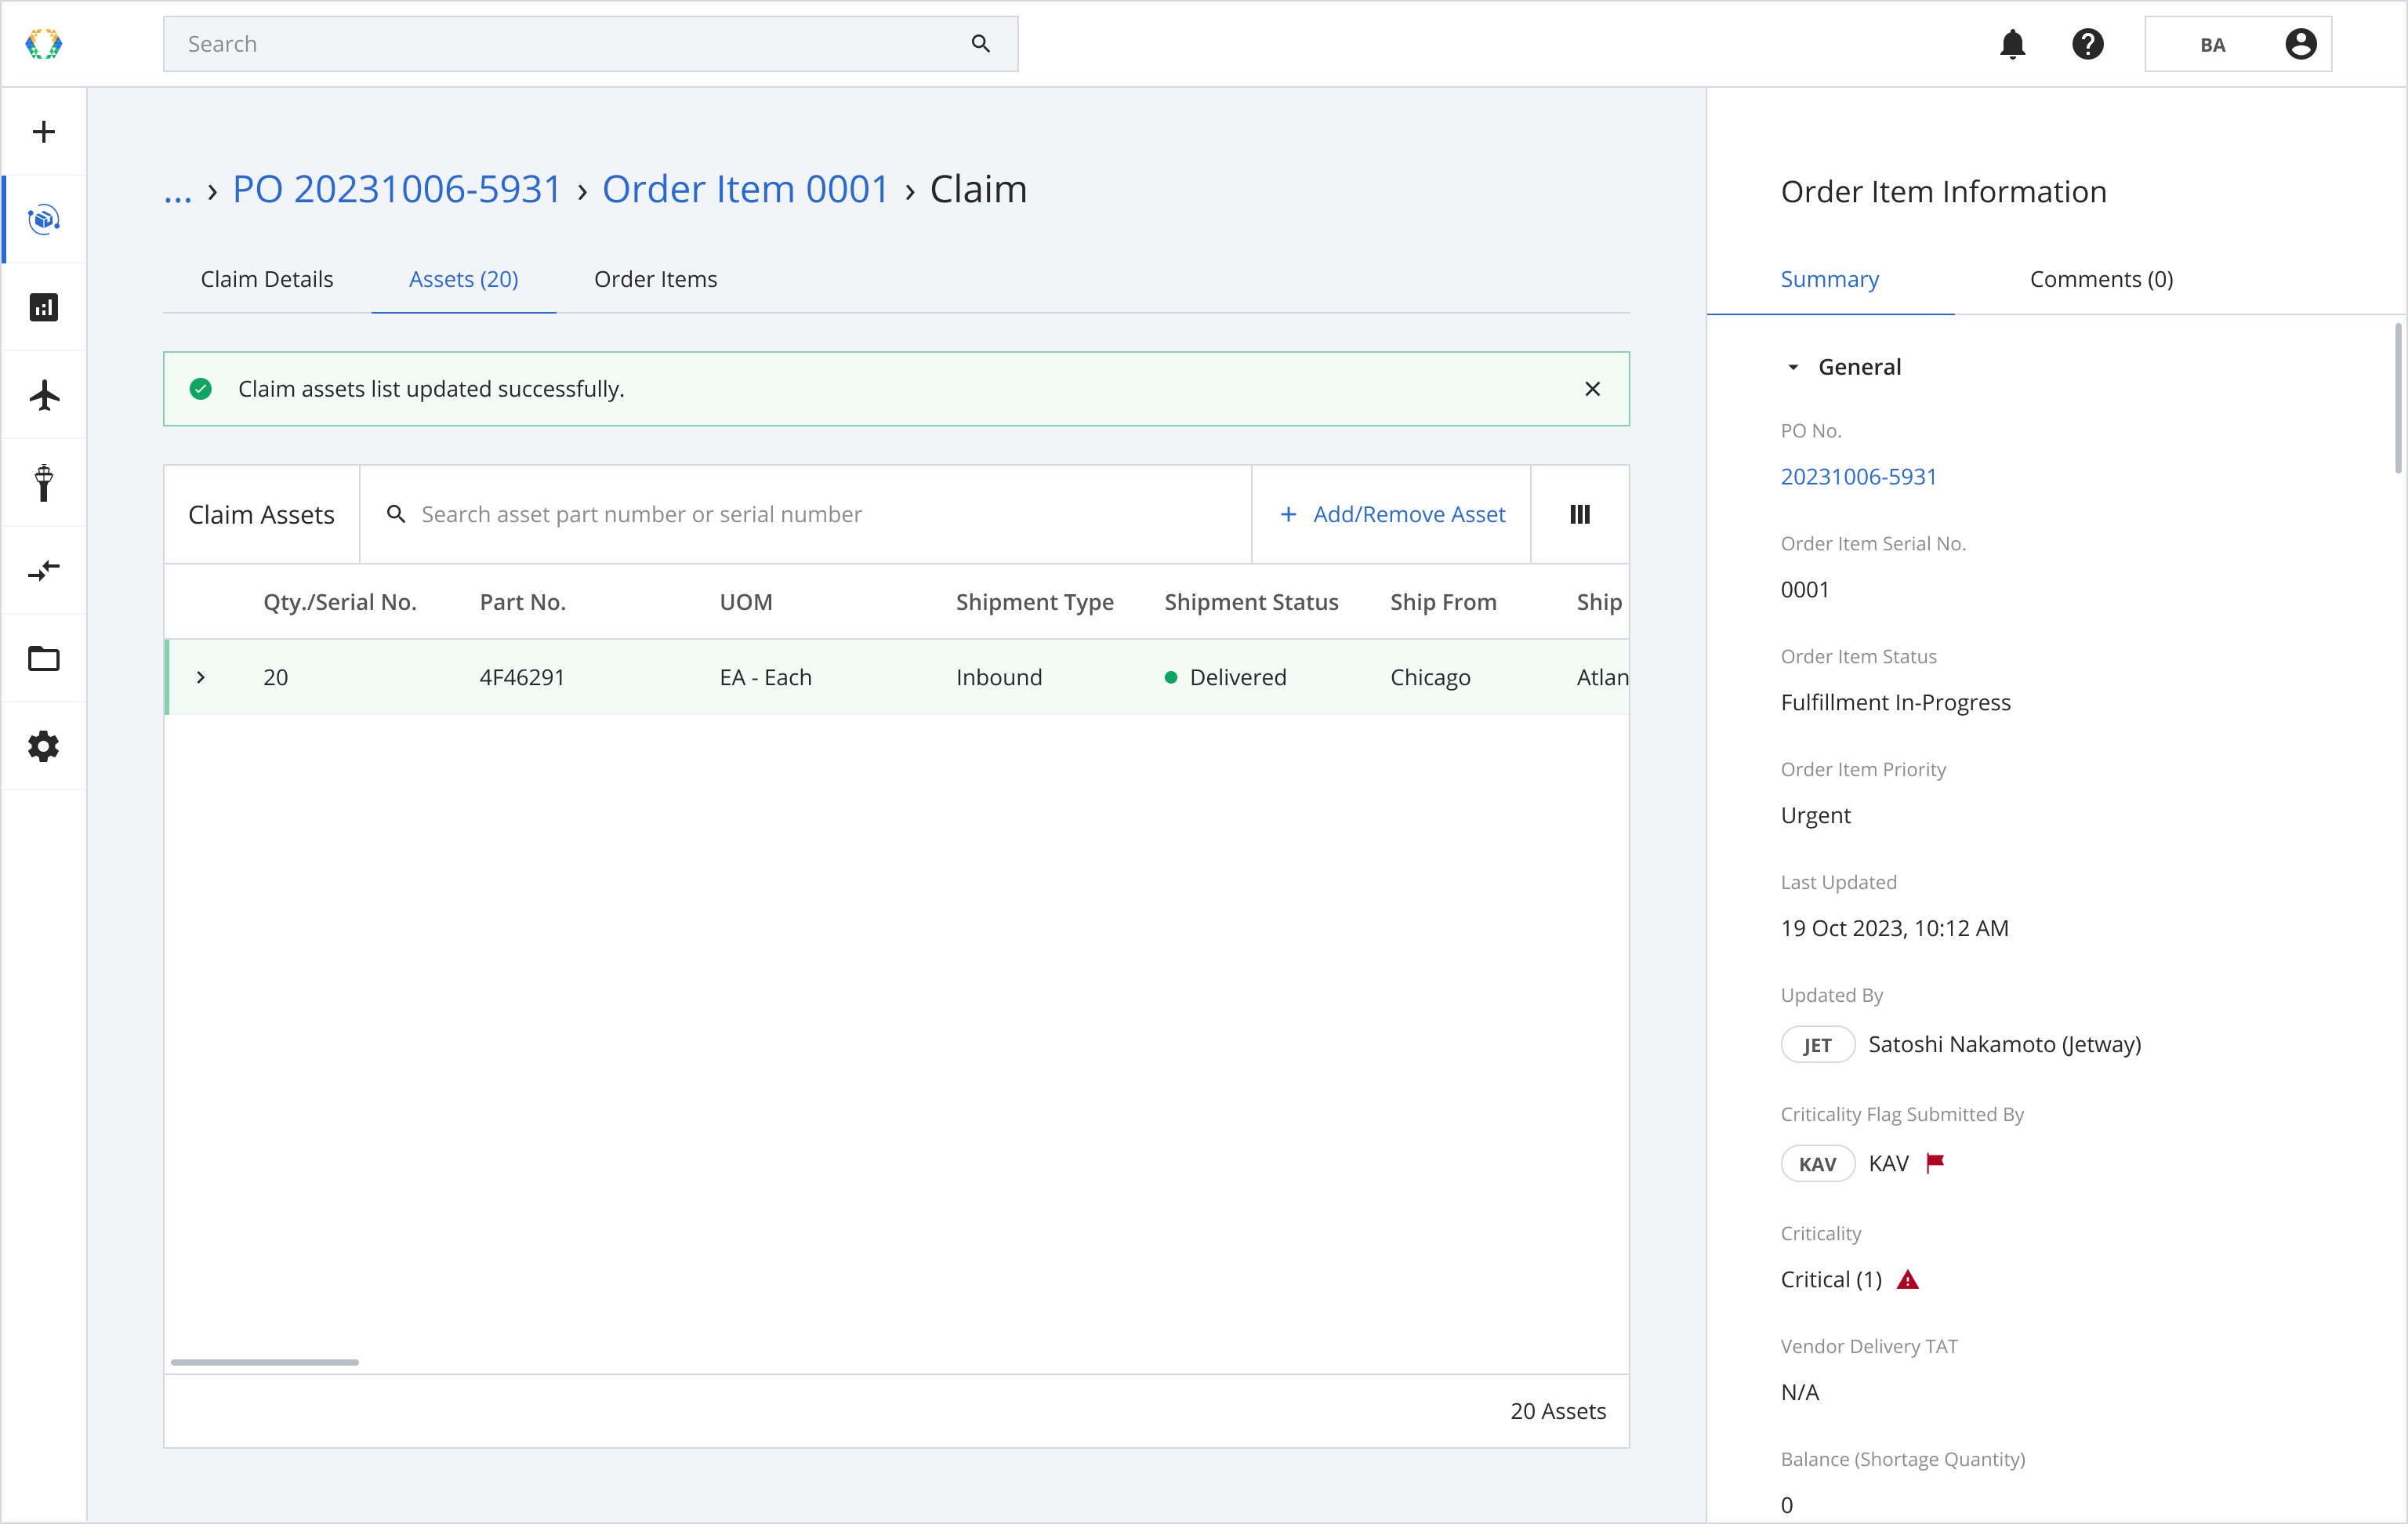
Step 8: A green banner will appear at the top of the claim list when the claim is updated successfully.
Updated 6 months ago