Update Asset Repair Status
Getting Started
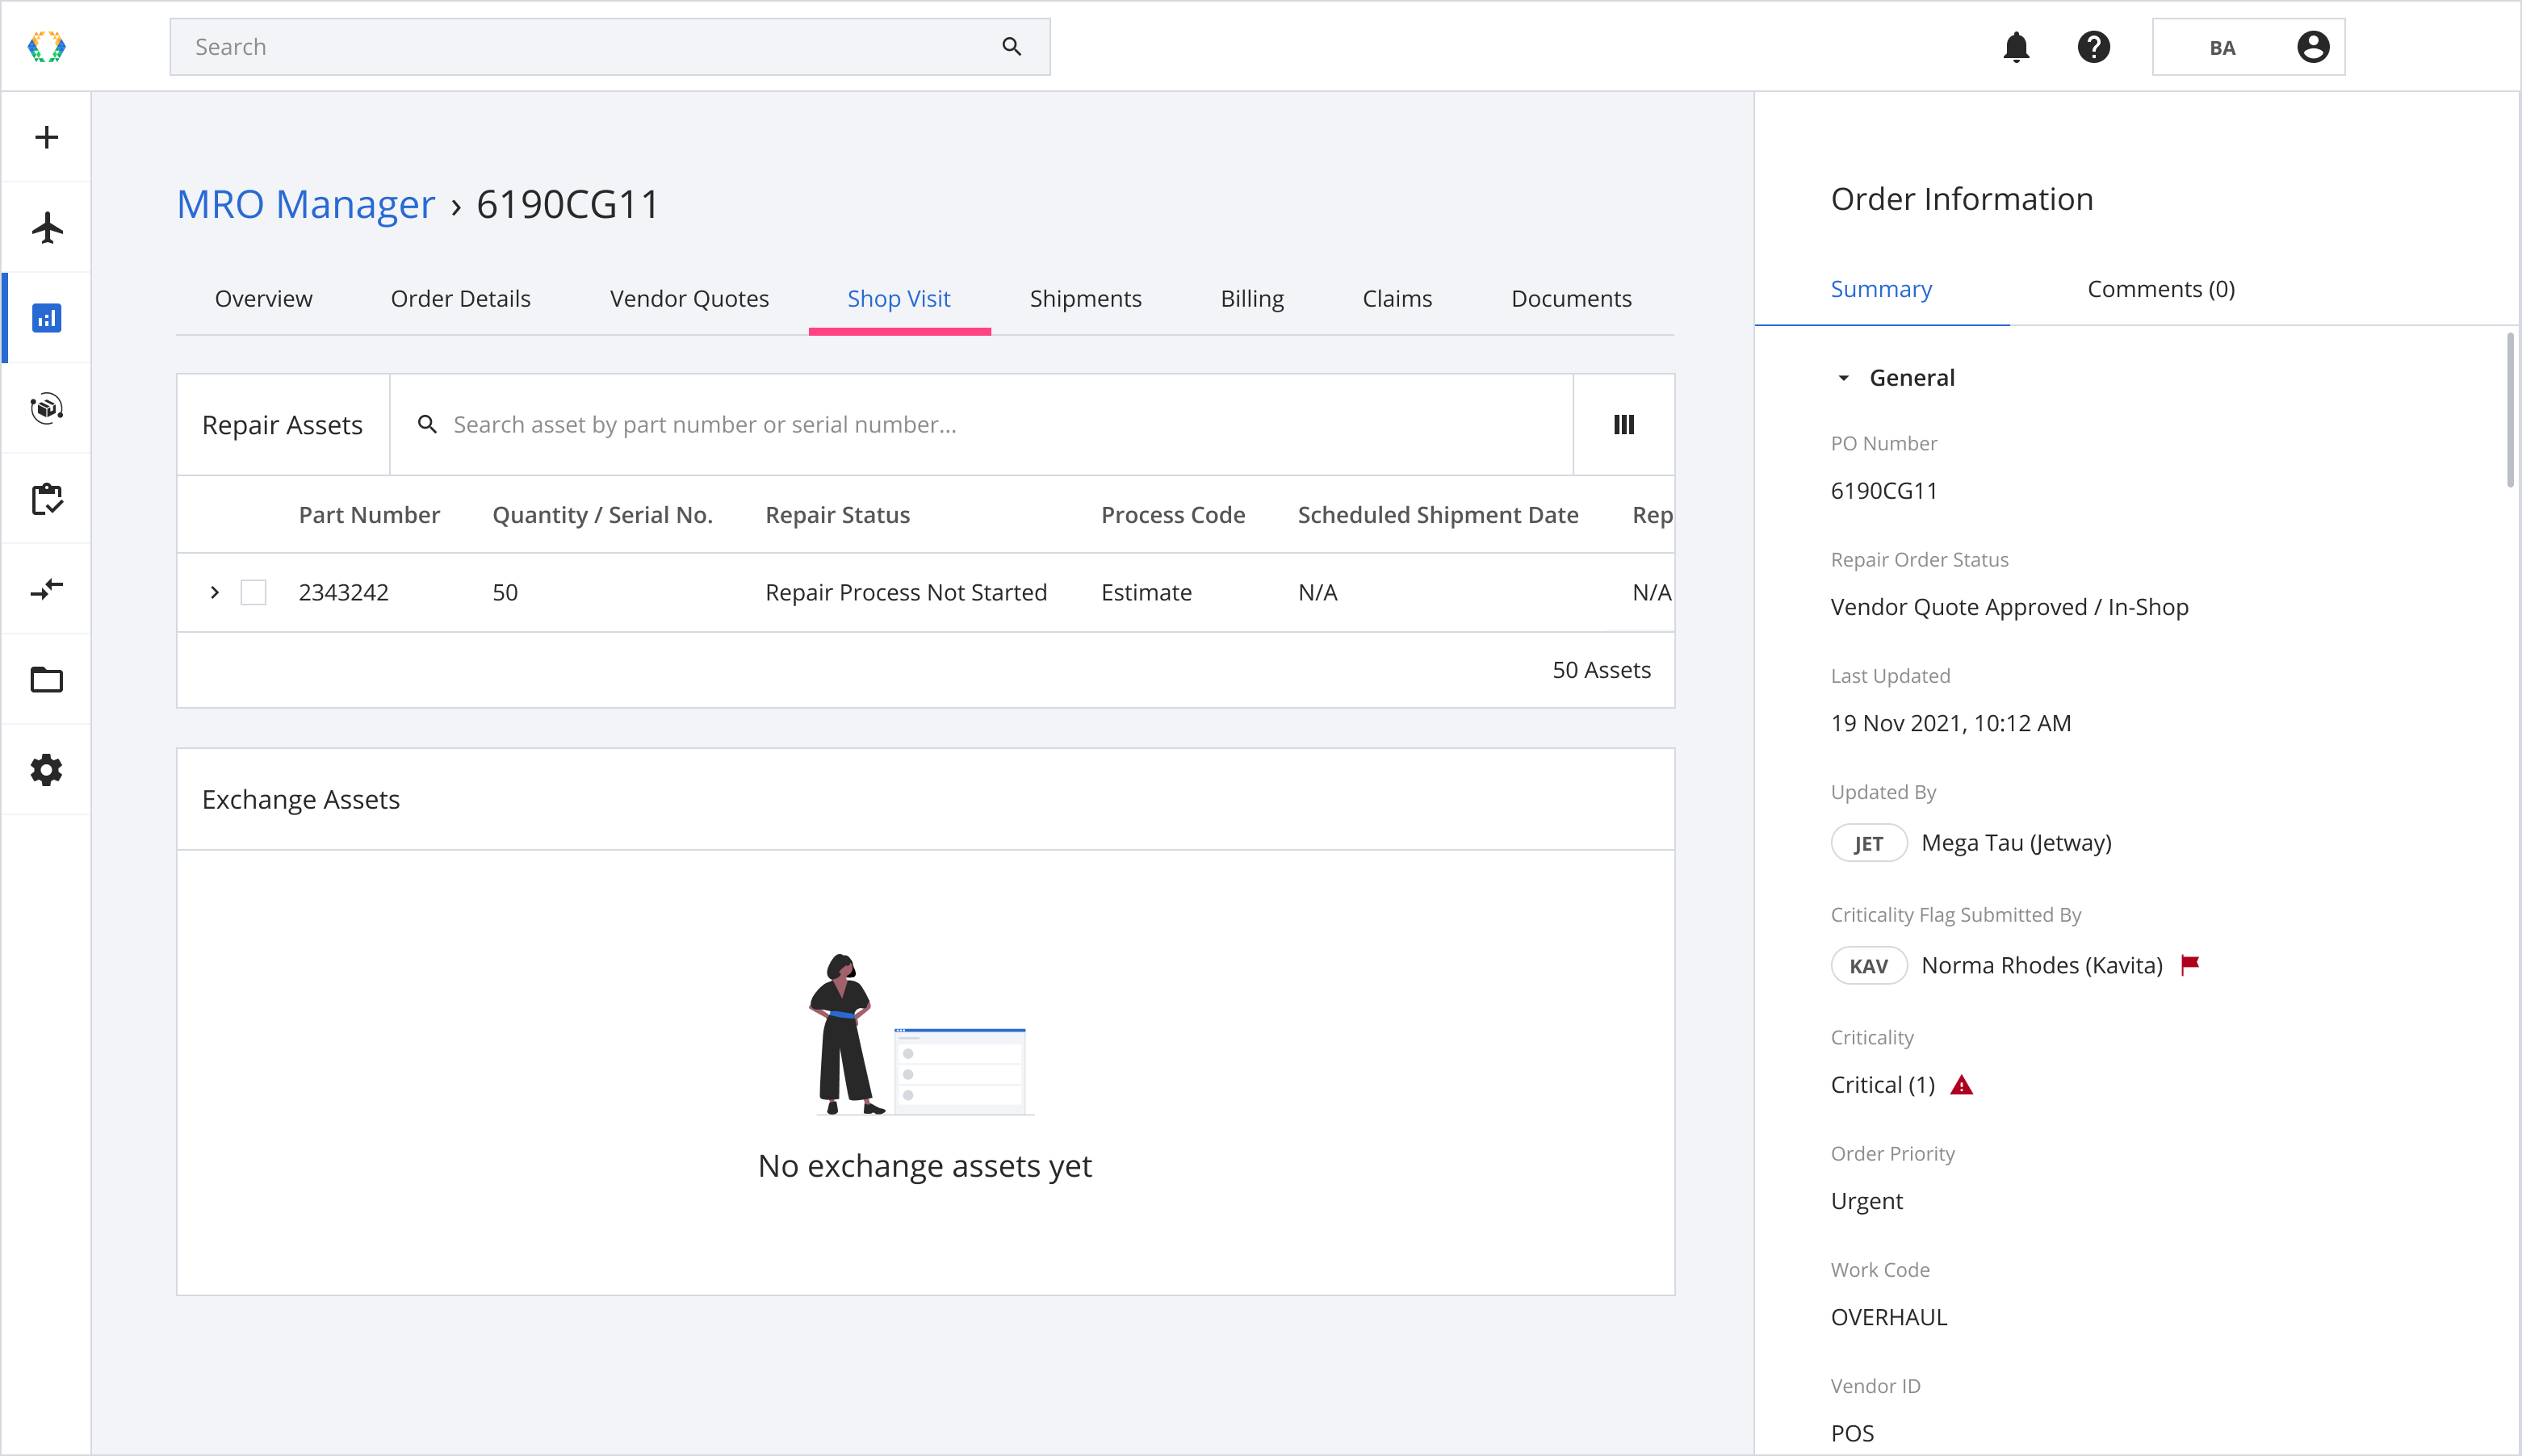
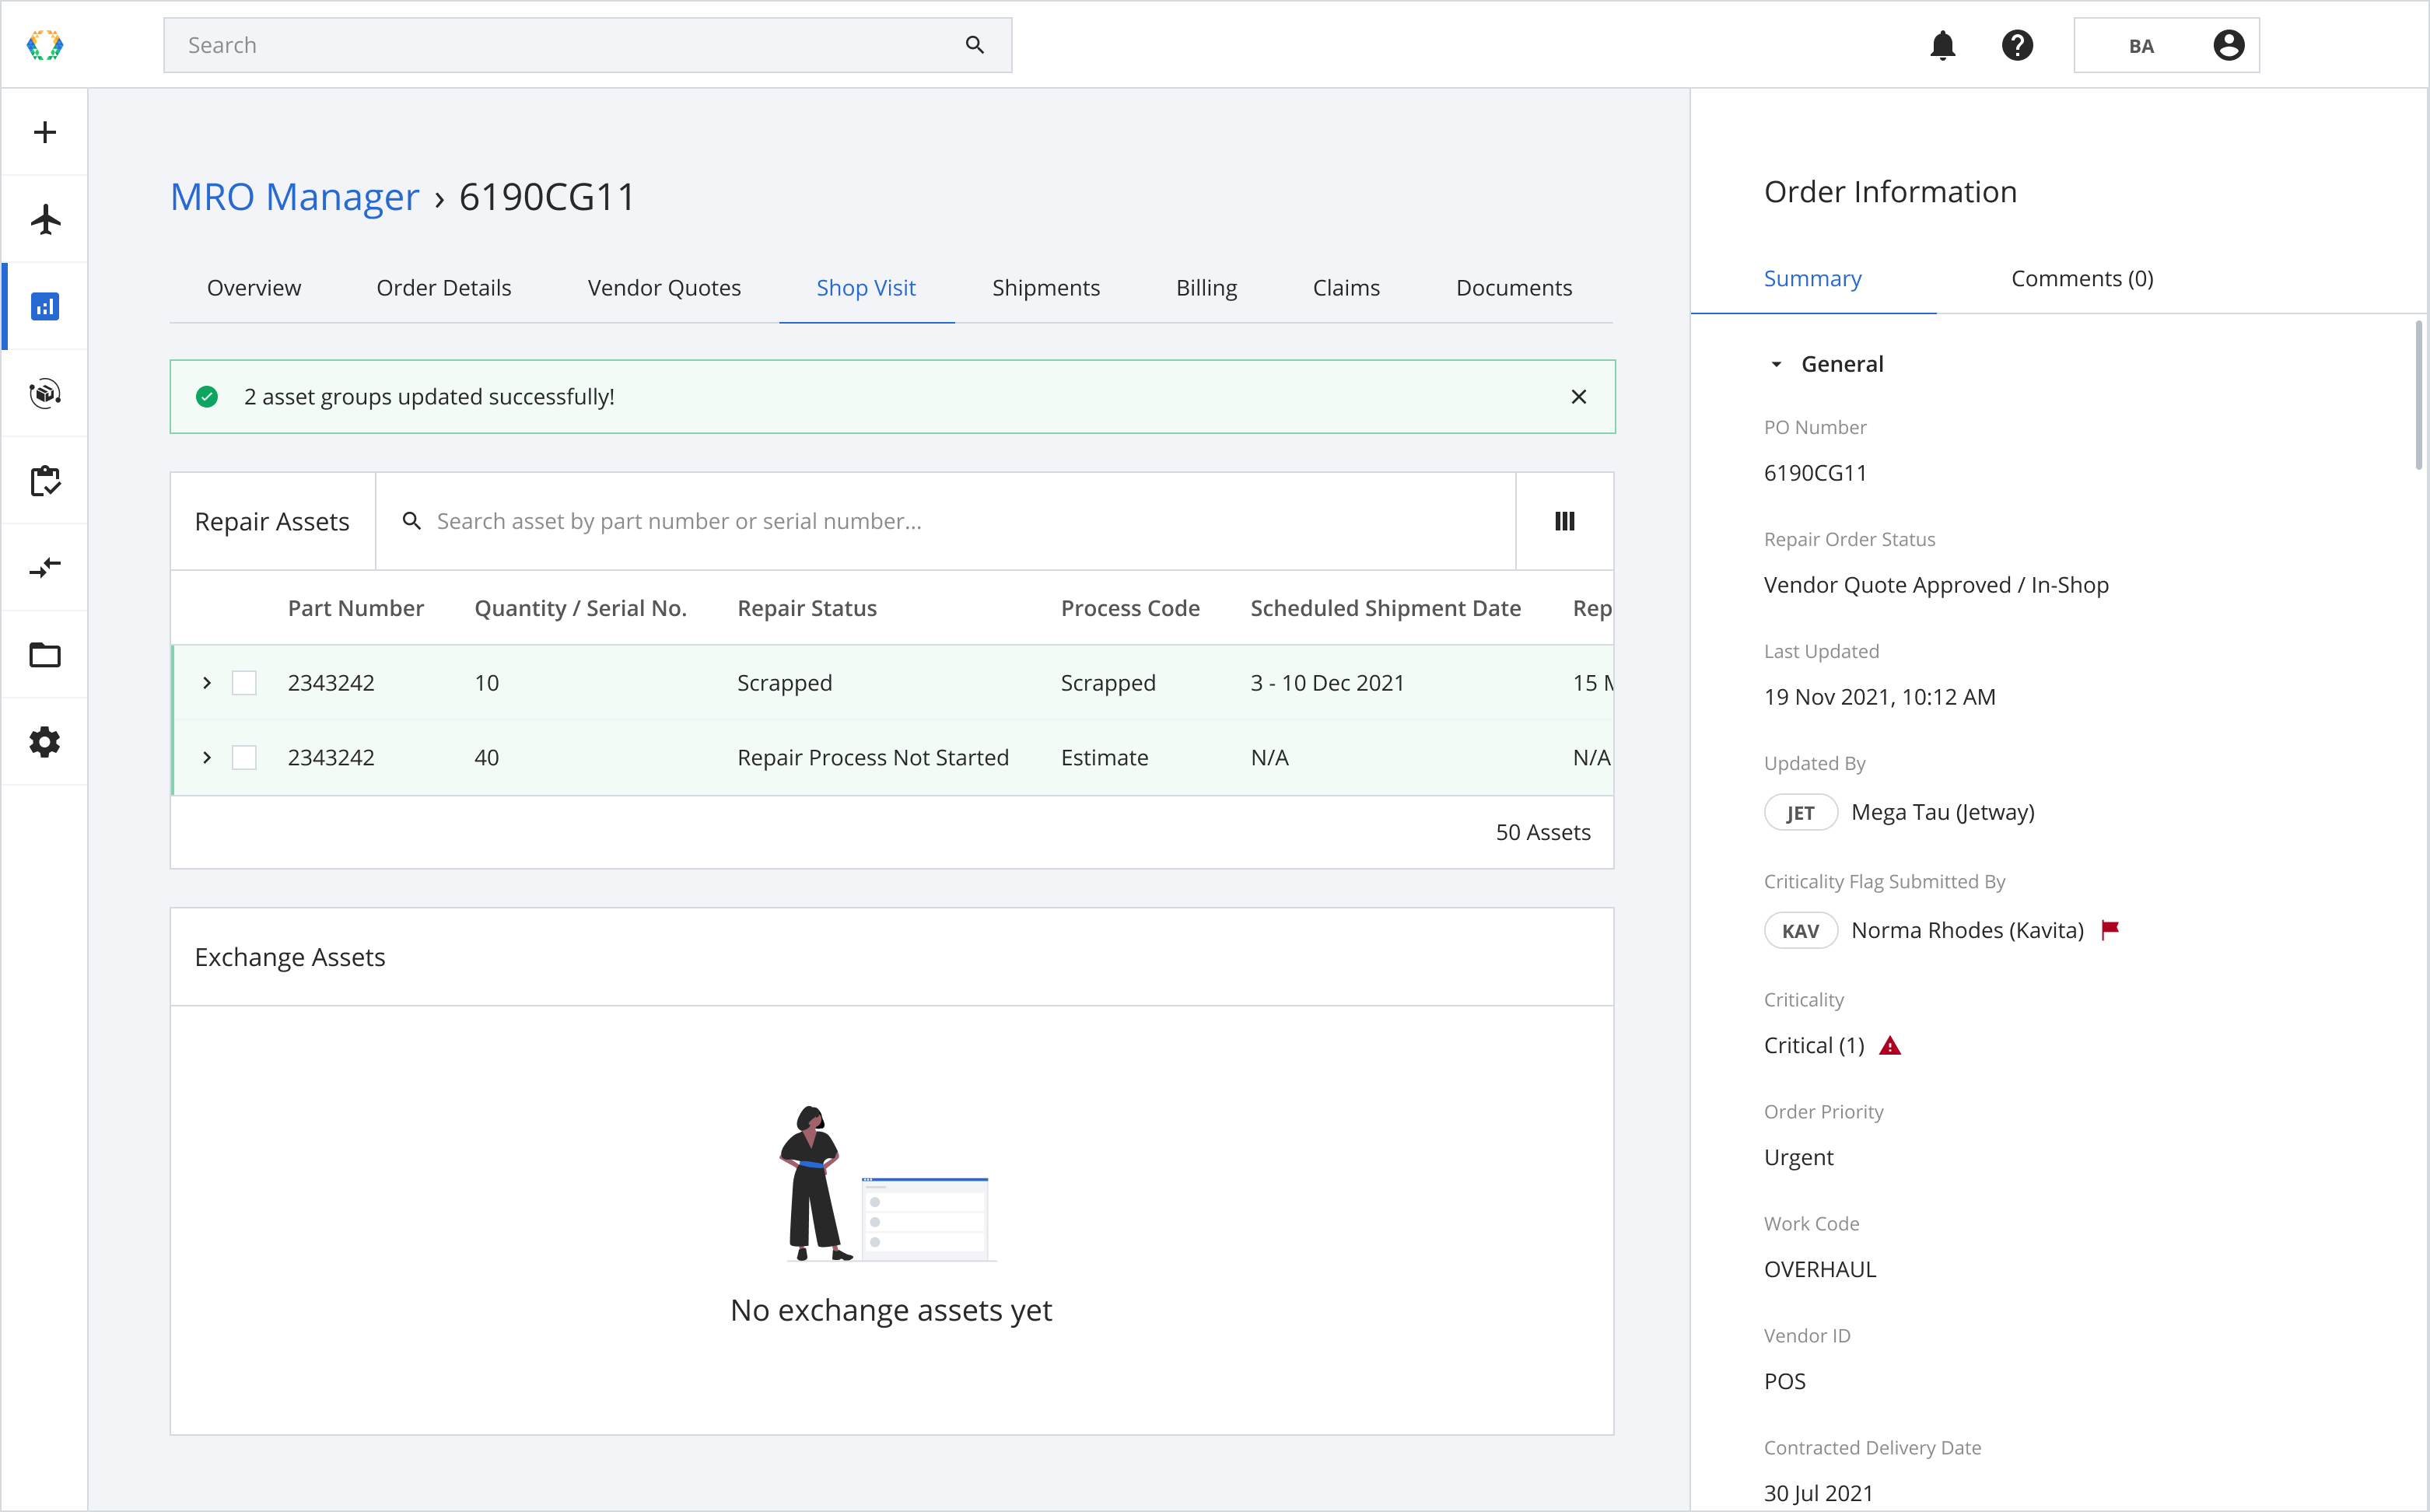
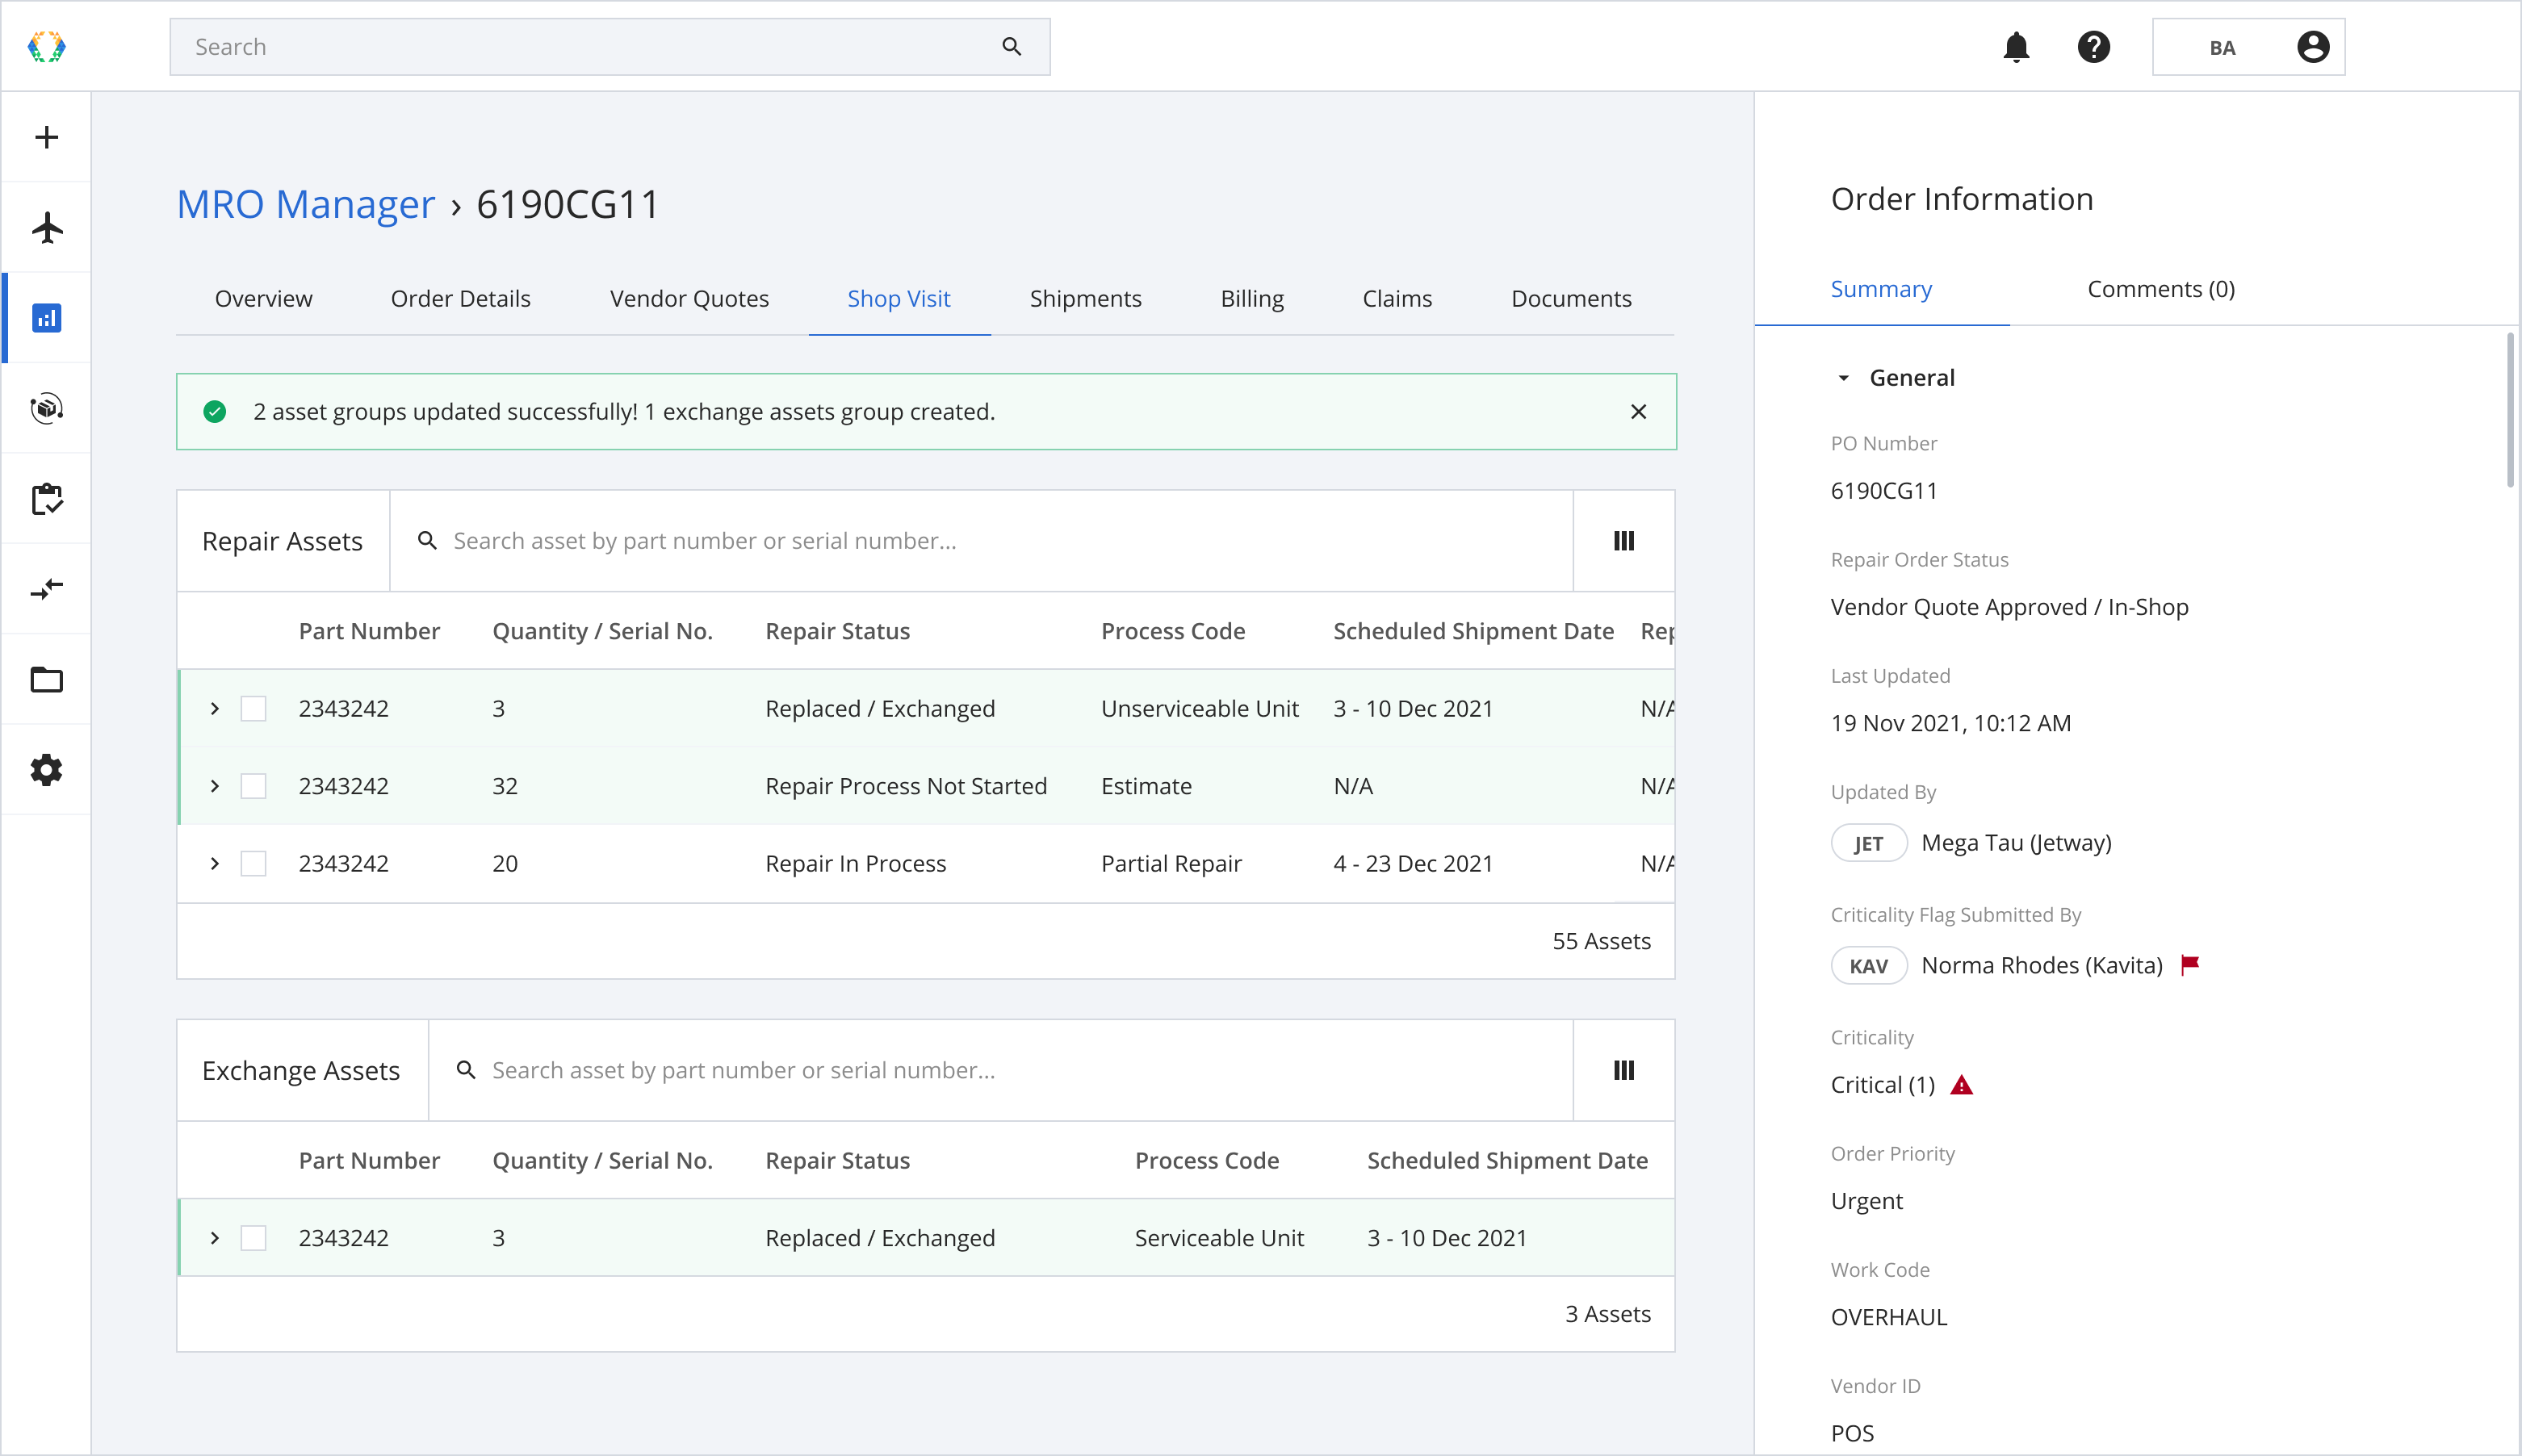
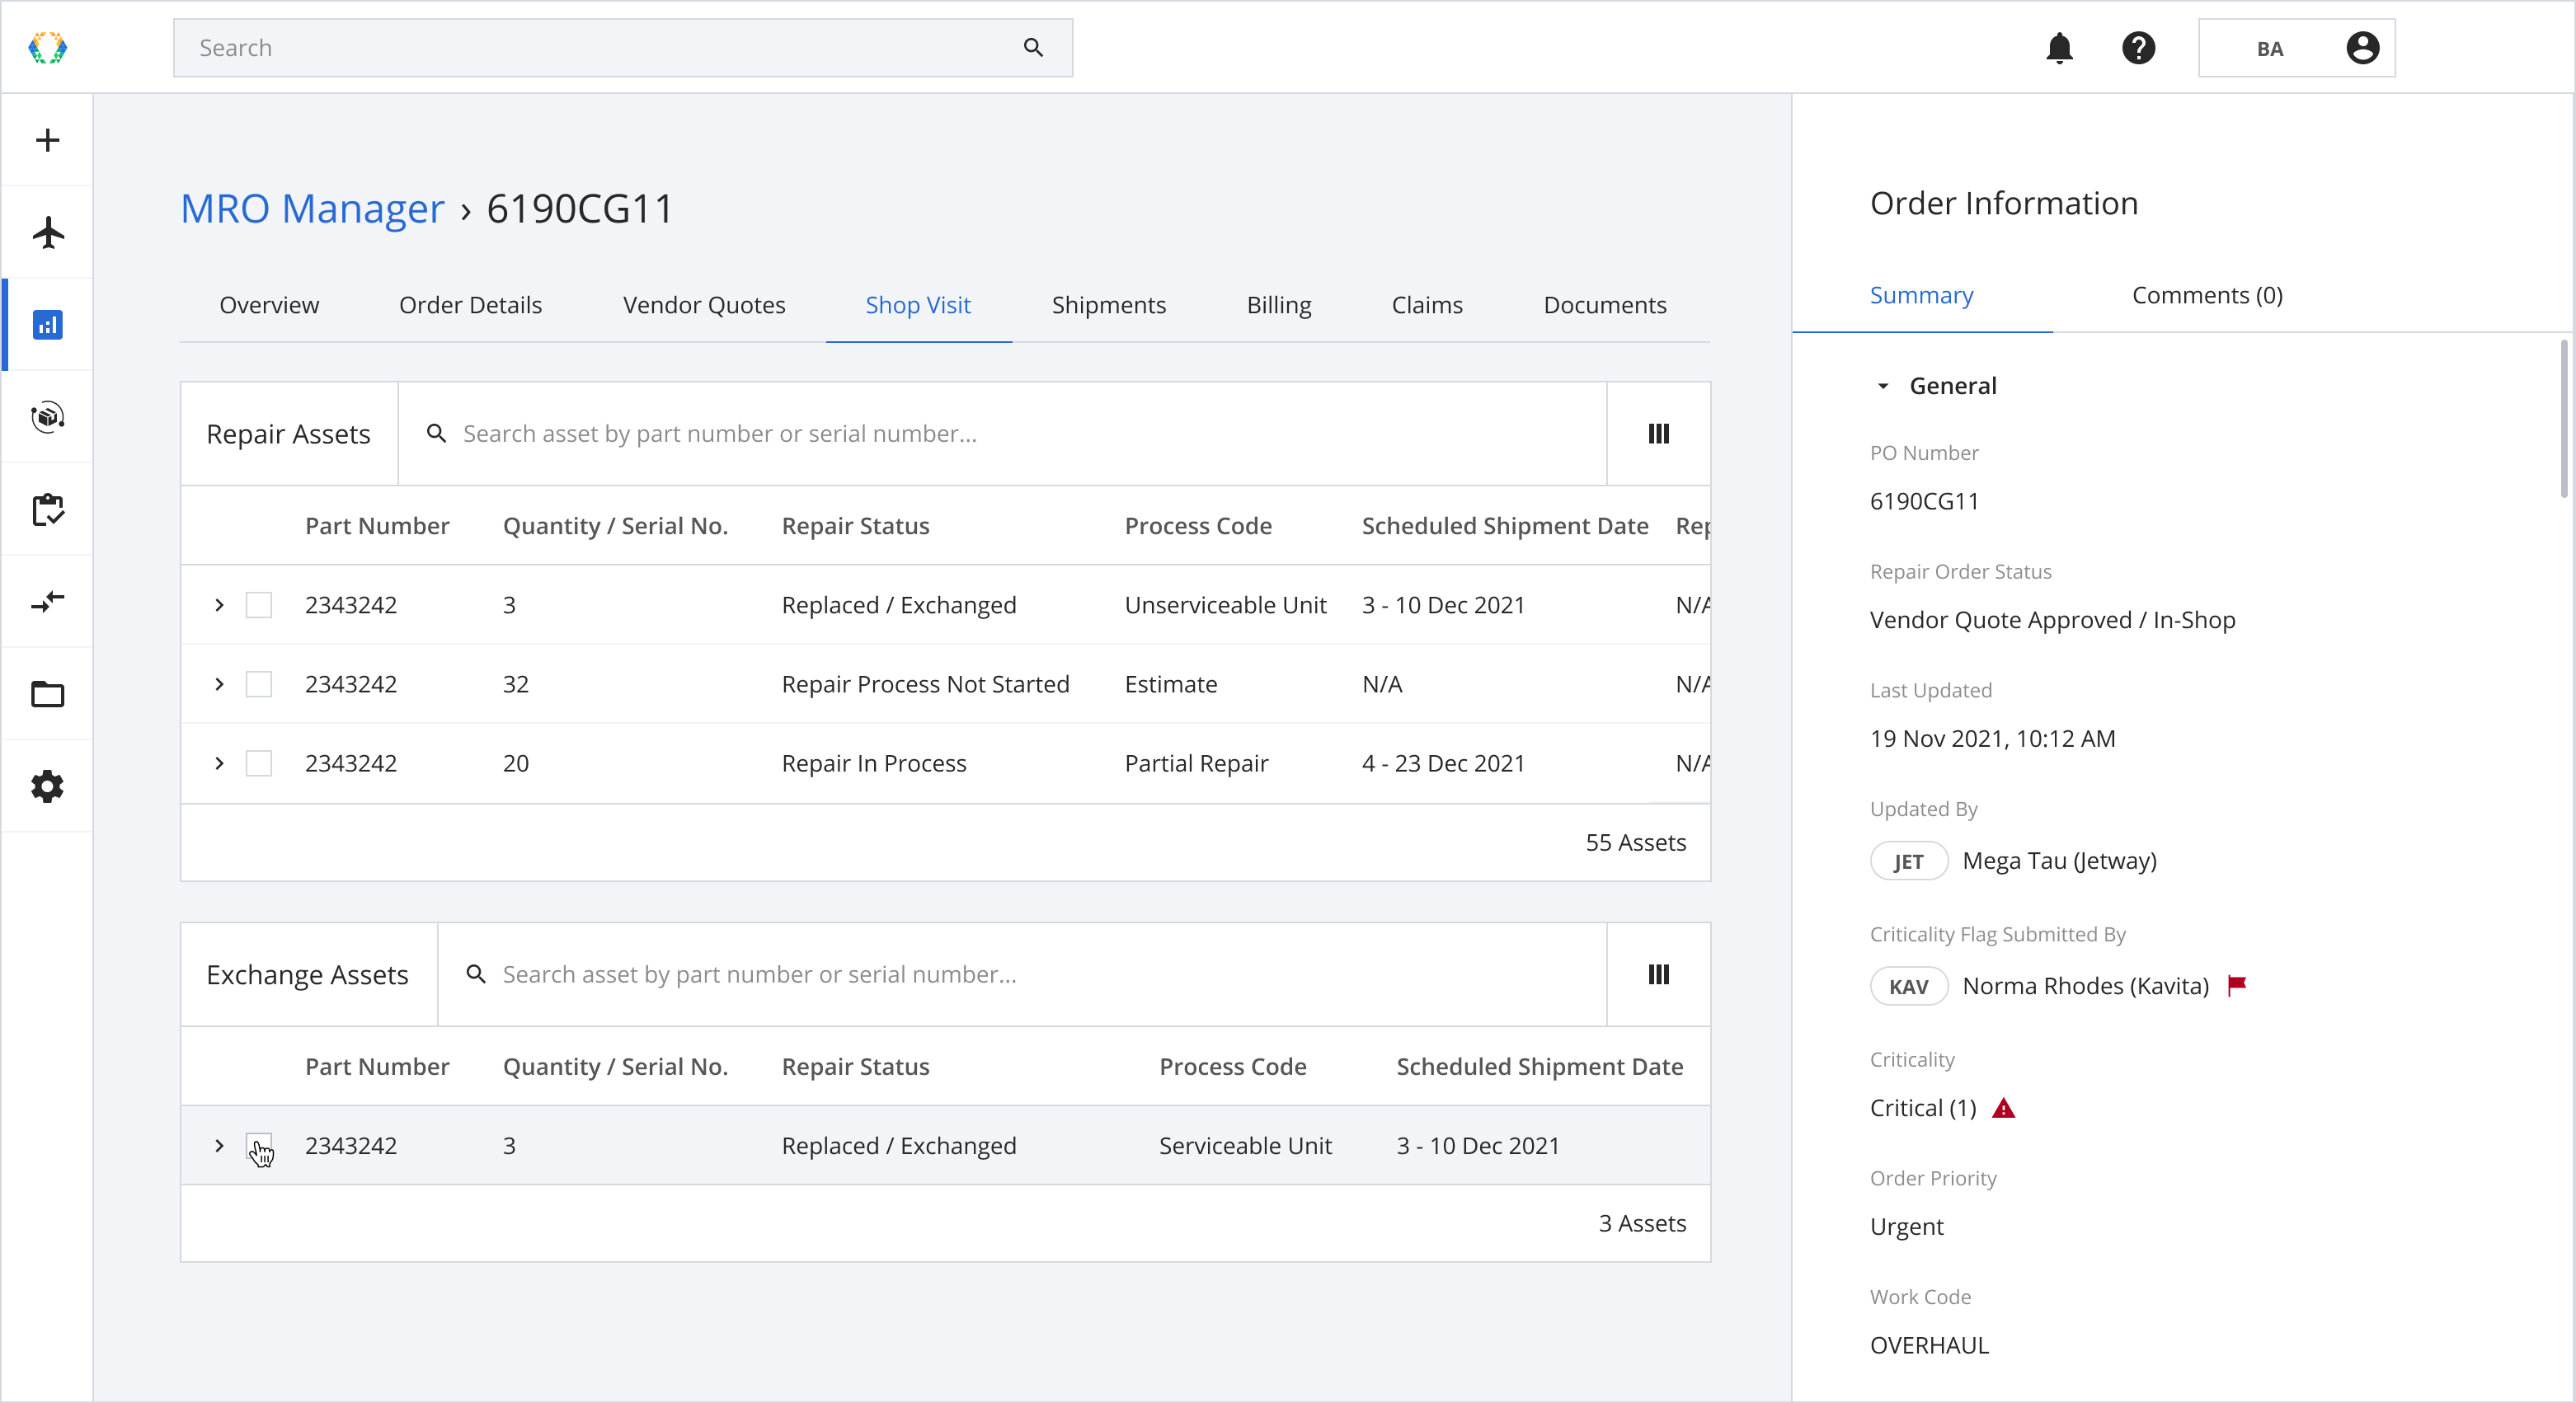
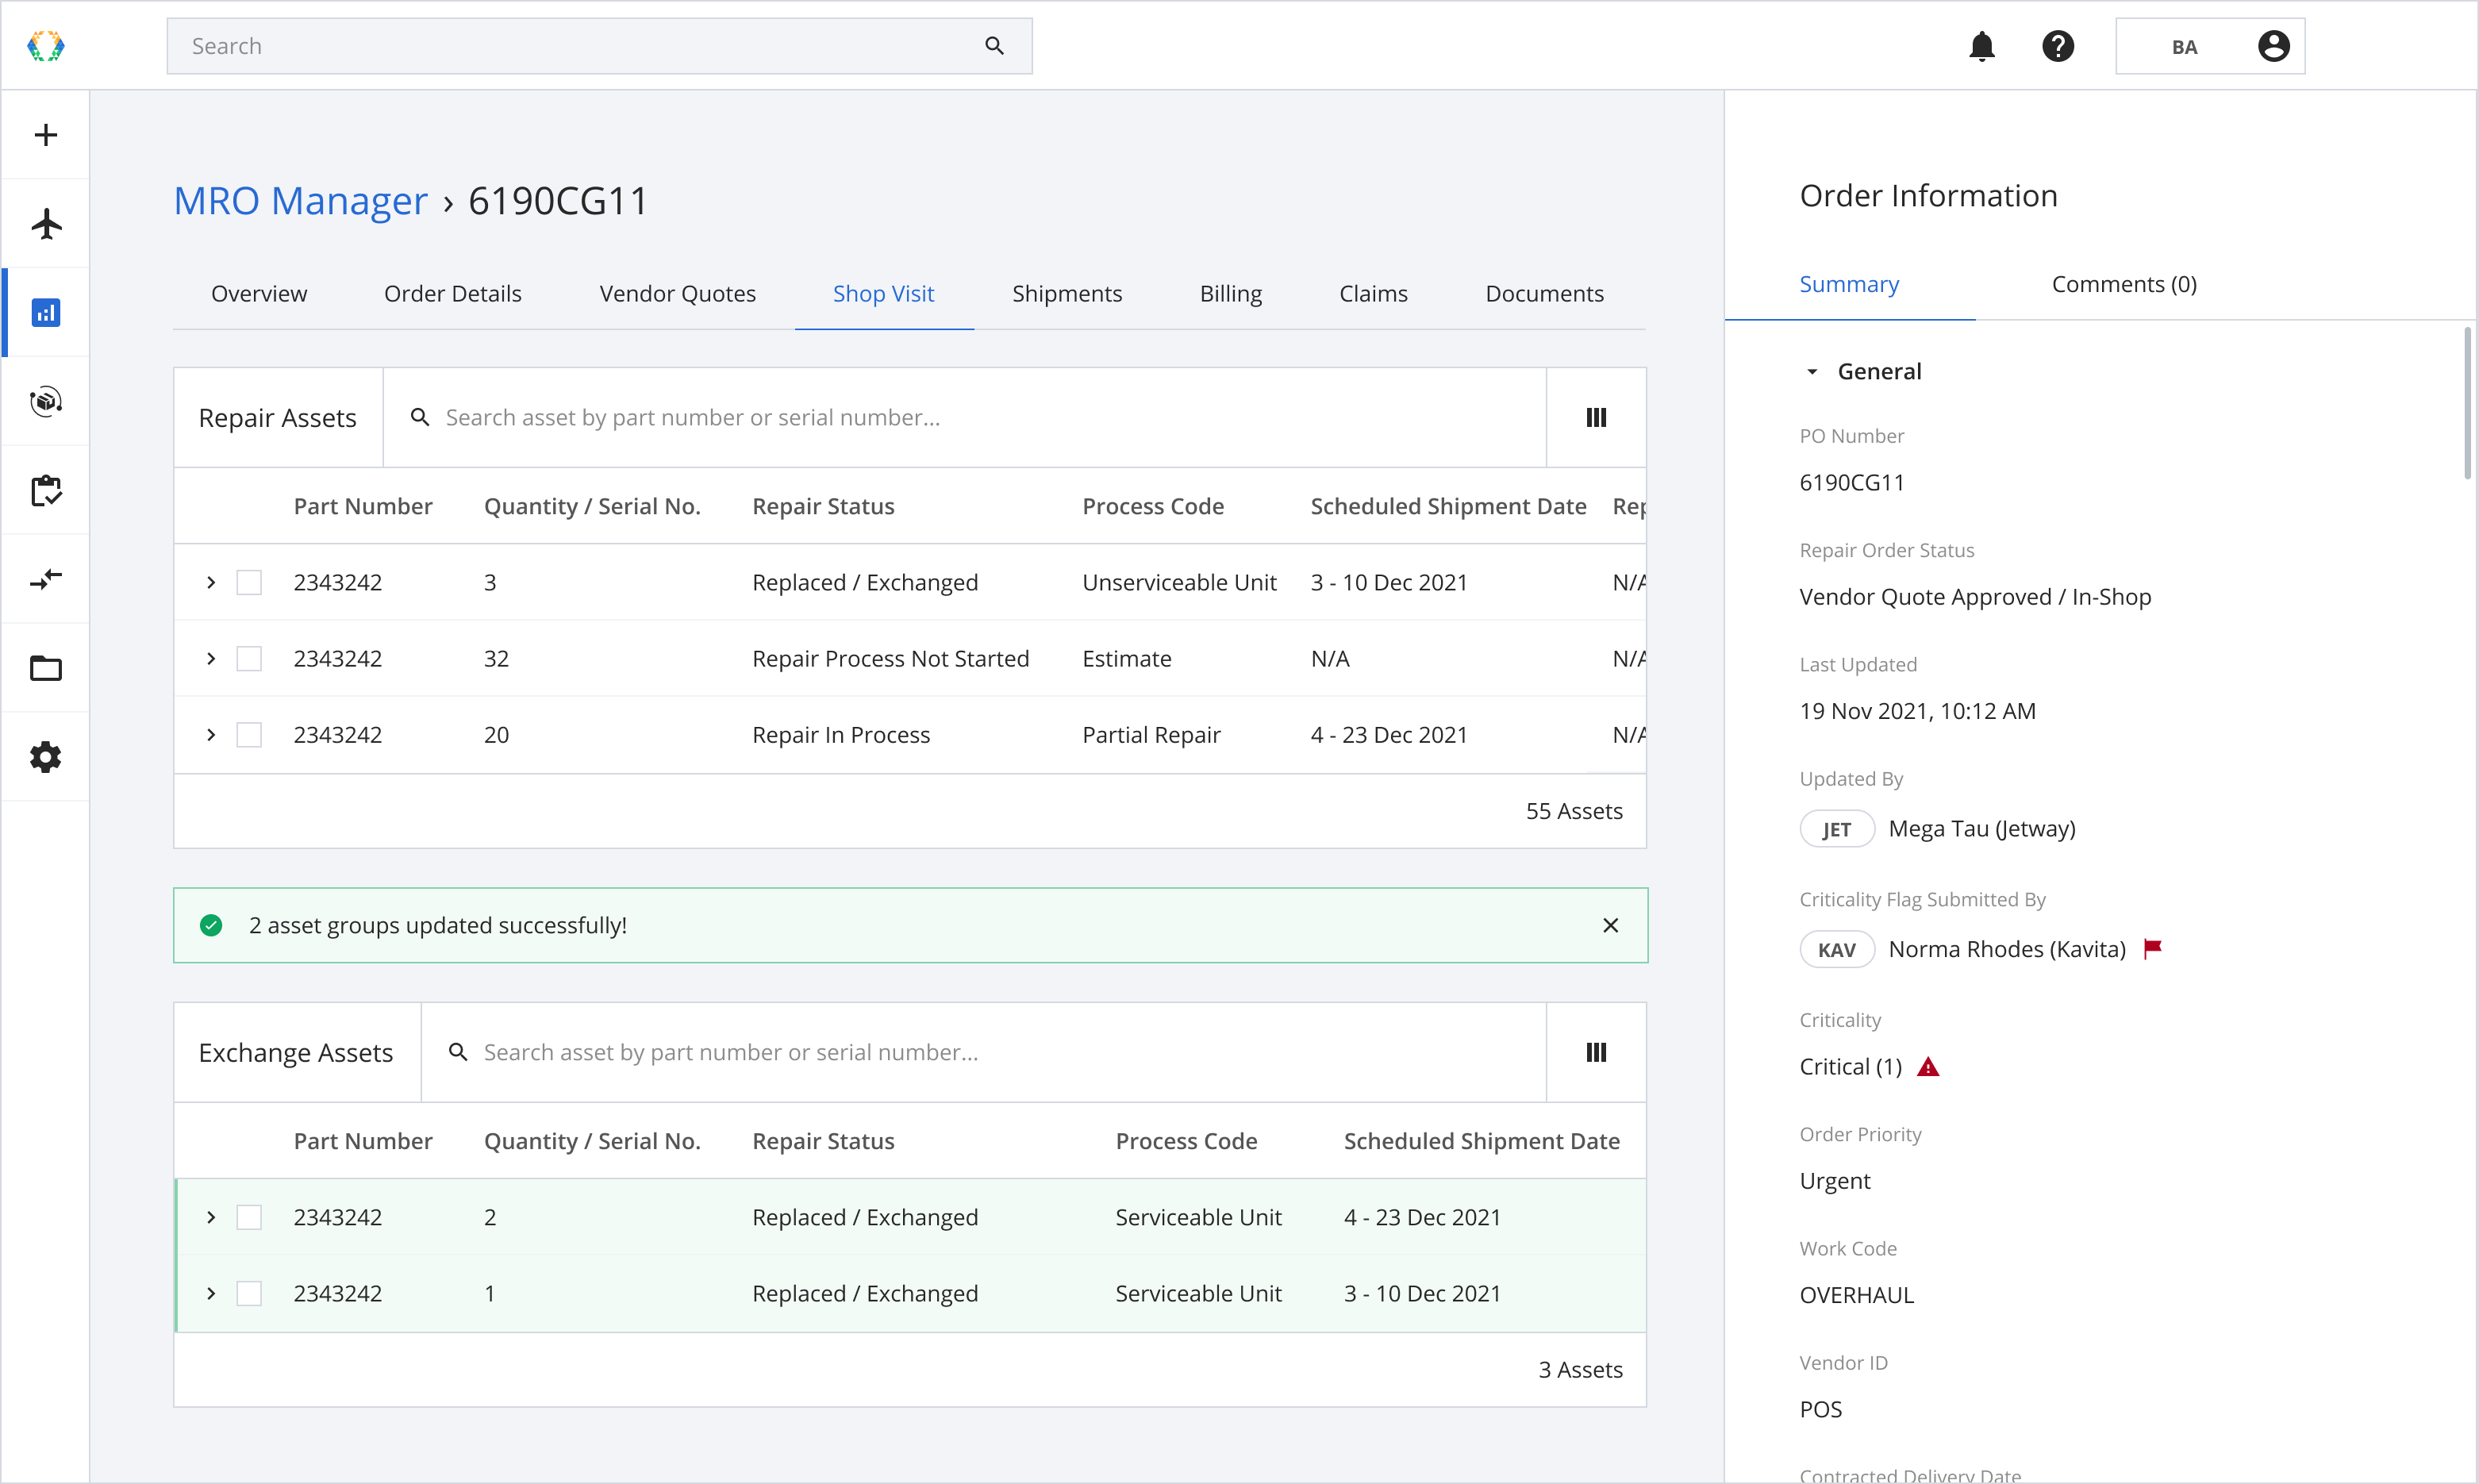
To manage your in-shop status of your repair assets, click 'Shop Visit' tab.
Updating Repair Status in Shop Visit
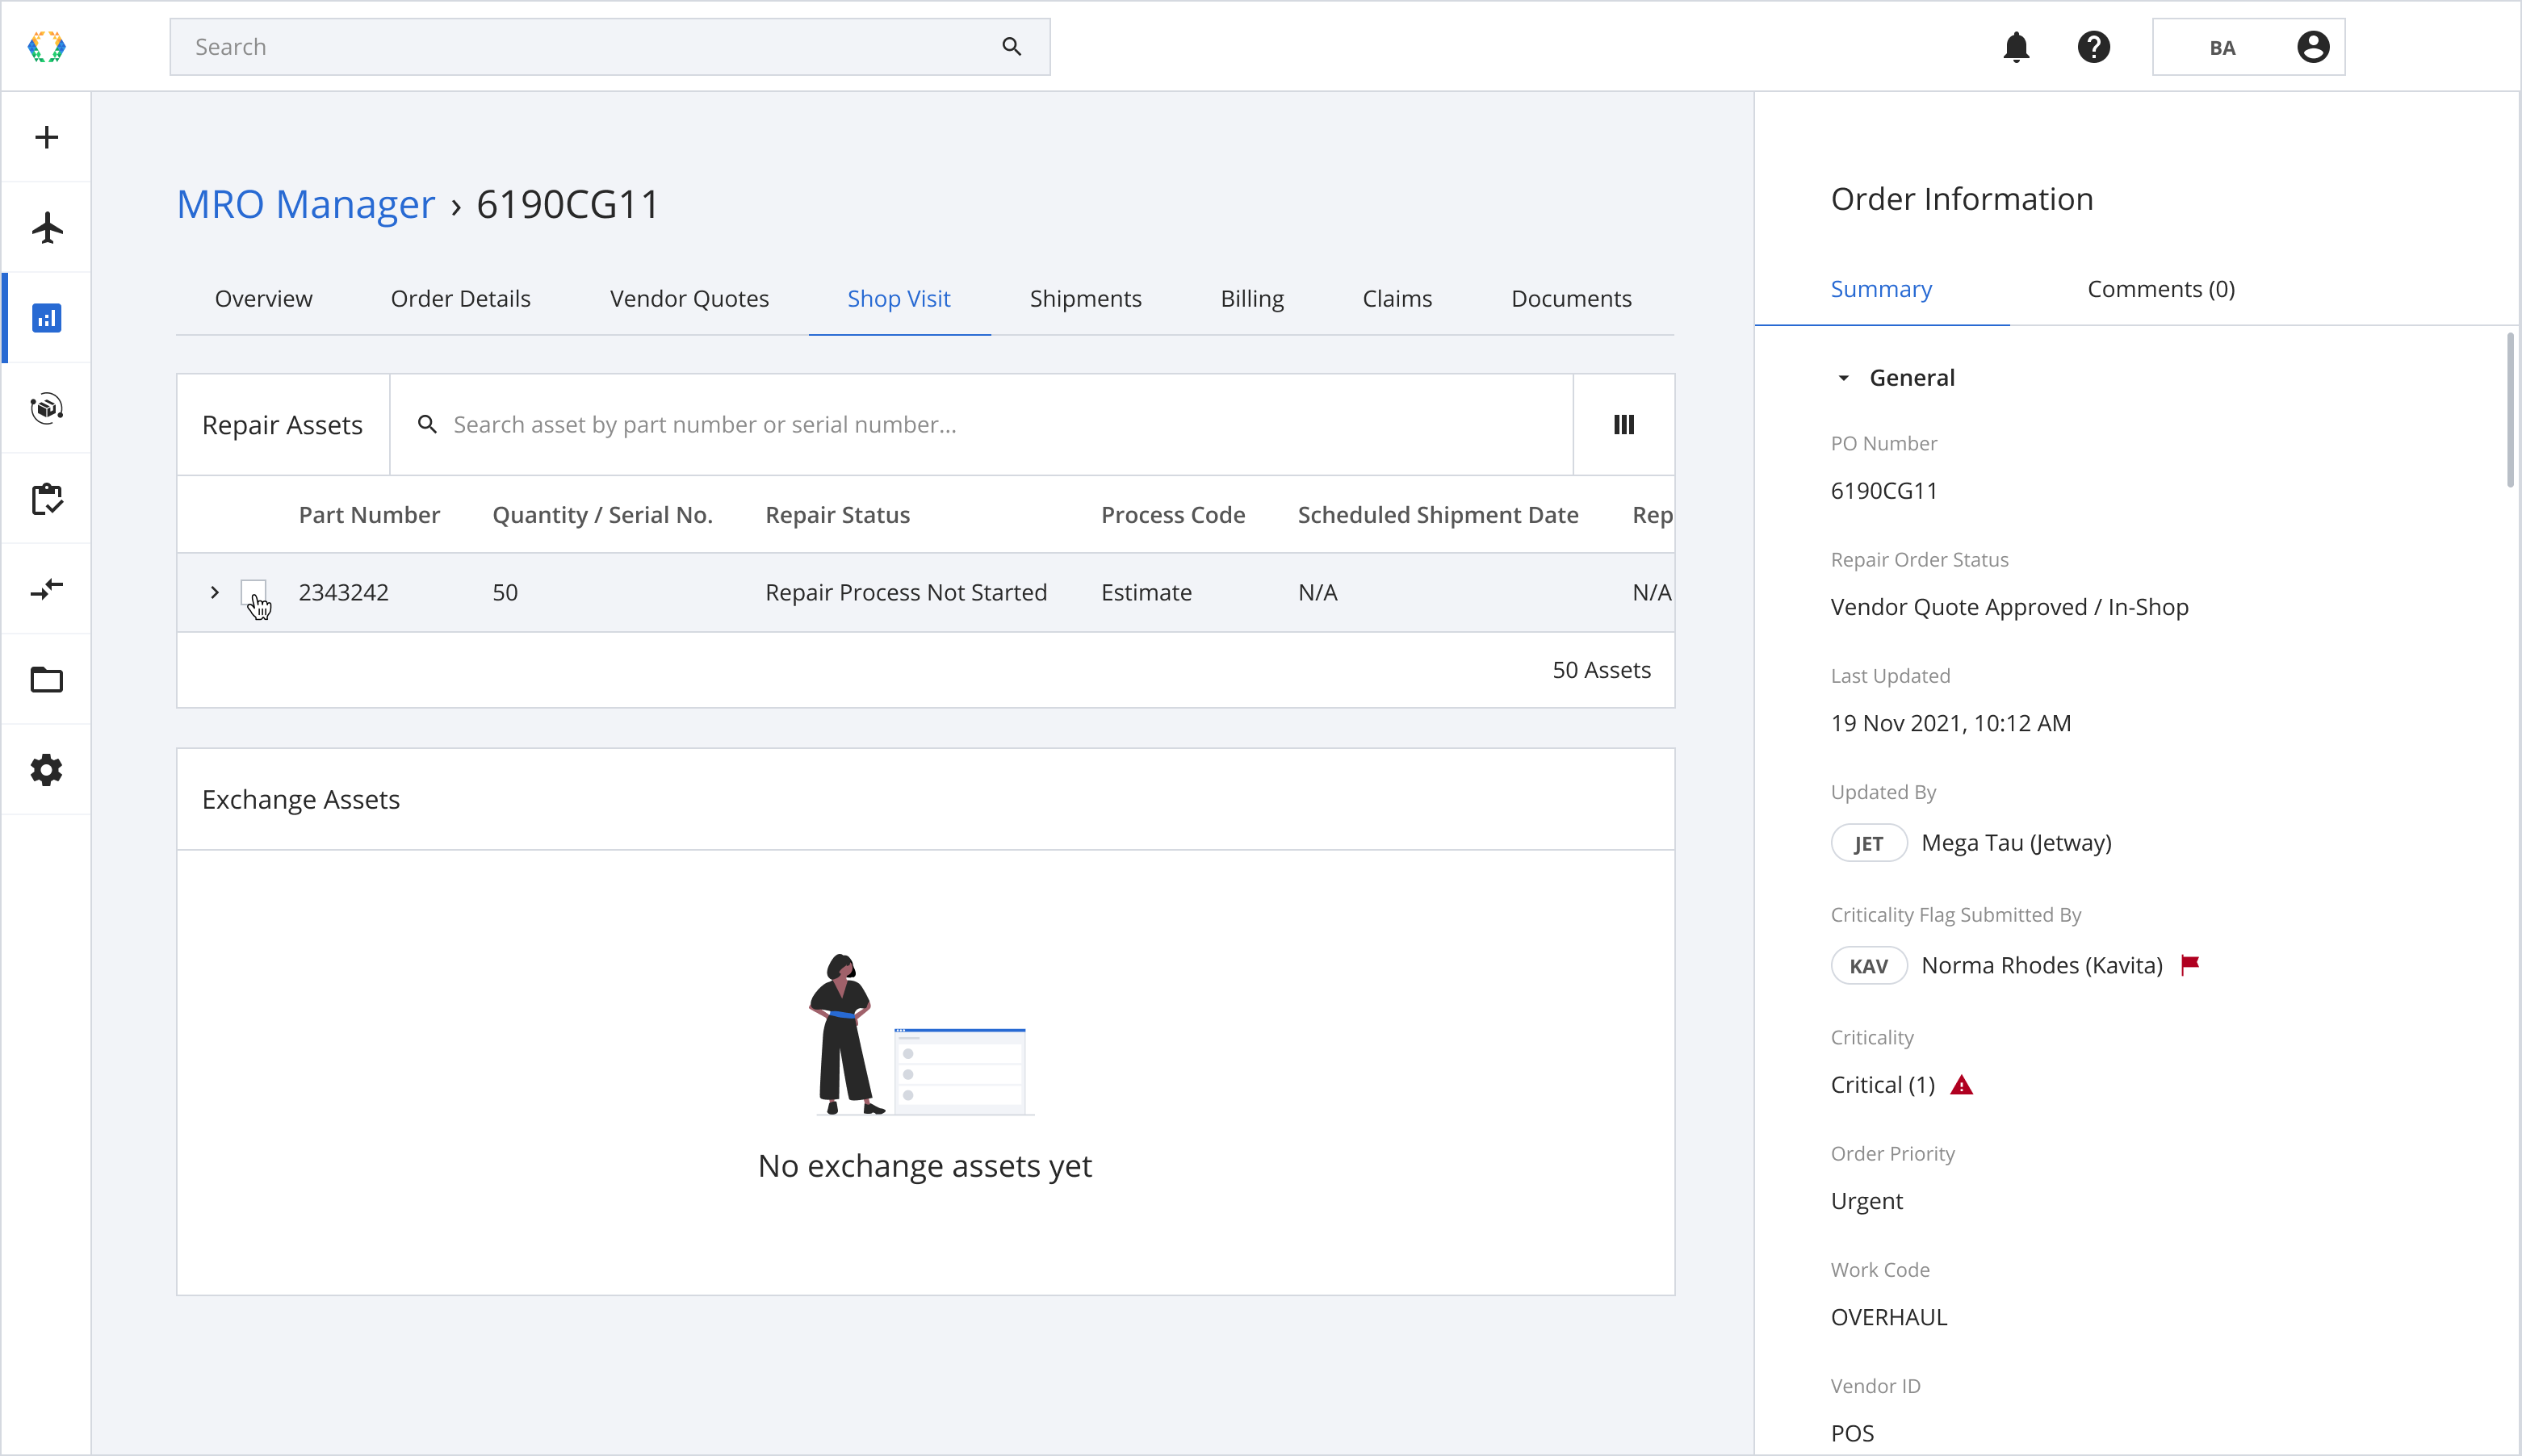
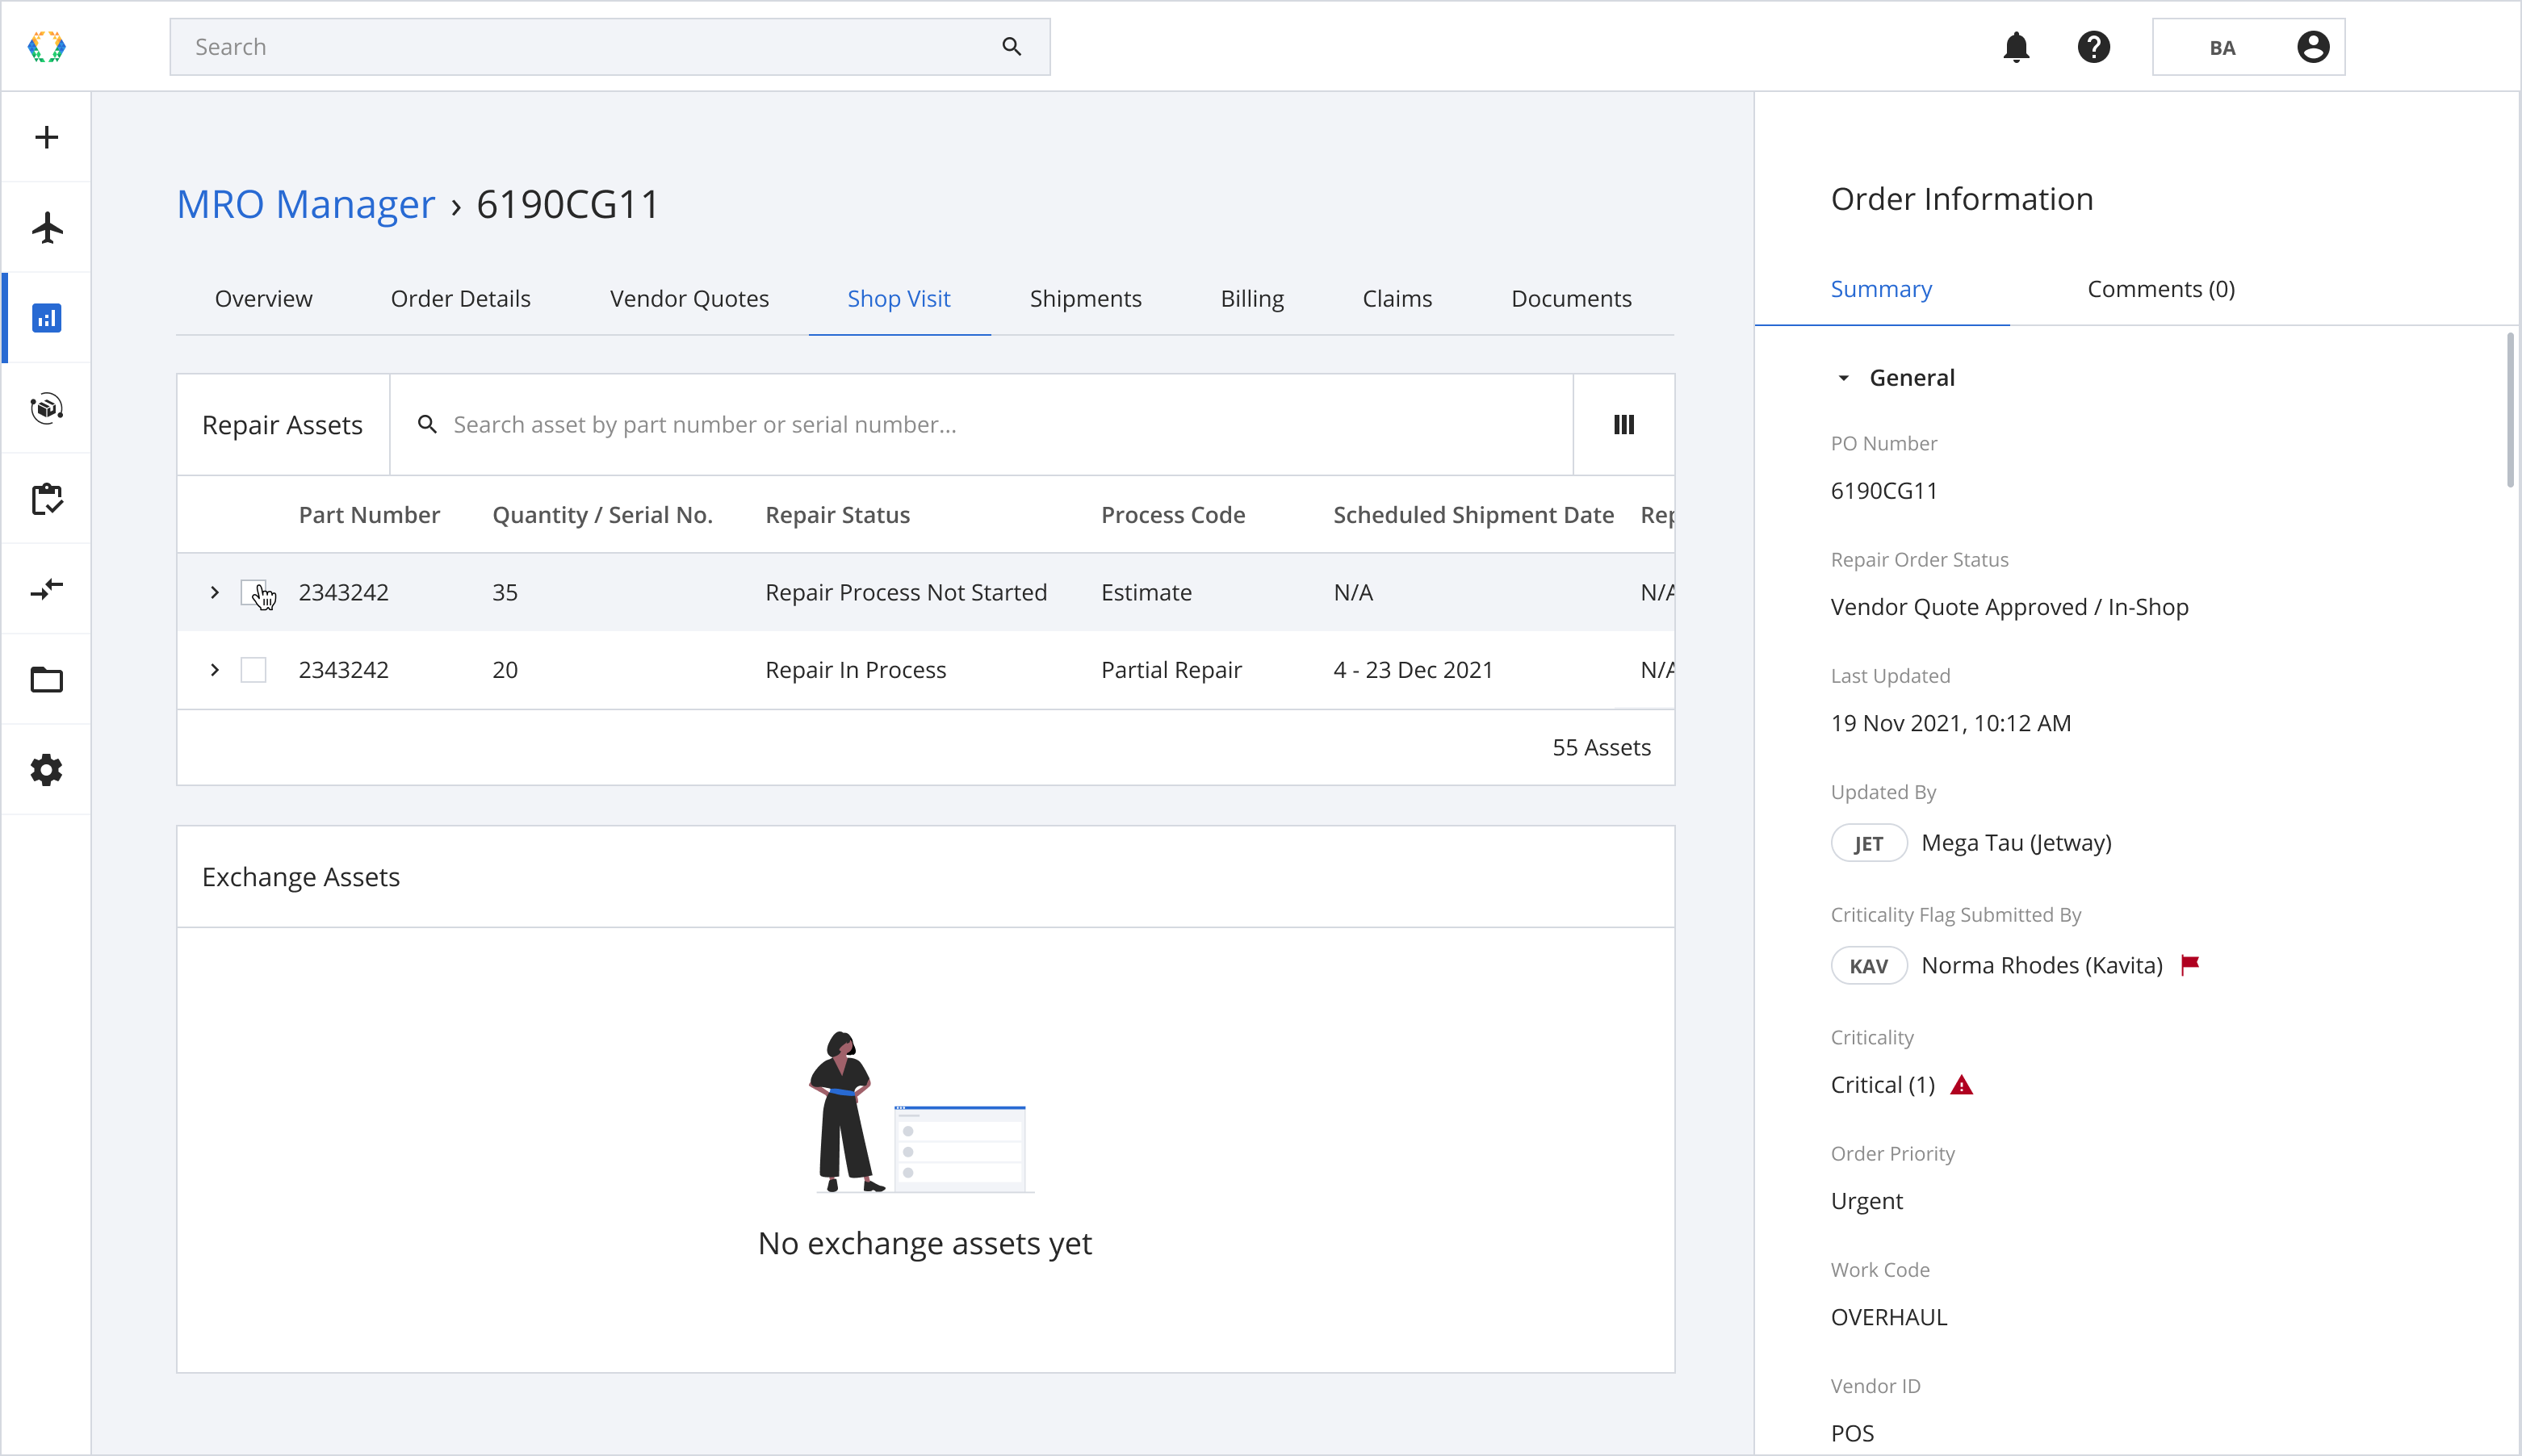
Step 1: From Repair Assets, select assets you want to modify status.
Step 2: You can modify quantity in the 'Quantity' field or choose specific repair assets within the repair asset group.

You can select specific repair assets by expanding the repair asset group.
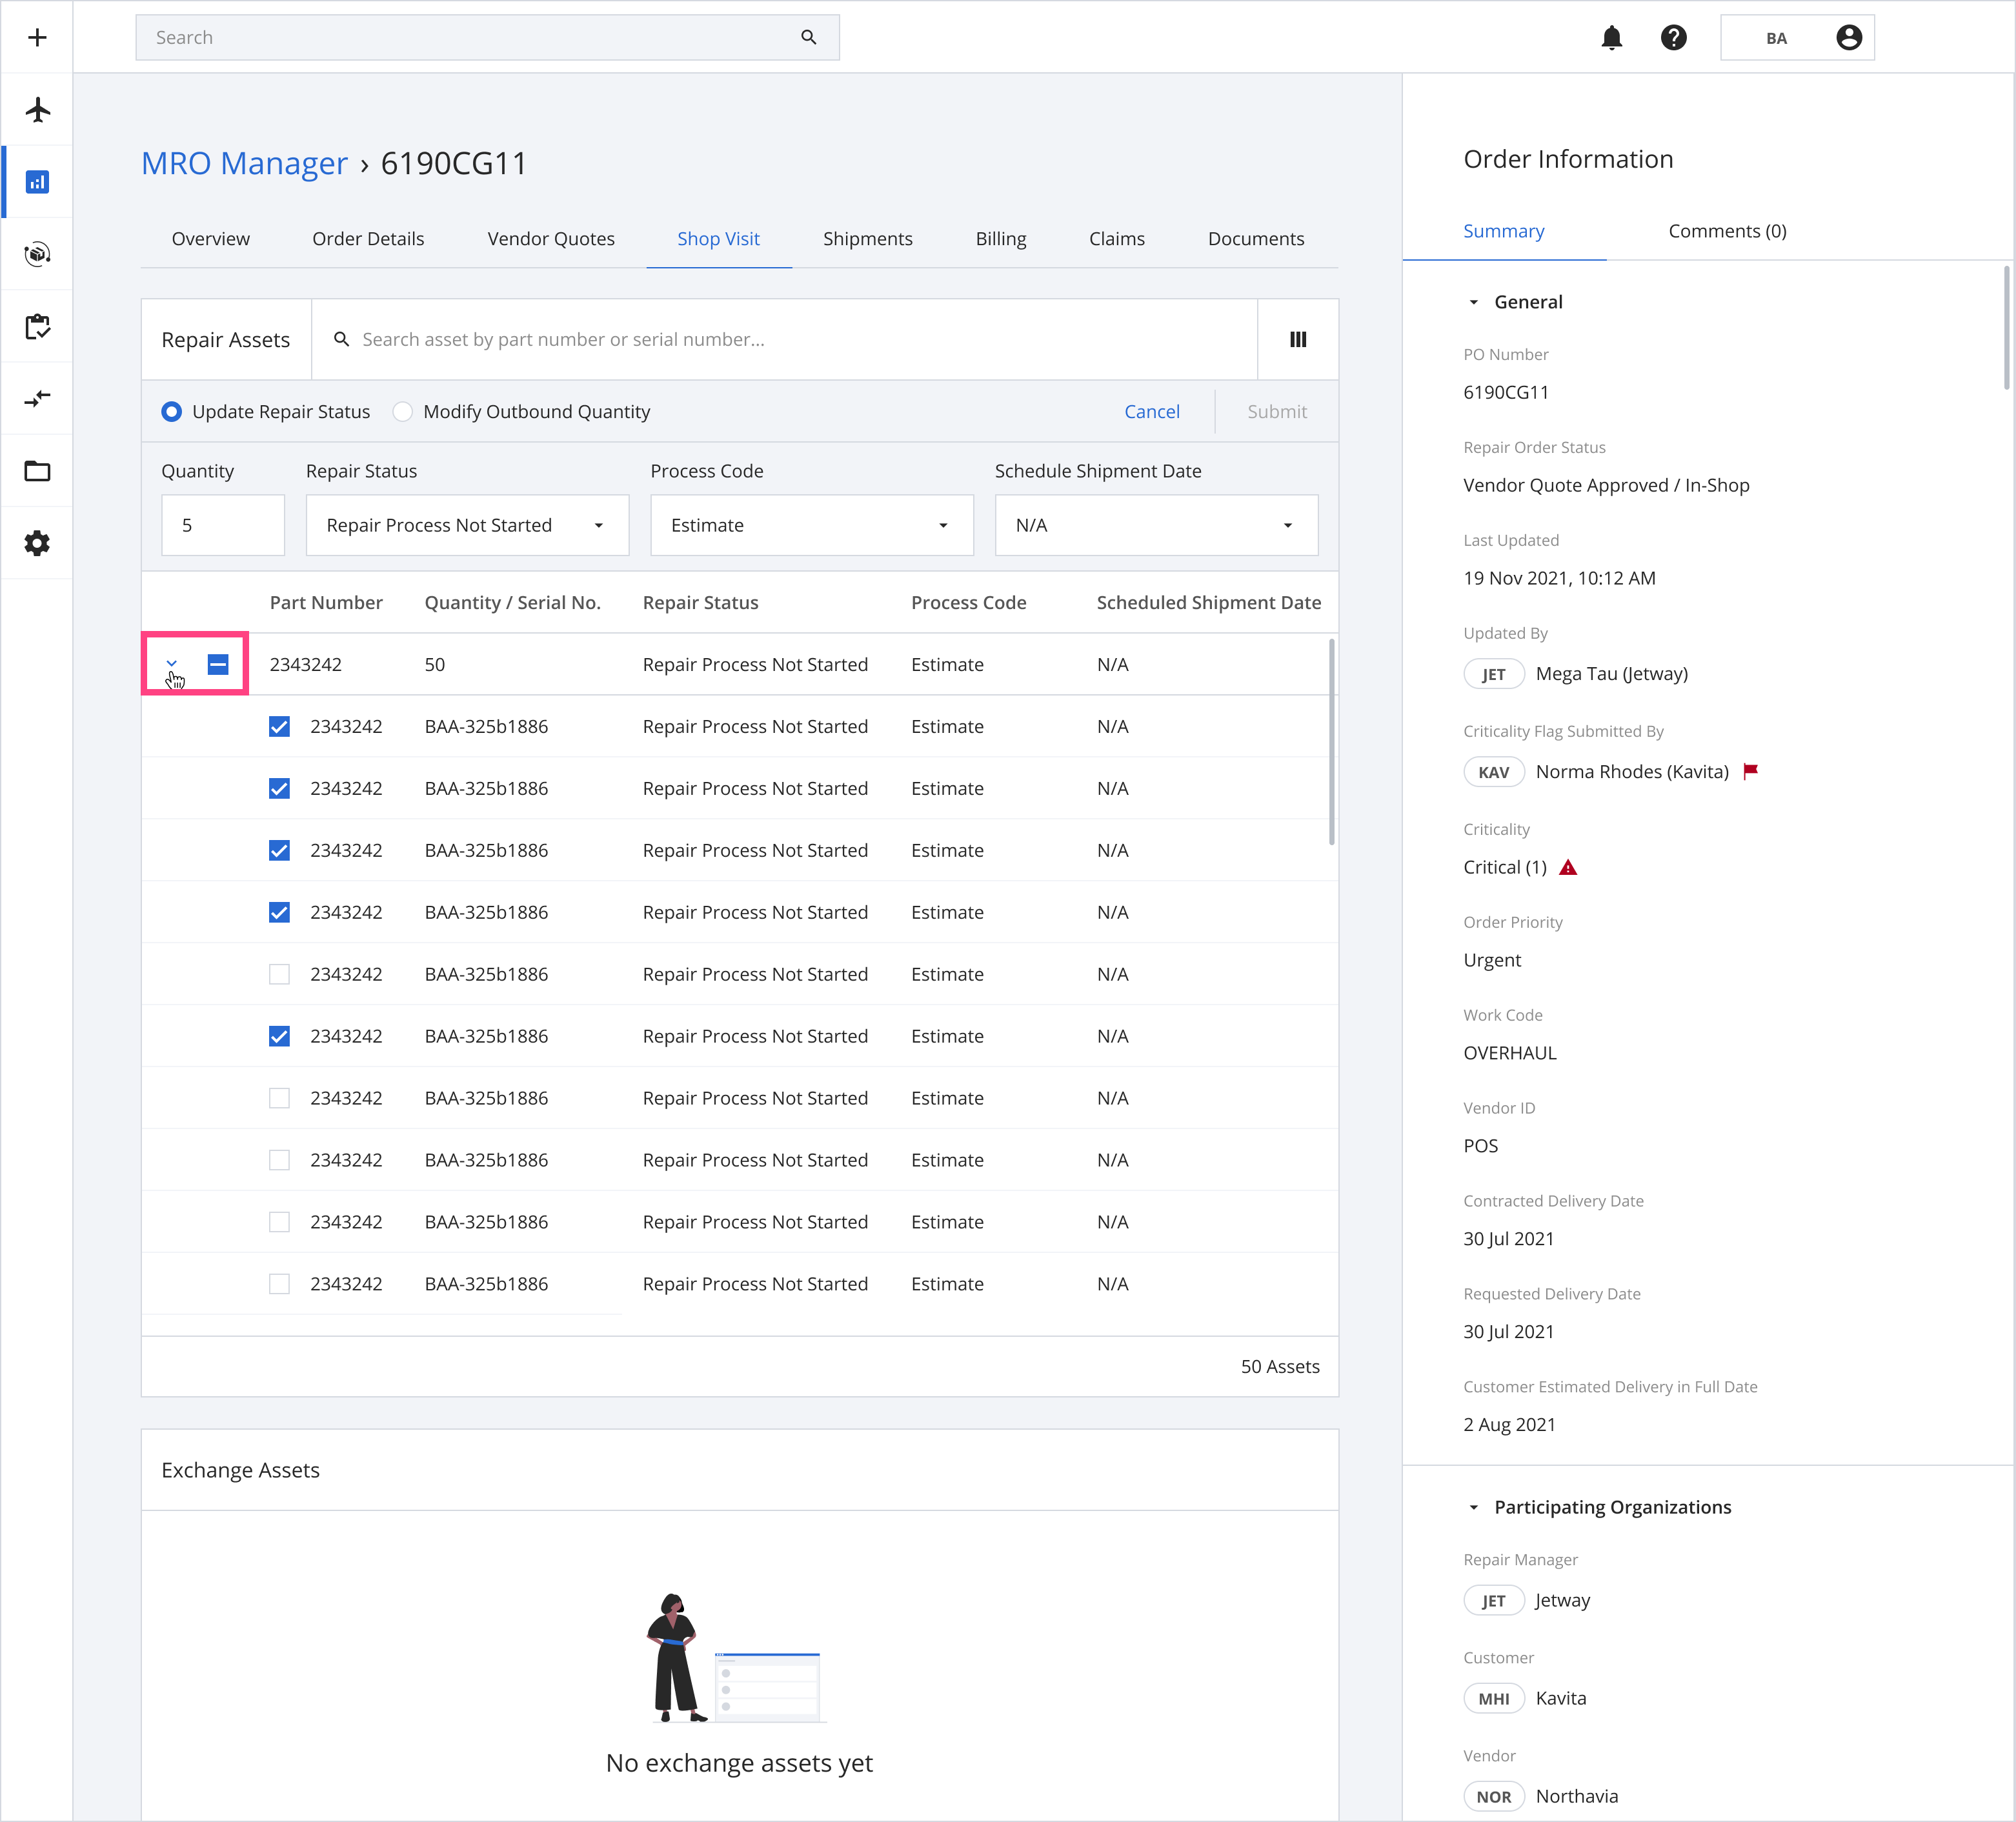
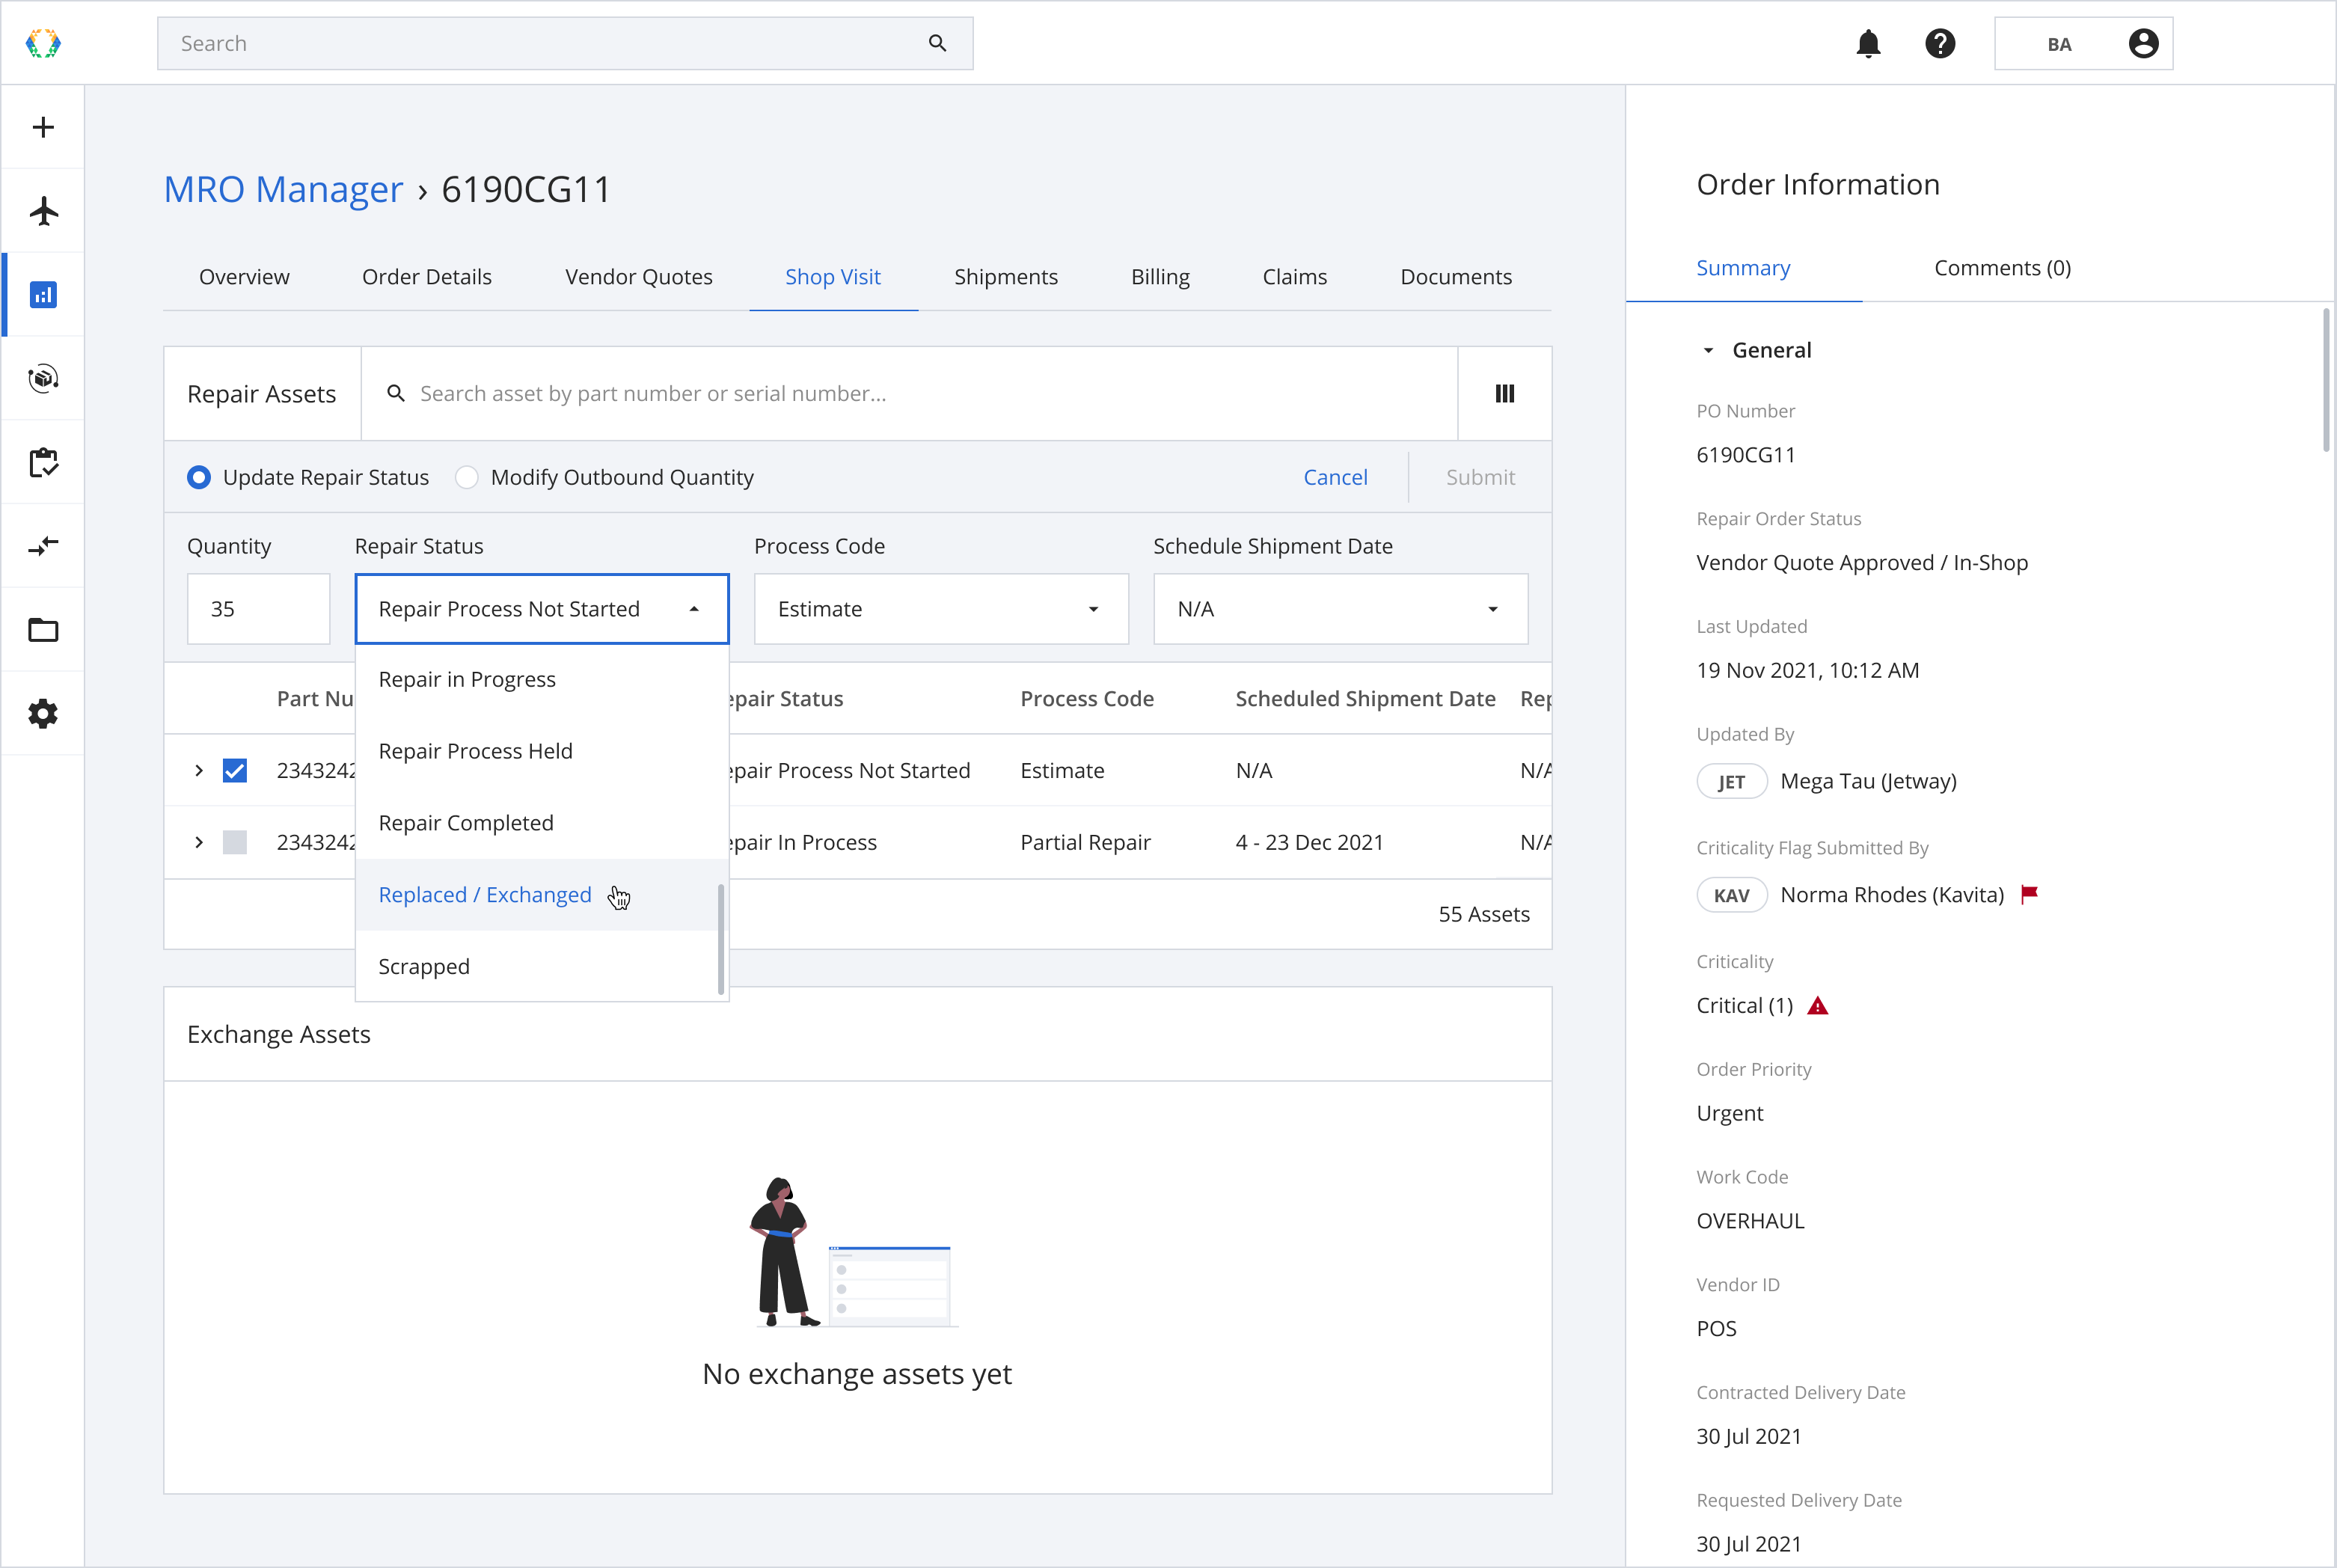
Step 3: Once you have selected the quantity of the repair assets you want to update, choose the asset repair status from the dropdown list.
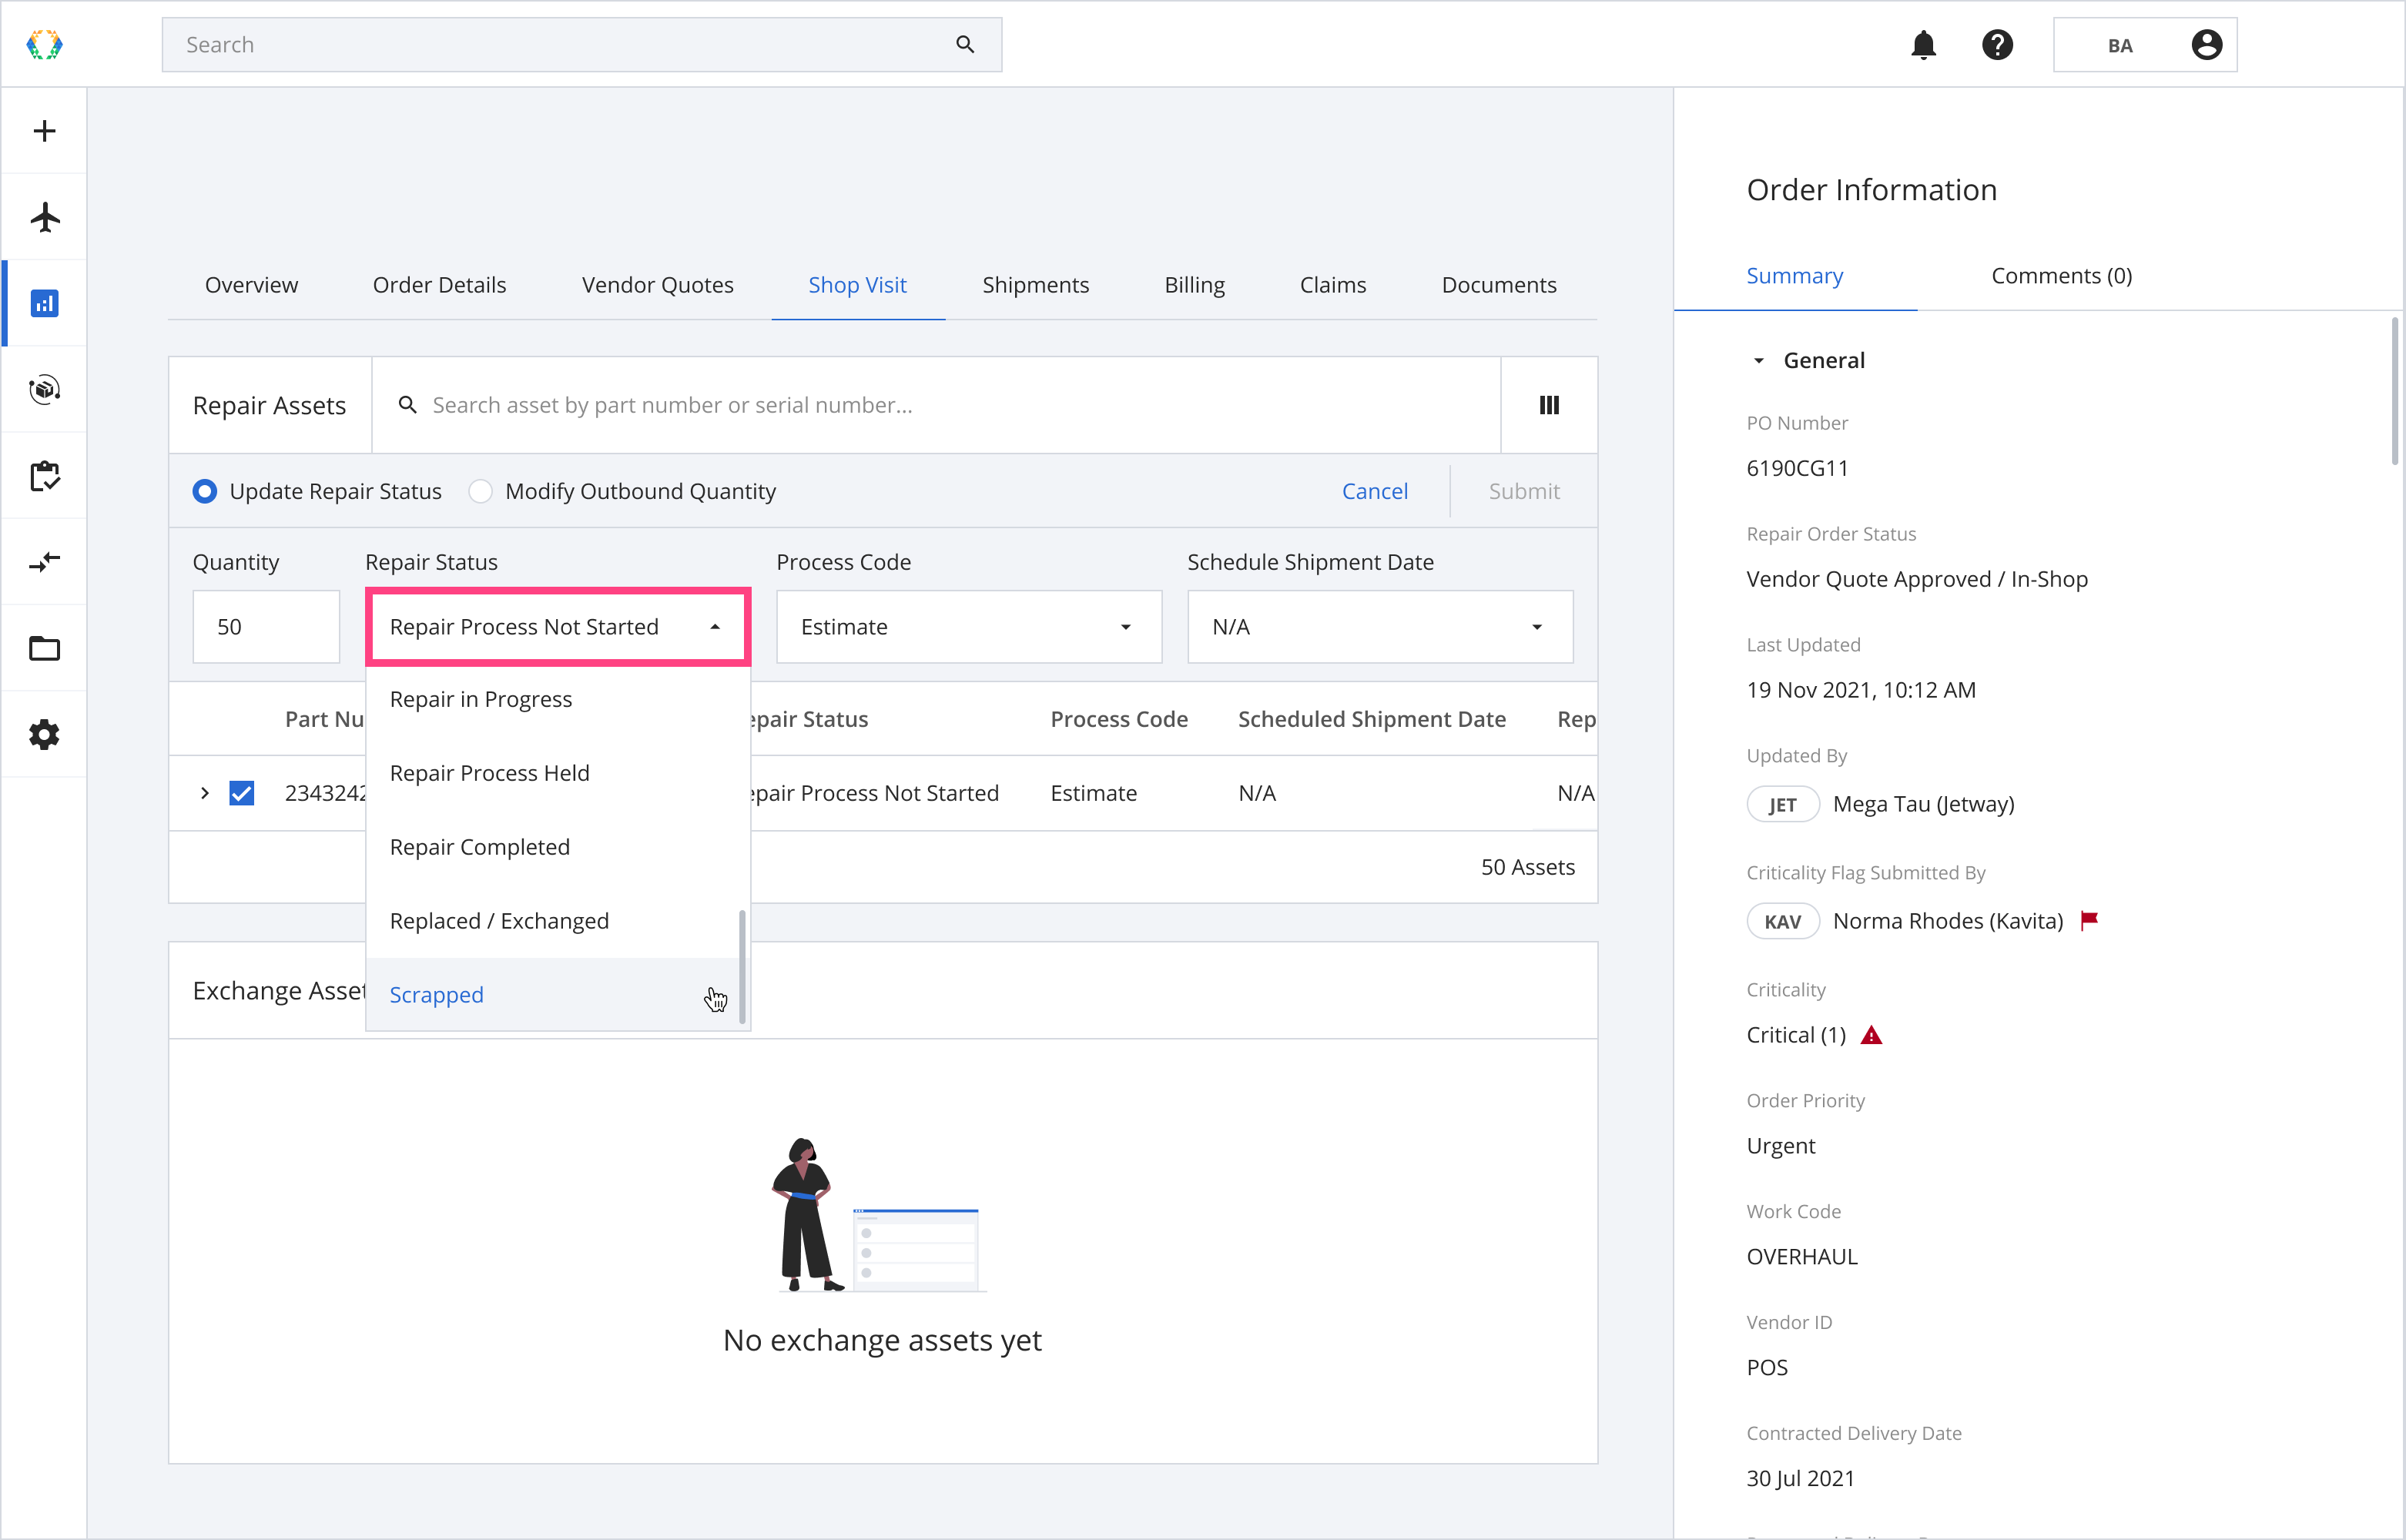
| Available Repair Status Options |
|---|
| Repair Process Not Started |
| Return Unserviceable |
| Repair In Process |
| Repair Process Held |
| Repair Completed |
| Replaced / Exchanged |
| Scrapped |
| Reset Repair Status |
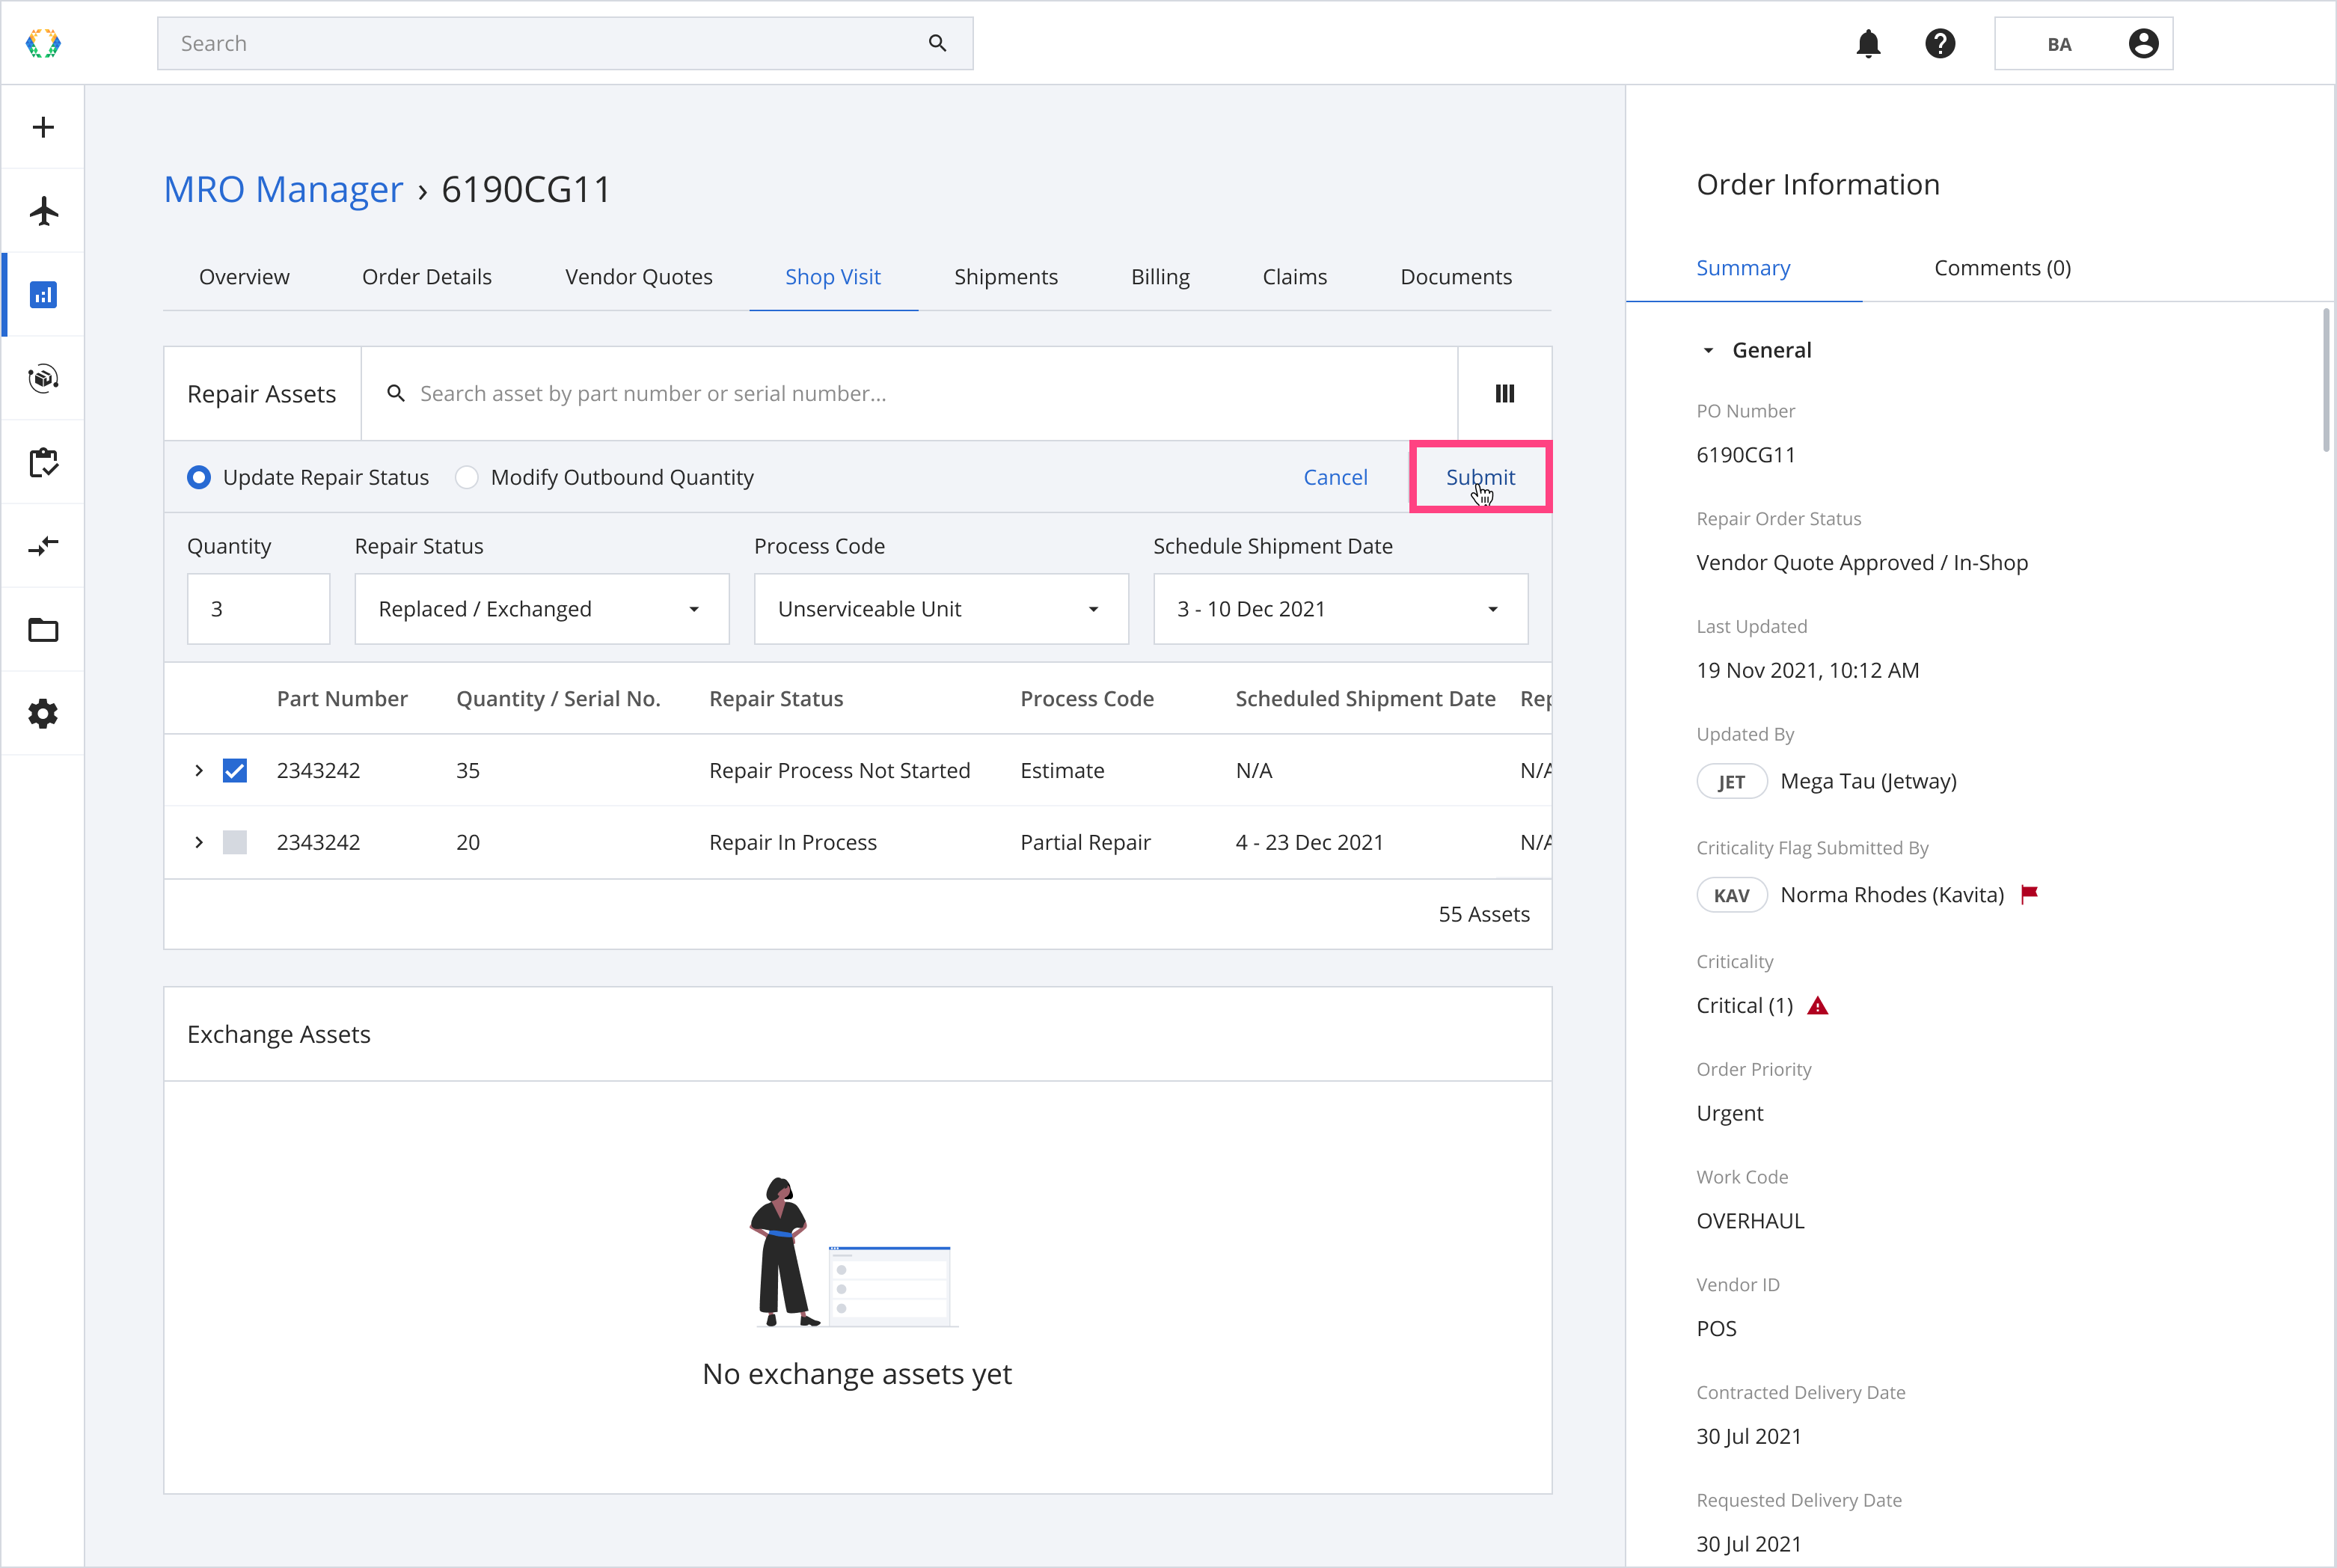
Step 4: Select Process Code.
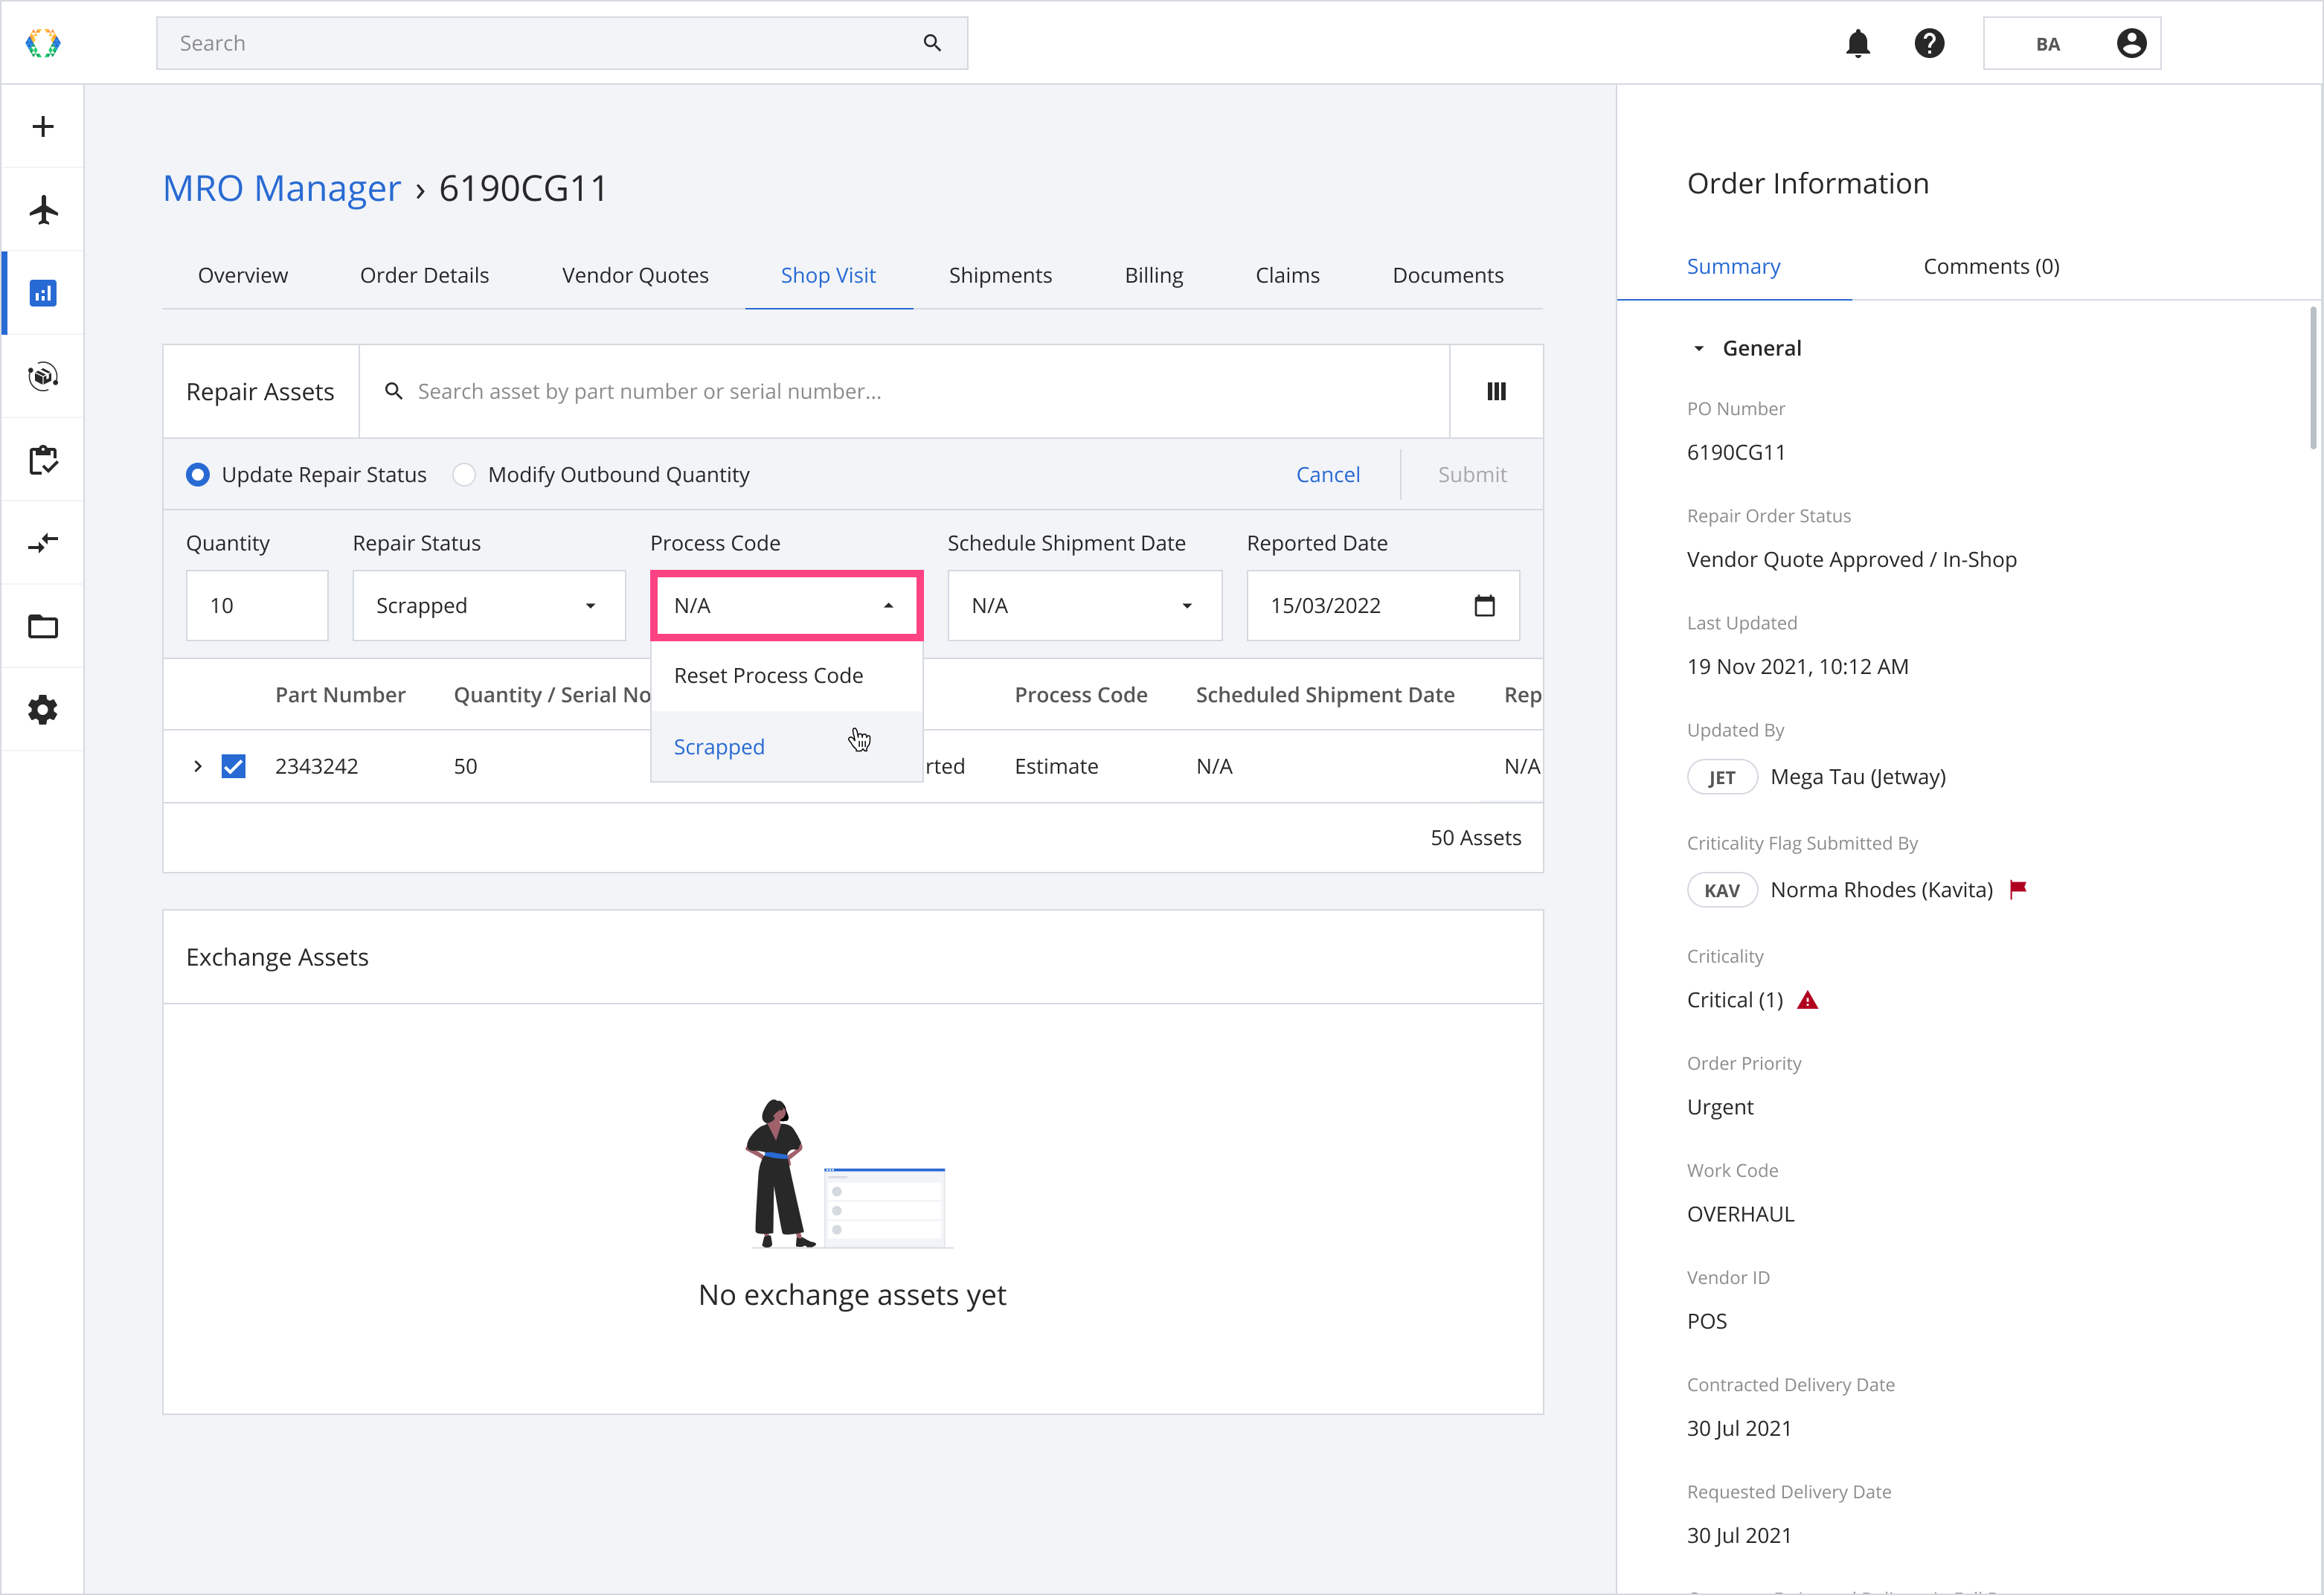
There are different Process codes based on the Repair Status selected.
| Repair Status | Process Code |
|---|---|
| Repair Process Not Started | Estimate |
| Return unserviceable | Beyond Economic Repair Unrepairable |
| Repair In Process | Repair Overhaul/Heavy Repair Modification Partial Repair Test Calibration Shelf Life Renewal |
| Repair Process held | Lack of documentation Lack of test equipment Lack of breakdown parts Required technical assistance from the manufacturer Strike Credit hold Waiting for acknowledgement |
| Repair Completed | Repair Overhaul/Heavy Repair Modification Partial Repair Test Calibration Shelf Life Renewal |
| Replaced / Exchanged | Serviceable Unit Unserviceable Unit |
| Scrapped | Scrapped |
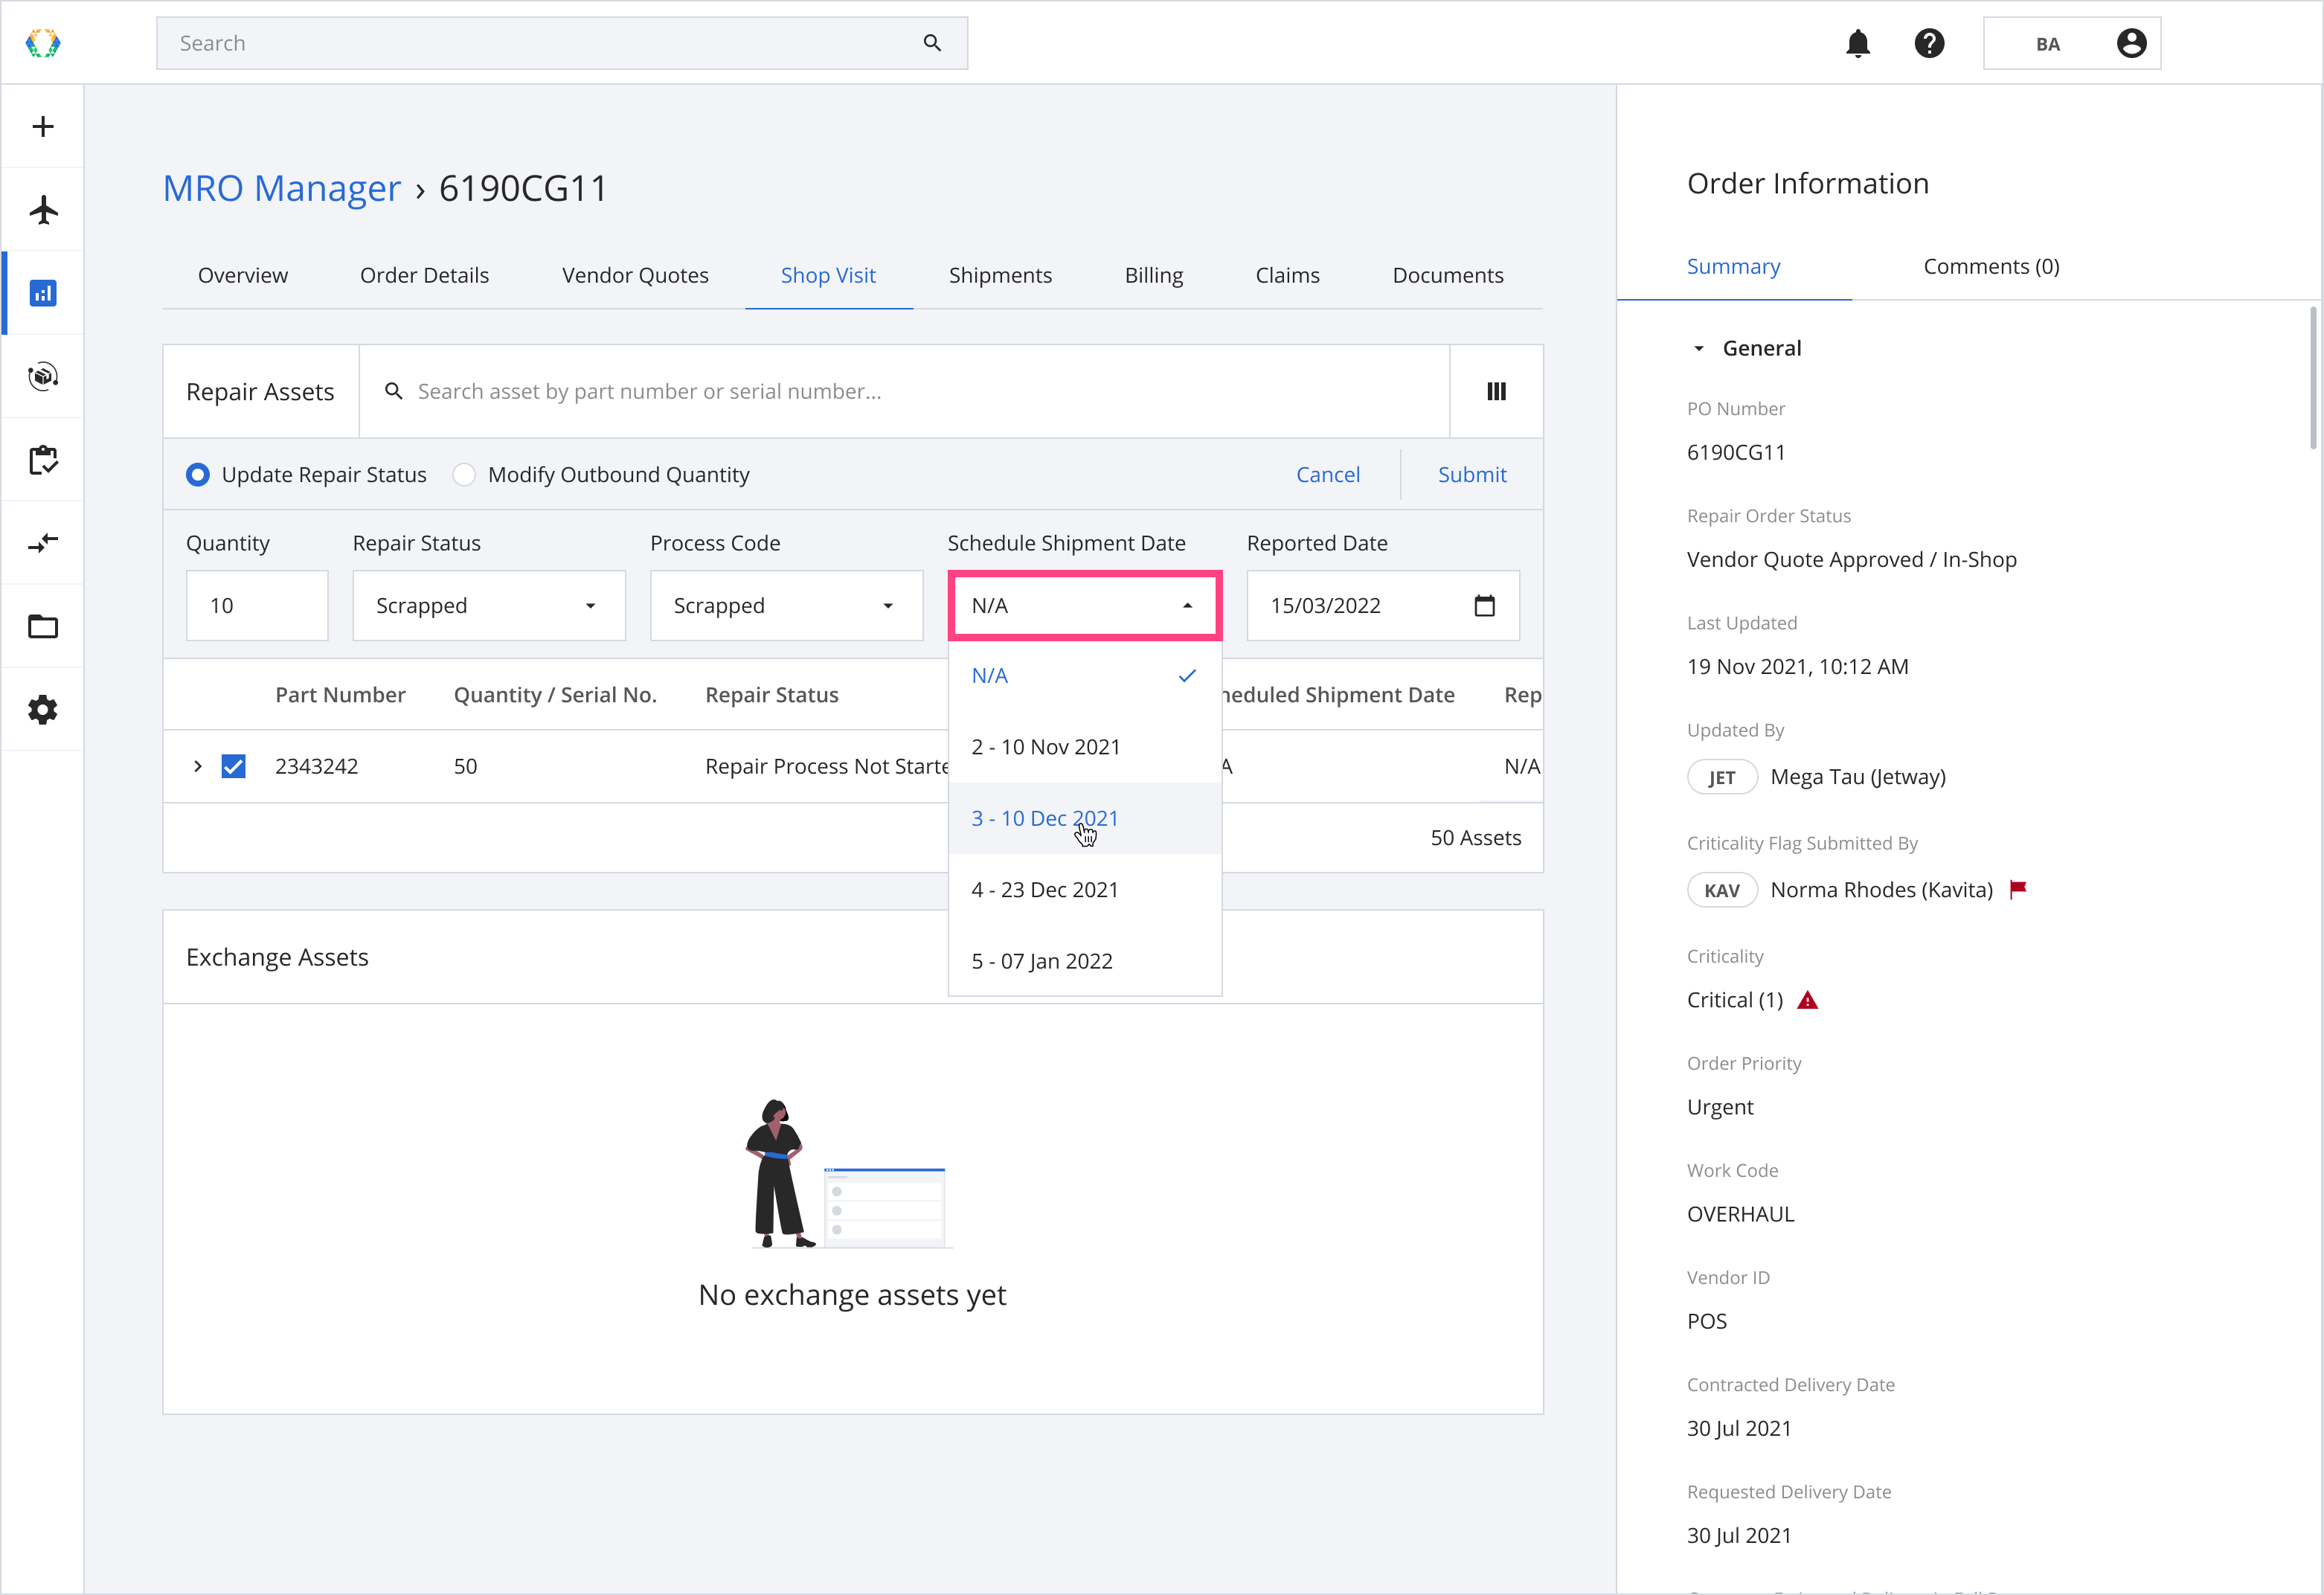
Step 5: By selecting a scheduled shipment date, you are assigning the selected assets to a specific shipment.
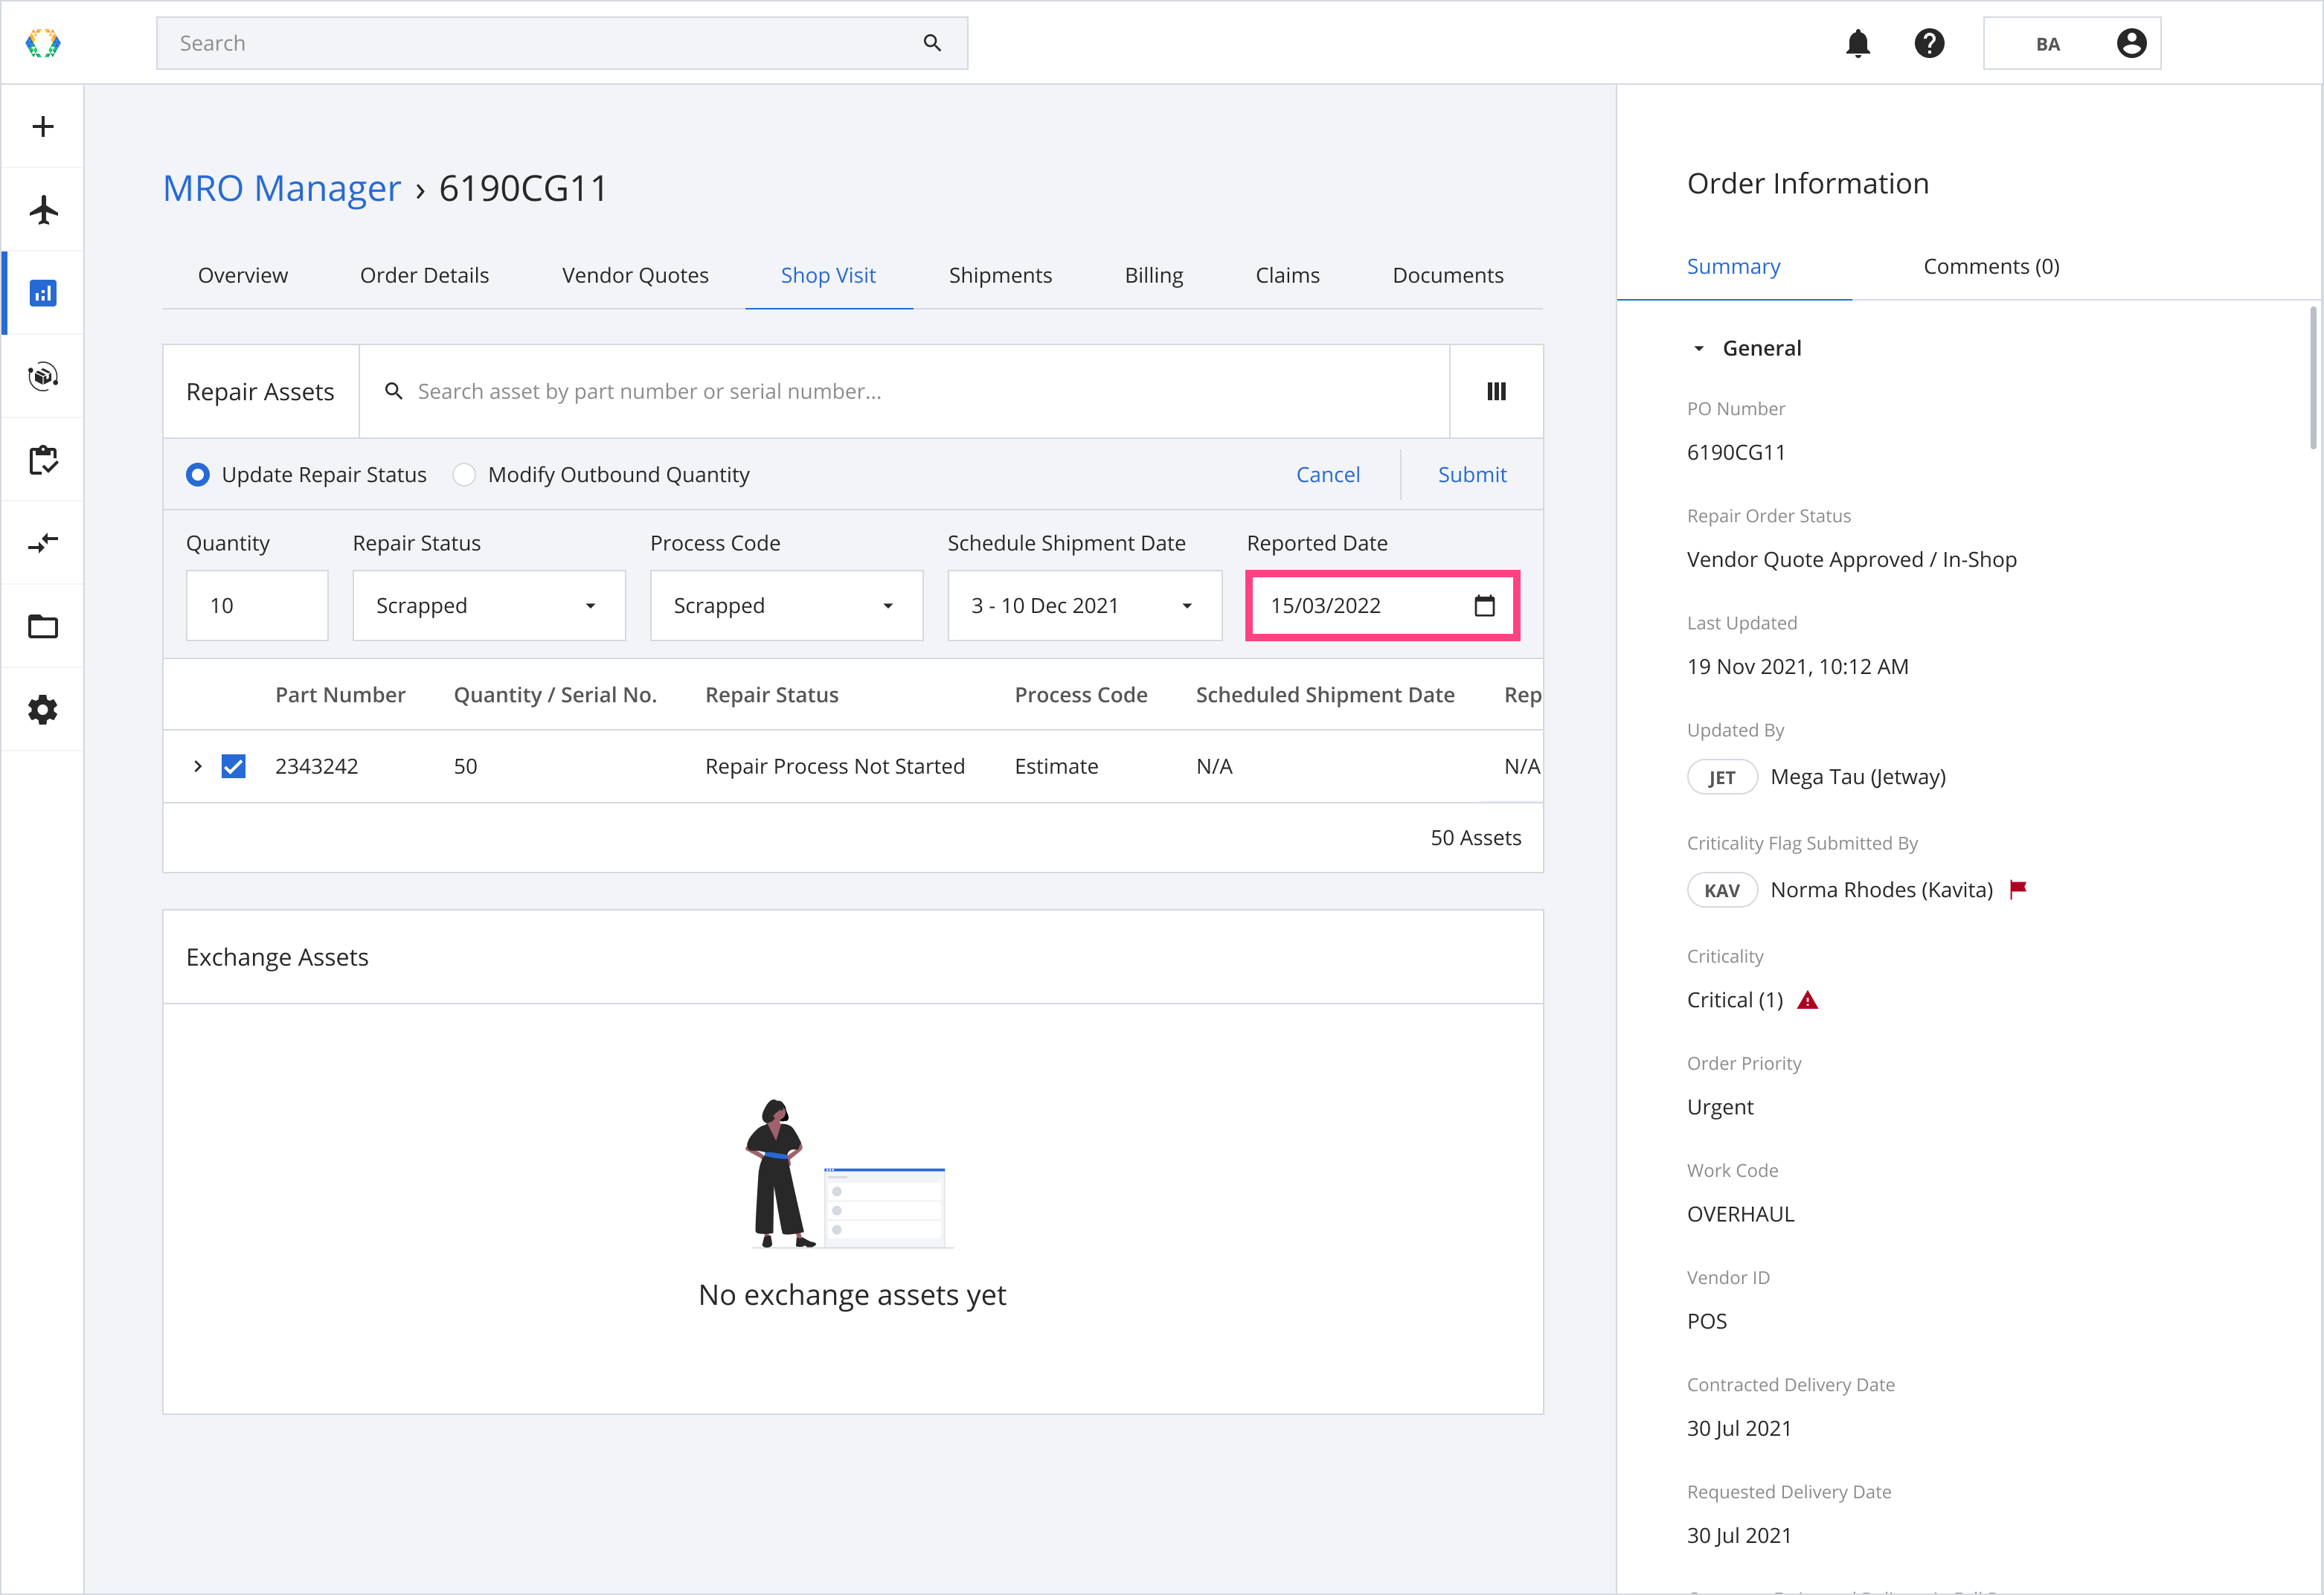
Repair Status 'Scrapped' or 'Return Unserviceable'.
When Repair Status is updated to 'Scrapped' or 'Return Unserviceable', the field 'Reported Date' will be displayed.
Step 6: Click 'Submit'.
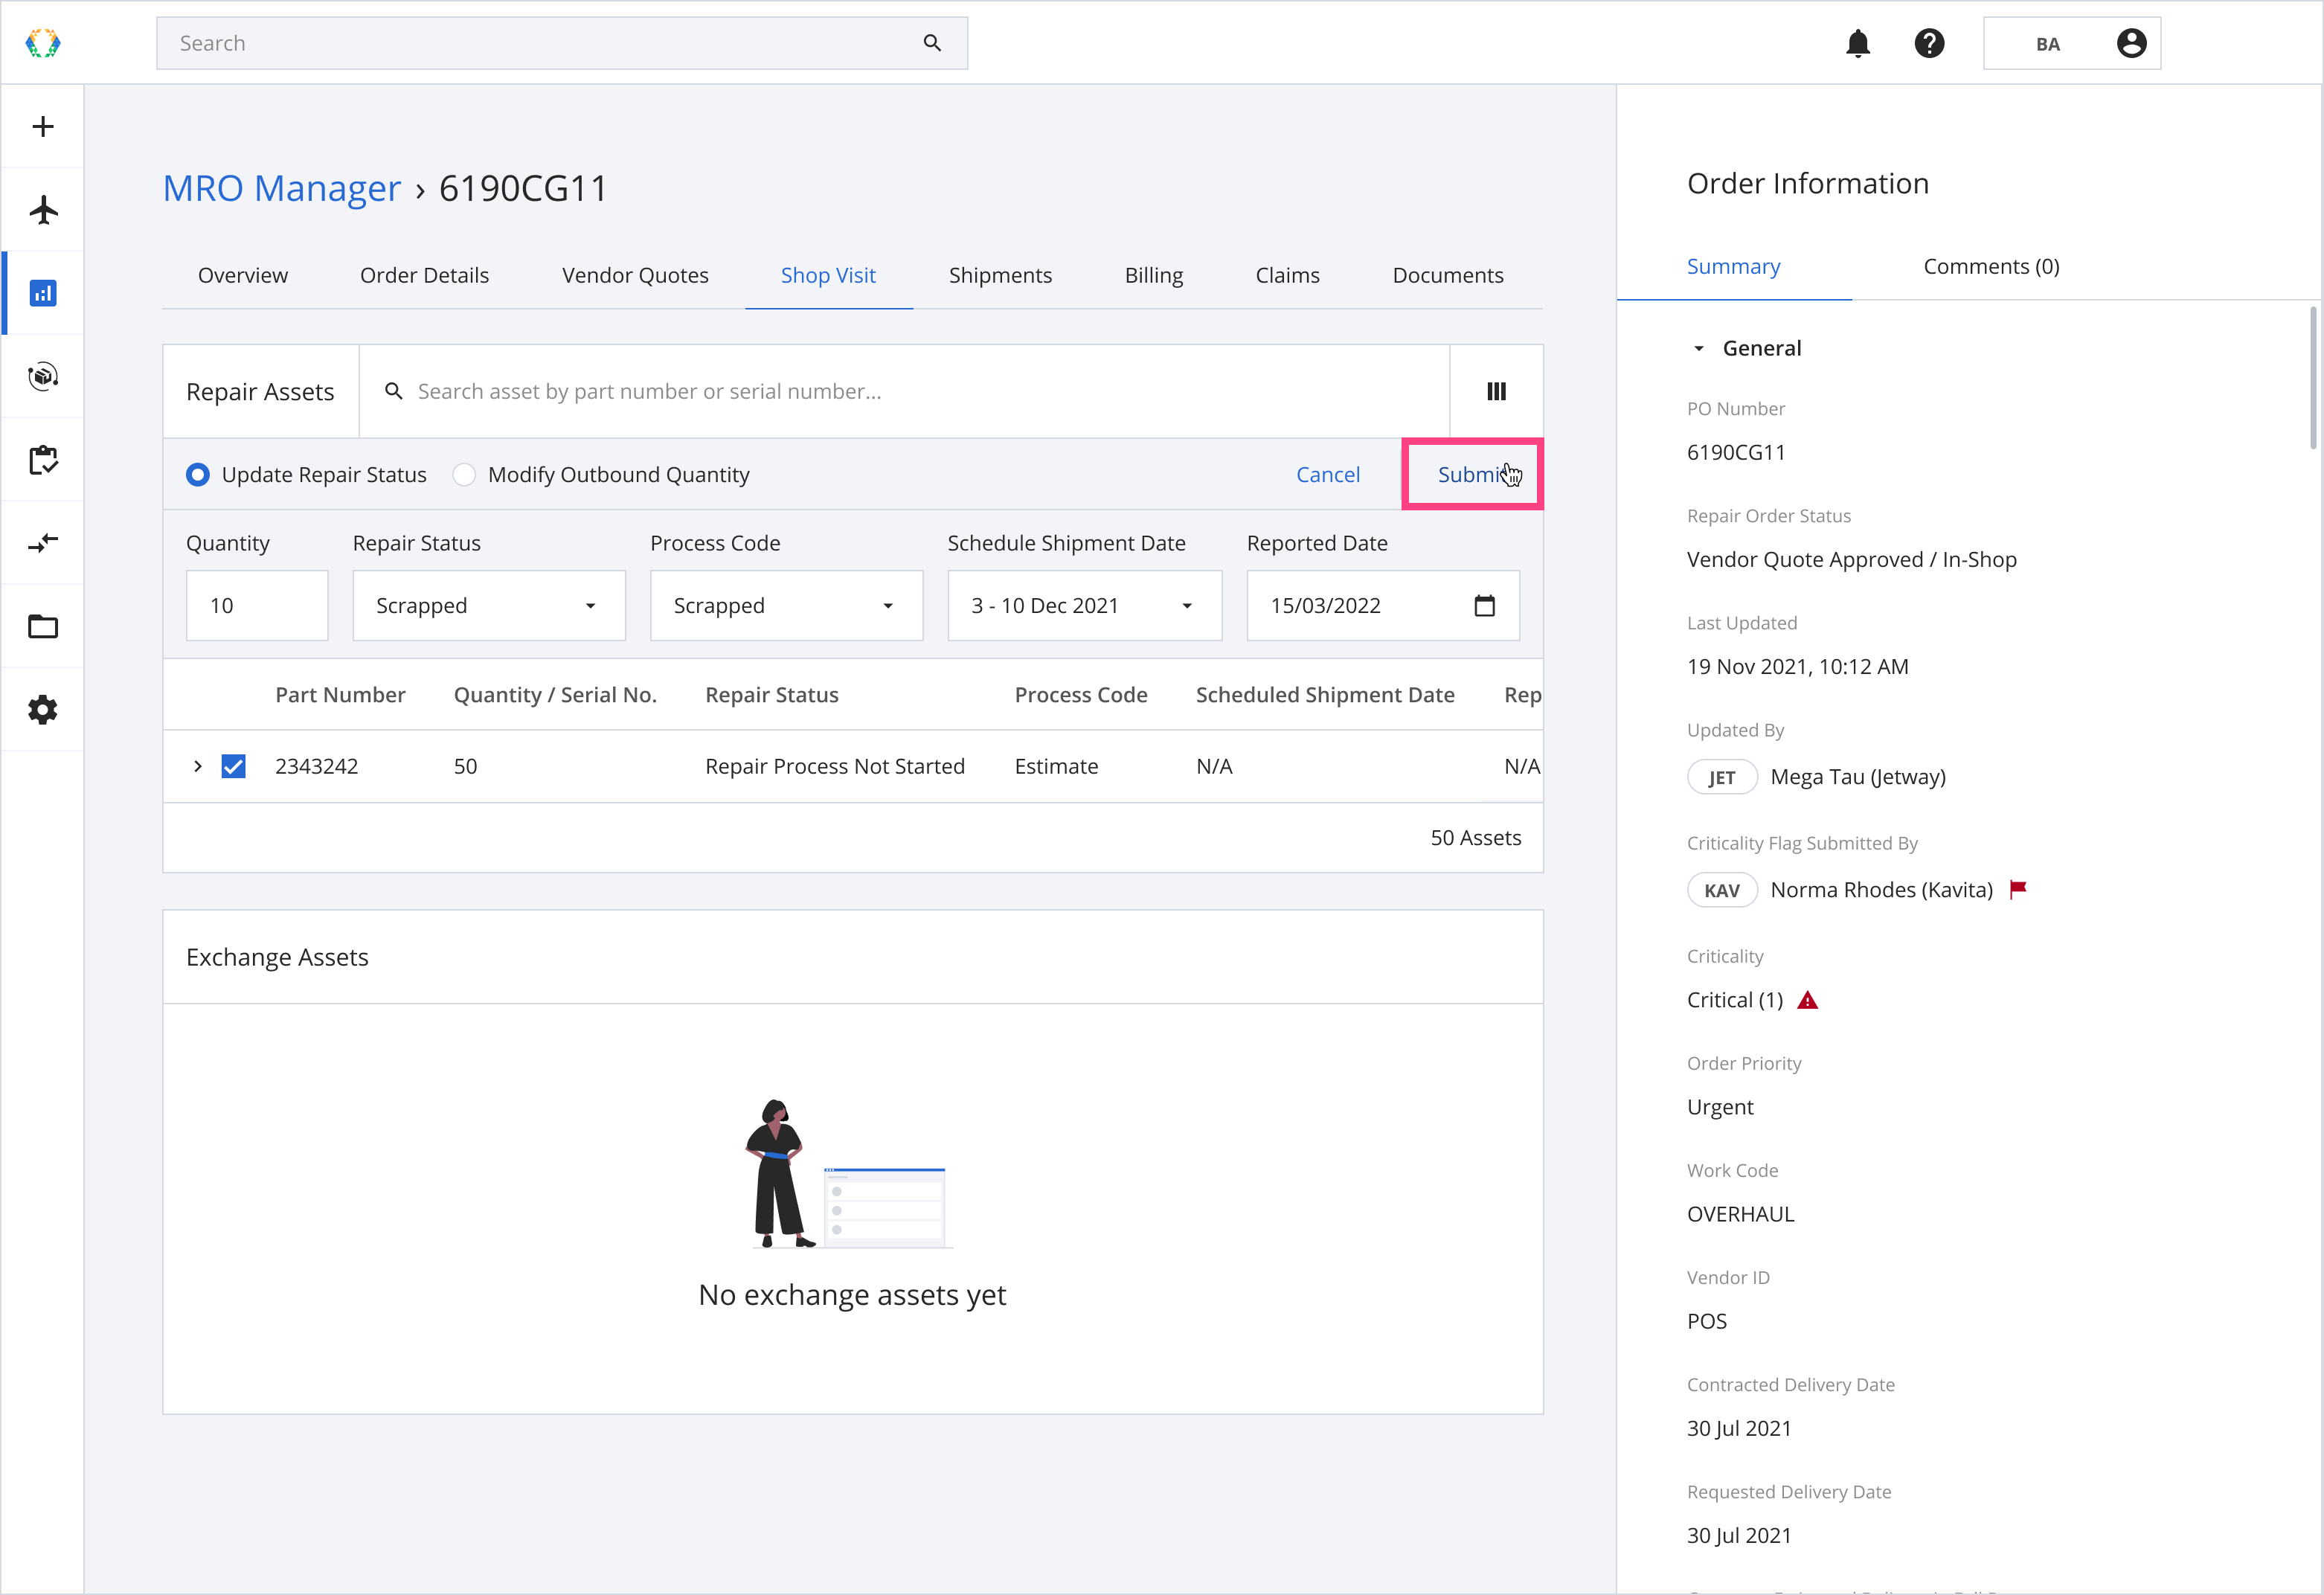
Once the repair assets are updated successfully, a green banner will appear at the top of the repair assets list.
Exchanging Repair Assets
Step 1: Select repair assets you want to exchange.
Step 2: Select the Repair Status dropdown option to 'Replaced / Exchanged' and the relevant Process Code.
Step 3: Click 'Submit'.
Once the repair assets are moved to the exchange assets list successfully, a green banner will appear at the top of the repair assets list.
Updating Exchange Assets Repair Status
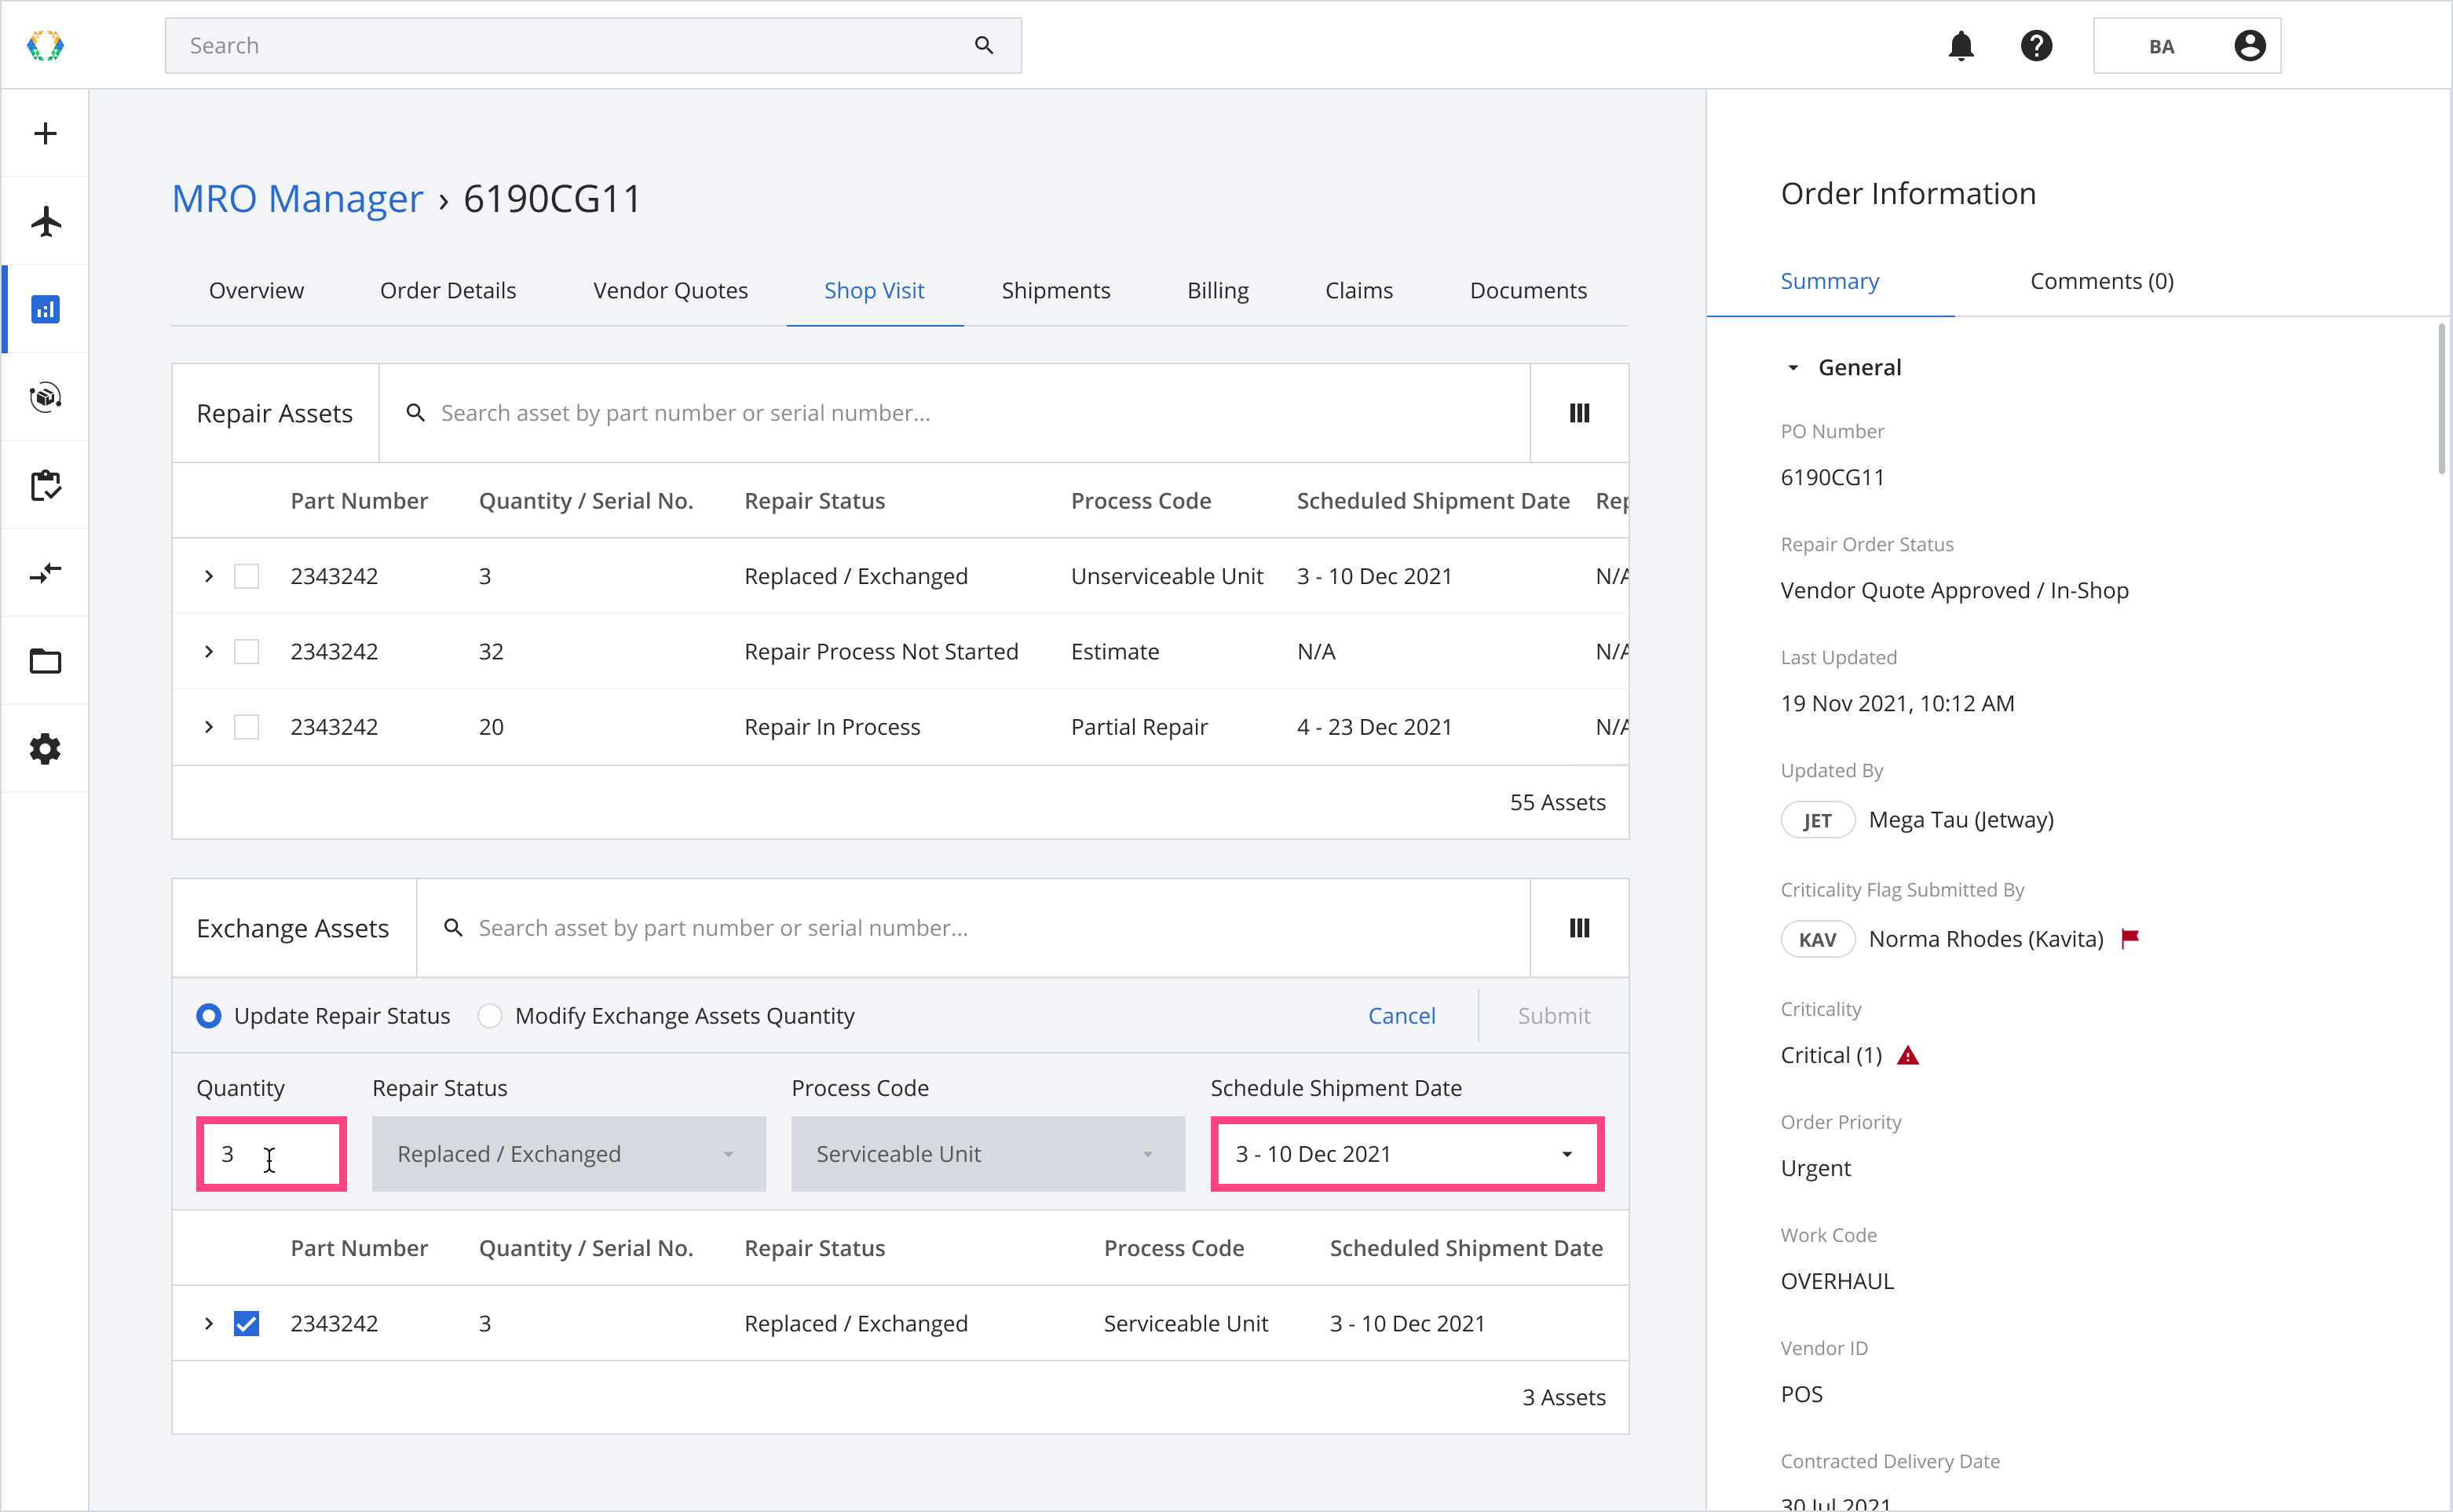
Step 1: From Exchange Assets, select assets you want to update.
Step 2: Change Quantity / Scheduled Shipment Date.
Only Quantity and Scheduled Shipment Date fields are available to update Repair Status in the Exchange Assets List.
Step 3: Click 'Submit'.
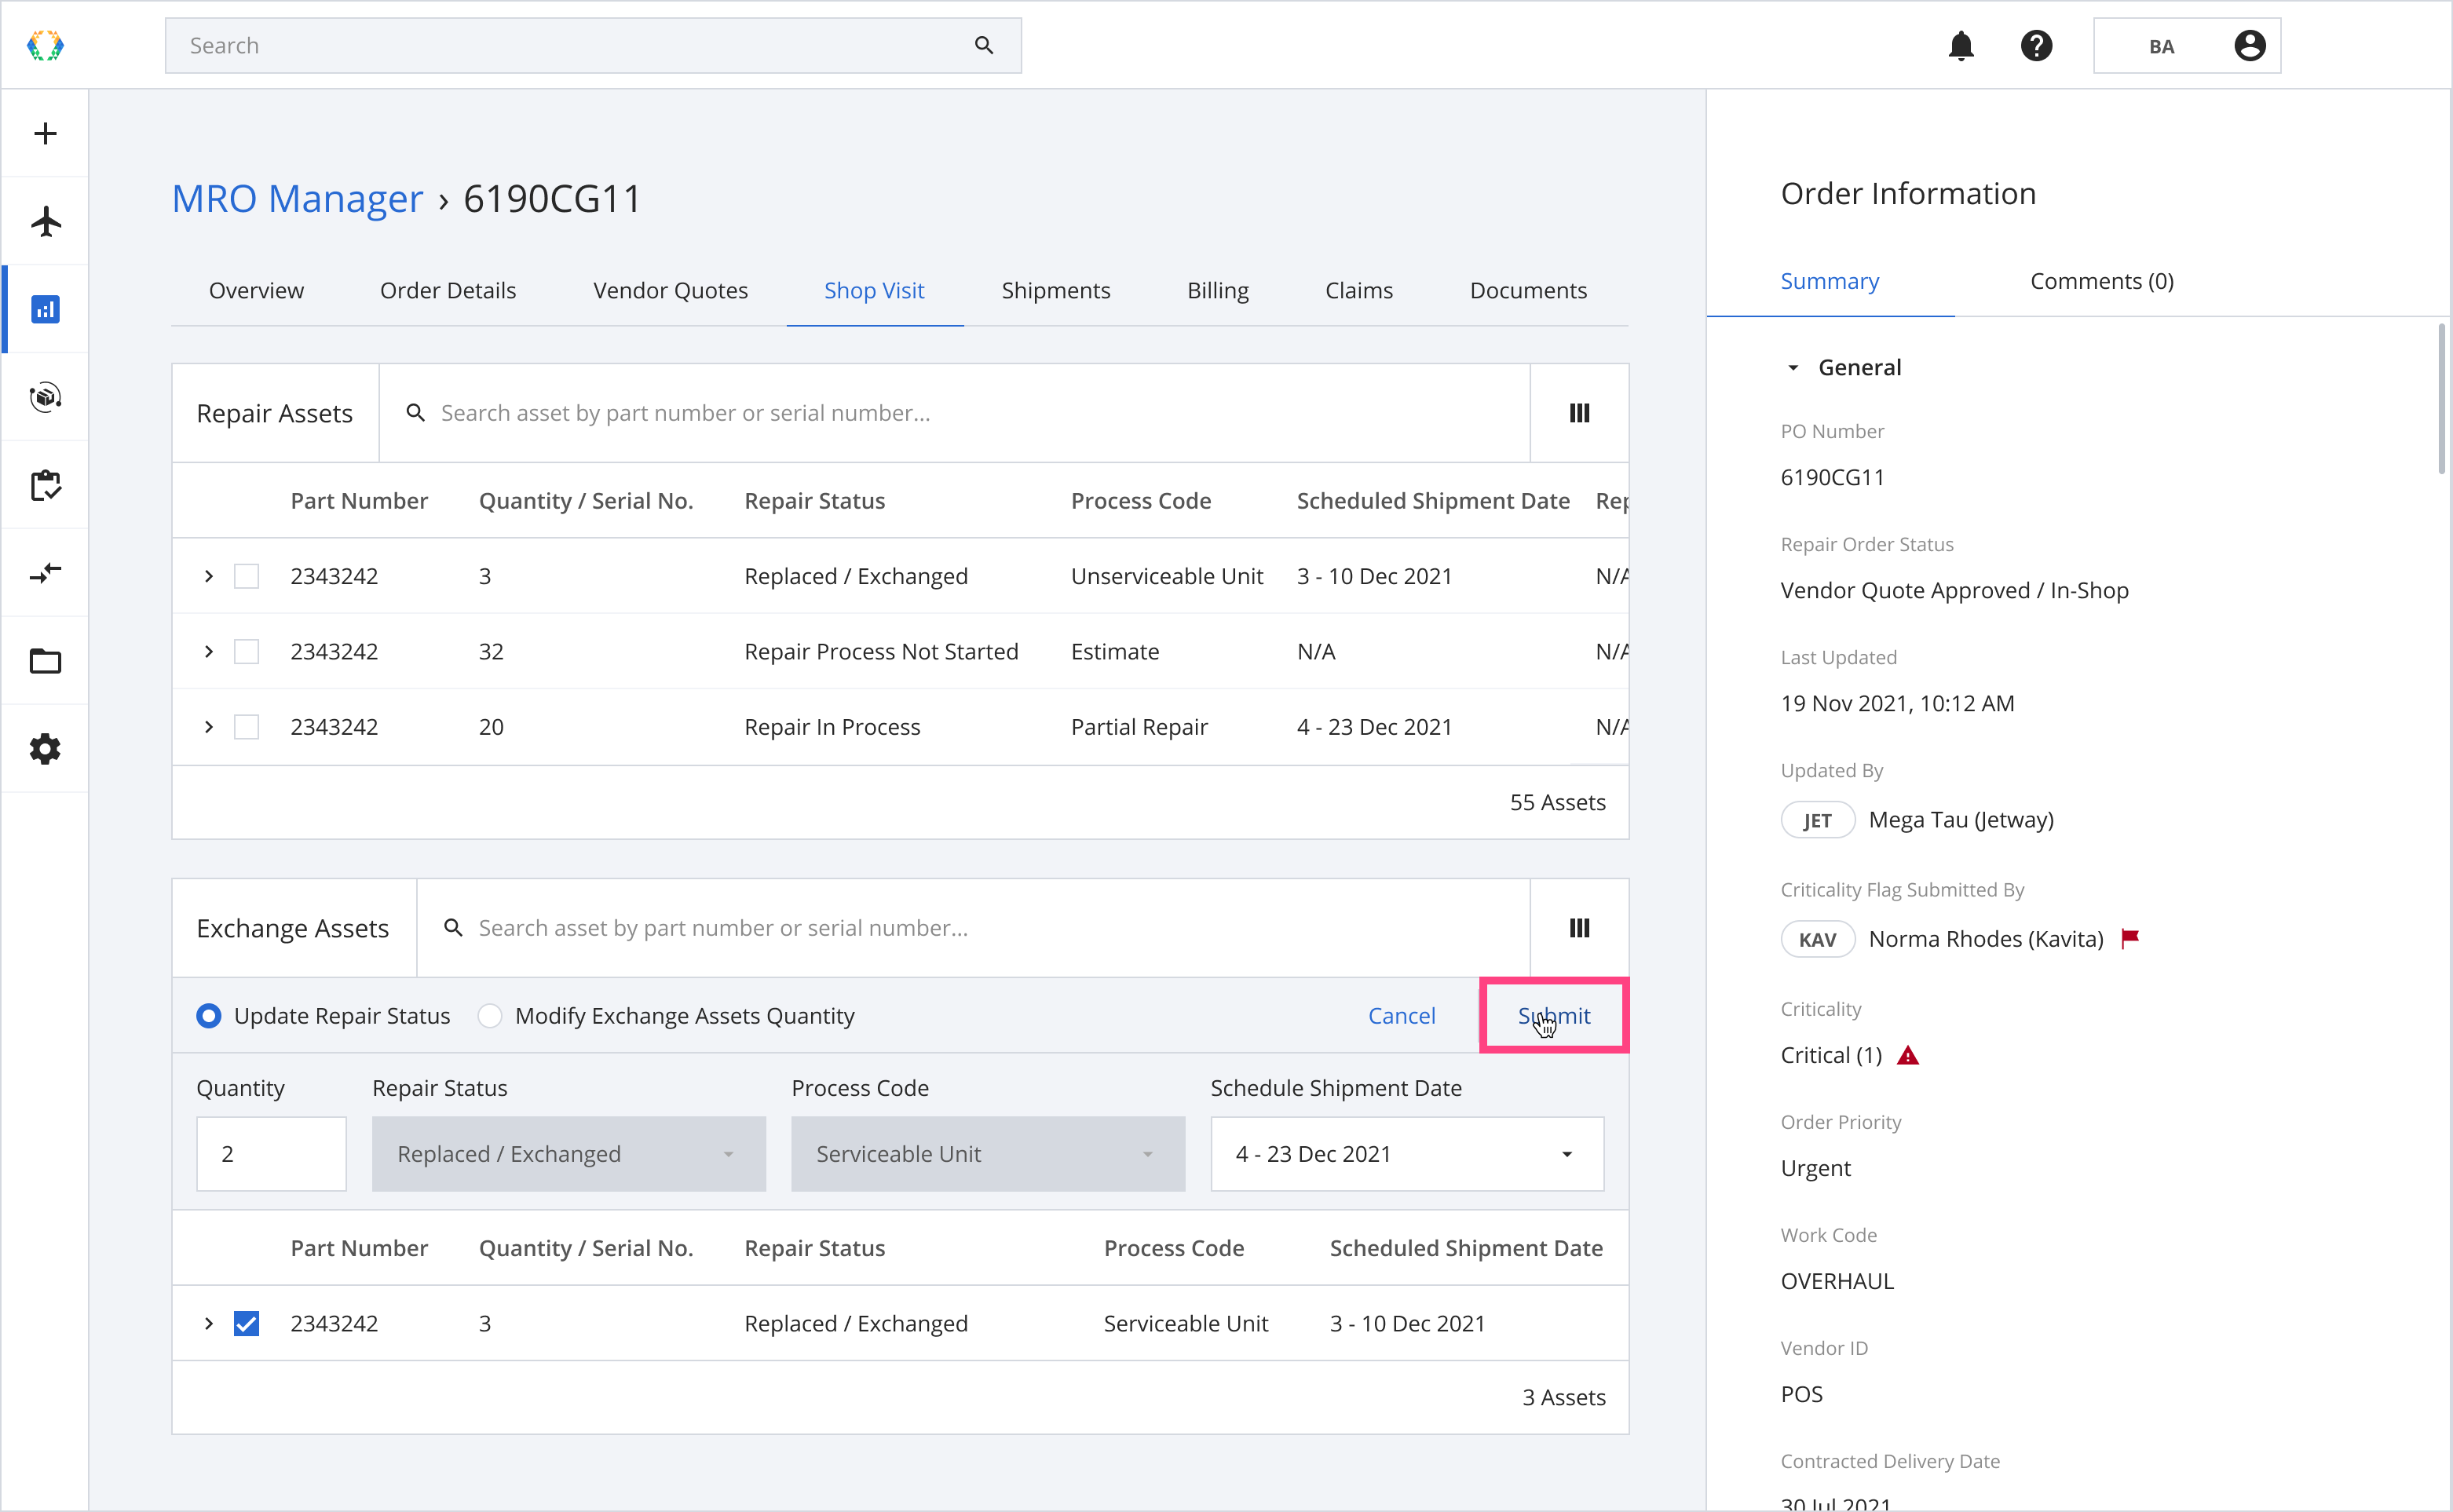
Once the exchange assets repair status is updated successfully, a green banner will appear at the top of the exchange assets list.
Updated over 1 year ago