Add and Create Shipment
There are 2 ways for managing shipments within an order item. Add assets of the order item to an existing shipment, or create a new shipment.
Option 1: Add Shipment
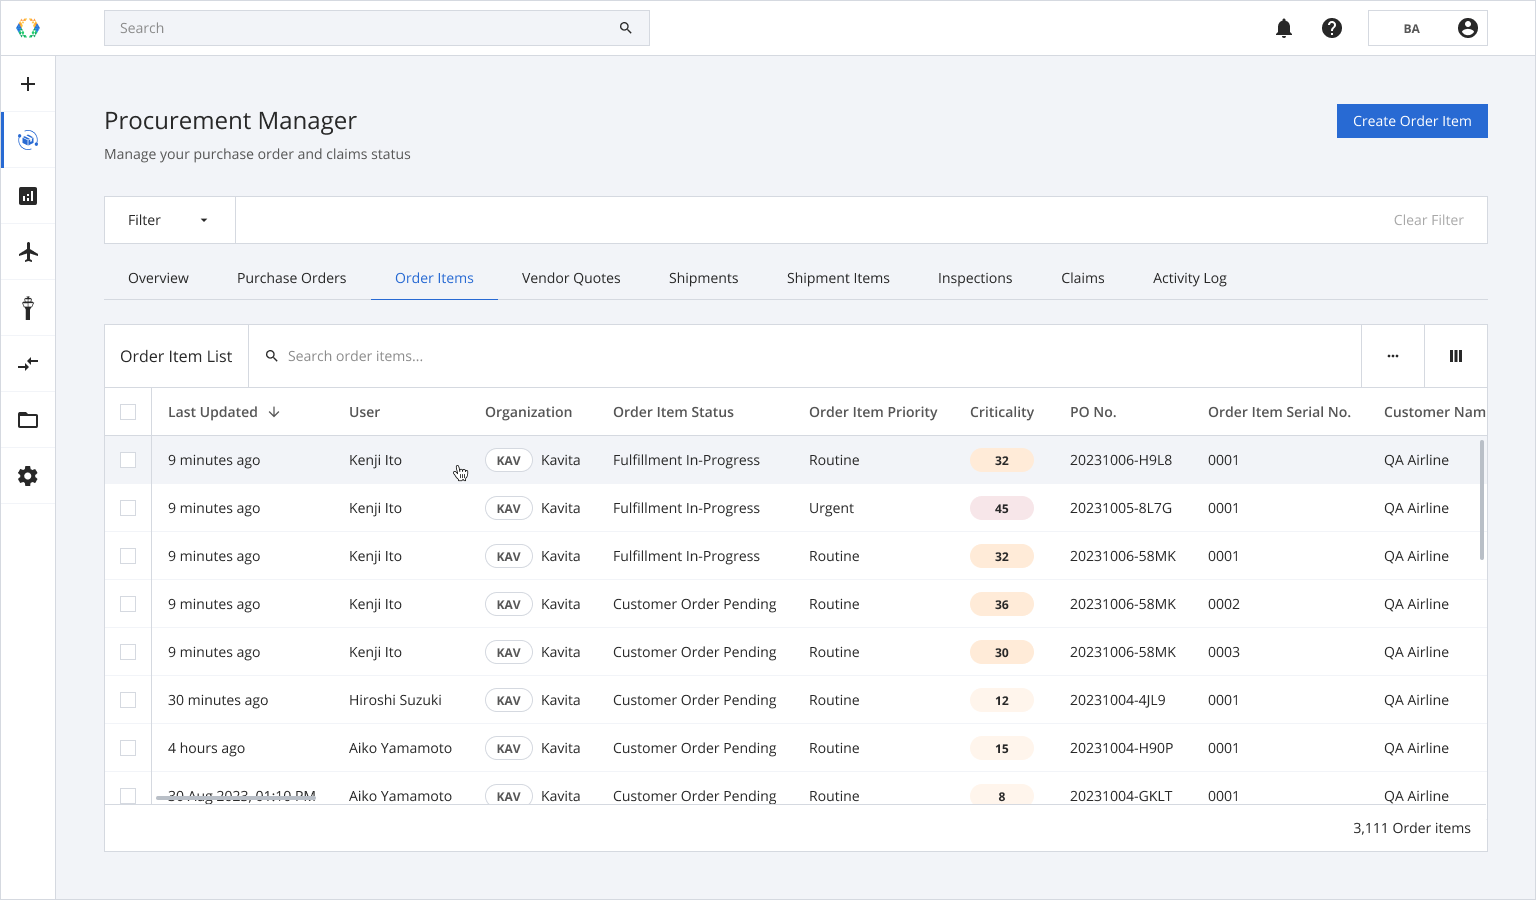
Step 1: From the order item list, open the order item for which you want to add a shipment.
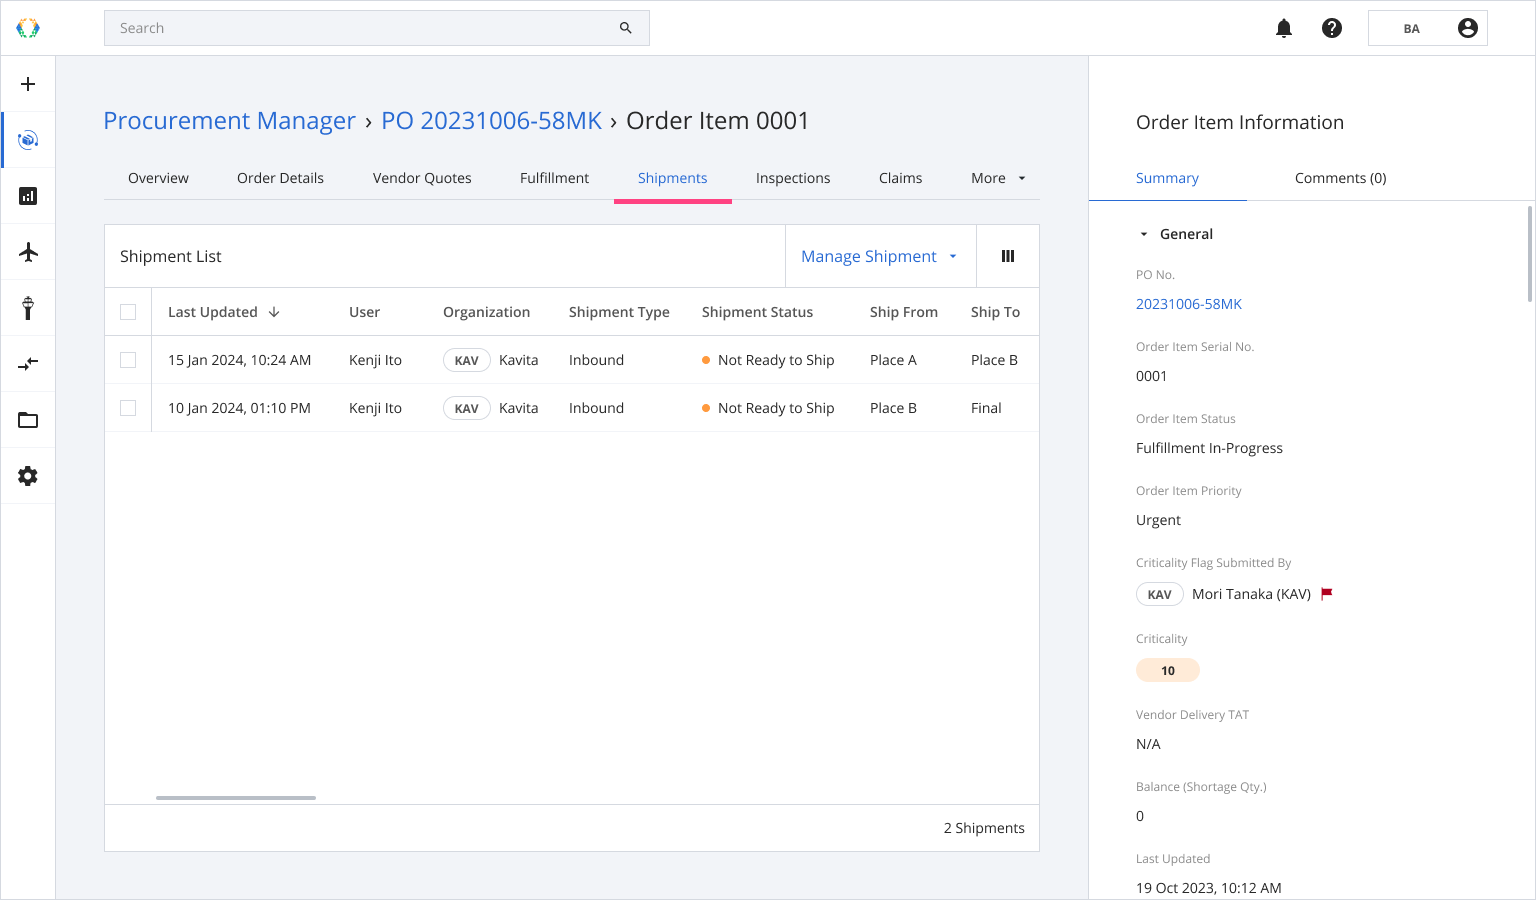
Step 2: Once you land on order item details page, click 'Shipments' tab.
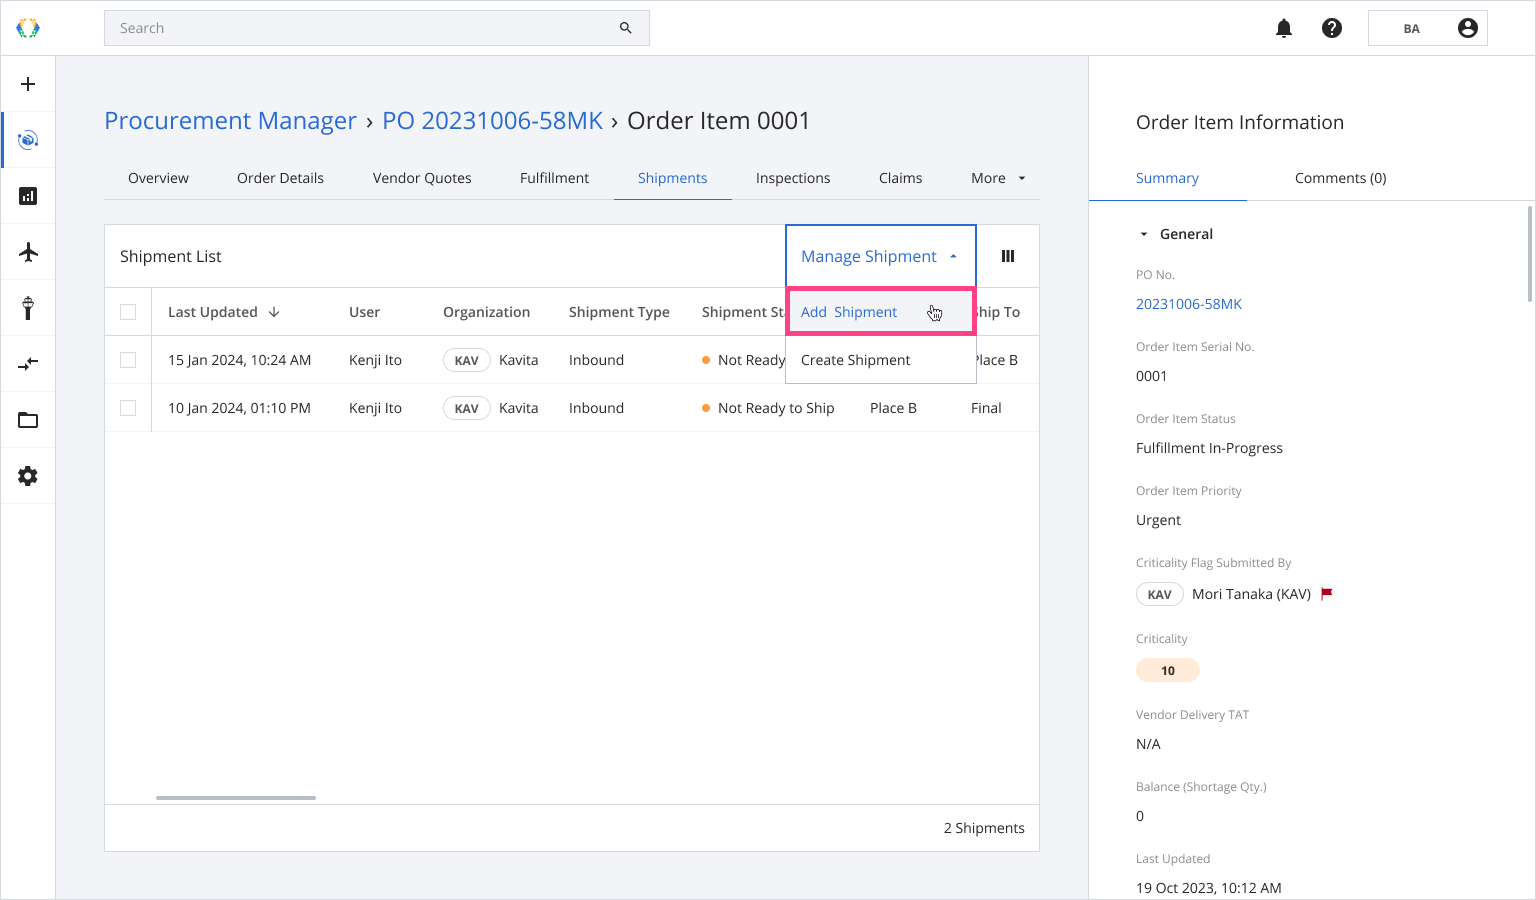
Step 3: Click ‘Manage Shipment’ and then select 'Add Shipment'.
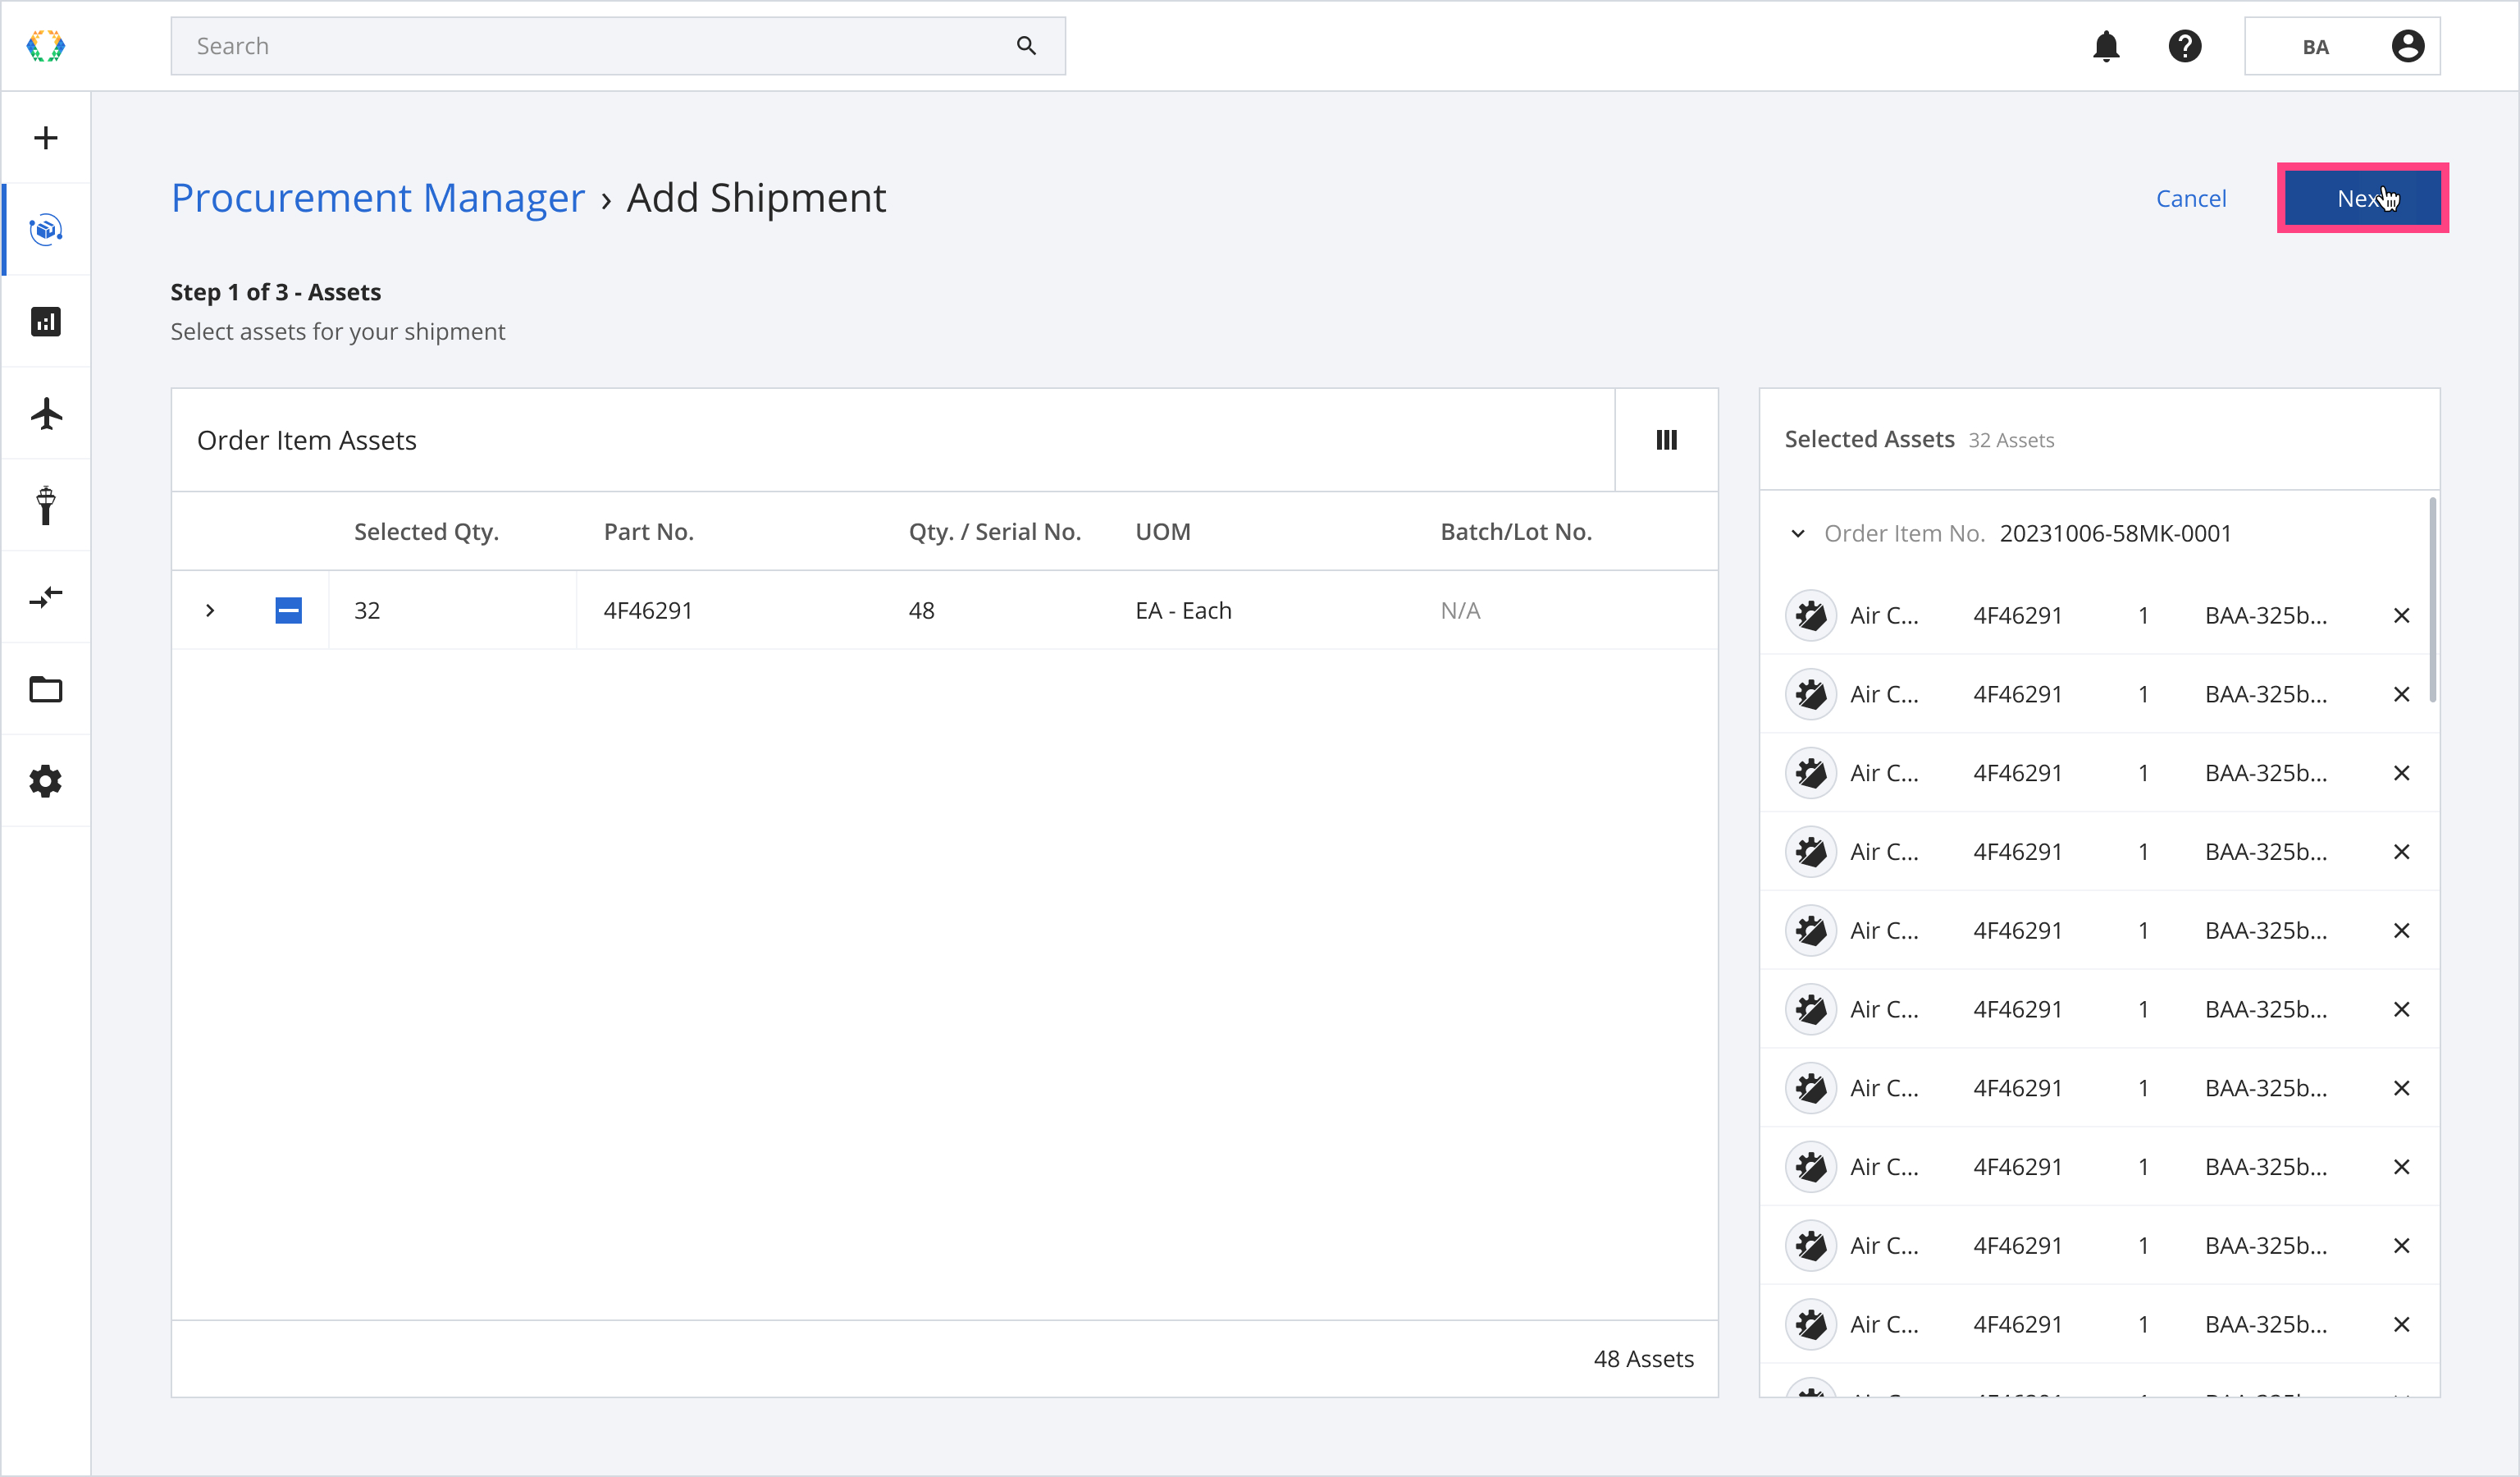
Step 4: Select assets for your shipment.
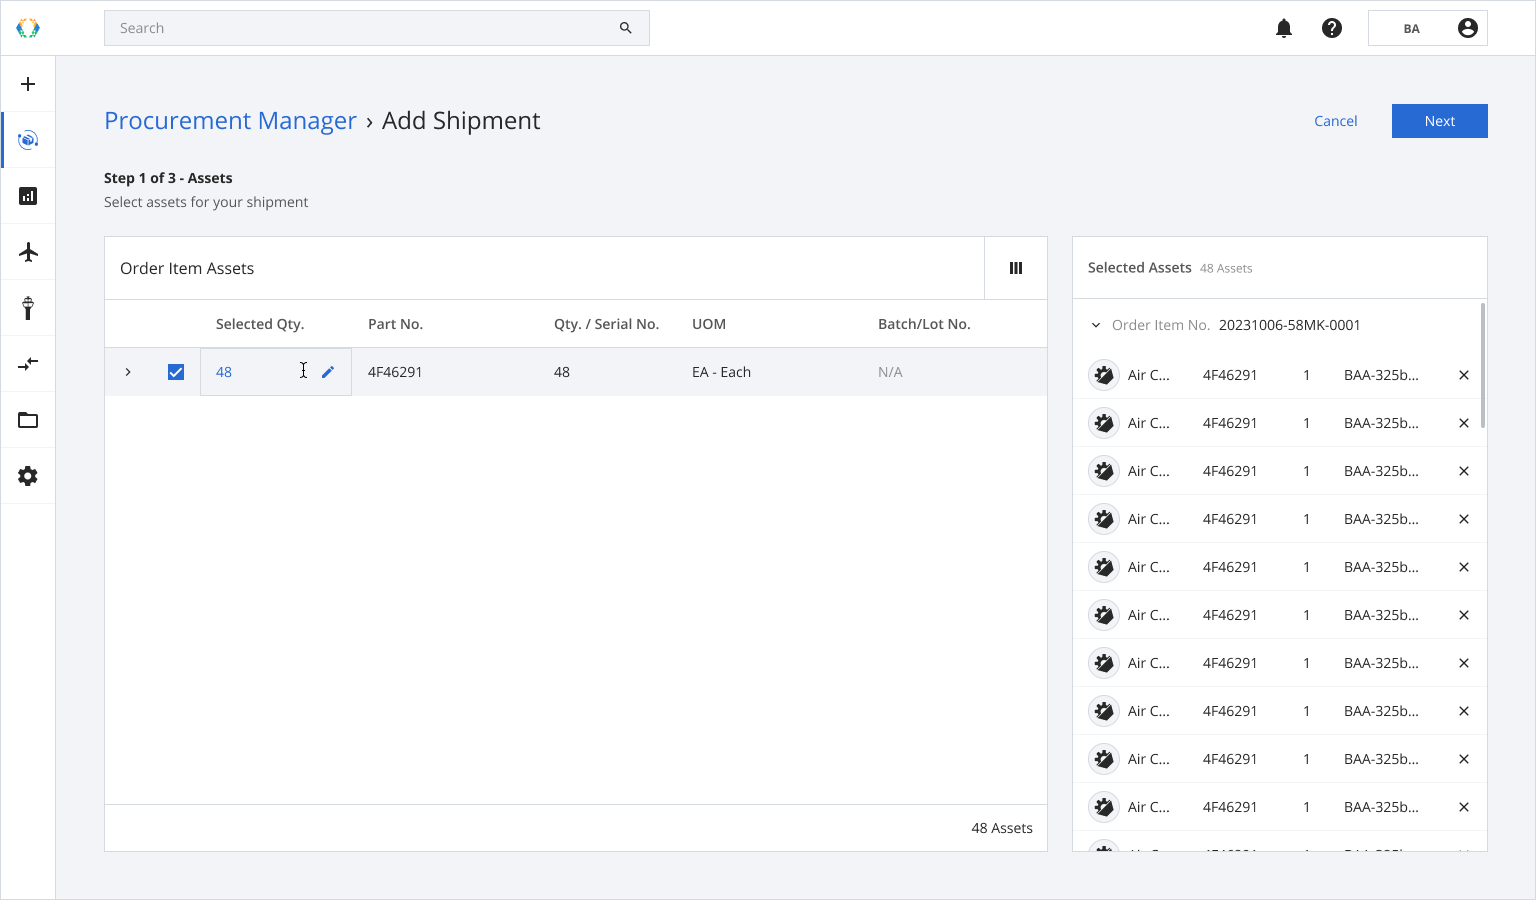
Step 5: Click ‘Next’.
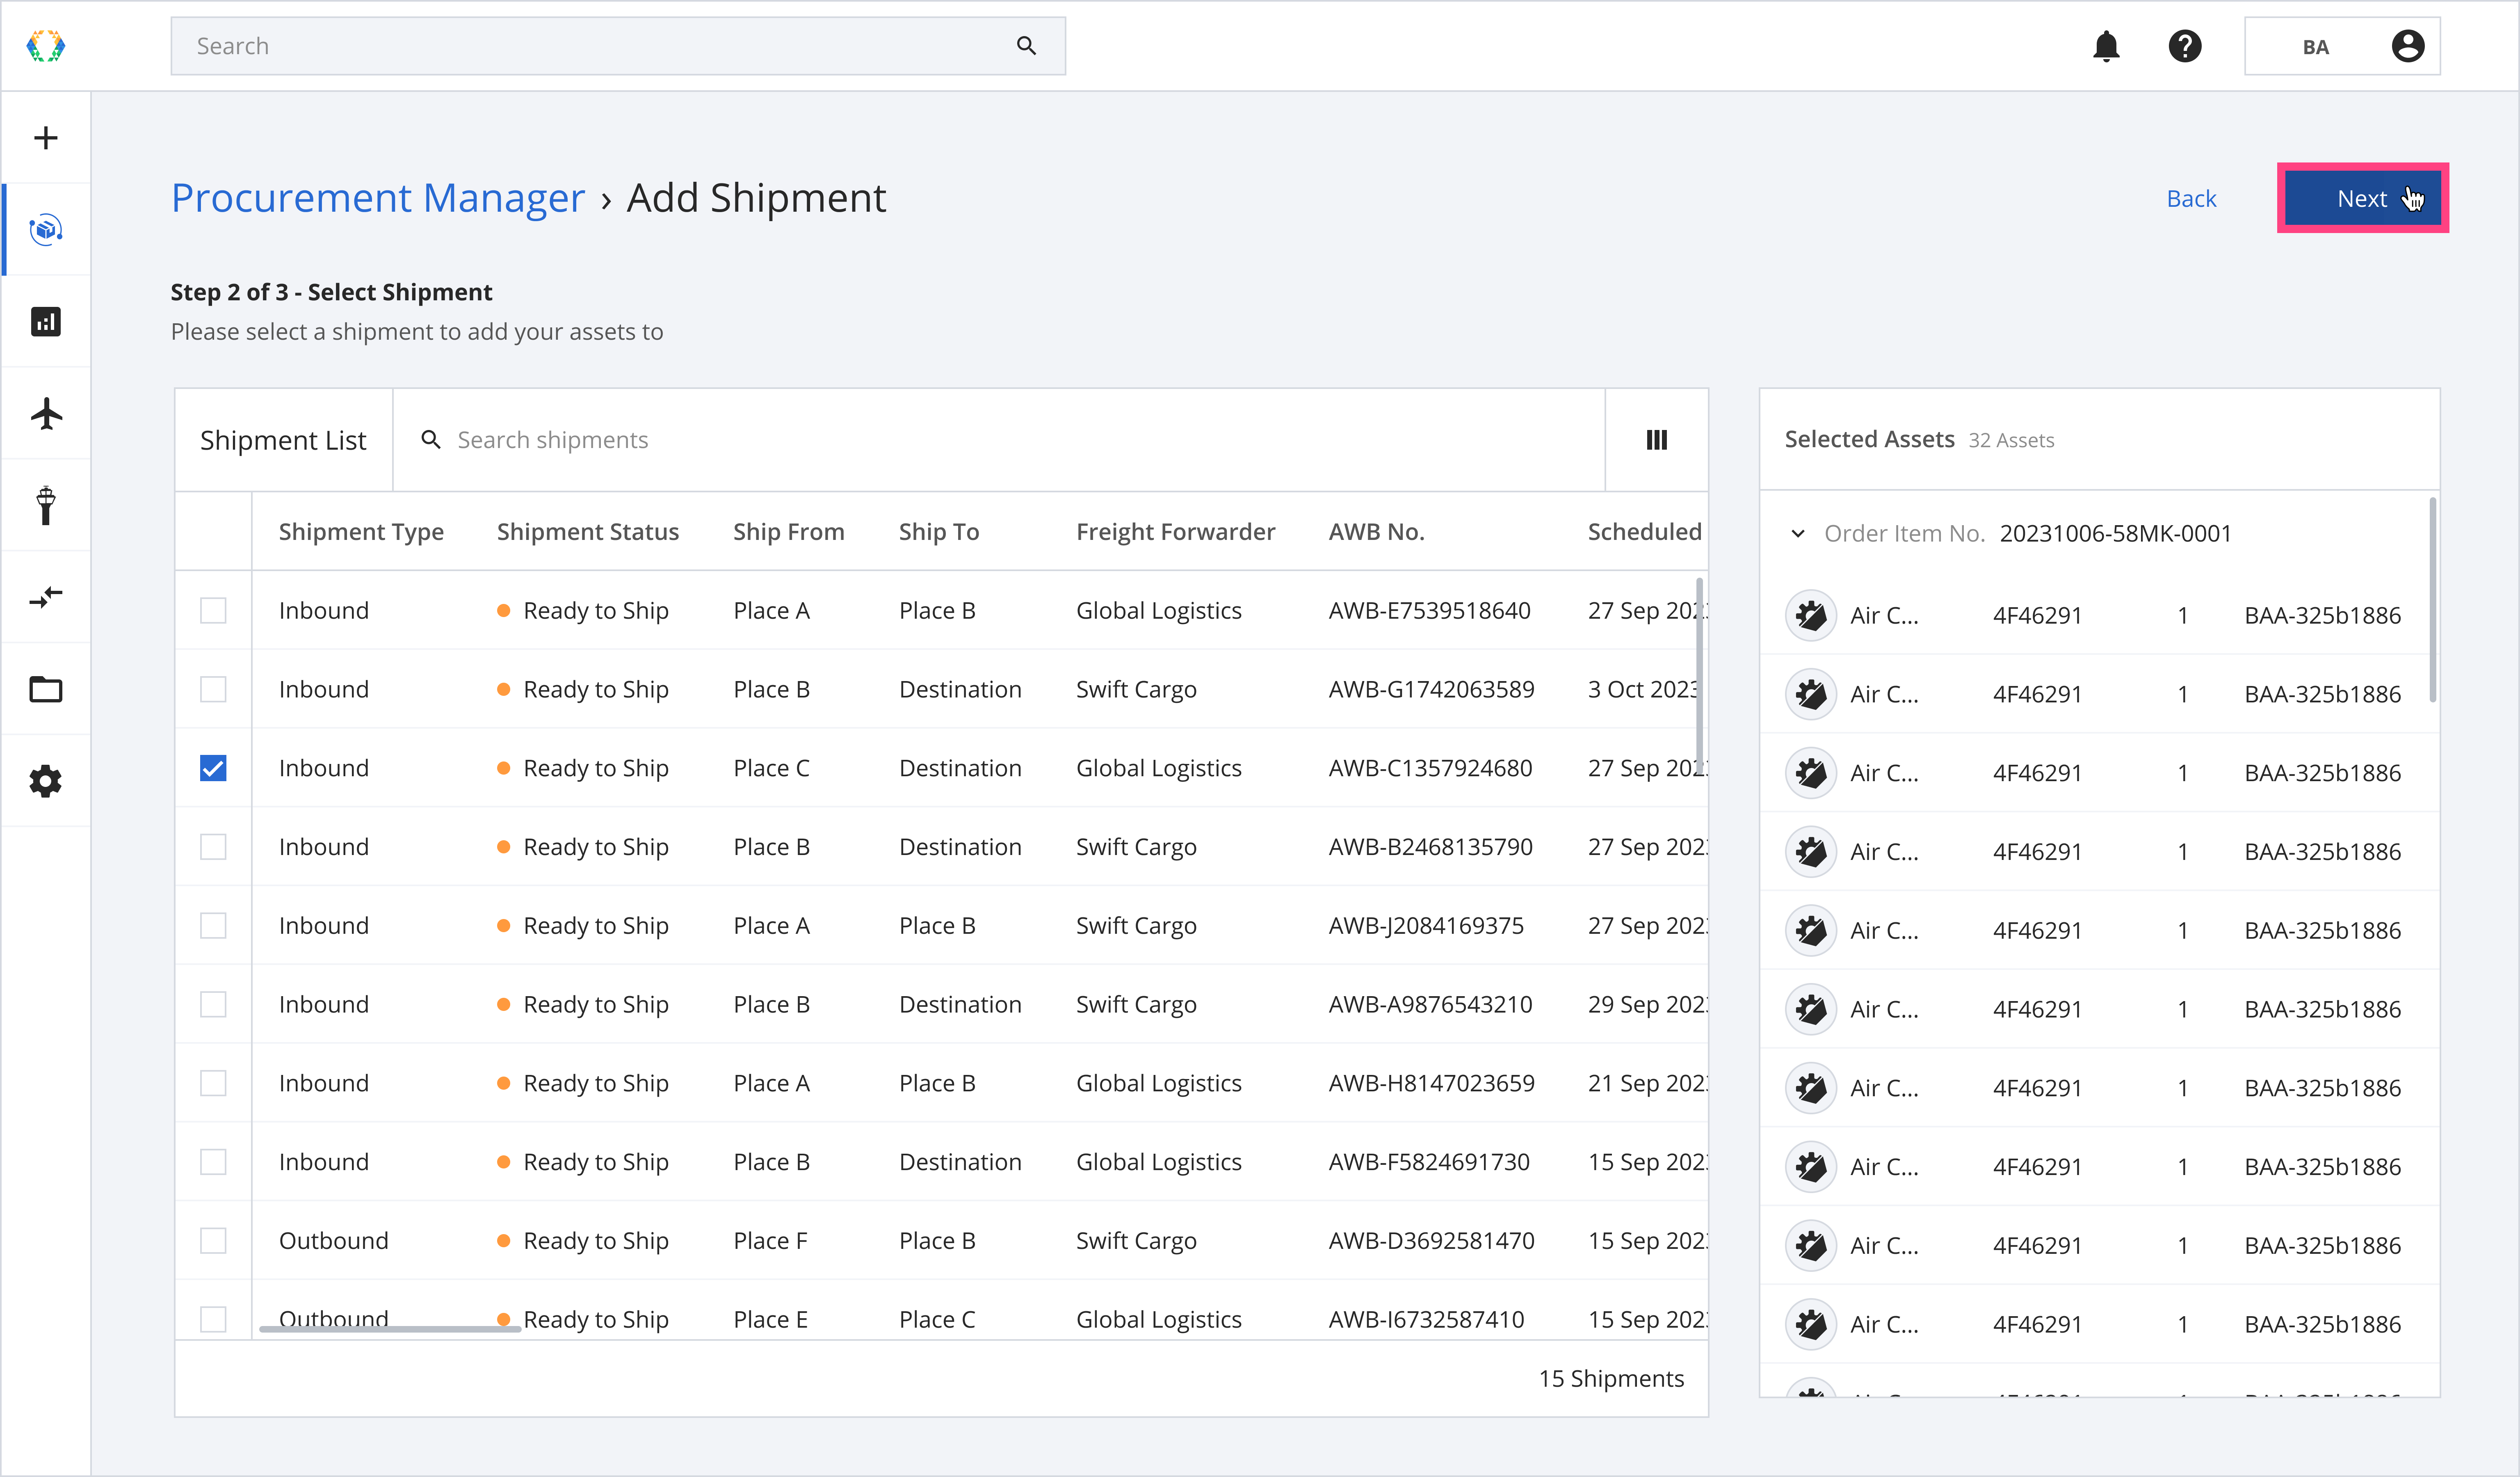
Step 6: Select a shipment you want to add your assets to.
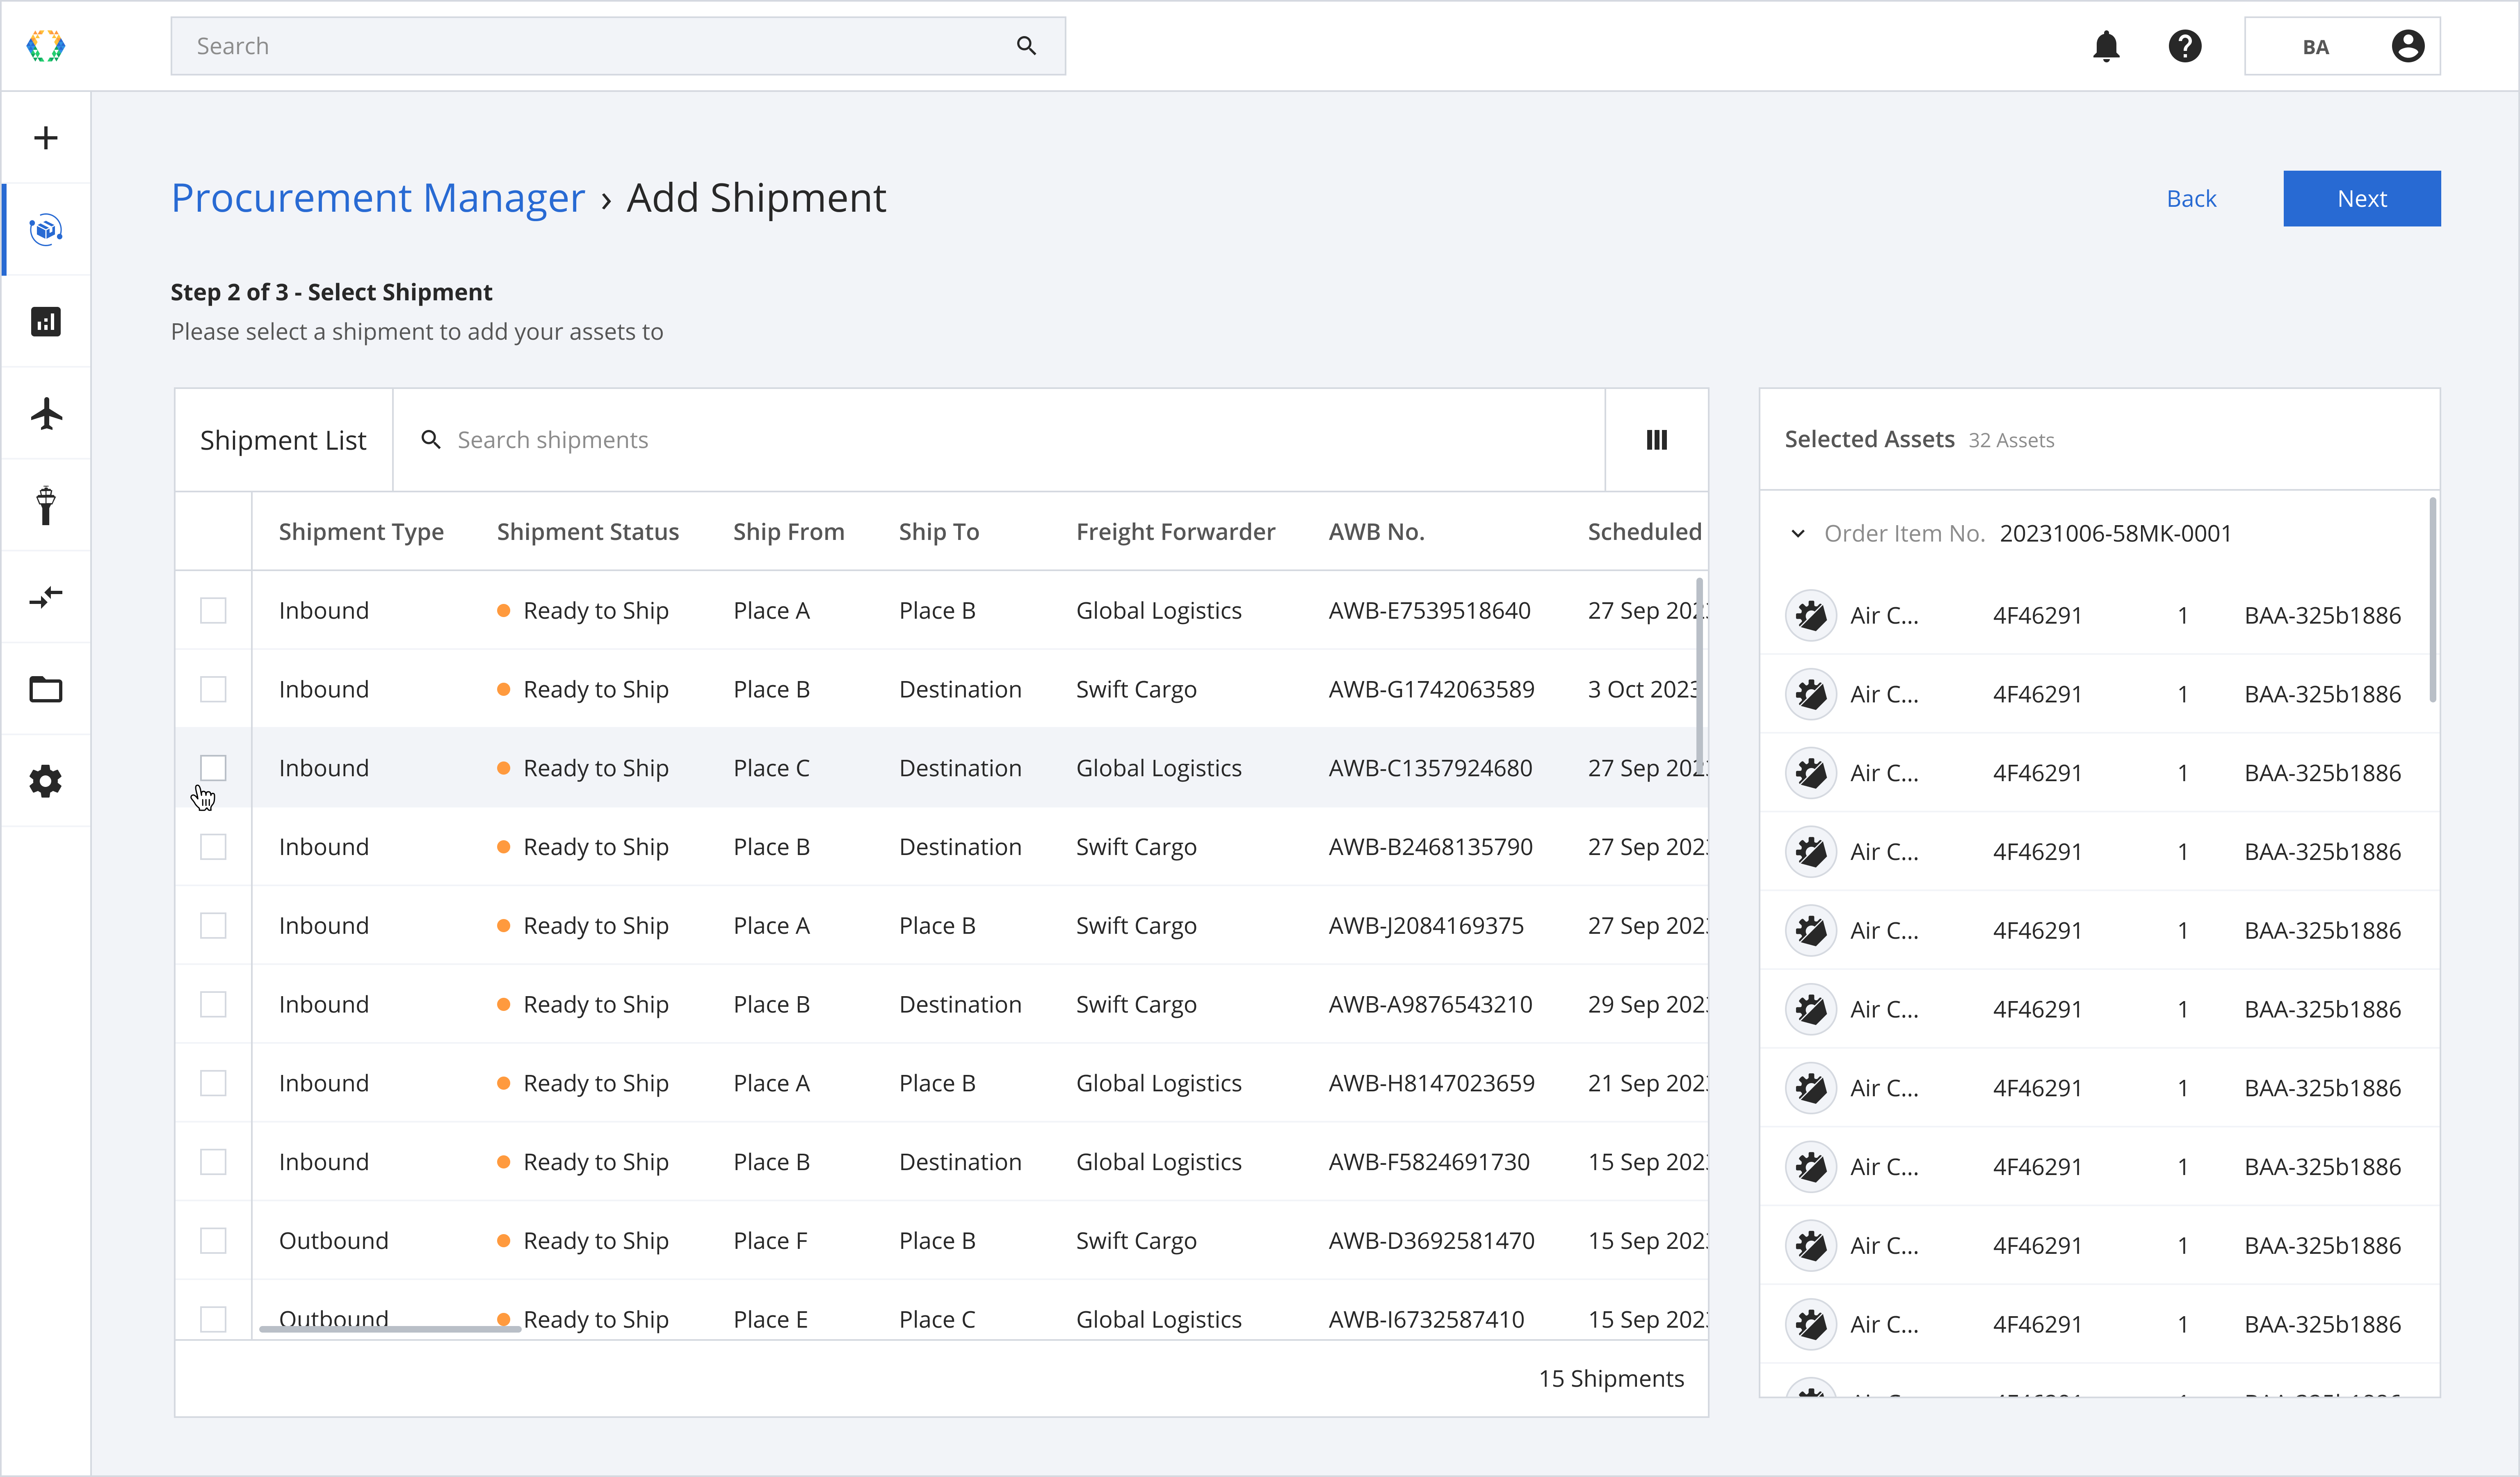
Step 7: Click ‘Next’.
Step 8: Provide details of your shipment item (Optional).
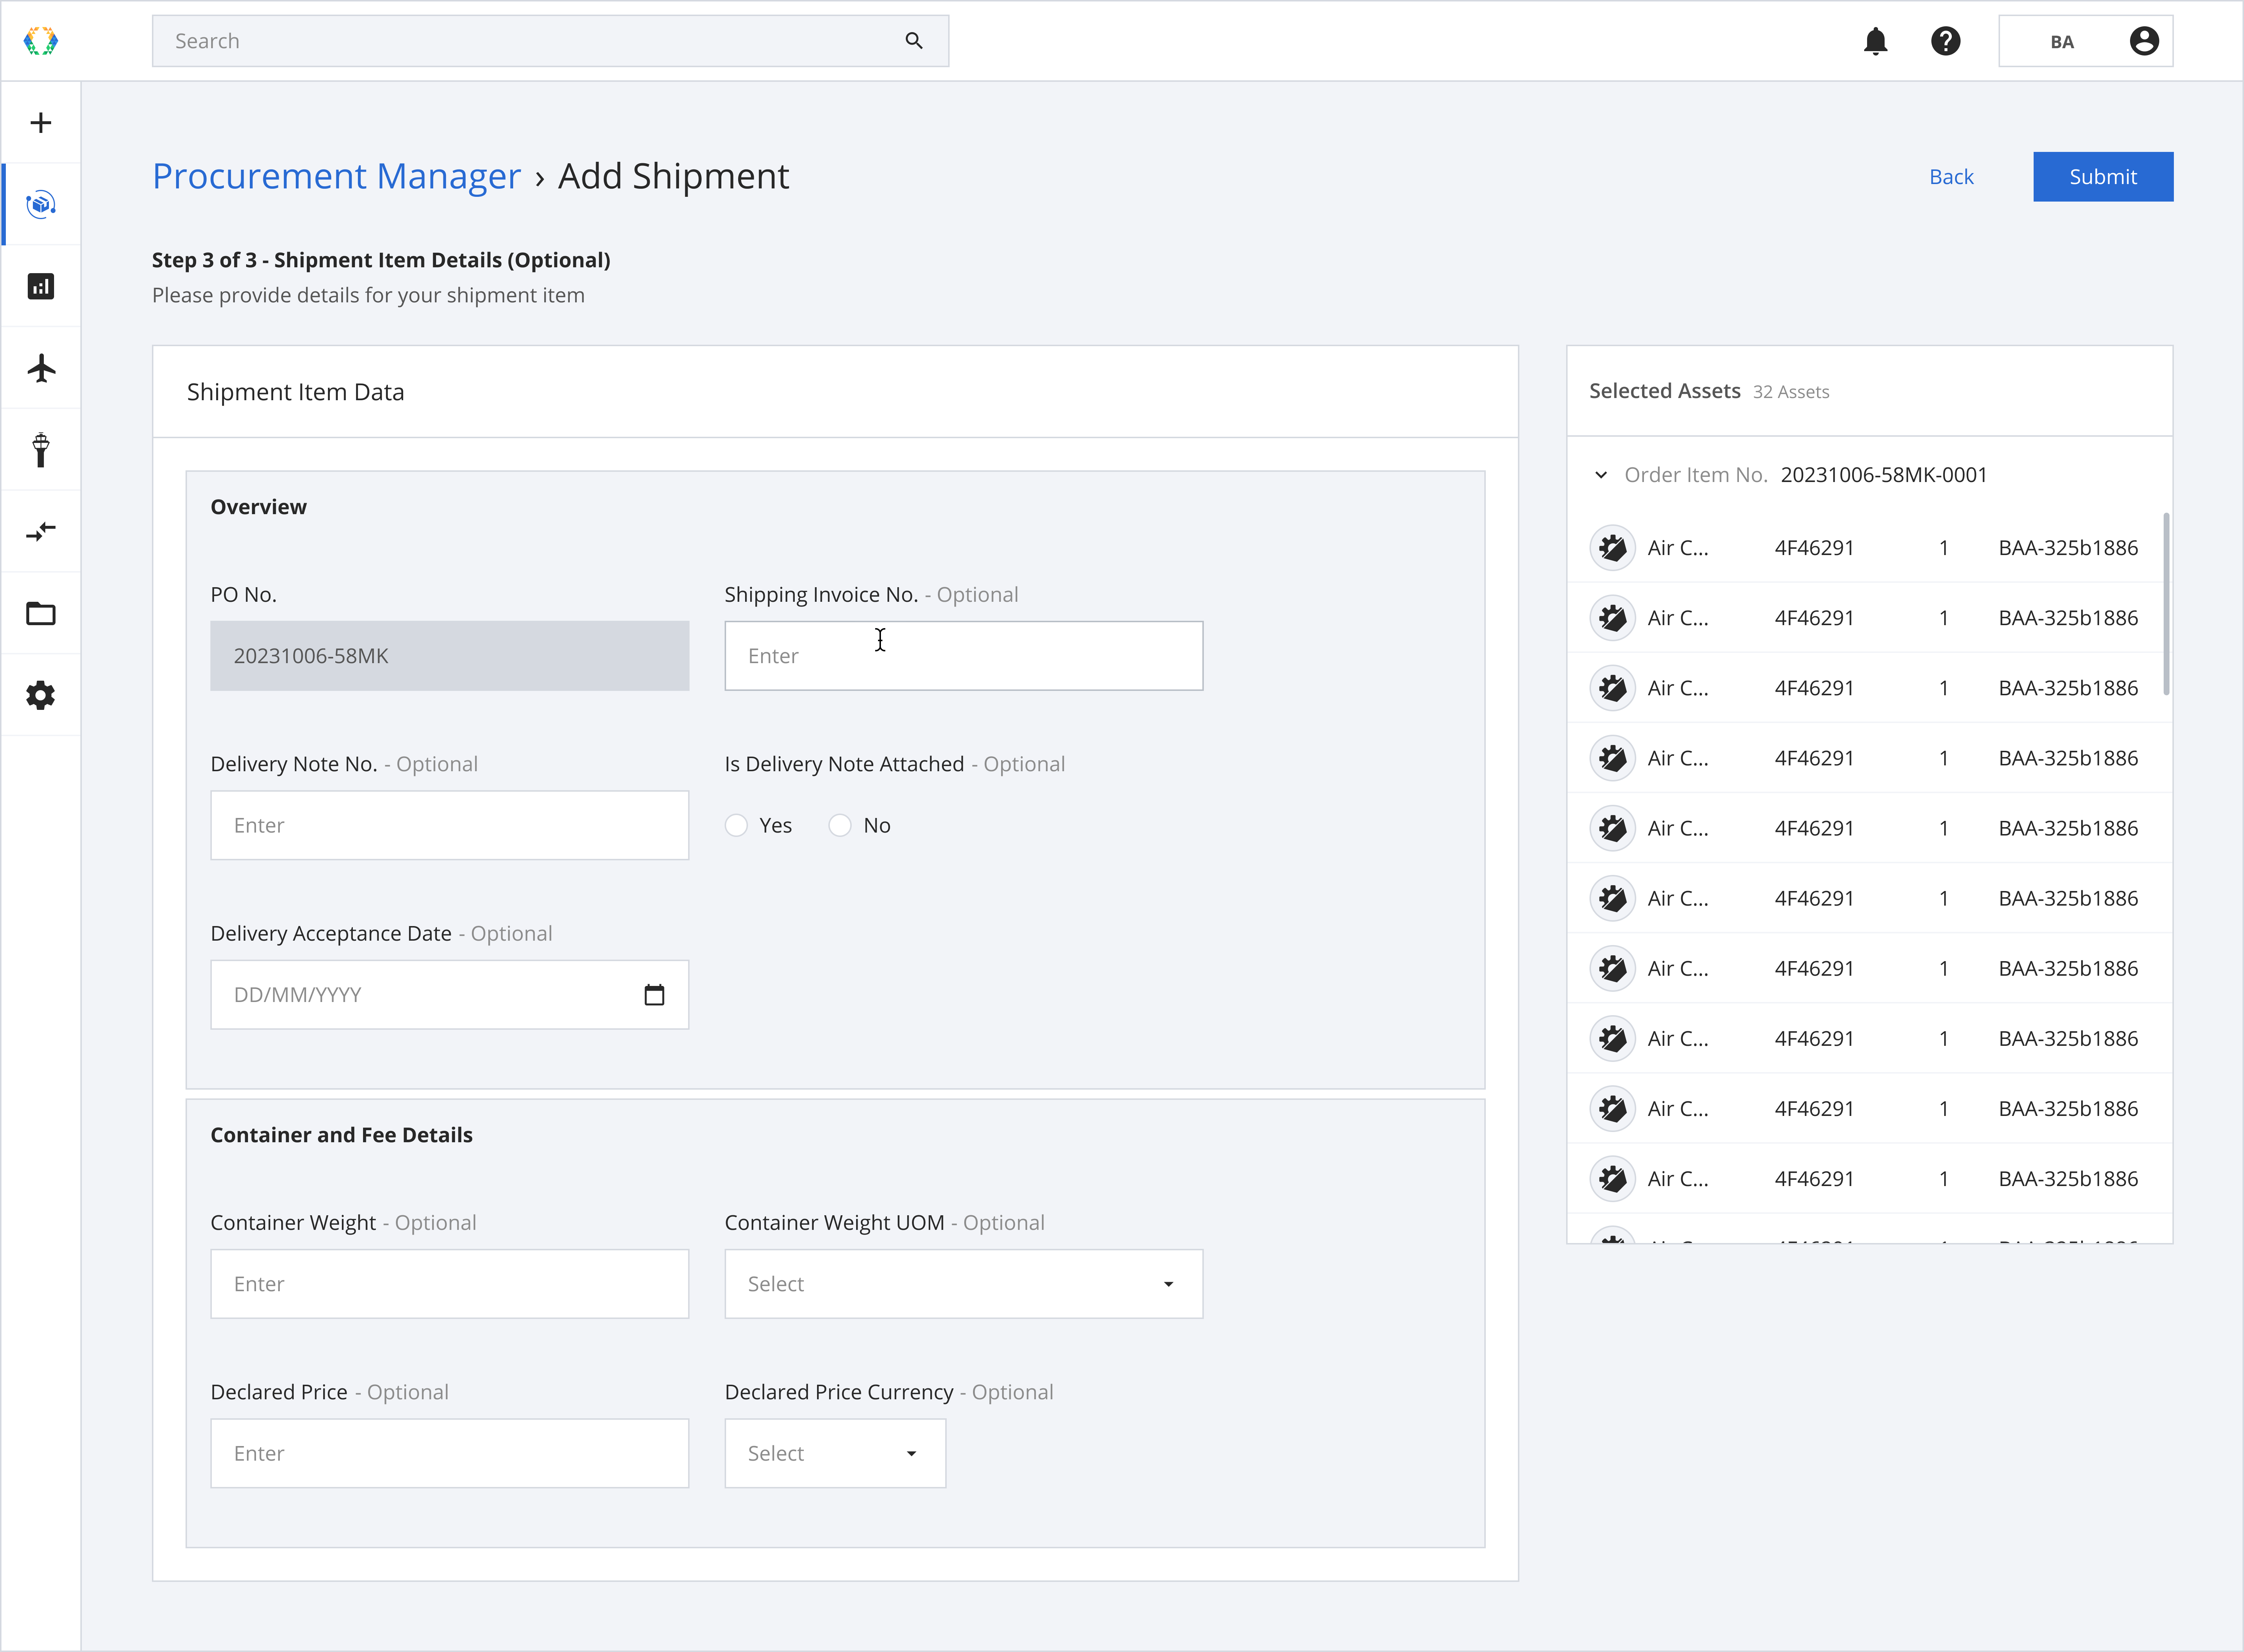
Step 9: Click 'Submit'.

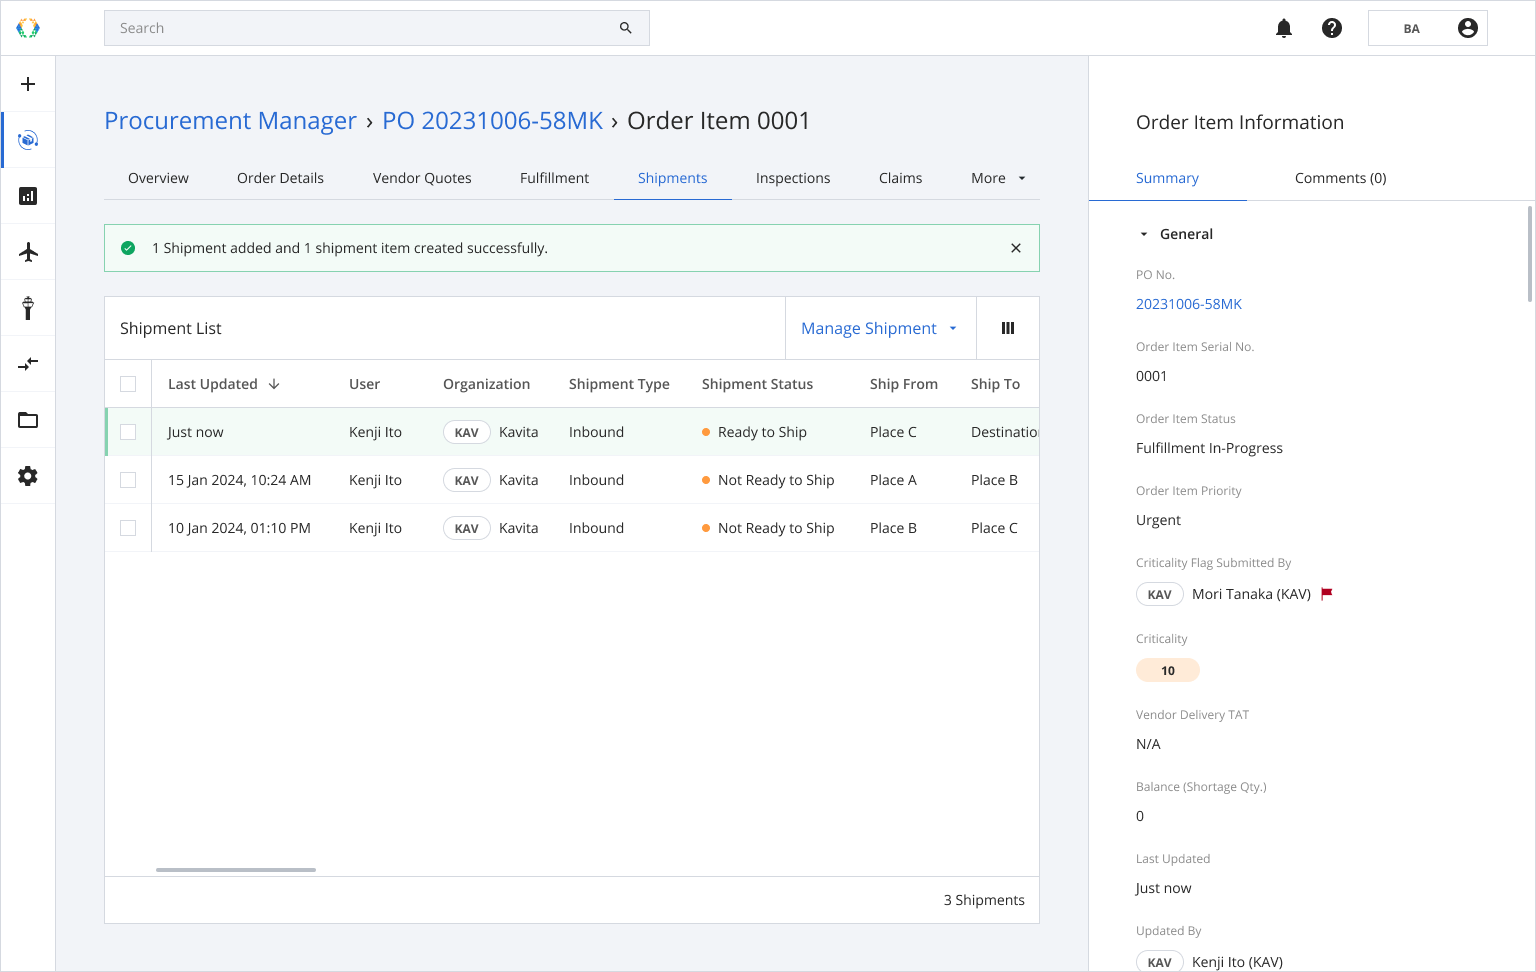
Once the shipment is added successfully, a green banner will appear at the top of the shipment list.
Option 2: Create Shipment
Step 1: From the order item list, open the order item for which you want to create a shipment.
Step 2: Once you land on order item details page, click 'Shipments' tab.
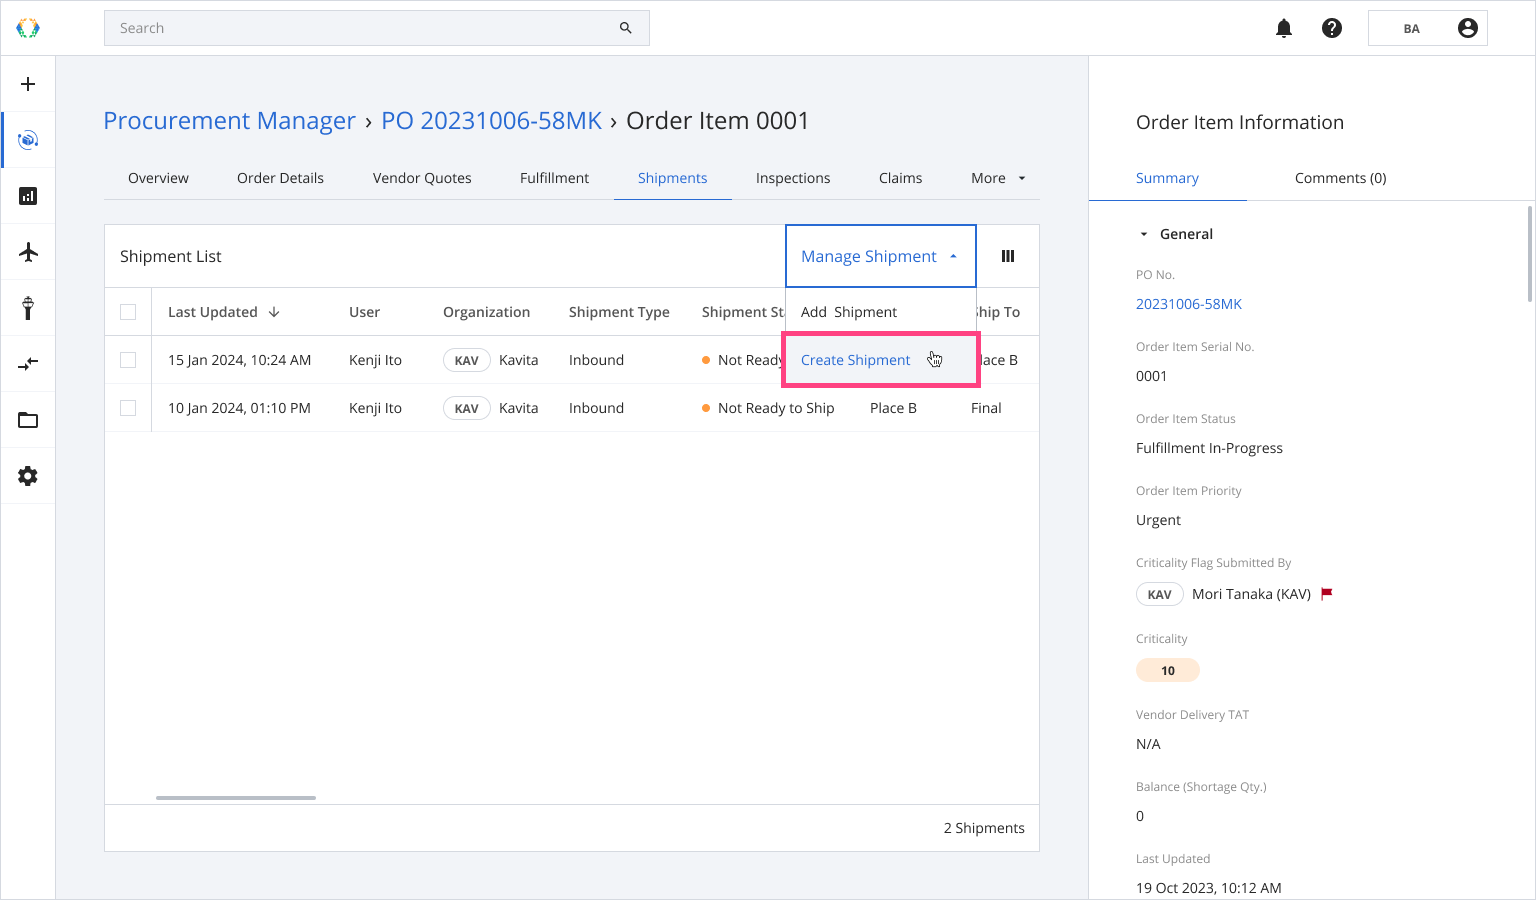
Step 3: Click ‘Manage Shipment’ and then select 'Create Shipment'.
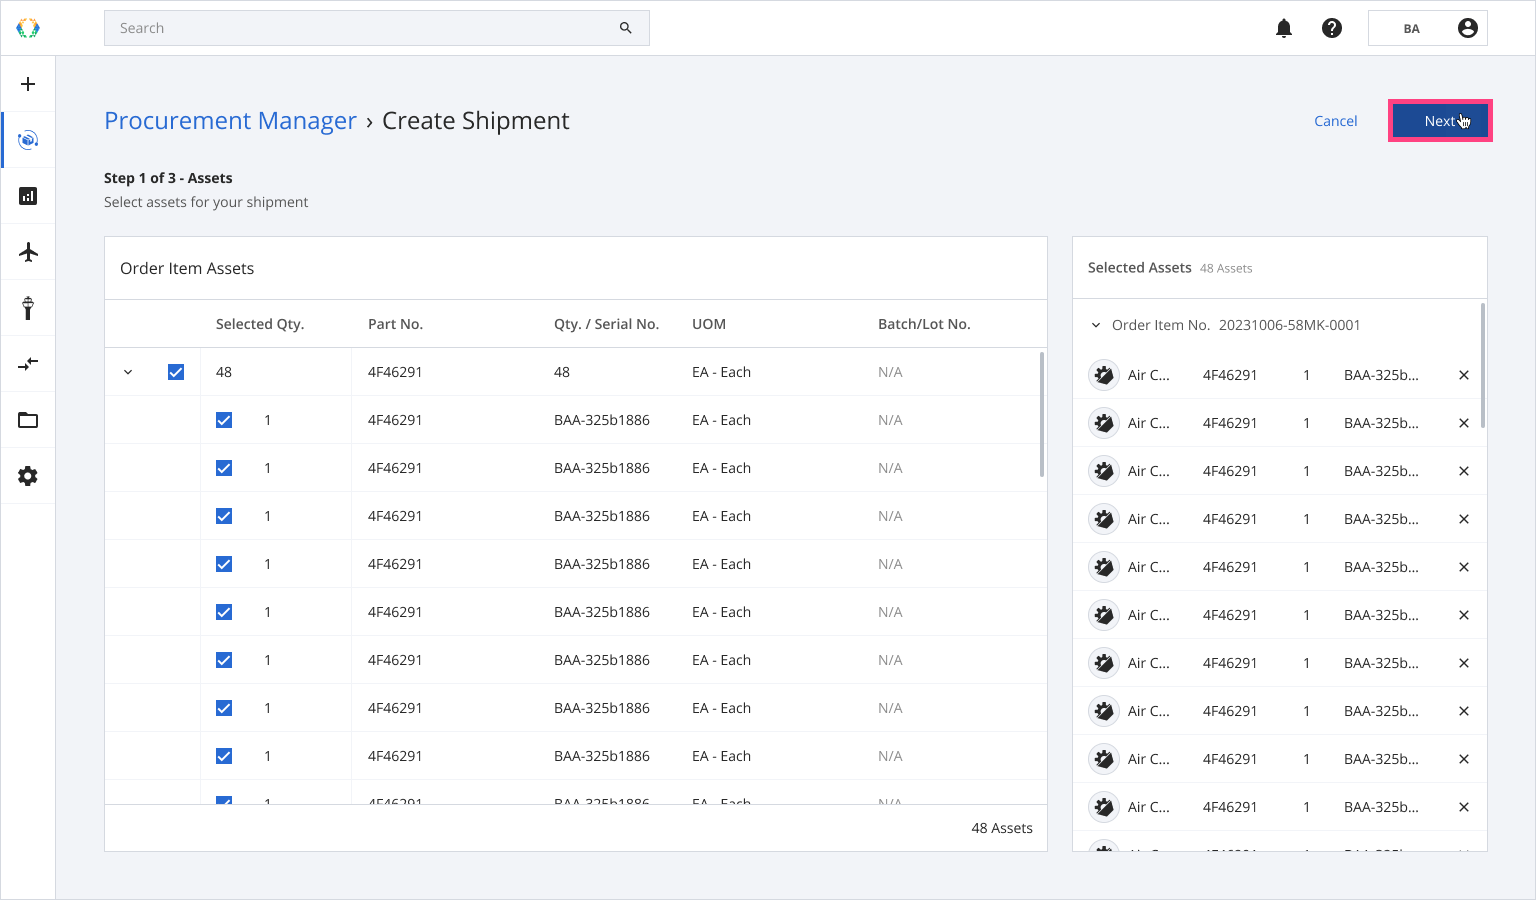
Step 4: Select assets for your shipment.
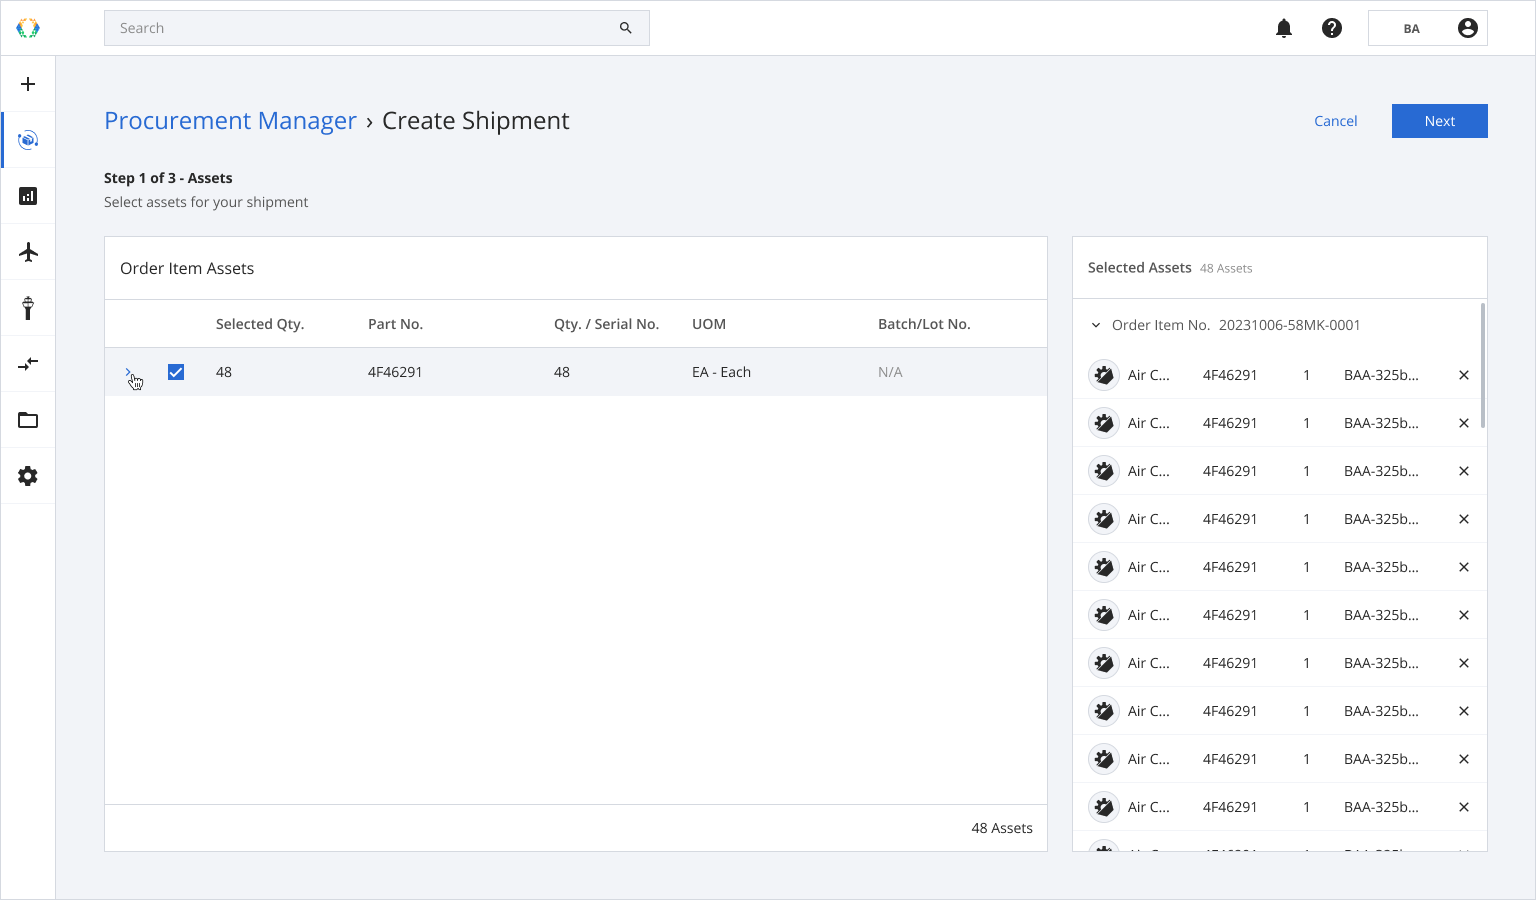
Step 5: Click ‘Next’.
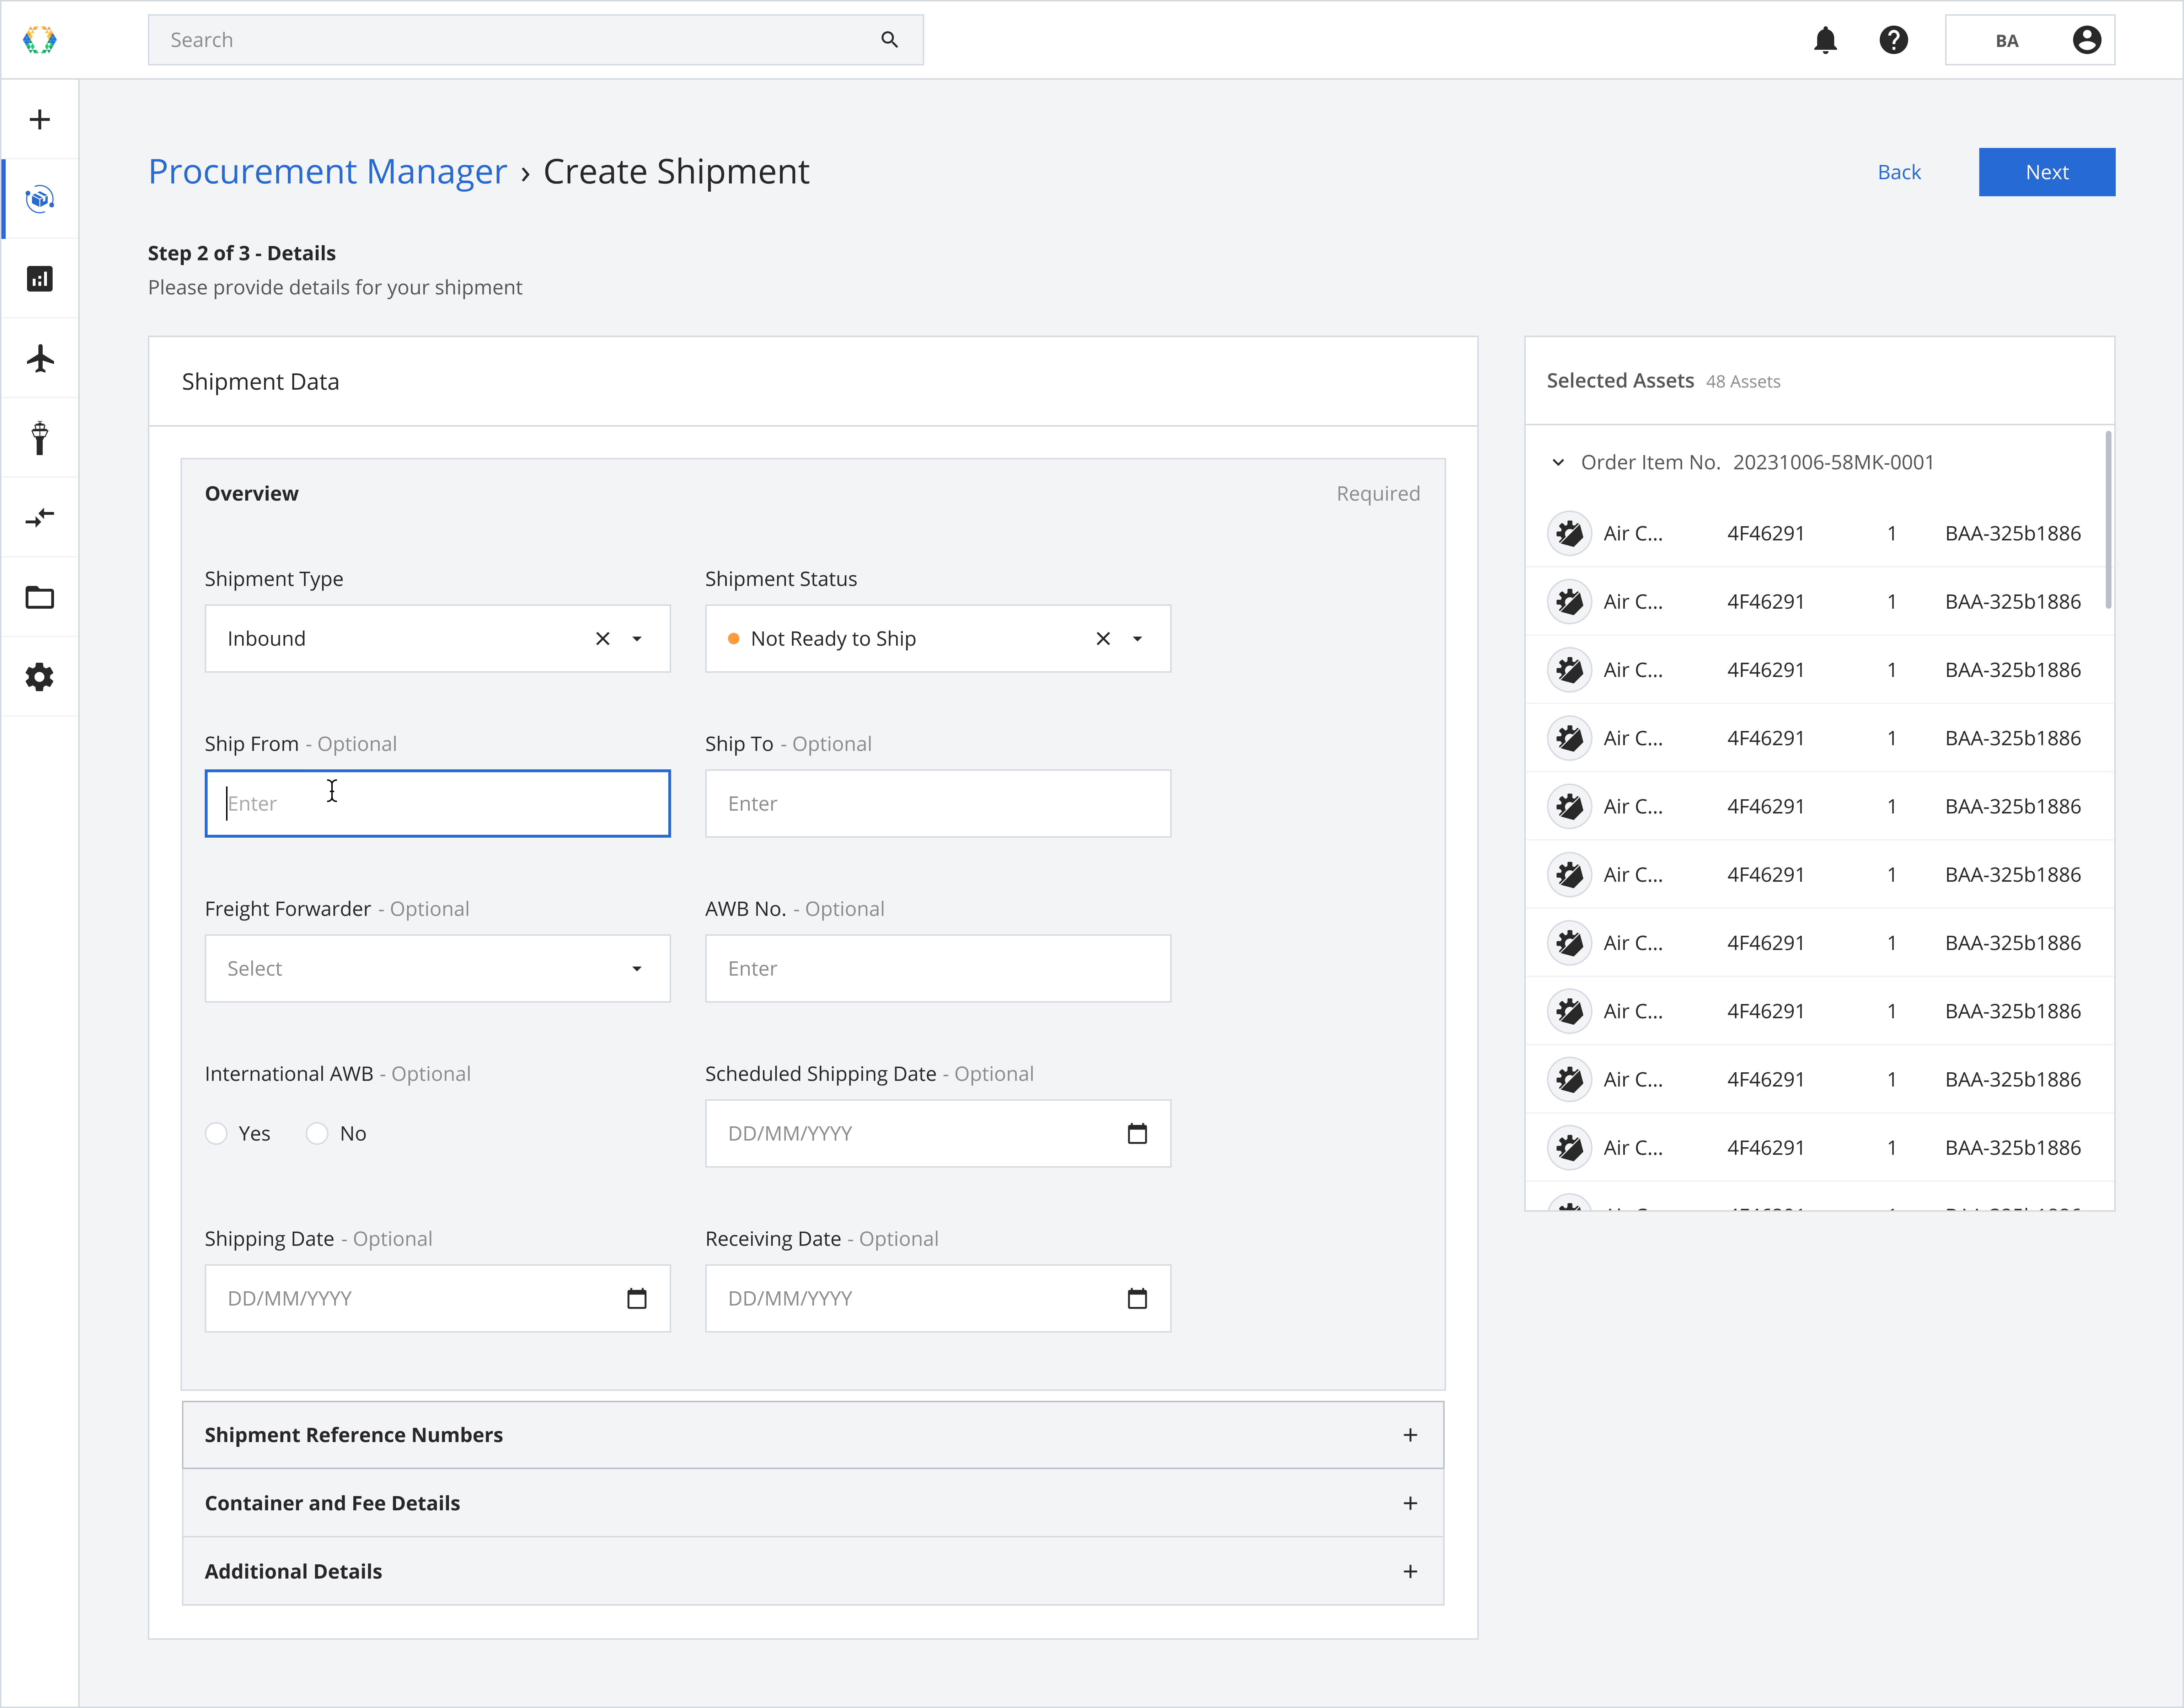
Step 6: Provide the details for the shipment and click 'Next'.
Required fields:Shipment Type
Shipment Status
Step 7: Provide the details for the shipment item.
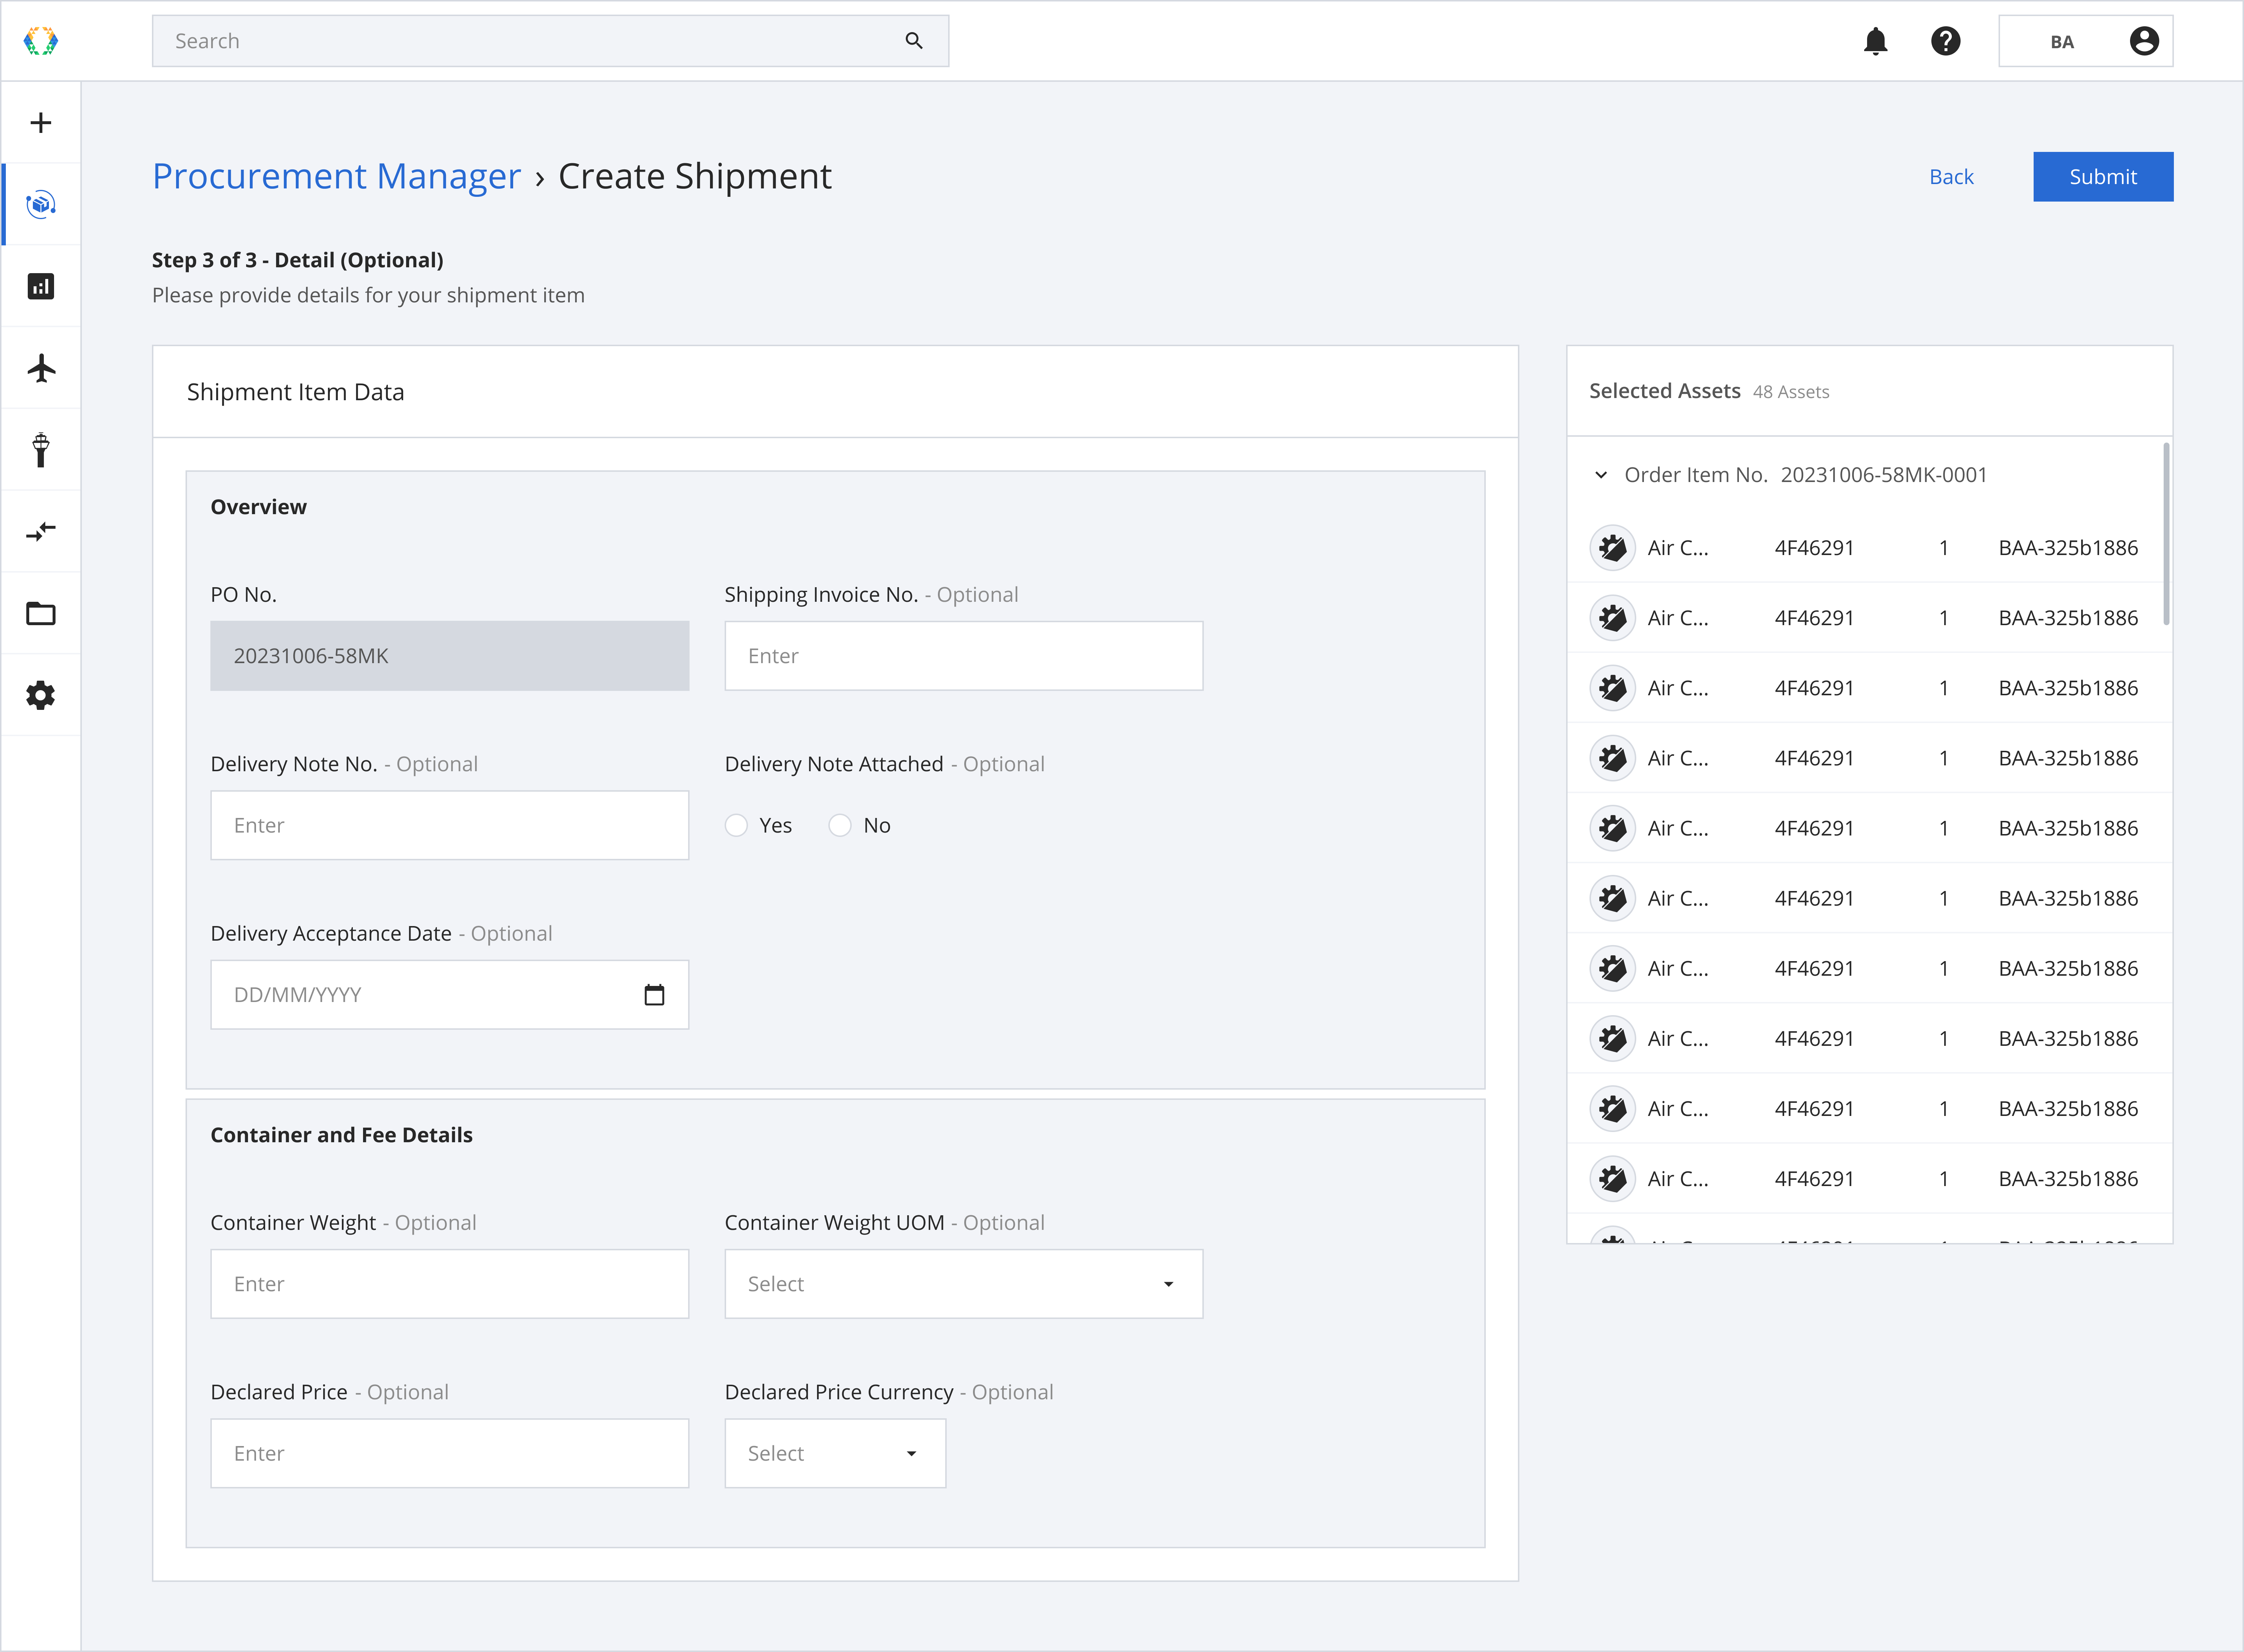
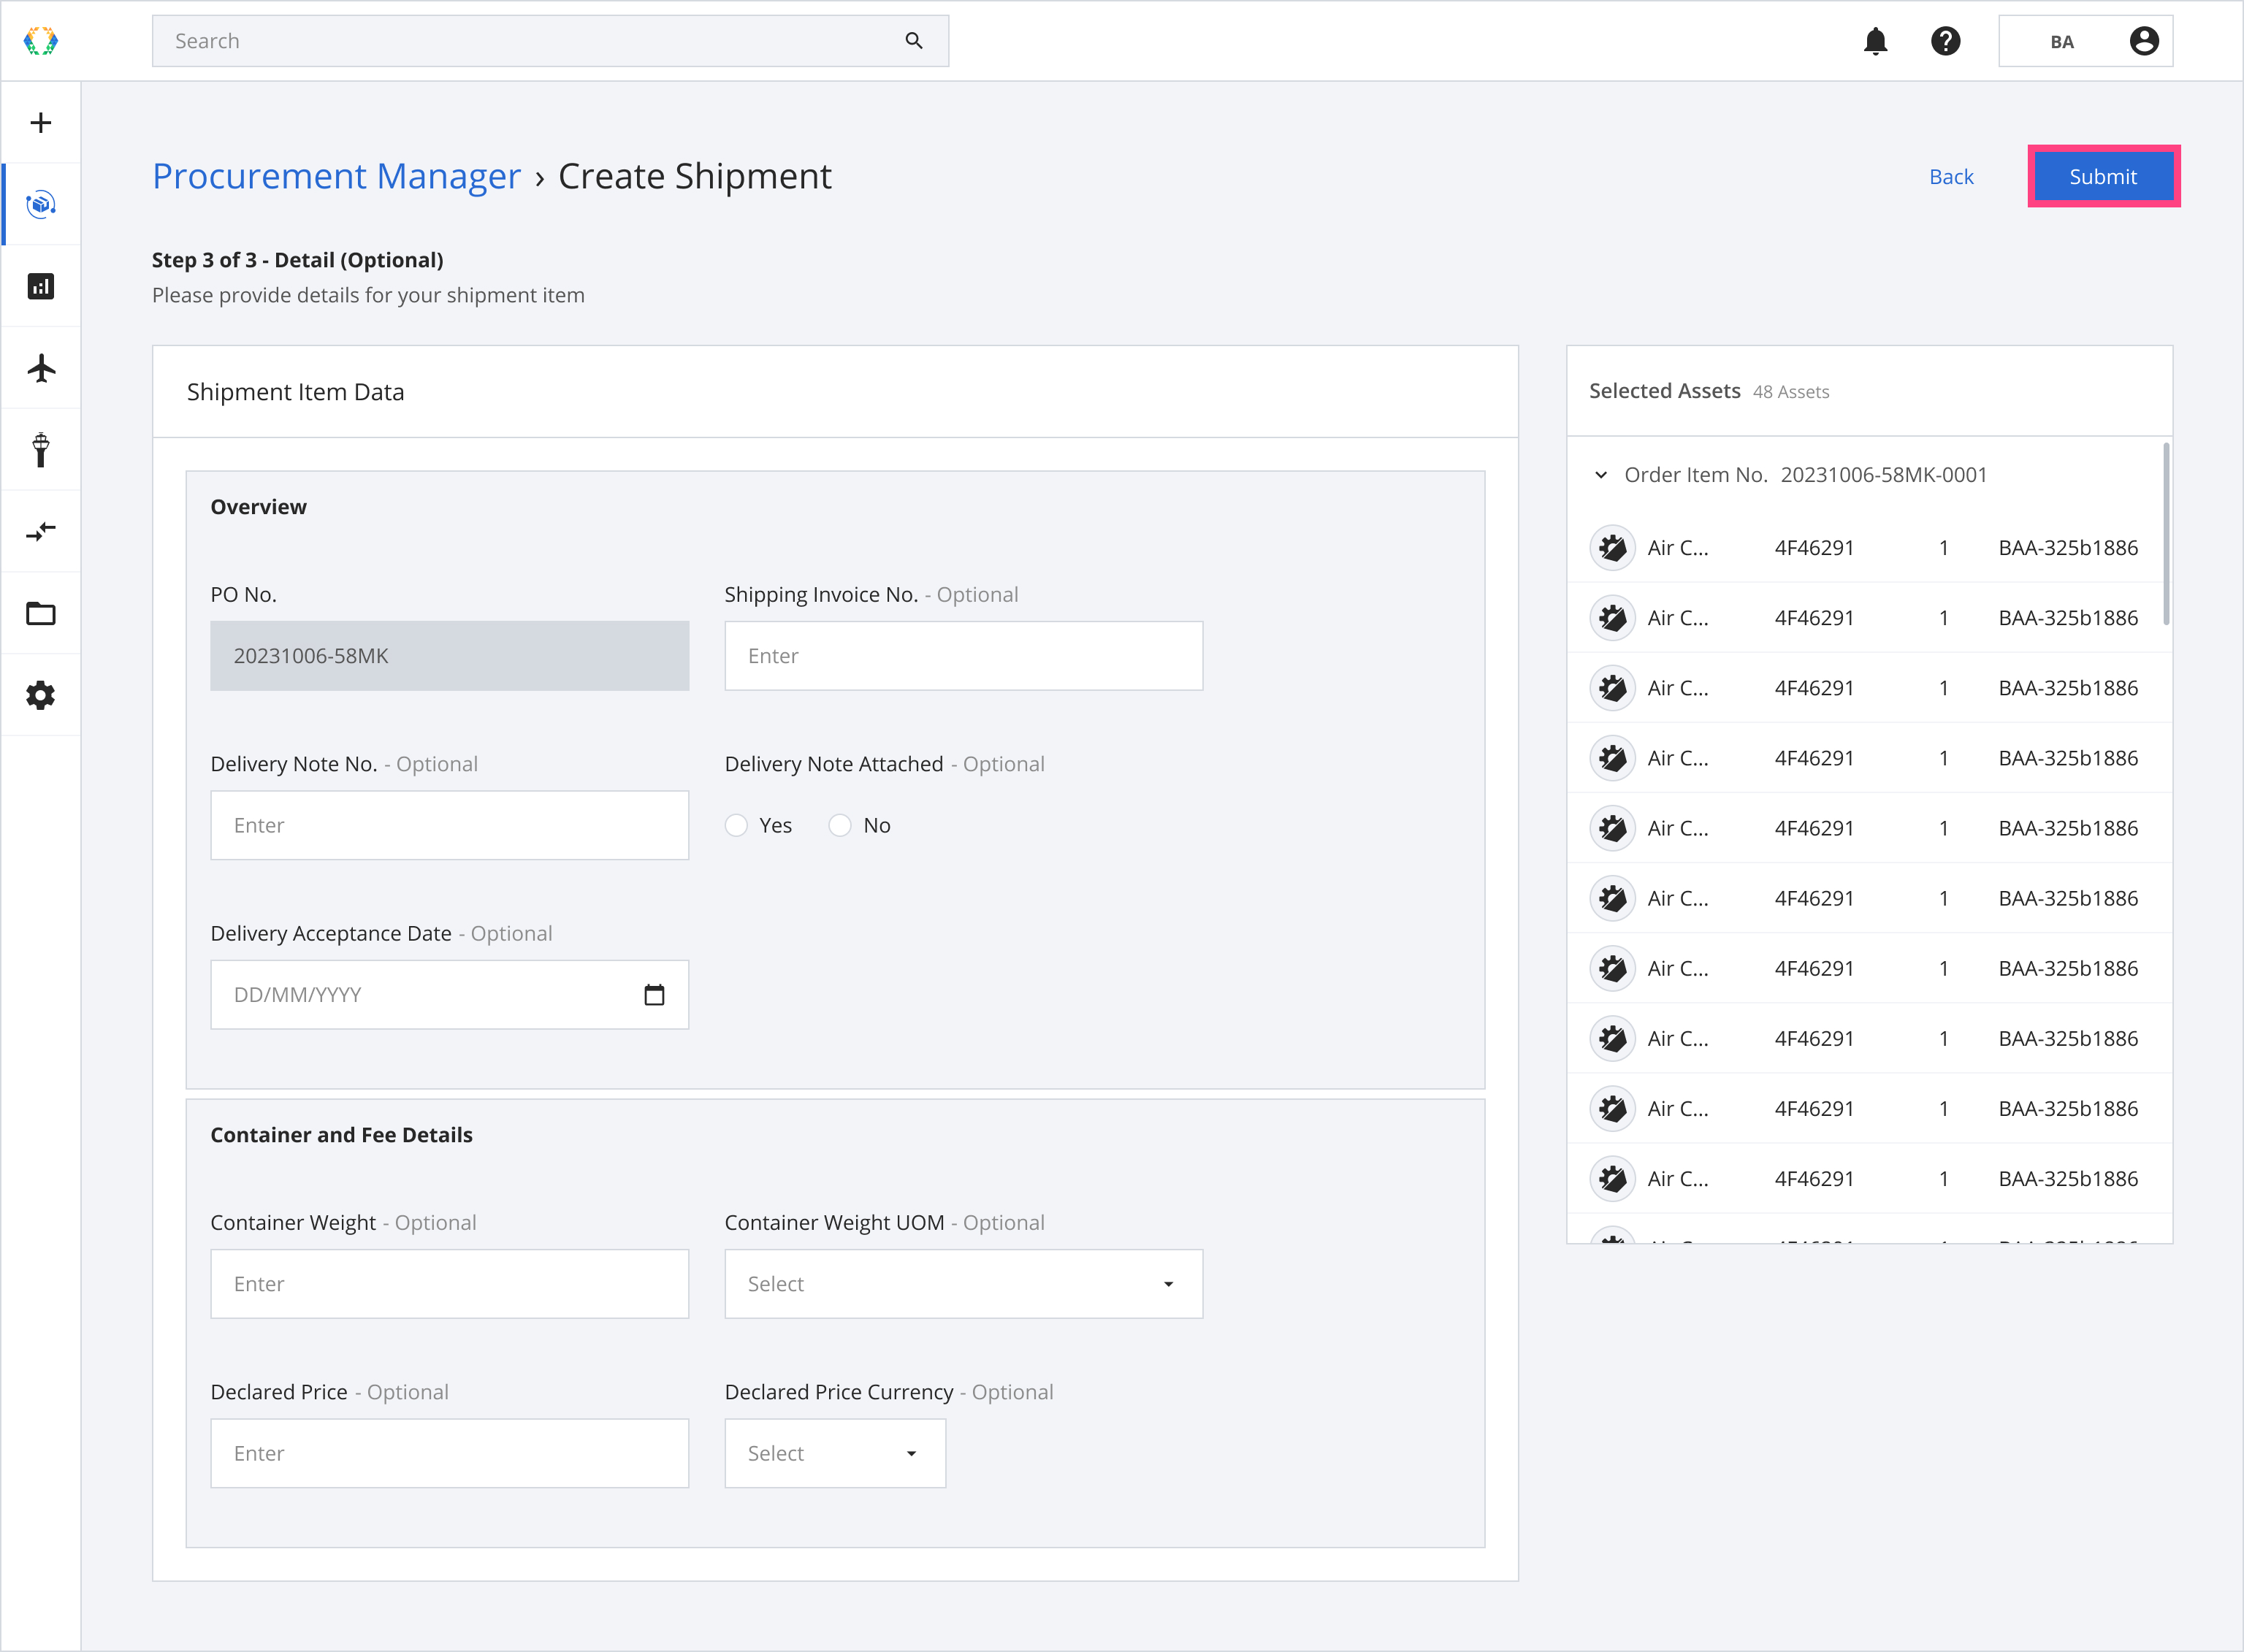
Step 8: Click 'Submit'.
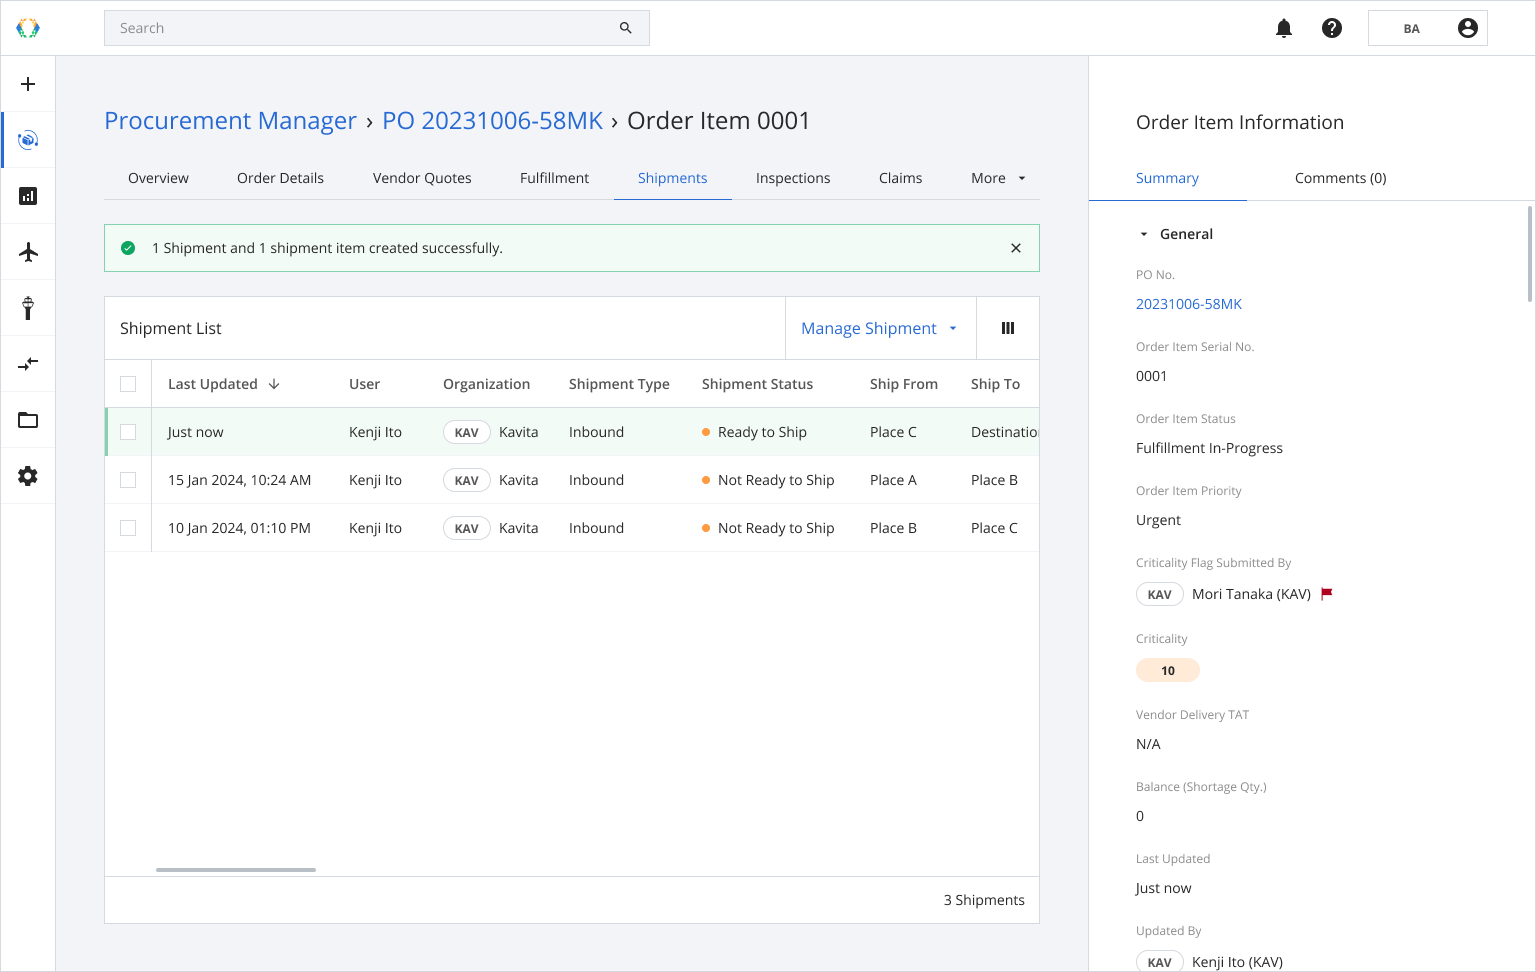
Once the shipment is created successfully, a green banner will appear at the top of the shipment list.
Updated 5 months ago