Create Claim (Single Operation)
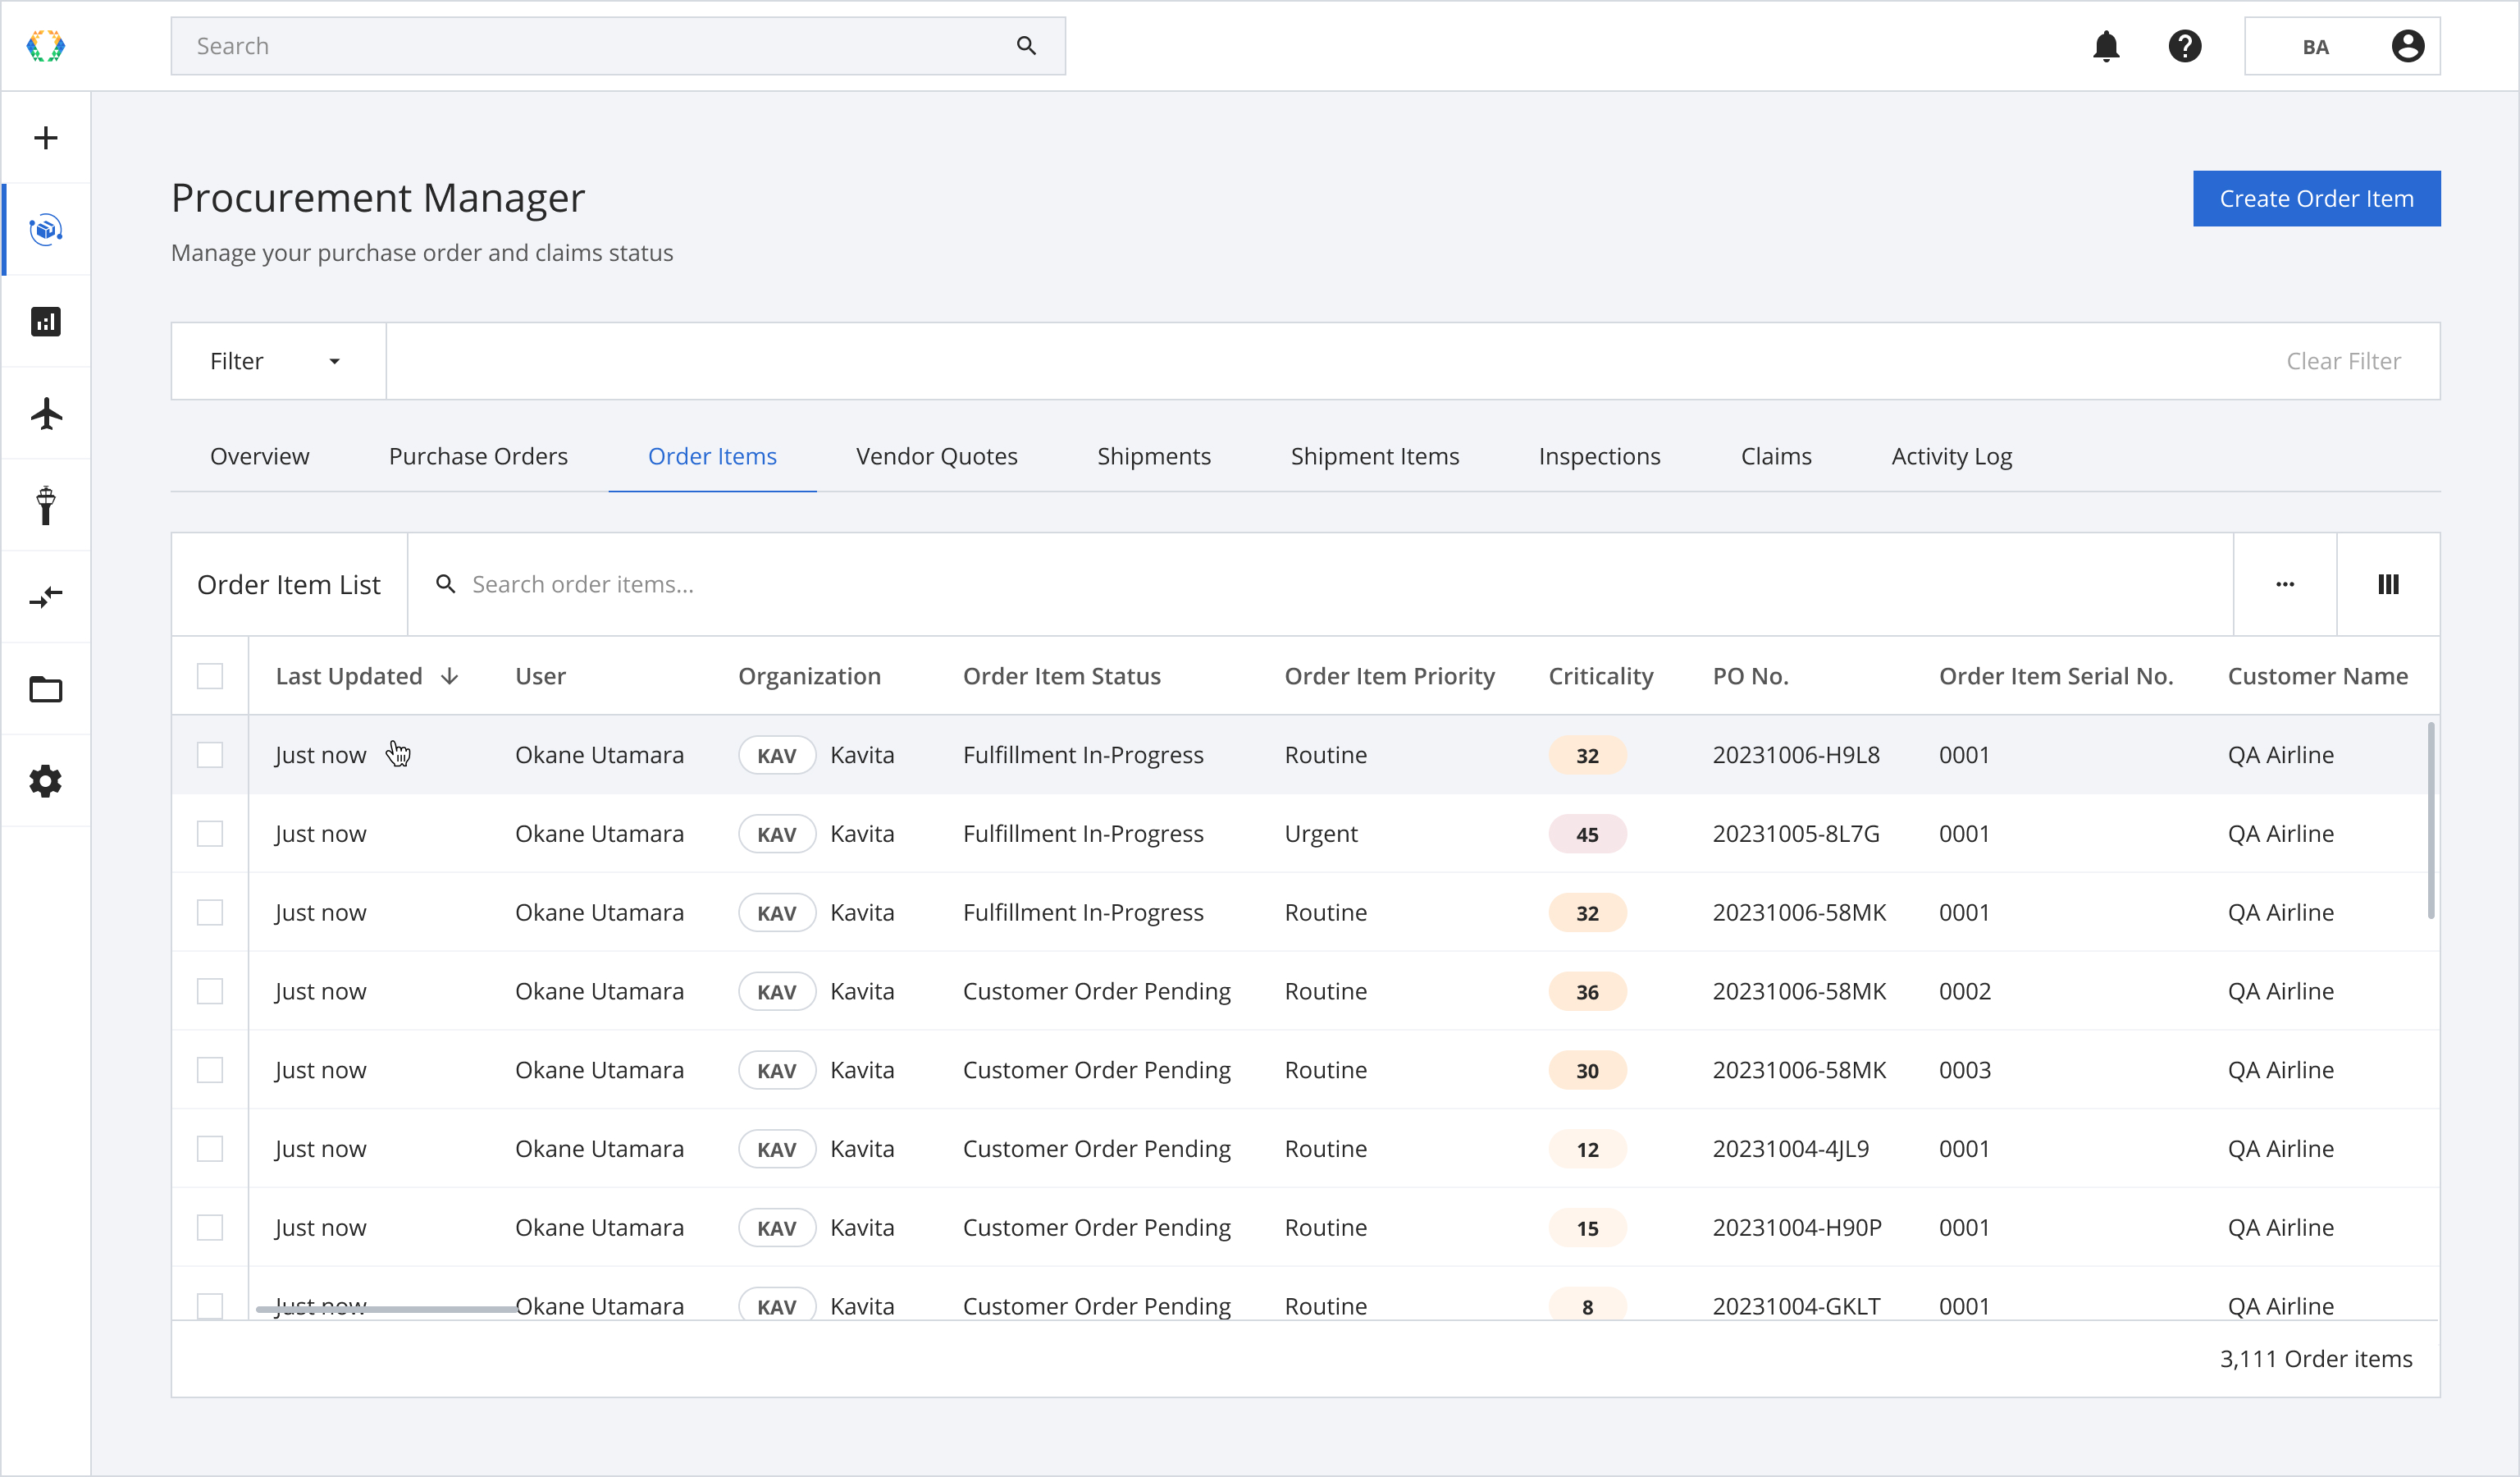
**Step 1:**From the order item list, open an order item for which you want to create a claim.
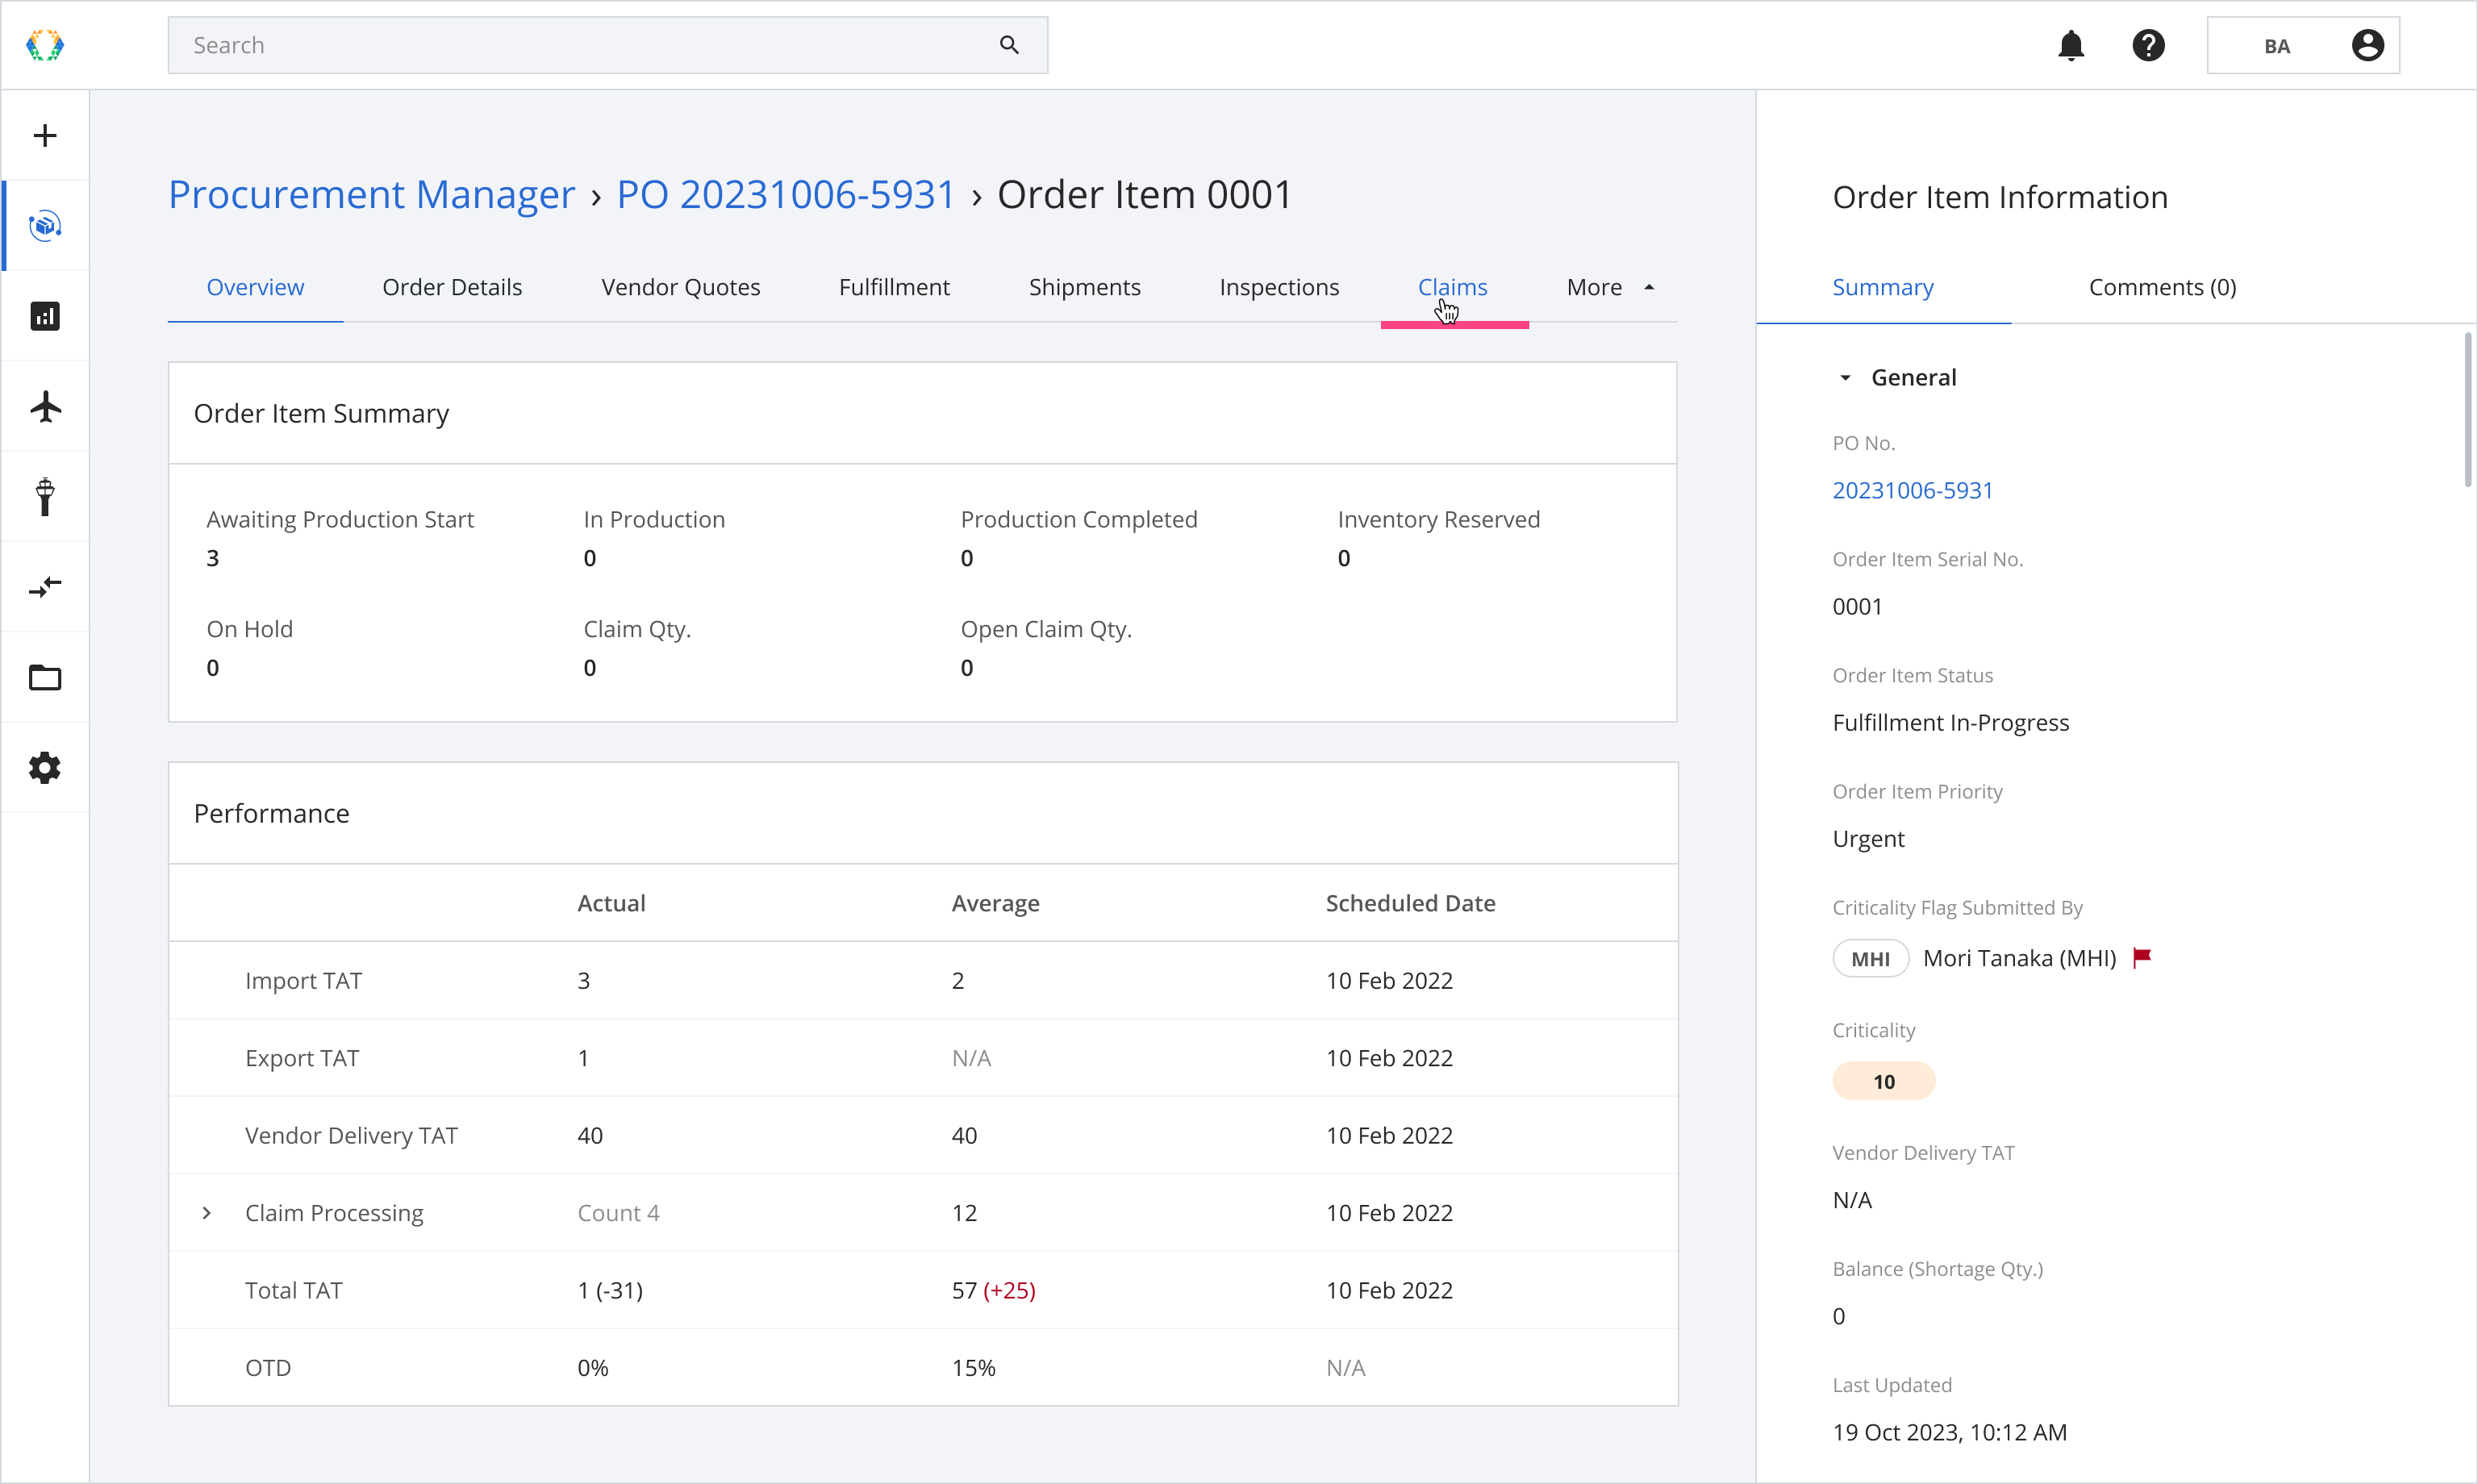
Step 2: Click on the ‘Claims’ tab.
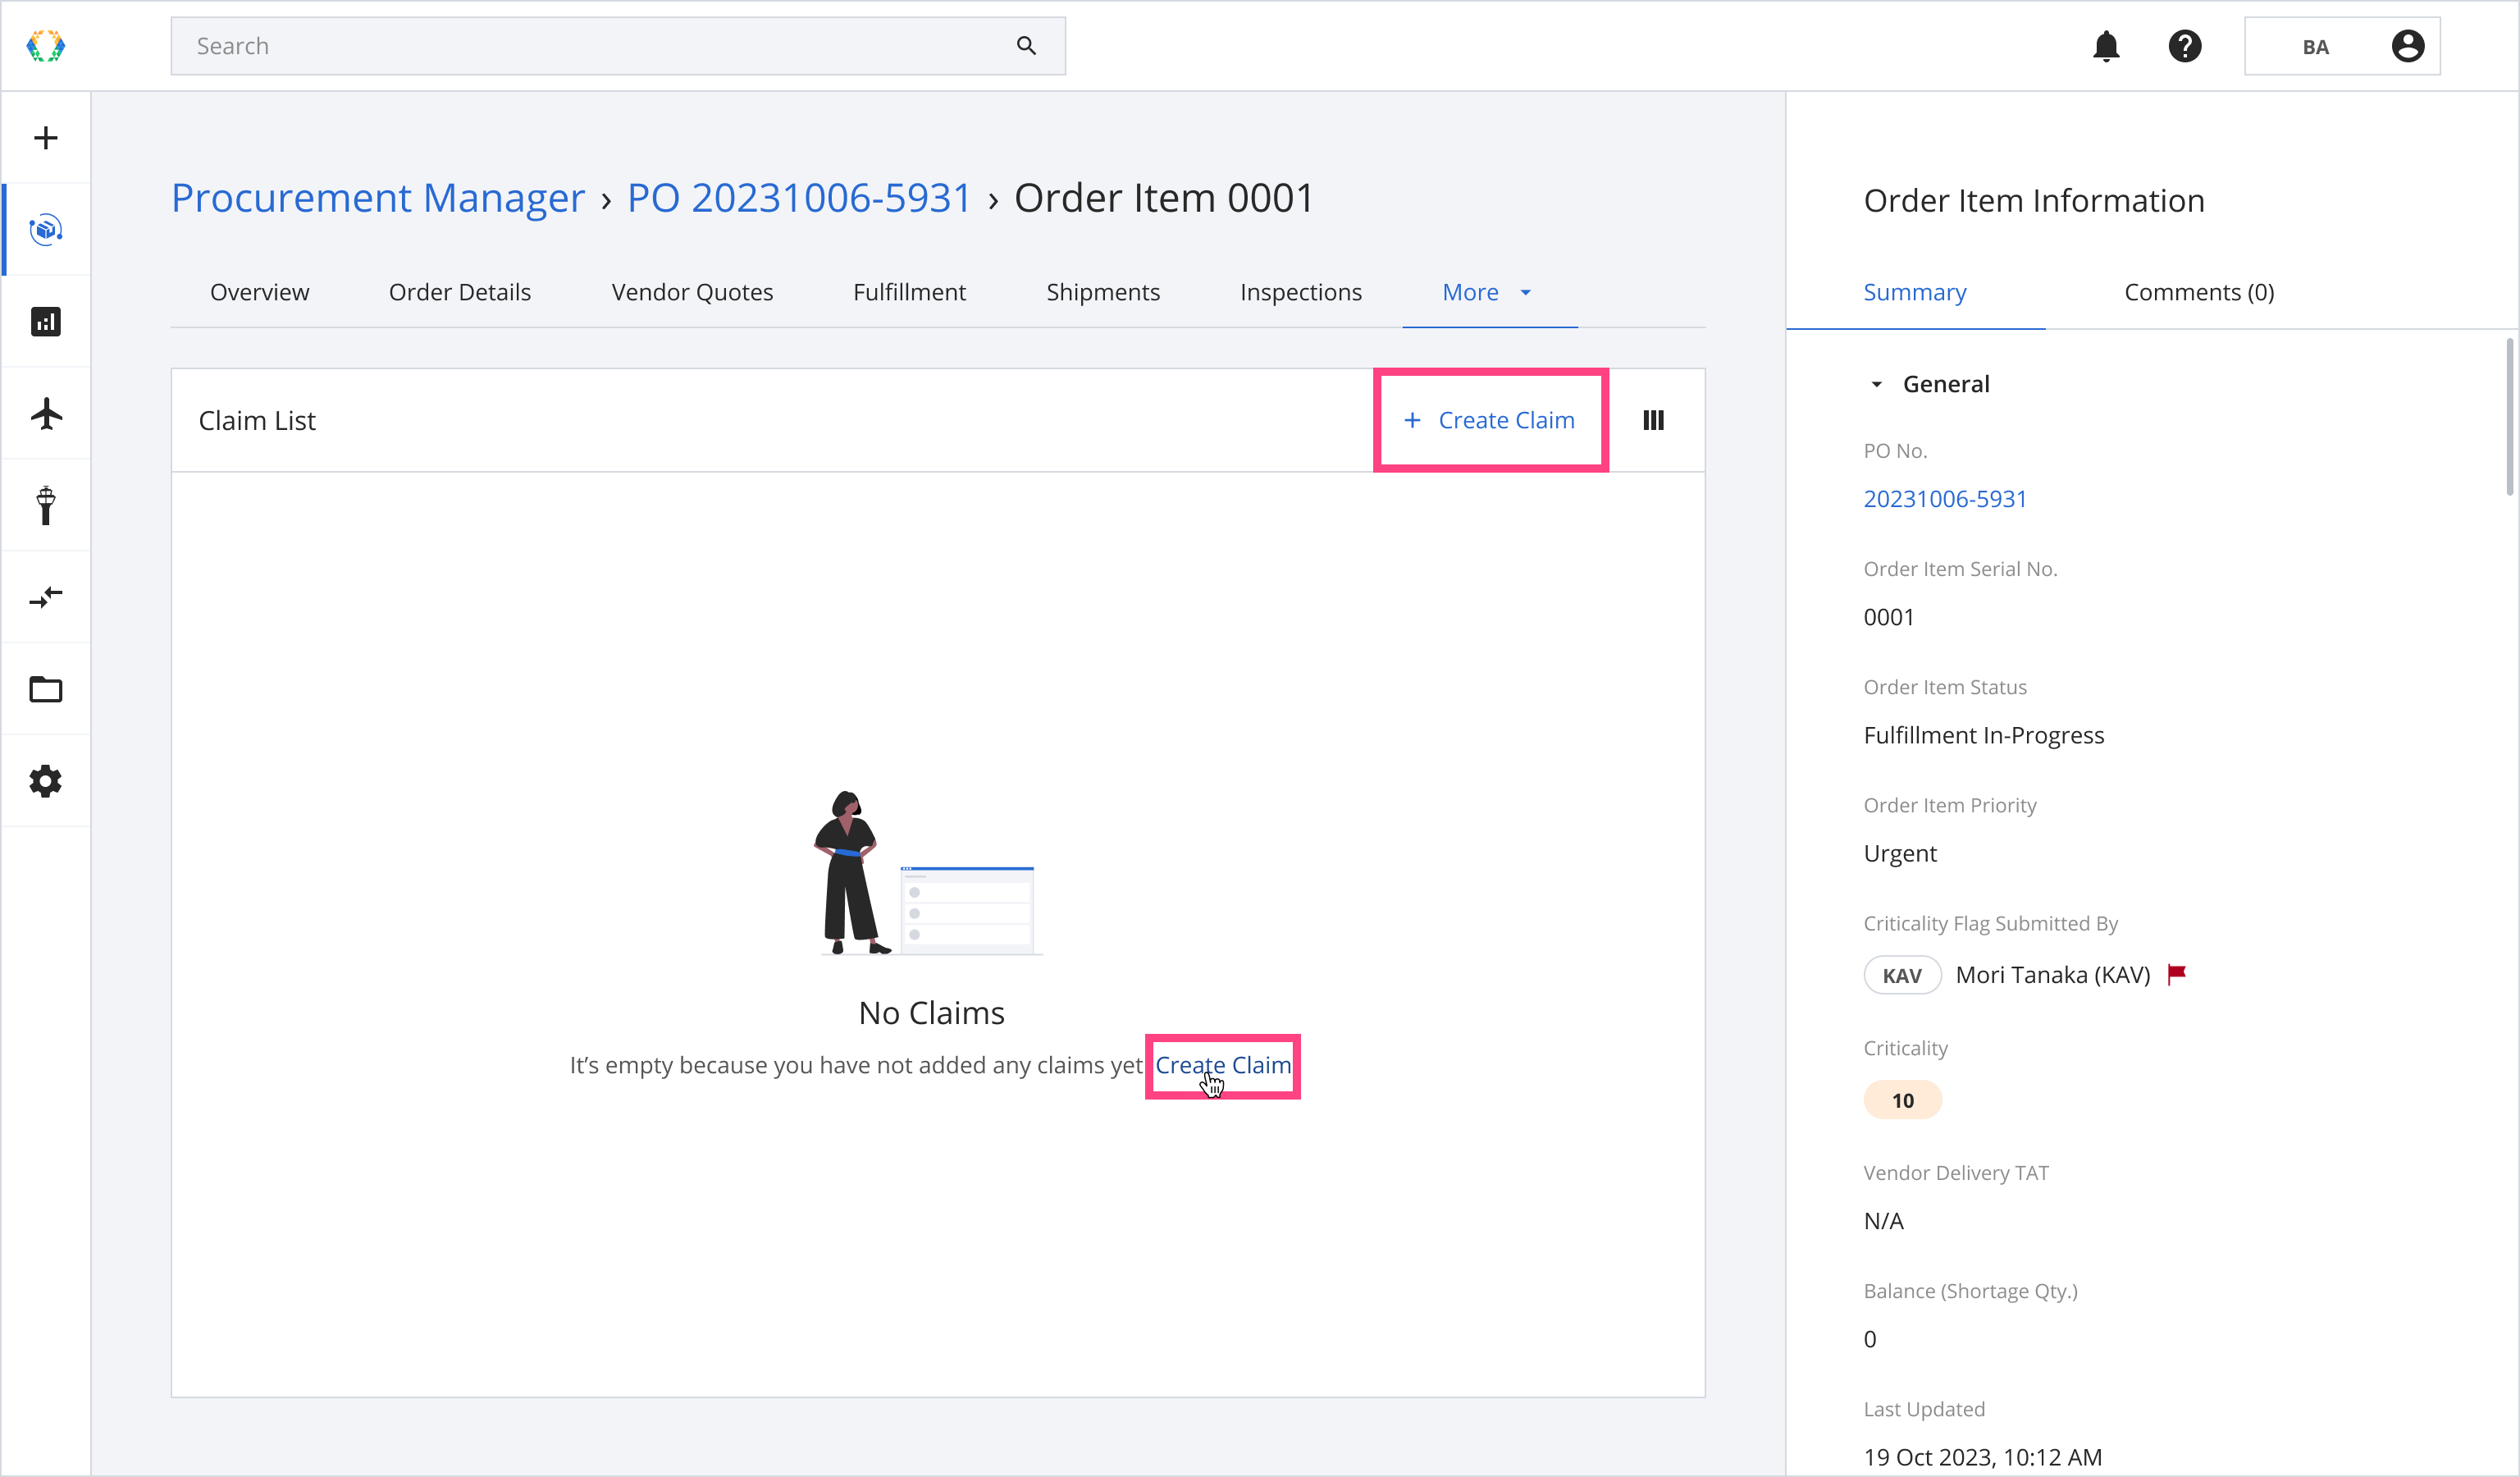
Step3: Click 'Create Claim'.
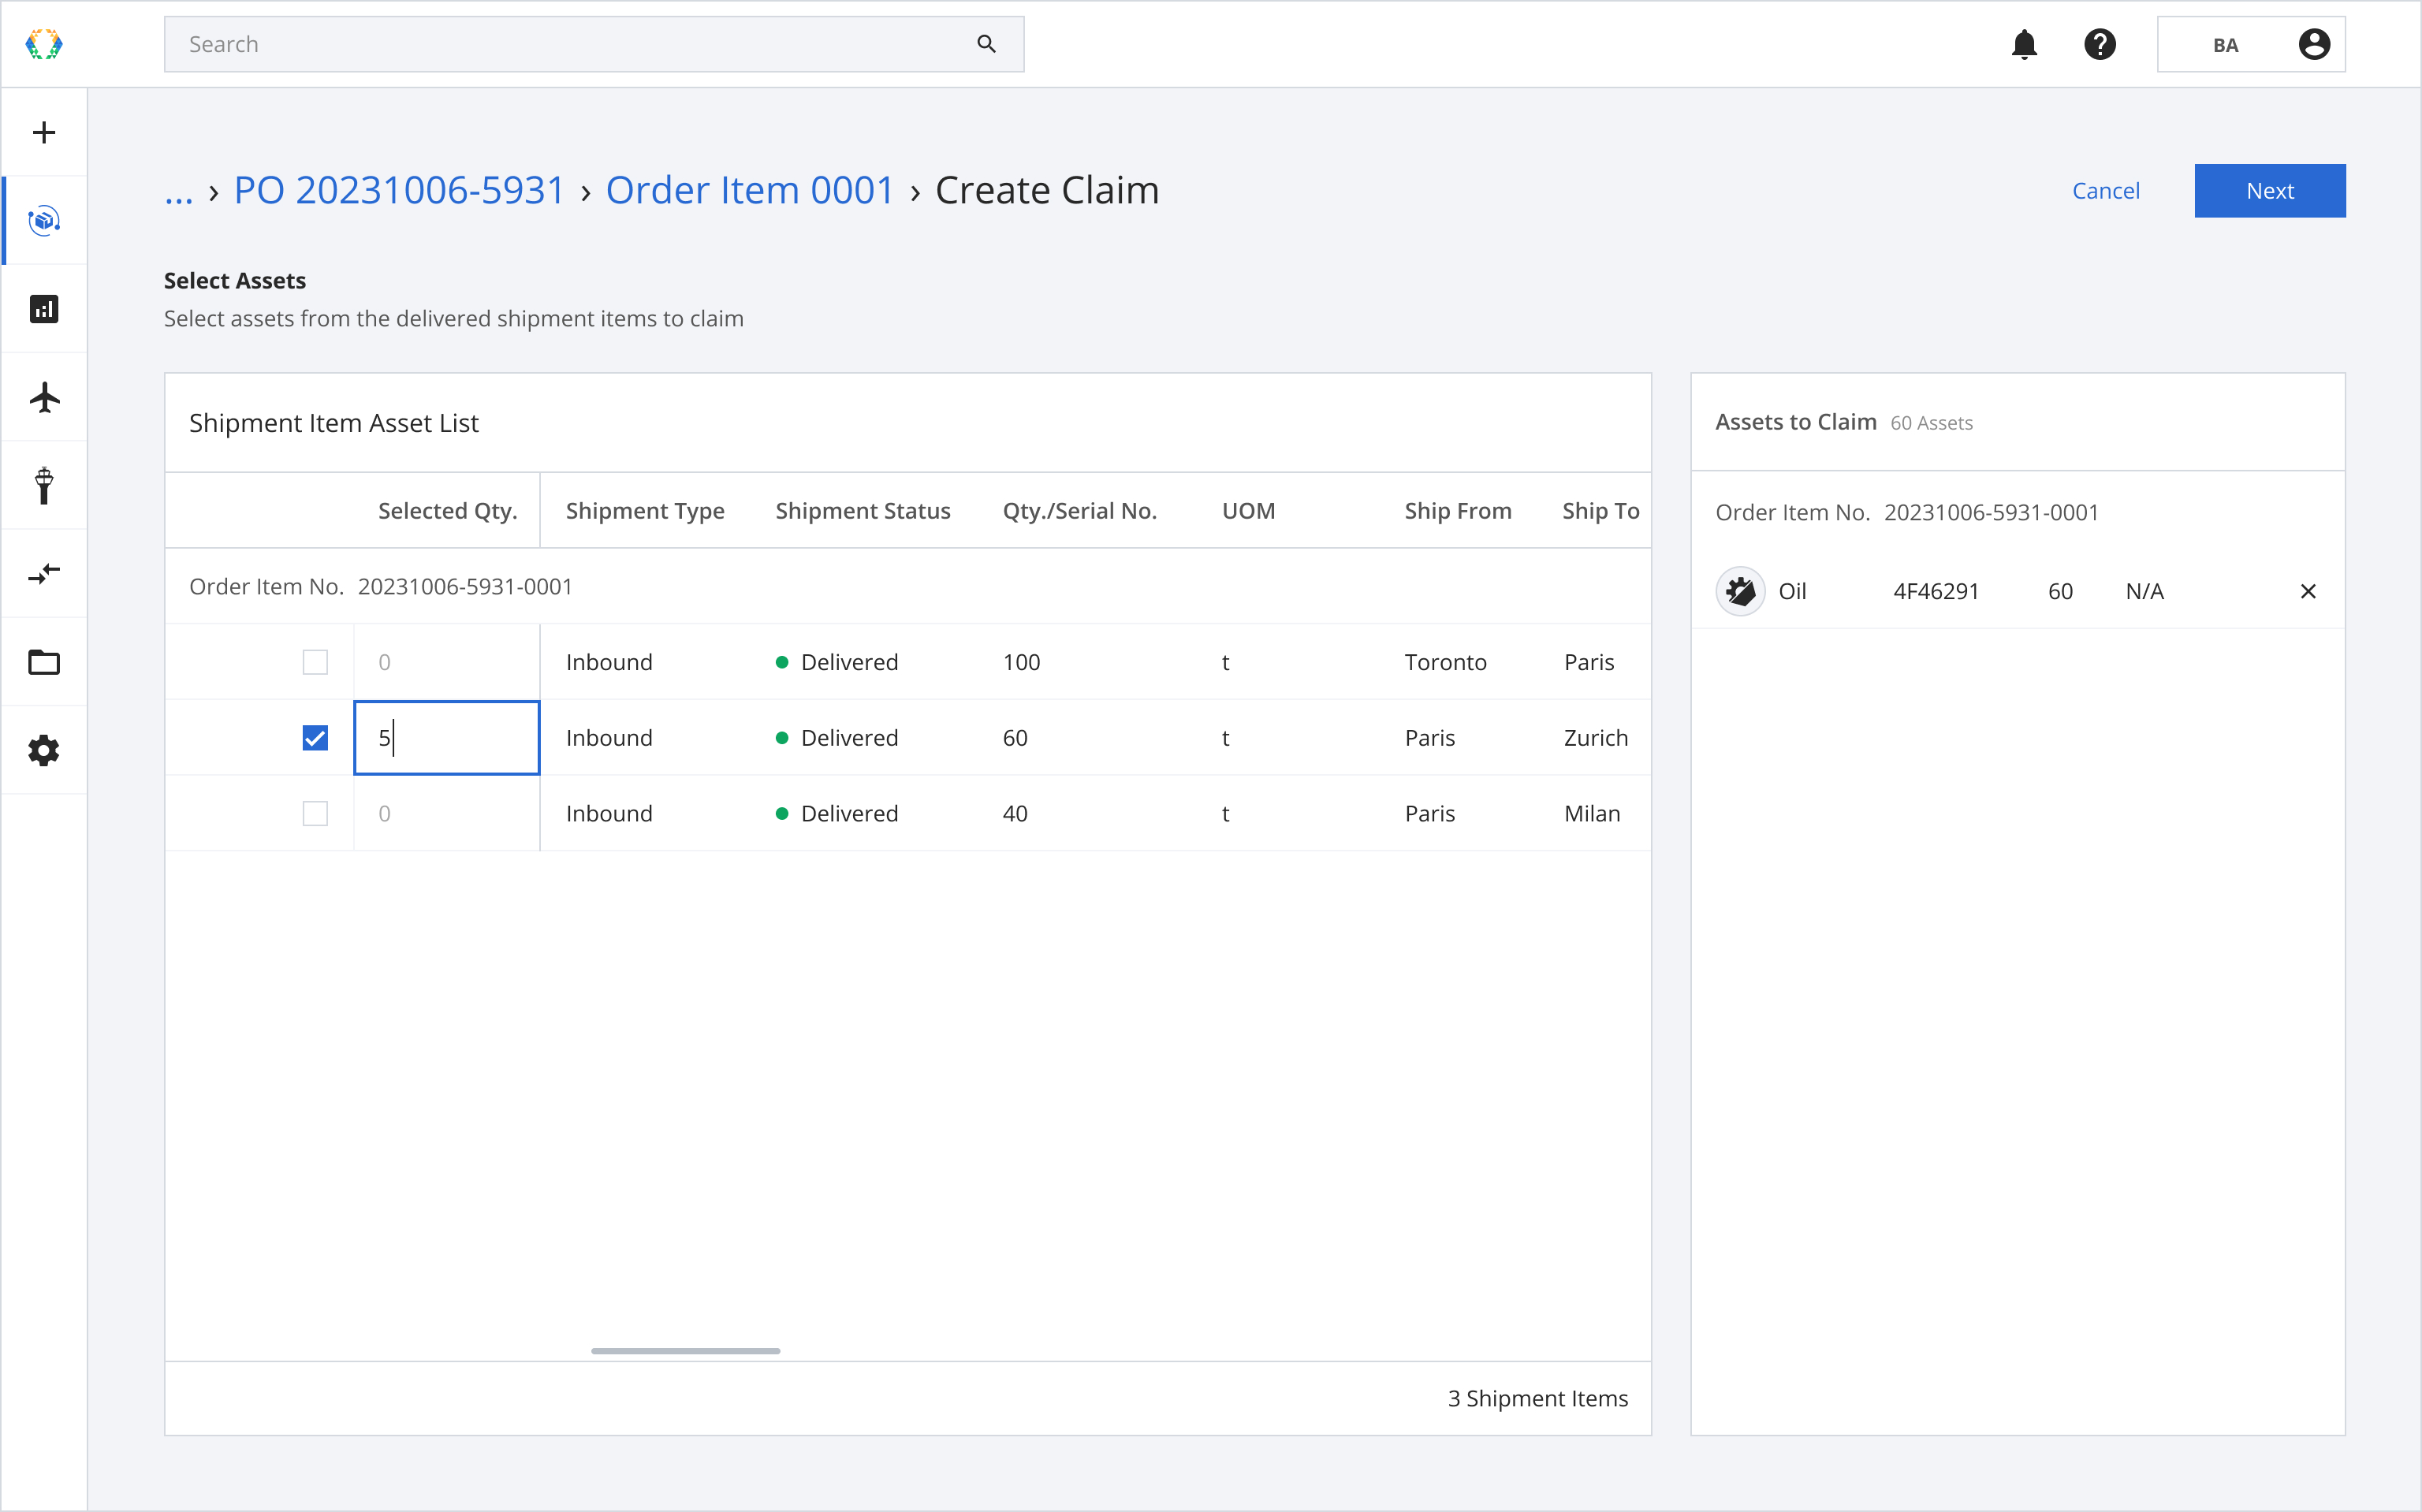
Step 4: Select assets from the Shipment Item Asset List.
This table contains all the delivered shipment items related to the order item for which you're creating a claim. You can find references to both the assets and the shipment items they belong to.
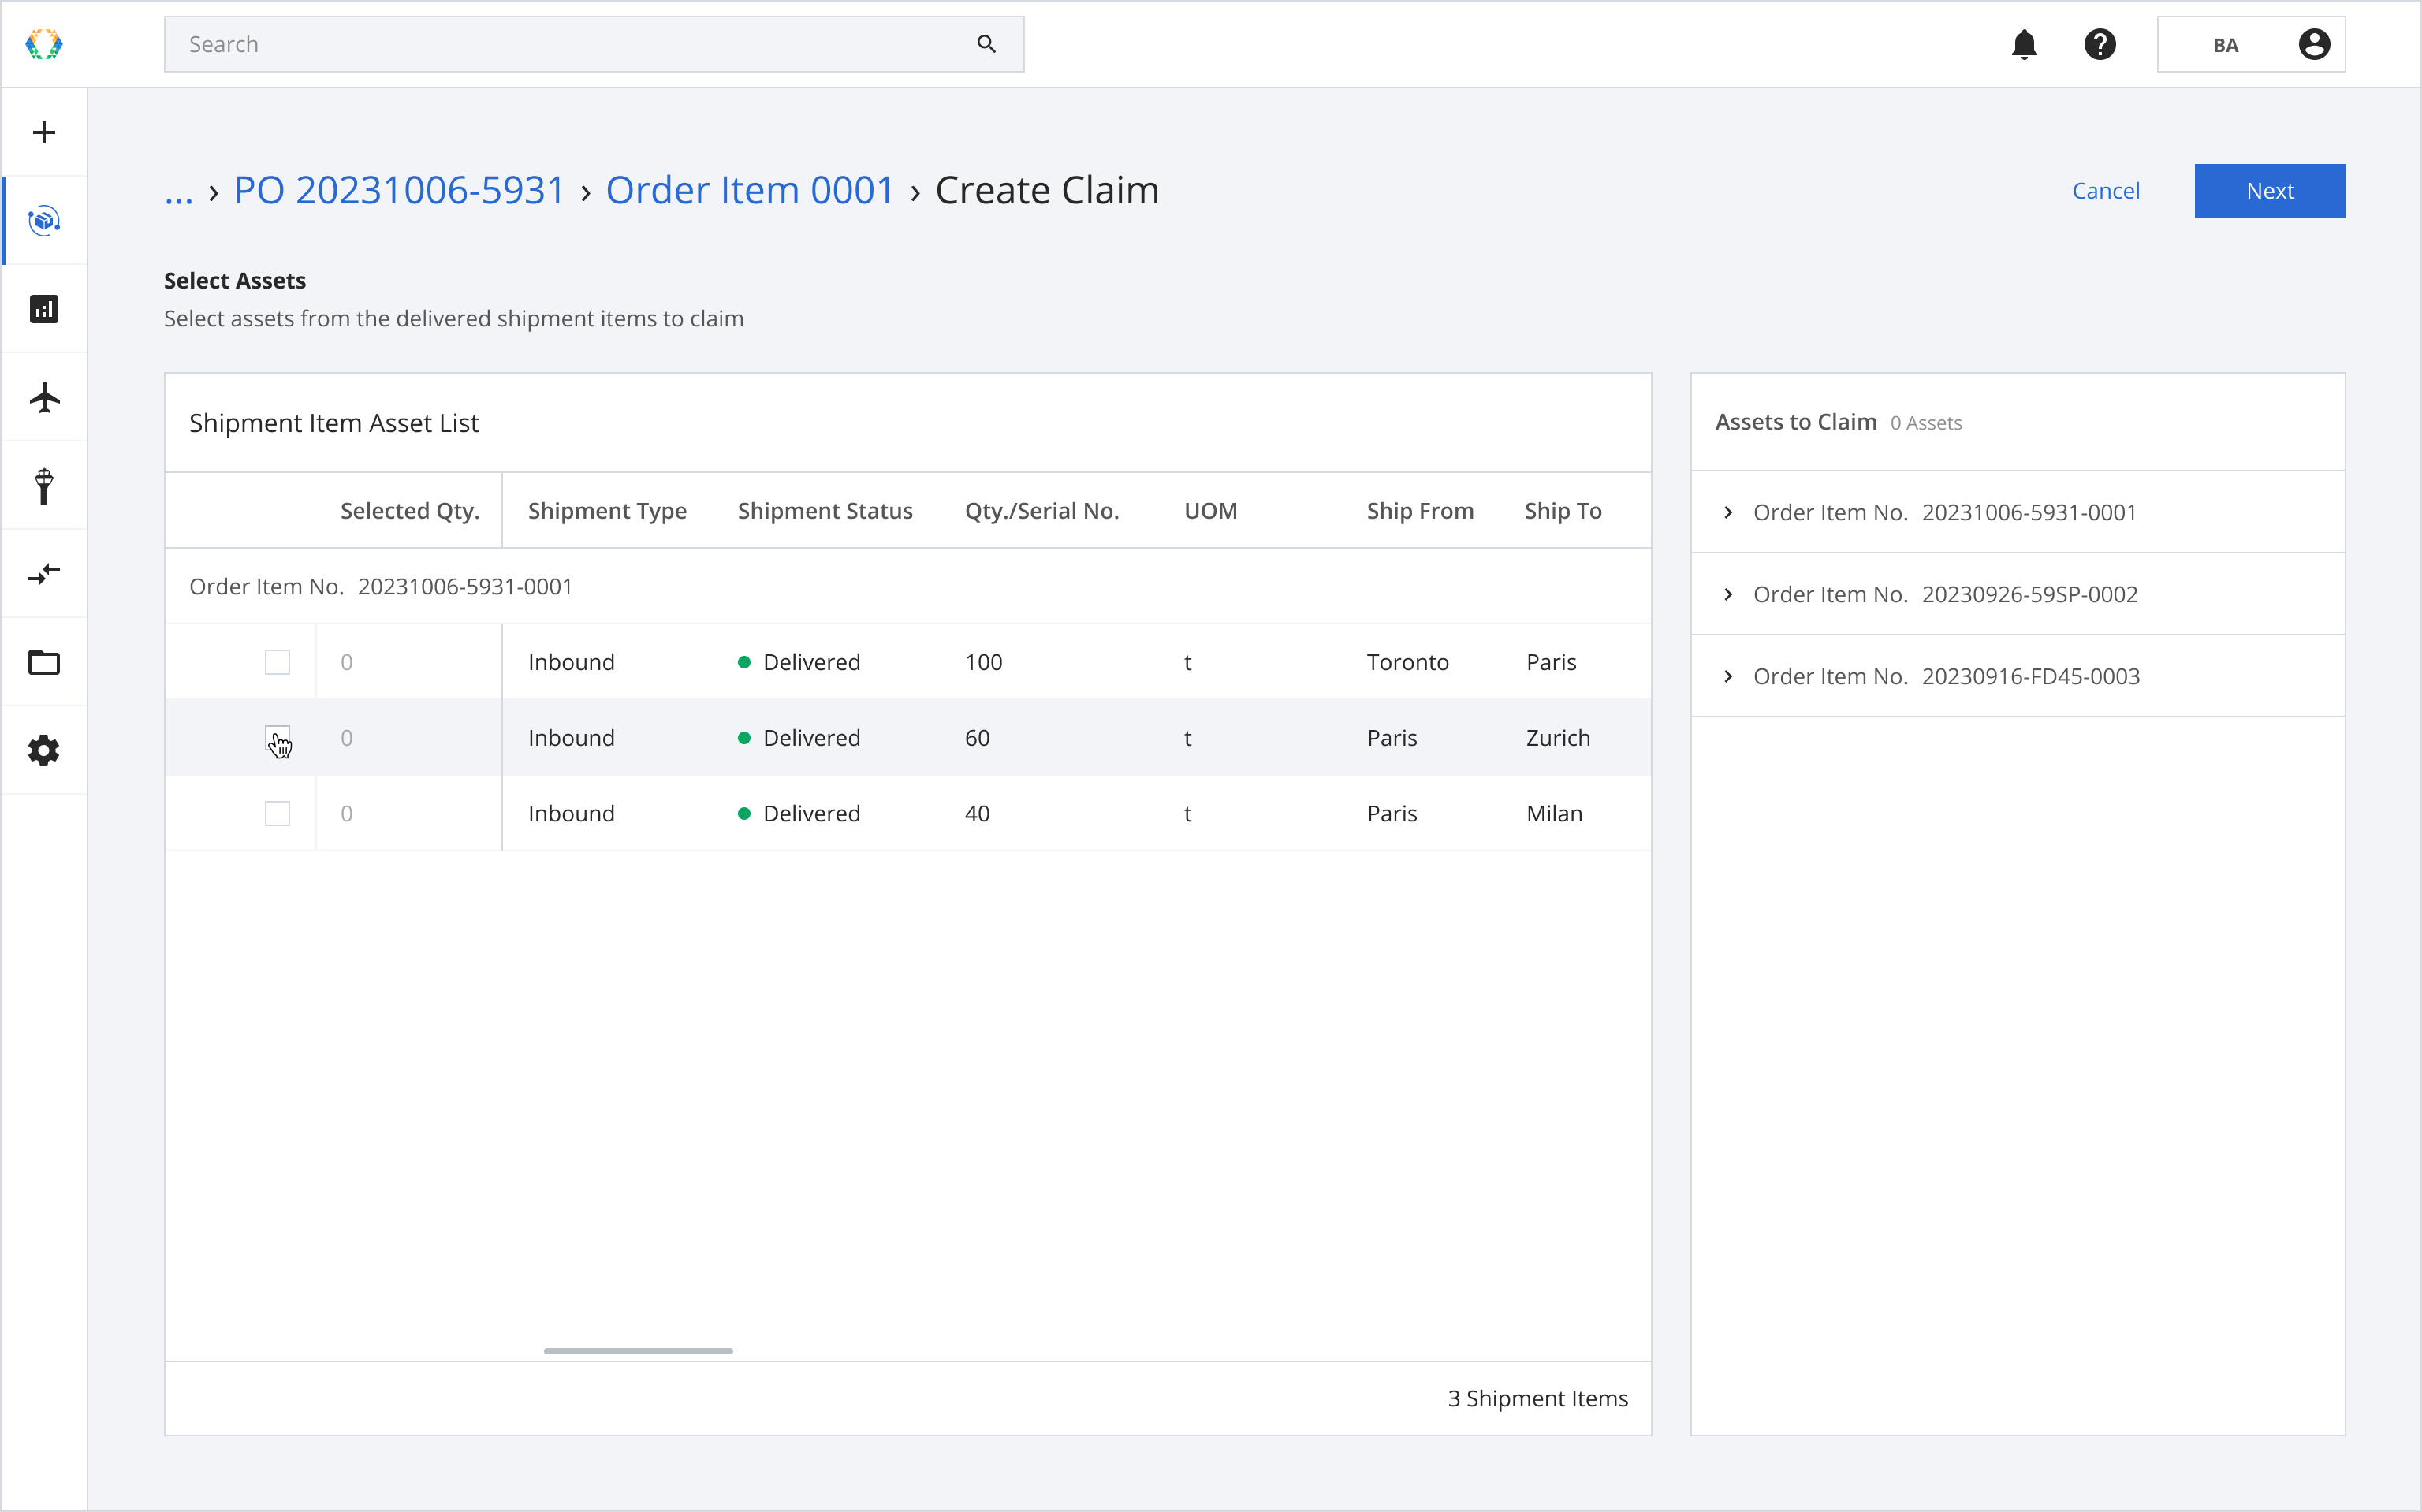
Table Layout:
A. Order Item No.
B. Delivered shipment items related to the order item and its assets.
C. Assets selected for the claim.

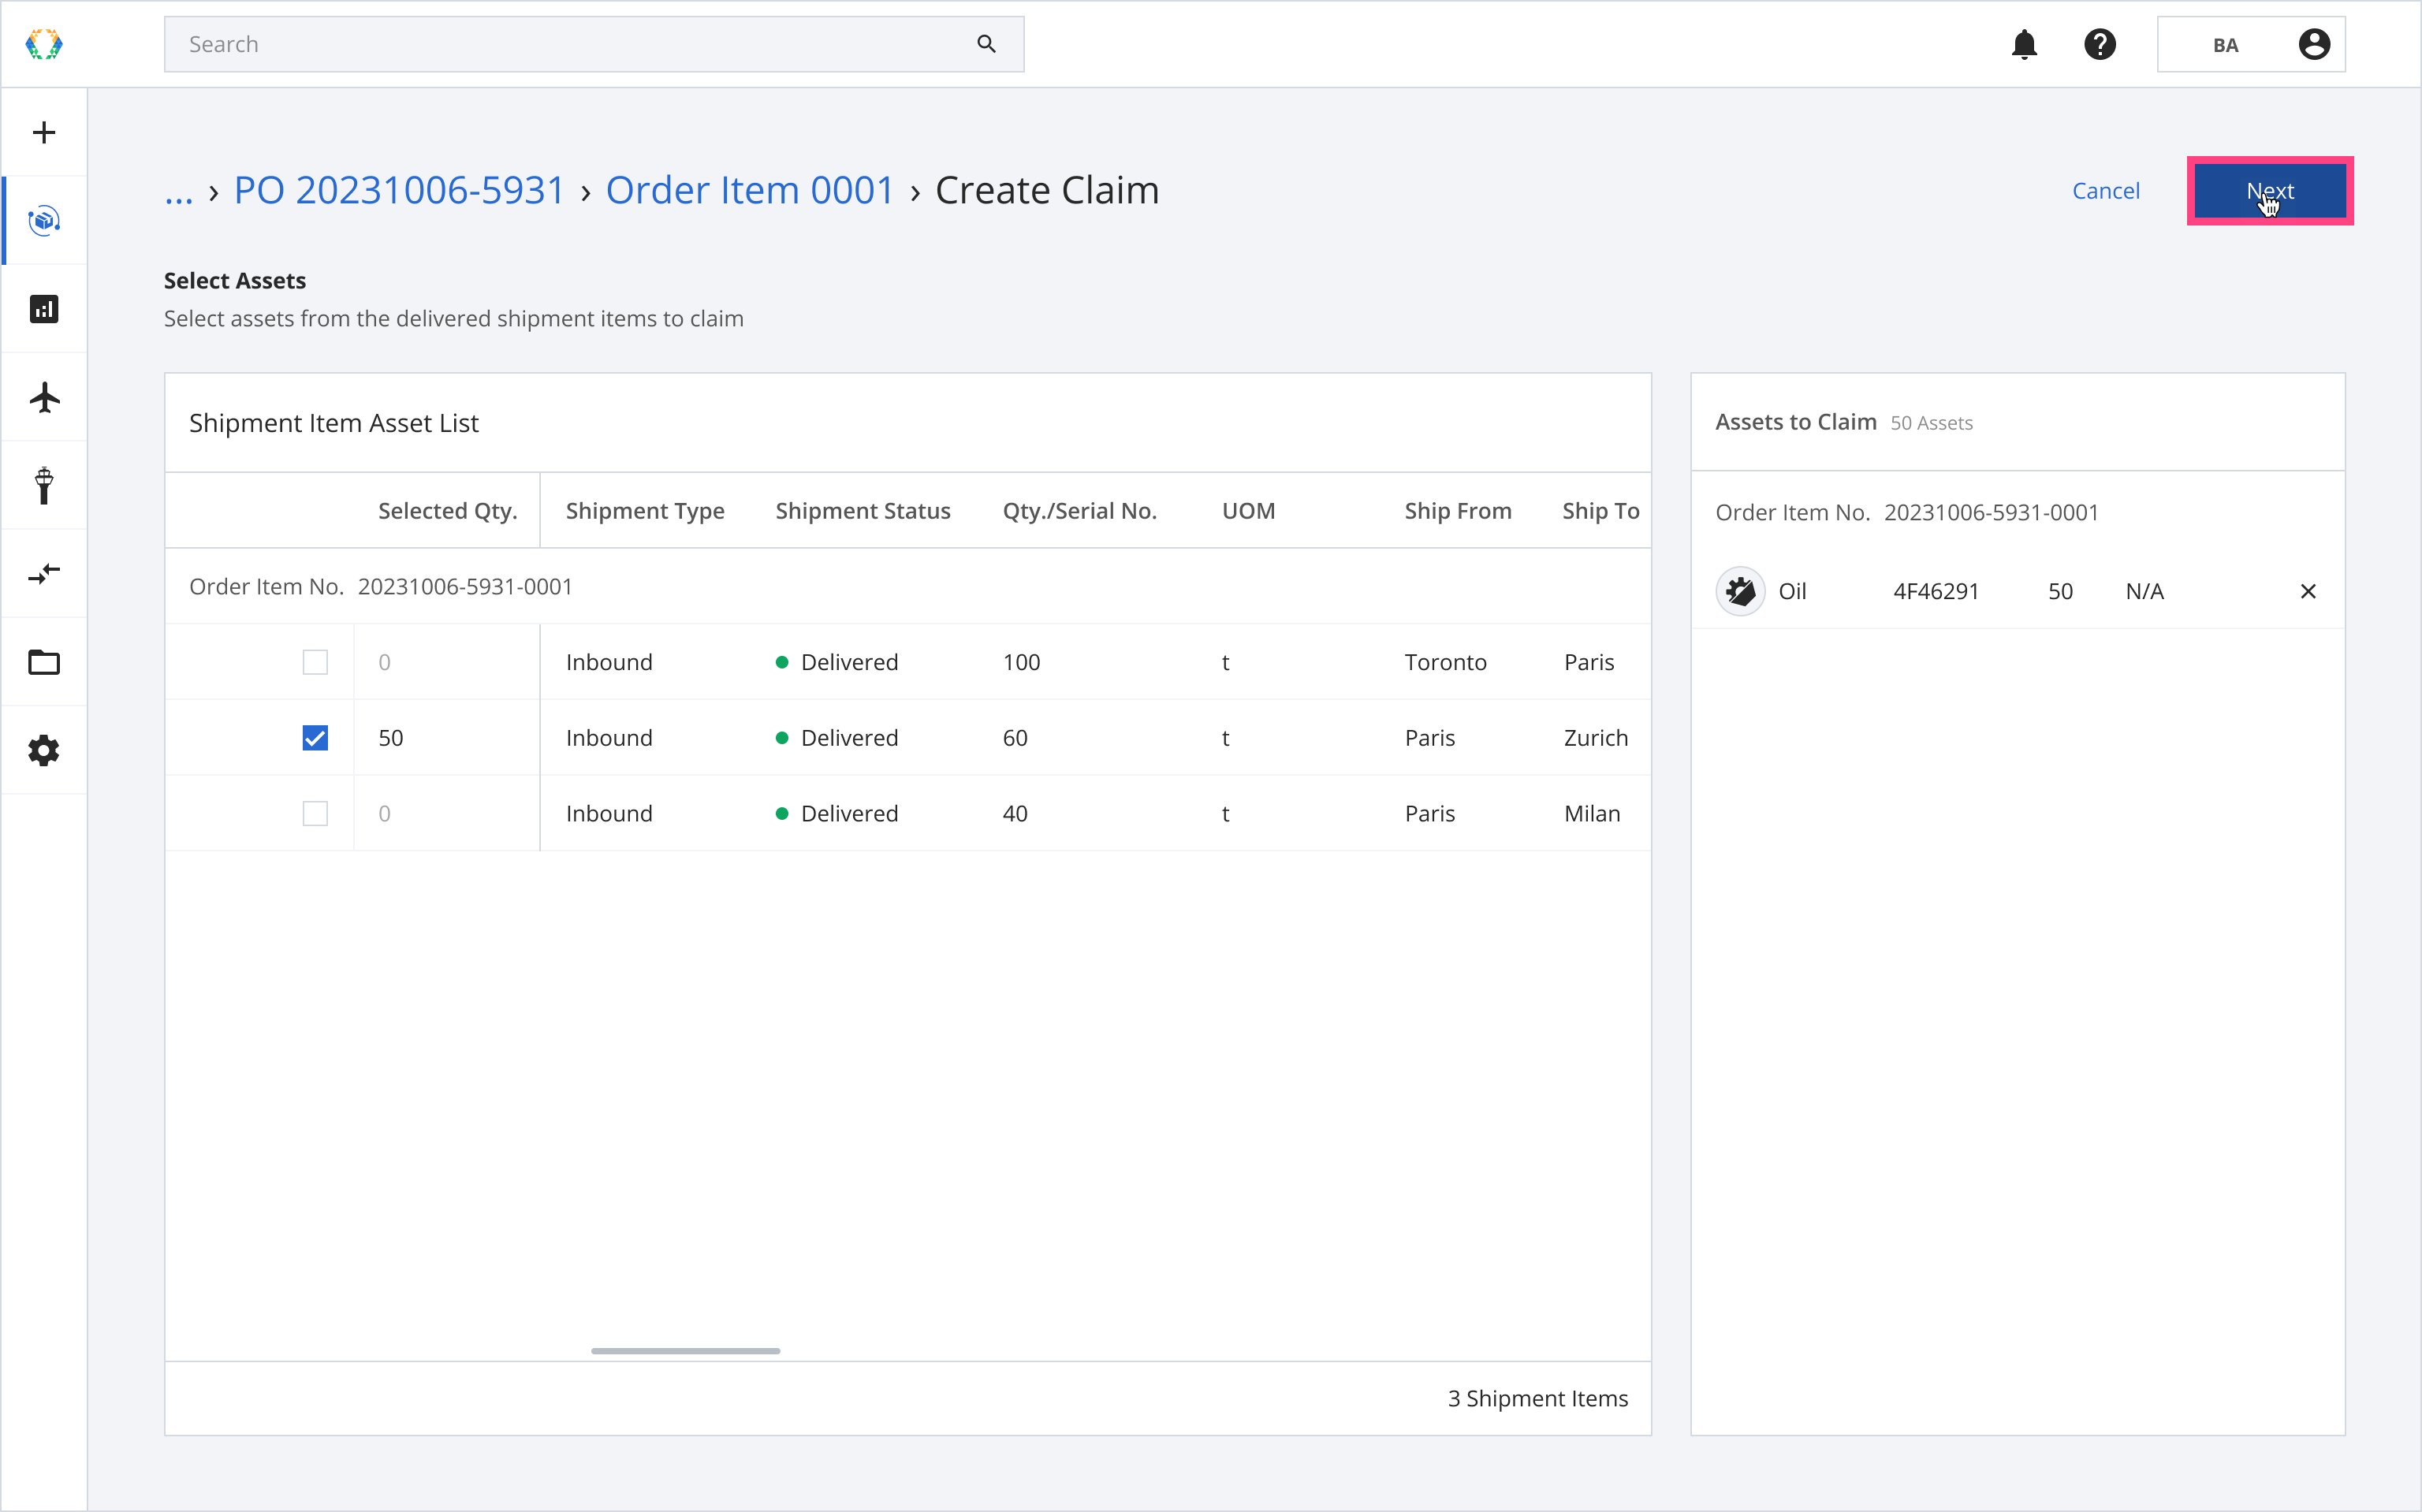
You can select assets from only one Shipment Item. Additionally, you can modify the quantity of selected assets by changing the number in the 'Selected Qty.' column.
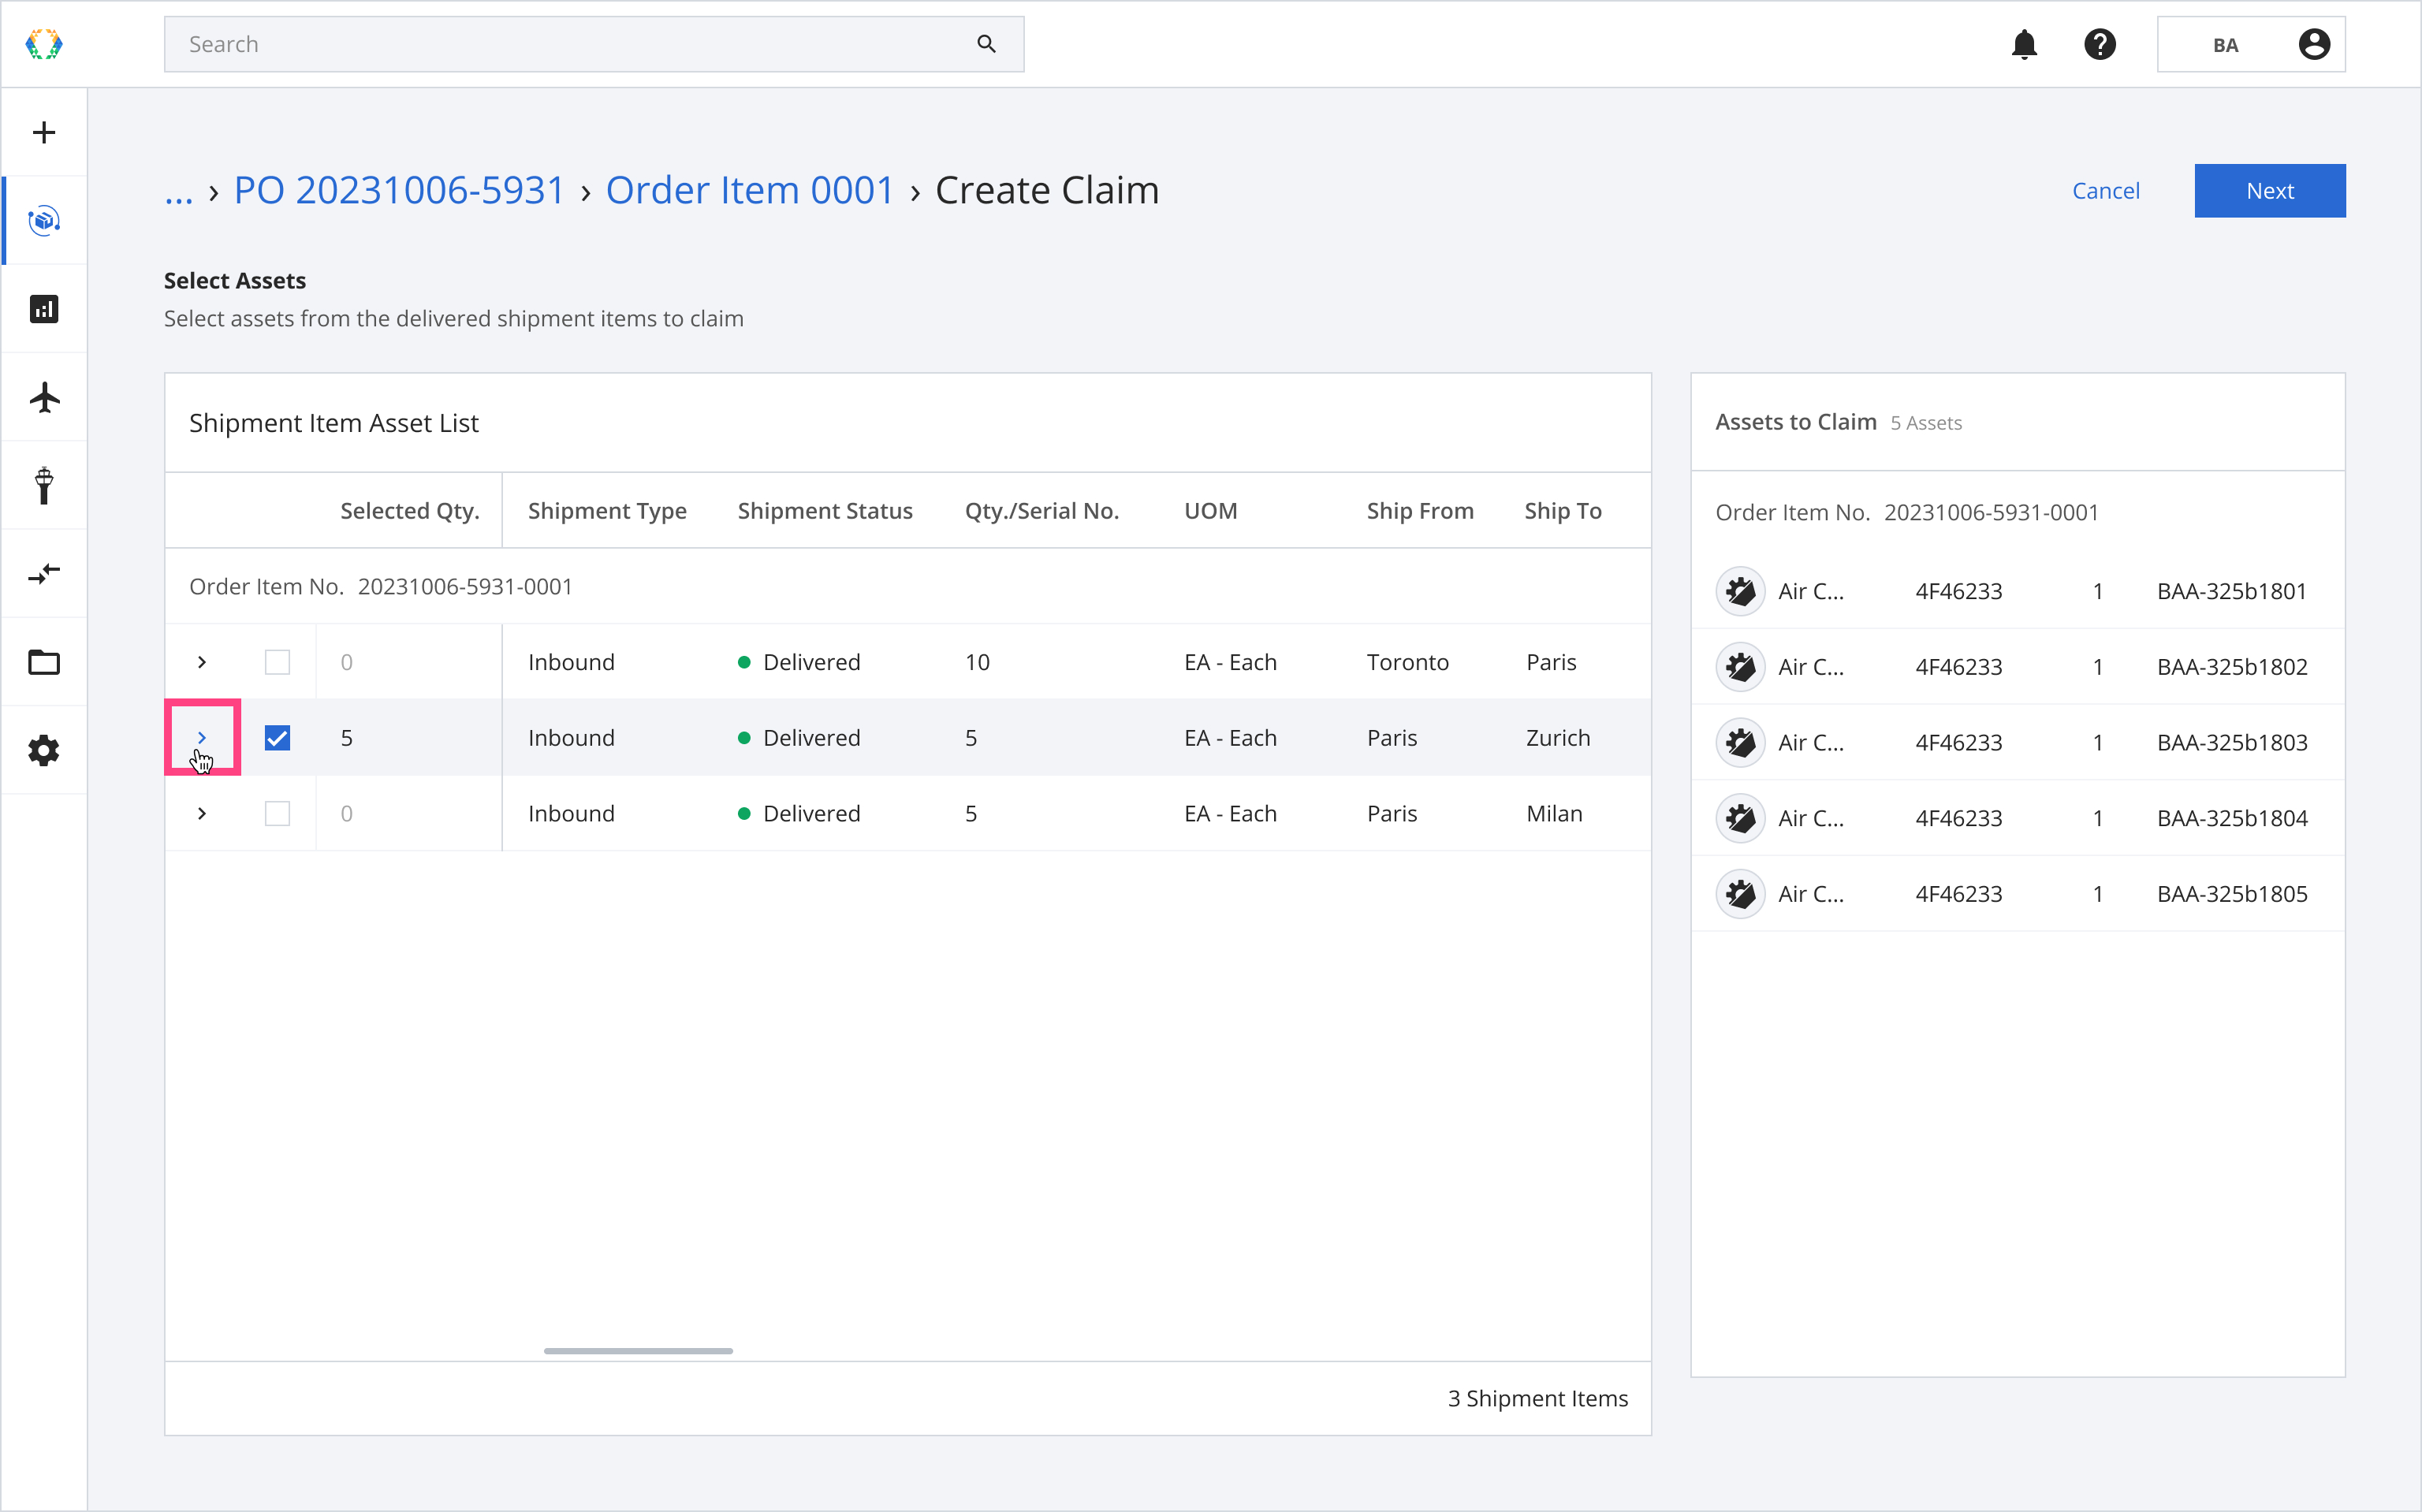
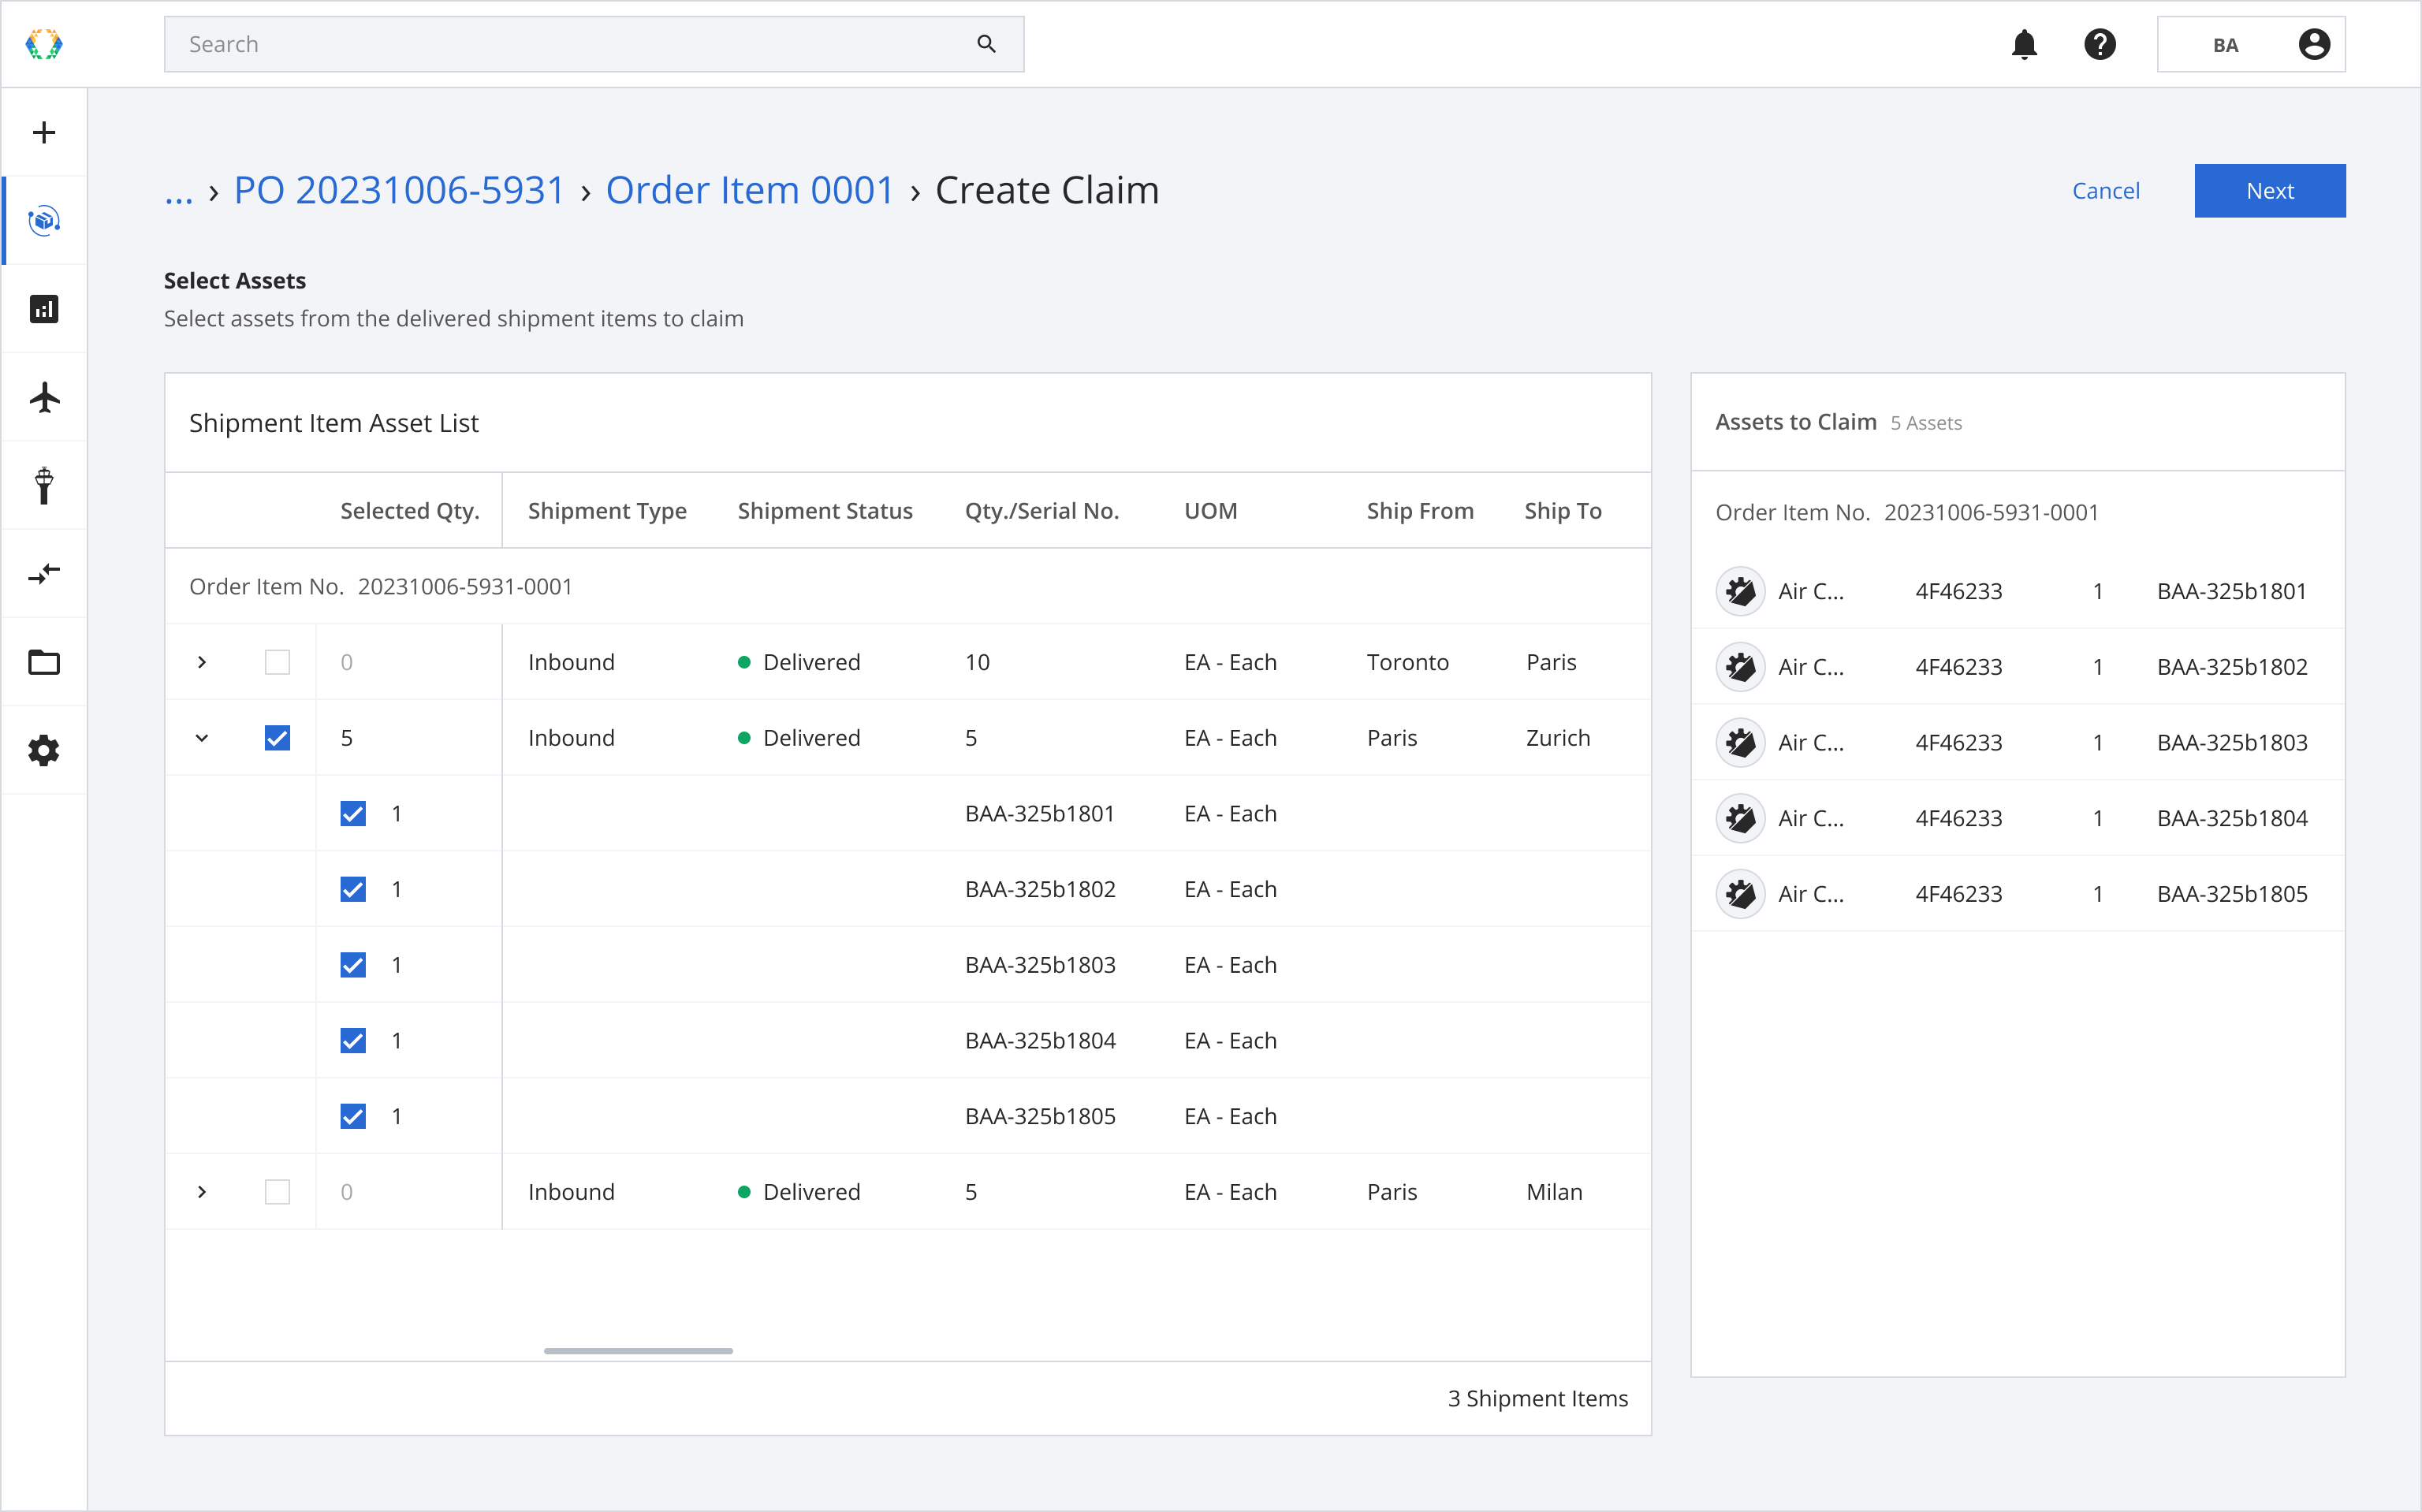
For serialized assets: There is a dropdown that allows you to expand the row and select and view the assets by their serial numbers.
Step 5: Click 'Next'.
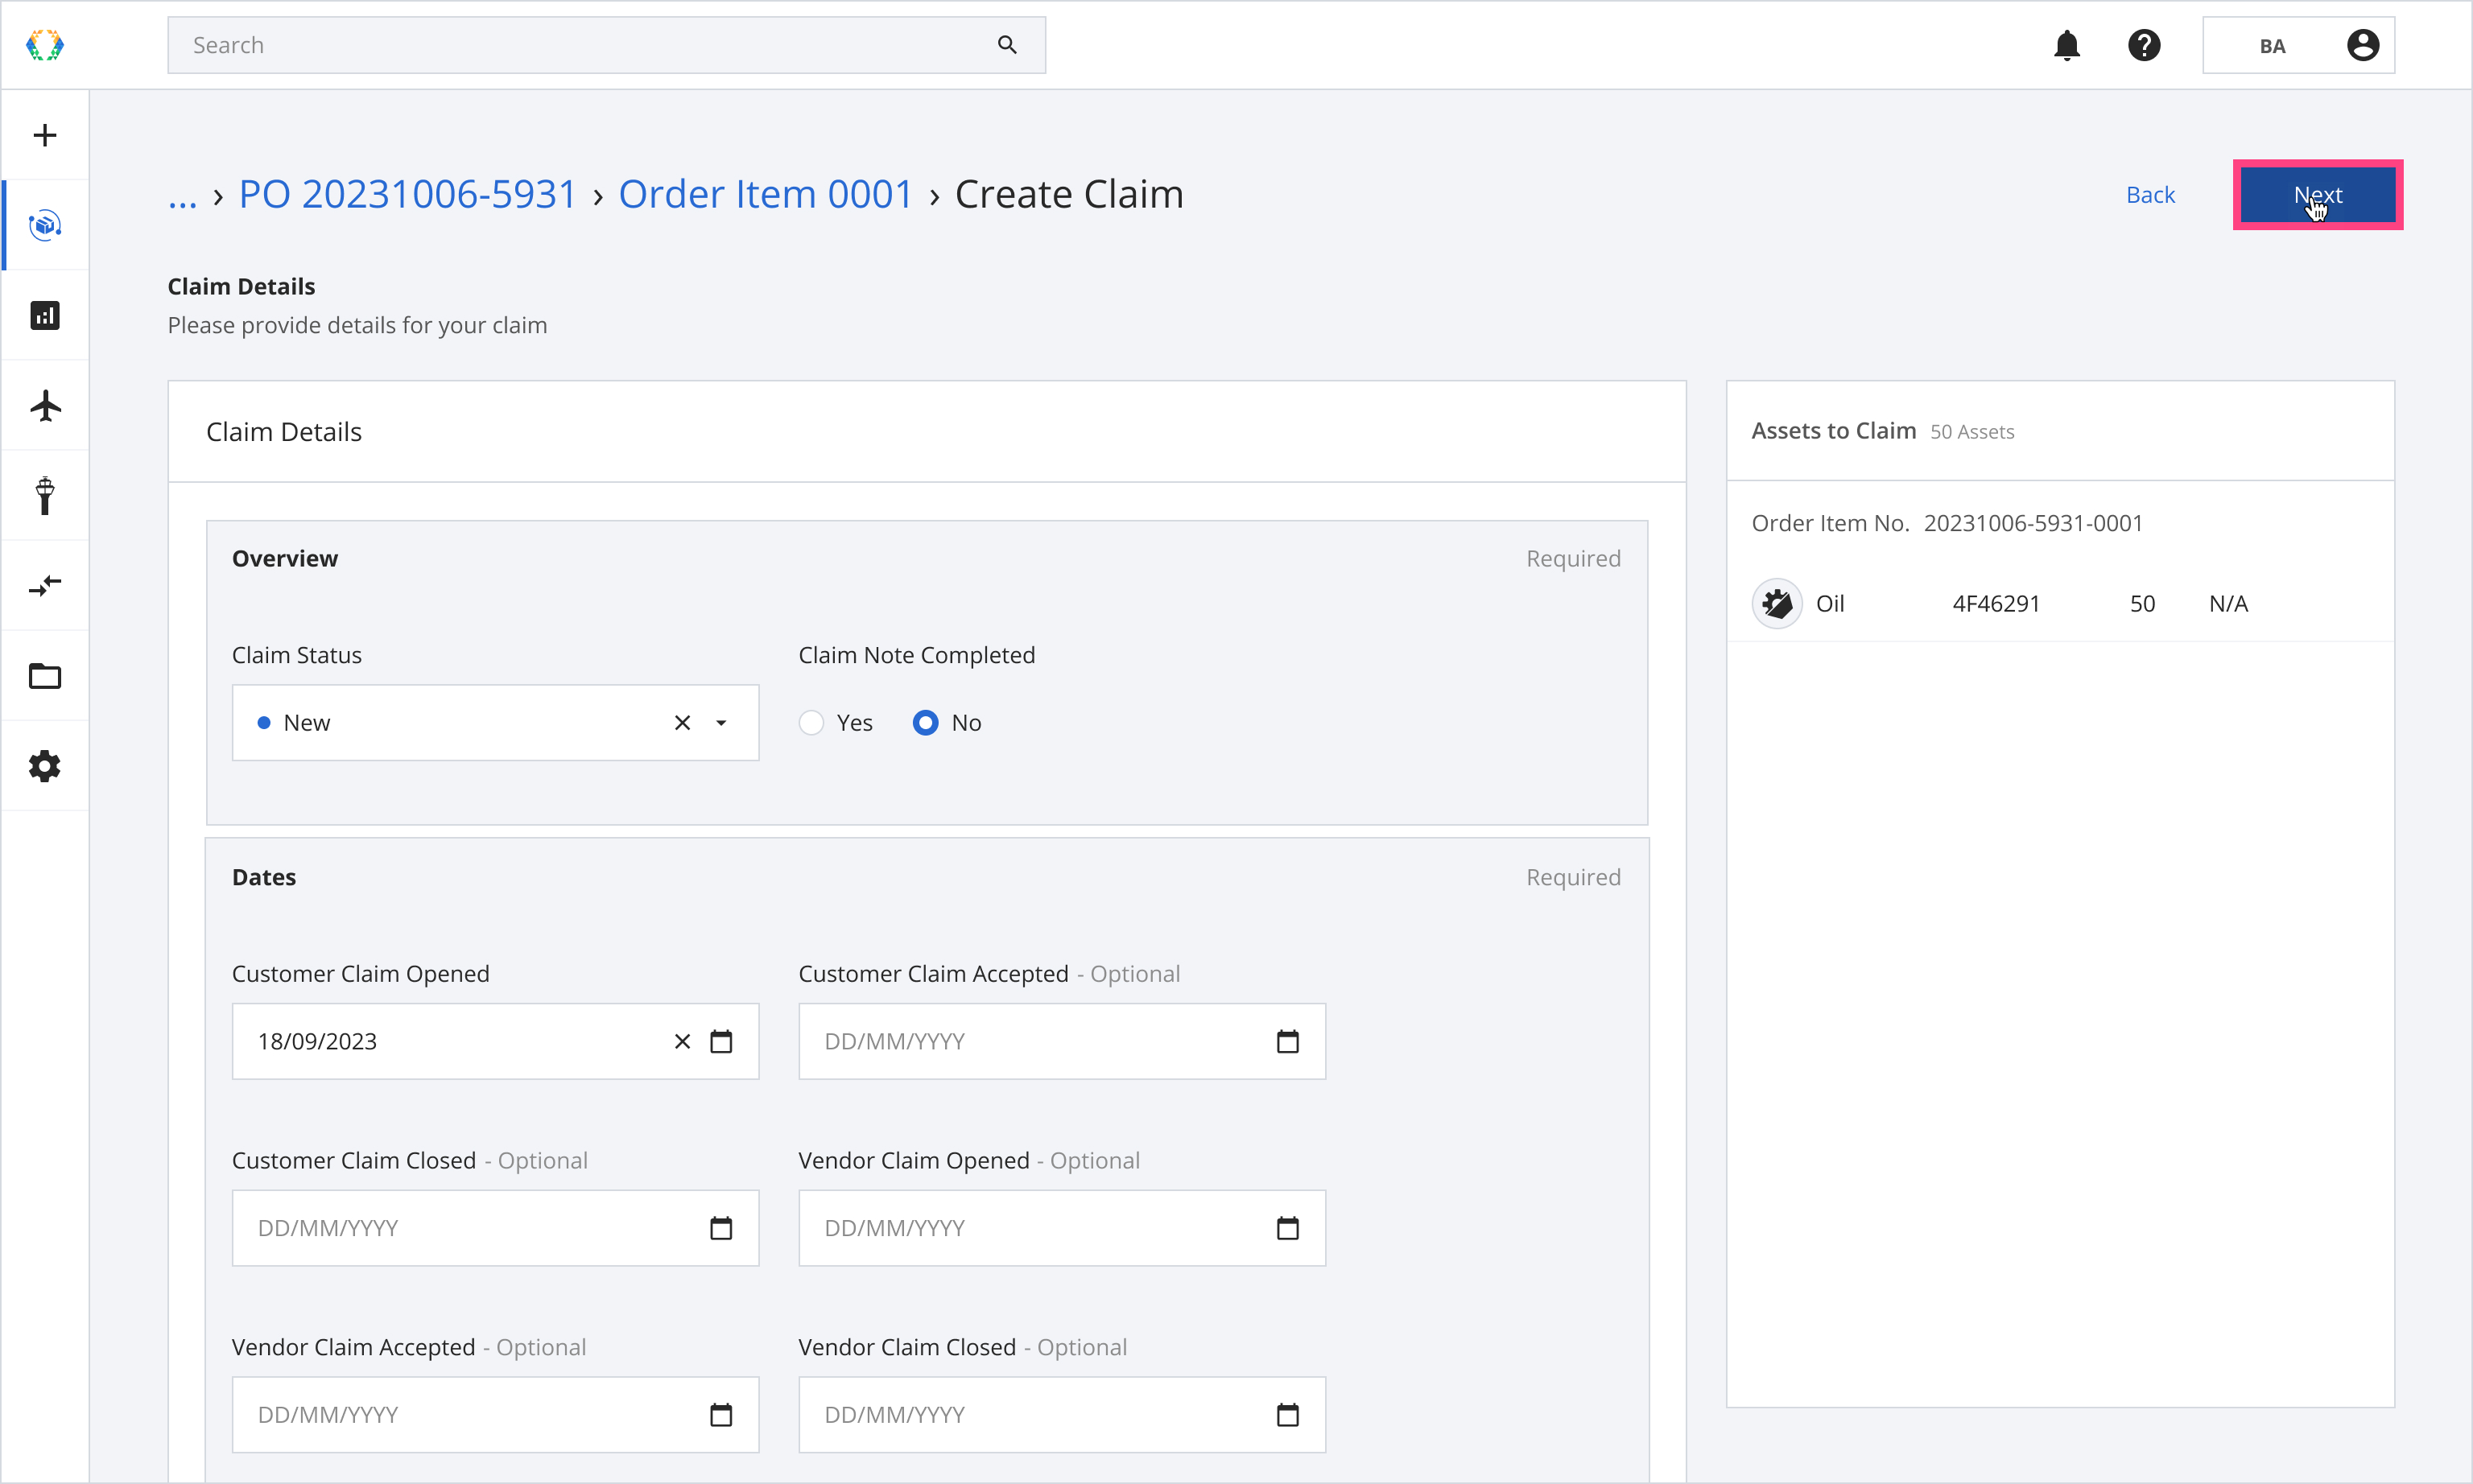
Step 6: Provide claim details.
Required fields:Claim Status
Claim Note Completed
Customer Claim Opened
Reason Code
Claim Disposition
Shipment Type (If Create Shipment is set as Yes)
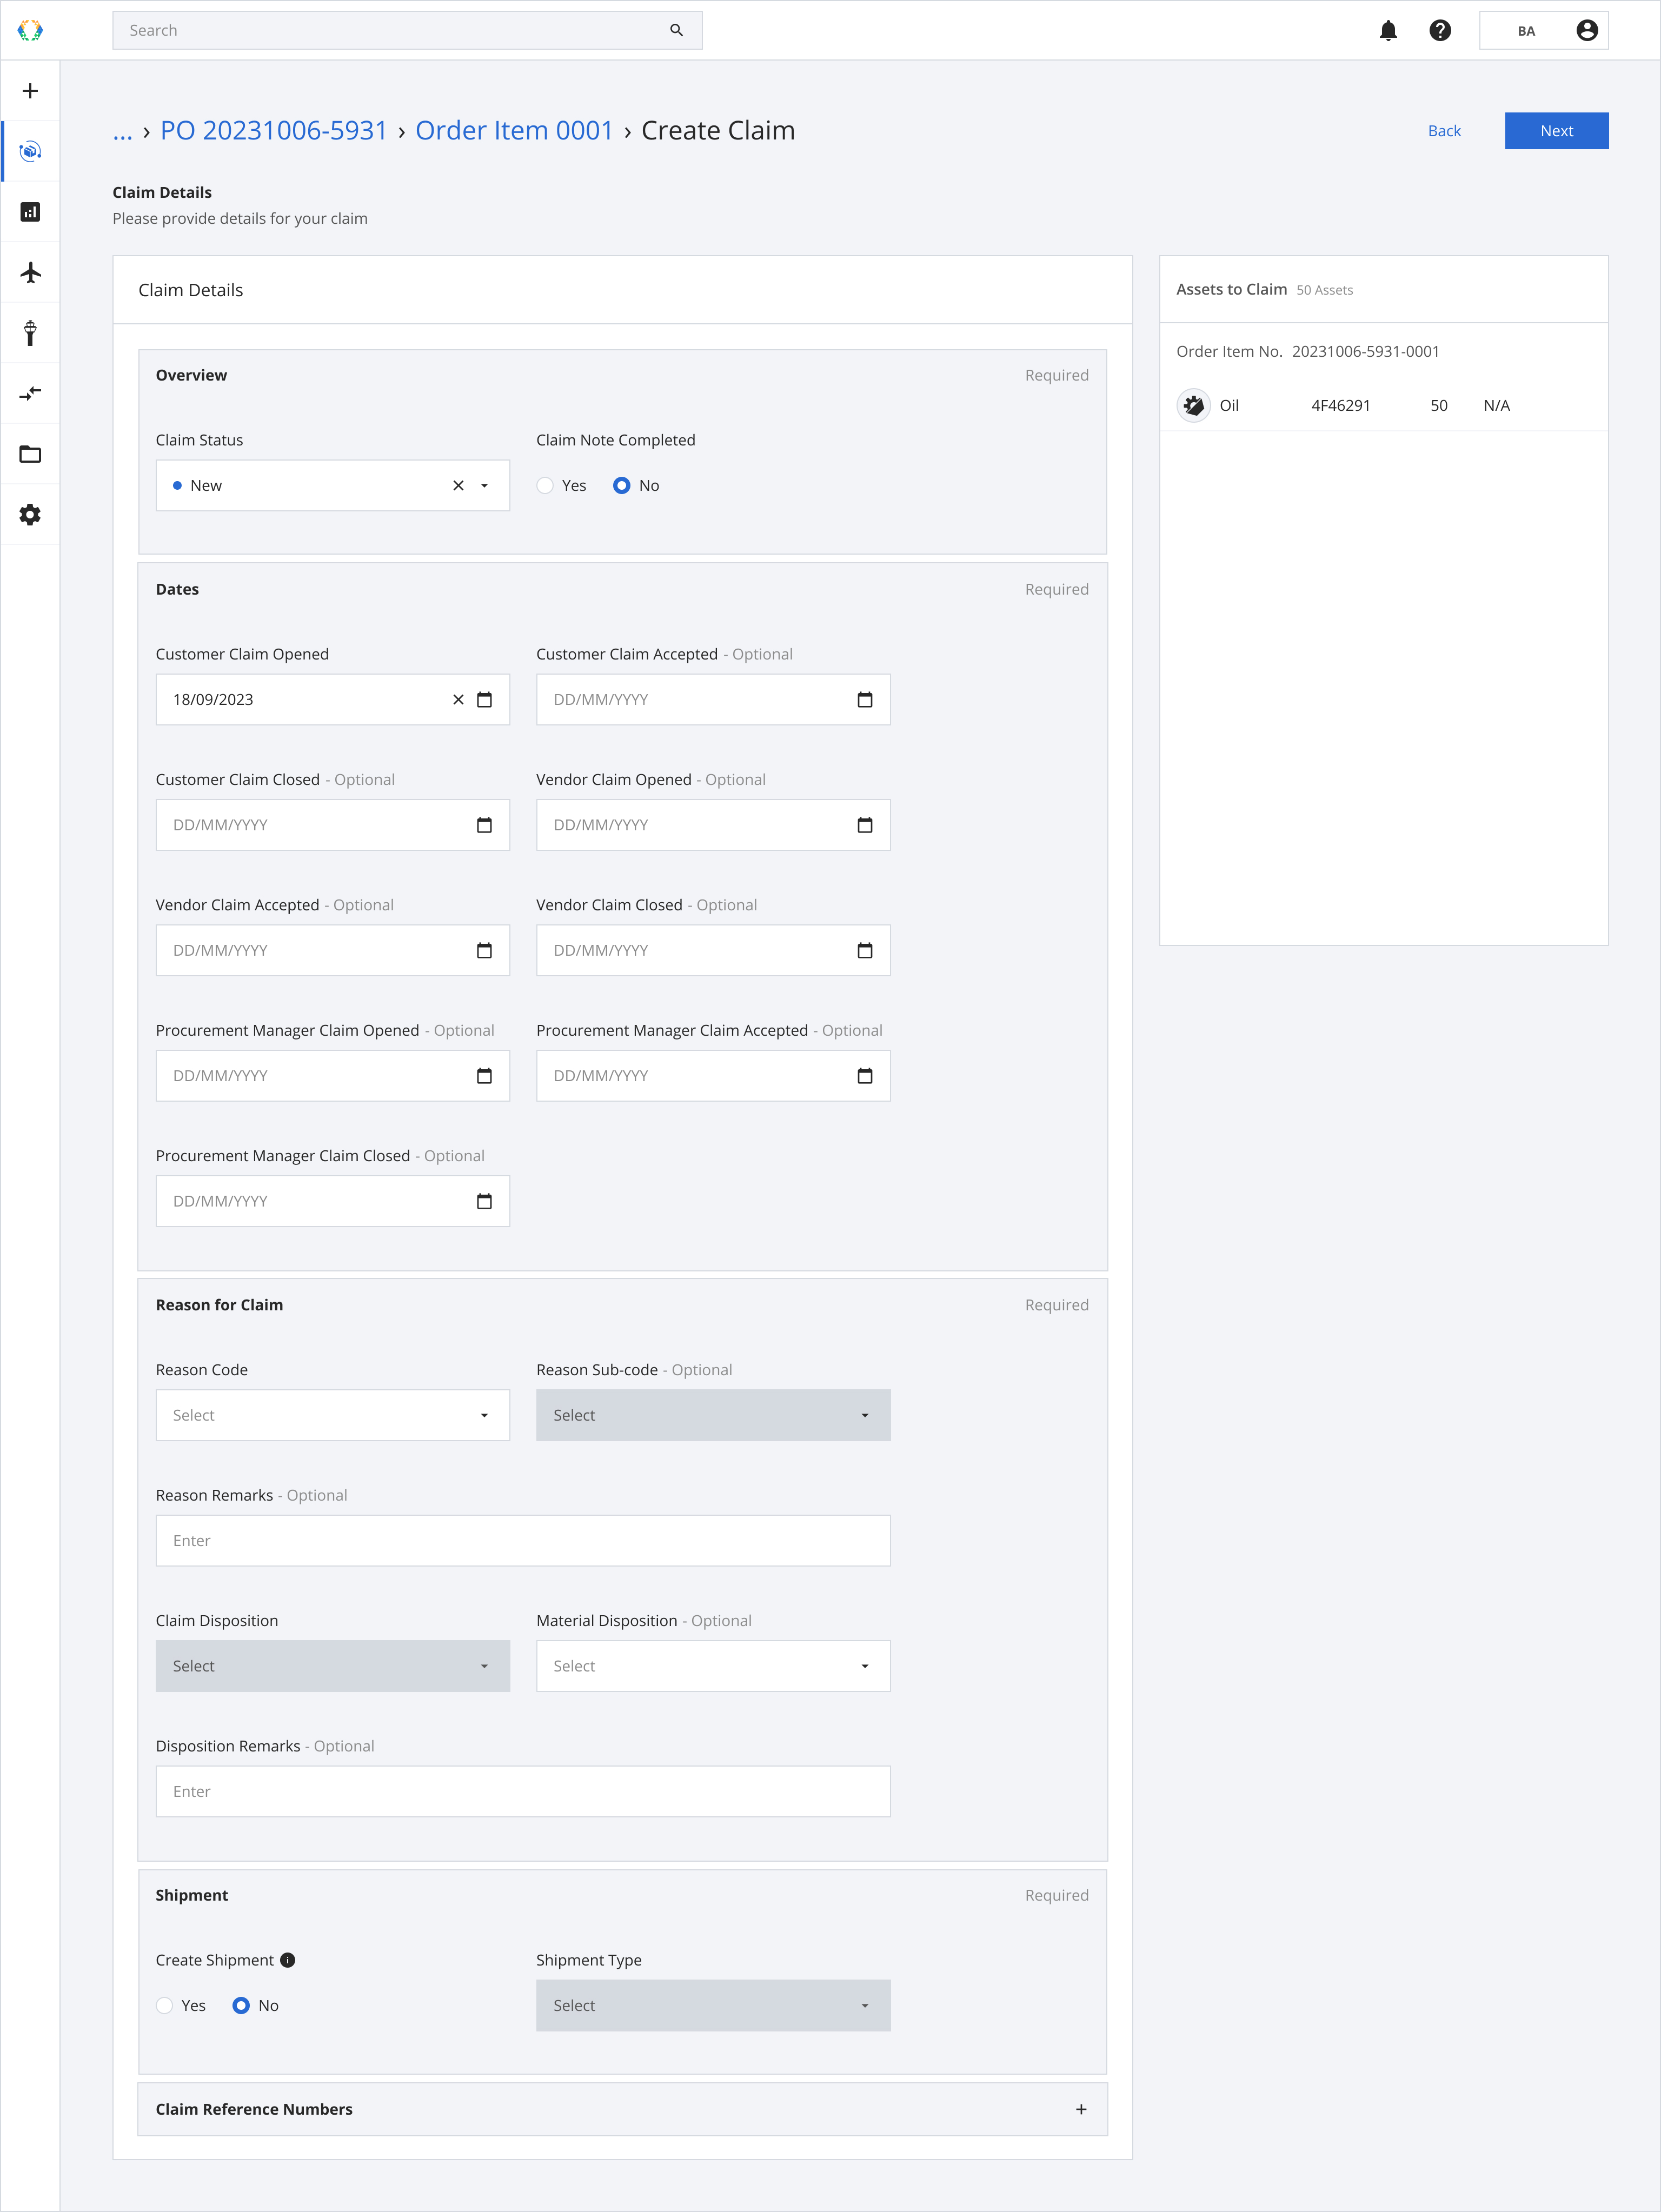
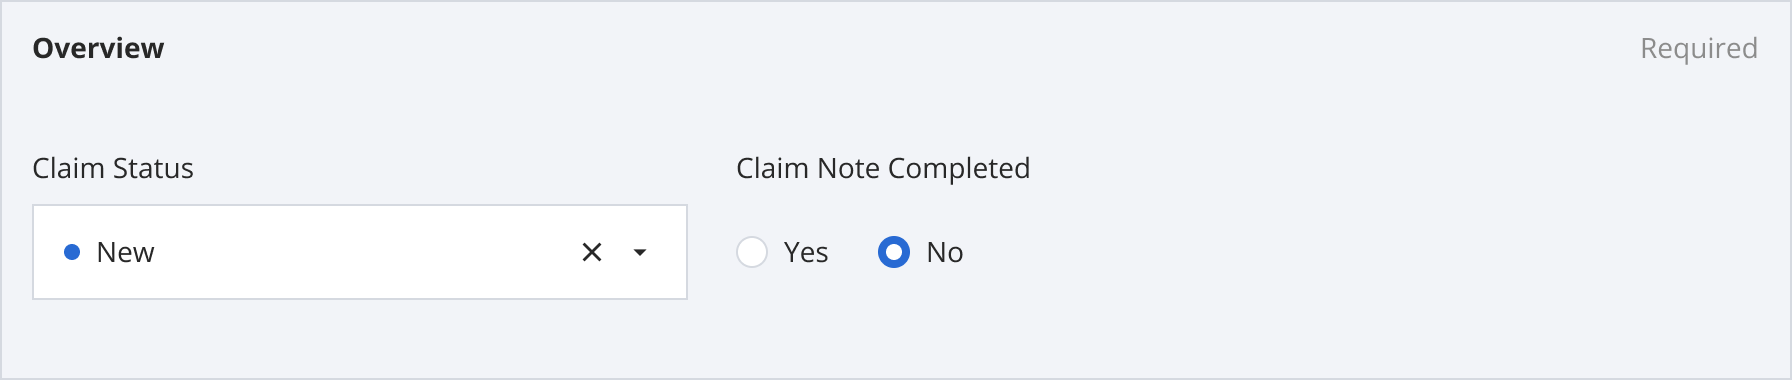
Overview (Required)
Select the Claim Status ('New' by default)
Select the Claim Note Completed ('No' by default)
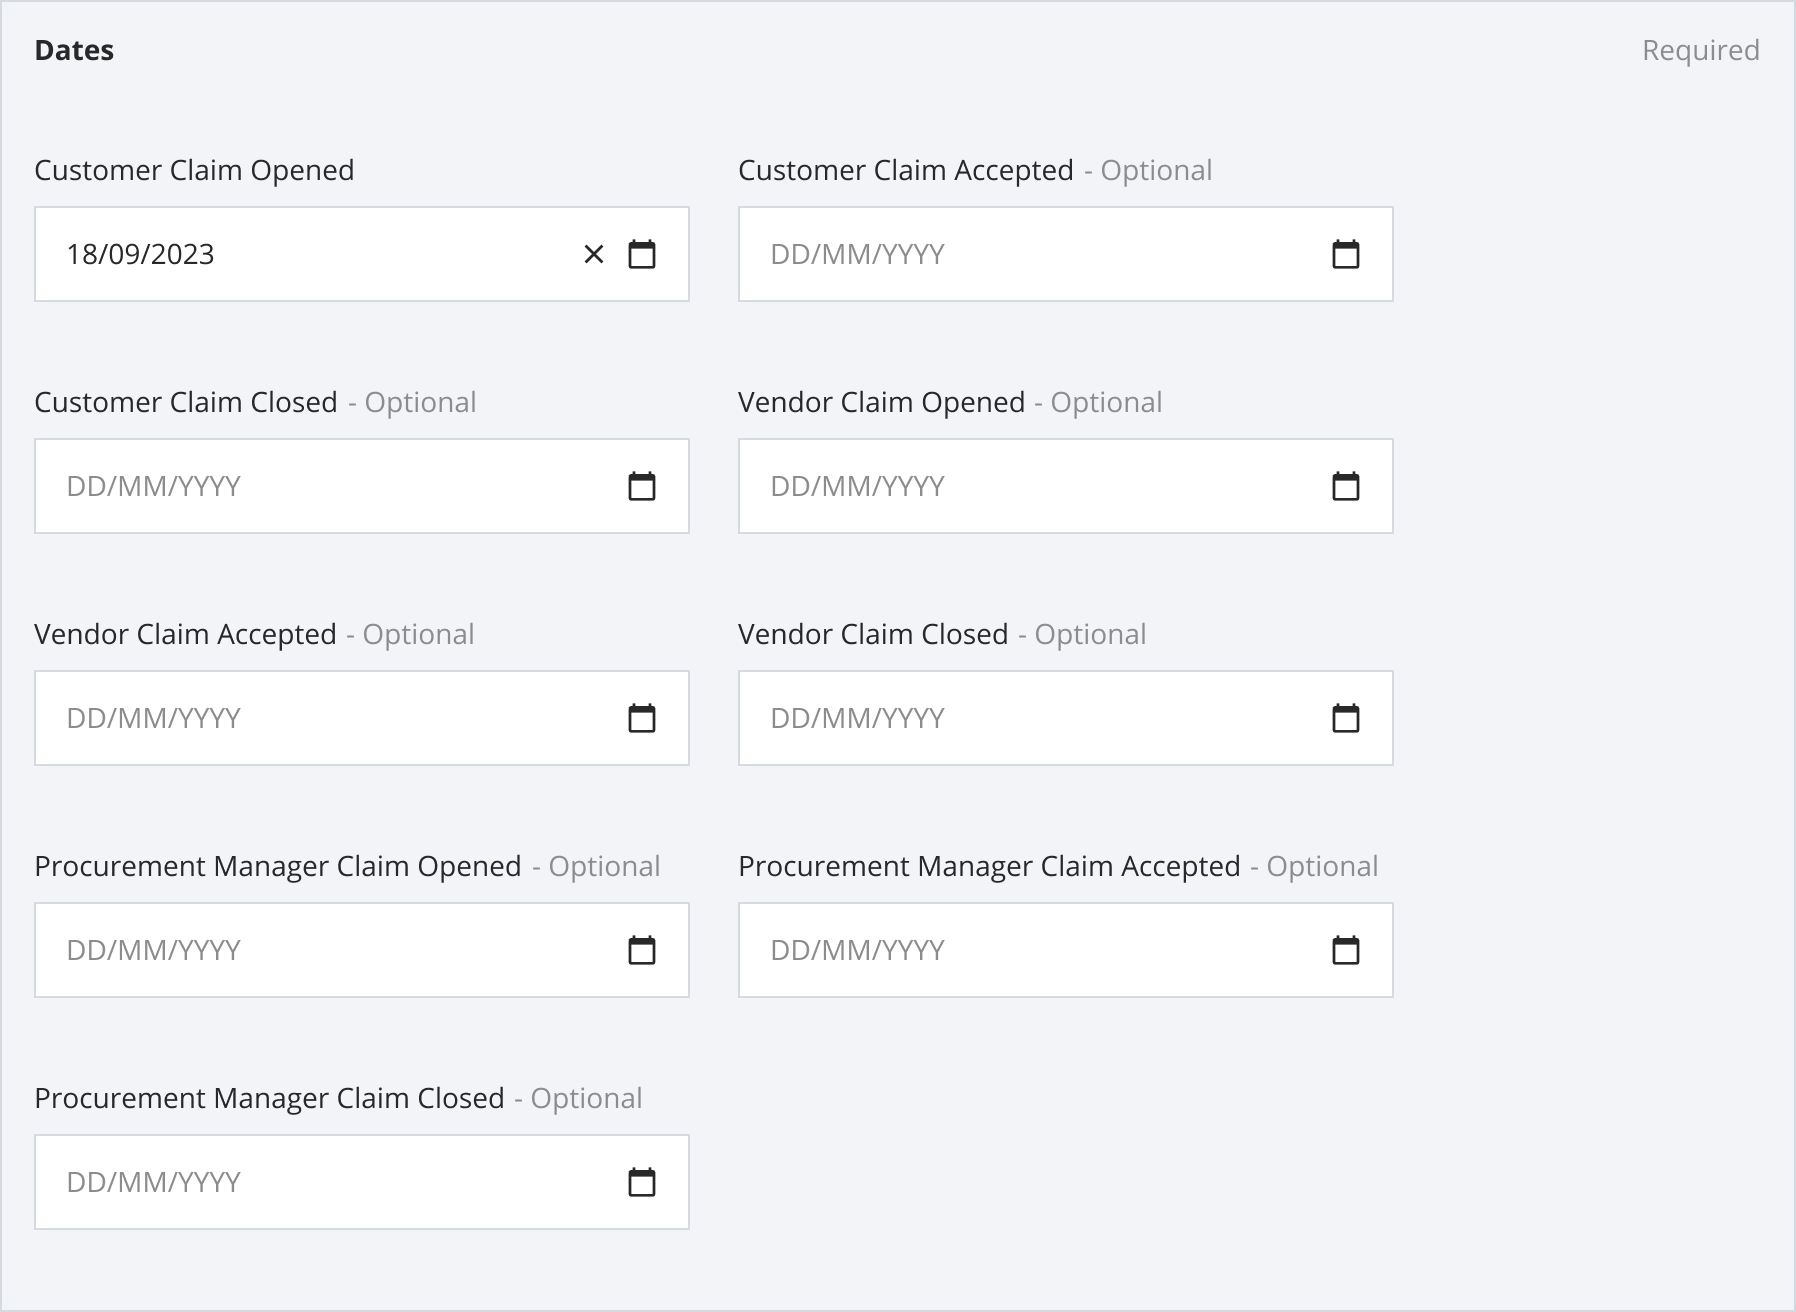
Customer Claim Opened (Required)
Select the date on which the customer claim was raised. (by default set as claim creation)
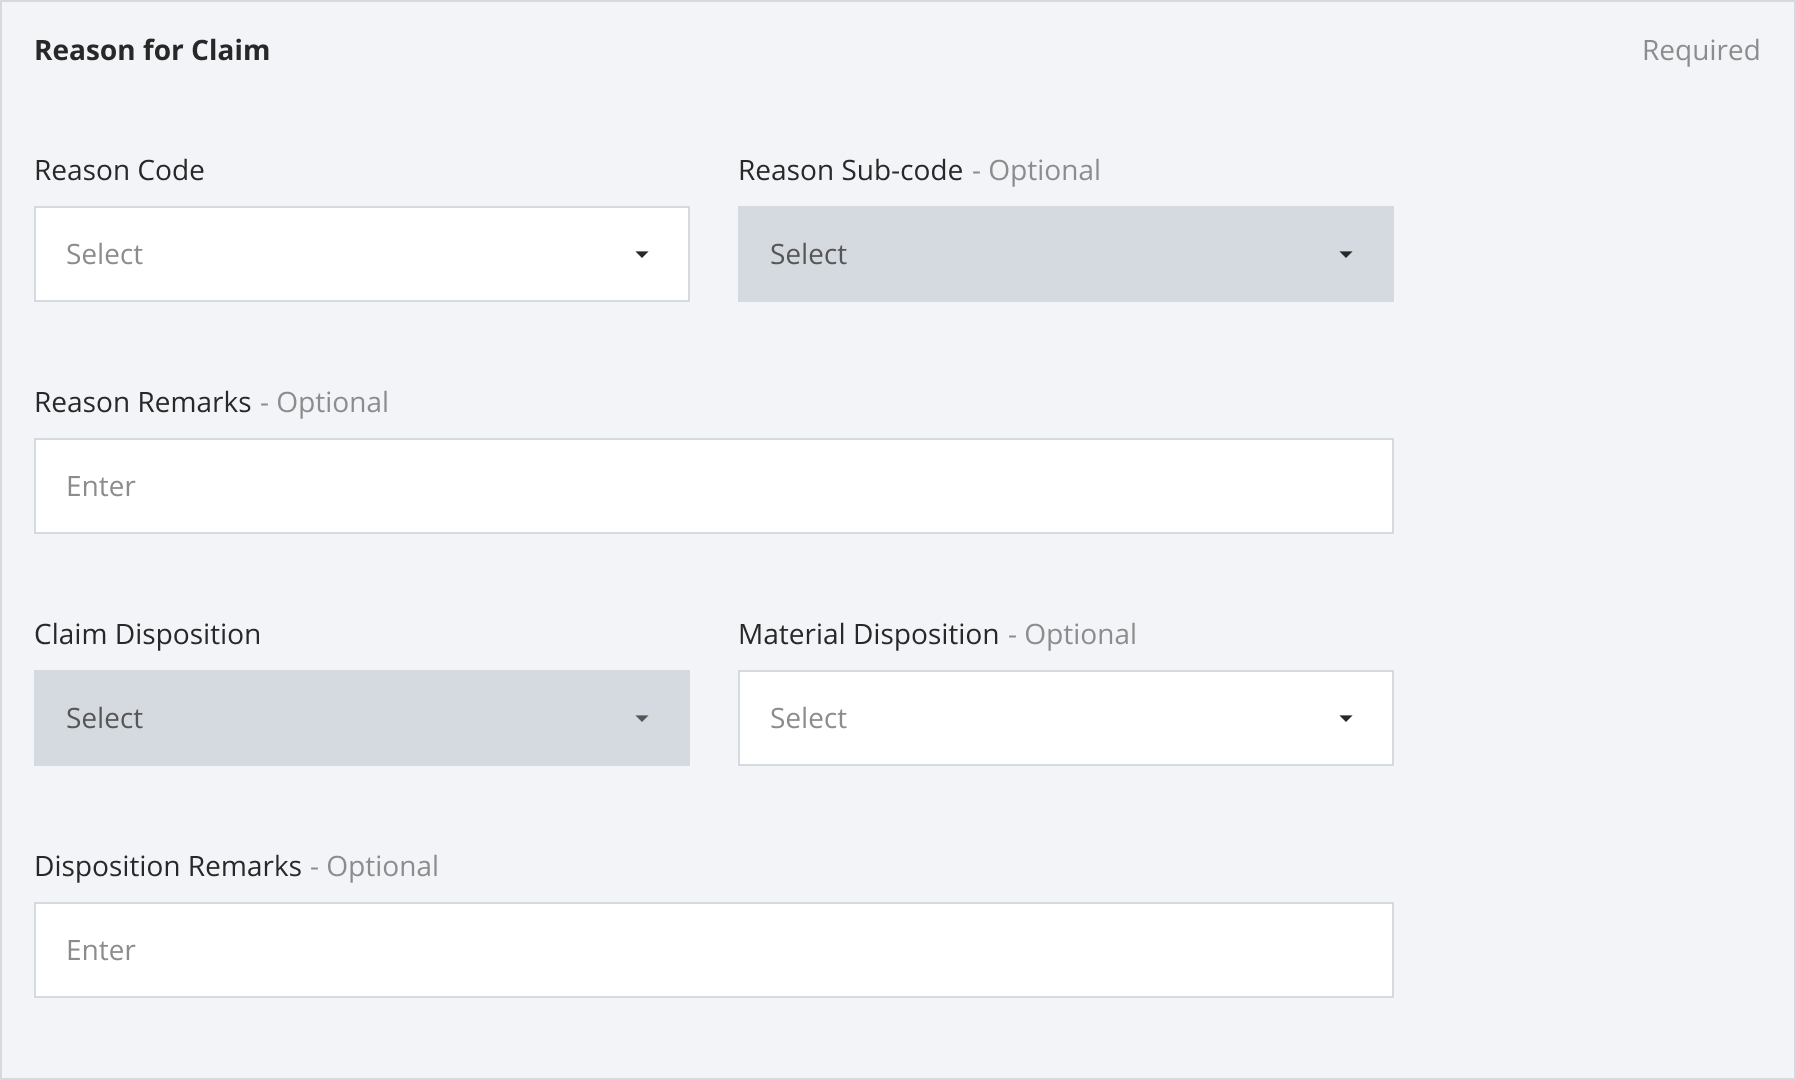
Reason for Claim (Required)
Select Reason Code.
Enter the Reason Sub-code, and Reason Remarks (Optional).
The Claim Disposition is also a required field. First, select Reason Code to view available Claim Disposition options. Then, enter Material Disposition and Disposition Remarks (Optional).
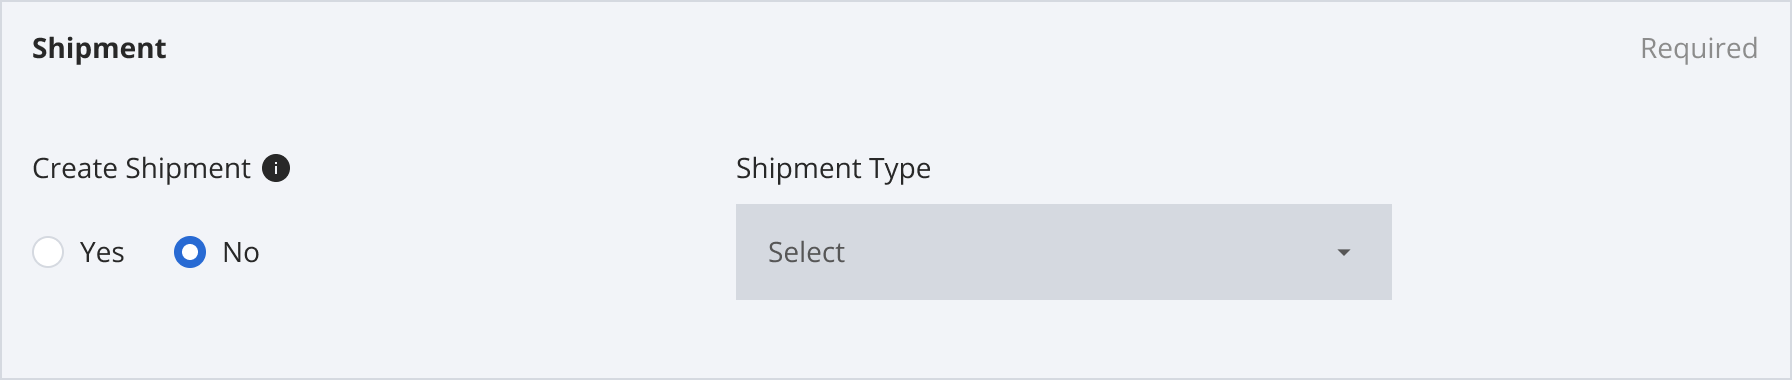
Create Shipment
Create Shipment ('No' by default)
If necessary, select 'Create Shipment' to generate a shipment for the claimed assets. Choose the Shipment Type - inbound/outbound.
This action is only available during the claim creation process and won't be available during claim update process.
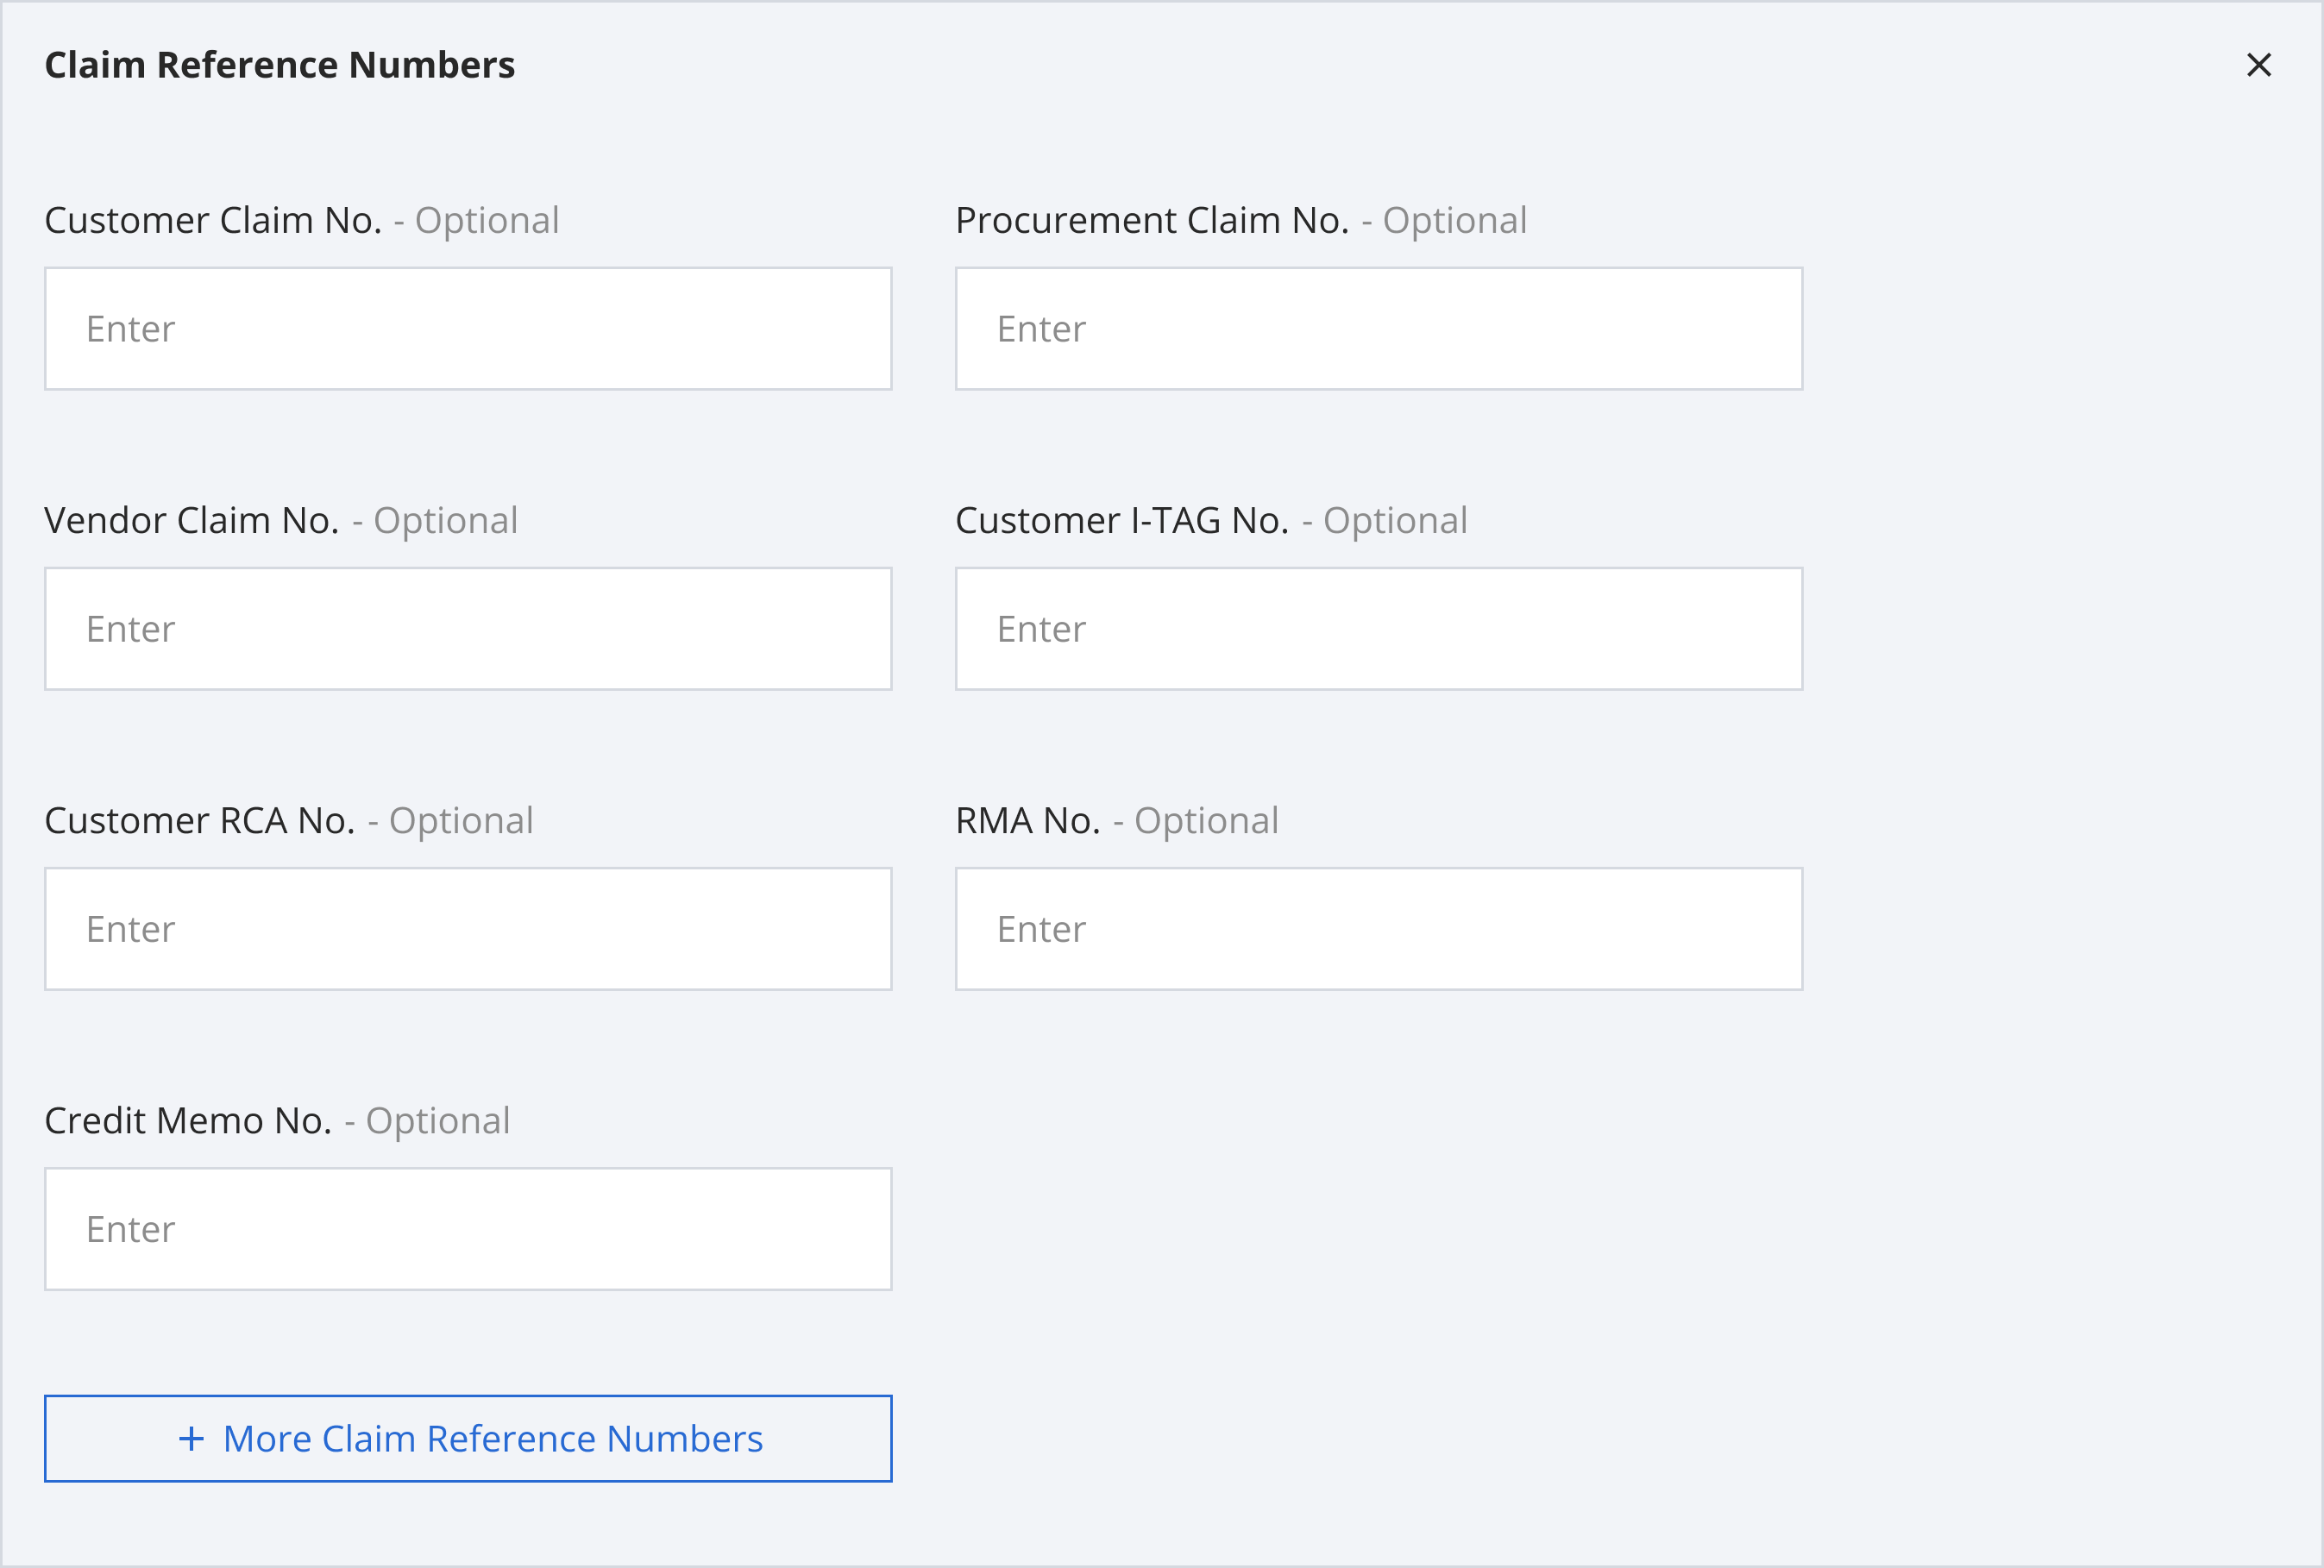
Claim Reference Numbers
You can enter additional details for your claim in this section. Click on the collapsed section to expand it.
Step 7: After entering the relevant Claim Details, click 'Next' to proceed.
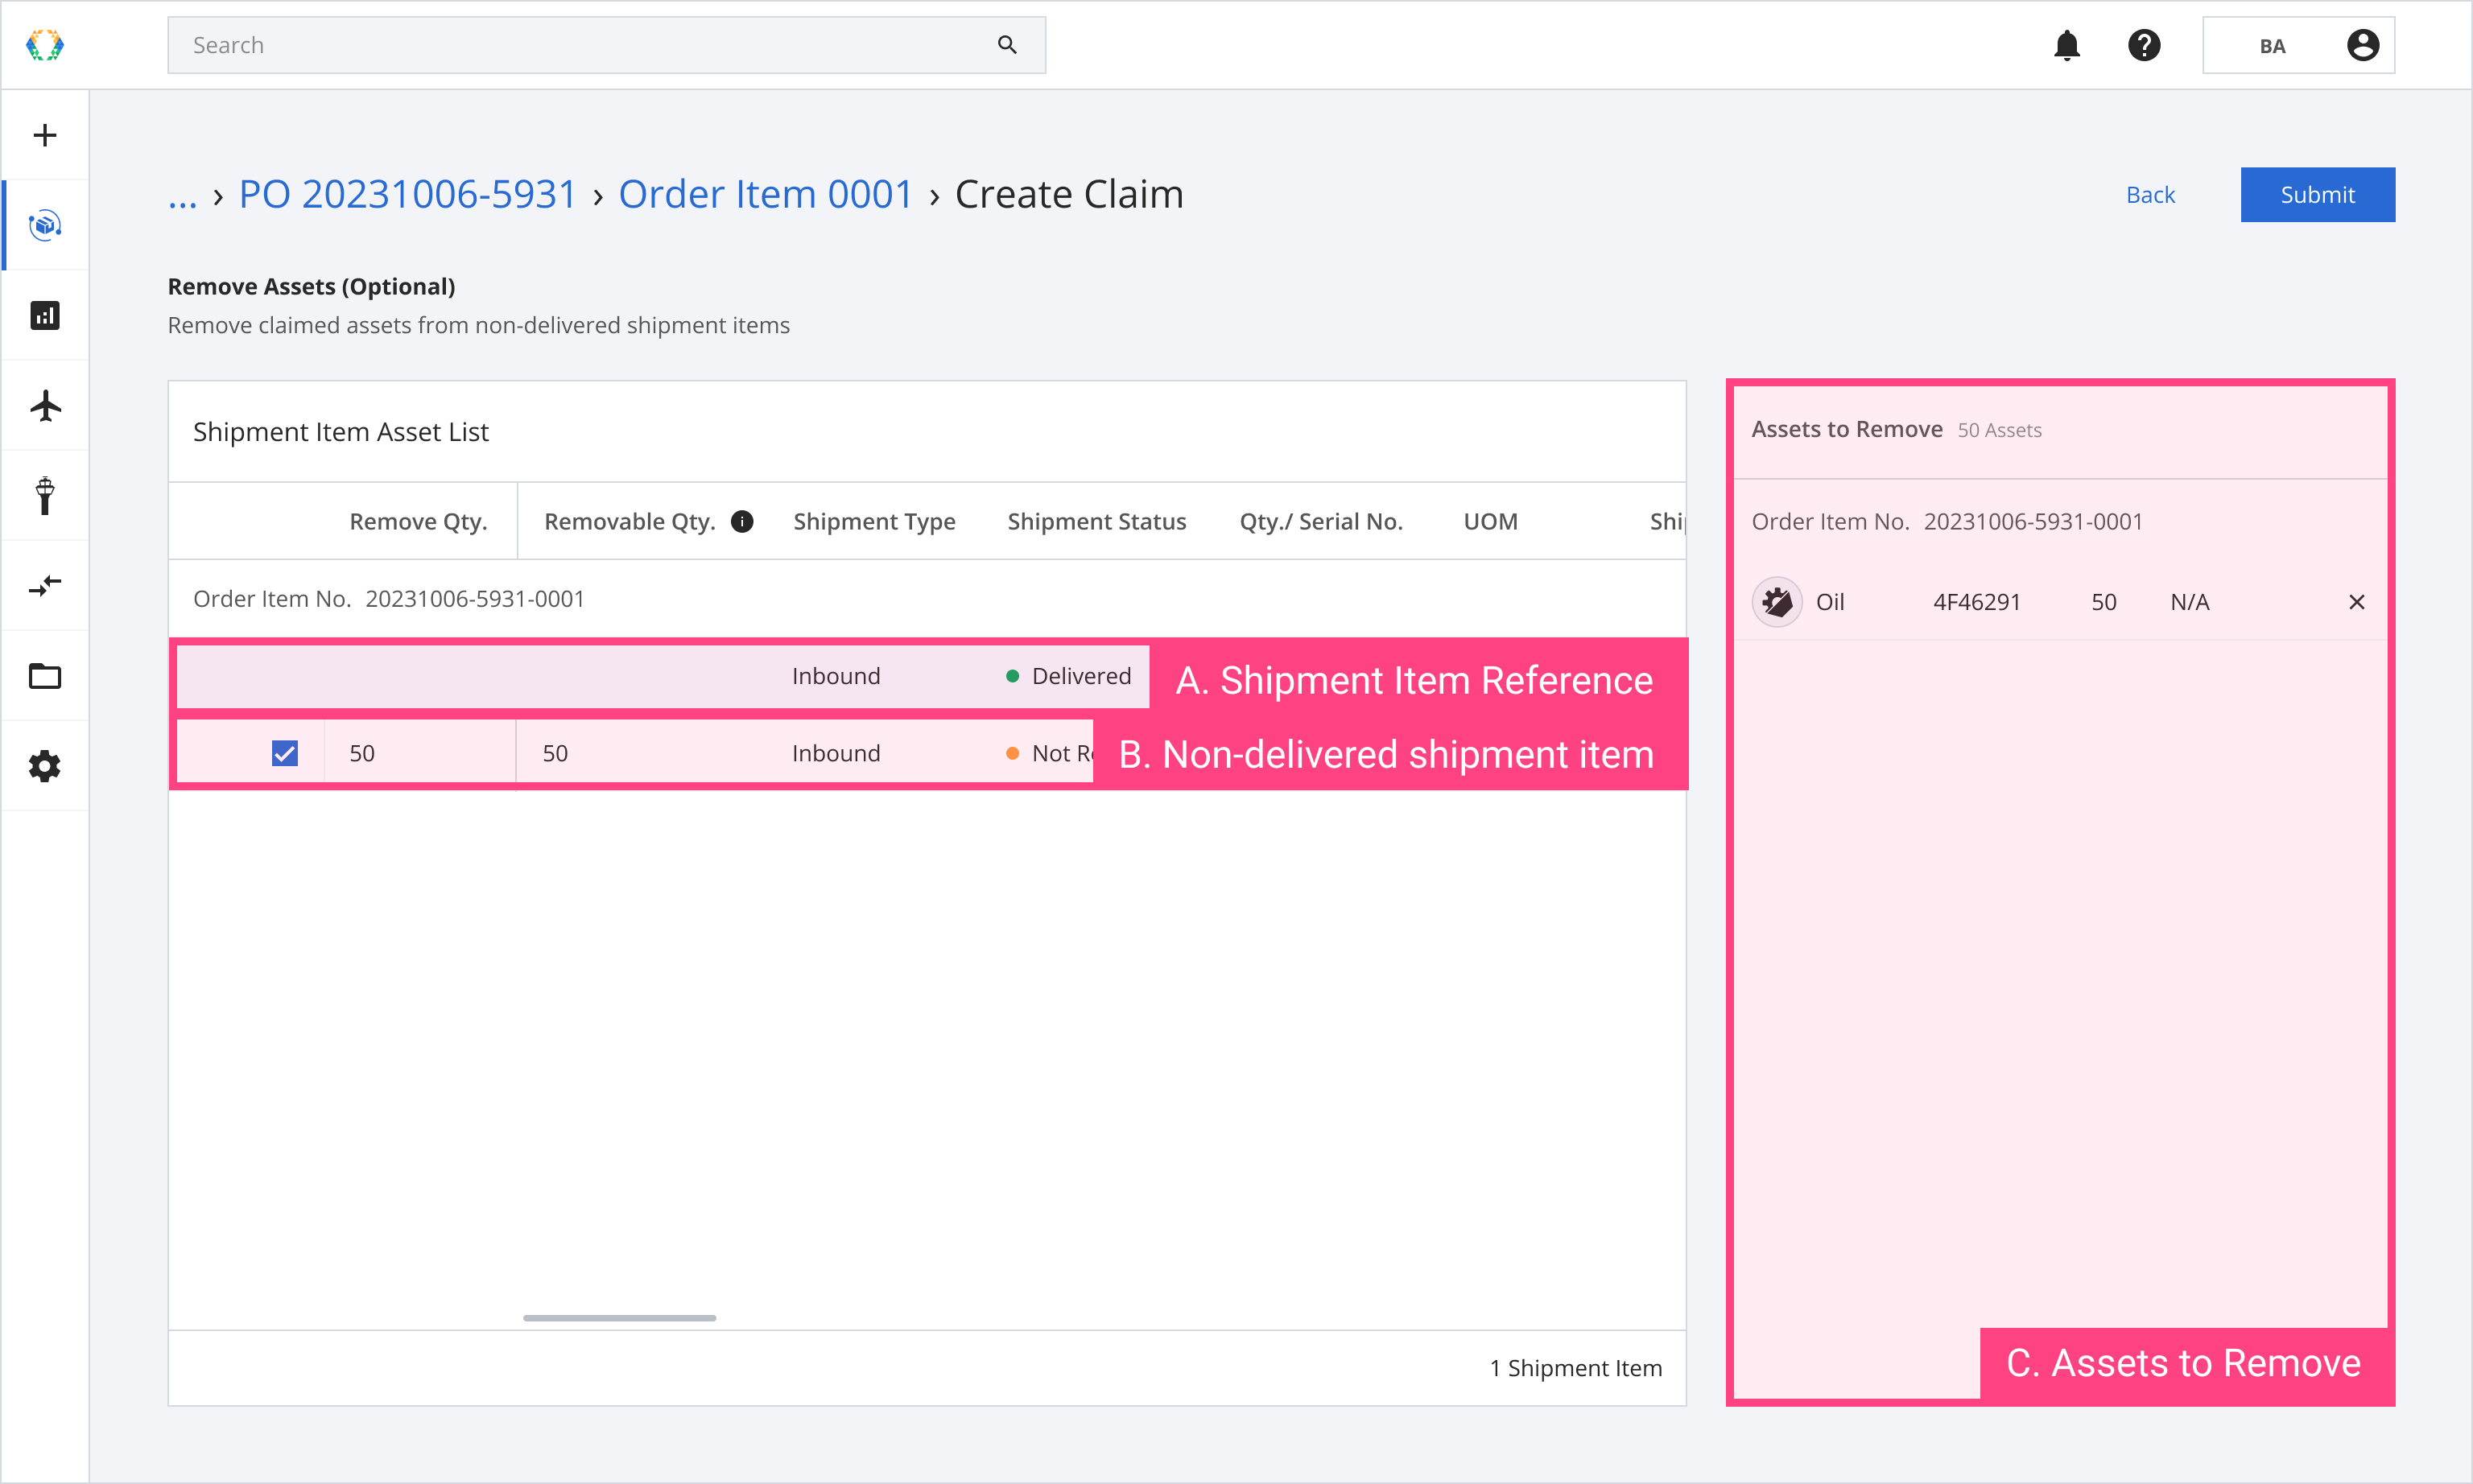
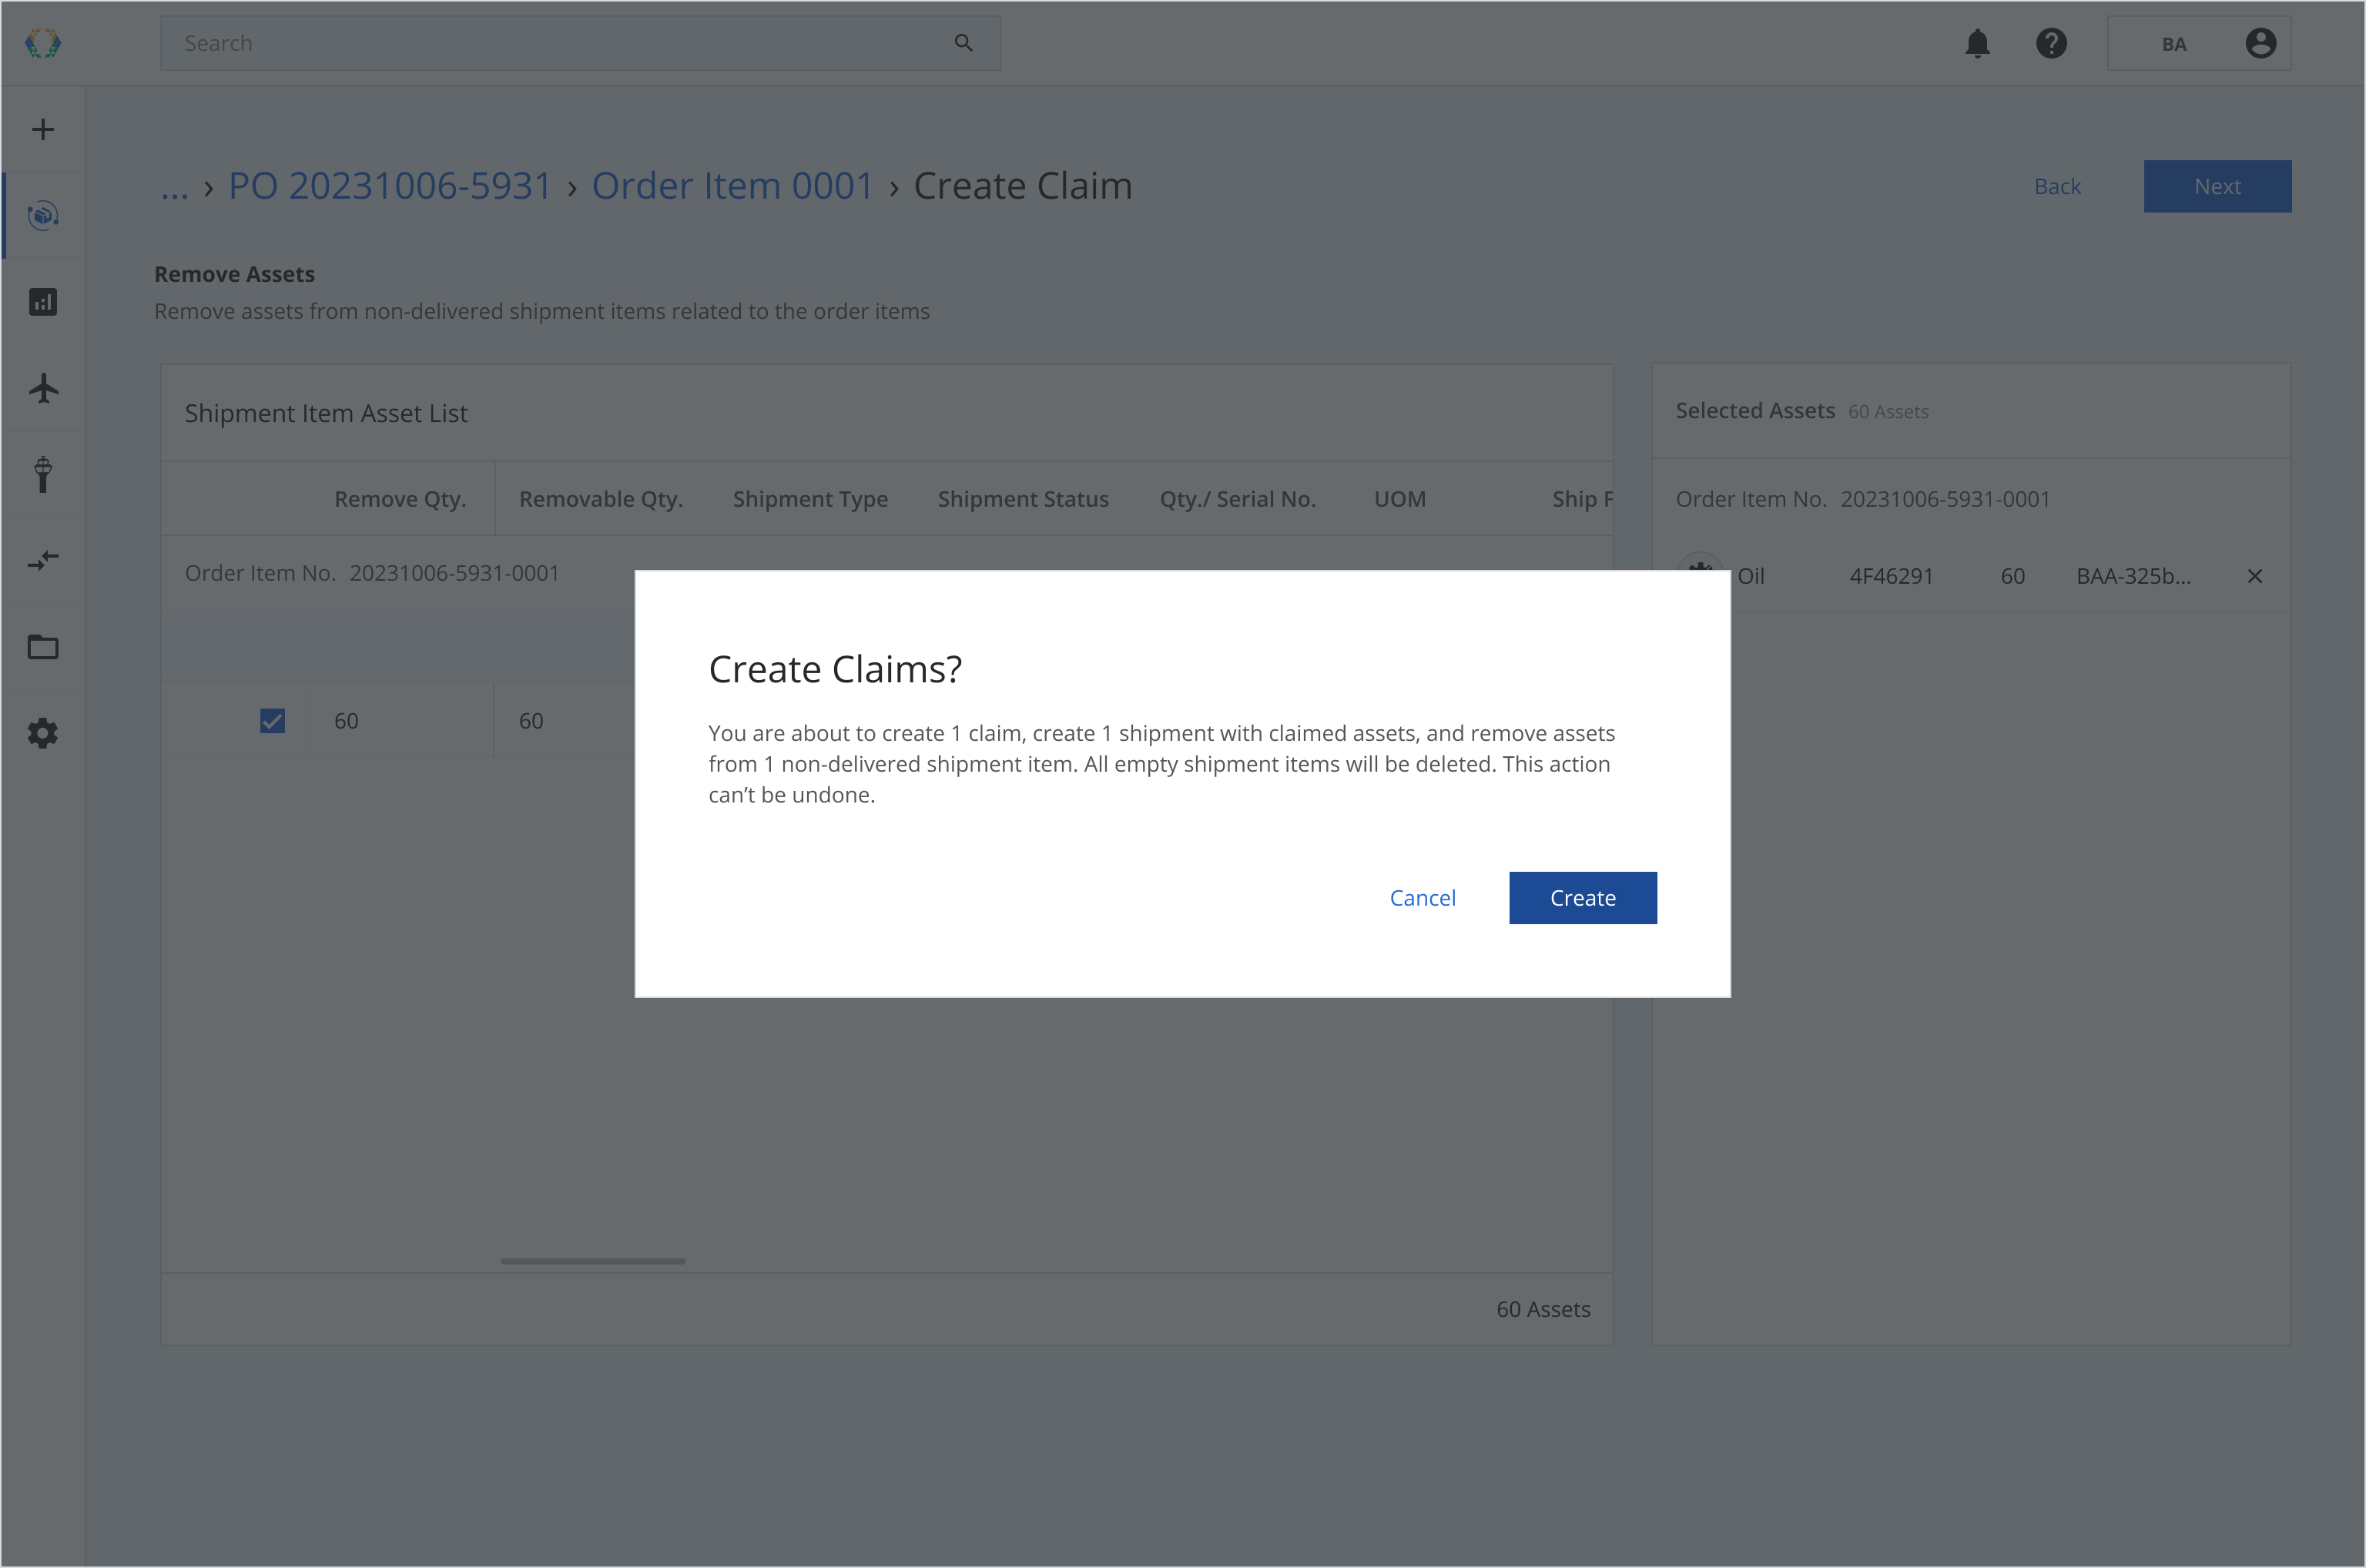
Step 8: Remove assets from non-delivered shipment items (Optional).
This step will appear in case you have non-delivered shipment items. Select the assets you want to remove from non-delivered shipment items in the ‘Remove Qty.’ field. The ‘Removable Qty.’ field indicates the available quantity of assets.
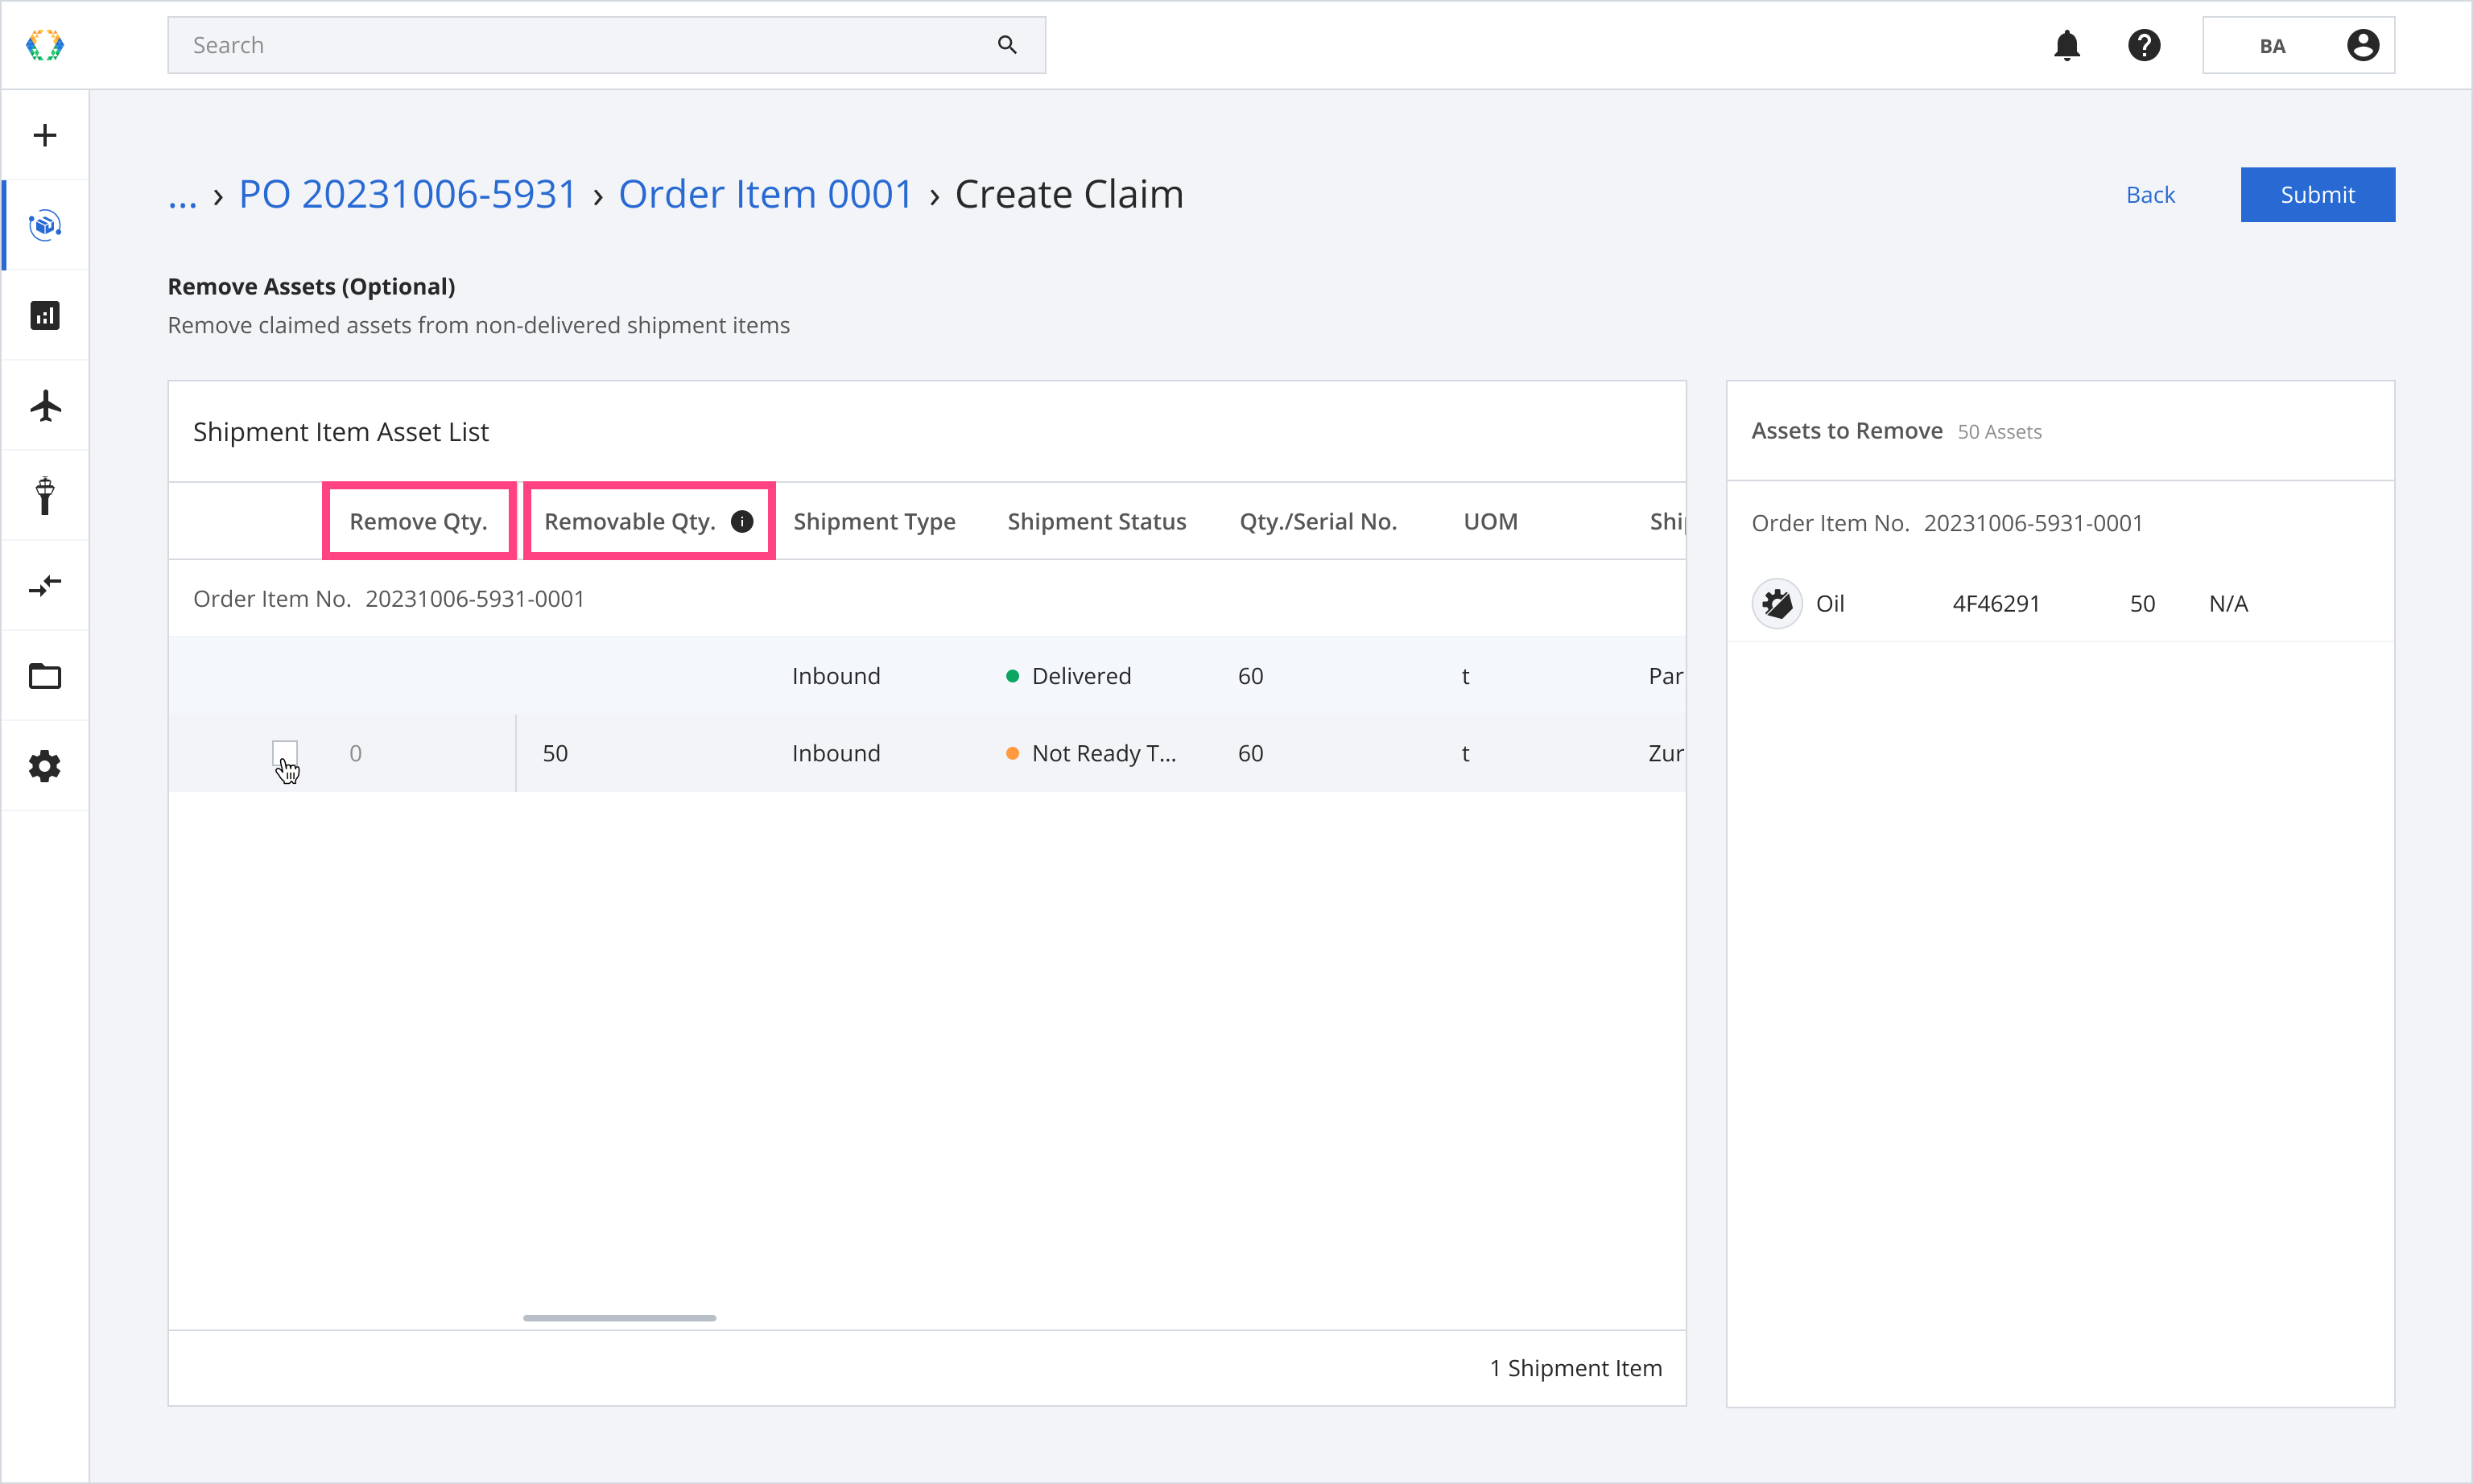
Table Layout:
A. The first row indicates the shipment item that was used to claim assets. Parameters in this row are non-editable and serve as a reference.
B. Rows below indicate non-delivered shipment items.
C. Right-side panel displays the assets you selected to claim and may be removed from non-delivered shipment items.
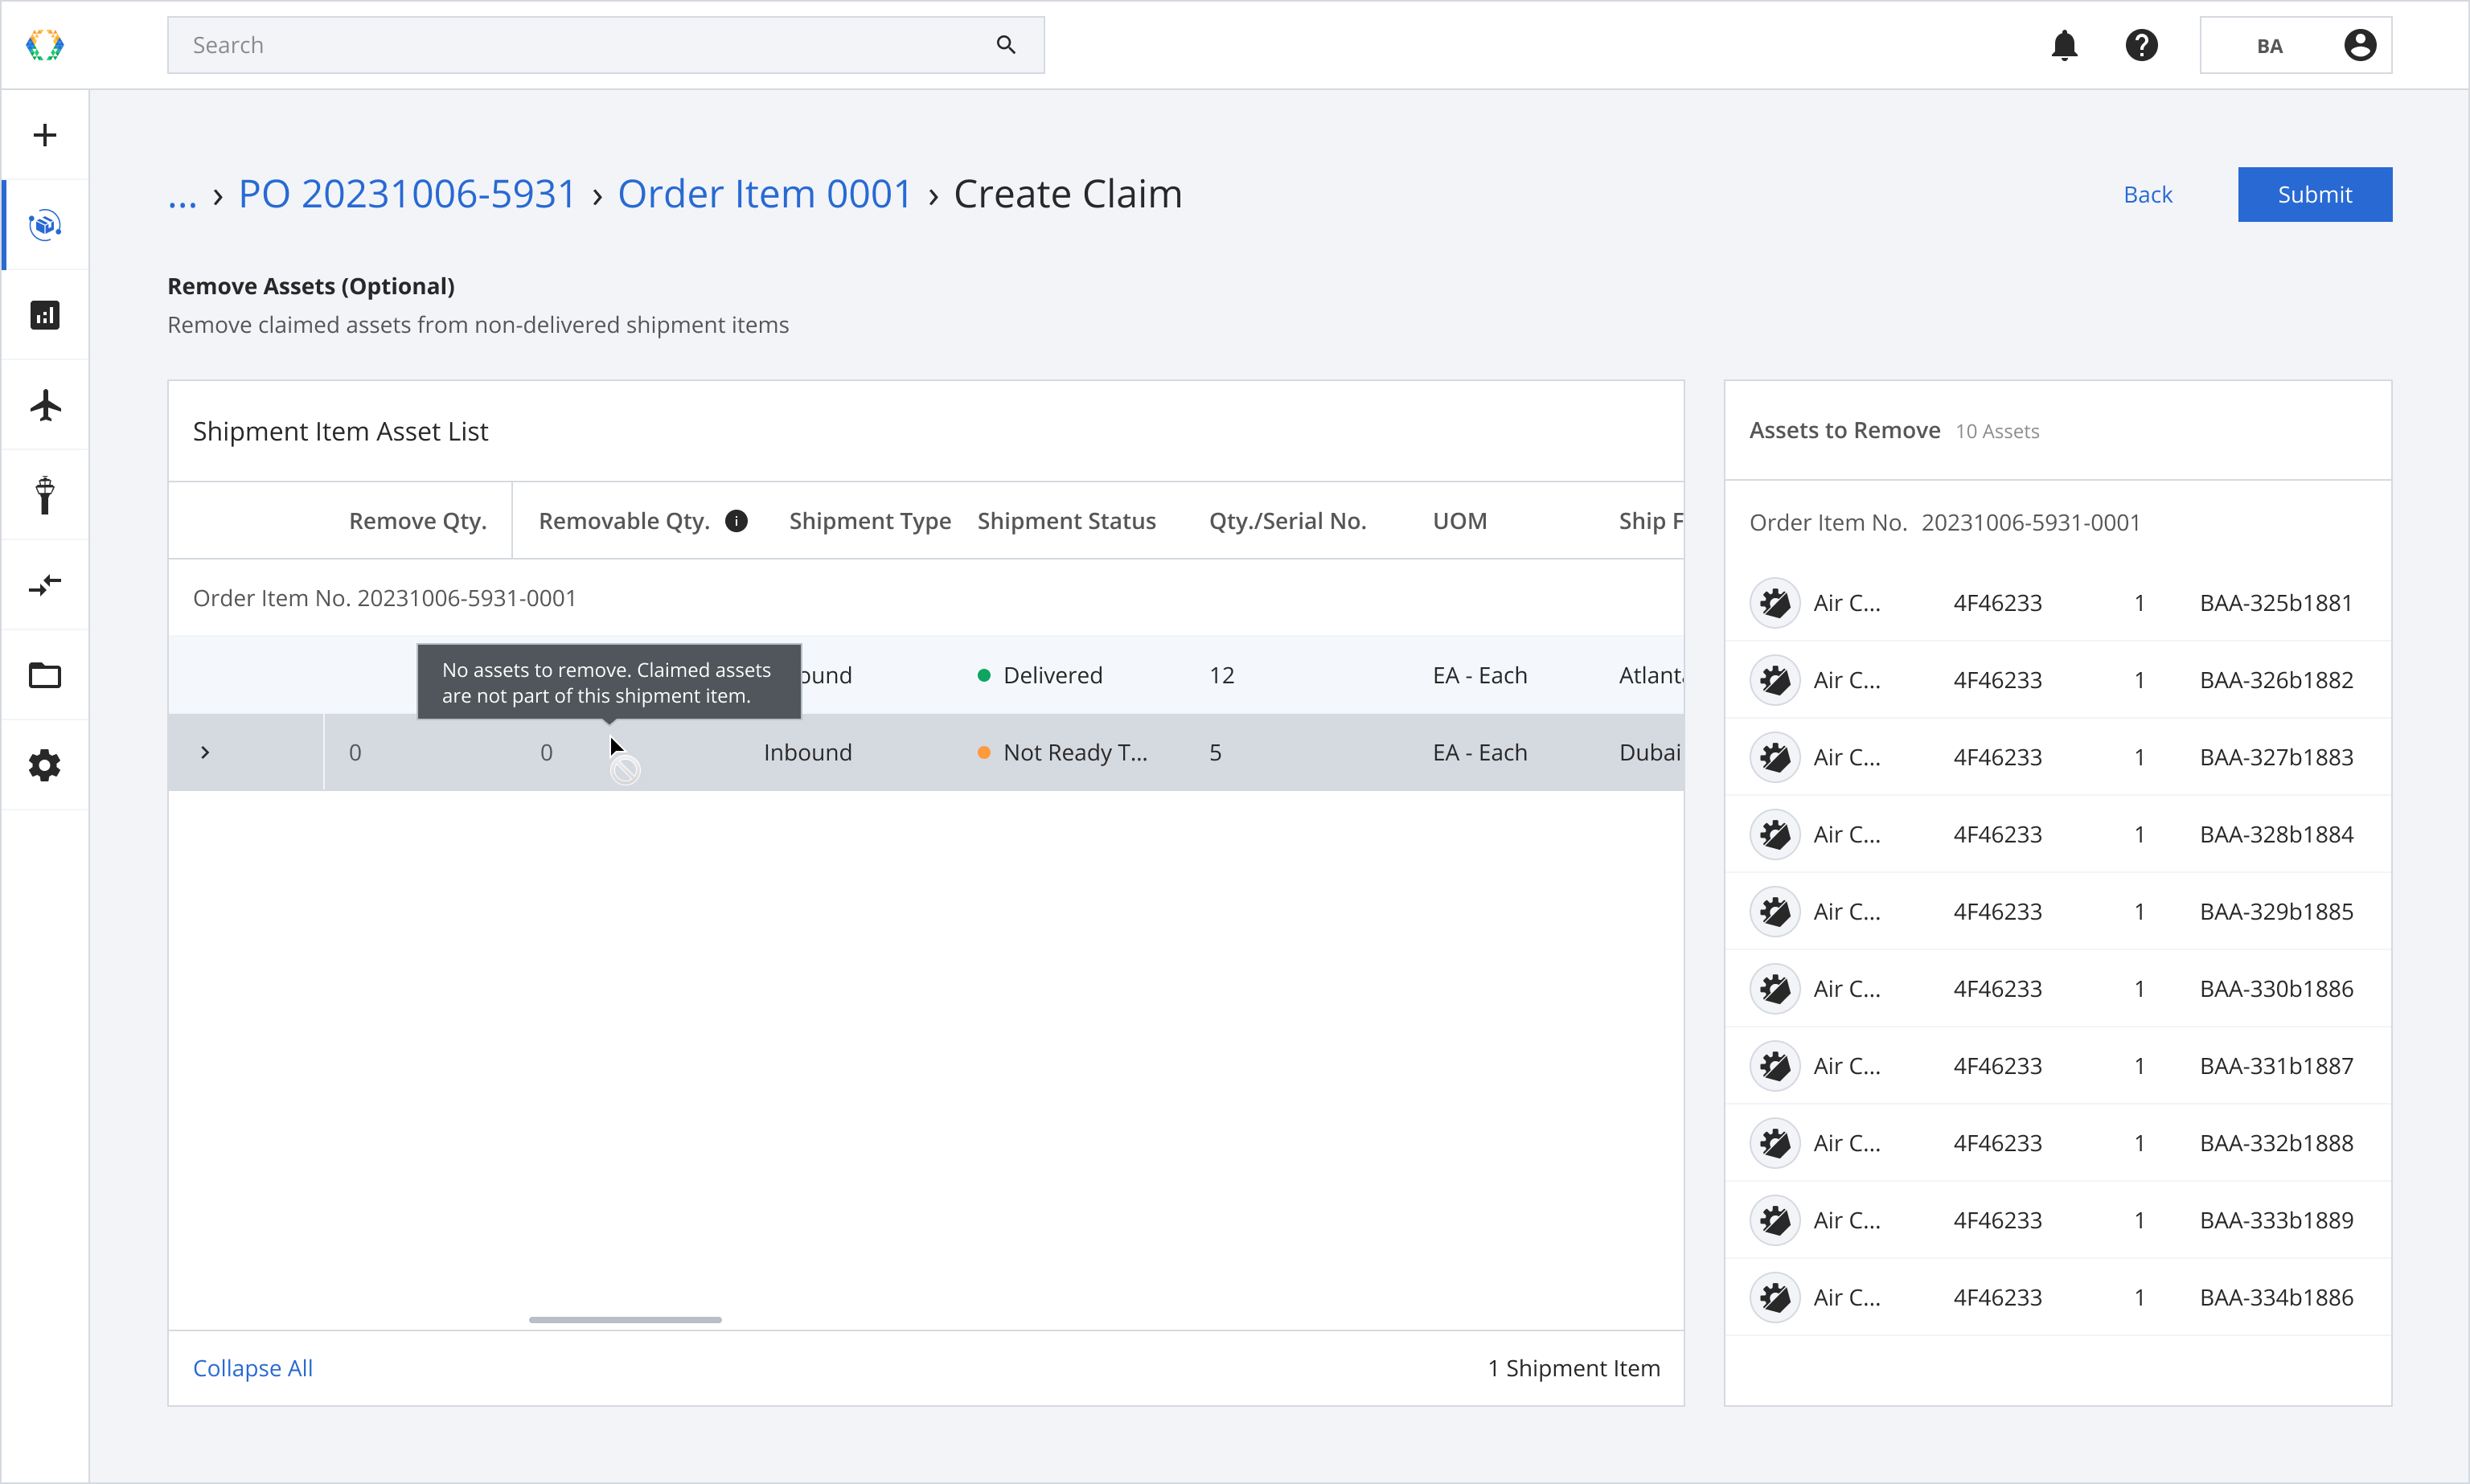
For serialized assets: For serialized assets, expand the dropdown to view the assets by their serial numbers. Additionally, you can see the serialized assets in the non-delivered shipment item. Compare the assets with the right-side panel.
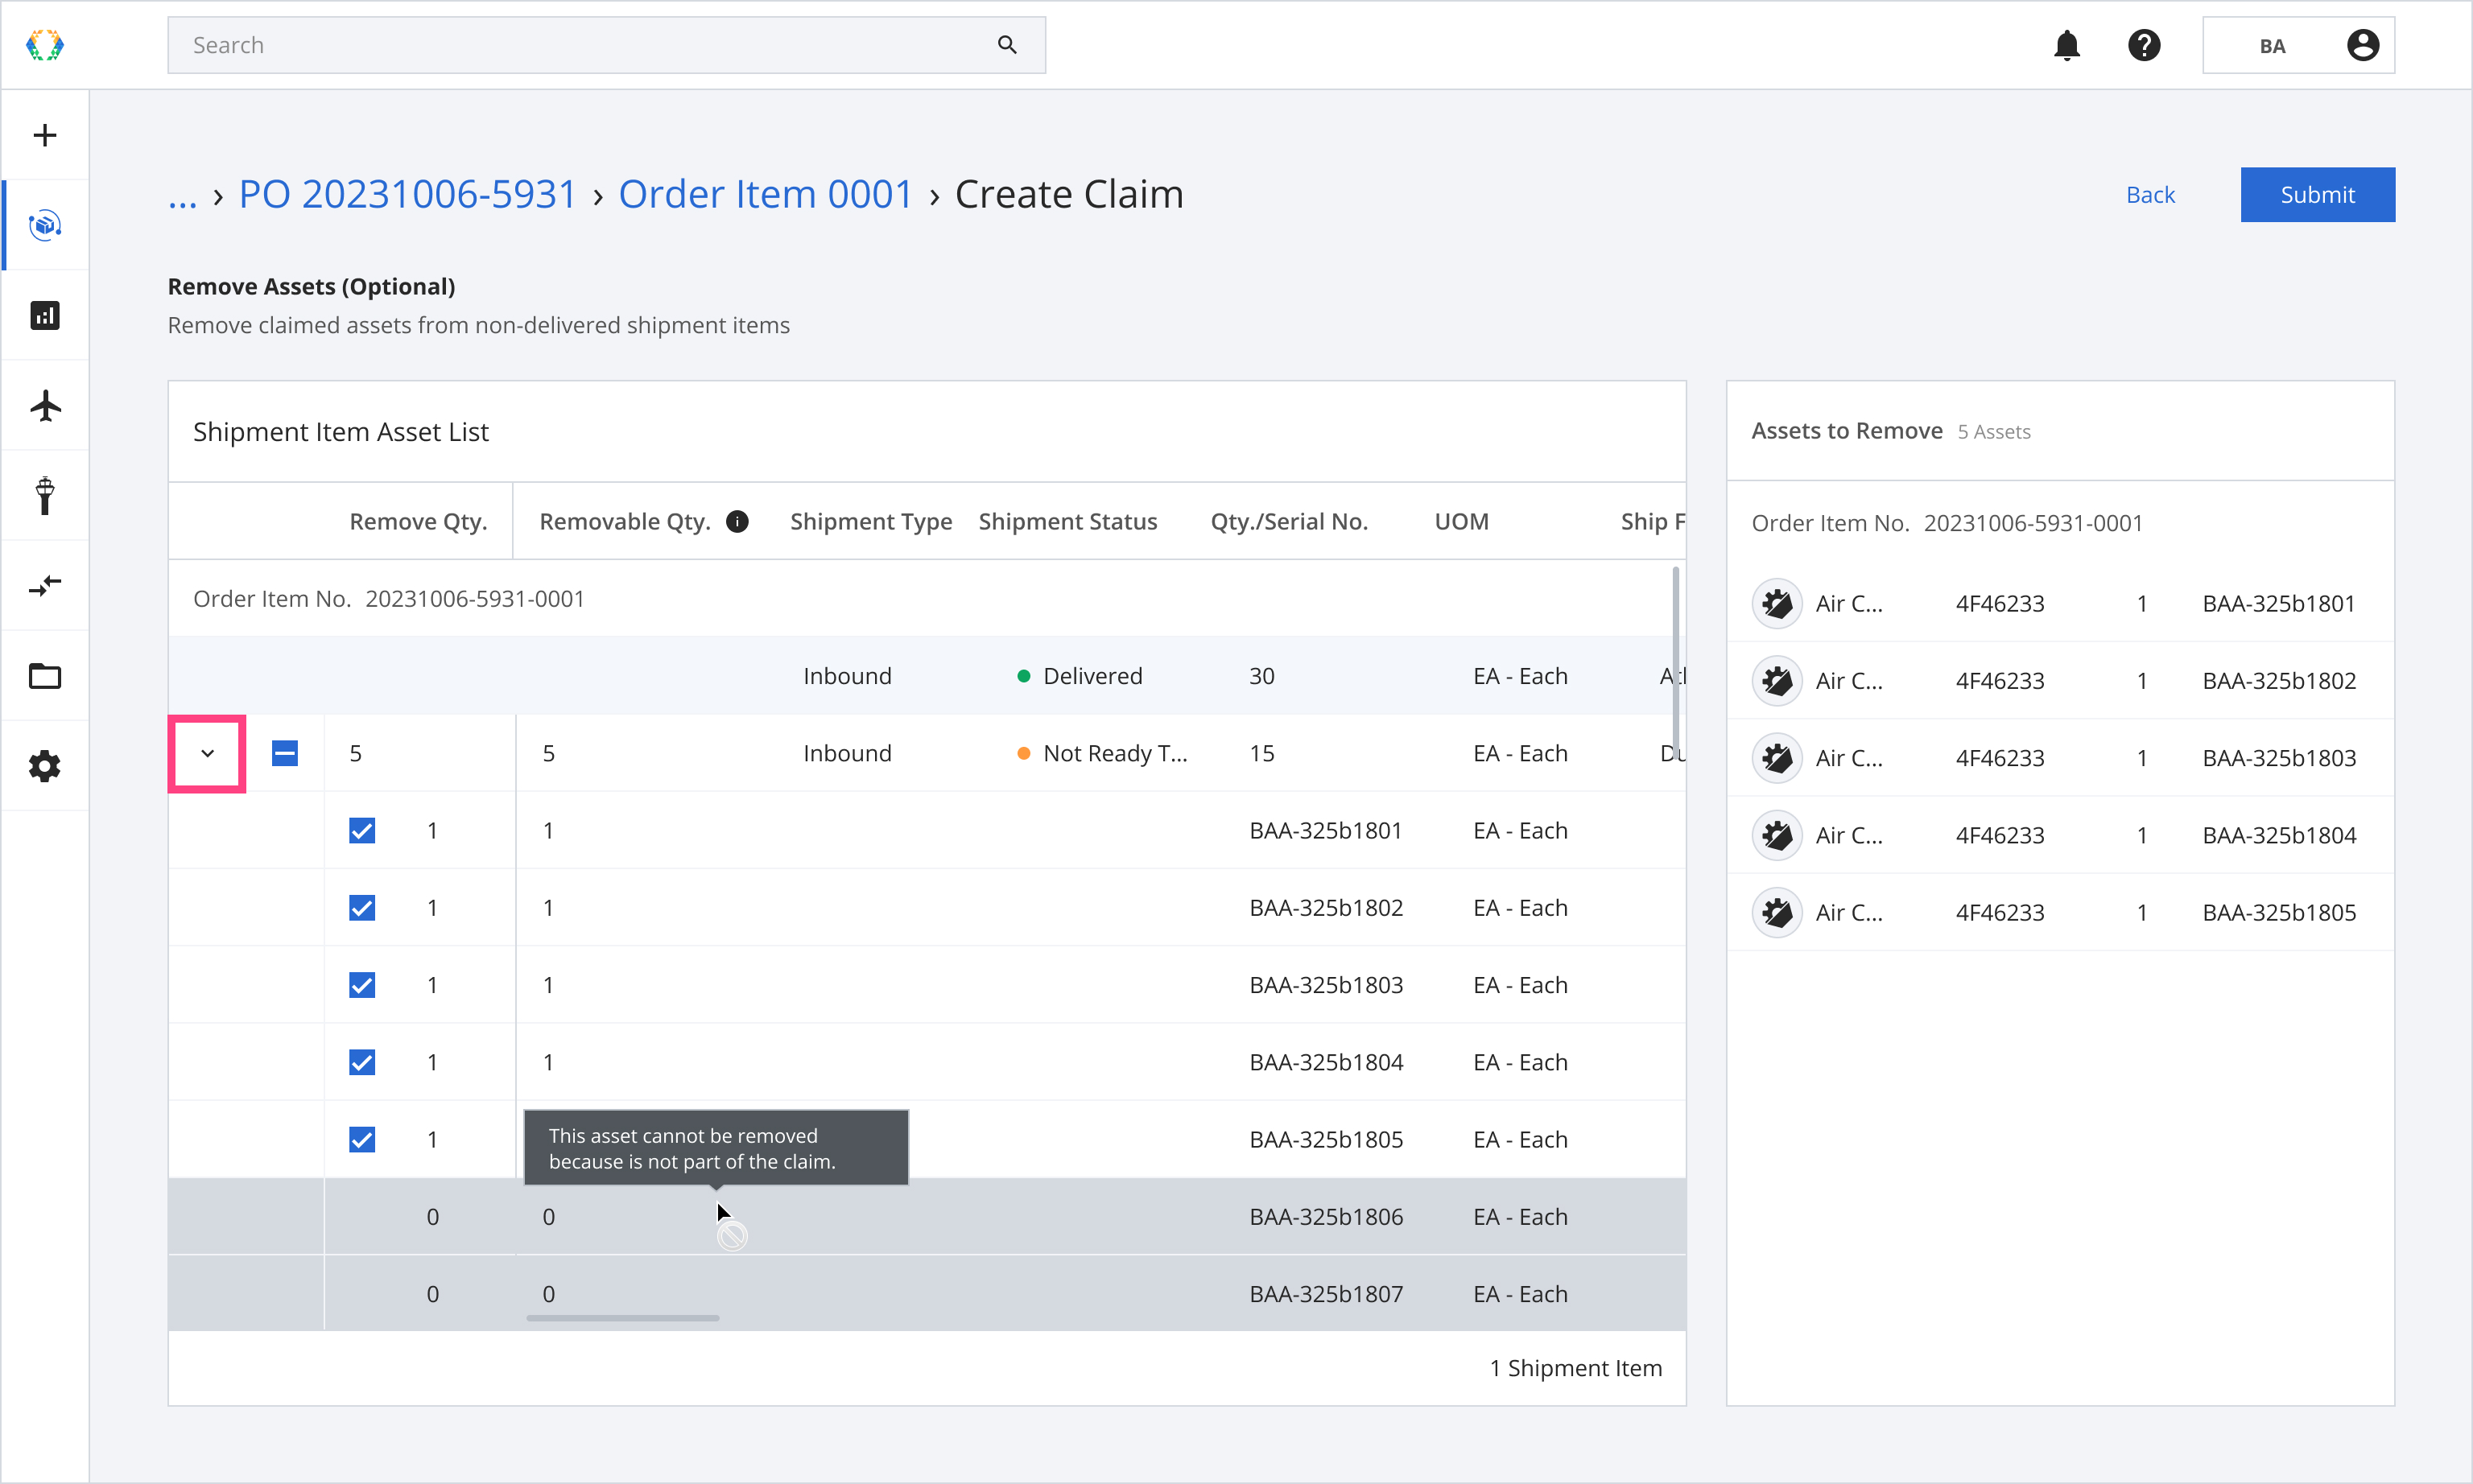
If the selected assets to claim do not match the assets included in non-delivered shipment items, you will still see the shipment item in the list. Compare the assets with the right-side panel, where you can view the selected assets to claim.
Step 9: Click 'Submit'.
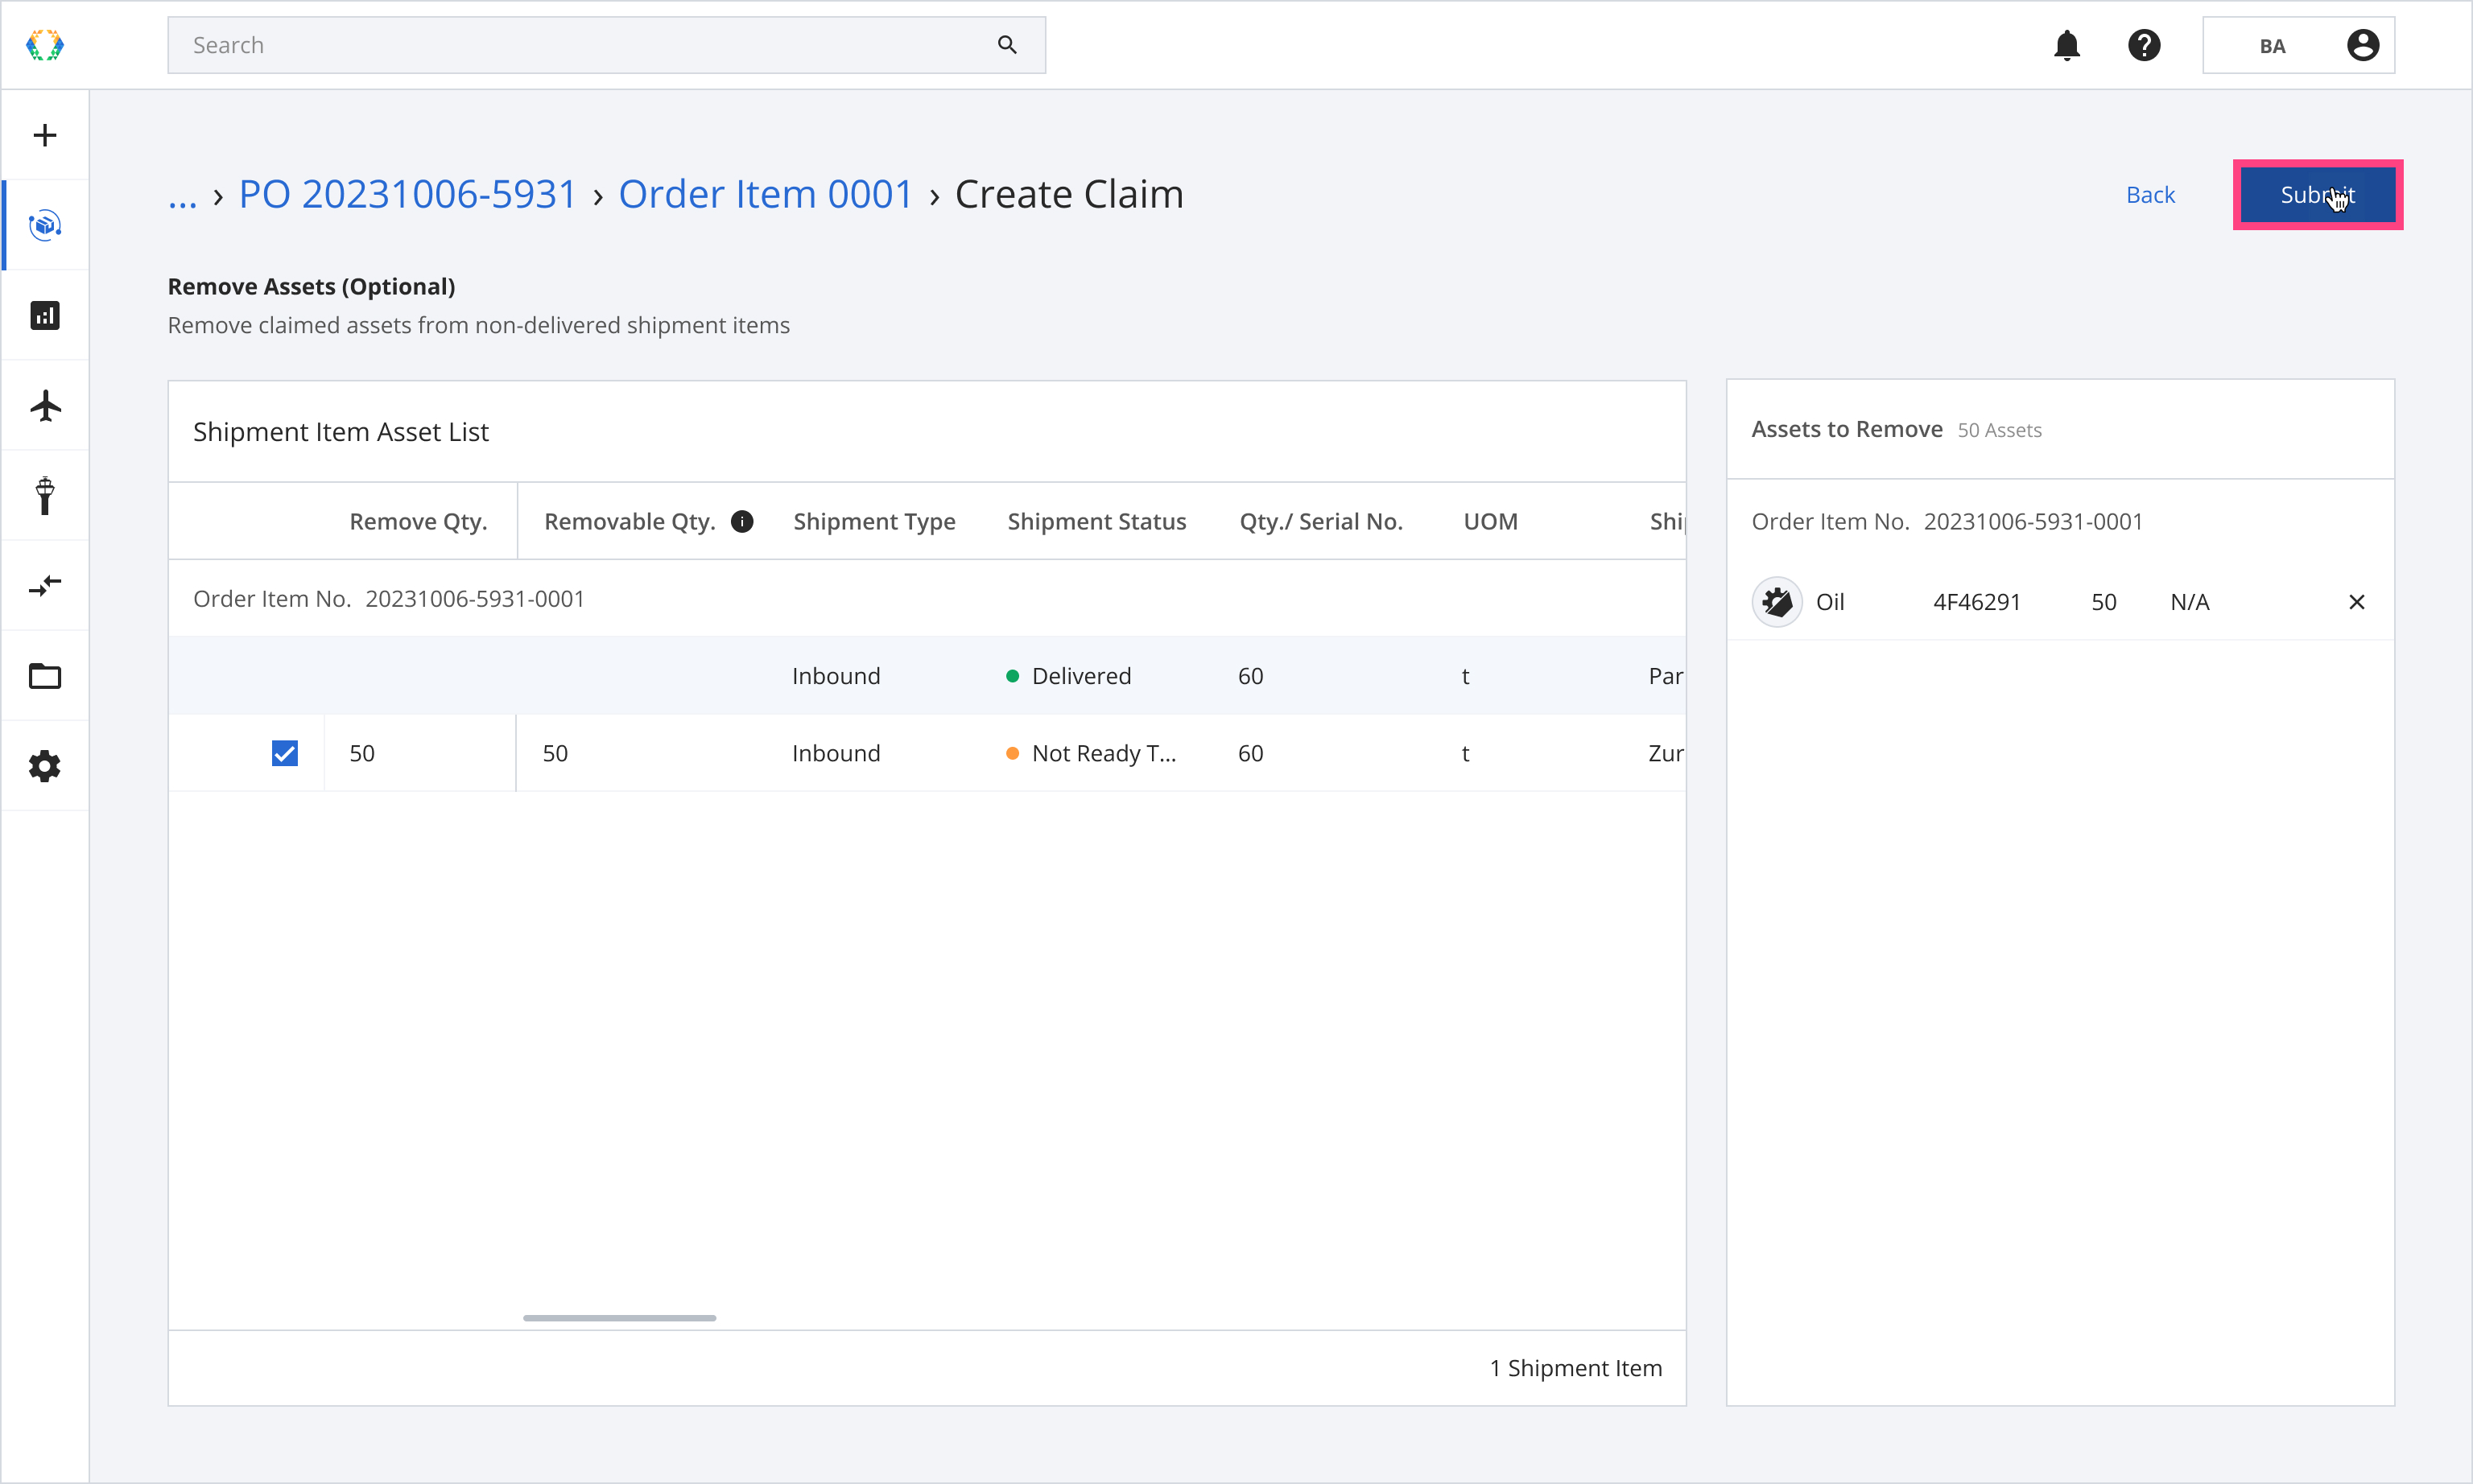
Step 10: A confirmation banner will appear, click 'Create'.
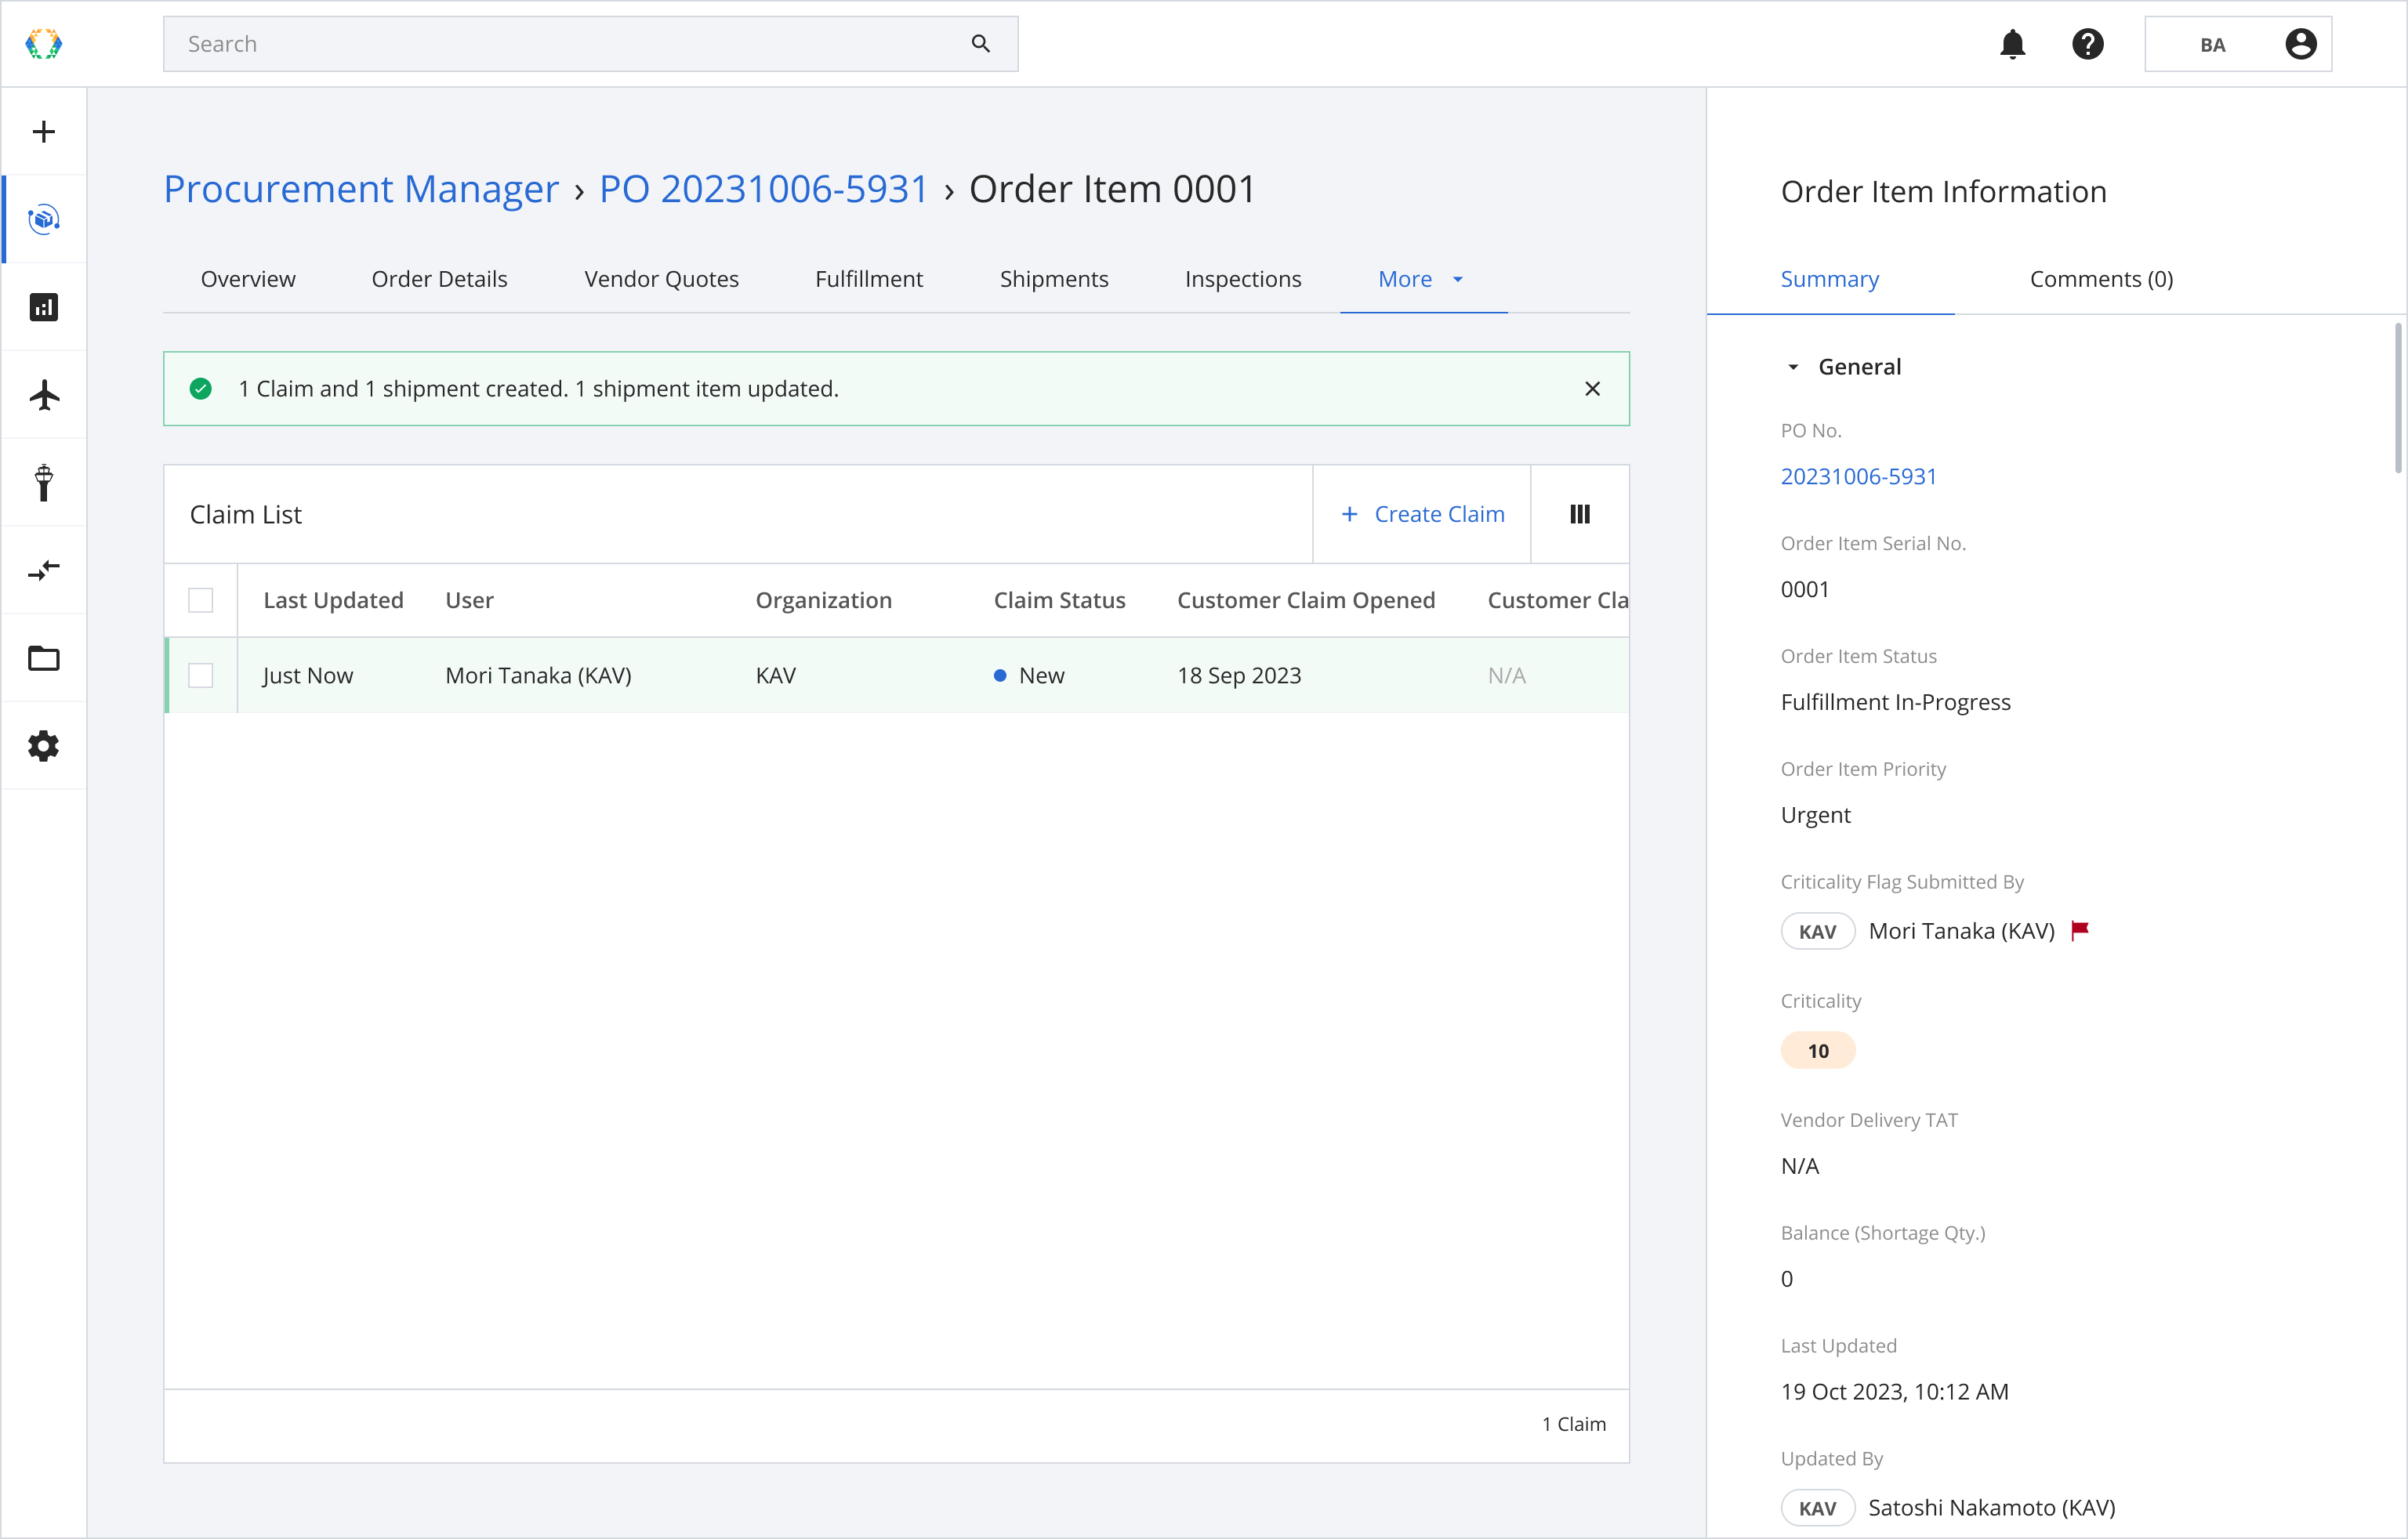
Once the claims are successfully created, a green banner will appear at the top of the claims list.
Updated over 1 year ago