Create Order Items (Bulk Operation)
There are 2 ways to create order items in bulk:
Option 1: Create Order Items Directly
Option 2: Create Order Items Using Excel Template
Option 1: Create Order Items Directly
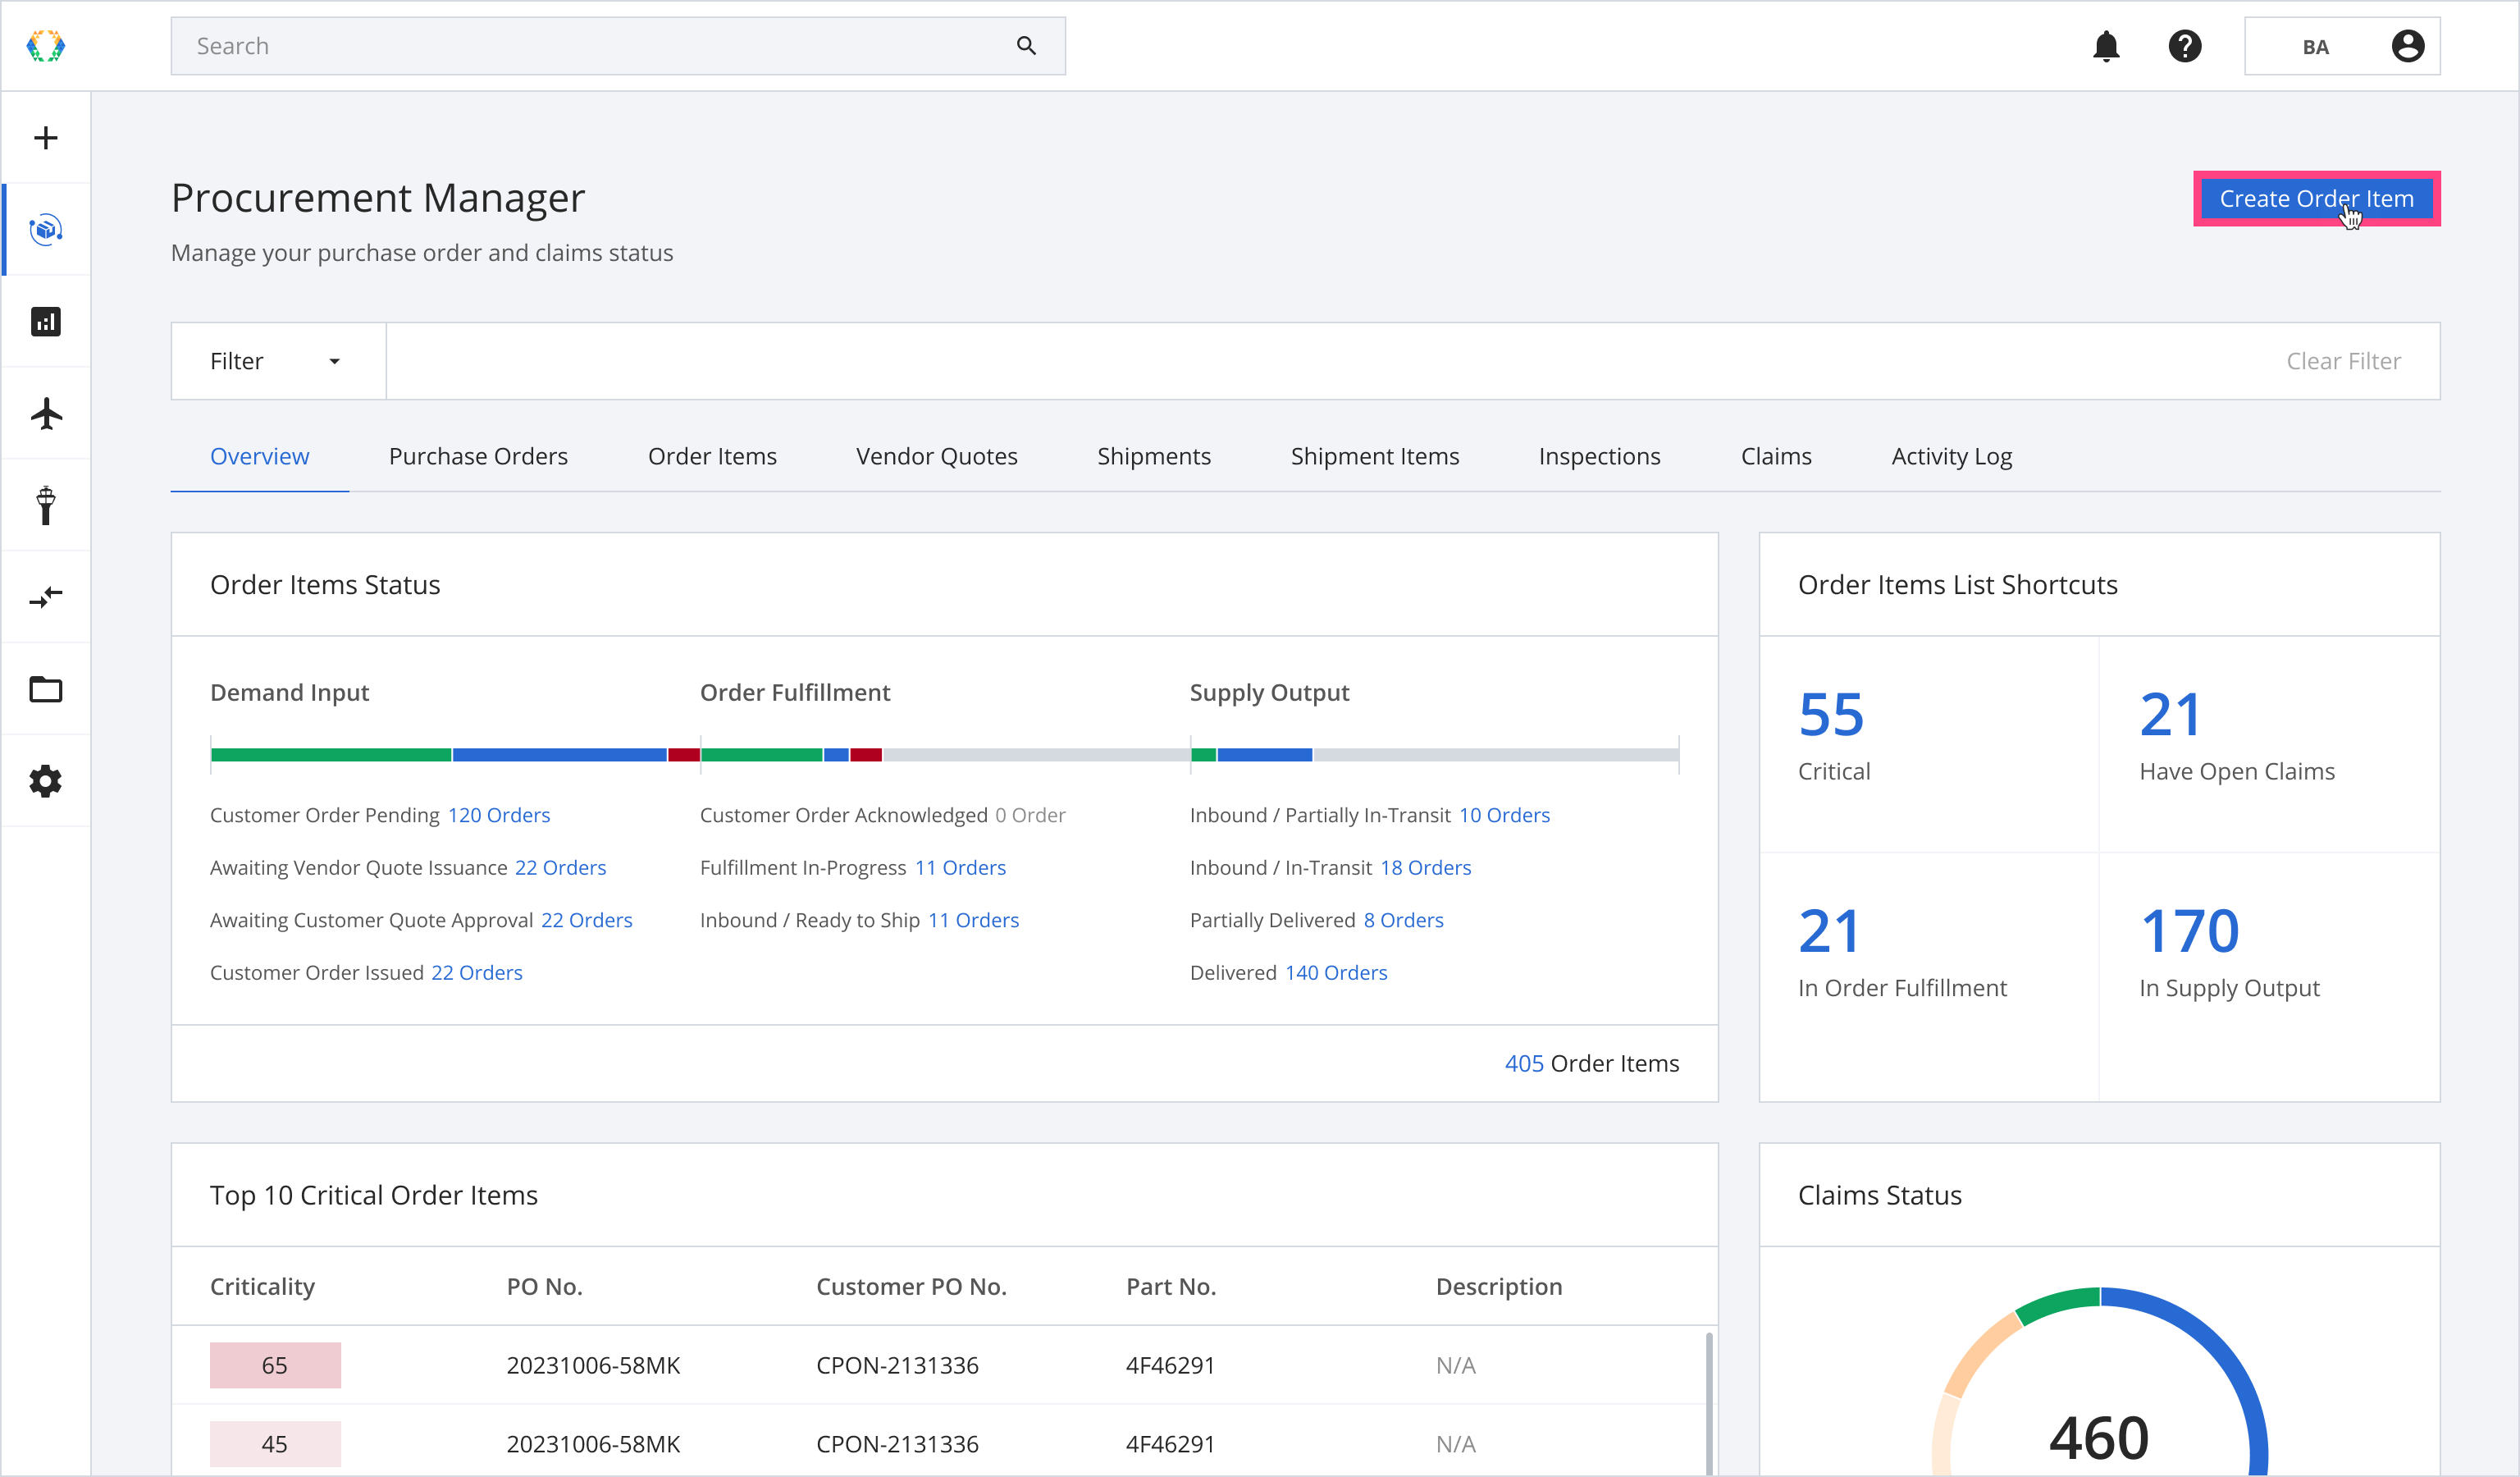
Step 1: From Procurement Manager overview, click 'Create Order Item' at the top right-hand corner.
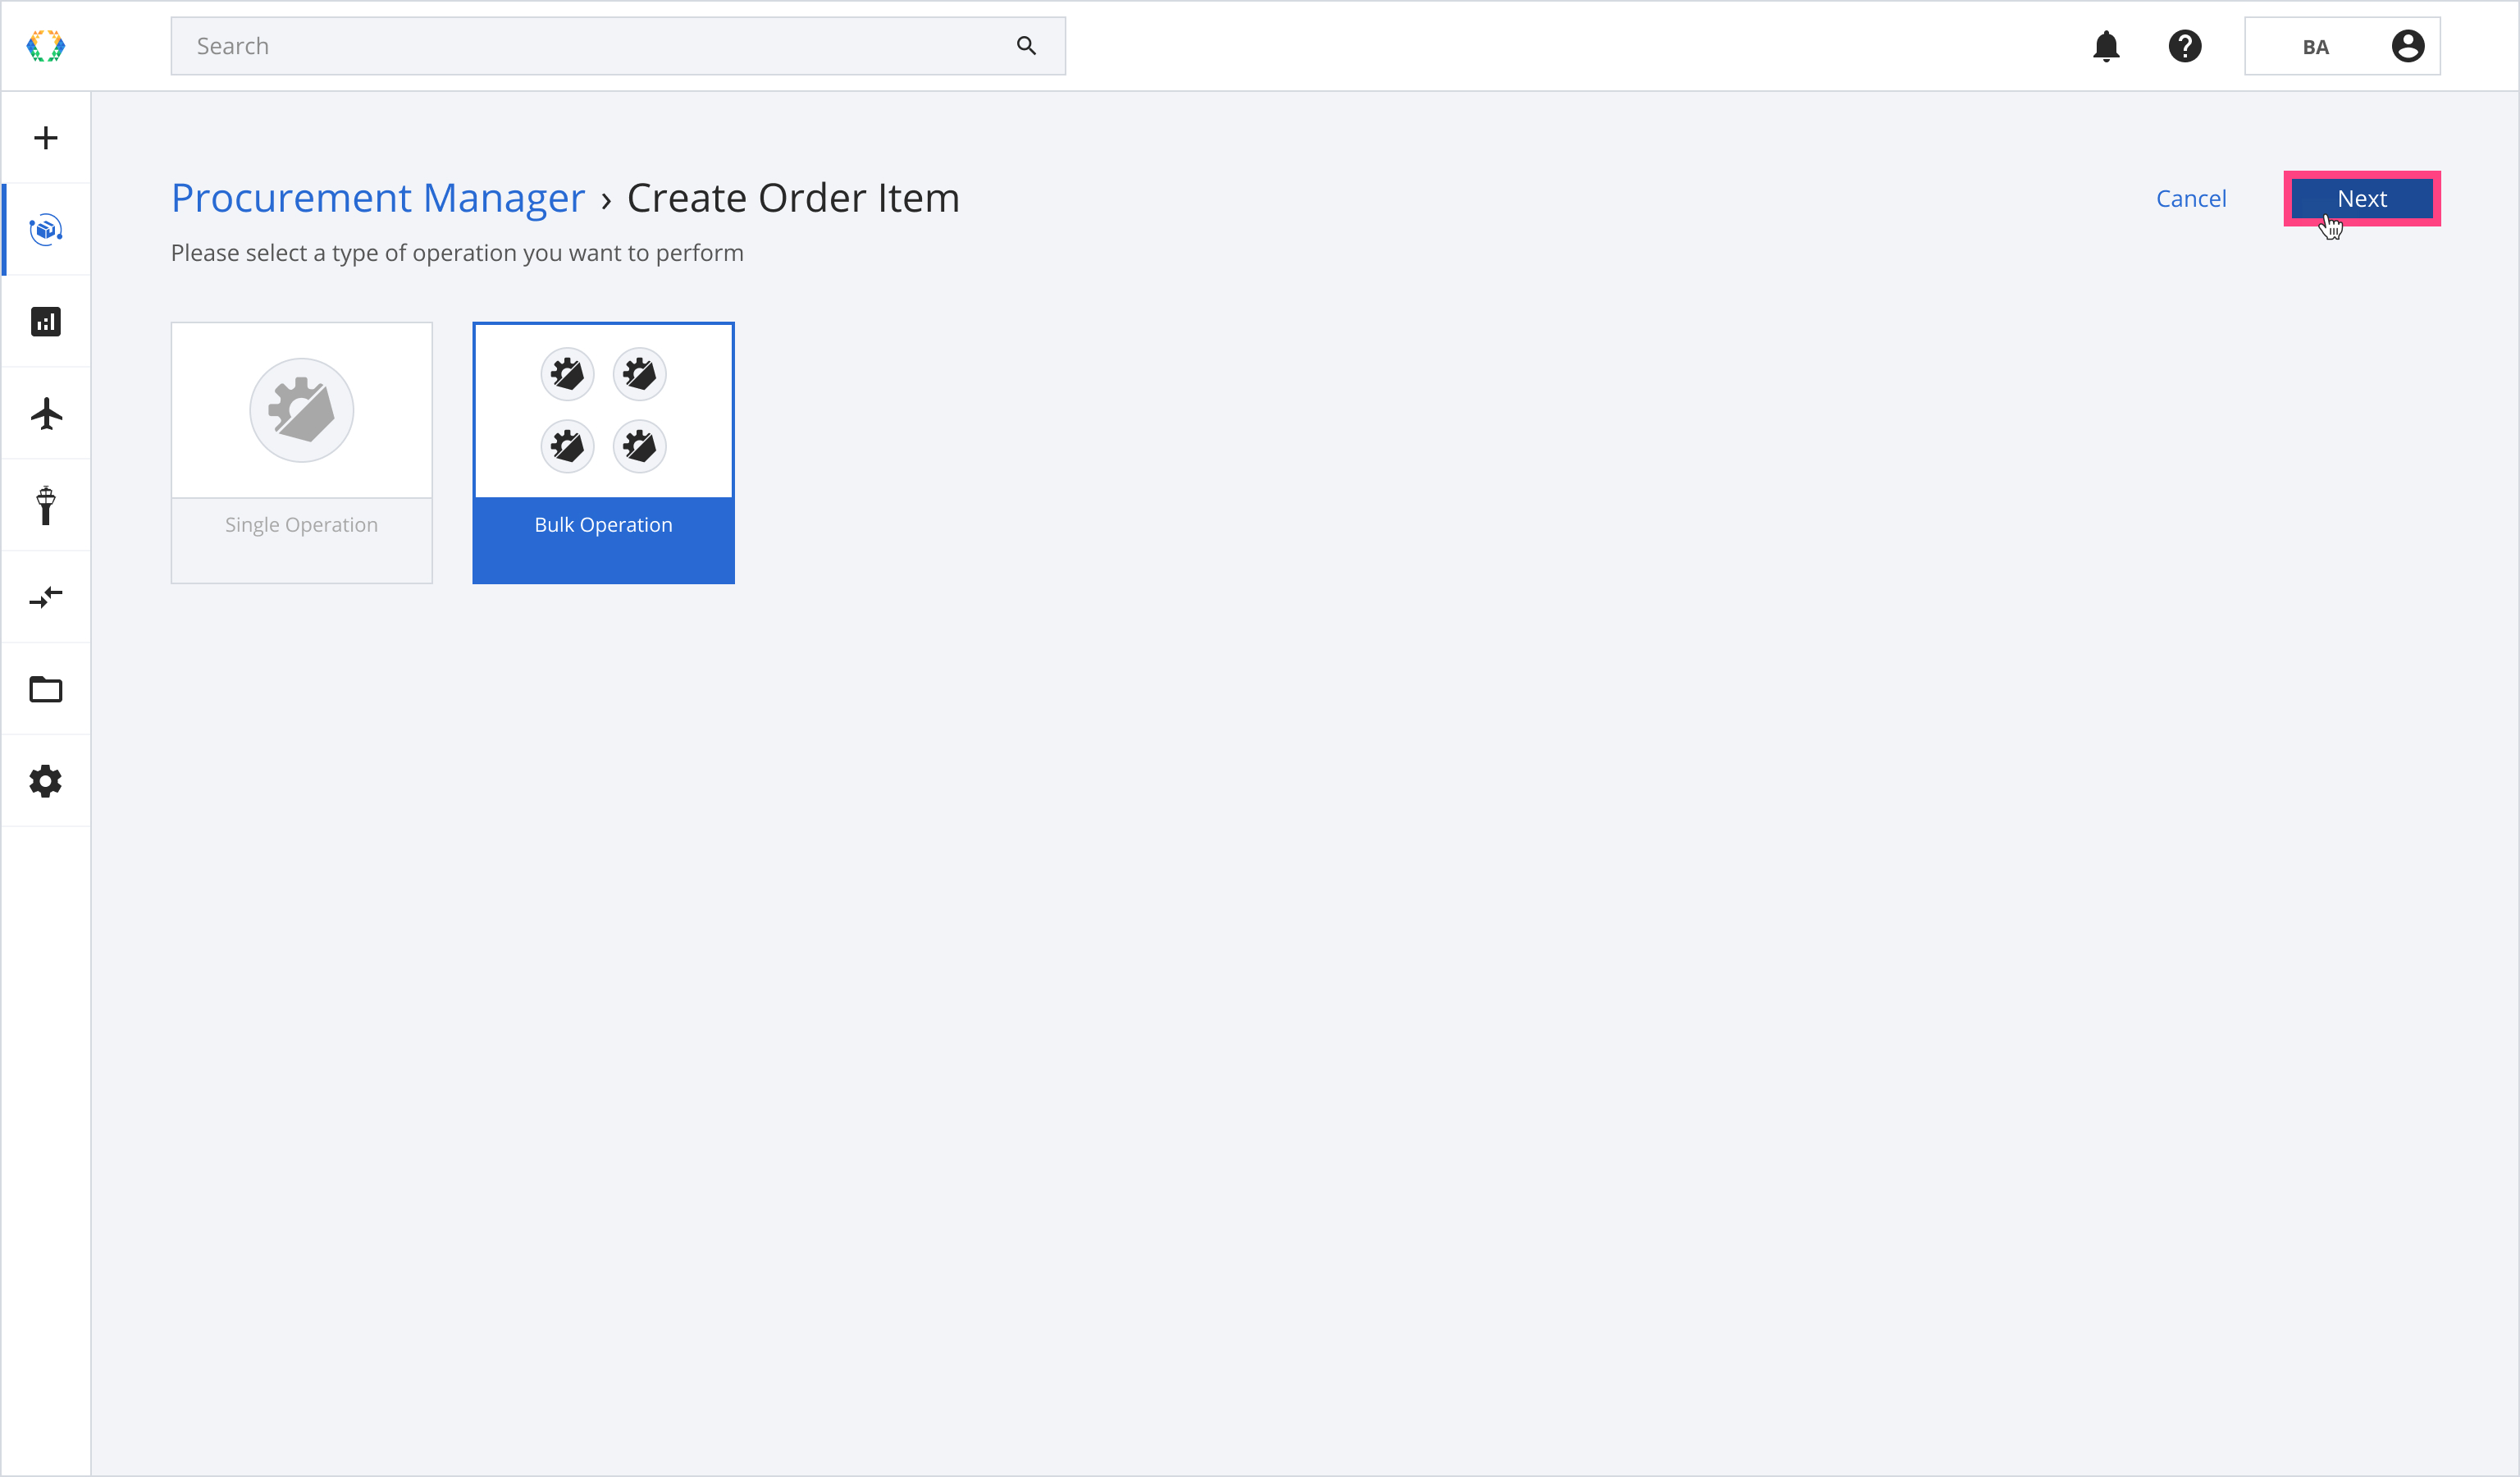
Step 2: Select 'Bulk Operation' and click 'Next'.
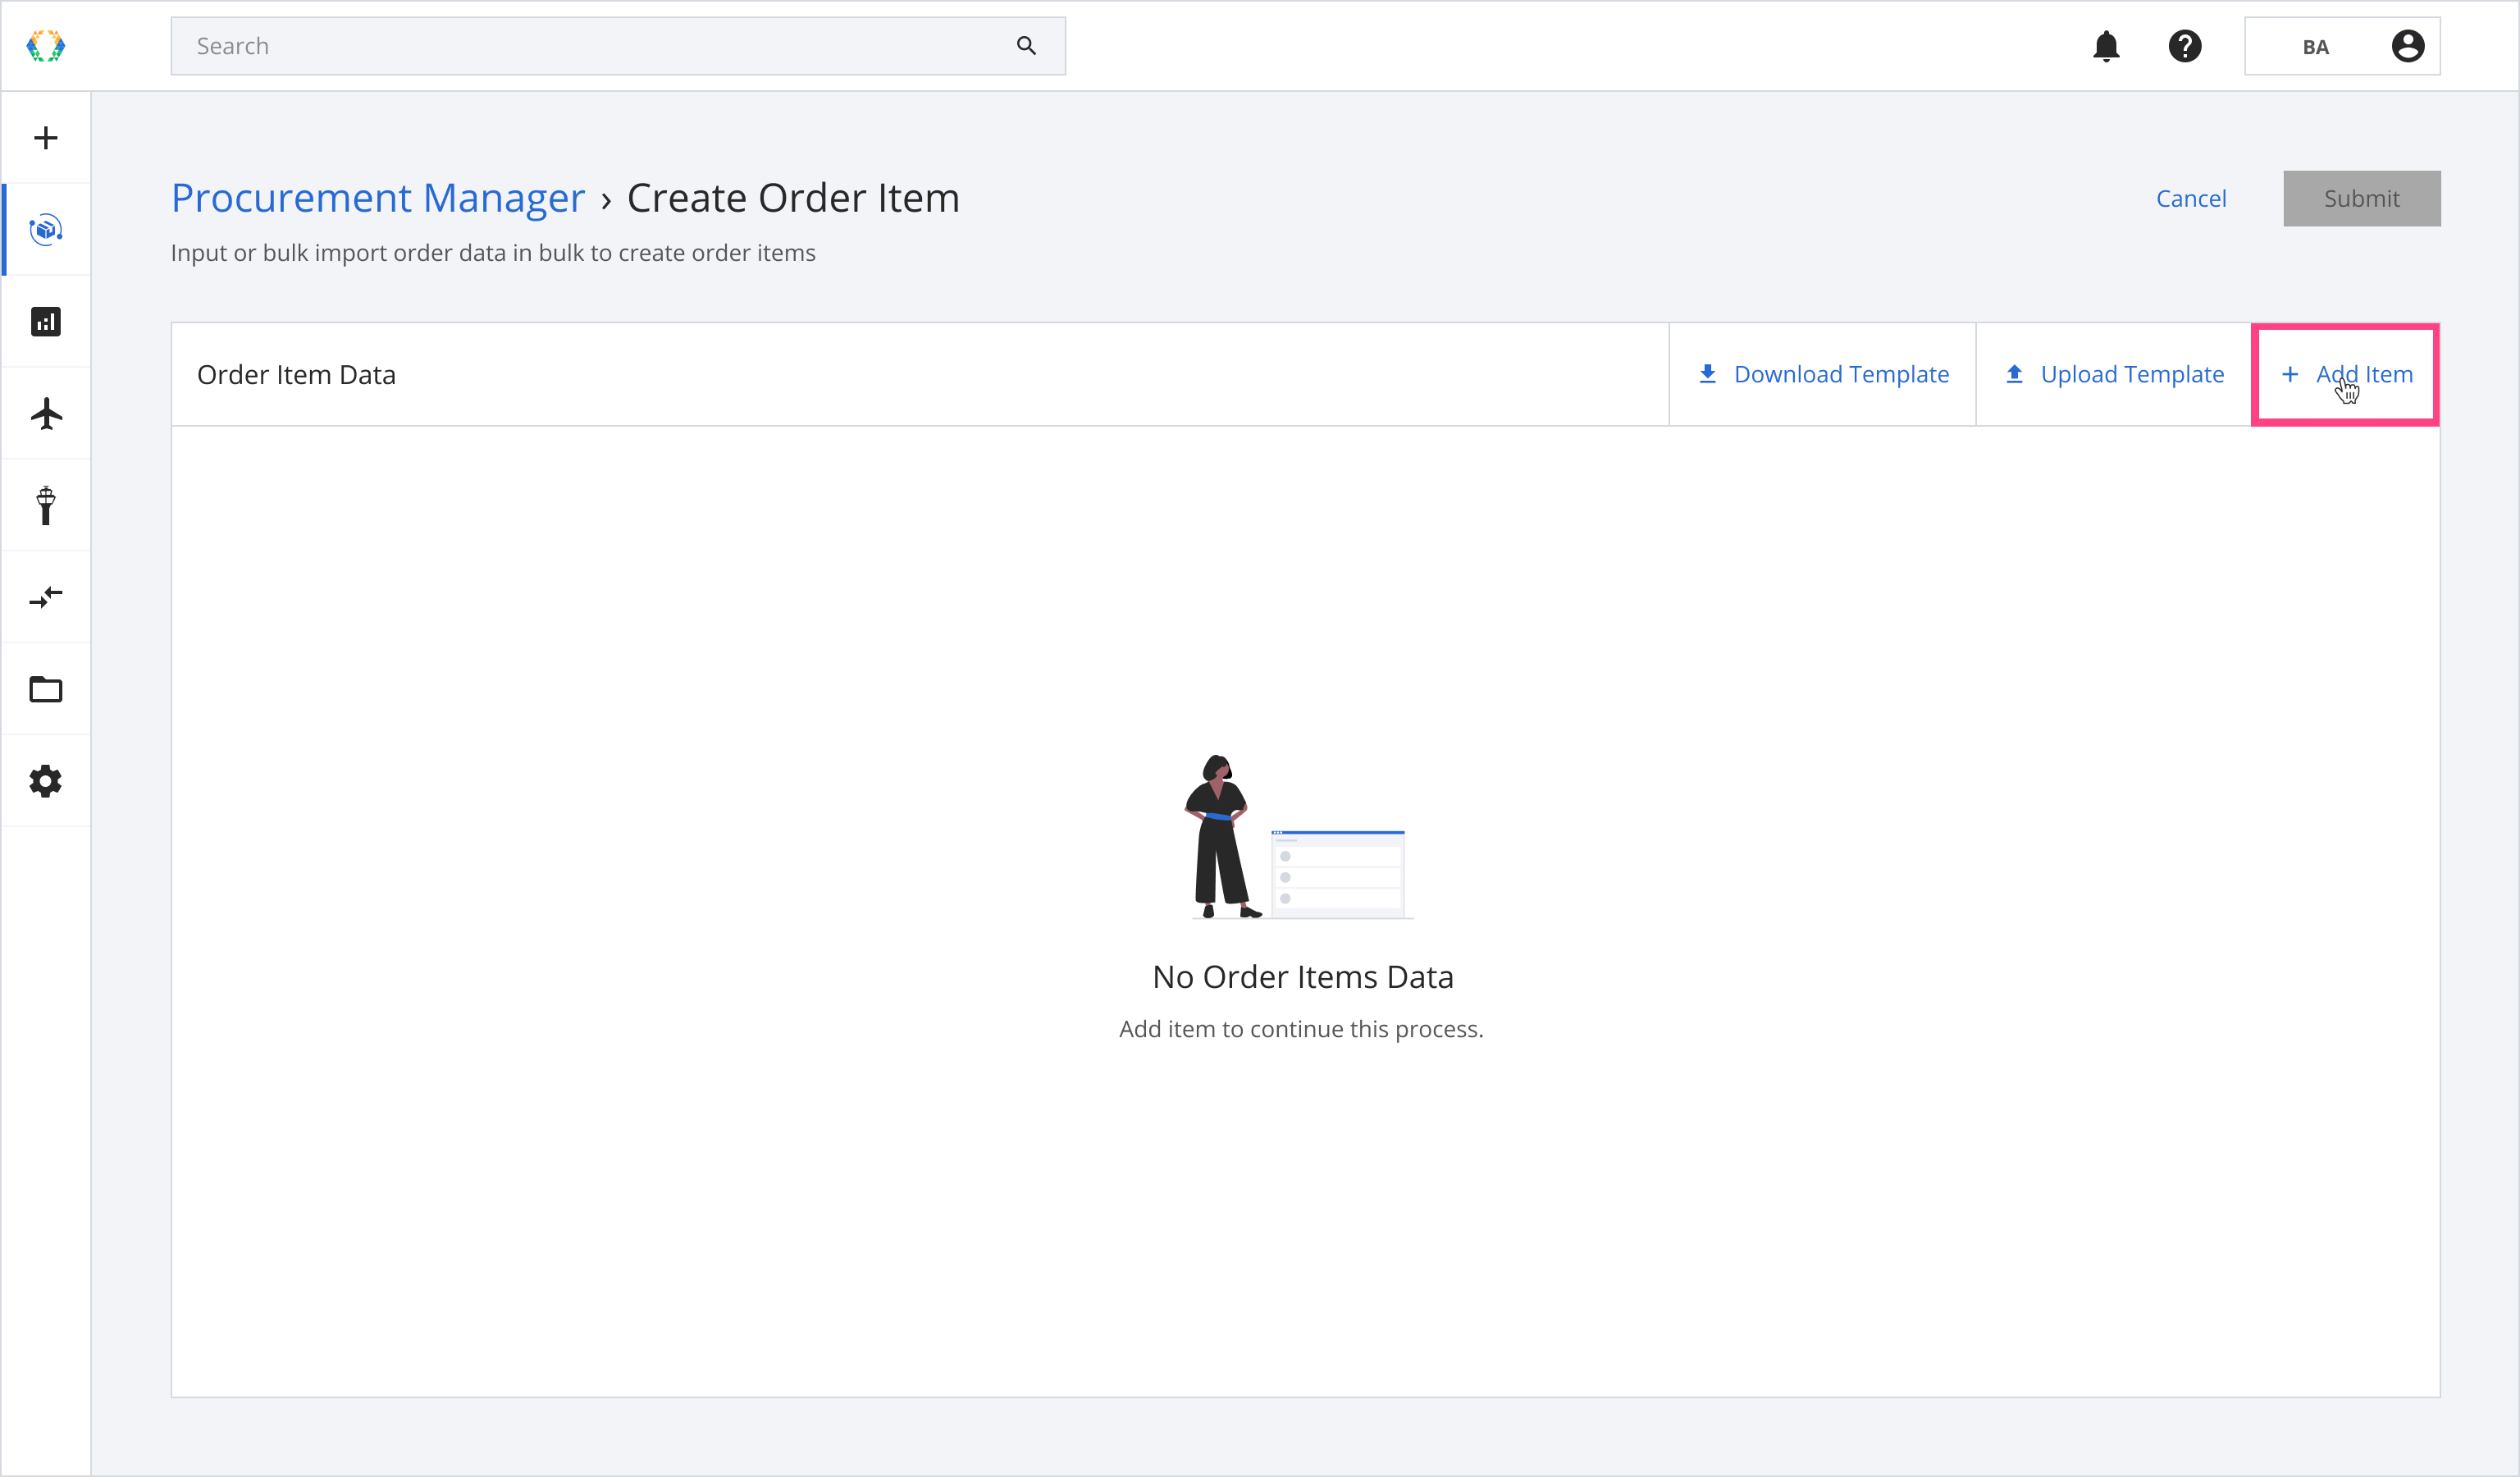
Step 3: Click 'Add Item'.
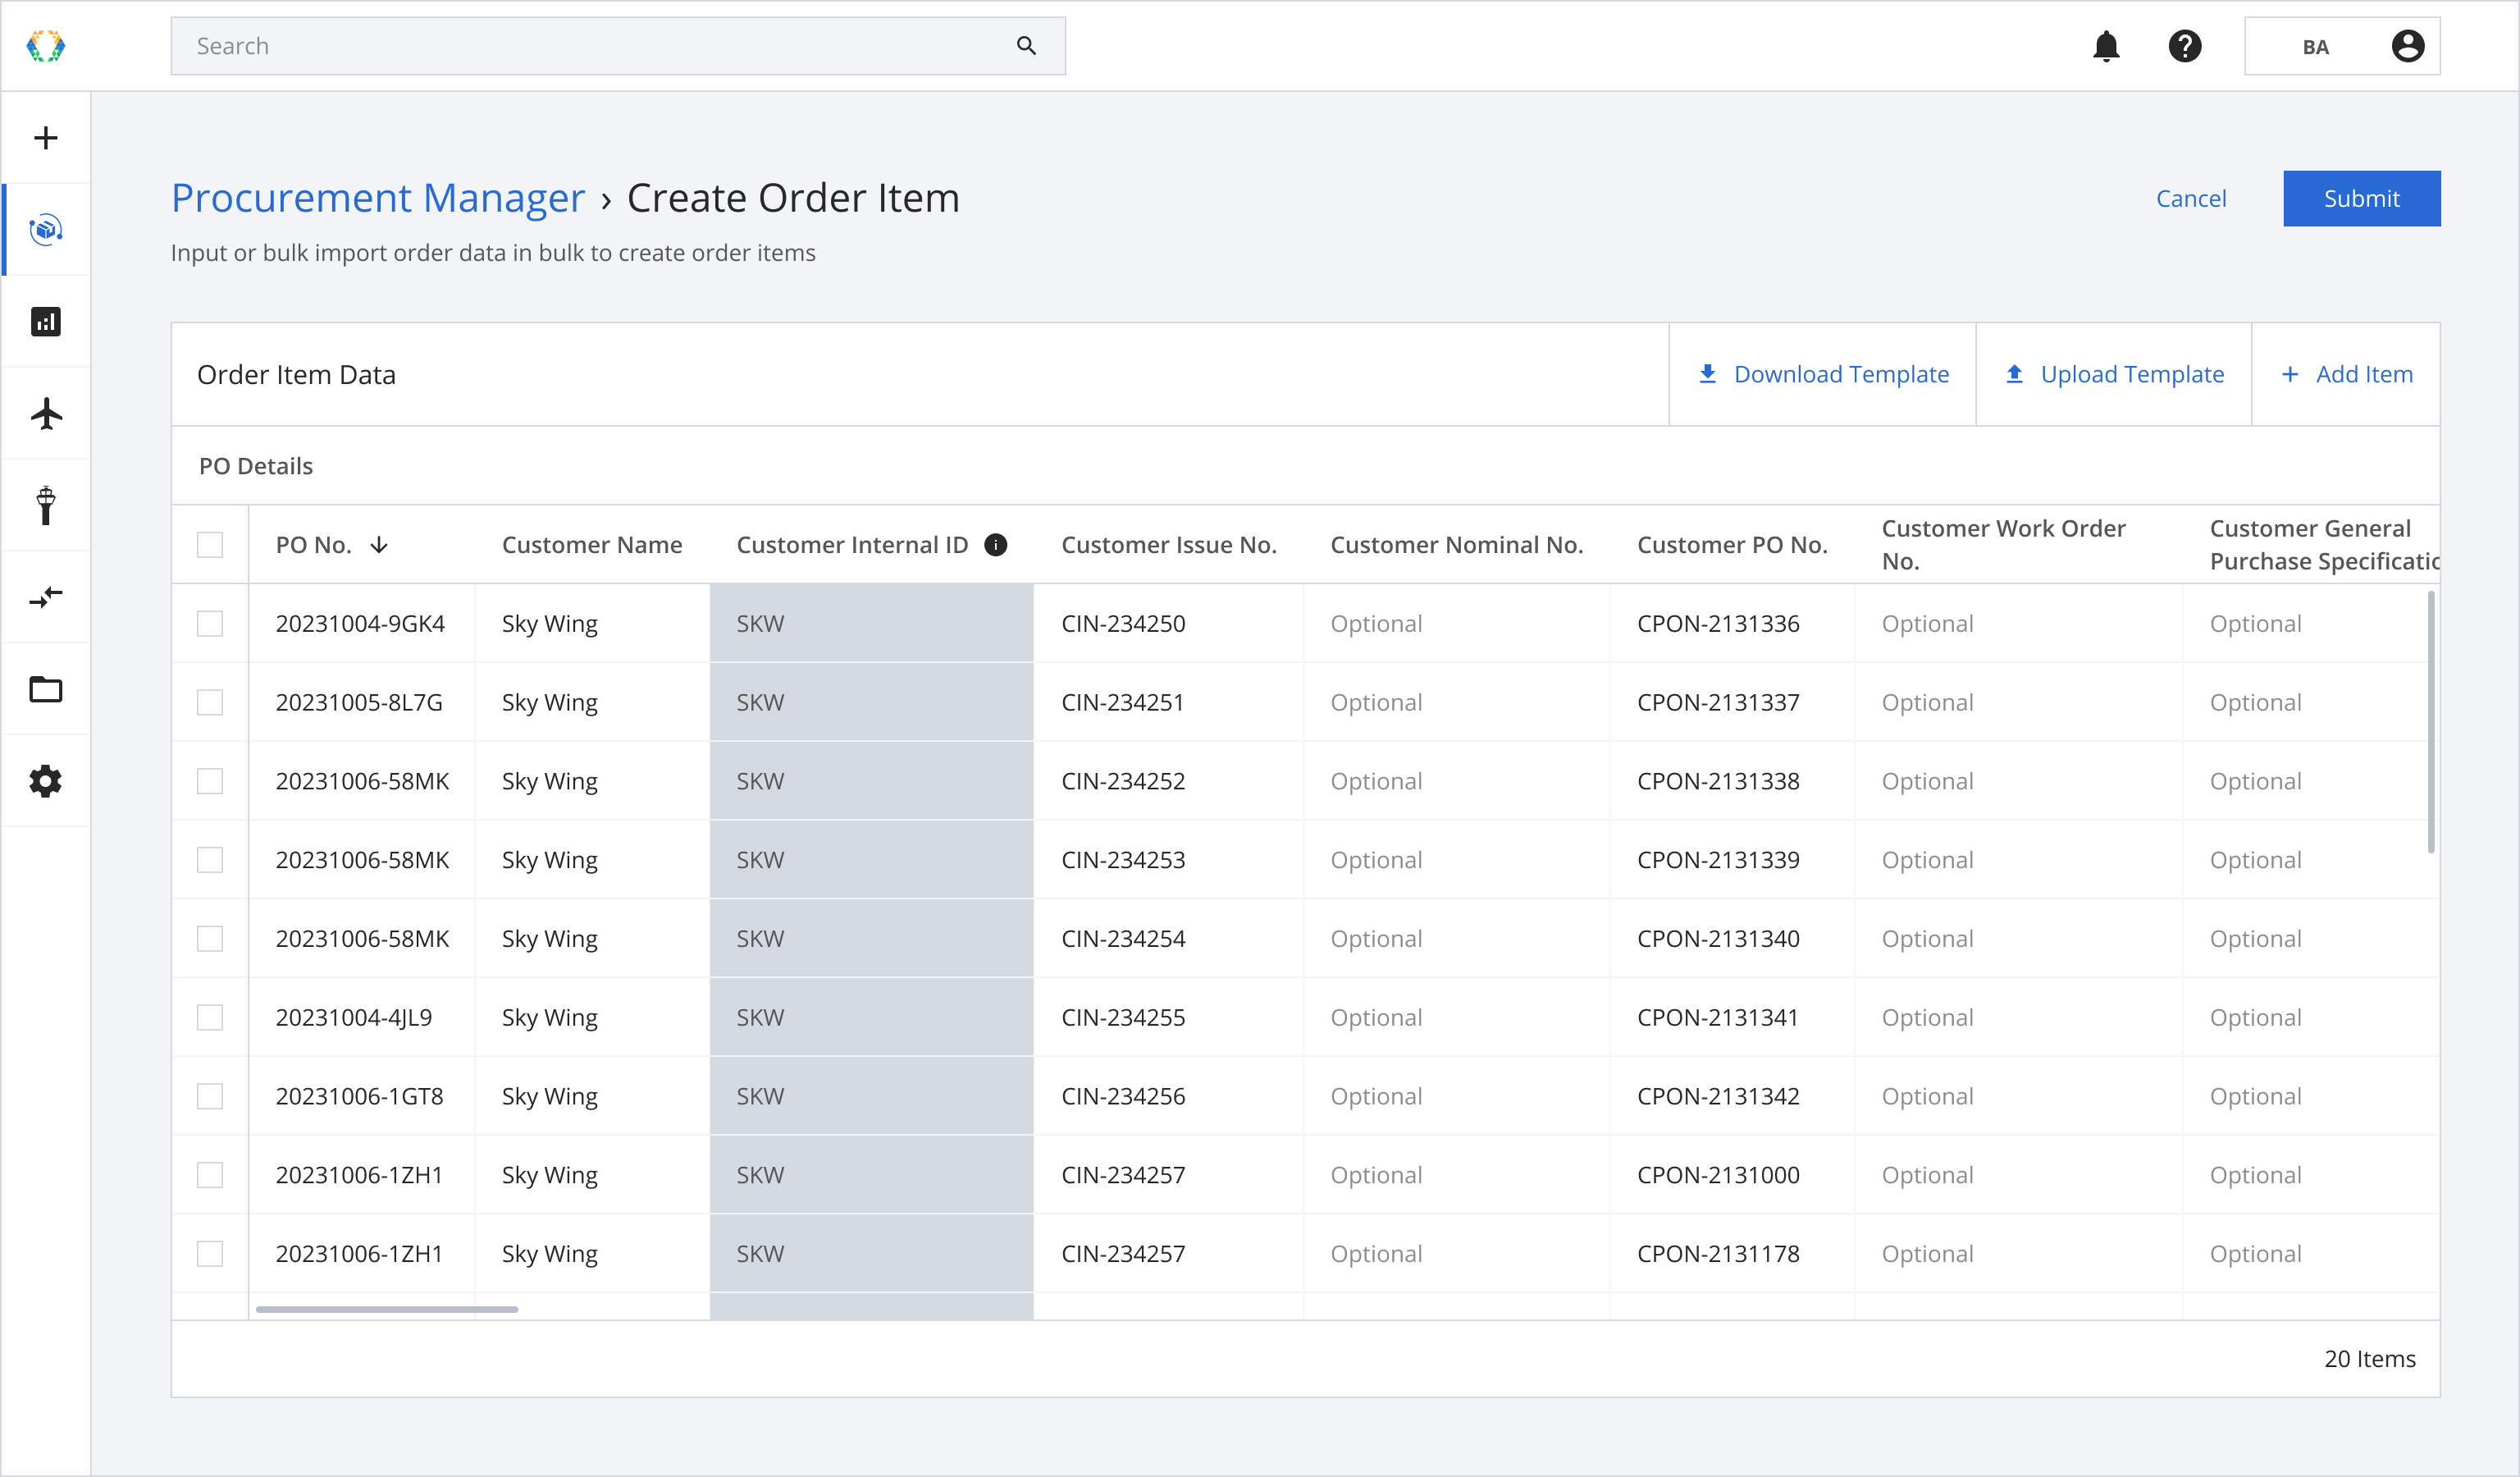
Step 4: Provide details for your order item.
Required fields:PO No.
Customer Internal ID
Order Item Status
Order Item Priority
Criticality Flag
Serialized Asset
UOM
Part No.
Logistics Template
There are 9 sections in order details:
- PO Details
- Order Item Overview
- Asset Details
- Order Item Reference Numbers
- Vendor Quote Details
- Document Requirements
- Packaging Requirements
- Shipment Details
- Billing Details
- Additional Details
PO Details
- PO No.: Add new purchase order number to create new purchase order or add existing purchase order number to connect this order item to the PO.
- Customer Name: Select a customer name assign by your organization. Add or edit customer name in Setting.
- Customer Internal ID: Short name assign by your organization. Add or edit Customer Internal ID in Setting.
Order Item Overview
Set Criticality Flag
The Set Criticality Flag helps you to flag the Repair Order as Critical, this will impact the criticality score of your Repair Order.
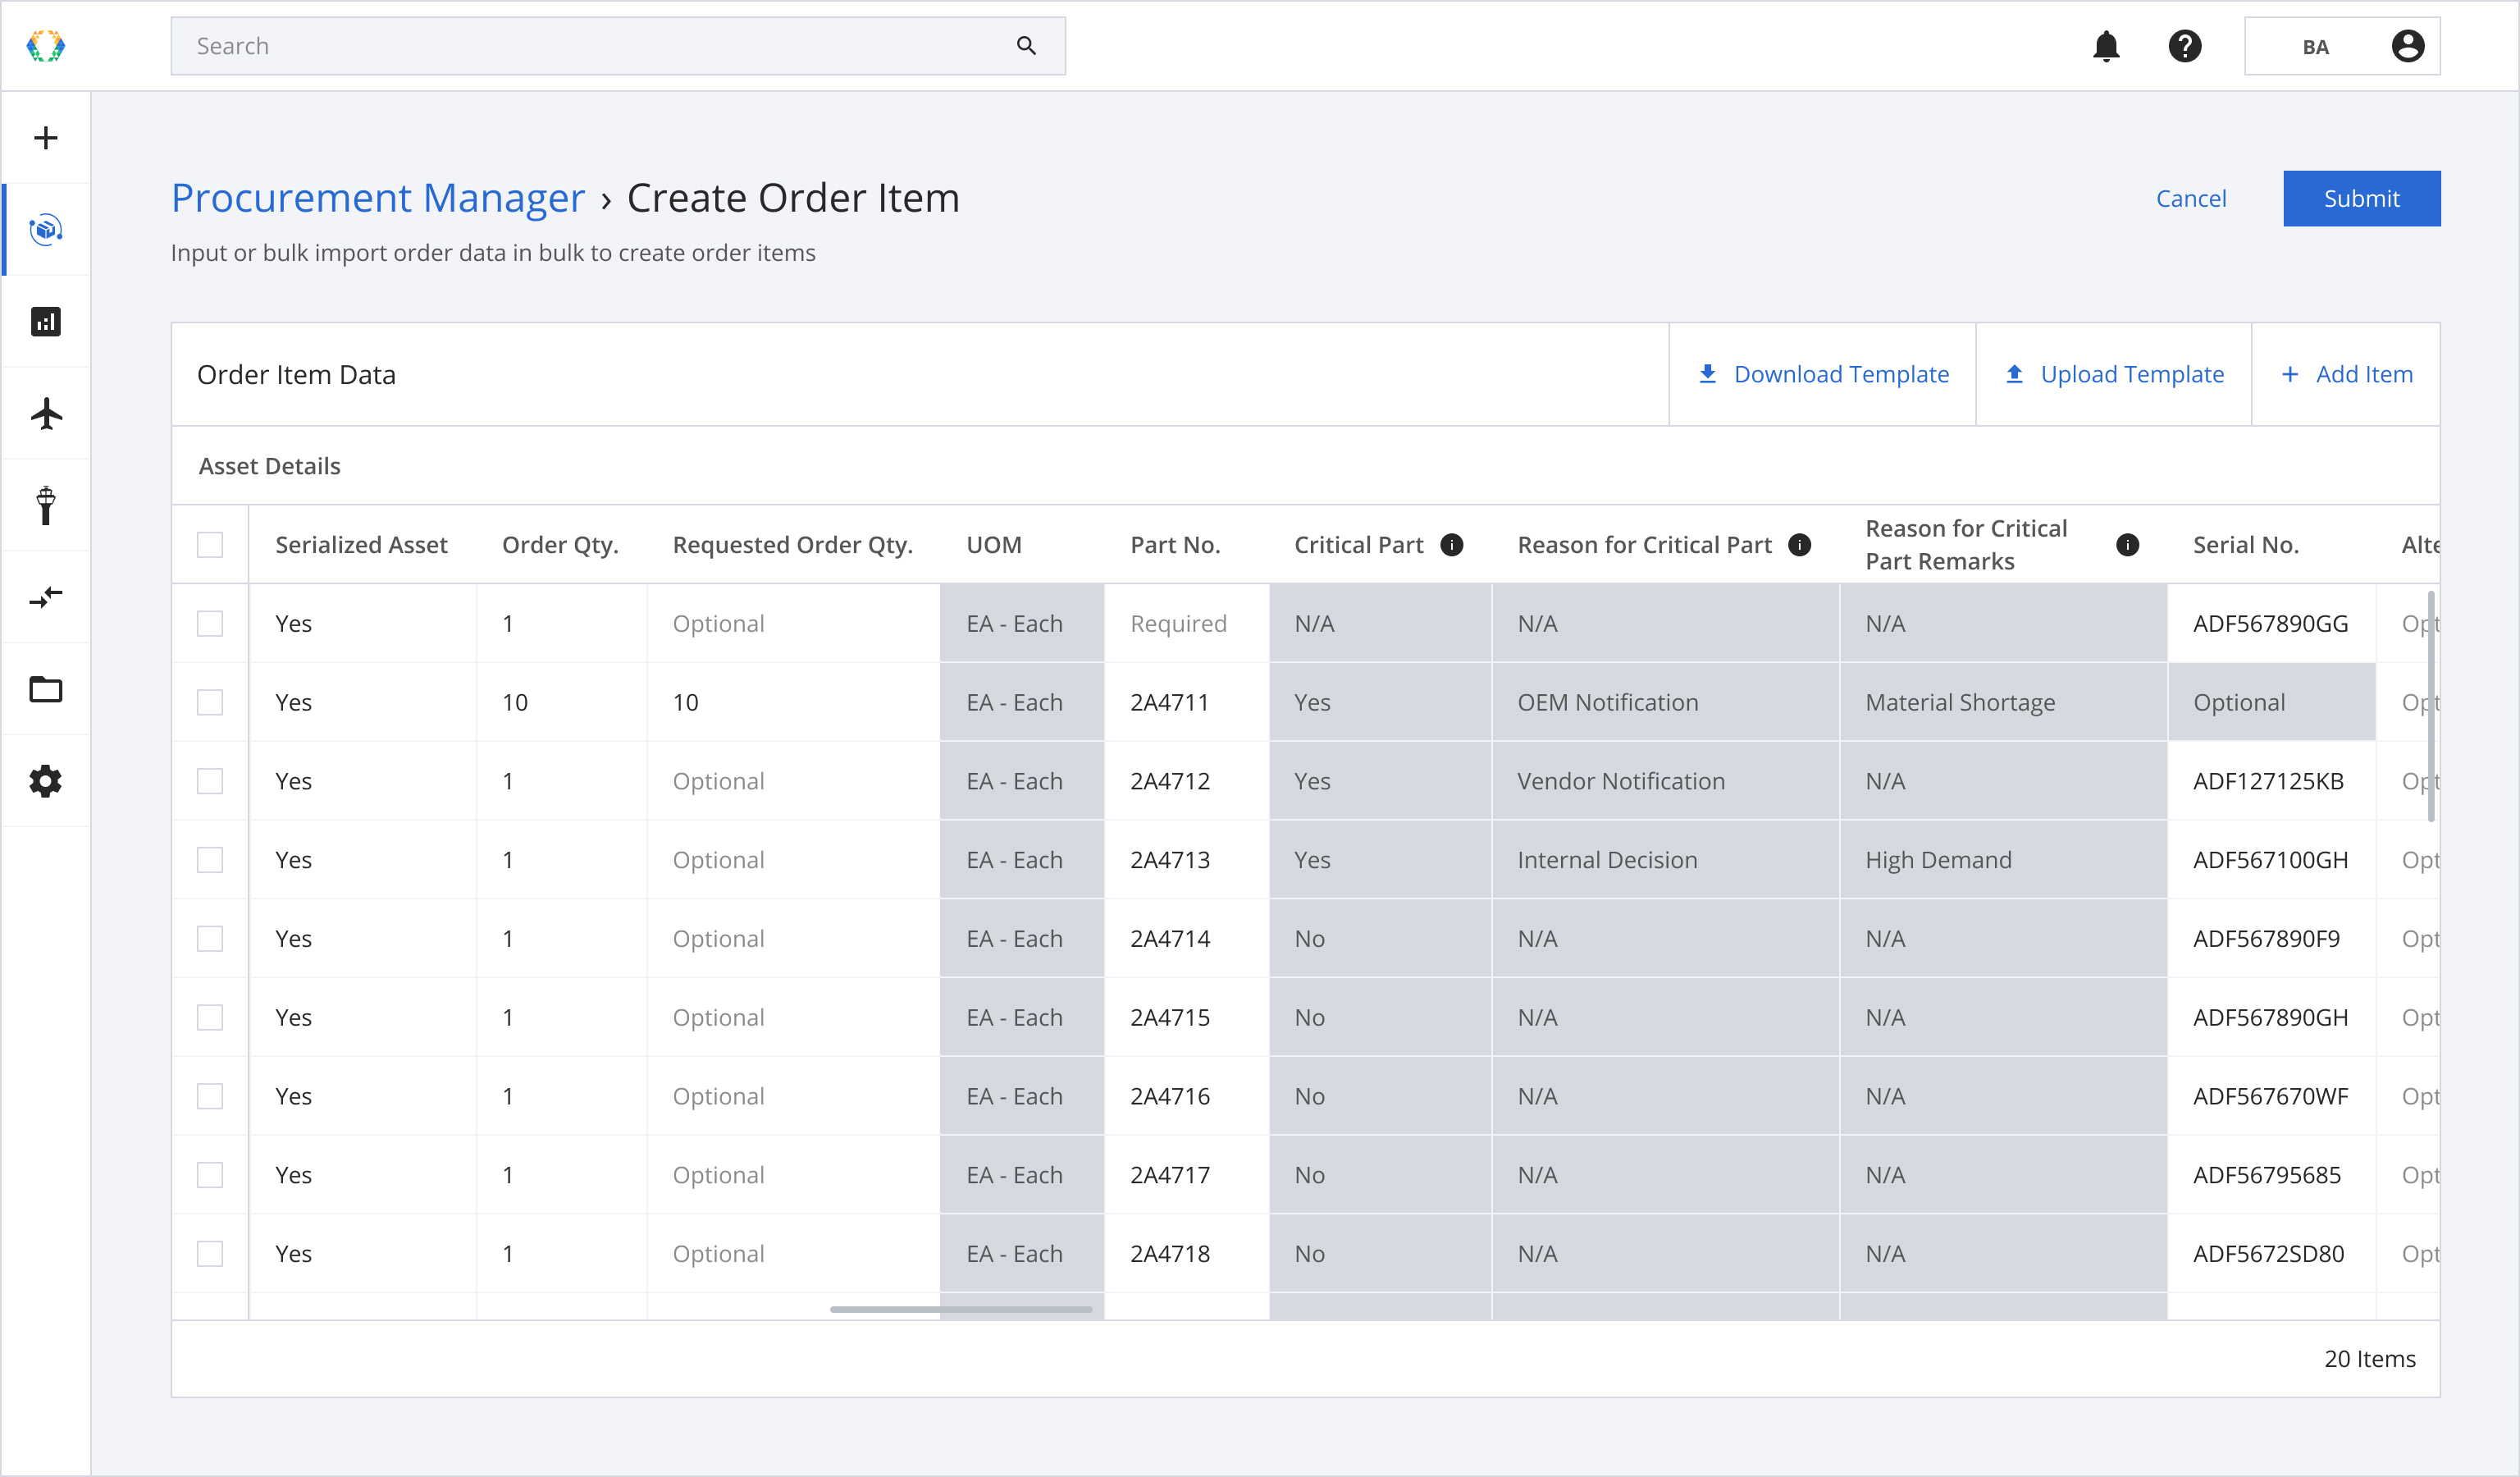
Asset Details
- Serialized Asset: Select Yes if an asset requires a serial number. Select No if an asset is non-serialized asset.
- Order Qty.: Add number of asset you order and would like to create as asset in the system. Add 0 if you prefer not to create any asset now. You can add asset later through fulfillment tab.
- Requested Order Qty.: Requested quantity
- UOM: Unit of measurement. Serialized asset can only have EA - Each as UOM.
- Critical Part: Indicate if this part number is in your organization's critical part list. Add or edit critical part in Setting.
- Reason for Critical Part: Reason from your organization's critical part list.
- Reason for Critical Part Remarks: Remarks from your organization's critical part list.
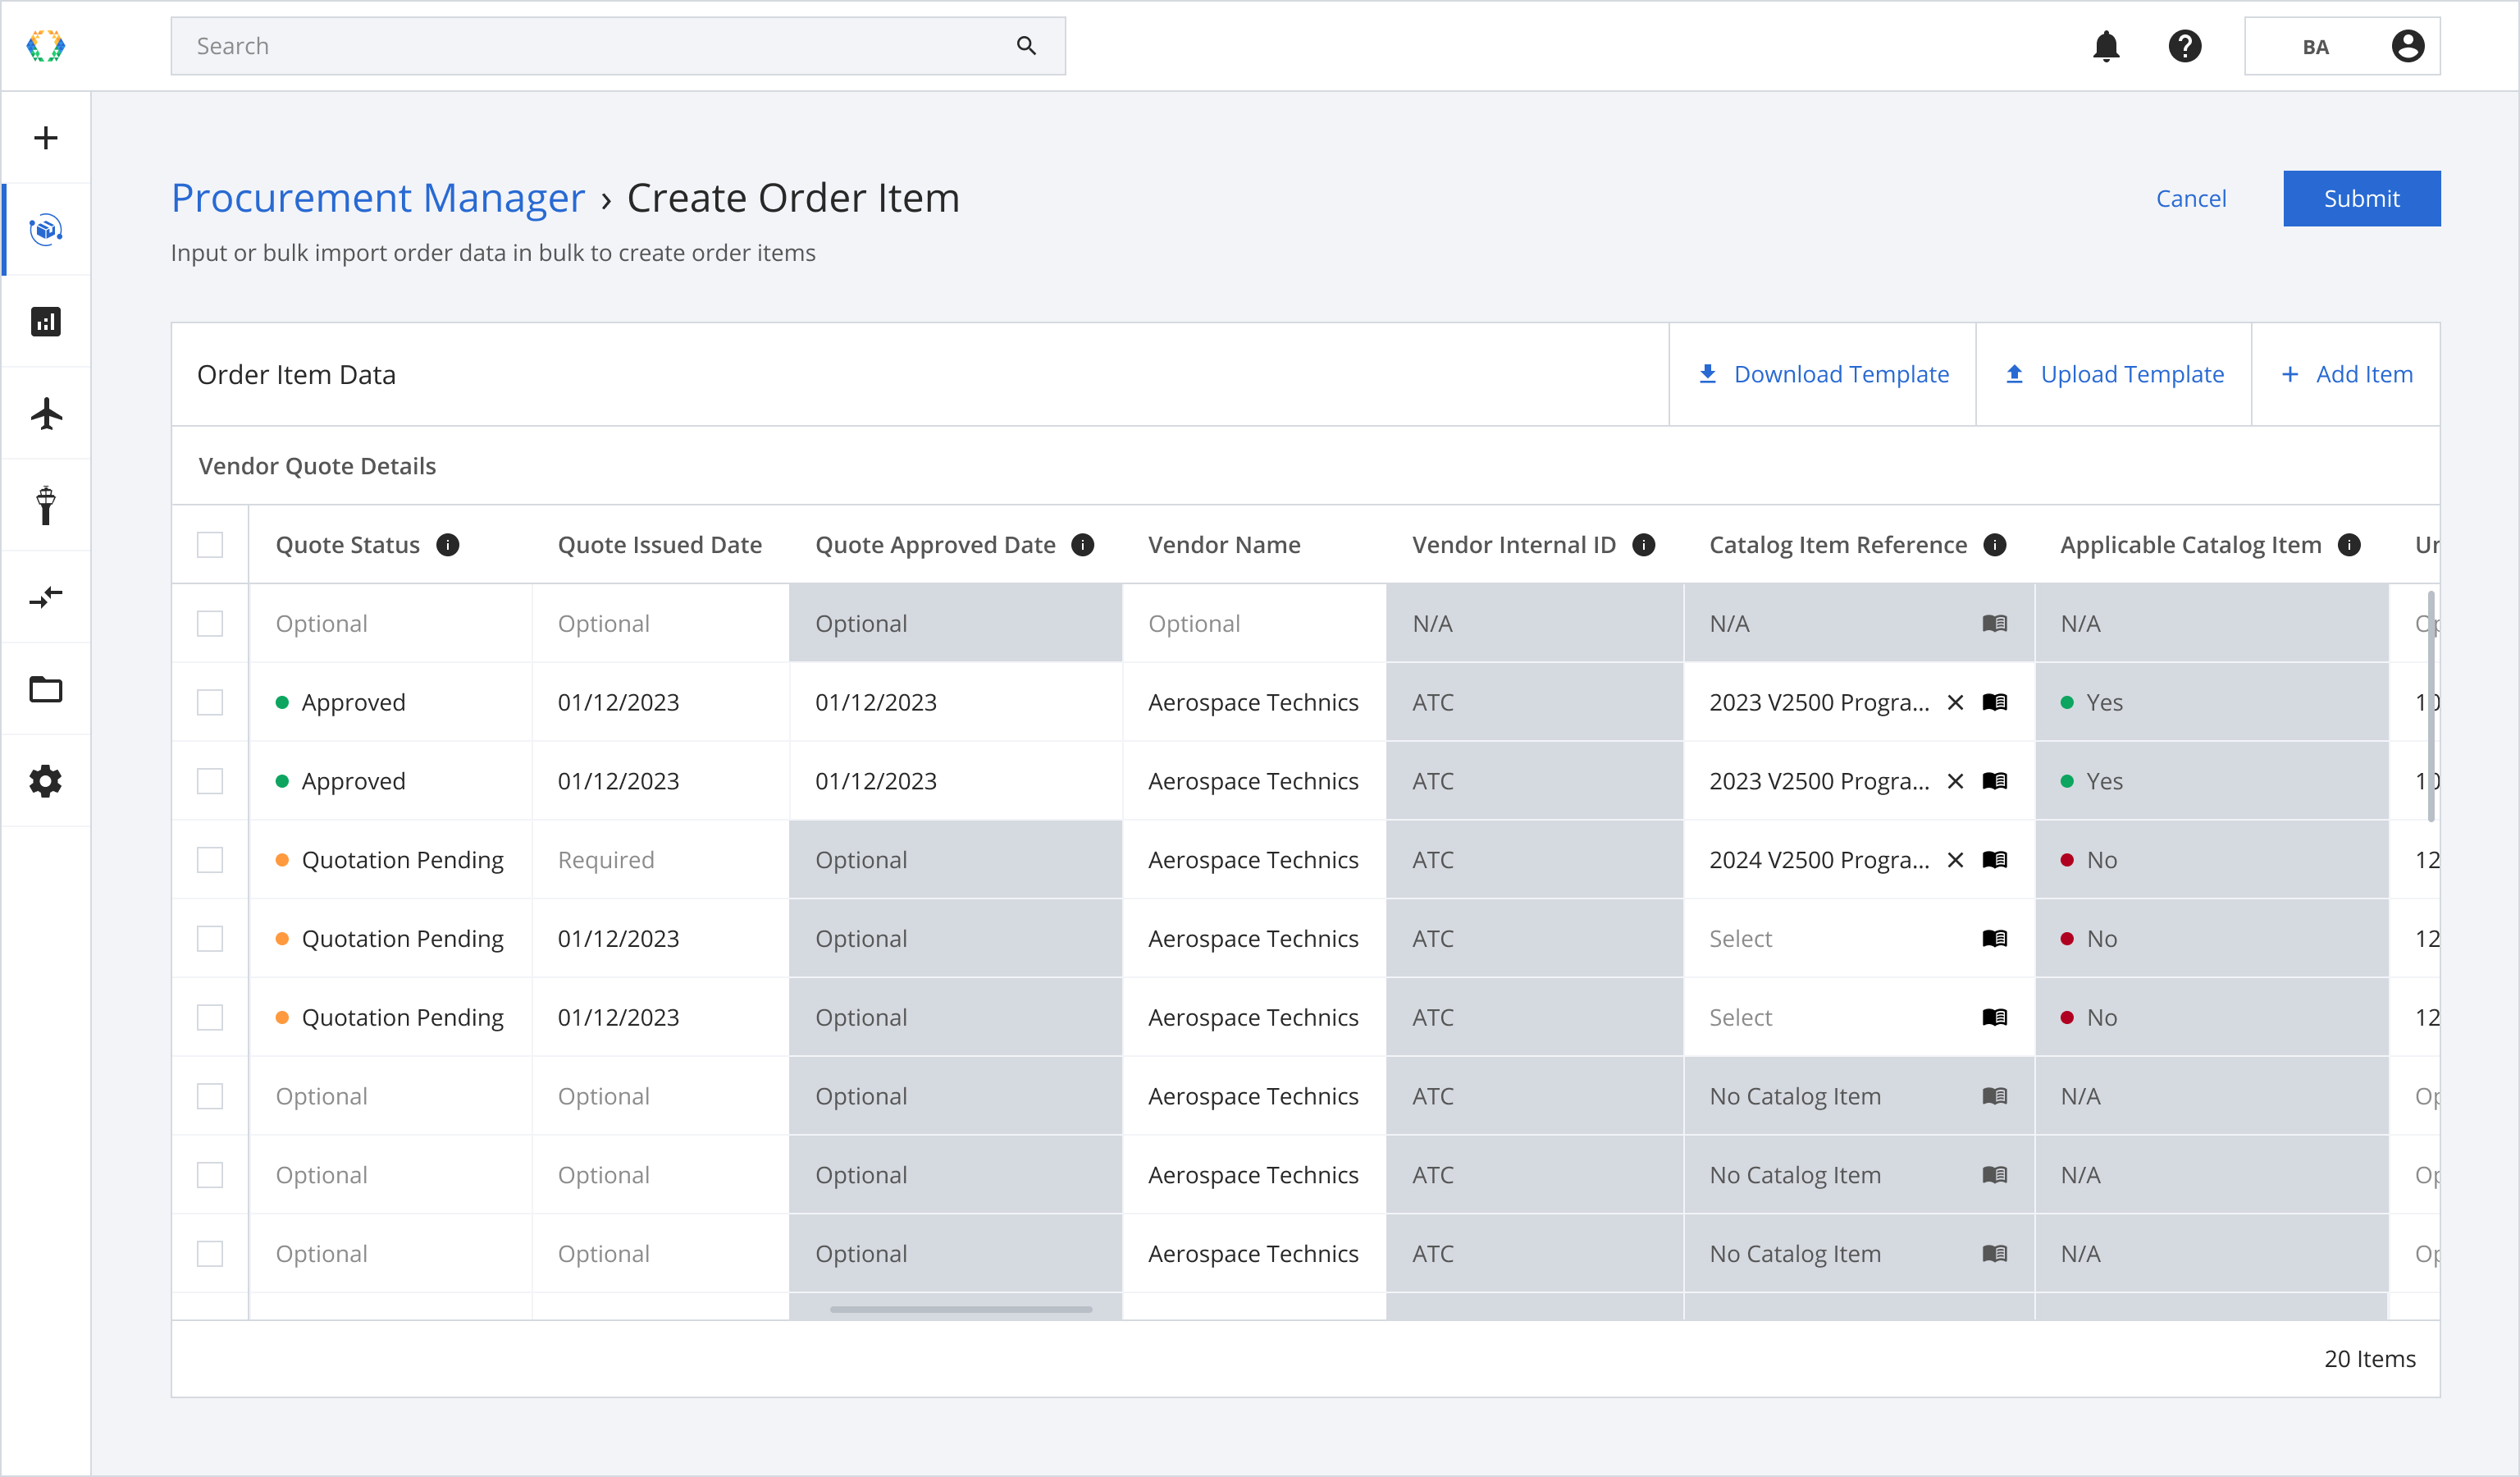
Vendor Quote Details
- Vendor Name: Select a vendor name assign by your organization. Add or edit vendor name in Setting.
- Vendor Internal ID: Short name assign by your organization. Add or edit Vendor Internal ID in Setting.
- Catalog Item Reference: Catalog item assign by your organization based on provided part number. Add or edit catalog item in Setting.
- Applicable Catalog Item: Indicate if input in vendor quote details are matching the most applicable catalog item. Add Part No., Quote Issued Date, Quote Qty. and UOM to see the most applicable catalog item.
- Total Unit Price: The sum of Unit Labor Fee, Unit Material Fee, Unit Handling Fee,
and Unit Miscellaneous Fee. - Total Price: Total Unit Price multiplied by the Quote Qty.
Shipment Details
Logistics Template: Select your prefer shipment template.
Step 4: Select catalog item as a reference. (Optional)
Step 4.1: Scroll to the right to 'Vendor Quote Details' section. Add quote issue date, quote qty. and quote qty. UOM in order to see 'Applicable Catalog Item' indicator.

Step 4.2: Click on 'Catalog Item Reference' icon.
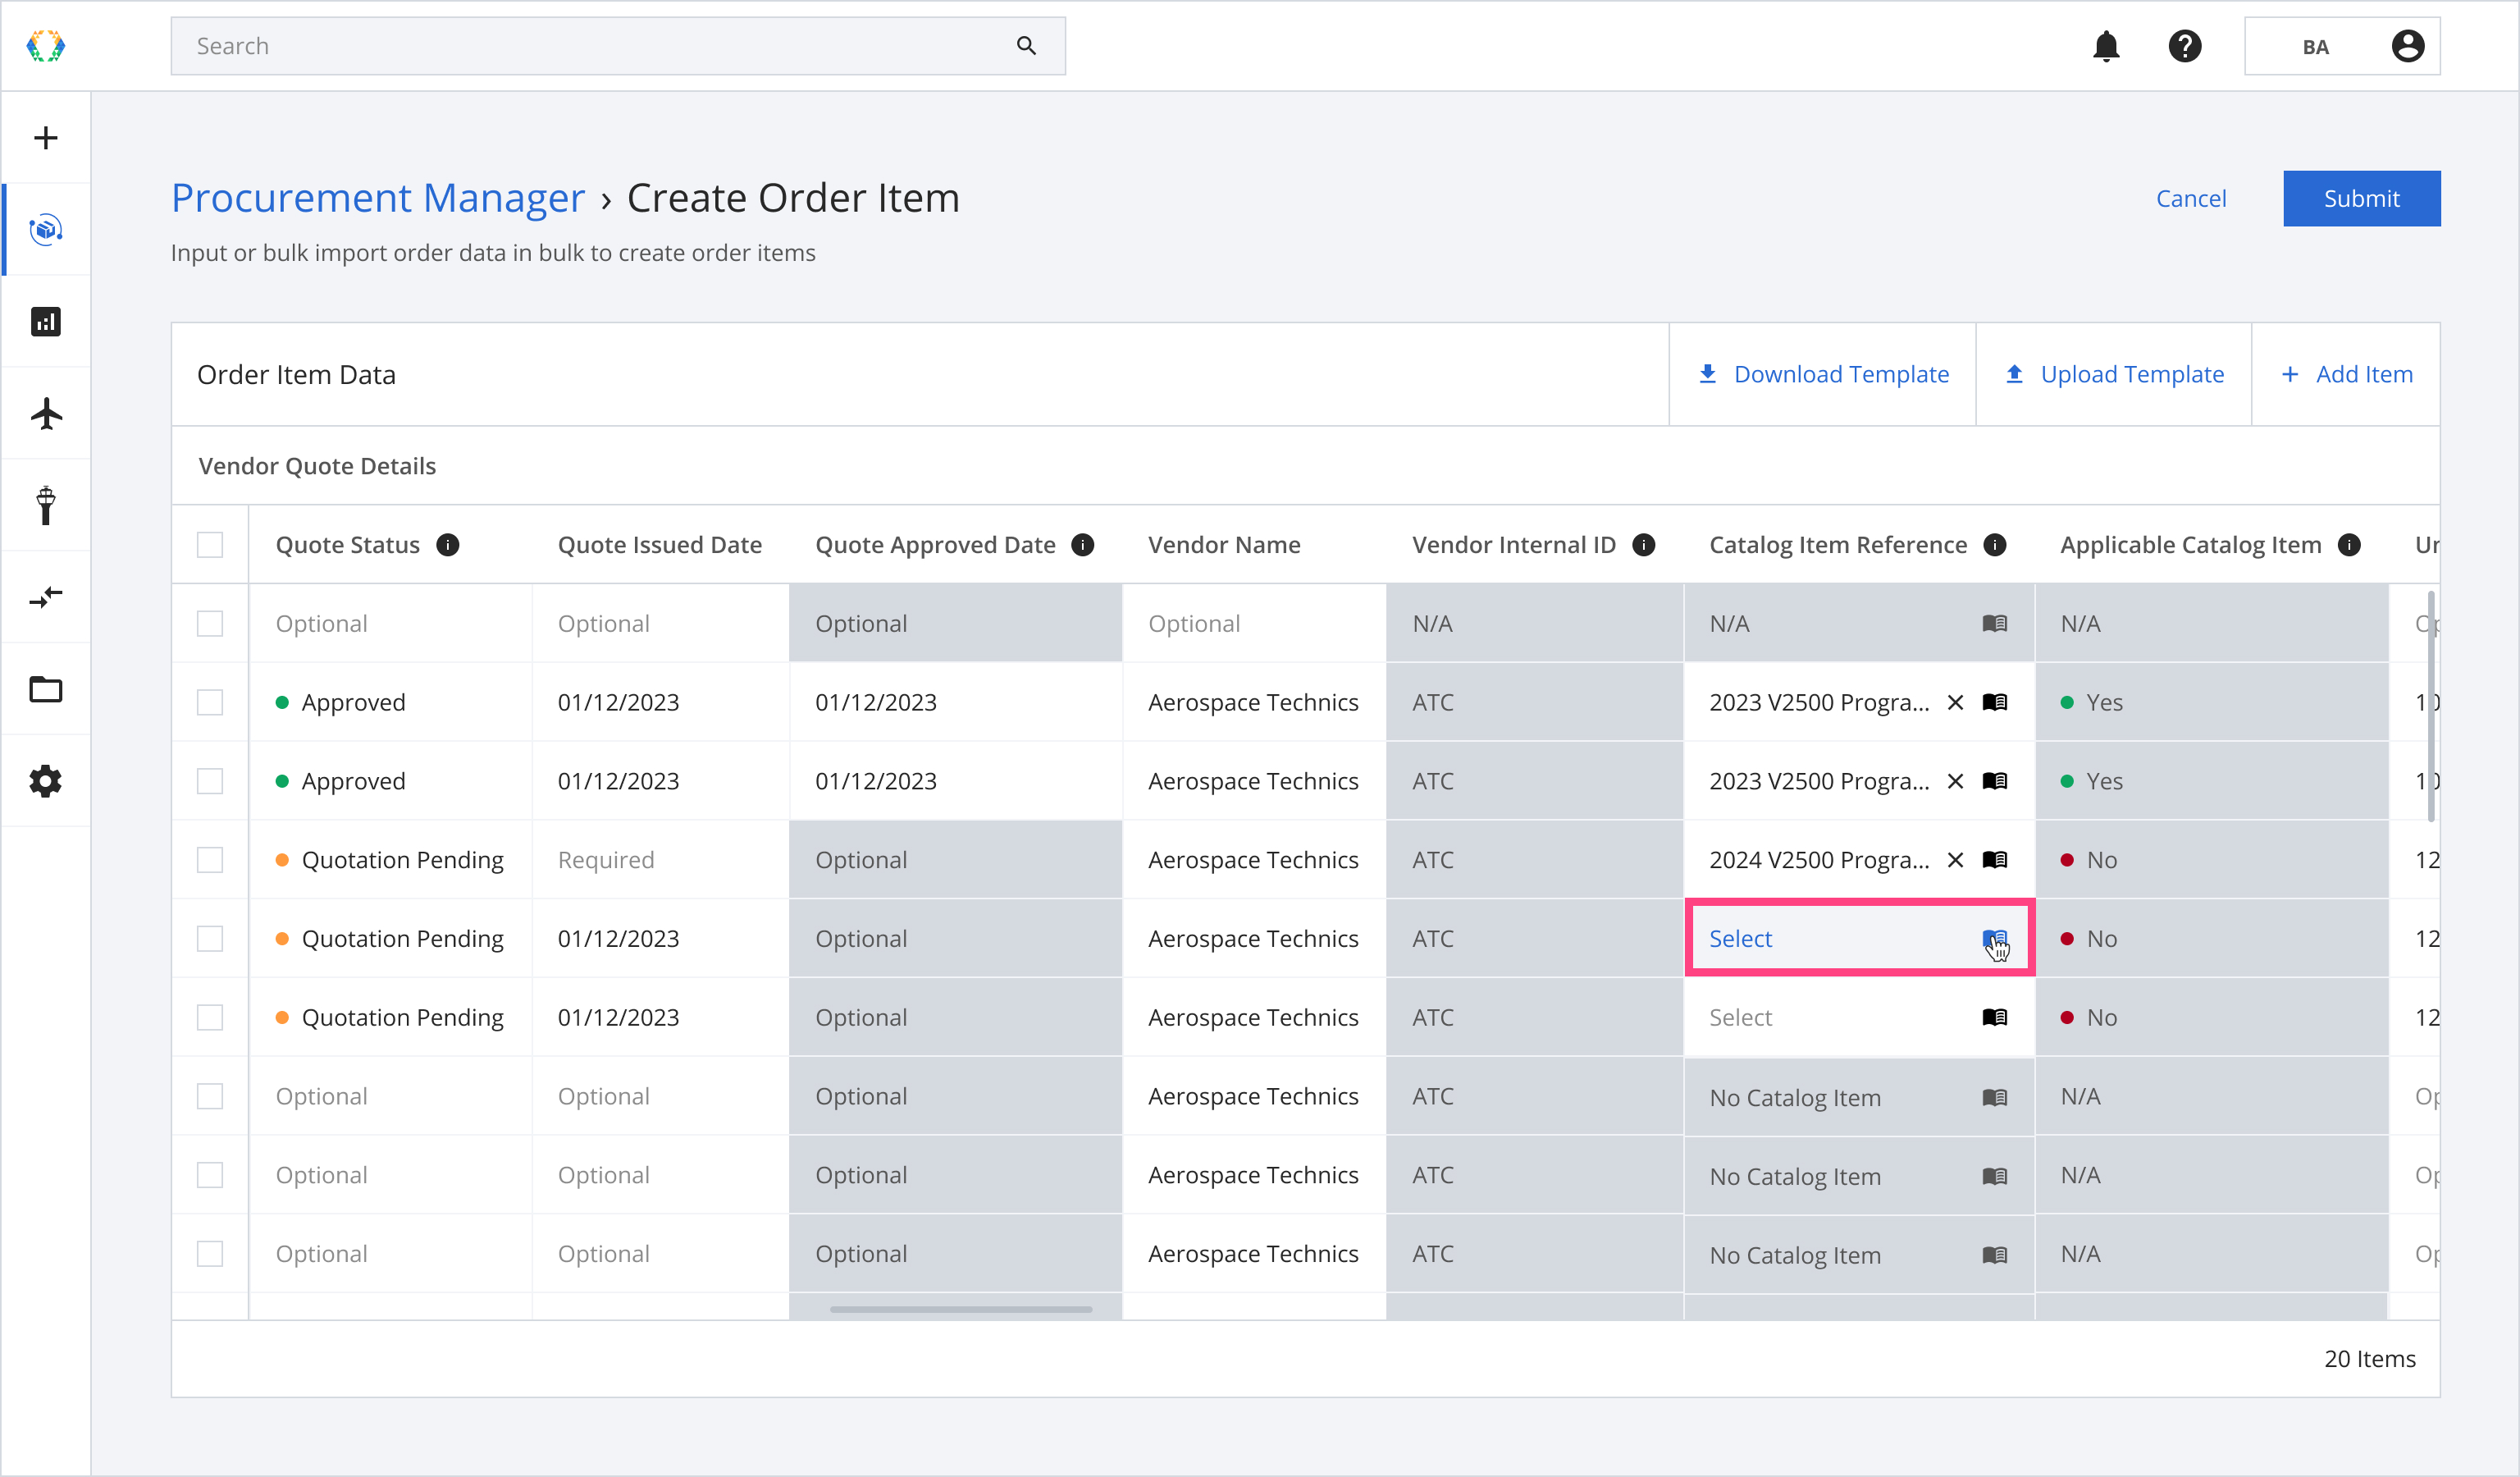
Step 4.2: A catalog item window will appear. Select catalog item you want to use to create a vendor quote and click 'Select'.

The following fields will be updated according to the catalog item you selected:Unit Labor Fee
Unit Material Fee
Unit Handling Fee
Unit Miscellaneous Fee
Currency
Lead Time
Type of Lead Time
See more details about Use Catalog Item as Reference
Step 5: Click 'Submit'.
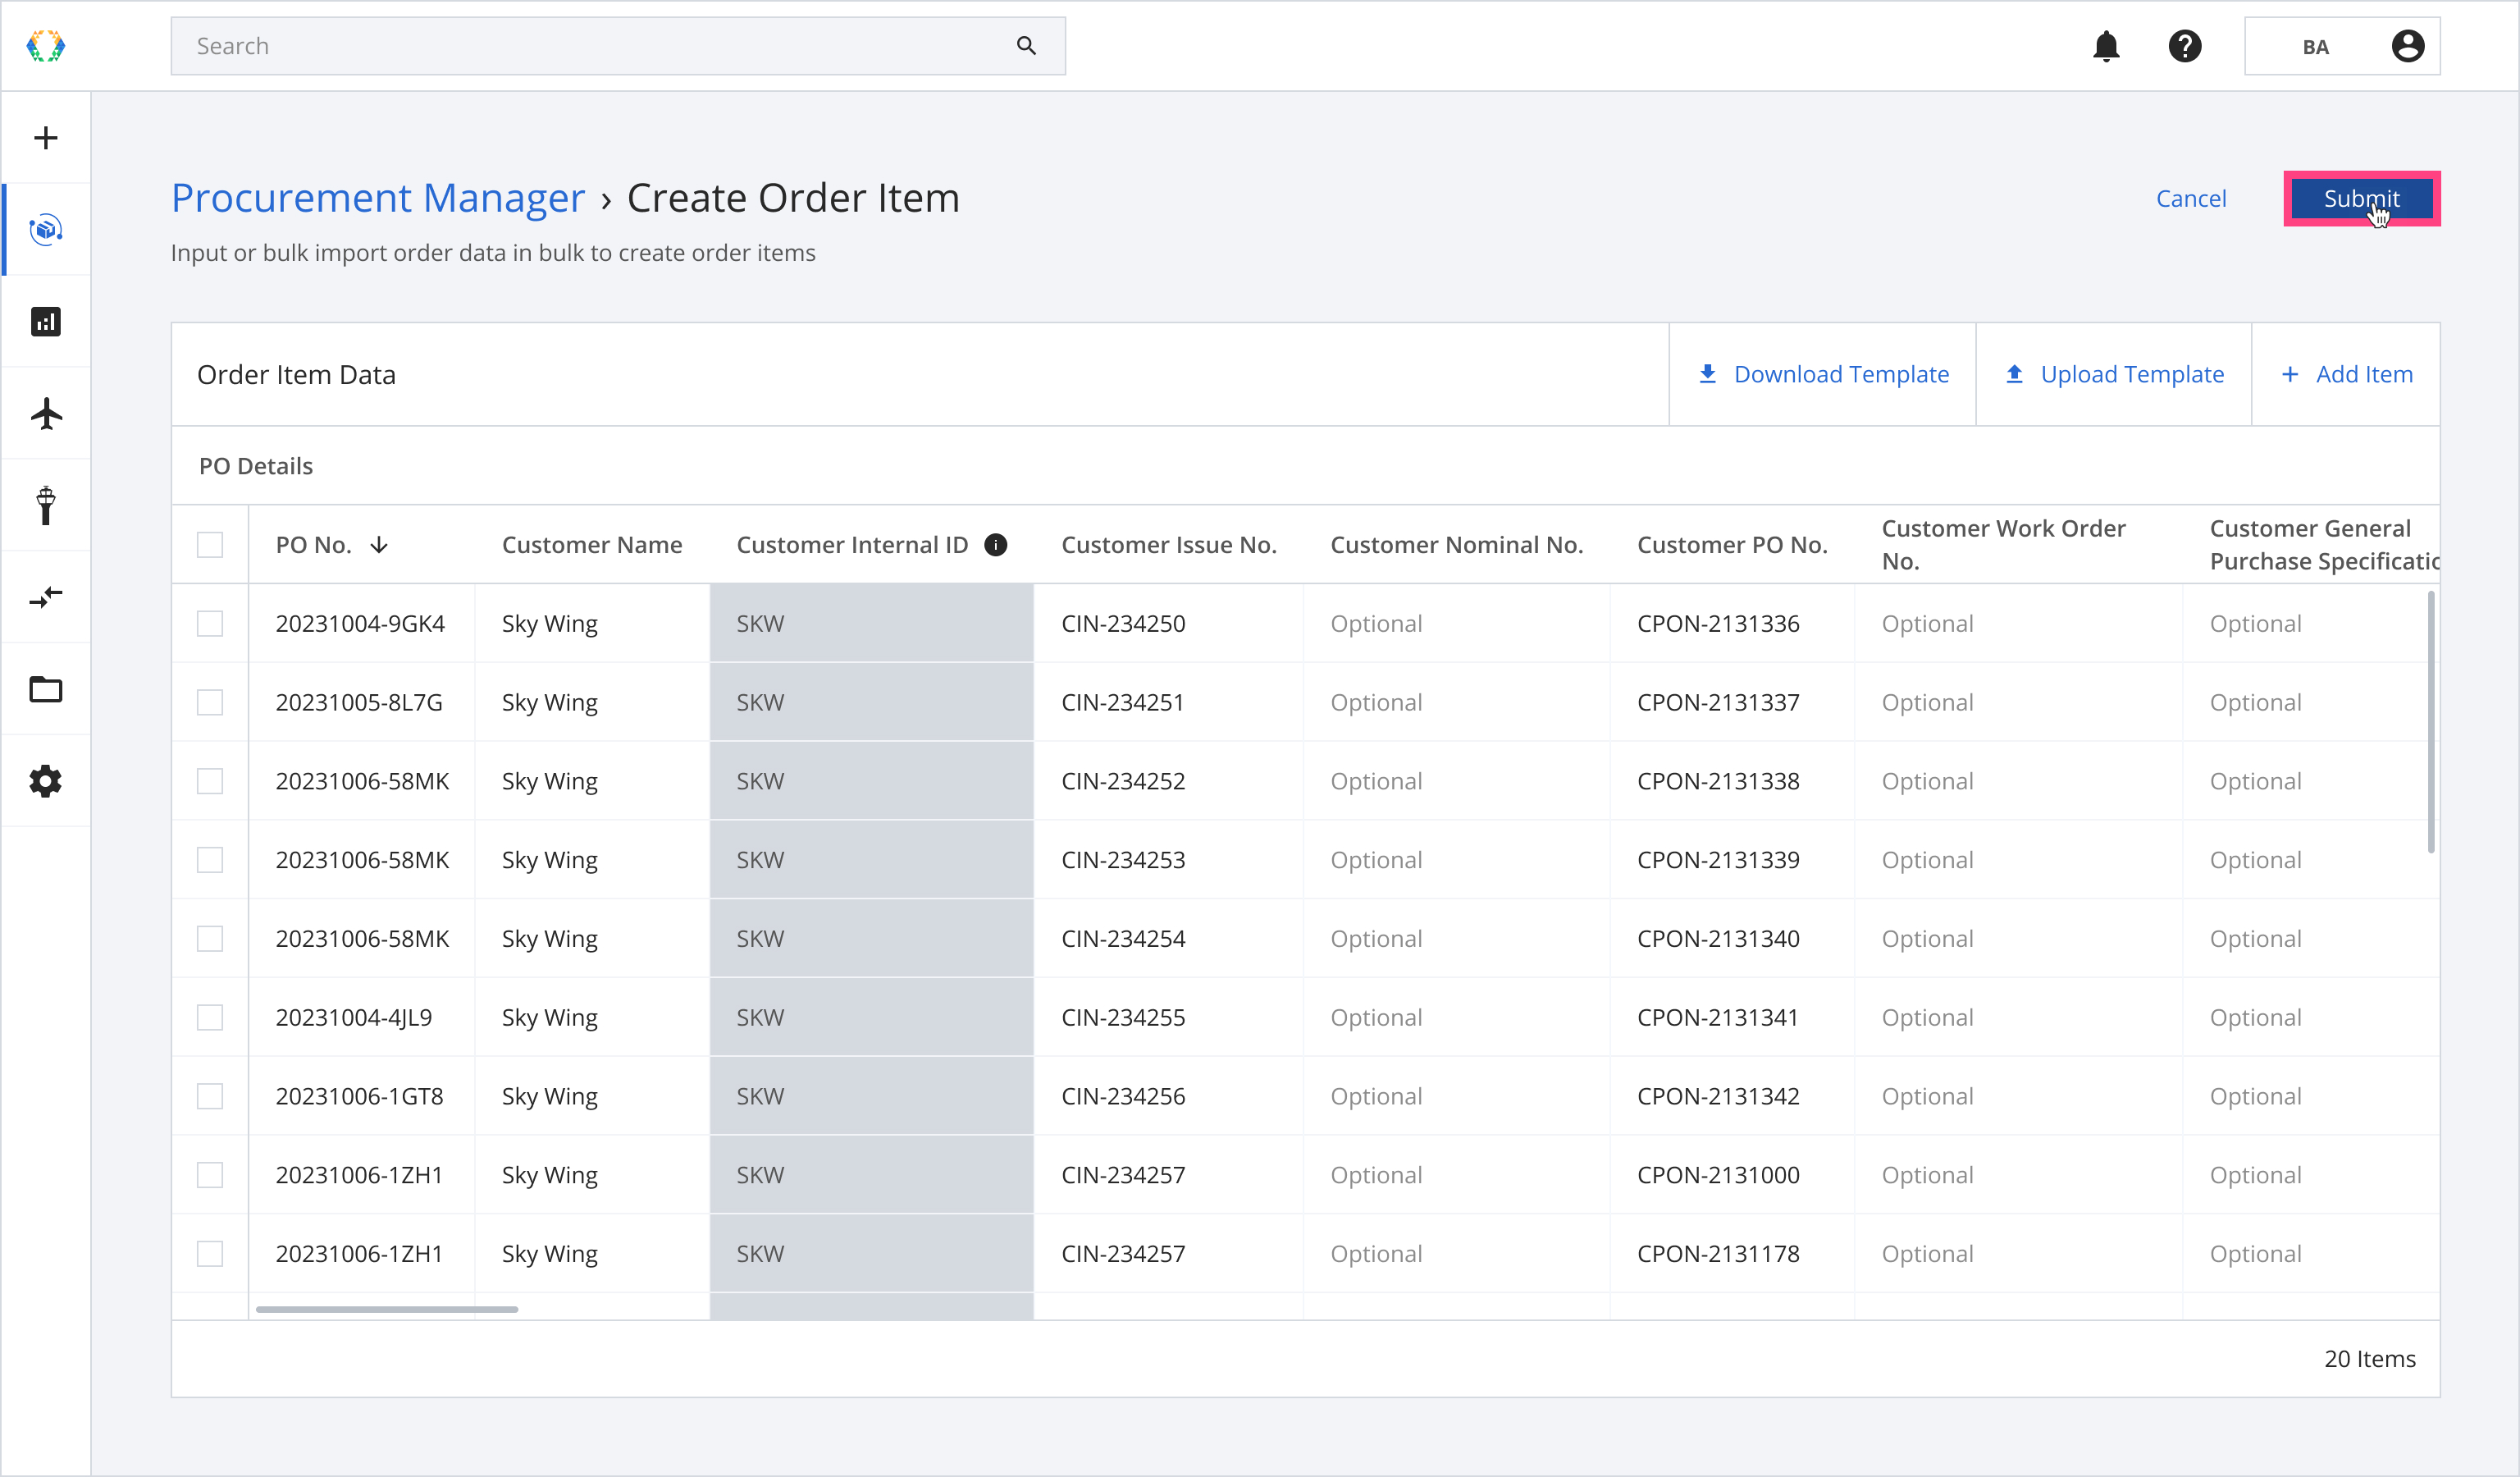
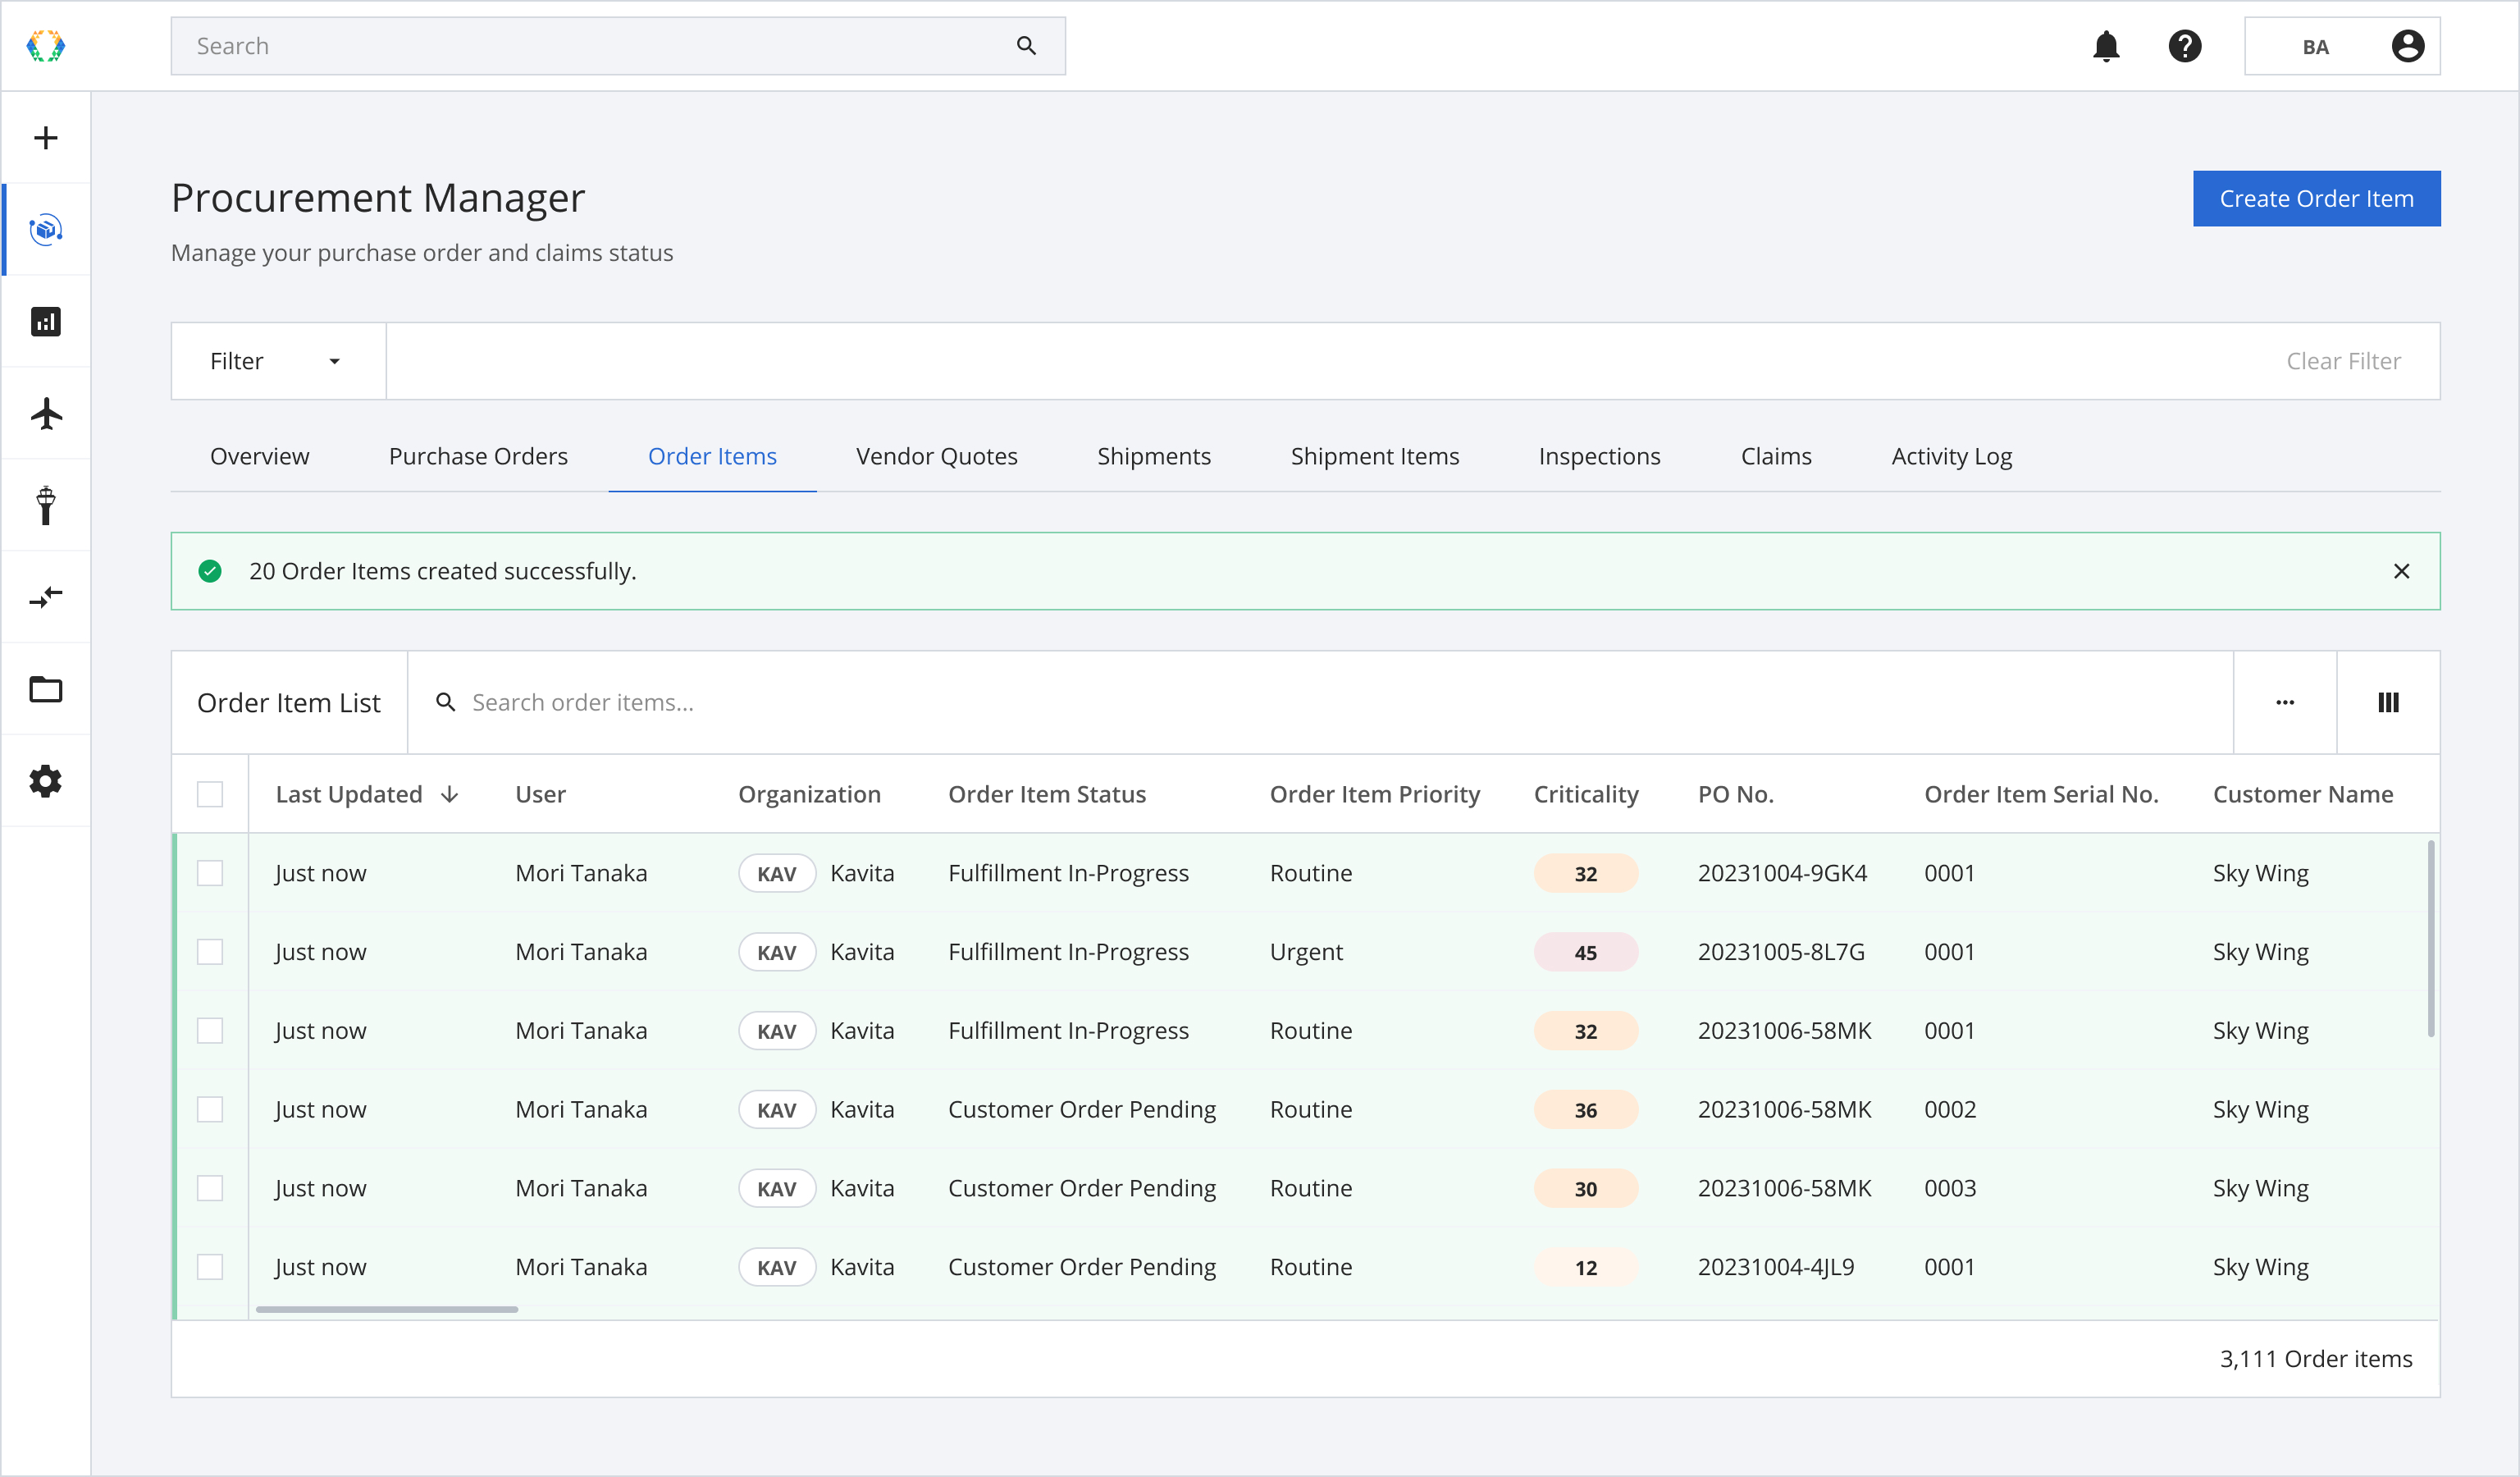
Once the order items are successfully created, a green banner will appear at the top of the order items list.
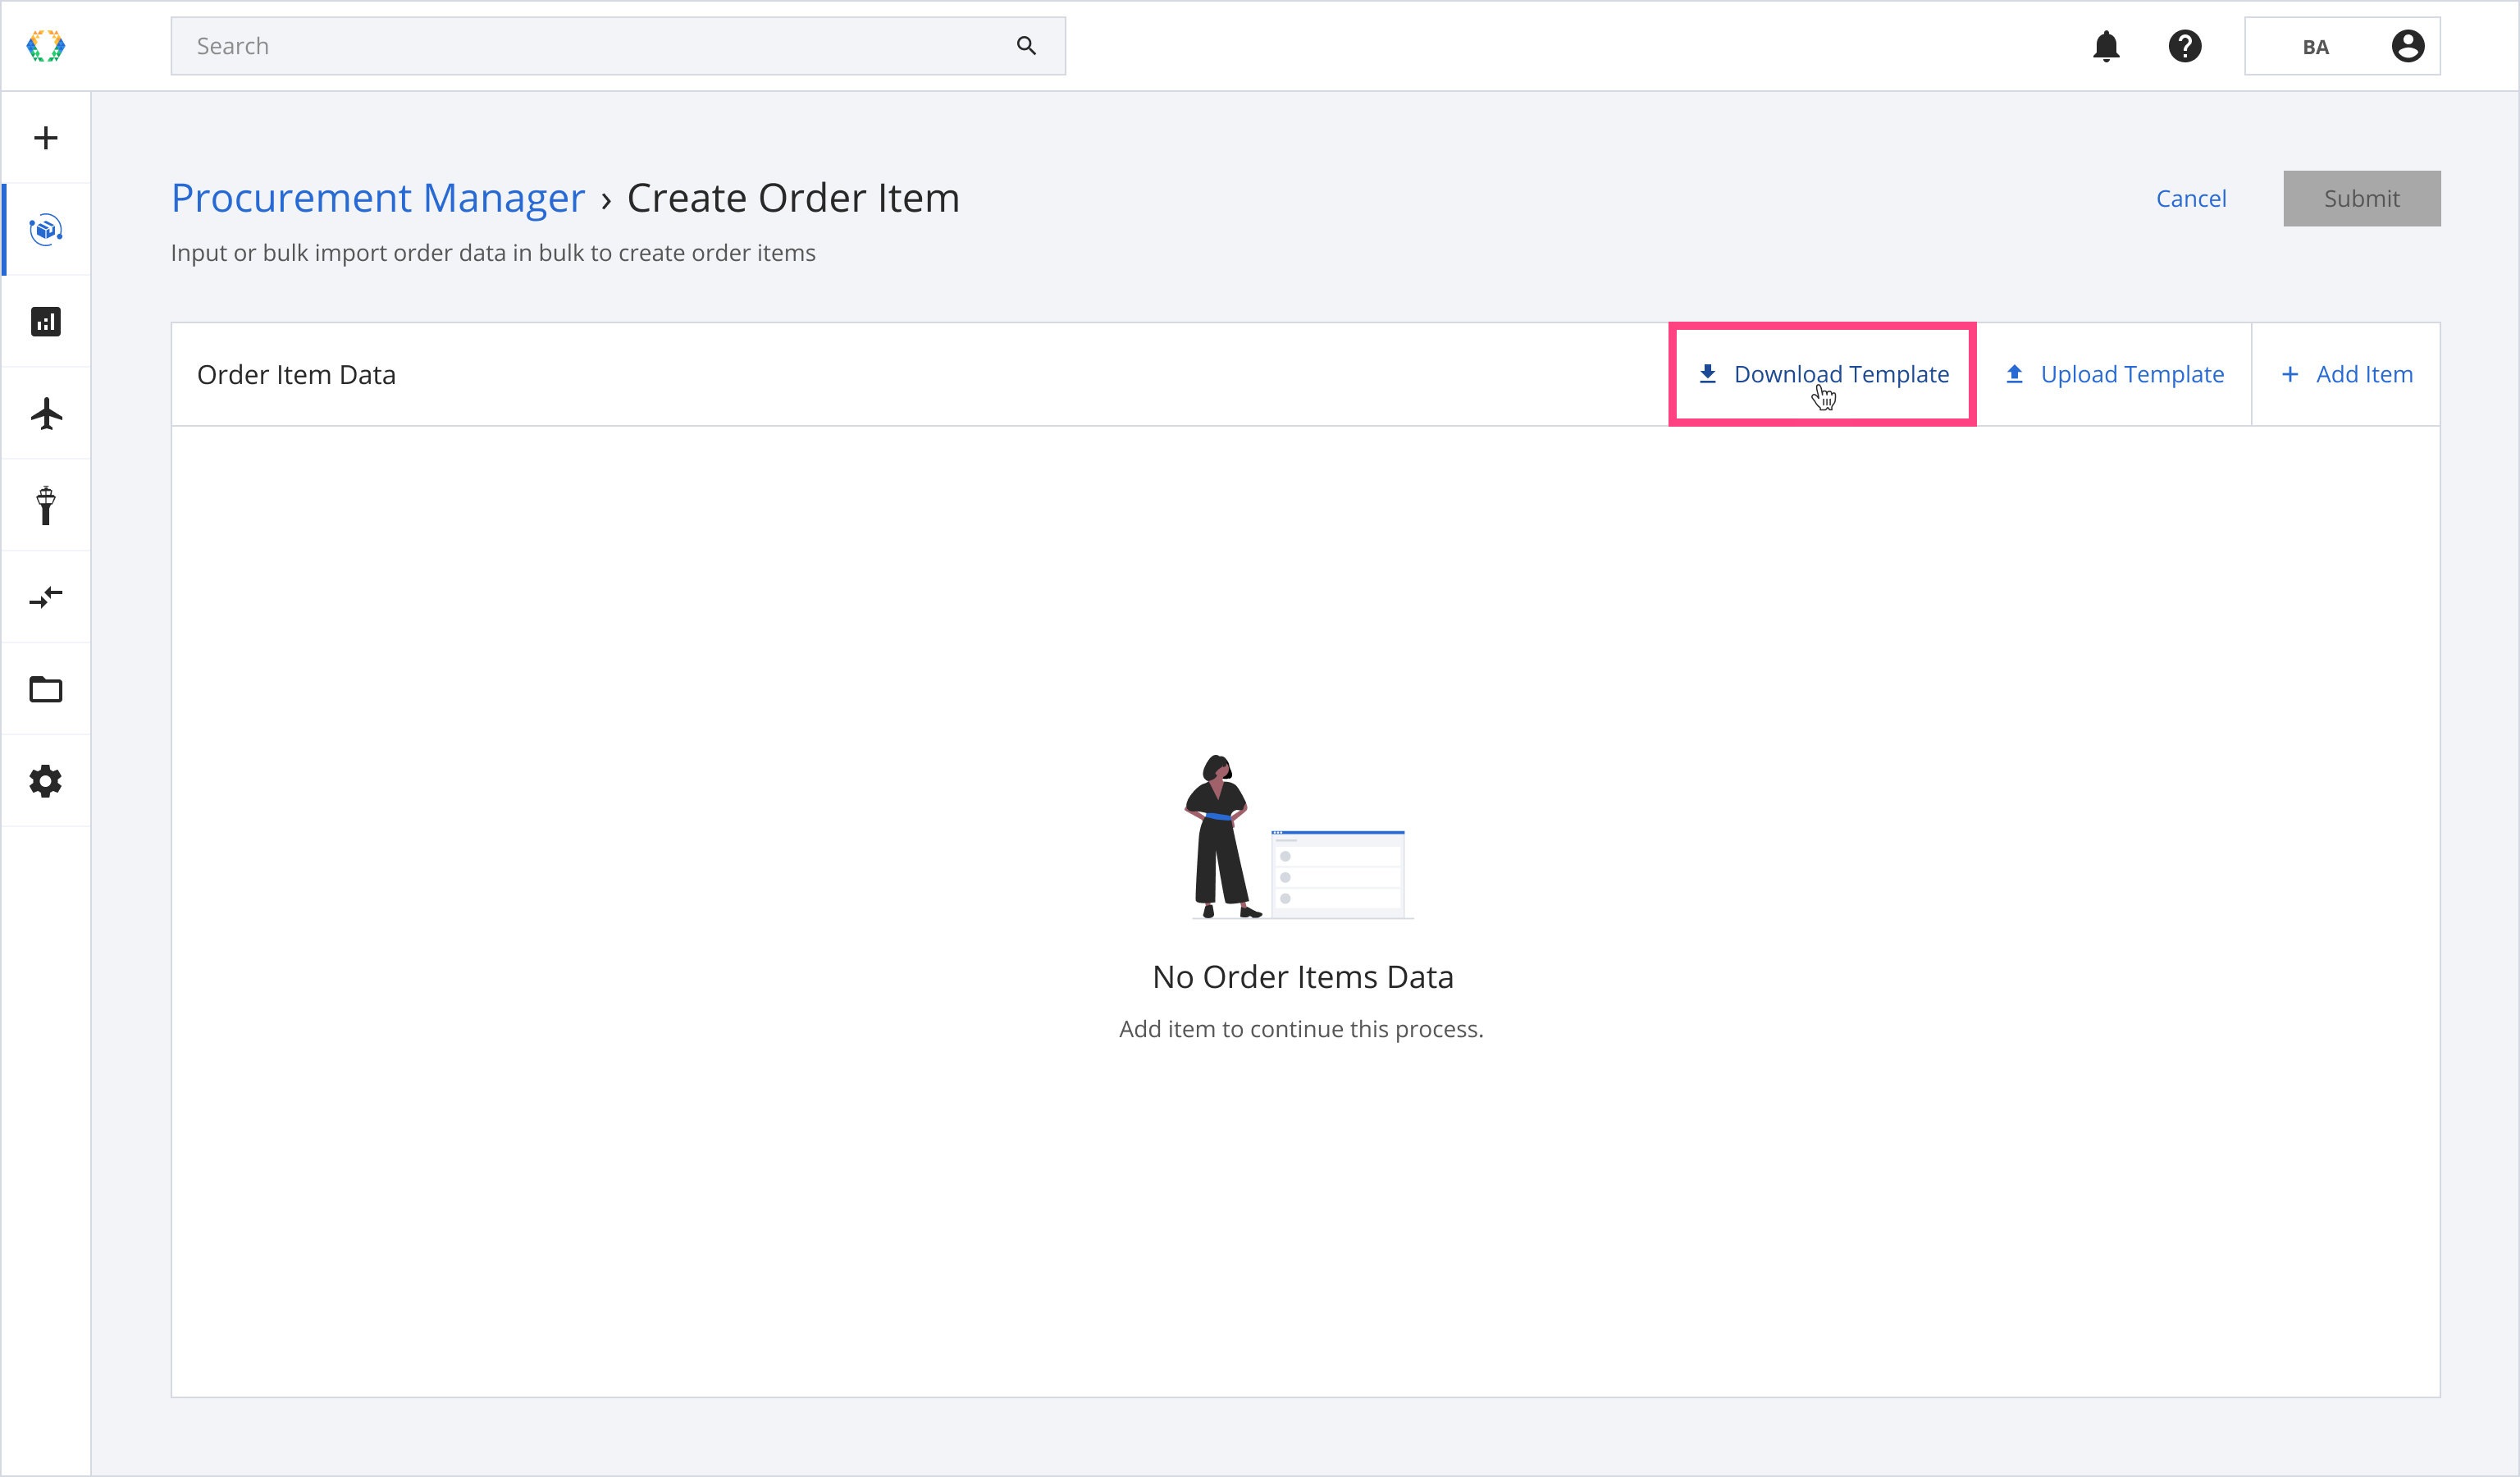
Alternatively, you may download Excel template and fill in order item data on your computer.
Option 2: Create Order Items Using Excel Template
Step 1: Download Excel template.
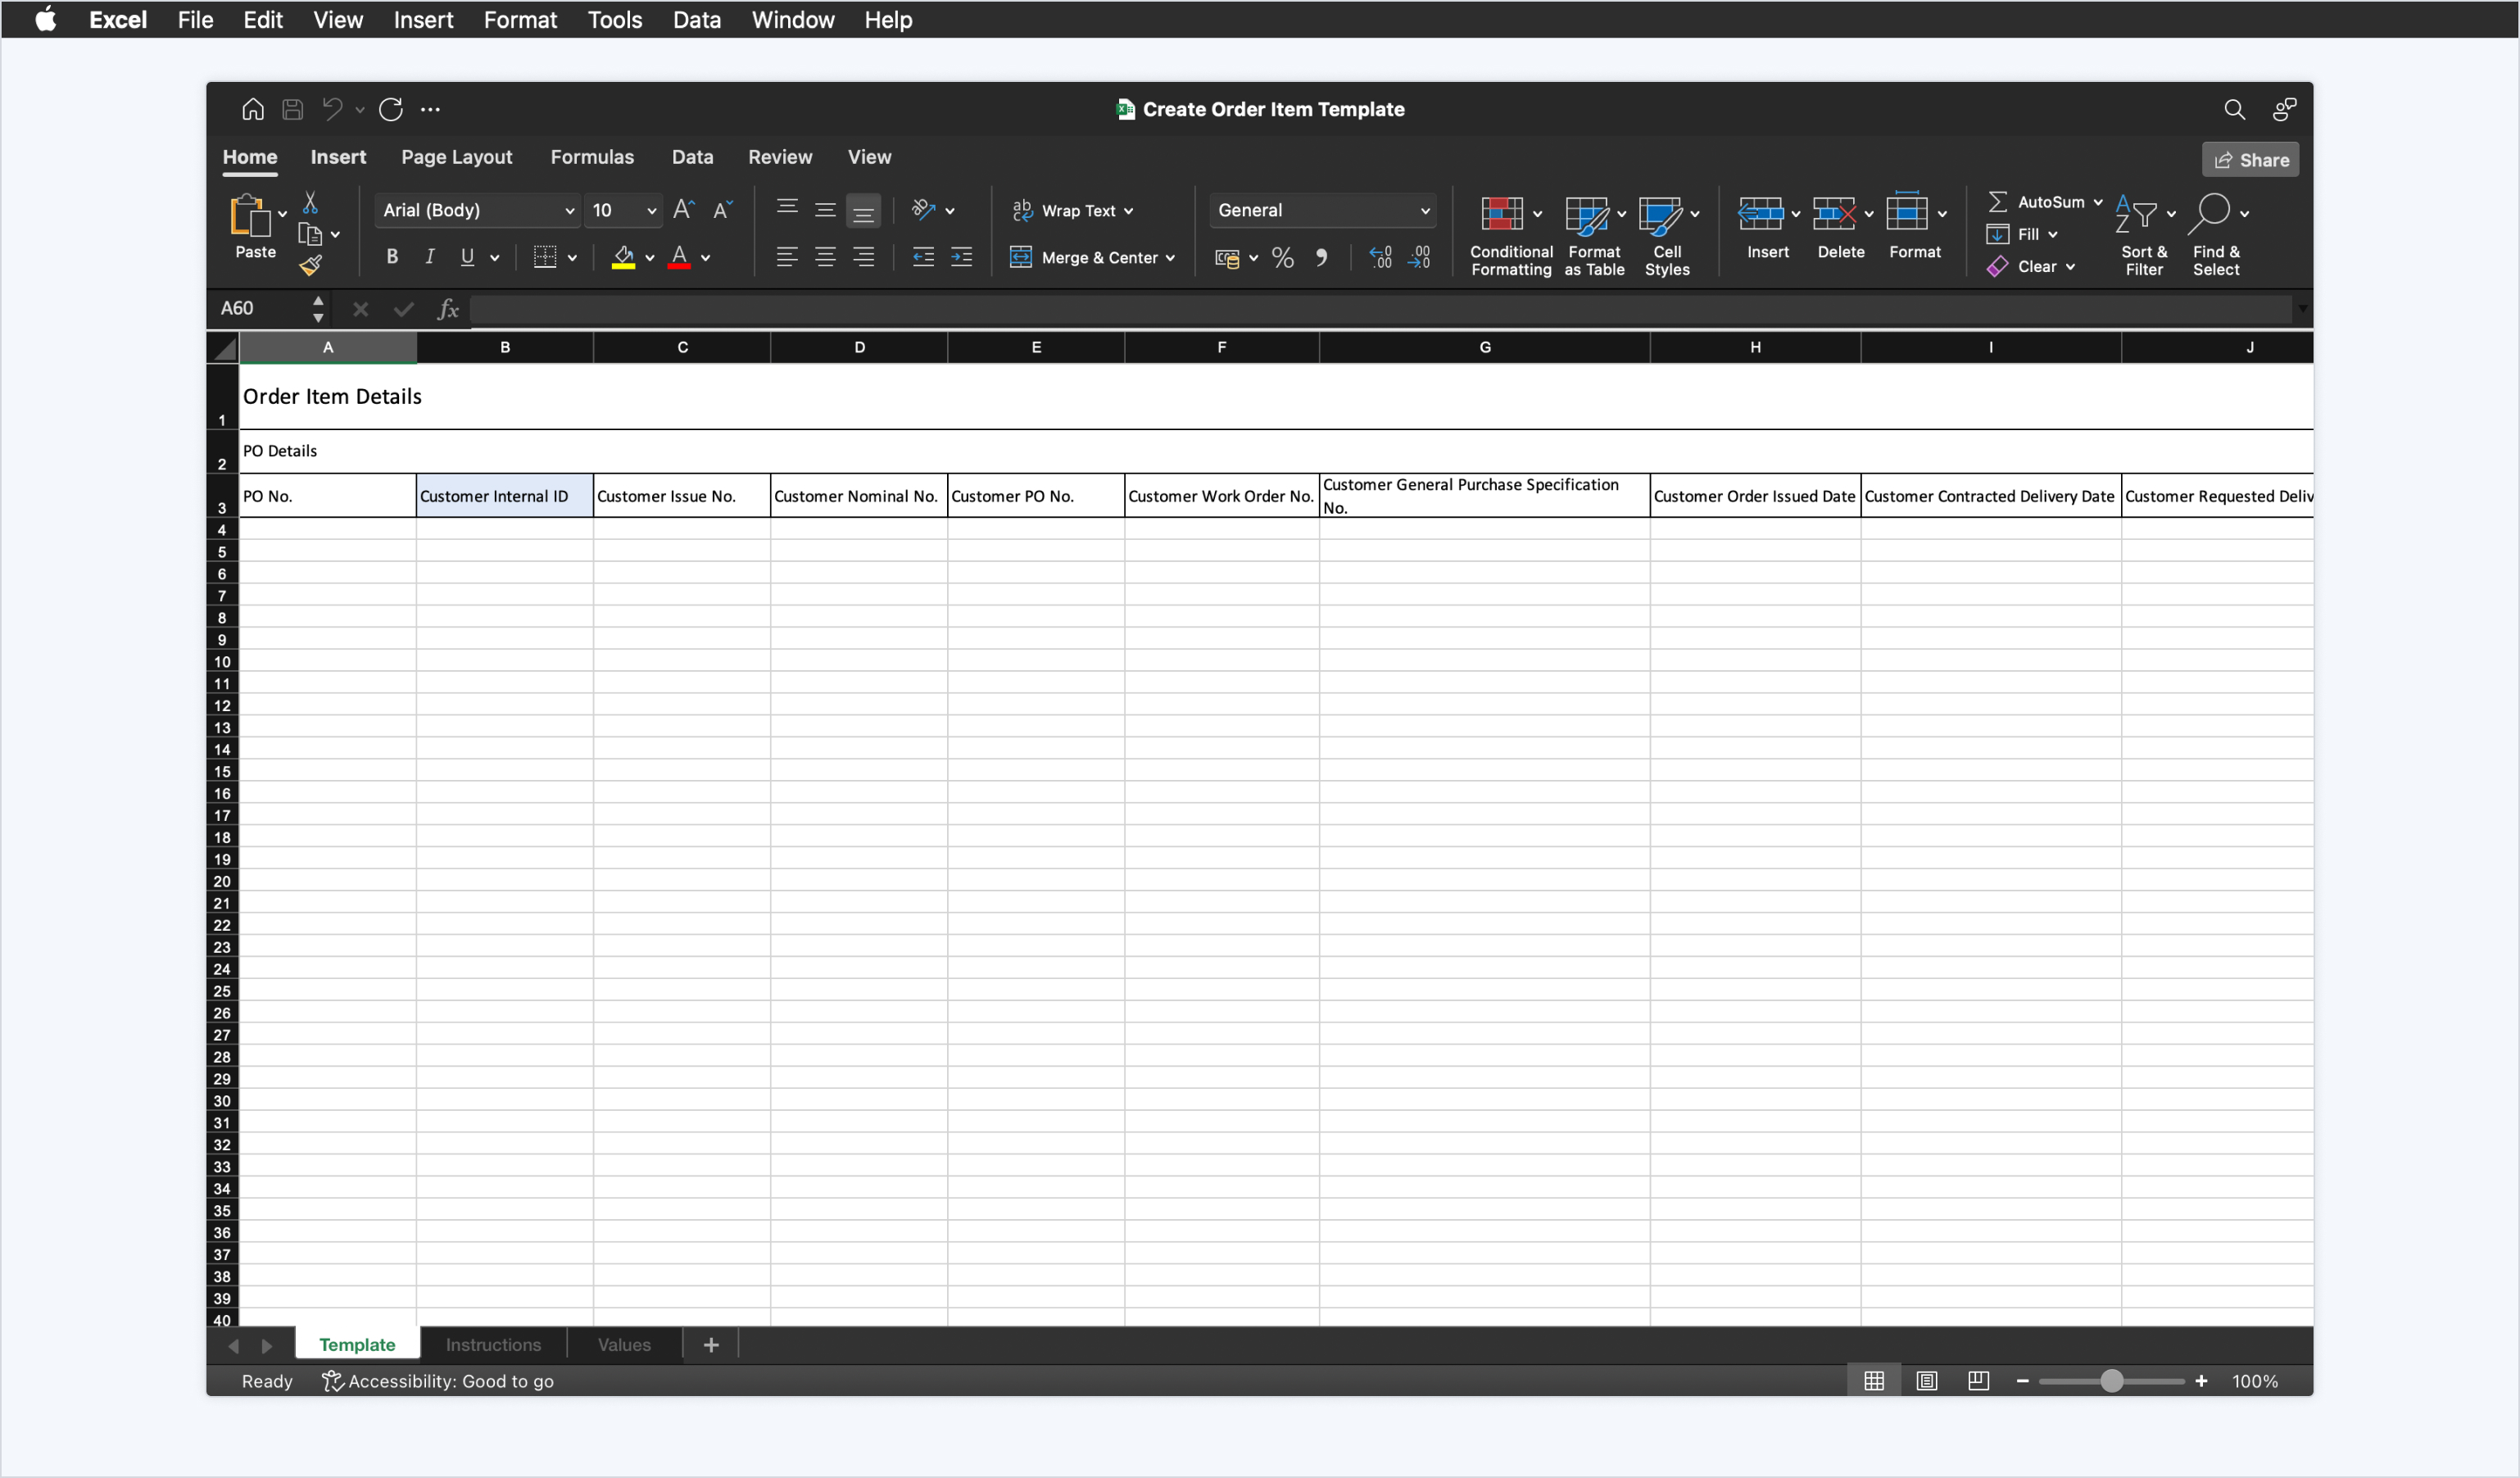
Step 2: Fill in the data in the Excel template. Please ensure the data is accurate and the required sections are filled.
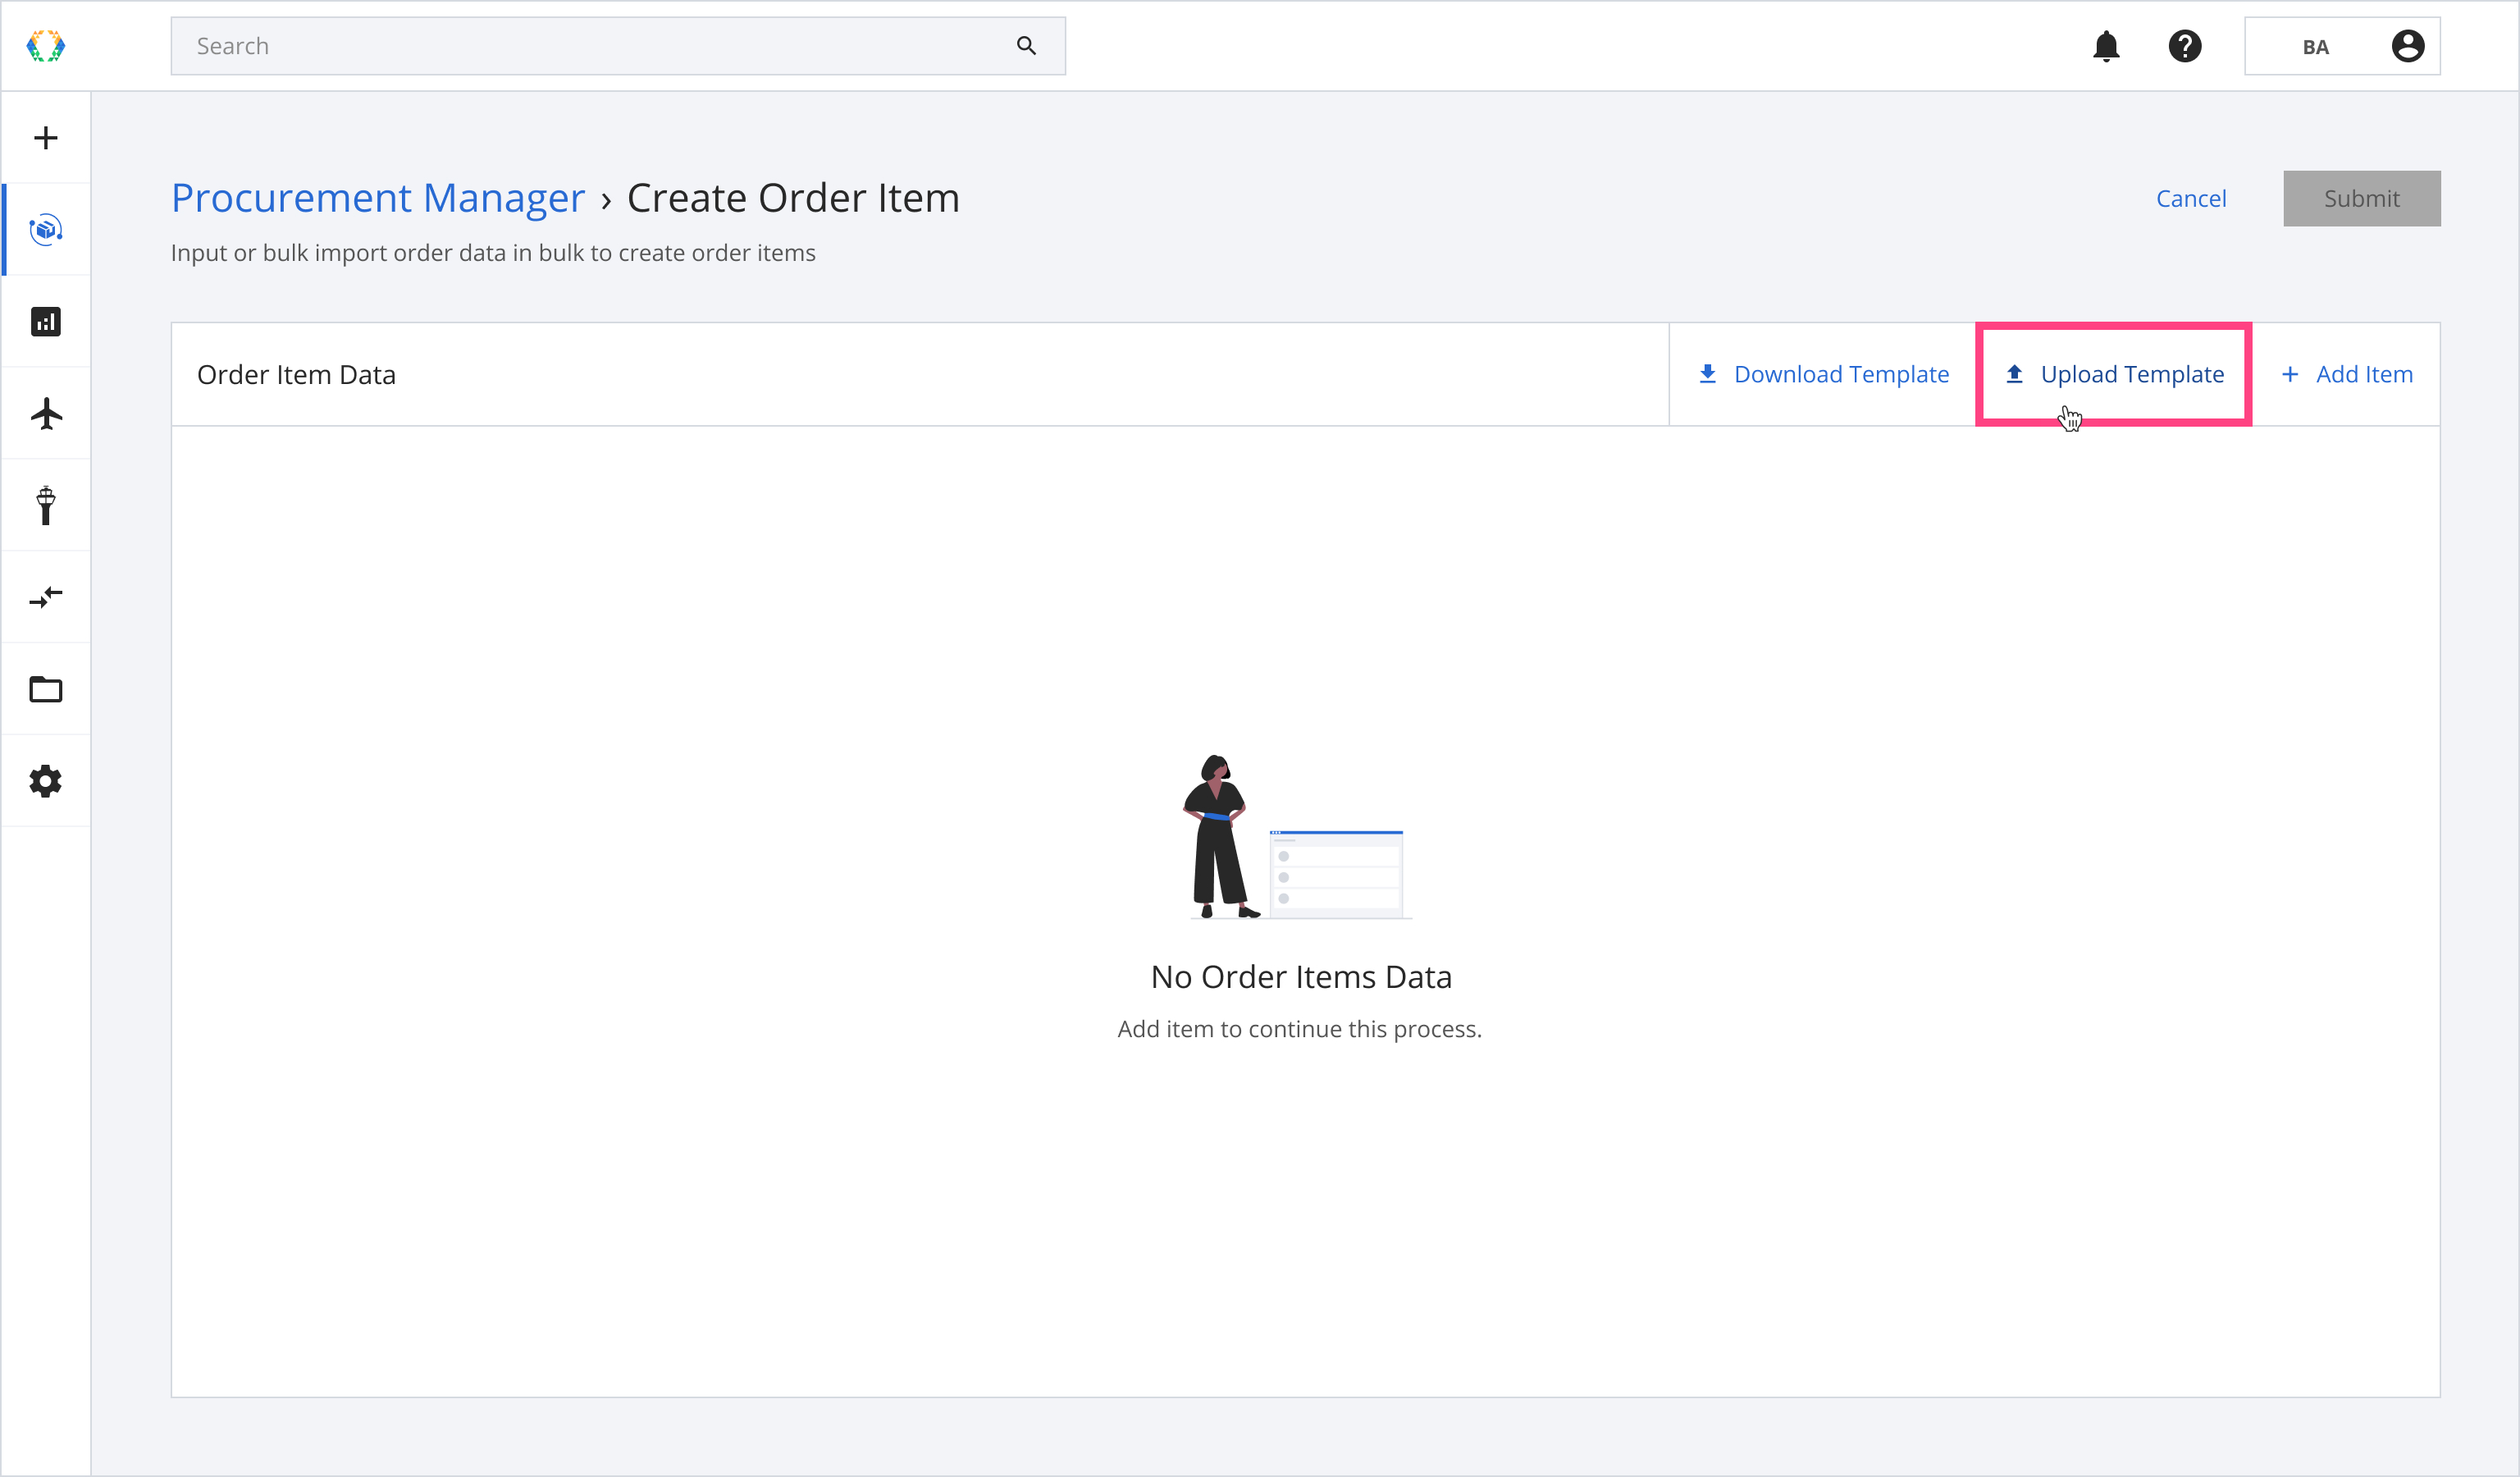
Step 3: Once you have filled in the order item data, upload the template to the platform by clicking 'Upload Template'.
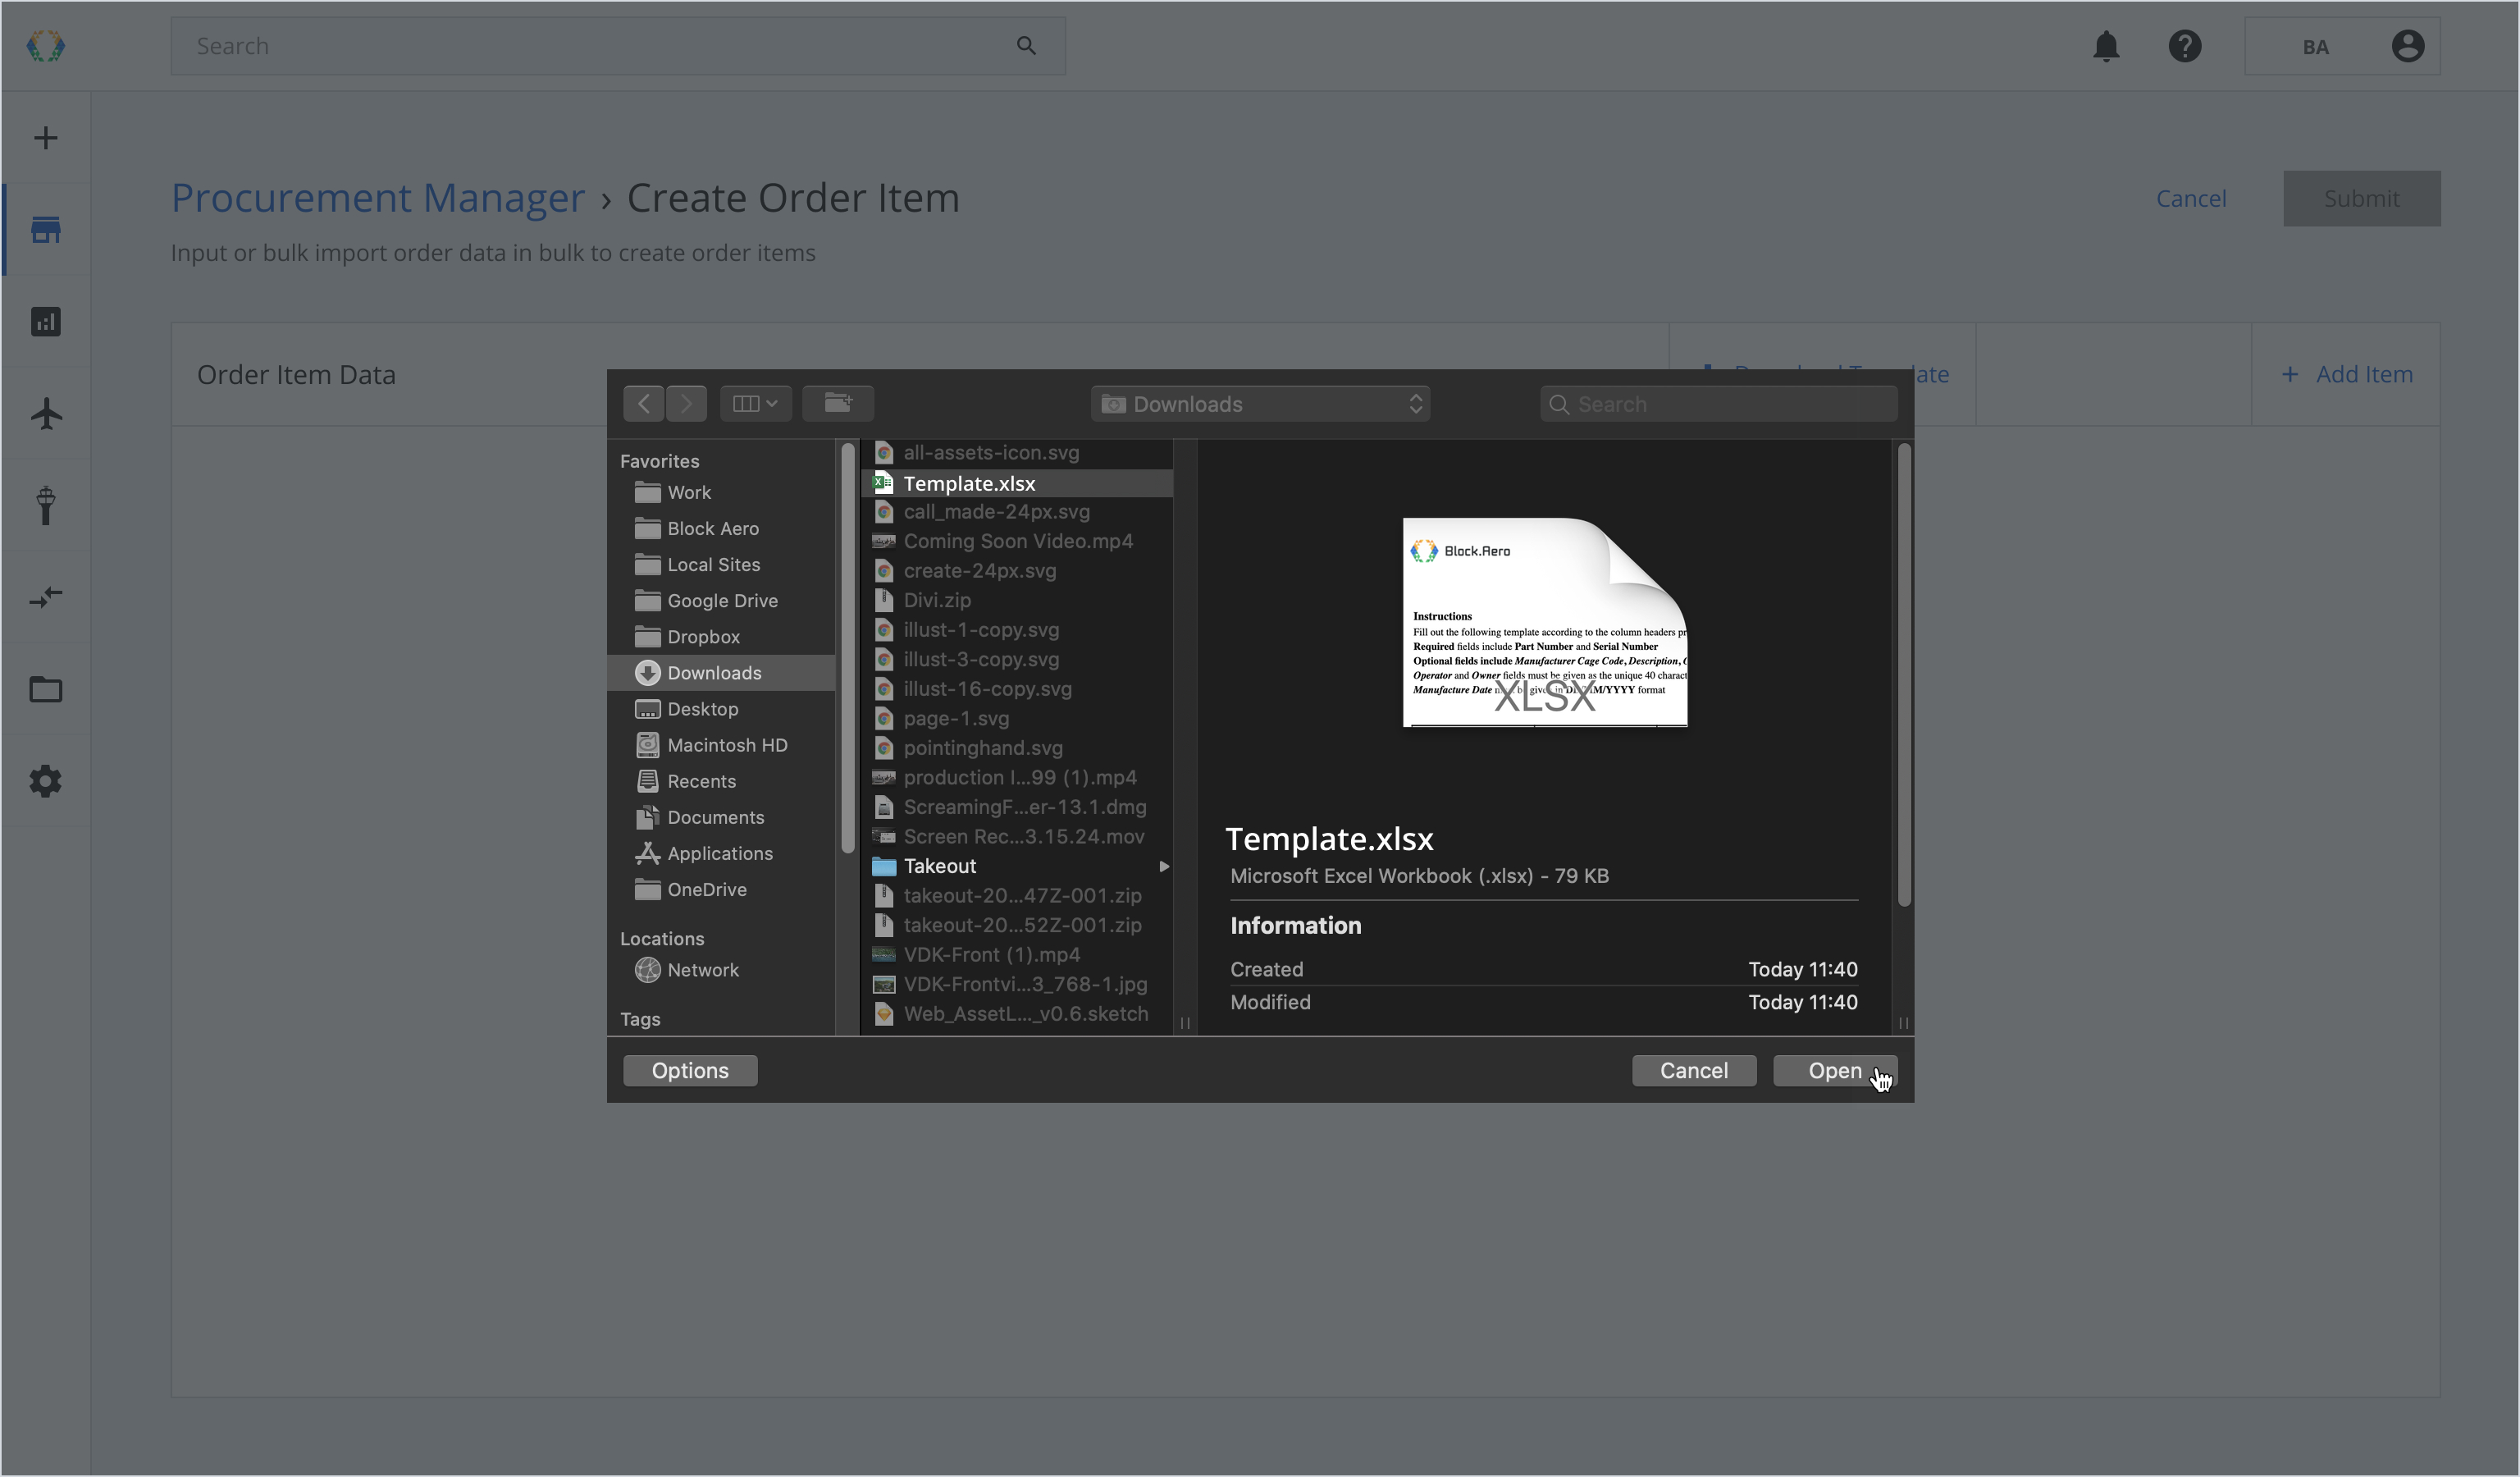
Step 4: Select the Excel file from your local computer.
Step 5: A green banner indicates you have successfully imported the order item data.
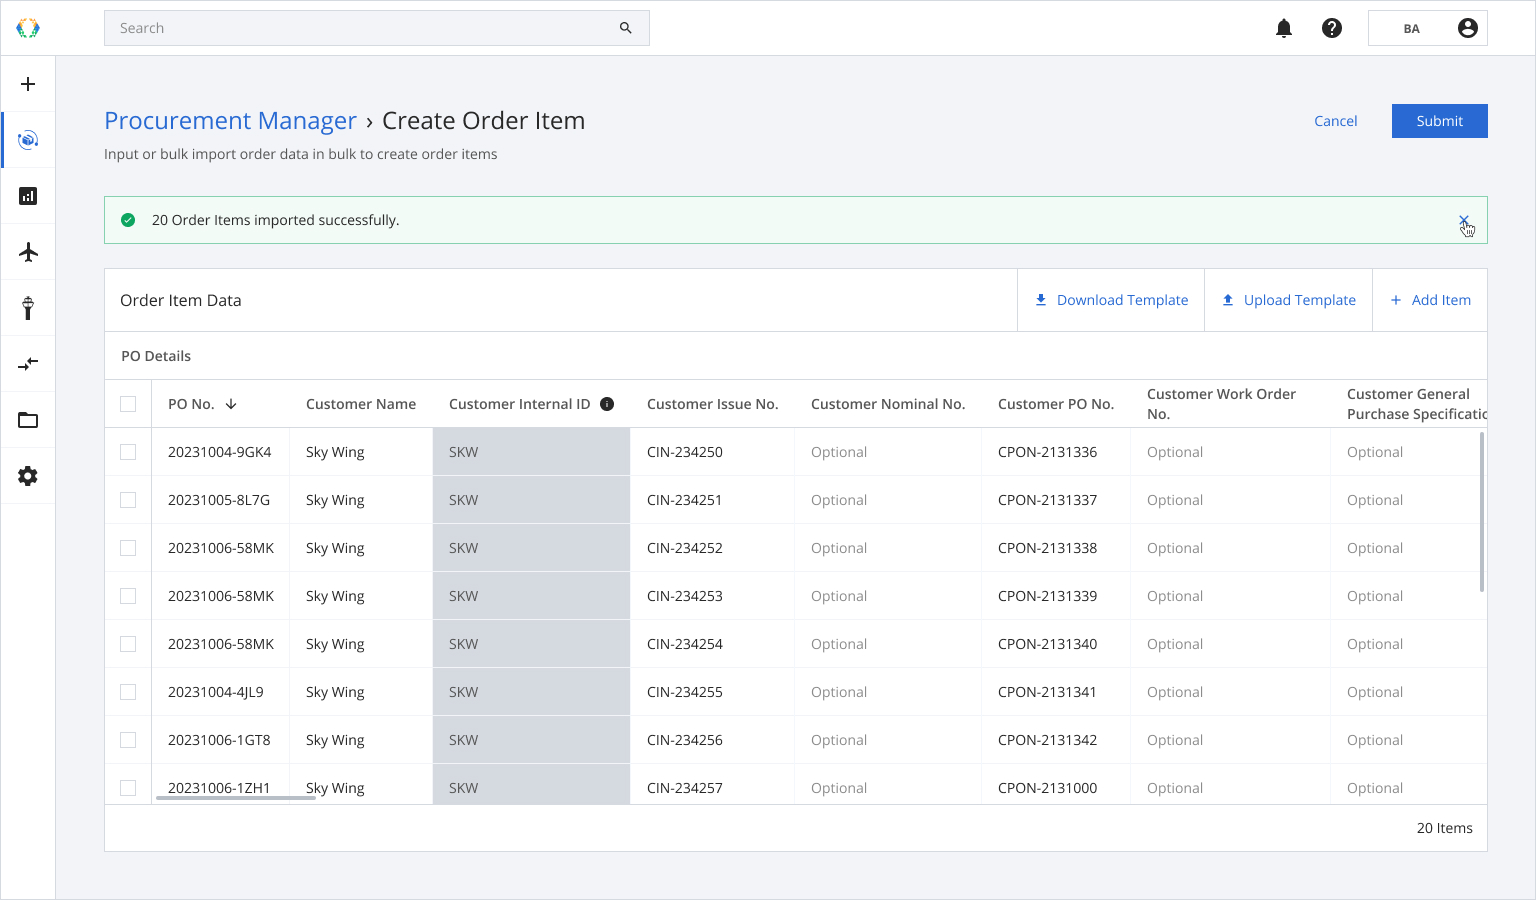
Step 6: Click 'Submit'.
Once the order items are successfully created, a green banner will appear at the top of the order items list.
Updated over 1 year ago